
Weebles
-
Posts
399 -
Joined
-
Last visited
-
Days Won
1
Everything posted by Weebles
-
We rented our old house out for 18 months before we sold it to fund this self build. We laid a load of bark chippings onto a membrane at the rear of the garden. No stones coming into the house.... The tenants did sweet nothing to the garden in 18 months so was a bit overgrown by the time they moved out. But it did prove to be low maintenance ?
-
After reading every post on this forum on the subject of sound insulation and in particular Rockwool I wanted to document our experience. Until the delivery arrived and we opened the packets we really didn't know what we were going to be working with. Here is the best description I can give. We ordered the following from Insulation4Less. They told us the lead time was about 4-6 weeks (nationwide shortage) but actually it all came within a week leaving us with a literal mountain of rockwool to store around site. It was wrapped but needed to be lugged into the house out of the rain. Big job. The 50mm deep packs were orginally intended to go in the ceilings where there were lots of pipes to fit around. We chose RWA45 rather than the more expensive Flexi. Having not seen the Flexi I can't give a really accurate comparison. But the RWA45 is flexible and can be pushed into spaces and compressed a little anyway. And it is cheaper. It is not rigid / solid like Celotex (which I had first thought it might be). Here are some open packs. It is pretty easy to cut using an insulation saw like this. https://www.screwfix.com/p/bahco-insulation-saw-22-560mm/7498k But it does shred easily too. Mask and gloves absolutely essential. The 100mm deep stuff looks like this. So although it comes in these "batts" which have a form to them, you can trim to to the size you need. We are trimming almost everything because the 600mm wide batts don't fit into the 560mm gaps between the 600mm centred studs. But there are plenty of places to stuff the offcuts and the puzzle of how to use every offcut as efficiently as possible is keeping us both amused somewhat. We are fitting this into all the stud walls (internal) and the ground floor ceiling. No need for any insulation on the external walls or top floor ceilings as that has been pumped in by MBC (more of that in another blog). Hubby used our MVHR builders straps to fit up a load in the ceiling. He is now using cheap pallet strapping and a staple gun! It is fair to say that we have been doing this sound insulation on and off now for well over a month. It is a big job. Ceilings harder than the walls. Time consuming. A bit (alot) messy. Requires us to ply the walls first (where ply is needed) and then insulate. For the stud walls that don't need ply we will work as quick as we can in the evenings once the the plasterboarders are on site (due next week) filling in behind them as they plasterboard one side. Going to be a busy week. But progress is satisfying and physically working on our build again is fun.
- 18 comments
-
- 4
-

-
- insulation
- sound insulation
- (and 1 more)
-
Our design calls for some pocket doors - 6 in total - good for space saving, should look tidy. We decided to go with Eclisse and got them from the ever helpful Alan at Door Supplies Online. We will also get our door sets from him, to match, and he'll supply some matching architrave to finish the pocket doors nicely. Will post photos of the finished doors when we get there (probably September). In the meantime, we needed to install the pocket frames in advance of plaster boarding. It seemed too easy. But I am posting this because we had slight issues understanding how they fitted so hopefully this post will help someone else in the future. Him indoors built them so quickly I didn't even get photos of him putting them together. But he assures me that the instructions were straightforward to follow and they went together well. Top tip - don't throw out the bits of polystyrene that look like packaging. They actually help give it some bracing strength when lifting the whole thing into place (otherwise it bends quite a bit). The You Tube videos are also helpful. Our MBC structural openings were exact (to the mm) so we had allowed a bit too much structural opening (we didn't know how mm perfect they would be). We then had to pack slightly off the stud frame (offcuts of egger board and OSB). And also pack off the floor to ensure the door was fitted at finished floor level. Have allowed 20mm for carpet / underlay upstairs (and tiles to the bathrooms) so should be OK. The frames come in 100mm finished wall depth or 125mm finished wall depth. With 89mm stud walls this does give a bit of a conundrum, assuming 12.5mm plasterboard. We chose 125mm. And then Alan suggested putting ply on the frame as well to make it extra rigid. Also useful for subsequent hanging of pictures / toilet roll holders on finished wall - otherwise fixings might go through and result in scratching the sliding door. What we couldn't understand was that the pocket side of the door had a frame that was 125mm wide. But the bit the door closes on was only 100mm wide. For a short while I doubted the assembling ability of my definitely better half. Thankfully, a call to Alan set that straight. Though I am not sure I have been forgiven yet. There is a timber jamb (125mm wide) that fits over the 100mm section, making the whole thing 125mm wide. Now for the ply. It has been a bit of a juggle. Some need ply and some don't, some need double ply before plasterboard on one side to build out the stud work. And we need to match the ply on each side otherwise the door will be off centre in the total wall depth. Feels like overkill and probably is. But it will be solid! The ply attaches to the door frame itself using little screws (supplied by Eclisse). If you don't put ply on then these little screws fix the plasterboard. This door below has ply on the left hand side to bring the stud wall out to the frame edge. Then it will have ply over the top of that (and the frame) to match the other side. Then plasterboard. Toilet roll holder going on the other side and mirror on this side so will be strong enough for those. From the inside of the en-suite it looks like this, with one layer of ply. So, just plasterboard over the top of this. All the standard (classic) pockets are now fitted. Ply to go on the other 4 still so plenty of late nights in store before the plasterboarders come in. We are rather enjoying this bit though. Allows us to actually contribute to our build in a meaningful way, saves some cash, justifies the circular saw Christmas gift...... The telescopic pocket door is being saved for another day.
-
Every time we feel like things are relatively under control and find half an hour to update the blog or watch a bit of telly with the kids, something happens to remind us that are lives are now our build, probably for at least another 9 months. Daunted is a semi permanent state but it’s OK as there is so much support on this forum to help you through it. Stay super excited. It is exciting ?. And remember that there will be set backs and frustrations but you will bounce back and you will get through it, with everyone on this forum cheering you on. Congrats on the planning permission. Now what are you building? Plans, images?
-
Pipe laying taper tool. Recommended
Weebles replied to Russell griffiths's topic in Tools & Equipment
@Russell griffiths Very neat bit of kit. I am going to need one at some point this year so thought I would take a look for one. I don't think I am in the making one myself camp as we will need to use it alot. What on earth is it called officially? Do you know the ebay store? Cheers. -
Thanks all for messages of support and commiseration. And on how to be more astute next time ?. Have made lots of calls today and am proceeding with caution to get on with sourcing another kitchen. Am also getting in touch with the directors of Domo Direct to see what is going on. Am reserving all judgment until I have contact from them. Will post updates as this moves on. Things are never straightforward but we just need to get on with it now and not expend energy on anger.
-
Thank you. I have written a polite letter to the company directors and the guy who ran the business day to day (all address details obtained from Companies House) to request more information. I am not optimistic. But now I have done some digging I find there are 4 people who are all directors of many companies involved in kitchen fitting and property development. The 18 years, quoted to me by another "creditor", may not be true (5 looks more like it) and I may be learning a pretty tough, expensive lesson. Not to take things at face value. Dig a bit and then dig a bit more. Before paying anything. Easy to look at it in hindsight though. At the time we paid the deposit there were plenty of happy customers, a positive recommendation, a buzzing showroom...... Well I have a kitchen design now. A bloody expensive one. But a kitchen design and specification with which to start again. Off to lie awake all night.....
-
Sadly they wouldn't accept a credit card payment so I paid by direct bank transfer. ☹️ How would I join the list of creditors? I can't even find out that they are actually in liquidation. There is nothing on Companies House yet but their premises are empty (apparently) and their website is no longer working. Has anyone had any success in a line of creditors? Is it worth bothering? £3K is alot of money but the stress is also costly.......
-
Just emailed our kitchen company following up on a query from my electrician and got a call back saying they have gone into liquidation. This is a company that has been around for 18 years apparently. Used by @Bitpipe - lovely kitchens. Anyway, our deposit (over £3K) has gone with them we guess. Any advice on how to proceed from here? We would like to take some action to retrieve some money. Or is it a waste of time? Any similar experiences and advice?
-
Hopefully finish the house enough to move in before winter sets in again
-
Hadn’t given much though to actual finish though had been thinking some sort of paving slab to step onto. Of course you are right in that we’ll have to cut the EPS away to be able to fit a slab at the cill height. We are so far away from landscaping and finishes that we neglected this detail. We spent ages on this when ordering the sliders and liaising with MBC. Just couldn’t visualise the issue to solve it in advance.......We will cut the EPS down first and see what we find. So much to do at the mo. One step at a time.....
-
Window fitter came out and suggested trimming down EPS so water naturally runs away from the window on top of the DPC rather than in under the window. So will do that. Then clean and dry it and use @jamiehamy sealant tip. And then mastic the hell out of it. The inside has already been latexed in so no access to the underside any more. In a way we are pleased that we have been able to see the effects of heavy rain before doing any internal finishes.
-
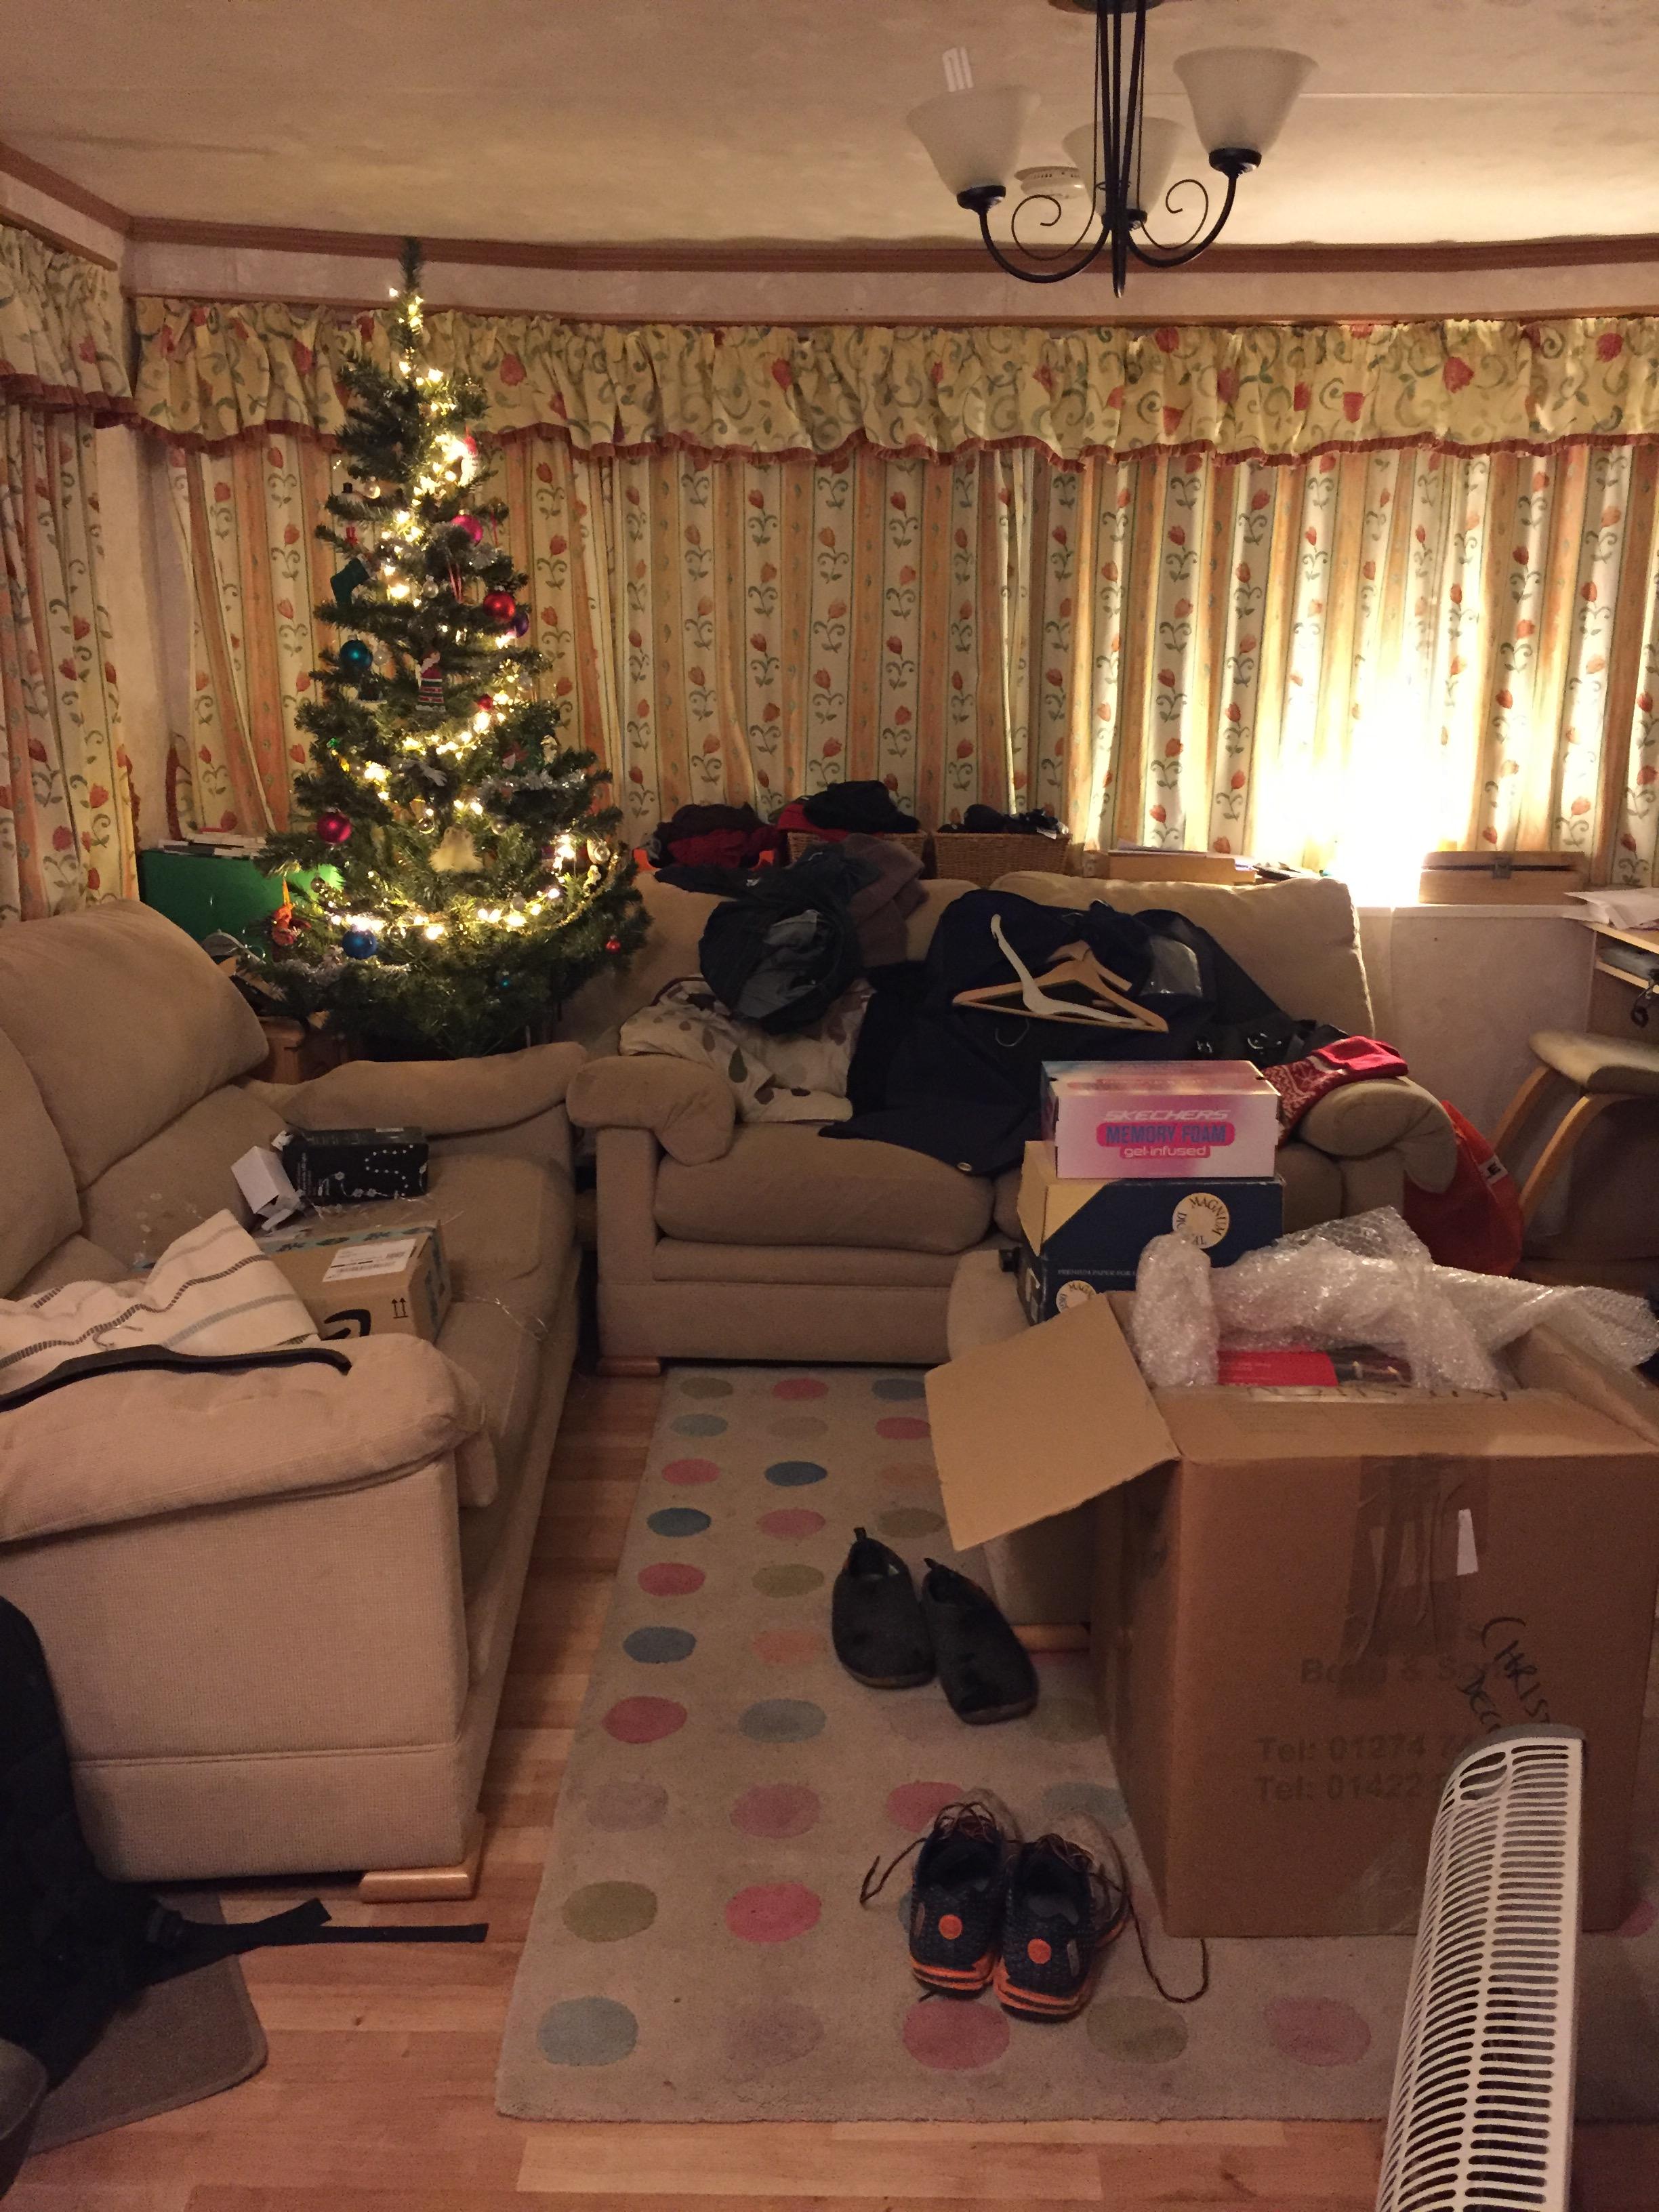
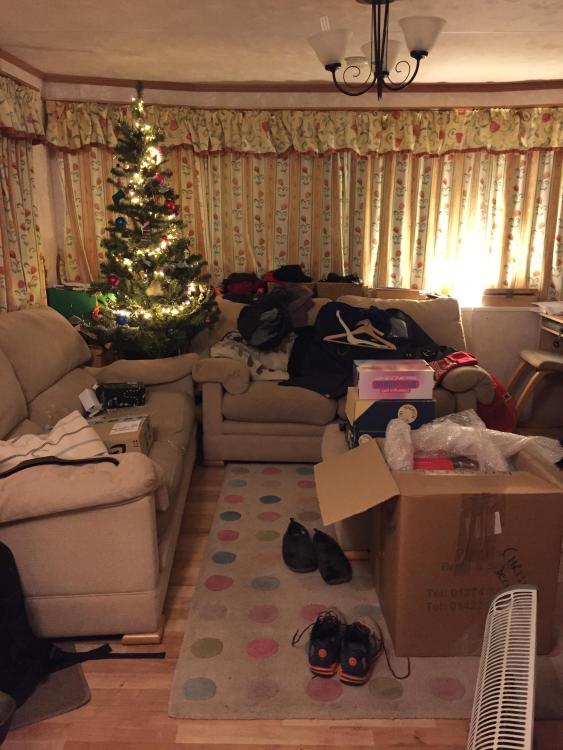
Had to leave our site to visit family. Feeling guilty that we aren’t working on the build with our few precious days off work. But need some time to rest and recharge ready to hit the job list next week. Managed to put a 6 foot tree in the caravan though! Happy Christmas everyone ?
-
Looks great. Lots of light. Not surprised that your parents are happy.
-
Am re-opening this in the hope of some help / advice. Got home tonight to find this: MBC frame and slab. All battened out and air tested (when I get time I will update the blog). Insulation being blown in and some had collected in the corner and under the sliding door (to the right of this photo) and was sodden after the rain today. House still not rendered but don't think it is this as the render board is on in this location and its alot of water. So looked outside and saw this: Apologies for the photo in the dark. This shows the EPC from the foundation, the DPC over the top of it, and then the sliding door cill sitting on top of that. We poked a tissue in the gap between the DPC and the cill and it was sodden so I think we have found the issue. Any tips on how to solve it please? How do we seal this?
-
Welcome ? We are building not far from Reading. Happy to share our experience so far. Good luck with the land purchase and look forward to hearing more.
-
Thanks all. Currently all thoughts / actions on hold as have been drilling holes out of the plant room (through the thermal envelope) ready for render company (on site today). Will return to this when get some space in my head.....
-
New build - right at the start of the process
Weebles replied to LucyD's topic in Introduce Yourself
Welcome to the forum! You have found the right place. We are in the midst of our self build and this forum - the people on it - has been a constant source of advice, pragmatism, humour and support. We spent about 5 years looking for somewhere appropriate to “do up”. Finally bought a 3 bed damp asbestos filled bungalow on a small but quiet plot (in 2015). Lived in it for 2 years whilst deciding between renovation or knock down (chose knock down) and getting planning (took about a year or so from first architect conversation to final planning granted). My advice is to enjoy the journey. It will be stressful, frustrating and you will lose sleep through overthinking everything but if you can broadly try to enjoy it, even the bad days, then it will be easier. I try to remind myself of this at least weekly! Good luck with the plot search. Find an architect who listens to what you want (rather than one who designs the house that they want to, irrespective of your budget and wish list). -
@OnoffRoughly 600mm deep we think though can’t get up there now. Scaffold tower will be the access up there. dont want to see too much from above so was intending to make the support for the tube as thin as poss. @JSHarris take your point about relying on skim finish vs a neat ply finish
-
Genius. What are you wasting your time with tiling for?? Will talk to the resident joiner and the tacker. Thank you.
-
The habit of dodging from one job to another (without finishing the first one) seems common to a few trades. It has happened to us more than once. Sometimes it doesn't matter and you don't really notice. Other times (as for @vivienzwith the weather changing) it is more critical. Our render company turned up on Monday with all the materials, dumped them on site and then said they would be back next Monday. You are kidding me. A start date is a start date.....isn't it?
-
@Onoff What are you doing next weekend? How would you fix the bendy plasterboard to the mdf / ply (which I am assuming is only 12-15mm deep)?
-
He's slumped on the sofa, rolling his eyes...... He has some days off over Christmas so I think this will keep him occupied?
-
1830mm to the current timber face. Loving the sketch. My joiner (long suffering husband) is up for a challenge. He's done nothing more complicated than a toilet box out so far but he's learning on the job! ? (someone else will be helping put up the plasterboard as we hope to be in before Christmas 2019 ?)
- 47 comments
-
- 1
-

-
- roof lights
- upstands
- (and 1 more)
-
Had just found the @jamiehamythread. That wall looks really good. Will look at the flexi 6mm plasterboard. @Tennentslager Internal diameter is 1830mm. Don't think I am going to get that templated in one piece?