
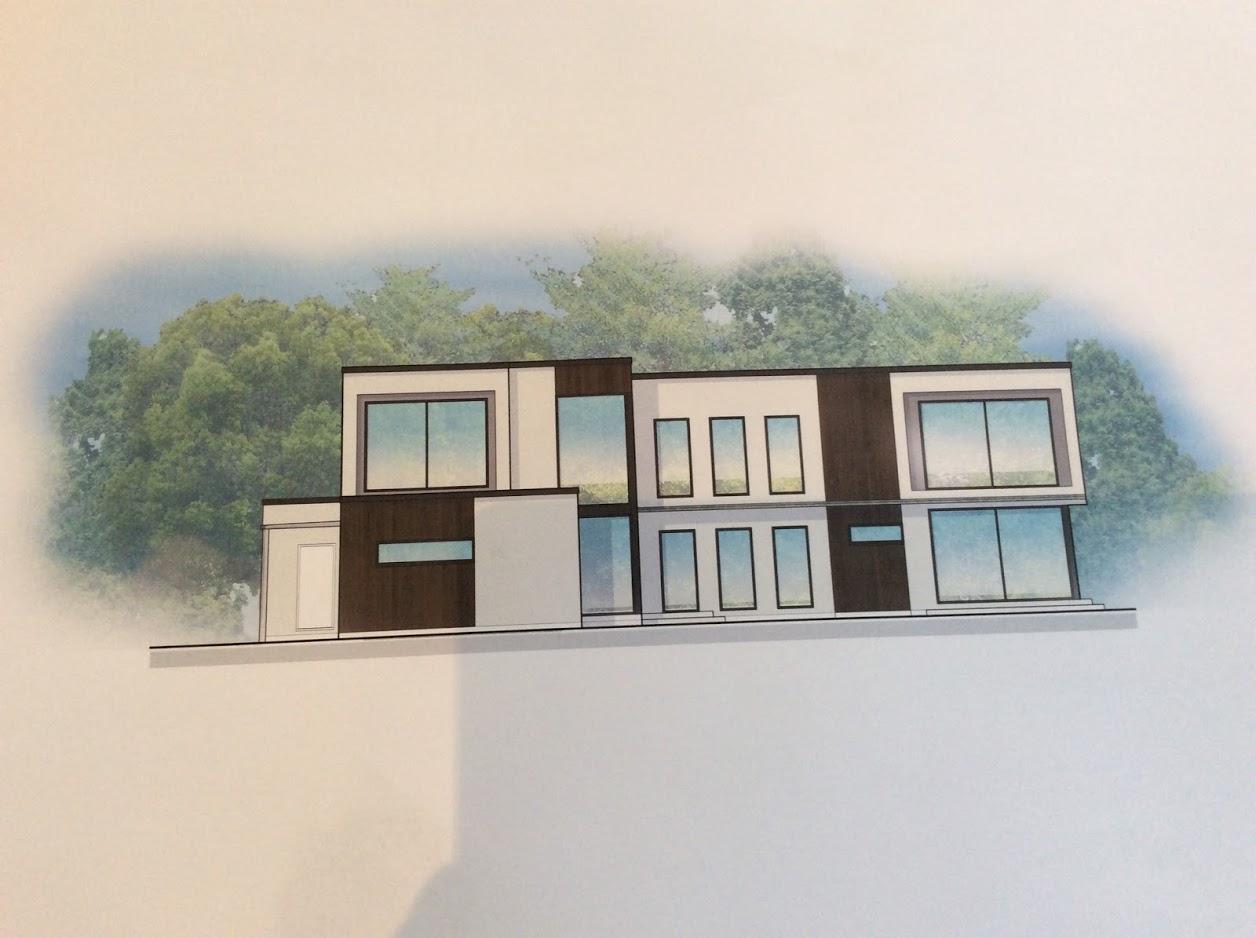
Pocket doors go in - thought it would be easy, but......

Entry posted by Weebles
2697 views
Our design calls for some pocket doors - 6 in total - good for space saving, should look tidy. We decided to go with Eclisse and got them from the ever helpful Alan at Door Supplies Online. We will also get our door sets from him, to match, and he'll supply some matching architrave to finish the pocket doors nicely. Will post photos of the finished doors when we get there (probably September). In the meantime, we needed to install the pocket frames in advance of plaster boarding.
It seemed too easy. But I am posting this because we had slight issues understanding how they fitted so hopefully this post will help someone else in the future.
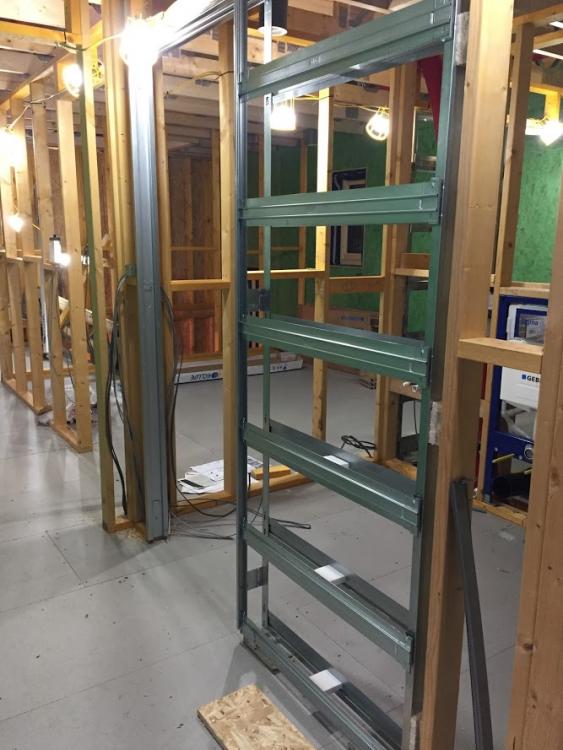
Him indoors built them so quickly I didn't even get photos of him putting them together. But he assures me that the instructions were straightforward to follow and they went together well. Top tip - don't throw out the bits of polystyrene that look like packaging. They actually help give it some bracing strength when lifting the whole thing into place (otherwise it bends quite a bit). The You Tube videos are also helpful.
Our MBC structural openings were exact (to the mm) so we had allowed a bit too much structural opening (we didn't know how mm perfect they would be). We then had to pack slightly off the stud frame (offcuts of egger board and OSB). And also pack off the floor to ensure the door was fitted at finished floor level. Have allowed 20mm for carpet / underlay upstairs (and tiles to the bathrooms) so should be OK.
The frames come in 100mm finished wall depth or 125mm finished wall depth. With 89mm stud walls this does give a bit of a conundrum, assuming 12.5mm plasterboard. We chose 125mm.
And then Alan suggested putting ply on the frame as well to make it extra rigid. Also useful for subsequent hanging of pictures / toilet roll holders on finished wall - otherwise fixings might go through and result in scratching the sliding door.
What we couldn't understand was that the pocket side of the door had a frame that was 125mm wide. But the bit the door closes on was only 100mm wide.
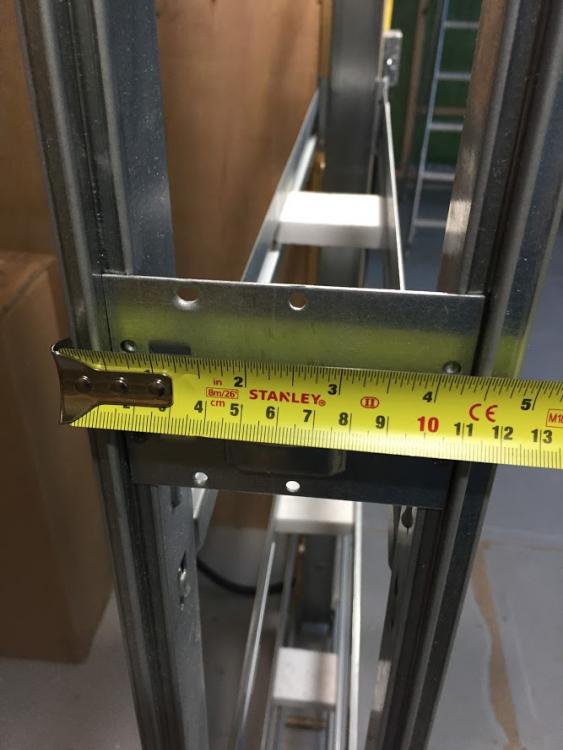

For a short while I doubted the assembling ability of my definitely better half. Thankfully, a call to Alan set that straight. Though I am not sure I have been forgiven yet. There is a timber jamb (125mm wide) that fits over the 100mm section, making the whole thing 125mm wide.
Now for the ply. It has been a bit of a juggle. Some need ply and some don't, some need double ply before plasterboard on one side to build out the stud work. And we need to match the ply on each side otherwise the door will be off centre in the total wall depth. Feels like overkill and probably is. But it will be solid! The ply attaches to the door frame itself using little screws (supplied by Eclisse). If you don't put ply on then these little screws fix the plasterboard.
This door below has ply on the left hand side to bring the stud wall out to the frame edge. Then it will have ply over the top of that (and the frame) to match the other side. Then plasterboard. Toilet roll holder going on the other side and mirror on this side so will be strong enough for those.
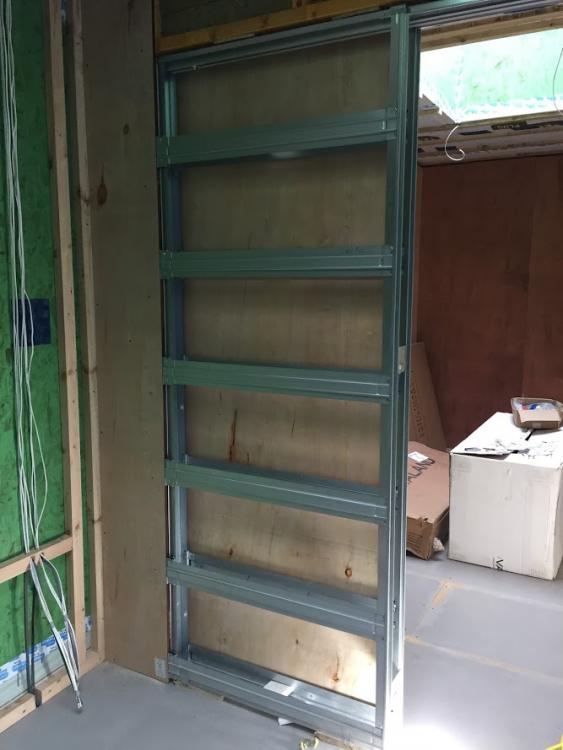
From the inside of the en-suite it looks like this, with one layer of ply.
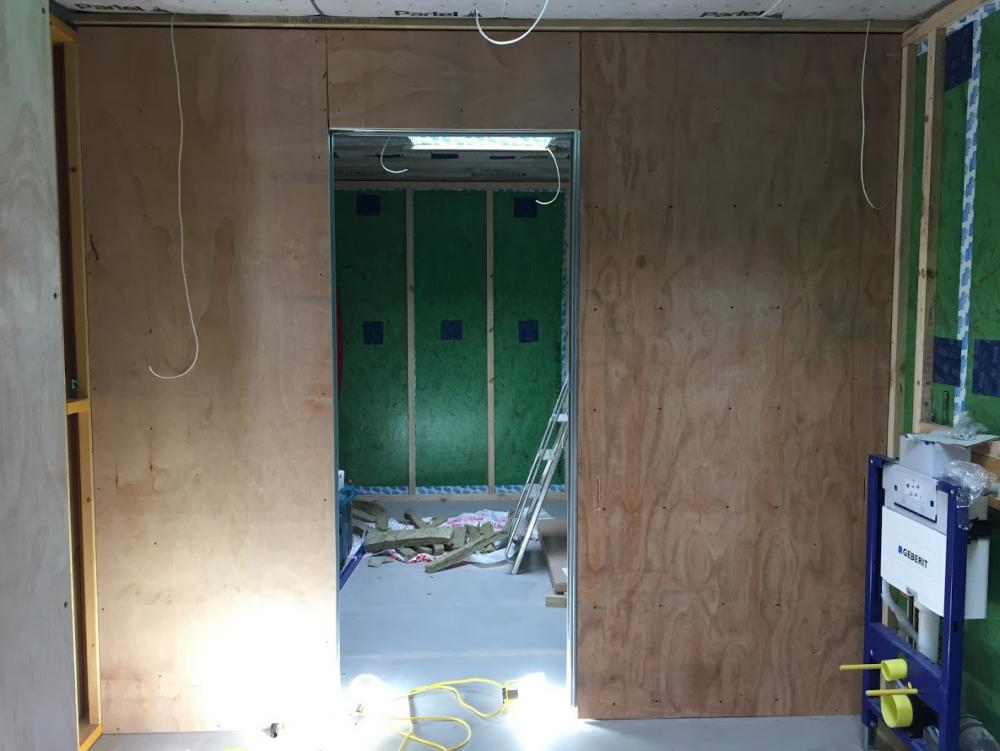
So, just plasterboard over the top of this. All the standard (classic) pockets are now fitted. Ply to go on the other 4 still so plenty of late nights in store before the plasterboarders come in. We are rather enjoying this bit though. Allows us to actually contribute to our build in a meaningful way, saves some cash, justifies the circular saw Christmas gift......
The telescopic pocket door is being saved for another day.
-
 8
8
1 Comment
Recommended Comments
Create an account or sign in to comment
You need to be a member in order to leave a comment
Create an account
Sign up for a new account in our community. It's easy!
Register a new accountSign in
Already have an account? Sign in here.
Sign In Now