Onoff
-
Posts
21128 -
Joined
-
Last visited
-
Days Won
206
Everything posted by Onoff
-

Bath Surround / Boxing In, and concealed pipework
Onoff replied to Onoff's topic in Bathrooms, Ensuites & Wetrooms
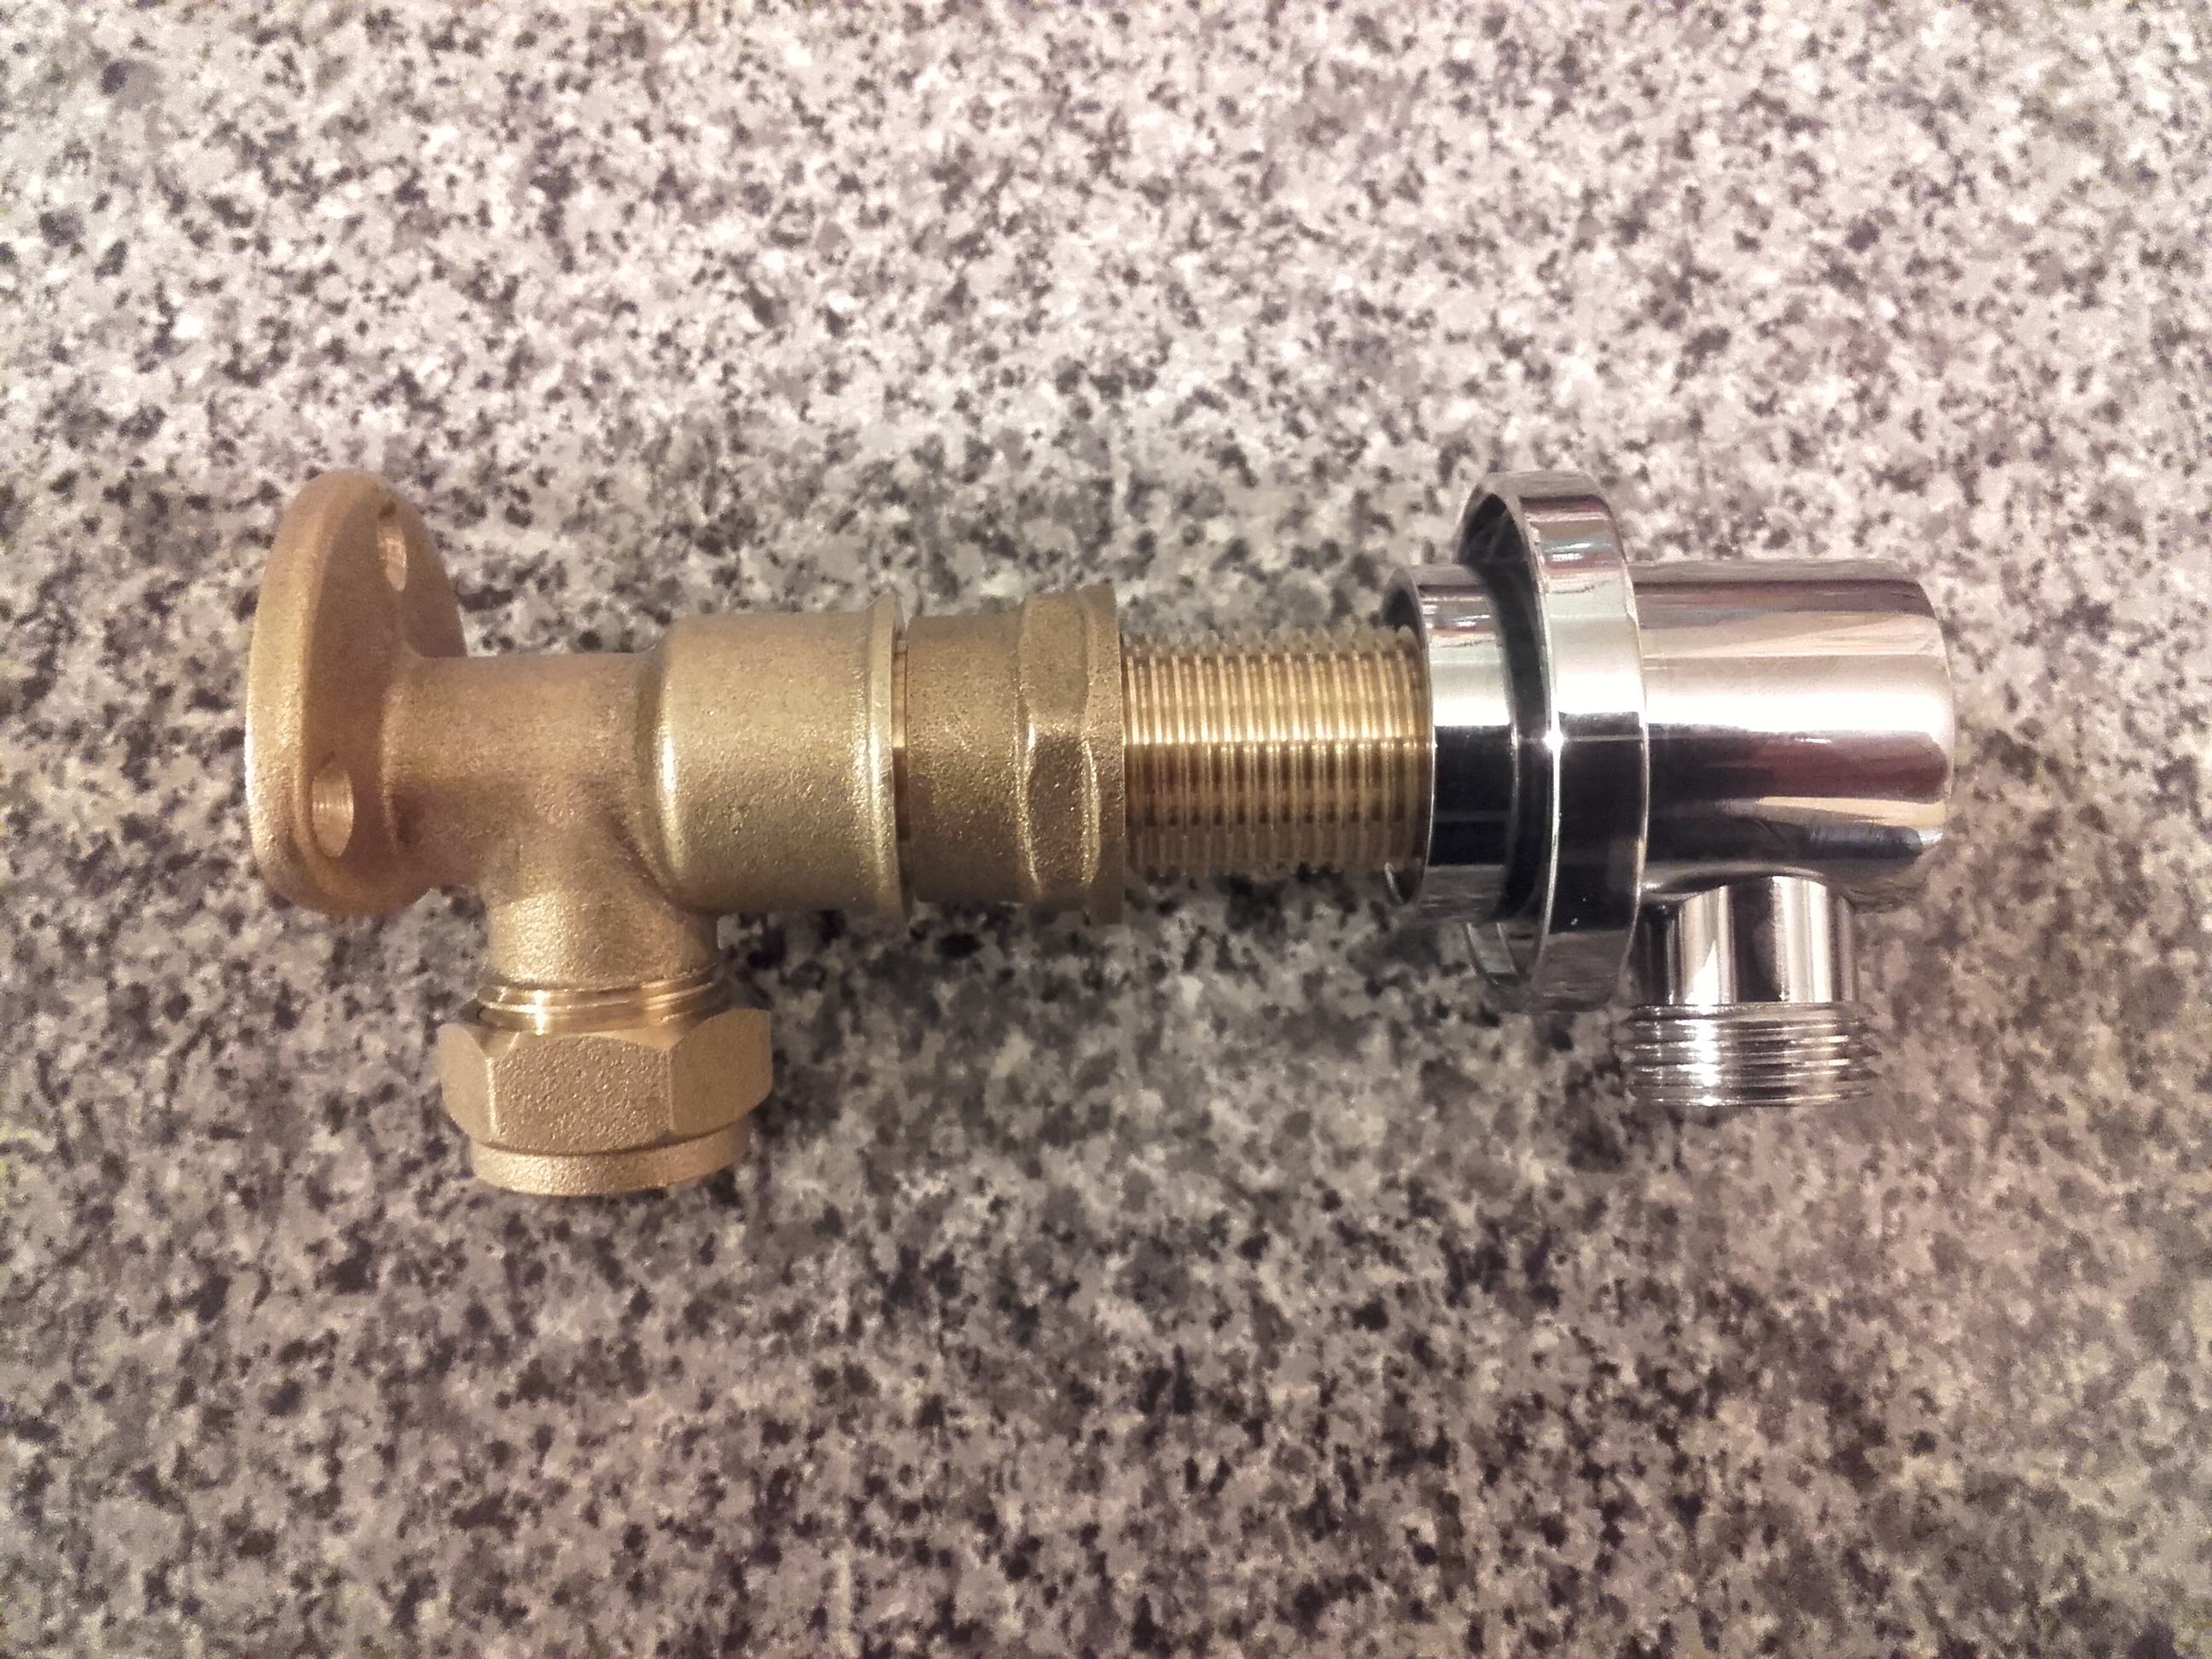
I possibly need to introduce an extension piece between the hose connector and backplate. As the extension / backplate joint is going to be hidden for evermore is liquid PTFE the best option? Did wonder if I could flux and solder it...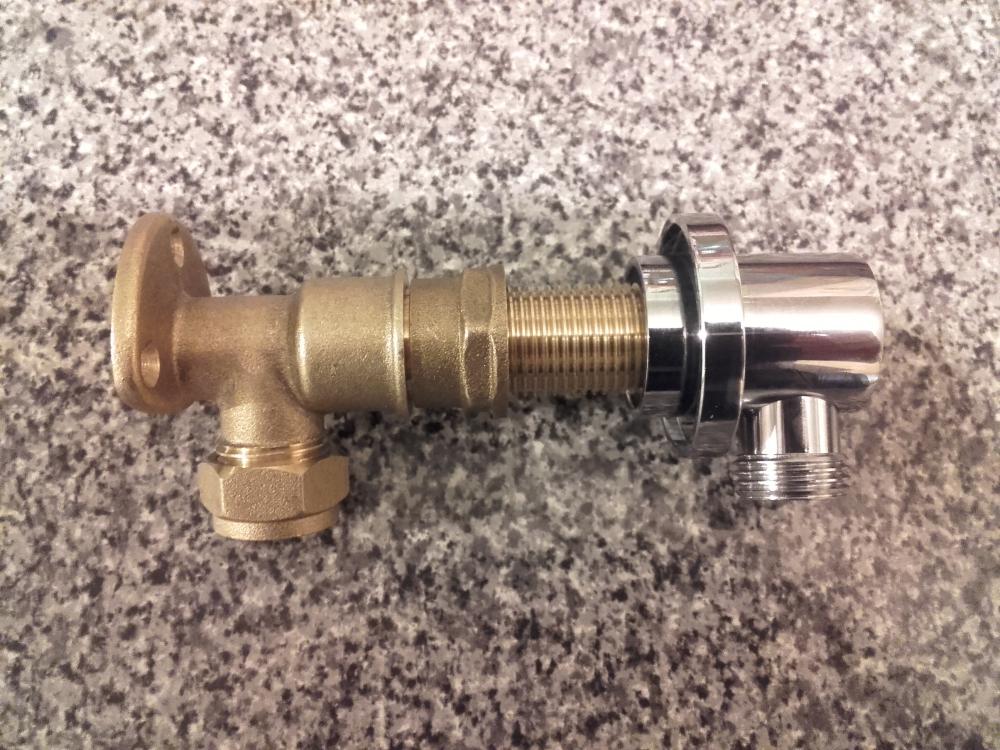
-
Bath Surround / Boxing In, and concealed pipework
Onoff replied to Onoff's topic in Bathrooms, Ensuites & Wetrooms
Scored a couple of 3/4 size 18mm ply sheets (old site hoarding) ages ago. Nice close "grain" on it. Not like some of the falling apart crap I've come across on site. Not marine ply but beggars can't be etc: One side's painted blue but hey ho, that can go on the inside. Ripped to width with a 45deg edge each side: The Aquapanel will be Sikaflex'd (or something cheaper maybe) to this. Might get a bit of a sanding down: The vertical ply will only carry the shower hose slider and hose outlet. I'll make it so if I do need access the backplate there'll be a sacrificial tile! Edit: I've assumed an 8mm notched trowel for the walls bedding down to 4mm. -
Too late!
-
Can't see the face, it could be @newhome... Hirsute...Greek maybe? That's the shower trap they're flushing!
-
The old box was screwed to the blocks behind with a c'sunk screw judging by the indent... Same again I guess he did when he moved it up? A 47mm would have meant some digging out of the blockwork.
-
How do you choose what depth of notch you need for floor / wall tiles? New floor and boarded walls all pretty damn level and straight tbh. I'm erring towards 10mm for walls and floors but not sure why! Then, is there a nominal "after compression" thickness for tile adhesive? Say you start with a 10mm trowel does that 10mm depth push down to 2, 4, 6mm? Cheers
-
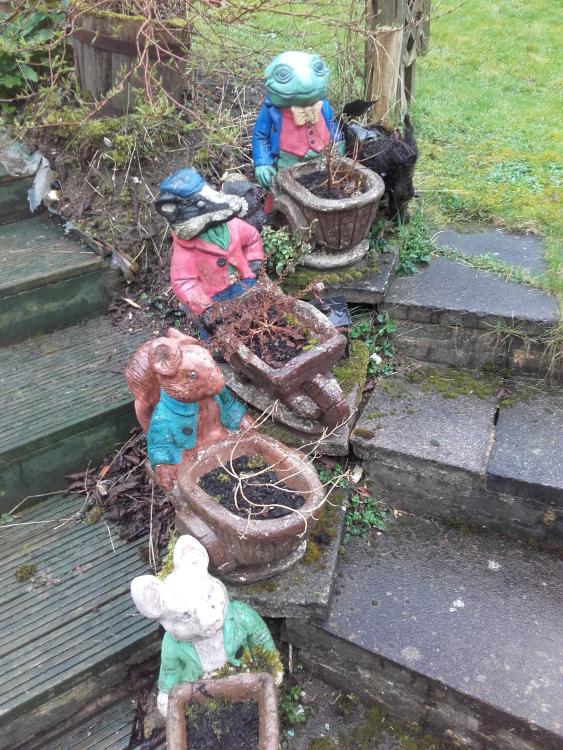
@Onoff's little helper went back to uni yesterday! As for the gnomes they're one of many along with other ornaments that the wife and kids used to paint up. We'd take a trip to Whelans on Sheppey and buy the raw concrete ones dirt cheap. Places like Ruxley charge a fortune for the same ones painted up. It got the kids outside in the fresh air in one of my old T shirts. Saying that they've always been able to express themselves inside too. The pva, paint, glue and glitter over the lounge carpet is testament to this!
-
Now the drinking makes sense, they're MAKING the ST panels to my design! And the foil off the Tunnocks is clearly for the reflector at the rear.
-
I was thinking freestanding with no attachment to the building. For the legs nearest the building powdercoat or clad the same colour as the walls. Unless the leg is in line with the slider then the same dark colour as the frame. It'll look like it's floating!
-
Voddie & coke?
-
This thread really is a bloody good advert for the Buildhub forum in general as well as both of your skills. Of course a cynic may see it as "lone female offering beer and bacon"
-
At least they didn't scrimp on the brown sleeving on the strappers...
-
You must be well chuffed!
-
Every team needs a labrador! And you got to step upon the hallowed ground that is CPC!
-
Dunno, just looks a cool process. Maybe a bit tougher foam?
-
As in ongoing maintenance, bleeding etc, good point.
-
Maybe you were getting in the way?
-
How cool is this:
-
How about timber for the bulk with some powder coated ali facings here and there?
-
If you've got time to drink and measure each others fart temperatures... Seriously though well done for taking this on. Proper DIY SOS stuff!
-
A barn? Inside? Has this got to pass a BCO inspection? I made one for the tree house years ago. This is all that's left. Easy to make a wooden jig for your router: Then when it had all half rotted I resurrected it for the youngest and went spiral. Little spare cash but a vivid imagination me!
-
Veg oil + time + charcoal: https://youtu.be/WnOQH4vj2Zk
-
Have you got to sorting the ST system yet?
-
You're so A to B! Nice to know my input was vital to the project!
-
3D surface modelling of randomly expanded foam to gauge the volume of filler required... Even I'll pass thanks! (Laser scanning would be the way to go I reckon...)