Onoff
-
Posts
21127 -
Joined
-
Last visited
-
Days Won
206
Everything posted by Onoff
-
Bump: So if I lay a bed down at 6mm thick on the floor do I "butter" the back of the tile in any way? Ta.
-
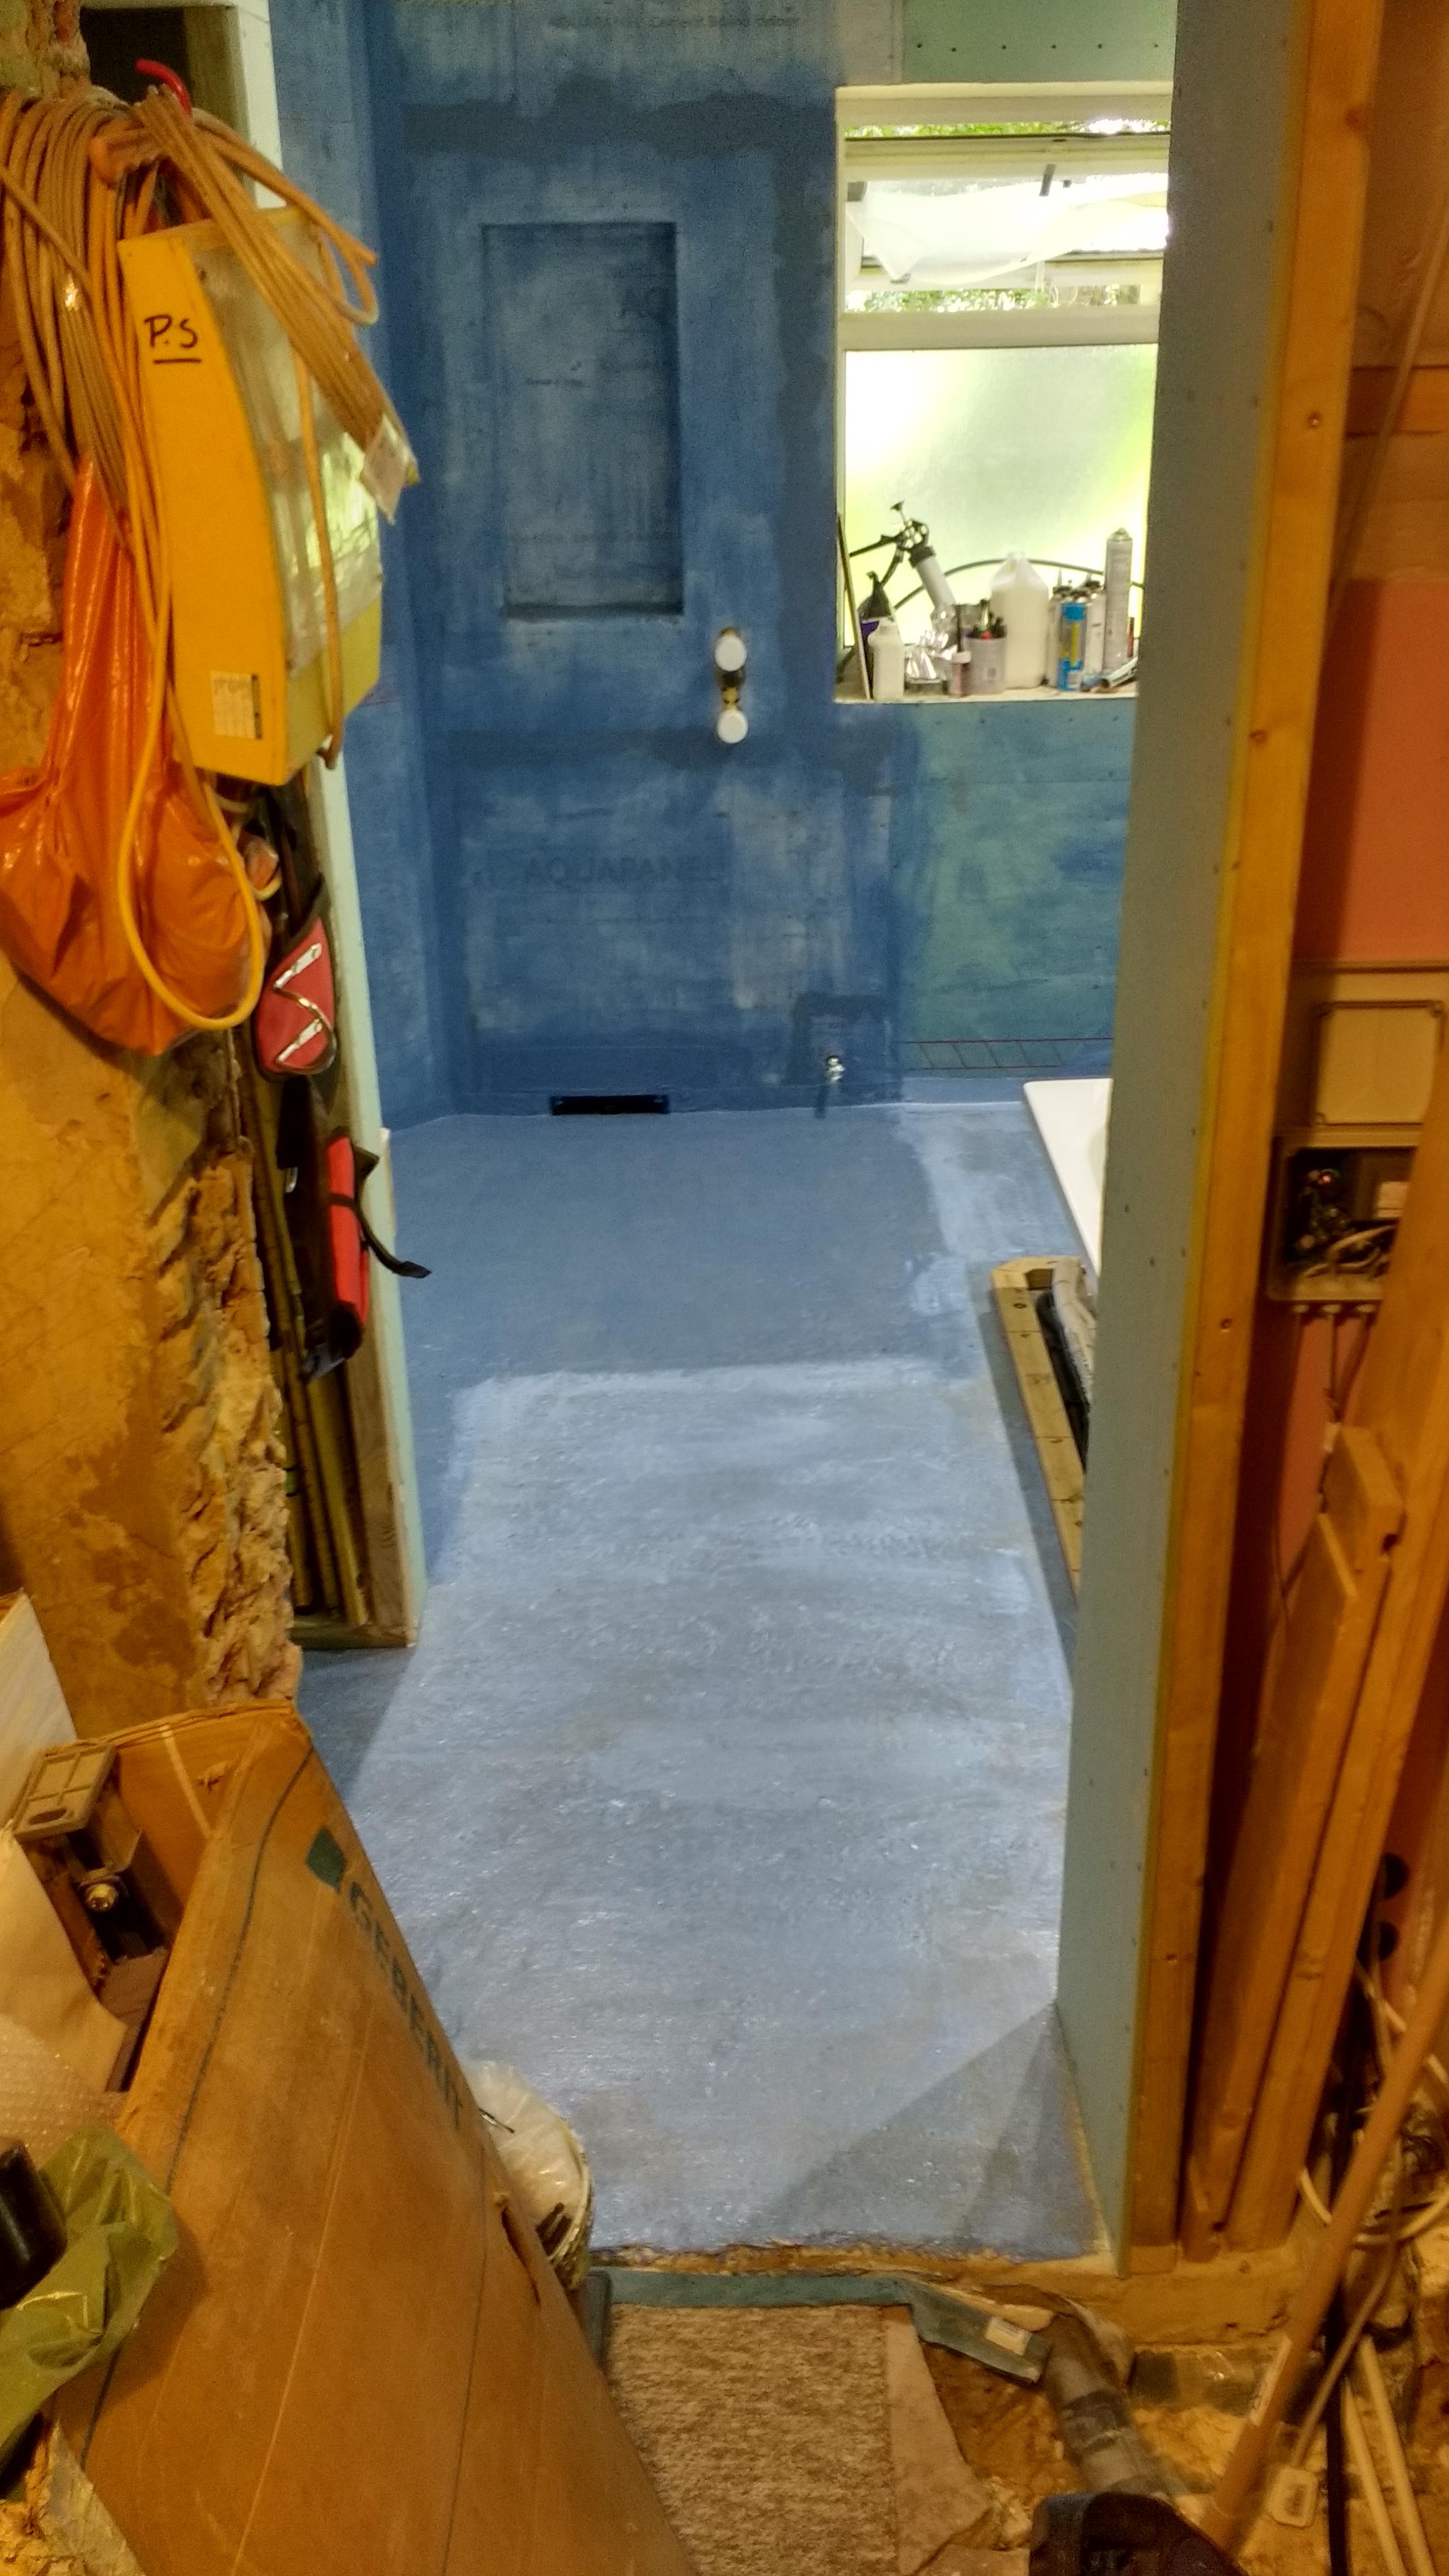
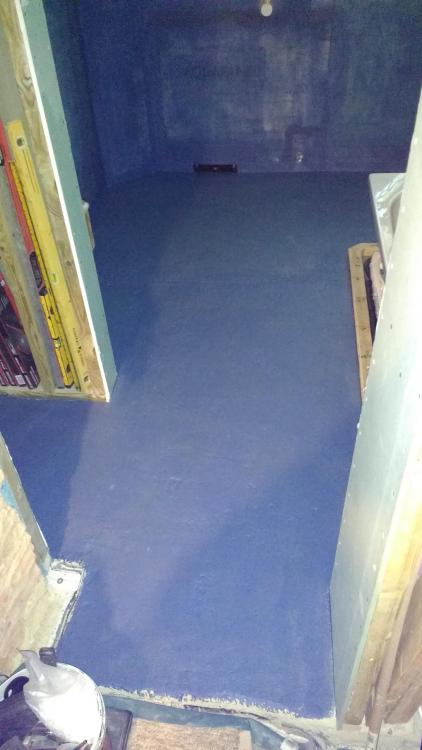
Weird how the 2 coats on the floor are much darker than on the Aqua Panel and mrpb'd walls:
-

Help with kitchen renovation/ 1st house.
Onoff replied to zoothorn's topic in Bathrooms, Ensuites & Wetrooms
"Foam cleaner" is really just gun cleaner - same thing. It's universal and should fit any gun. (Note this will only remove wet foam. Totally different thing to "foam eater" used to remove set foam). Yes use the Soudal Low Expansion to help fix the insulated pb to the top, sides and sill. Don't overdo it, just some thin lines. Once down don't go pulling it off again to "adjust". A light trigger spray misting of water on both surfaces will help - damp not wet! You will need to weight down the sill bit (bricks?) and prop / support the sides & top like in my pics. The main "holding" is done by the edge screws into the batten around the window reveal. -
I need a magnifier..... eyes ain't what they used to be
Onoff replied to ToughButterCup's topic in Tools & Equipment
Glasses are my norm but I have to put them to one side if marking out with a tape. Hell I even sometimes now wear just safety googles without glasses if cutting steel, tiles etc up close. Welding and just the mask, no glasses. Ditto wiring anything. Wearing contacts typing this on the phone and having to squint. An analogy might be that the contacts are great for driving to the restaurant but I can't then read the menu! I'll often borrow SWMBO's cheapo reading glasses just to read the menu etc. I think it's age related whereby my short sight is "getting better" as I age into long site. Had a couple of successive eye tests where my prescription has improved by 1/2 - 1 diopter. -
SWMBO can't see why I can't do shower area first THEN under the sink... Her comment was "His way it'll take you 3 days instead of 2!" ?
-
Help with kitchen renovation/ 1st house.
Onoff replied to zoothorn's topic in Bathrooms, Ensuites & Wetrooms
Looks alright. That's right hand side is a bit low maybe? Is it the window on the pi$$? -
As in from there word "go", tiles ready to go down, labrador at the ready. 6mm notched trowel, 10mm notched trowel on hand, tile cutter and saw ready just in case. Buckets sitting there clean. I think @PeterW said mix up half a bucket at a time but this is extended set Laticrete 335 stuff. Mustn't forget to prime the floor first! According to the bag it's: - 5L of water into the plastering bucket and add a 20kg bag. - Mix and wait 5-10 mins. Mix with a drill paddle OK? - Lay a sq.metre at a time. 45deg trowel angle. So if I lay a bed down at 6mm thick on the floor do I "butter" the back of the tile in any way? Bucket and sponge at the ready to clean as I go. To do by the basin I'll have to work from inside the bath I think. I've never been any good at Twister btw! Only issue I can forsee is if the bottom wall to floor tanking strip thickness pushes things over by a few mm, I might have to cut the very far ones if tight but these are already cut. - Wait 24hrs and grout. More questions before I do that of course! One now, do I need to get a traditional mop for cleaning? Just interested in how long it should take. Adhesive isn't really something I can put on and come back to 6 months later! YouTube here I come! Literally 30 years since I've tiled anything (other than the odd carefully cut out & refix few on kitchen wiring jobs). Any tips appreciated! Ta.
-
How long should it take to lay these tiles? Extended set adhesive, 6mm bed. All cut to size and numbered. 2 or 3 hours?
-
No problem. I've been down a similar route with my Geberit in wall wc frame and wall drain. A bit of a minefield I found it getting my head around the various instructions and what extras were needed. Got there in the end! I don't like like the way their drawings mix mm & cm! Once you get your head around the Geberit stuff though it dawns on you, the simplicity and efficiency of their designs. It just works.
-
Had a 1800 Stabila as part of a kit but managed to bend it! Got a red Forge Steel one as a cheap replacement but it's "alright" at best. I've had to tick the best end bubble when using it vertically and put an X on the less accurate bubble.
-
Bath Surround / Boxing In, and concealed pipework
Onoff replied to Onoff's topic in Bathrooms, Ensuites & Wetrooms
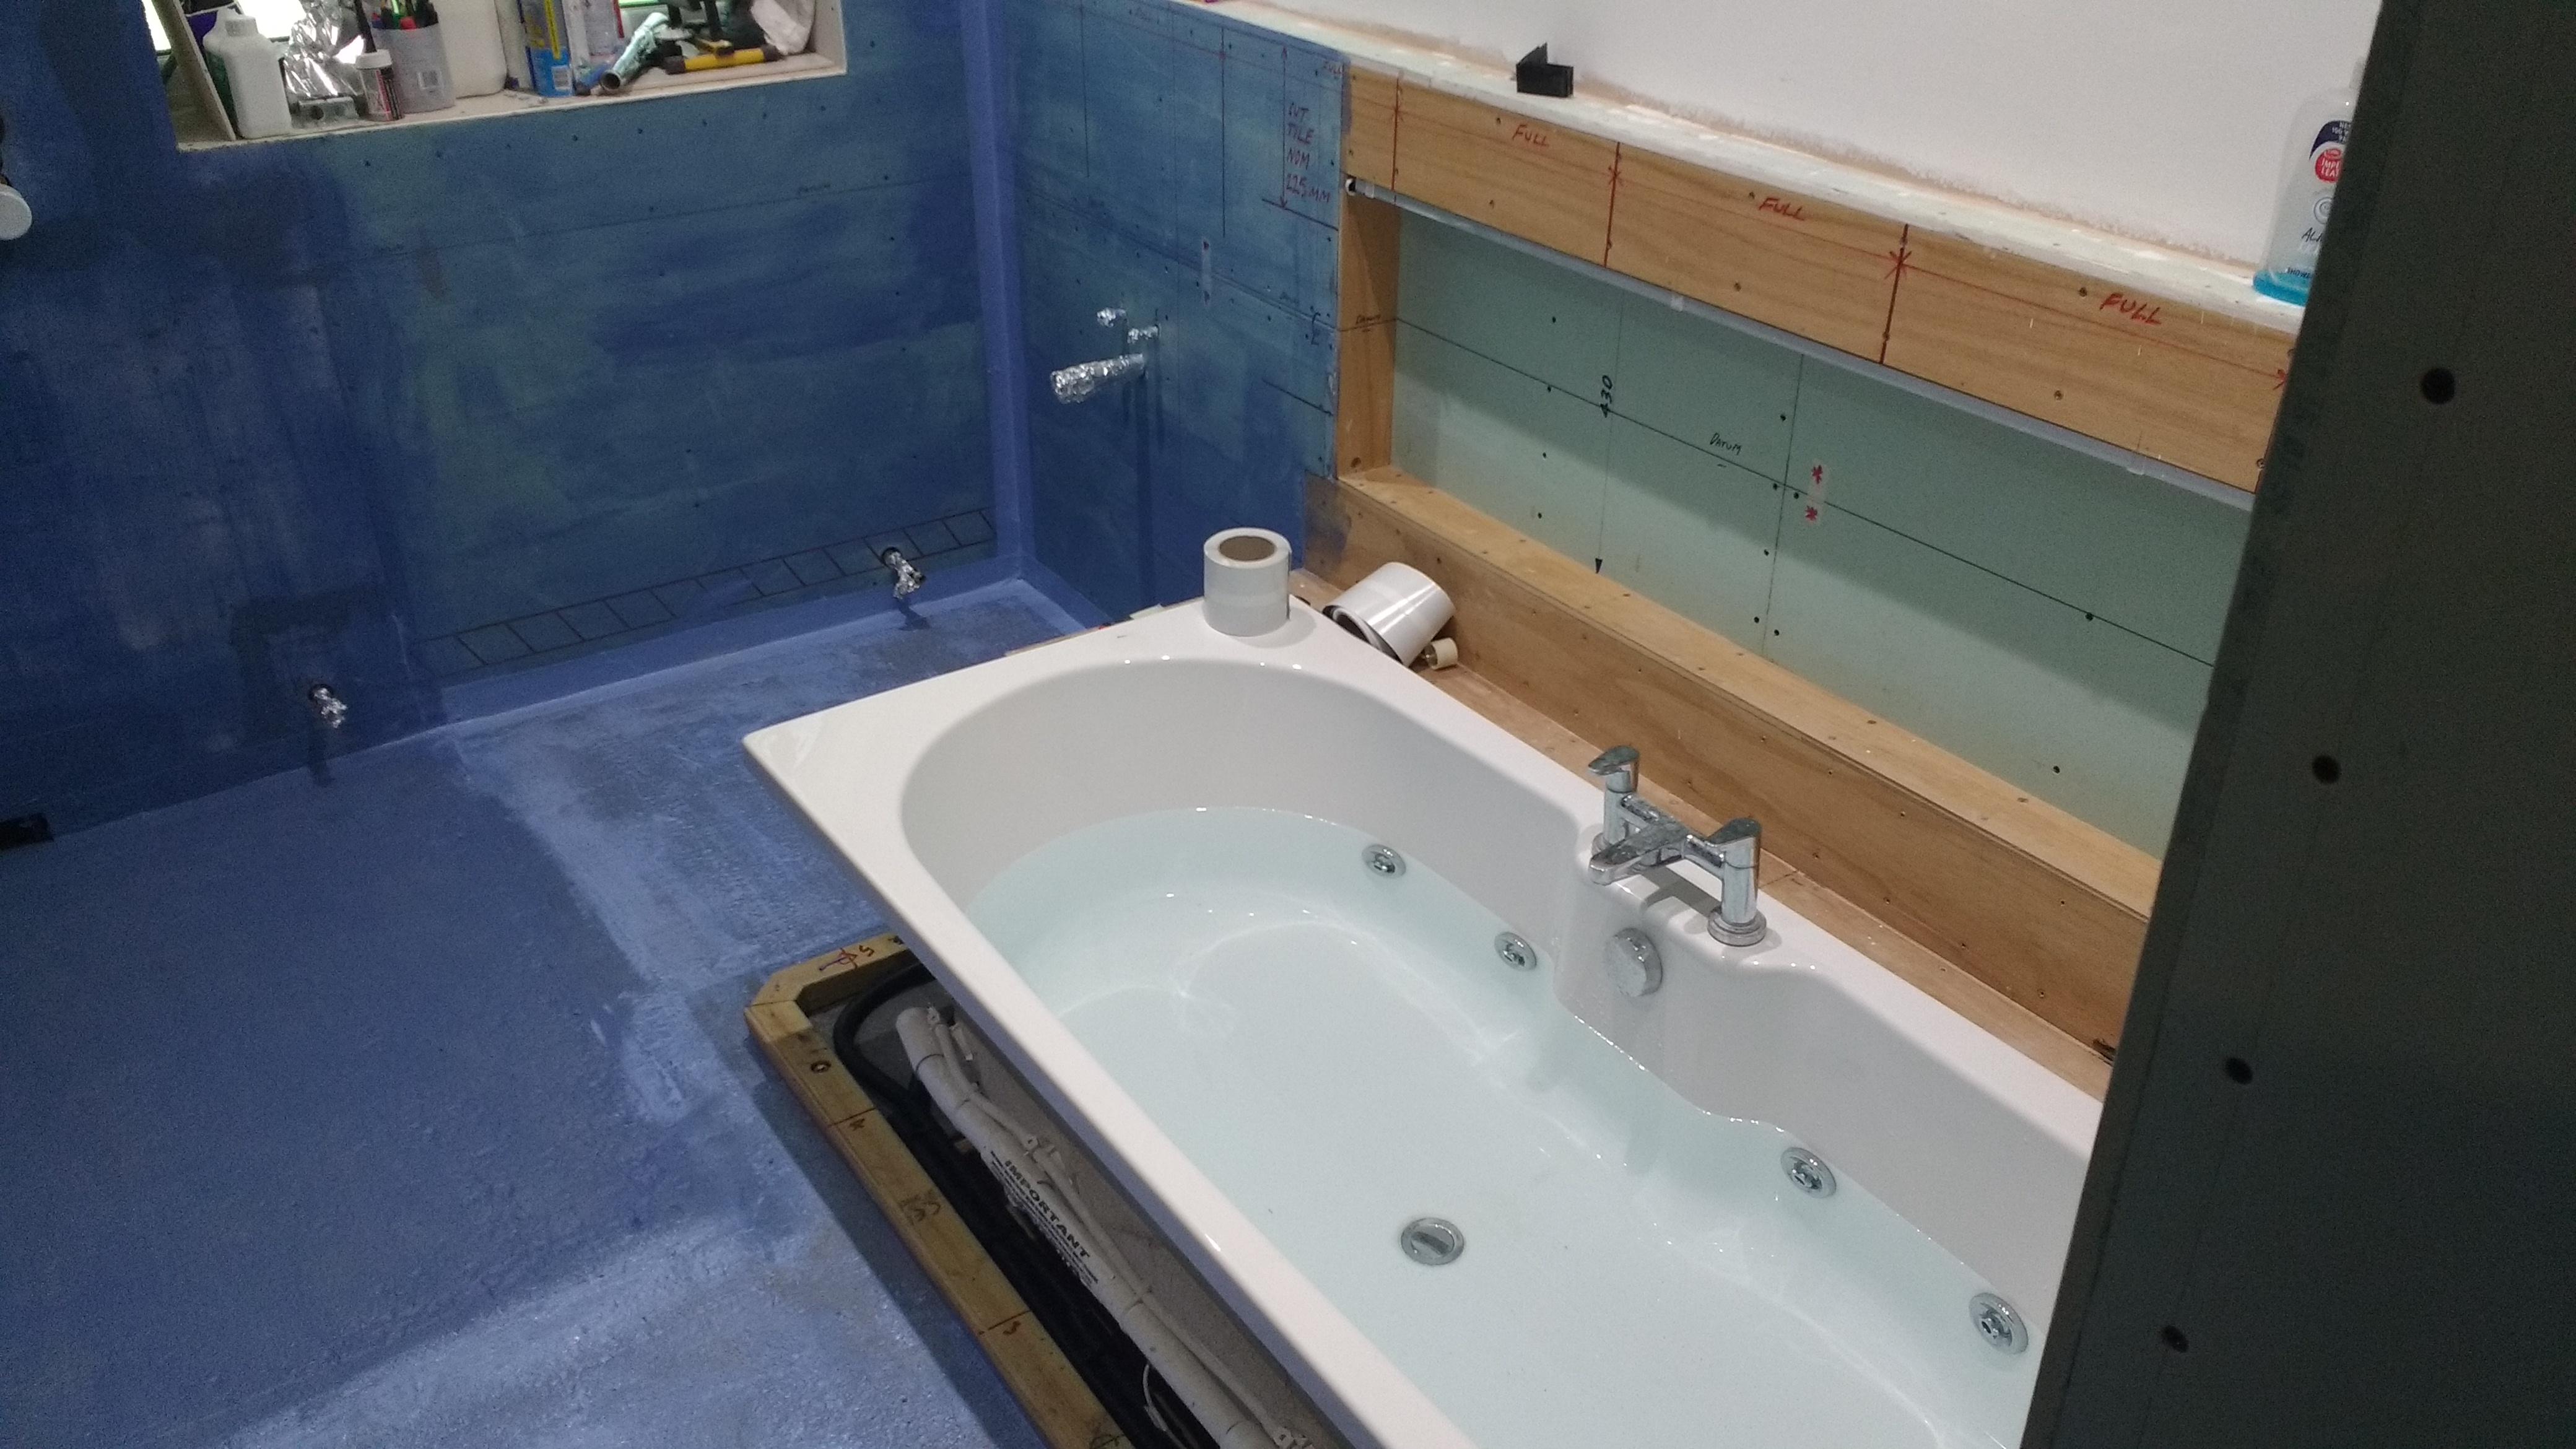
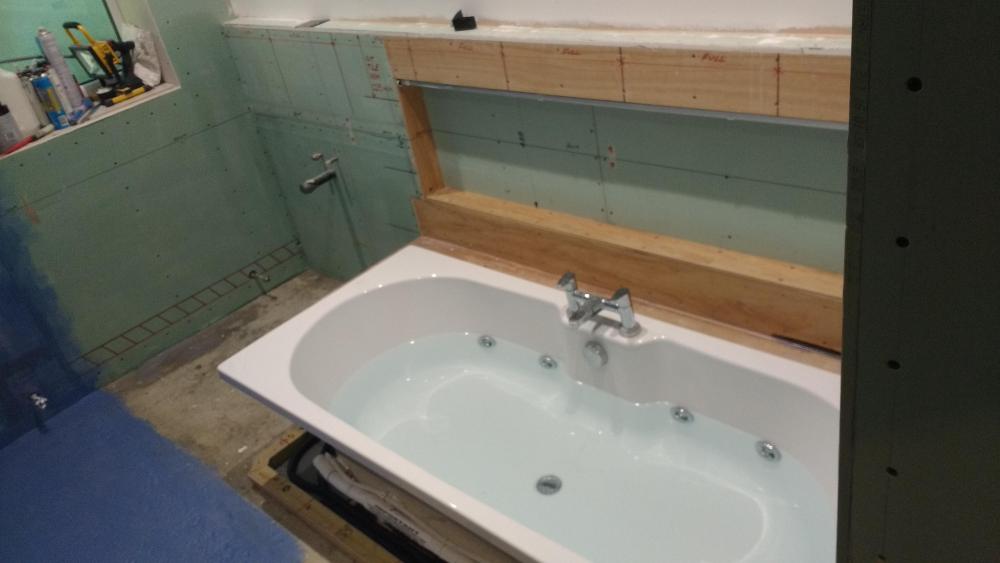
In the above picture: The bath sits on a ply "deck". Prior to tanking I will tape the horizontal ply to vertical ply junction. I'll also tape where the bath meets the wall at the end. That'll be horizontal ply to mrpb. Should I also tape the horizontal ply to vertical mrpb junction at the back of the long pocket? Cheers -
Bath Surround / Boxing In, and concealed pipework
Onoff replied to Onoff's topic in Bathrooms, Ensuites & Wetrooms
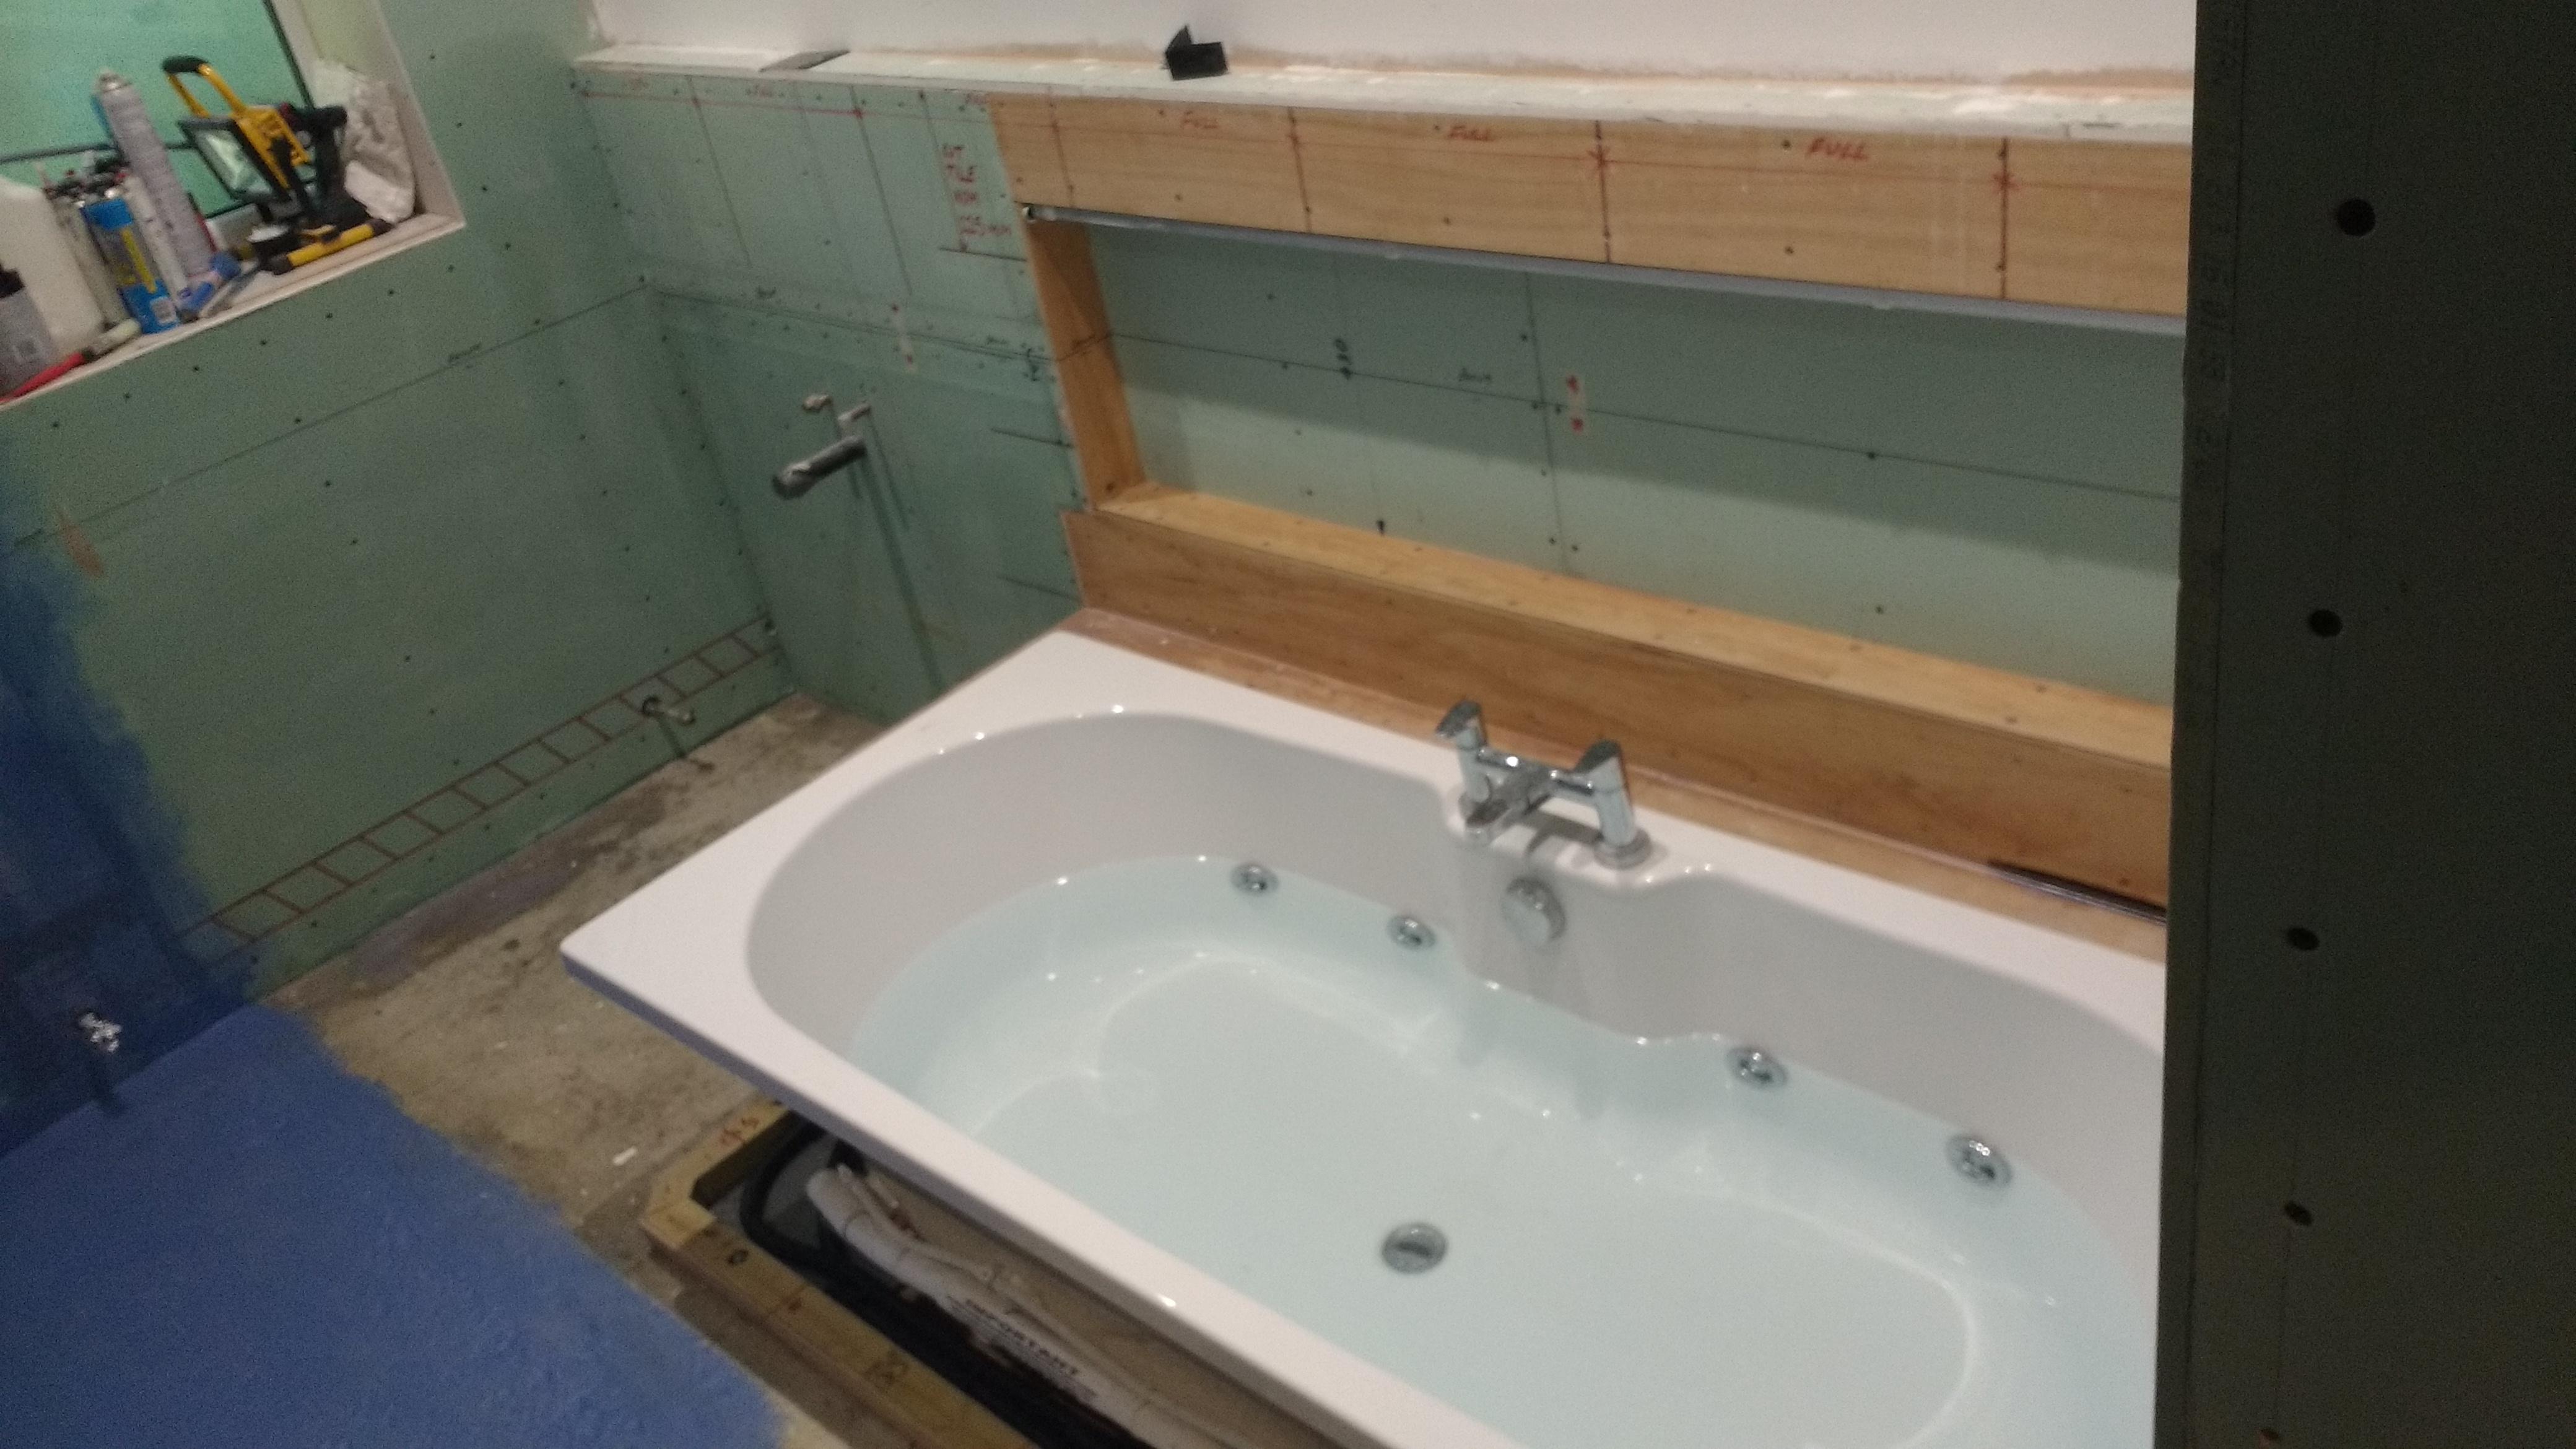
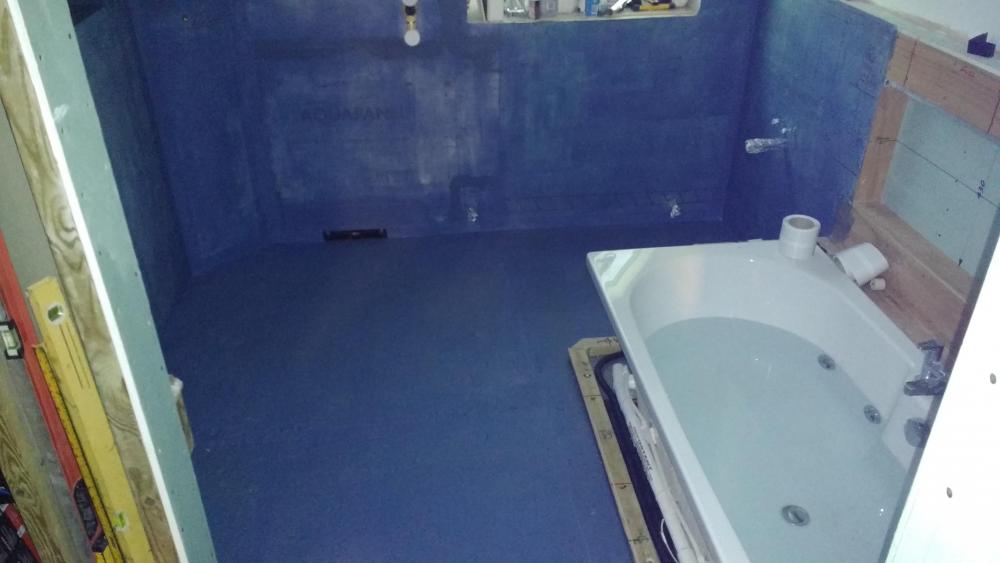
2nd coat of tanking, on the other "half" of the bathroom goes on 9pm tonight! Other bit of bath surround will go back on once the floor tiles are down. I'll tank it then although the ply in the picture above and pocket is all primed.

-
Bath Surround / Boxing In, and concealed pipework
Onoff replied to Onoff's topic in Bathrooms, Ensuites & Wetrooms
We were only just discussing the exact same thing with SWMBO commenting how much water I'd displace...actually she might have used the words fat b'stard... Just watched this on the cleaning front: https://youtu.be/P3dPw50WXnc Mulling how to clean it now and in the future. Ongoing then favouring a shot of bleach before emptying after using the bath maybe? But then come next bath time you'd end up with a bleachy bath? With hindsight would we have bought one... probably! -
It looks superb. Missus is quite taken with it. We both love the look of "gravel" but not the mess. (Our drive is as when we purchased the place. Compacted soil and ash full of nails where the previous owner burnt pallet wood). I'd be very interested in the DIY systems. What's it's resistance to oil like?
-
Bath Surround / Boxing In, and concealed pipework
Onoff replied to Onoff's topic in Bathrooms, Ensuites & Wetrooms
Seems that was the problem! I know who to come to for plumbing tips from now on! I made sure the jets were fully covered and ran it again. The jets were much "calmer" and quieter when fully submerged. Just to check the air valve I ran it with it off and stuck my fingers over the ends of the two white pipes which varied the intensity of the jets. Put the valve back on with a tad more silicon grease and that works fine. So all good! Just waiting for No.1 son to surface and I'll get the draw strings in the ducting for the LED plinth lights. For now I've just primed the rest of the floor, around the basin and half the bath surround and long pocket. Once the draw wires are in I'll refit the surround, mask the bath up and tape & tank that. Next lot of tanking later. ...suppose I'd better save this bath full of cold water then...
-
Bath Surround / Boxing In, and concealed pipework
Onoff replied to Onoff's topic in Bathrooms, Ensuites & Wetrooms
There's a mile of 15mm copper feeding it. Actually it's about 18m from the stopcock to the tank. -
Bath Surround / Boxing In, and concealed pipework
Onoff replied to Onoff's topic in Bathrooms, Ensuites & Wetrooms
Will they even have them in 2028? -
Bath Surround / Boxing In, and concealed pipework
Onoff replied to Onoff's topic in Bathrooms, Ensuites & Wetrooms
Thanks. I'll have to video mine to show the lack of difference turning the knob makes. As I understand it turning that knob just controls the amount of air vs water in the jet stream. Not sure how it's meant to work...would have expected to be able to adjust from "gentle massage" to "grand rapids". At the mo it's the latter or nothing! -
Bath Surround / Boxing In, and concealed pipework
Onoff replied to Onoff's topic in Bathrooms, Ensuites & Wetrooms
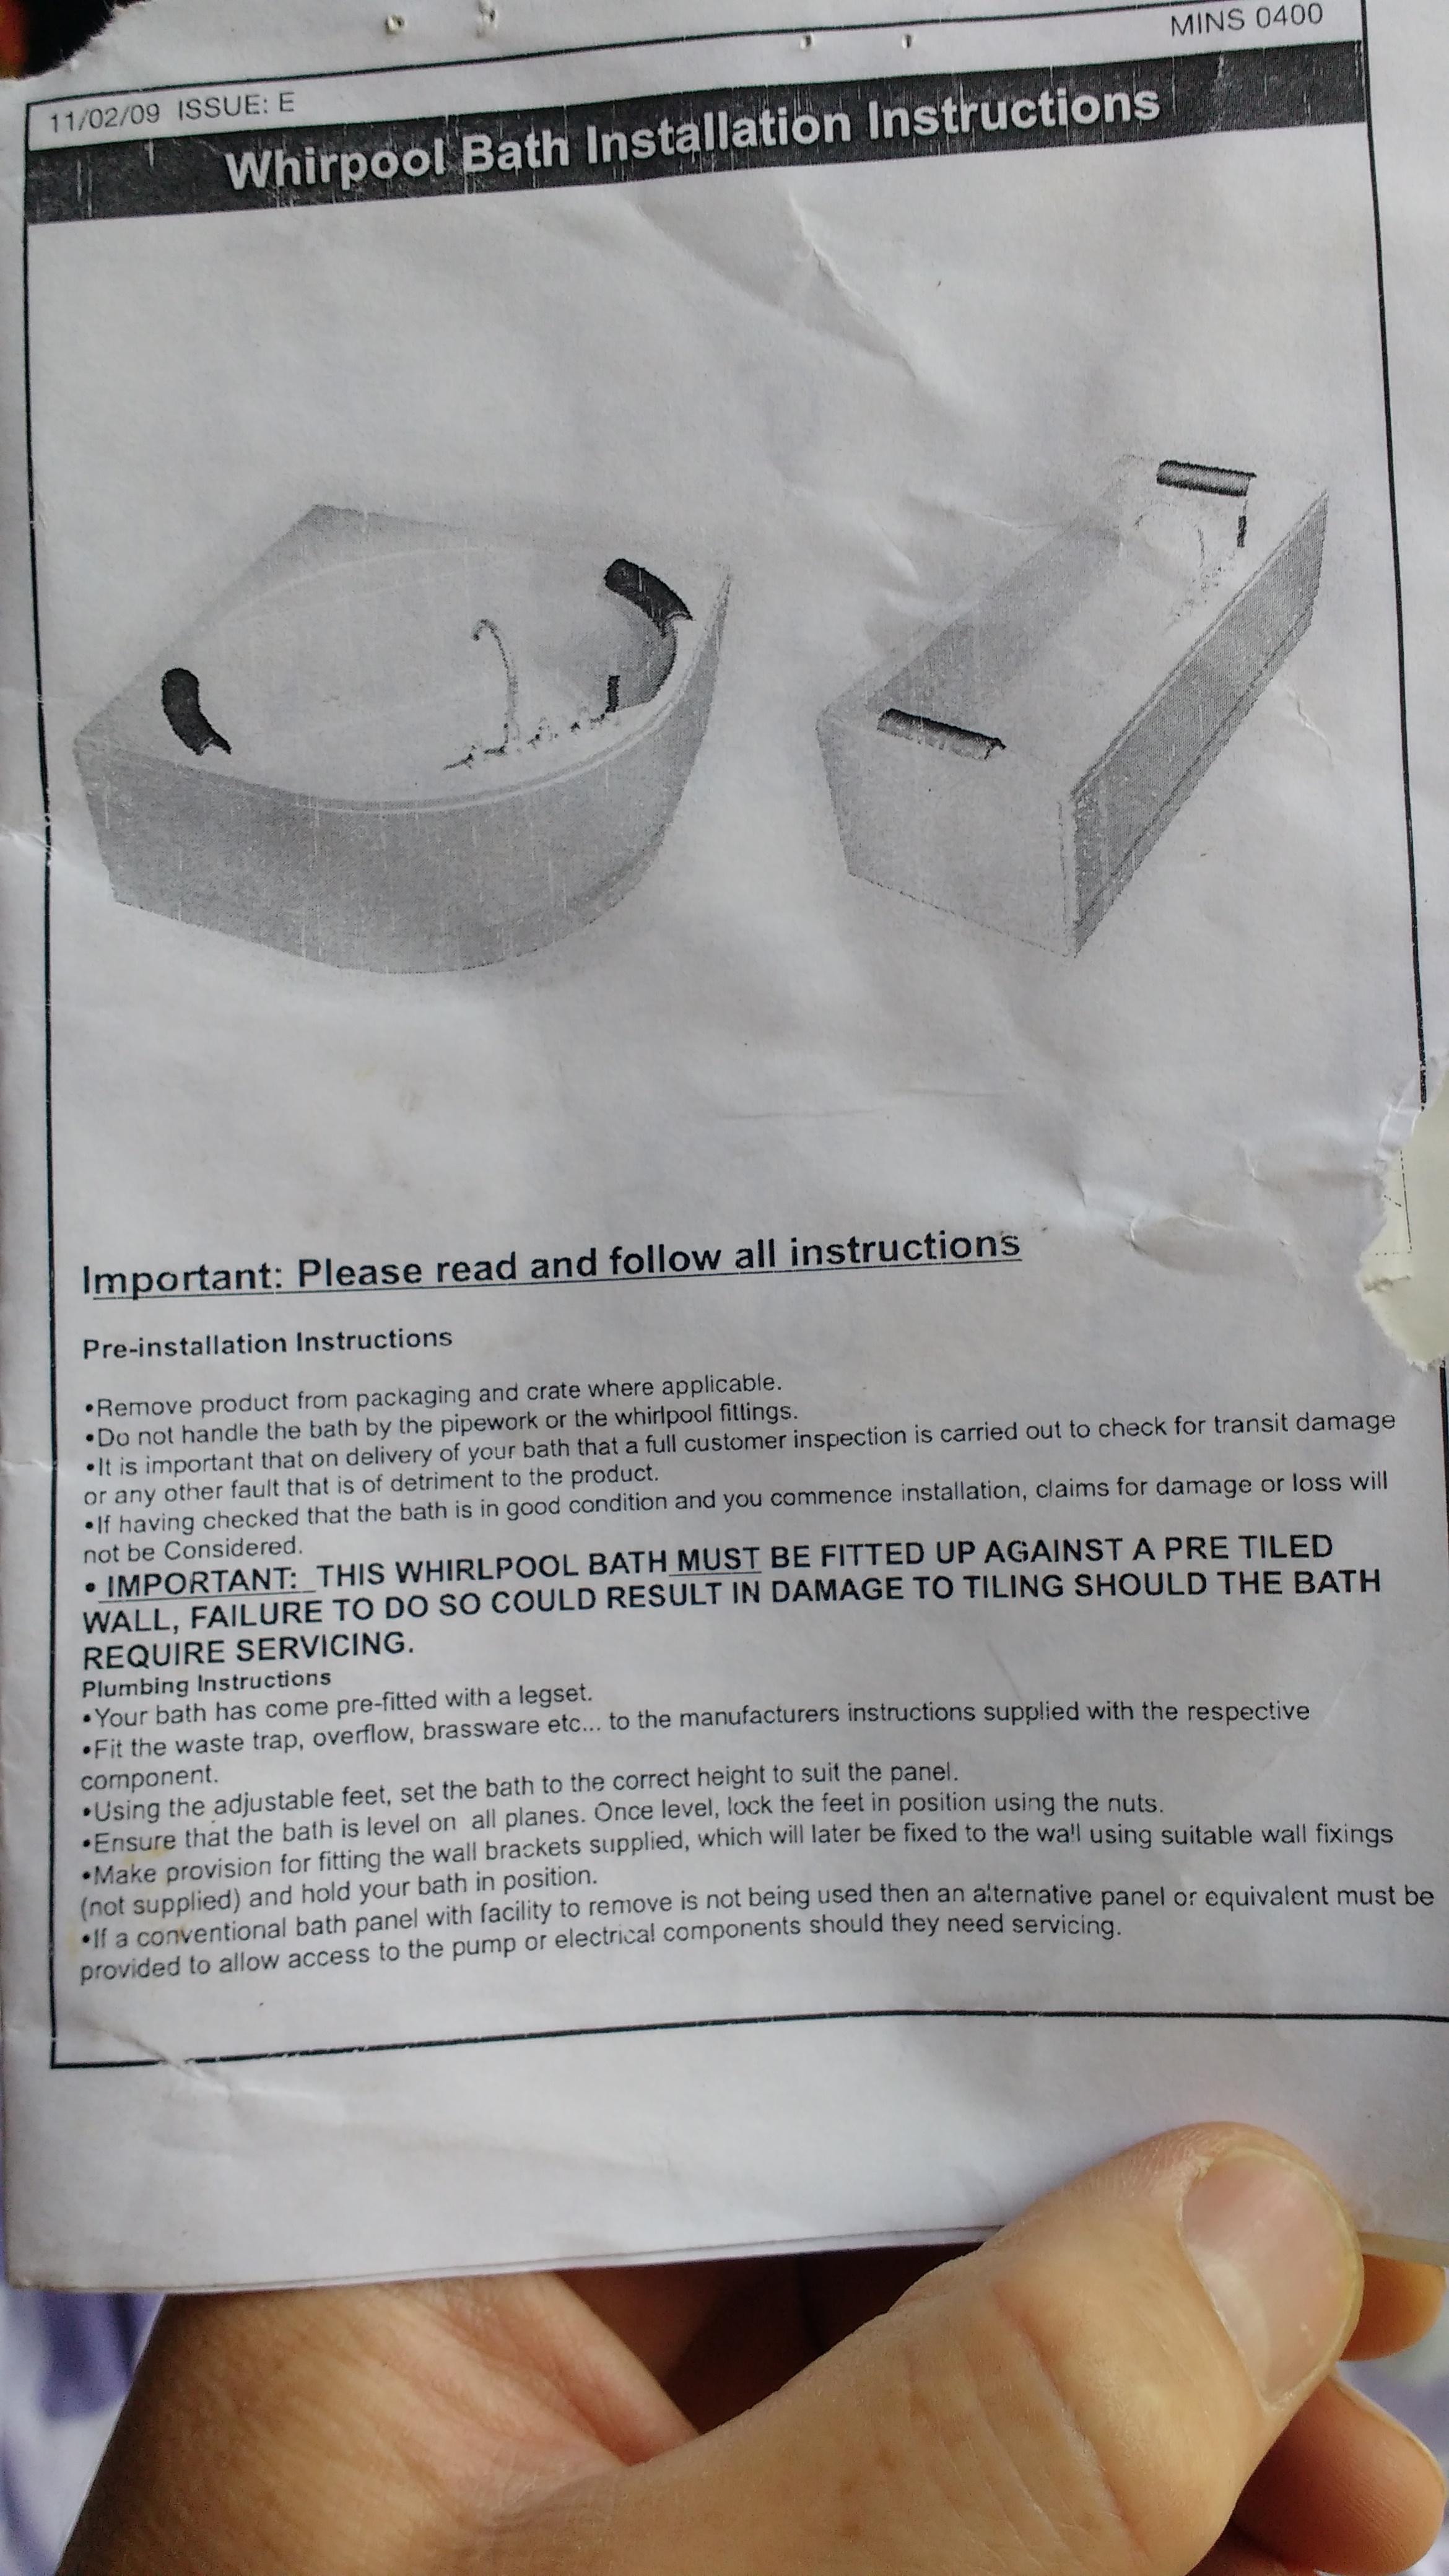
Yep, have the instructions still: OK, traditional HW/CH system... I only have a 25gal cold water storage tank which is tiny tbh. It sits in the very apex of the roof in effect sat on top of the dormer. As well as supplying cold to the bath, that volume of water feeds the bottom of the hot water cylinder (that itself sits on top of the ground floor ceiling so below the cws tank). It's that "head" of water that forces the hot out of the top of the cylinder. So the cold in the cws runs out then there's nothing to force the hot out of the cylinder. It's complicated as the cold runs from the cws tank, horizontally across the top of dormer and drops down to the ground floor bath the other end of the house. The hot runs from the top of the cylinder UP the side of the dormer first THEN horizontally across the top of dormer and drops down to the ground floor bath the other end of the house. This is where Nick jumps in and suggests a uvc/ts for the umpteenth time!
-
Bath Surround / Boxing In, and concealed pipework
Onoff replied to Onoff's topic in Bathrooms, Ensuites & Wetrooms
Makes no difference whatsoever! Appears in good nick too. One pipe in one pipe out, spiral valve with an o-ring that appears in good nick and well greased (silicon grease?). I might pop into Homebase and have a word, I mean I only bought it in 2010 and haven't used it!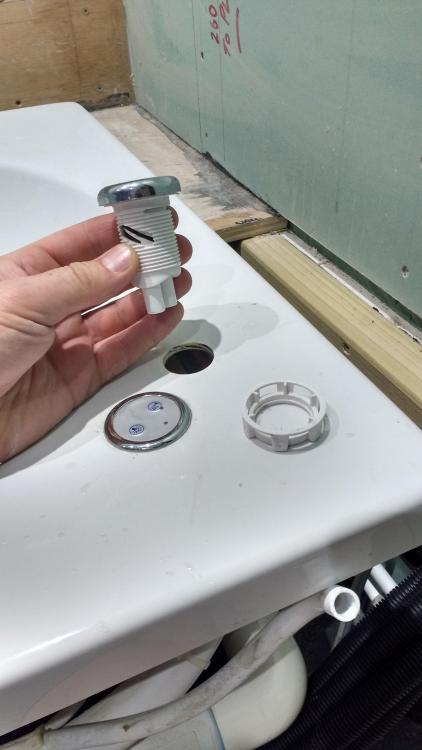

-
Bath Surround / Boxing In, and concealed pipework
Onoff replied to Onoff's topic in Bathrooms, Ensuites & Wetrooms
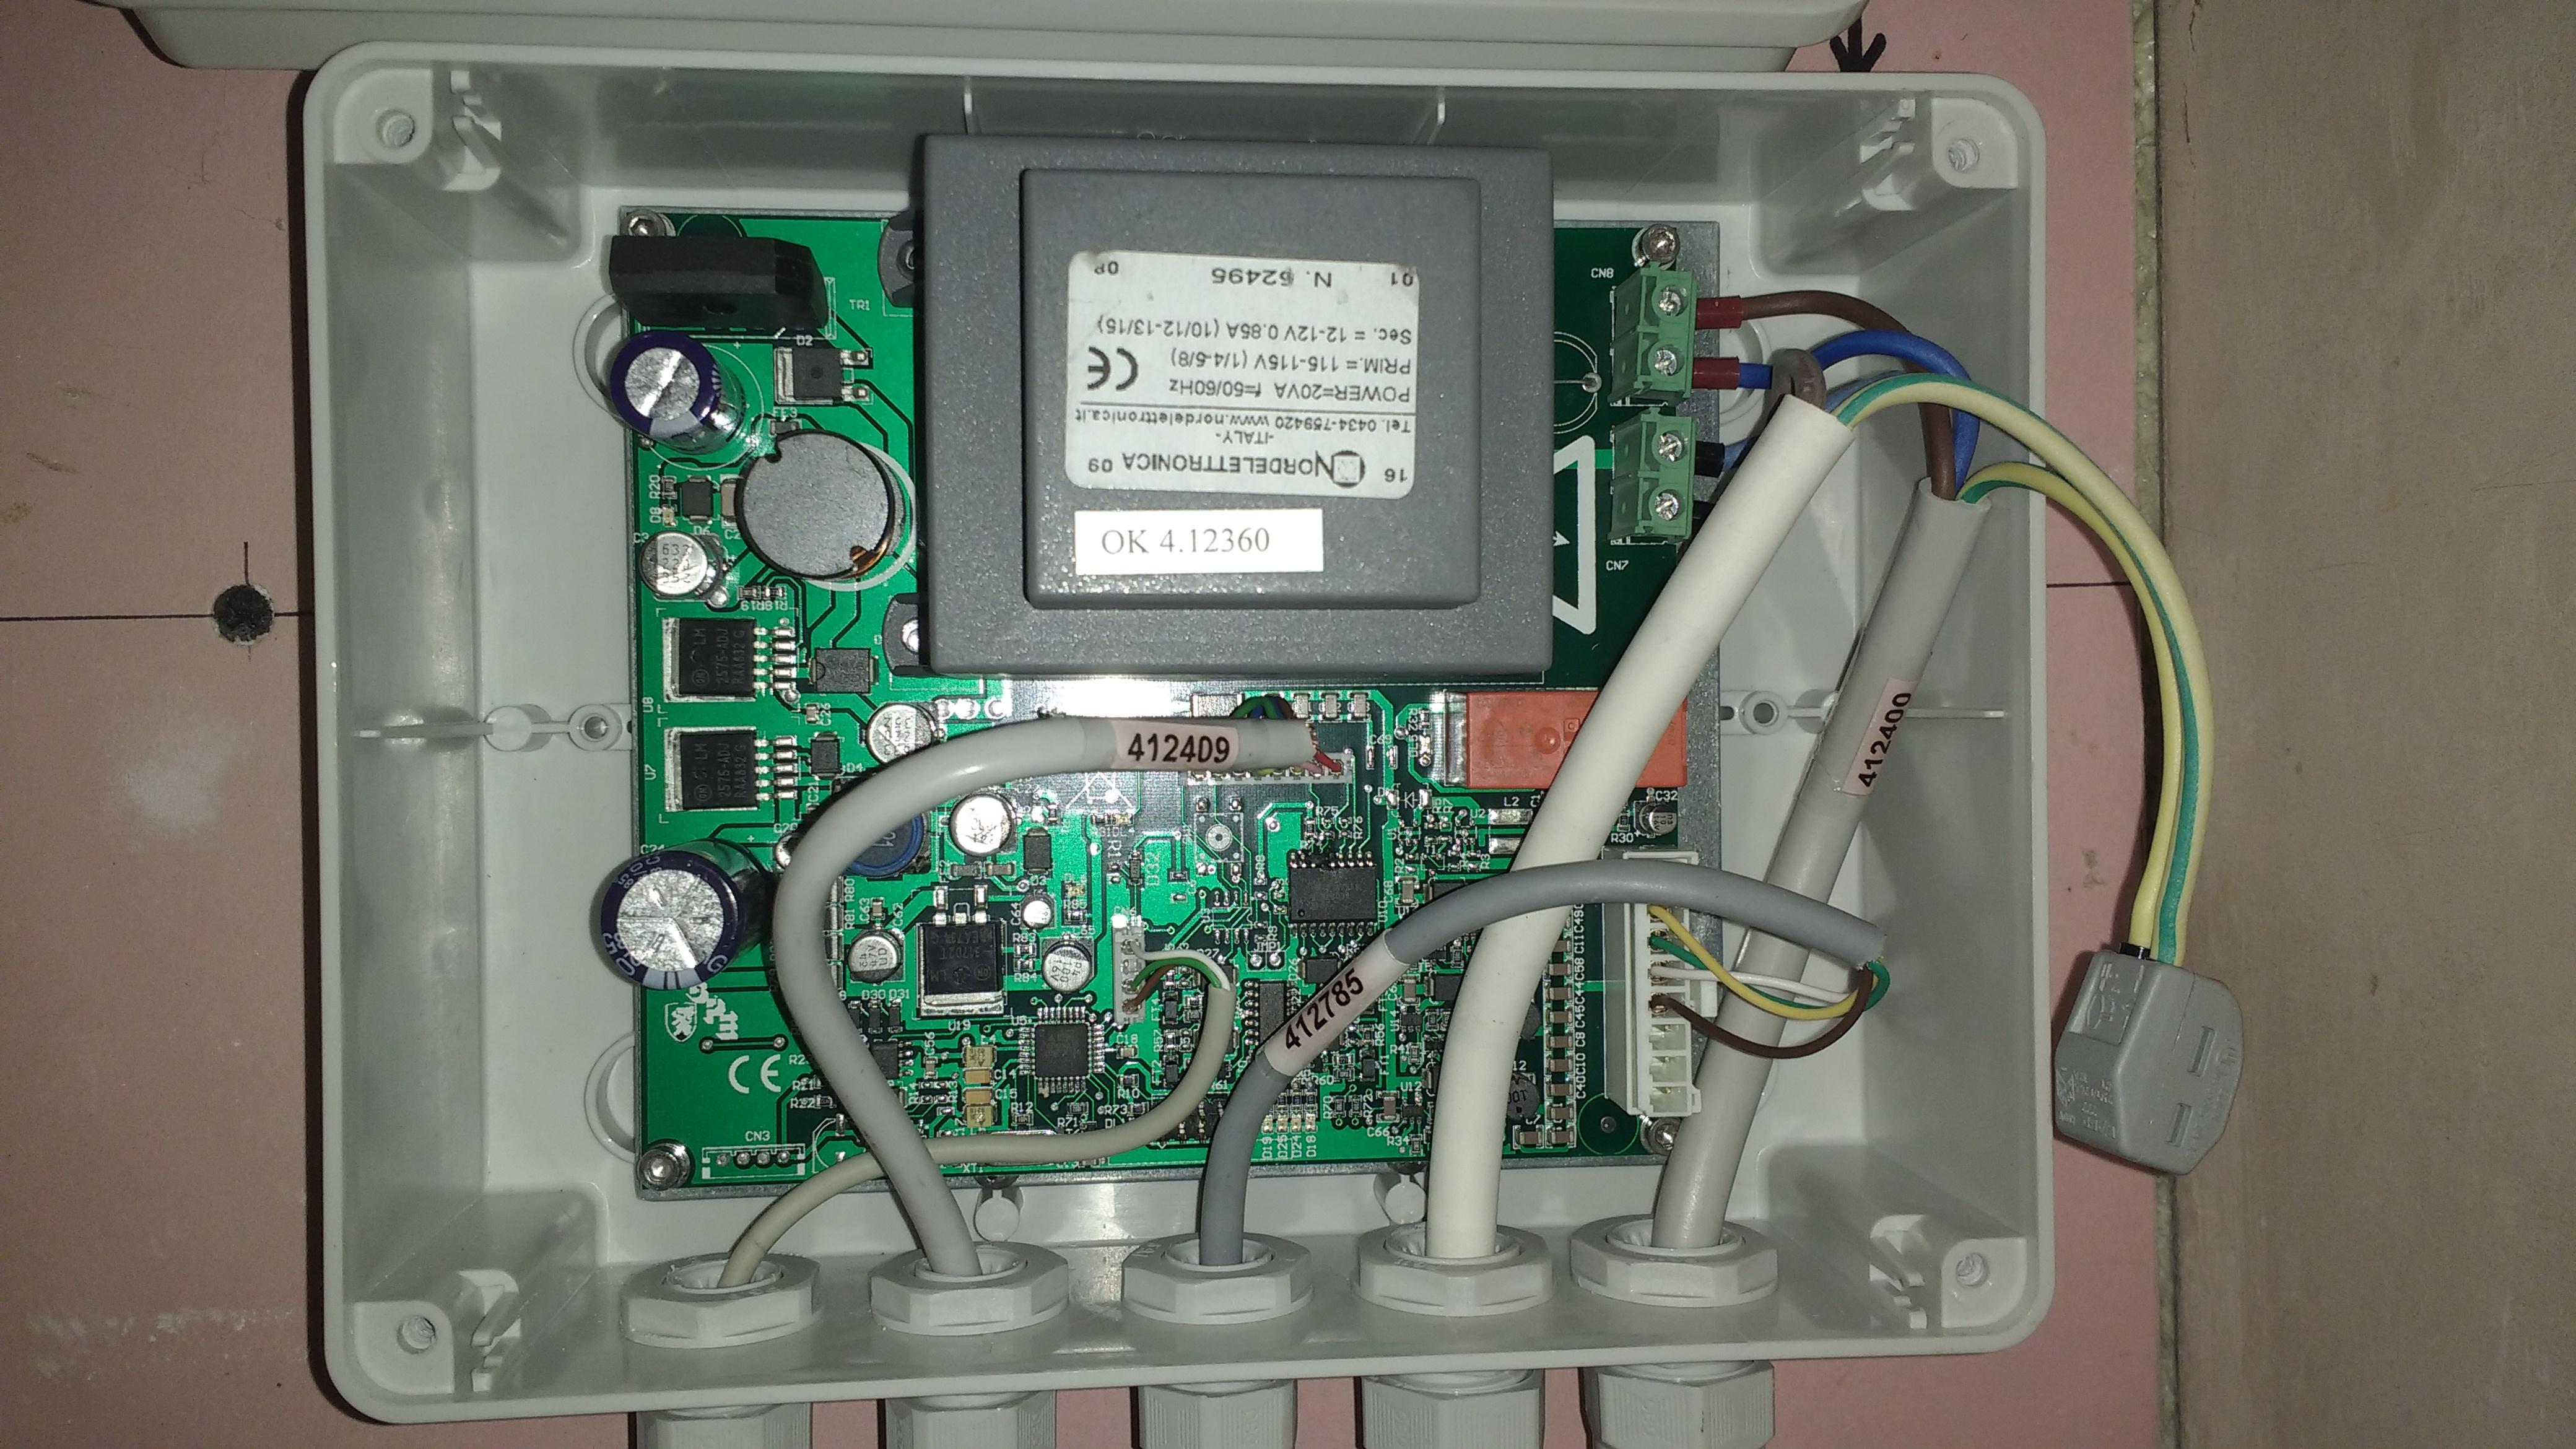
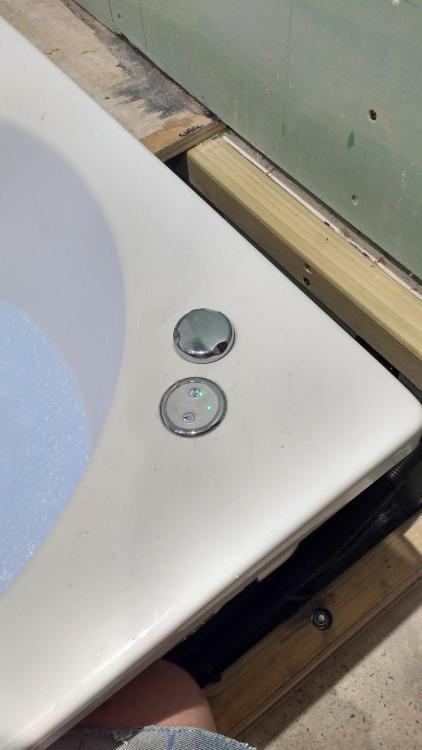
Well we have lights and bubbles! All off a plug top at the mo but I want to check for leaks before closing the bath in. Hot and cold ran out before I could fill above the jet line...it's just about on it. Light on/off works fine but jets are either full whack or off...what I think is the jet control does nothing... Found one snapped wire on a pcb connector, no surprise there seeing how long it's been sat! Going to sit down with a beer now and read the instructions!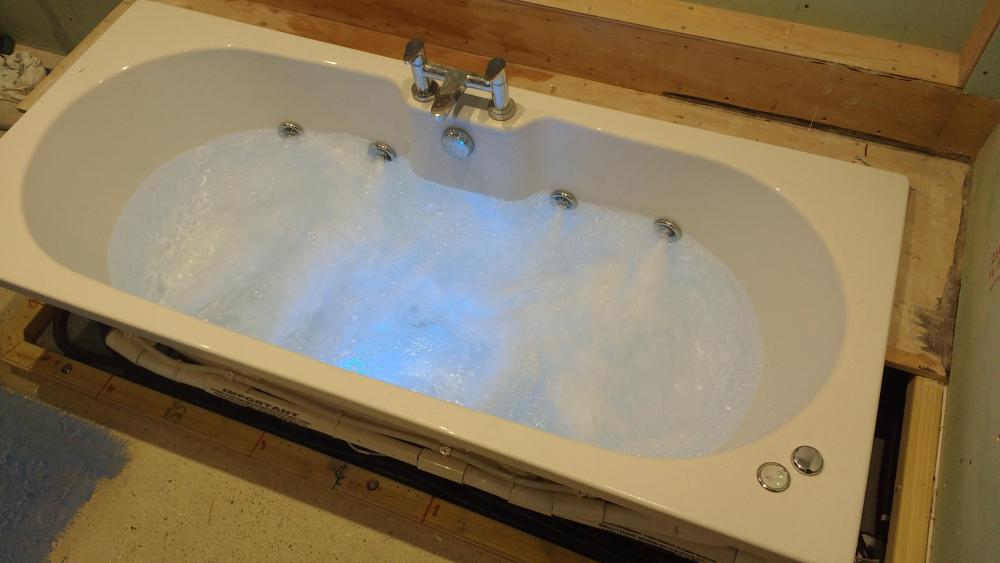
-
Bath Surround / Boxing In, and concealed pipework
Onoff replied to Onoff's topic in Bathrooms, Ensuites & Wetrooms
Not acheived much today...too flamin' hot! Each 12V deck around the bath has its own 25mm duct so replacing should be a doddle. All connections are outside the bathroom in an accessible cupboard/ riser: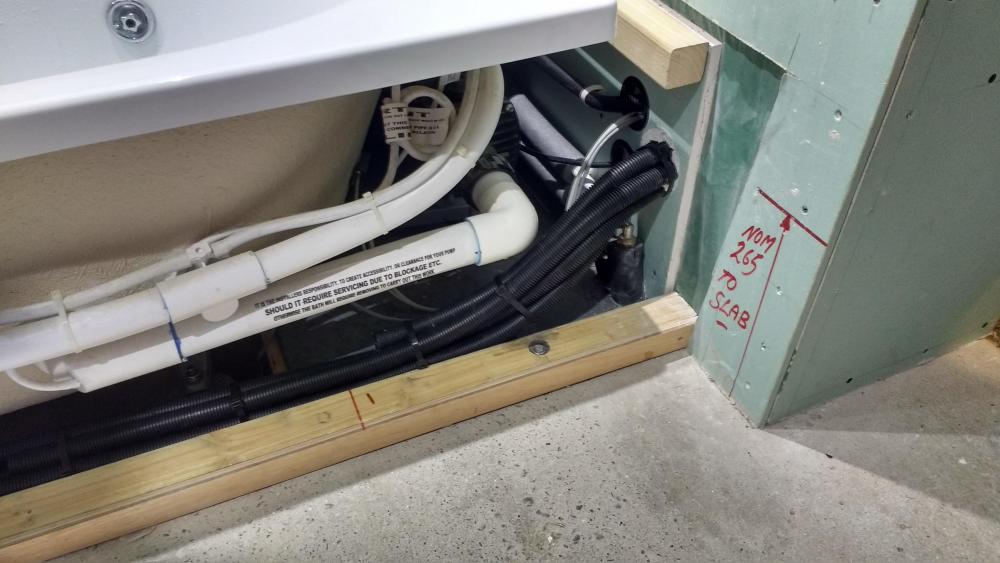
-
Discount Offers of the Week
Onoff replied to Ferdinand's topic in General Self Build & DIY Discussion
I could have done with this: https://www.aldi.co.uk/telescopic-led-drywall-sander/p/095880199818200