Onoff
-
Posts
21127 -
Joined
-
Last visited
-
Days Won
206
Everything posted by Onoff
-

Help with kitchen renovation/ 1st house.
Onoff replied to zoothorn's topic in Bathrooms, Ensuites & Wetrooms
I find a crap camera handy when posting pictures of my tiling! -
Help with kitchen renovation/ 1st house.
Onoff replied to zoothorn's topic in Bathrooms, Ensuites & Wetrooms
Show off! -
Cutting down a TPO tree by mistake - Enzo's homes
Onoff replied to Moonshine's topic in Planning Permission
If then you have an existing mature tree on your property can you fell it or is there an automatic TPO on it by default? I've a 50+ year old beech which is majestic but imo too close to the road and overhead cables. Then 3 equally impressive "firs". I'd take the lot down given the opportunity but conscious of the wildlife havens they all are. Gone, it would free up the front garden and I could have a nice circular drive with maybe a pond or cedar as the centrepiece. The fir nearest the house is superb but it's like the bloody thing from Avatar! -
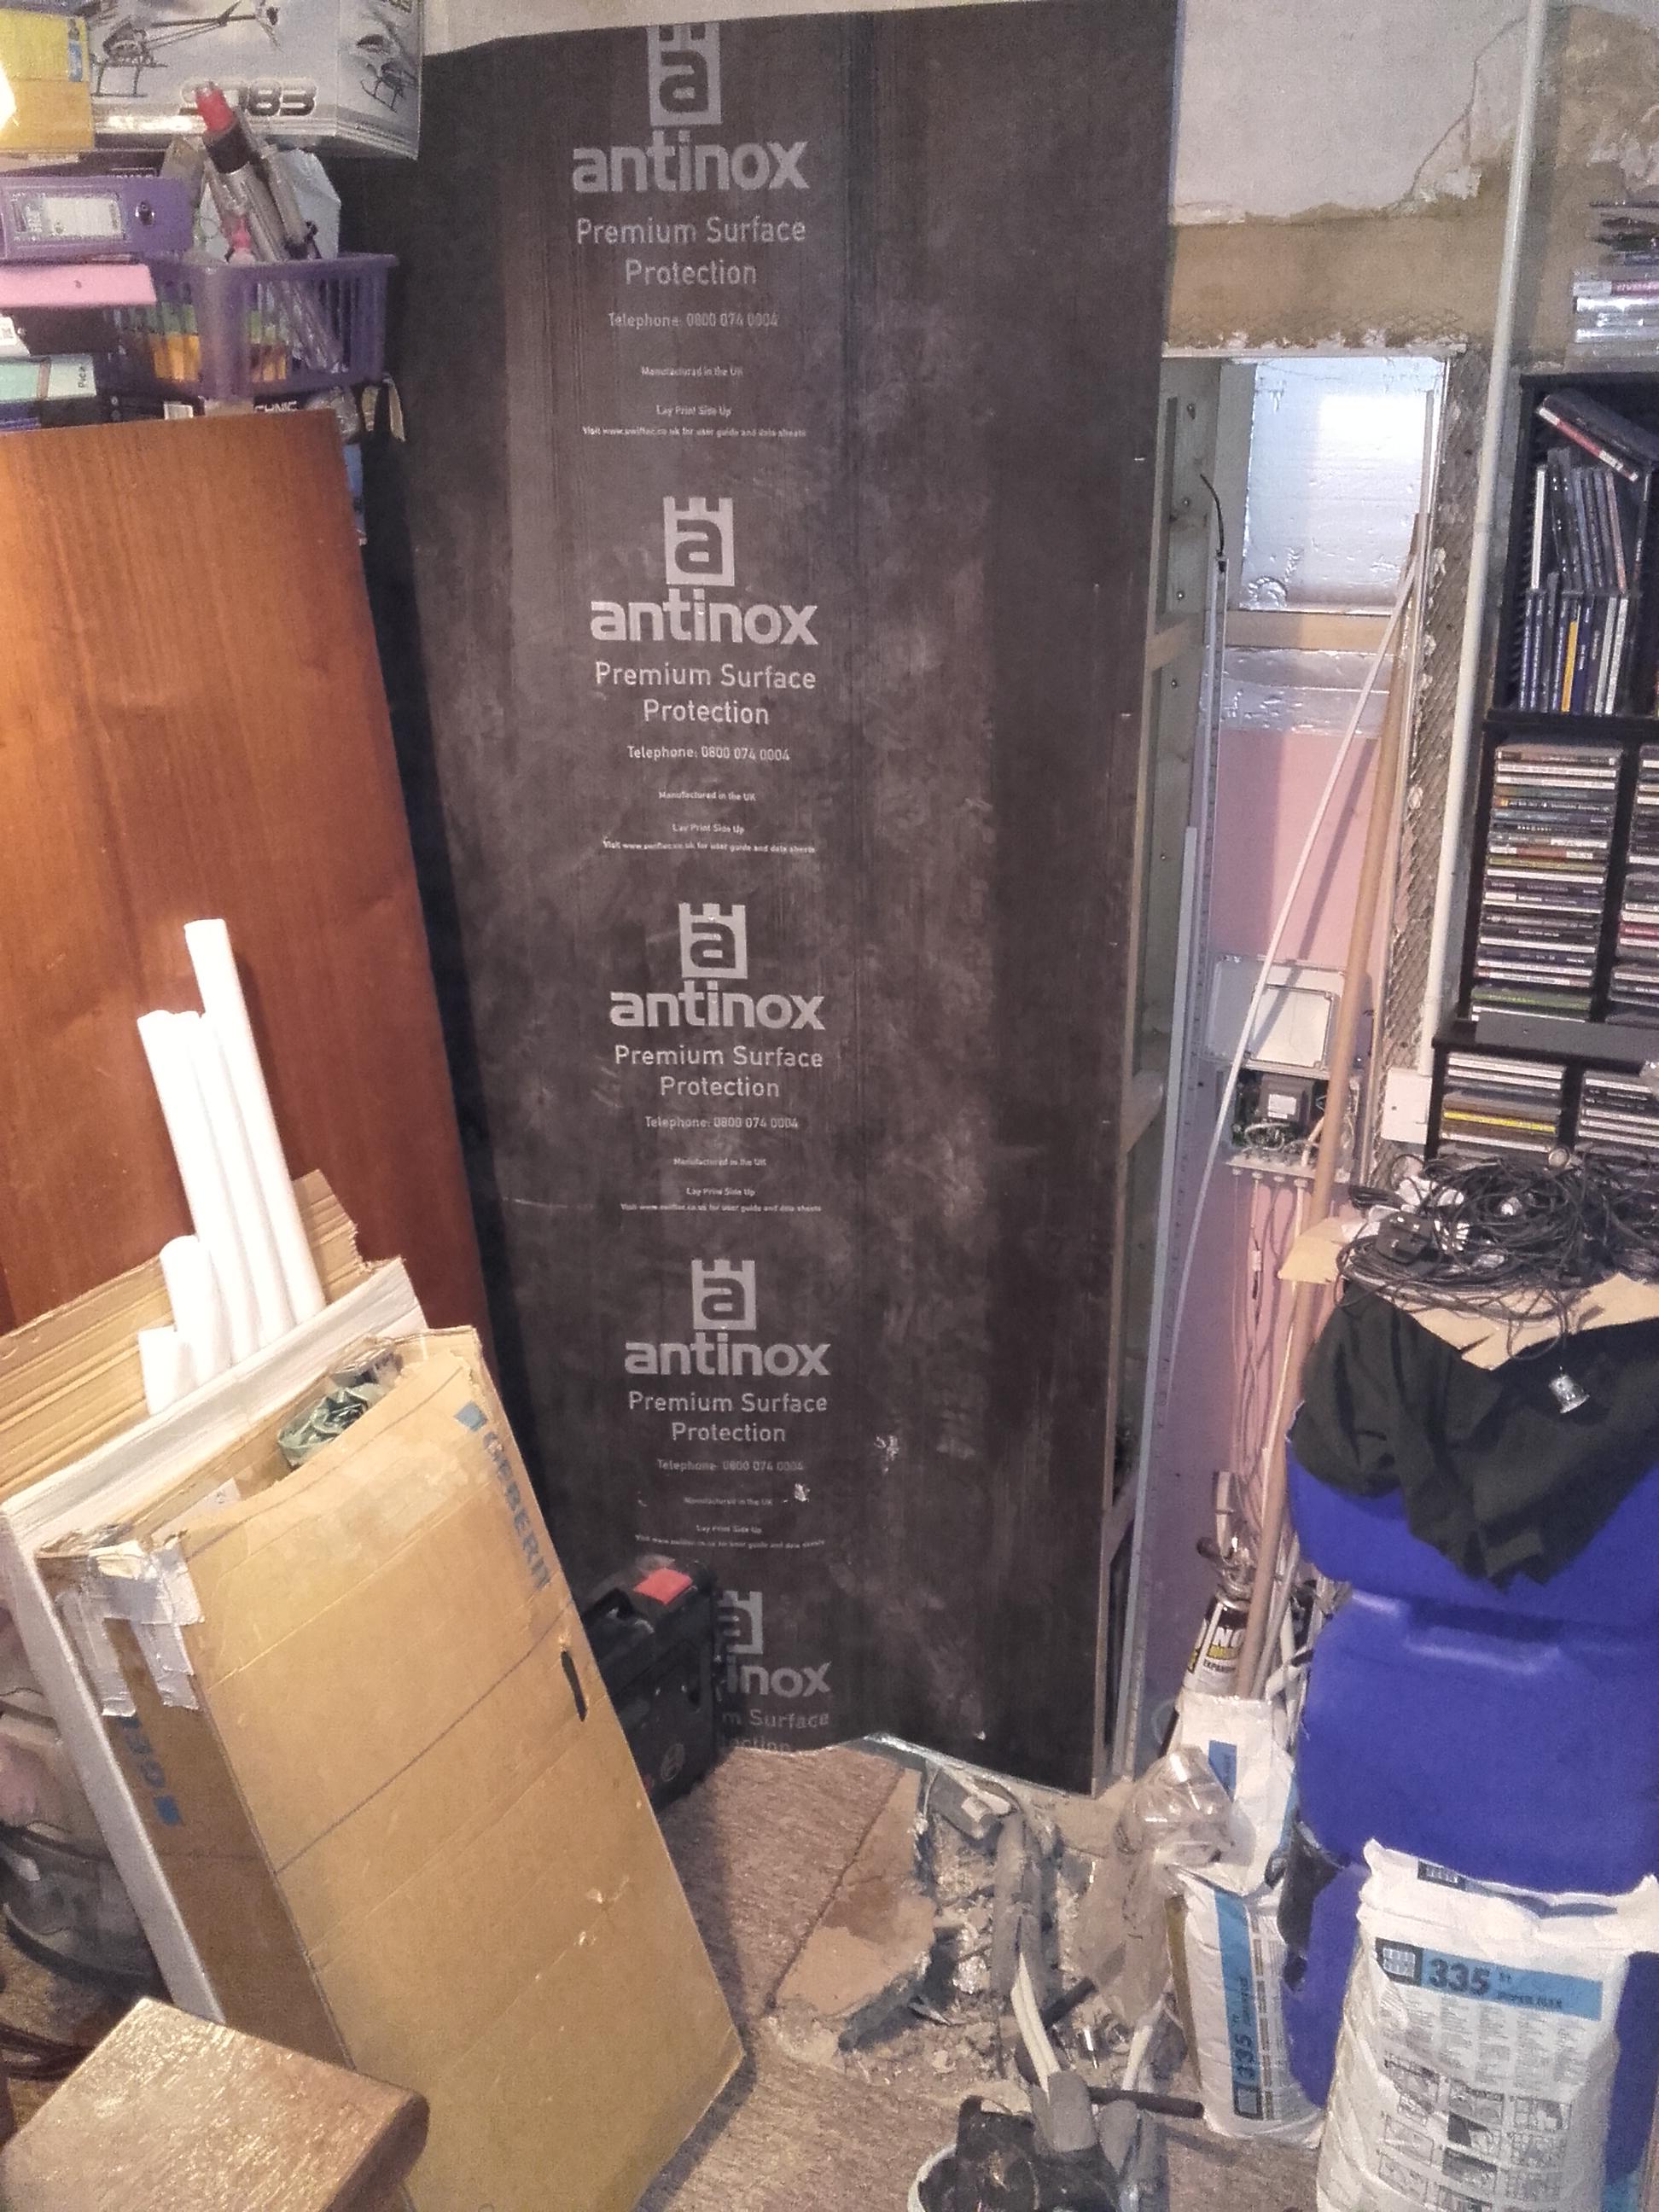
You're posh up there, mine's a sheet of Antinox!

-
Not here it won't!
-
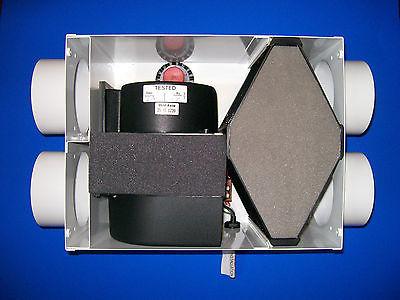
DIY Heat Exchanger
Onoff replied to Onoff's topic in Mechanical Ventilation with Heat Recovery (MVHR)
How easy to recreate the heat exchanger in one of these? Doesn't look a lot in them:.jpg.da1719de67410e2bb82c3b4bf1955bf1.jpg)
.jpg.d787bf33f3b4b81e3b1e7021336d78ee.jpg)
-
Help with kitchen renovation/ 1st house.
Onoff replied to zoothorn's topic in Bathrooms, Ensuites & Wetrooms
Not to pi$$ on anyone's parade here but if that hole you're blocking up is the ONLY access to the void above the kitchen ceiling then what are you going to do the day you get a burst pipe in there...or a chewed wire? I'd be making an insulated door / removable panel. -
Help with kitchen renovation/ 1st house.
Onoff replied to zoothorn's topic in Bathrooms, Ensuites & Wetrooms
Are you meaning Rockwool batts? -
Ta, I did promise a warts 'n all journey with this! Tbh the last few, up high / down low, if it was a 2mm or 4mm gap rather than 3 and I couldn't get a 3mm spacer in or it was loose I just whacked 'em up!
-
Help with kitchen renovation/ 1st house.
Onoff replied to zoothorn's topic in Bathrooms, Ensuites & Wetrooms
Vapour control layer. Go way, way back and I put up pics (discussed?) of a green plastic sheet that I put over my studs after filling between them with pir. I did the same on the underside of my ceiling joists. The pb then goes on sandwiching the vcl between it and the studs/face of the pir. Belt and braces against draughts slipping by poor fitting pir. -
Help with kitchen renovation/ 1st house.
Onoff replied to zoothorn's topic in Bathrooms, Ensuites & Wetrooms
I seem to recall suggesting a vcl like I did in the kitchen to stop draughts...was too involved or something. You can lead a horse etc! -
A few (very few) done tonight: 2 on the floor under the basin: The left hand rip above the window that's been bugging me for ages. I removed the original tile that was just wrong ages ago and tonight multi tooled the old adhesive off and put a better rip up. I can trim the edge now and tile the soffit. Poxy little one in the top corner done now: Last two pockets done: 3 rips above the bath: Focus now then is on the soffit and sides of the window reveal and the mosaics and trim along the painted wall shelf. Then THE BATH!
-
Marking out joist hangers . Not as easy as I thought
Onoff replied to ToughButterCup's topic in General Construction Issues
Are the opposite walls parallel? Seem to remember I had a similar situation in the bathroom which was basically an irregular quadrilateral. I just had to accept that the majority of the joists would be 400mm centres but the last one would run in <400 and not be quite parallel to the adjacent one. -
Help with kitchen renovation/ 1st house.
Onoff replied to zoothorn's topic in Bathrooms, Ensuites & Wetrooms
Lime mortar is that maybe??? -
Trust me fam! See the data sheet. For example: https://uk.rs-online.com/mobile/p/camlocks-cabinet-locks/3222562/ That's the difference between T'station & RS.
-
Thickness of the door I think.
-
You've got to do it? How much are they paying YOU?
-
A scheme member? If so take it up with their scheme provider.
-
Marking out joist hangers . Not as easy as I thought
Onoff replied to ToughButterCup's topic in General Construction Issues
Pythagoras Theorem for getting things square.....and a long tape. Knock up a quick jig that'll hook over or screw to your wall plate over the Thunderbolt position & use that to guide your flat wood bit for counterboring. It'll have no meat to centre on 'coz of the existing bolt hole. Flat wood bit a bit oversize to suit the socket you're using to wind the bolt in. Flat washer same size as socket. -
Marking out joist hangers . Not as easy as I thought
Onoff replied to ToughButterCup's topic in General Construction Issues
Pythagoras Theorem for getting things square.....and a long tape. Knock up a quick jig that'll hook over or screw to your wall plate over the Thunderbolt position & use that to guide your flat wood bit for counterboring. It'll have no meat to centre on 'coz of the existing bolt hole. Flat wood bit a bit oversize to suit the socket you're using to wind the bolt in. -
CPC do a few too, e.g: https://cpc.farnell.com/cam-lock/3101-1a01-td0501/camlock-20mm-keyed-alike-td0501/dp/SR08263?
-
Hmmm...so a line of caulk along the top and a line of CT1 lower down to stick the trim to the wall?
-
"Caulk" as in decorator's caulk? As opposed to CT1 or Sika? I was half tempted to stick the trim on the wall first using the mosaics to gauge height backed up by some feint pencil lines on the painted wall. Clear CT1 (trim to painted wall) seems obvious but will paint go over CT1? If that's a goer then once the trim is on, blob the backs of the mosaics with grey CT1 (as I have it spare) and quickly push in the mosaics level with the trim.
-
Appreciated. What about a neat "seal" between back of the trim to the mist coated wall and top of the tile to the trim? SWMBO prefers not to feel a ridge at the trim edge so I'm sitting the trim on top of rather than lipping over the tile. (Doesn't always work out with my wonky tiling ) I've a tube of grey CT1 doing nothing so will use that up here.
-
Help with kitchen renovation/ 1st house.
Onoff replied to zoothorn's topic in Bathrooms, Ensuites & Wetrooms
The 160mm is just my recollection of how much pir is equivalent to the Building Regs minimum I think, of 270mm of the fluffy, roll type stuff. As I say I've put pir in between the ceiling joists of the bathroom. The fluffy roll stuff is usually laid first between the joists then at right angles across them. Going over the joists has some benefits in mitigating any cold bridge effect through the joists themselves. I went pir purely for "aesthetics" and future works ease of access, keeping it tidy up above the ceiling. With hindsight I'd have likely concentrated on insulating the roof joists above the loft to bring the loft and in turn the bathroom ceiling within a thermal envelope. However...as I want, (PP permitting, unlikely to be granted I think) to change the hip roof ends to gables it seemed a lot of work to insulate the hip roof ends if they're one day coming off.