Onoff
-
Posts
21127 -
Joined
-
Last visited
-
Days Won
206
Everything posted by Onoff
-
Onto the bath pocket: A bit of trim stuck along the top edge: The view from lying underneath. Above that ply lip is where the LED strip will go pointing back to the wall at 45deg. Idea is it'll subtly "wash" the mosaics without blinding you lying in the bath. It'll be finished with another bit of trim like this,again stuck on: Then a tile strip in between the two bits of trim. Not sure on whether to do plain grey or the mosaic? Time for a mock up!
-

Help with kitchen renovation/ 1st house.
Onoff replied to zoothorn's topic in Bathrooms, Ensuites & Wetrooms
Who wouldn't want to live in a nicely insulated box? -
Best simple ideas and concepts to design in to new build
Onoff replied to albert's topic in New House & Self Build Design
You can get ready made fibreglass pits you drop in. -
Help with kitchen renovation/ 1st house.
Onoff replied to zoothorn's topic in Bathrooms, Ensuites & Wetrooms
Any less draughty? If anything does find its way in there it'll not only be warm but have something chew on Think I'd cut some small bits of pb and screw to the timber tight up to the cables / pipes. Seem to remember they don't like chewing pb. Thinking easy to chew through the foam around the pipes & cables. -
I'm a little concerned that their new stronger lid will contain the expansion and it f**k something inside. I can see people fitting the new lids but not trimming the insulation to give clearance unless there's clear instruction to do so. With all the flak over this on here and people rapidly having serious thoughts about jumping on board the Sunamp train I'm amazed they've not posted up themselves. Where's the new @AndyT?
-
Onto the mosaic strip / upstand across the bath wall: Two mastic guns at the ready: Pencil marked the top and bottom of the trim on the painted wall at each tile: Ran a line of decorators caulk along the top line and, no pic, a line of Sticks Like along the back face, bottom edge of the trim: Pushed the trim onto the wall into the caulk. Some 20p sized blobs of Sticks Like on the tile backs: Pushed the tile in and brought the trim down level to meet it: Took the excess caulk off and baby wiped: Repeat x8: Two pita things. The new box of ten trim is a slightly different white (same supplier?) so the 420mm bit I had to add to the 2500mm length stands out a tad. I'm sure that SWMBO will notice! I butt jointed it too rather than mitreing it. The other nuisance is the mosaics are 398mm long rather than 400 like the grey tiles. So 5mm grout lines rather than 3mm like the grey! But it's DONE!
-
That's the reveal done then. Loving this Sticks Like Sh!t!
-
Fixing the bulging issue is a bit of a moot point if the underlying efficiency is down on the new systems.
-
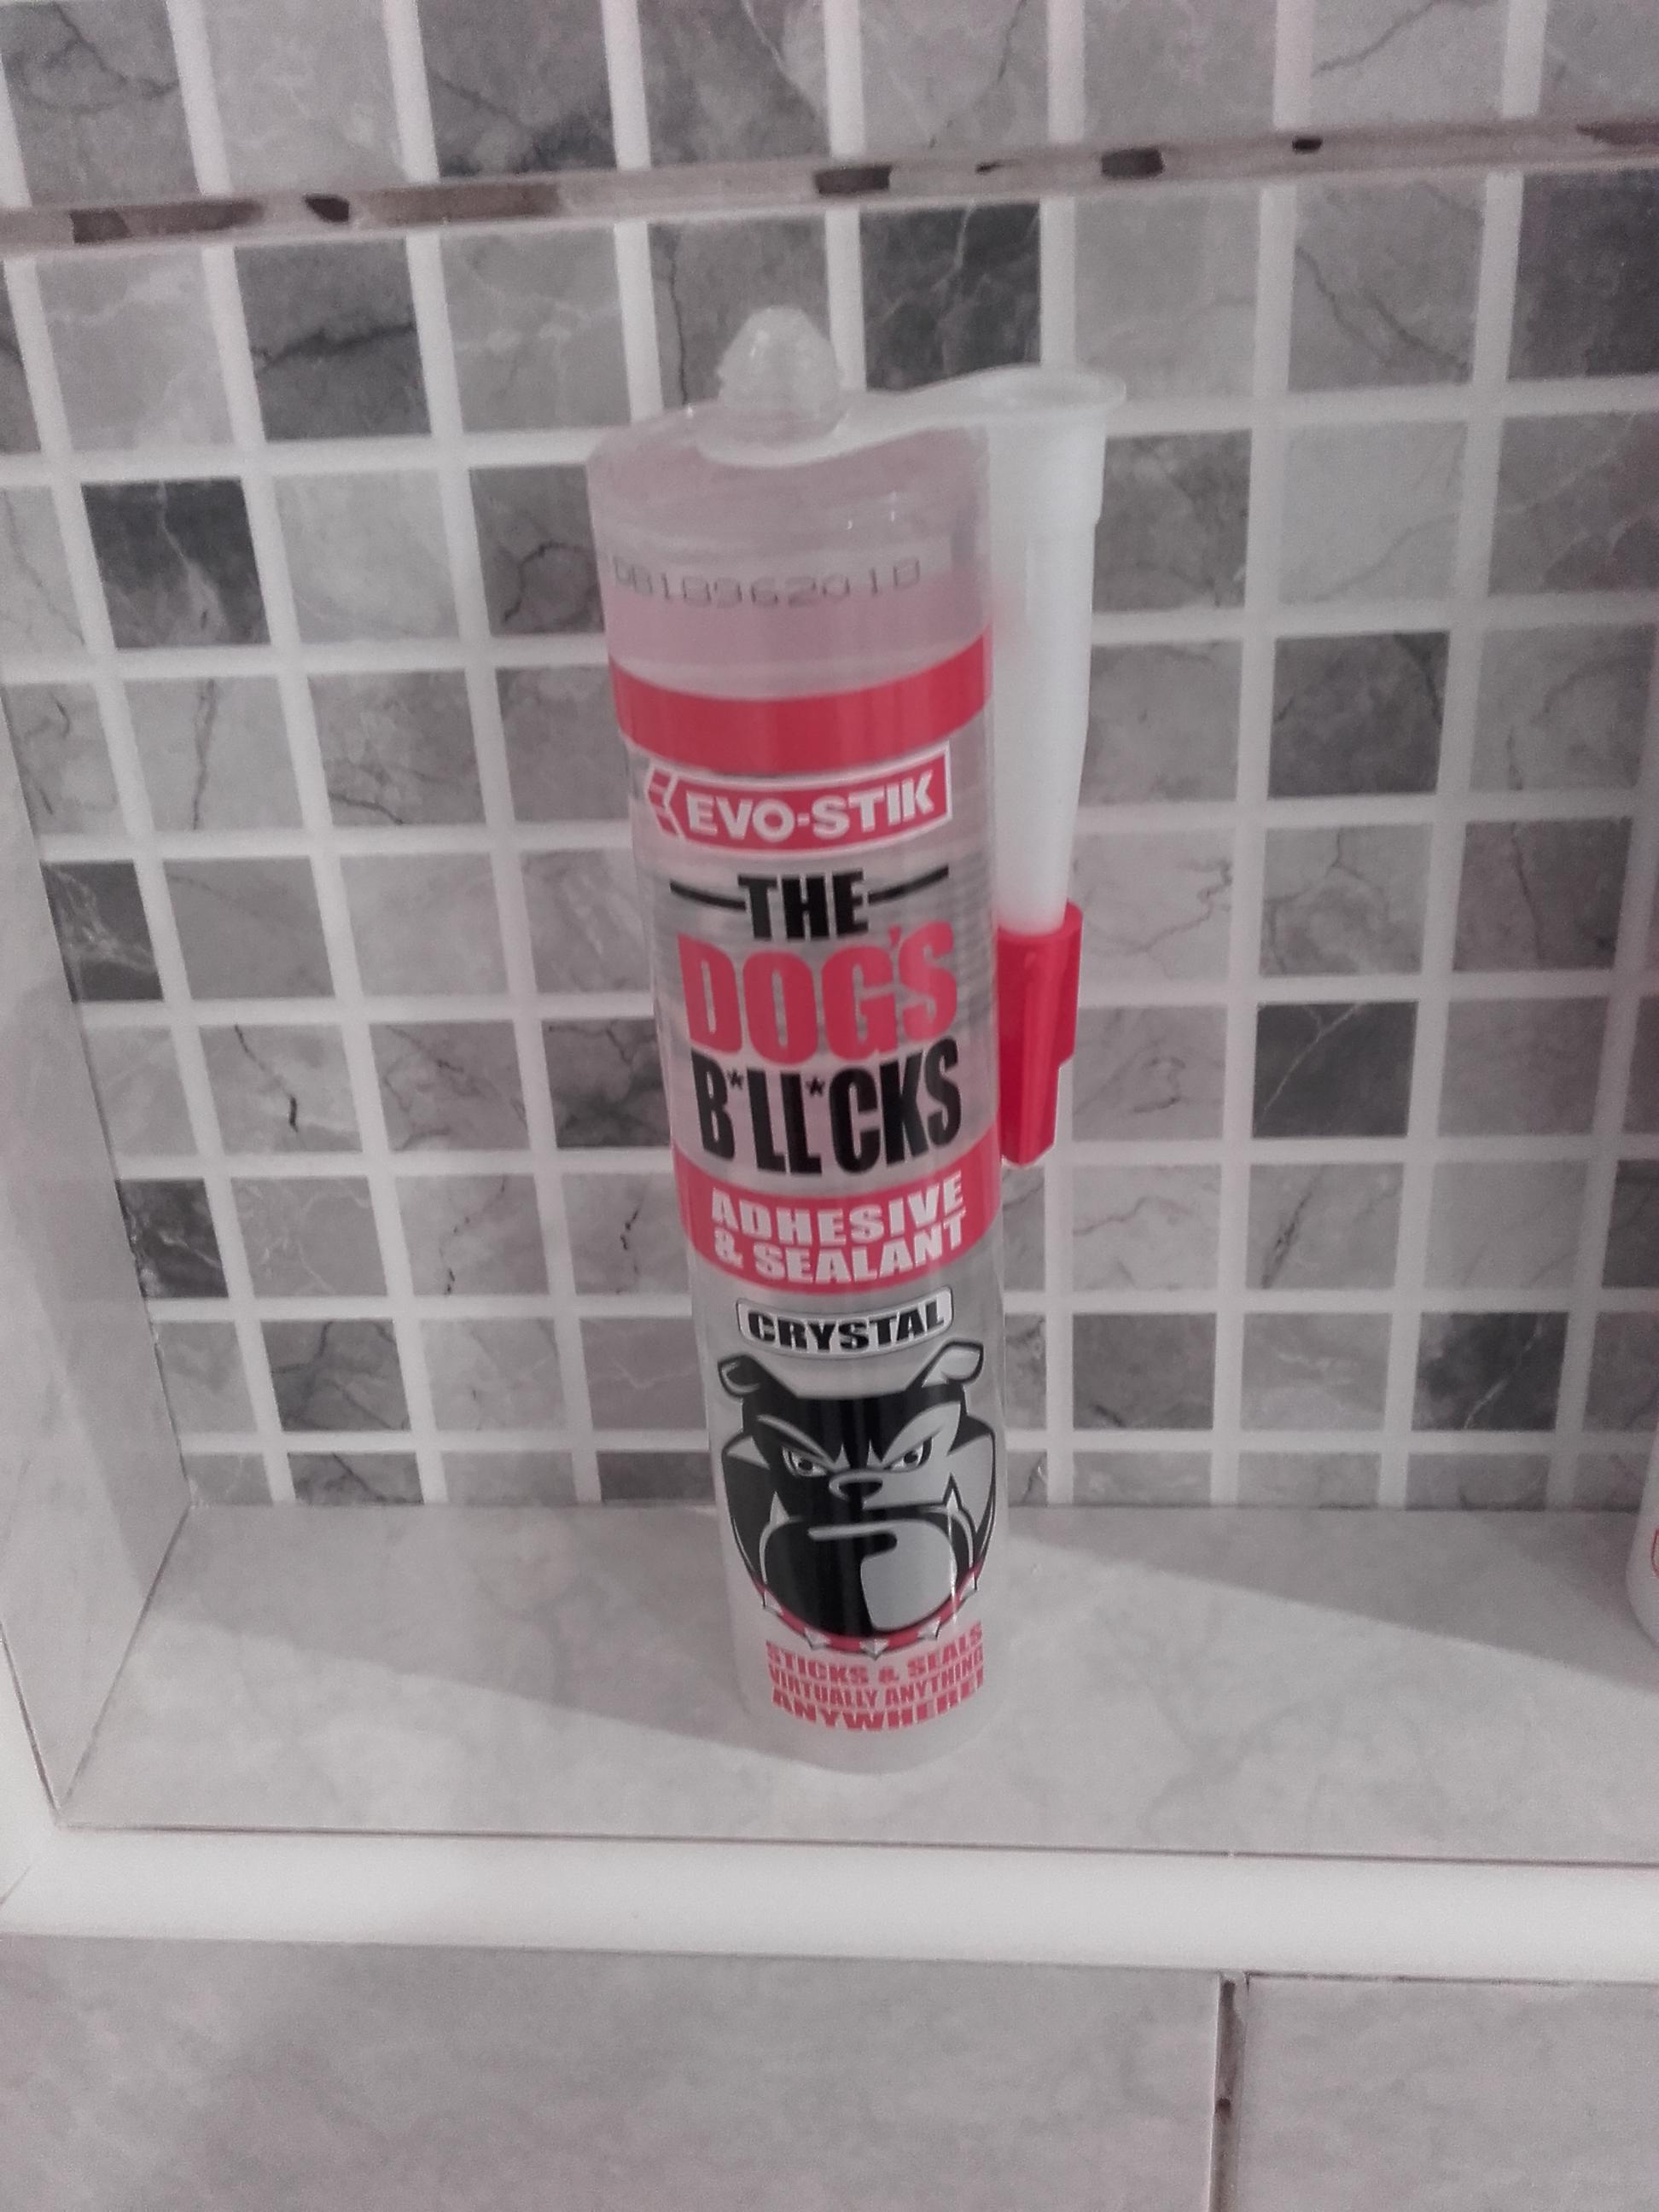
In the absence of anywhere open to get CT1 today I thought I'd give this a try: Going to use it to stick some tile trim on where I would have used clear CT1. Maybe also the mosaic strip across the long shelf above the bath. Tbh it's nearly a tenner a tube. I can get CT1 at the local BM for just under £8. Be interesting to see if baby wipes take it off.

-
Push comes to shove...
-
I'll dig out and send that stuff. It's a good mower tbh. I only have half an acre and that's split into about 3 grassed areas. It copes fine even if long. Walk your field first and look for any debris like bricks etc which will destroy your blade. Rust in the body panels is an issue. I think they just powdercoated over the steel. The grass collection box uses a flail system of nylon brushes. I replaced the majority when given the motor. One thing is they slide into a 1" box section that can rust & swell then pop the individual flails. I do have some spare lengths of 1" box of you need it. I've a long term problem when you put it into reverse too quickly and the drive belt jumps off. Not figured that yet but tbh its a bit scary to get down and look whilst it's going! There's "tips" bolted on the ends of the blades that can come loose so check them. Something to do with creating uplift and sucking the grass up I think. I ended up welding mine on.
-
Why would Sunamp employ (& pay) him? They've only got to read this and the other threads and glean loads of free R&D. The thing is that, imho, despite the evidence of what works and maximises storage which the majority on here want they've come up with a mass market product with safeguards at the expense of efficiency. They should at least give Jeremy his old unit back, gratis. This new one is costing him money.
-
Sat under a tarp at the mo. Done nothing since my US mate sent me the brake caliper. Pm me your email and I'll send you the info I have on the T1200. These are scans and a parts list from Westwood themselves as the stuff isn't available in electronic format as it's so old. I get most of my bits from Godfreys in Sevenoaks but most agricultural machinery suppliers should be able to help. B&S engine on mine so all standard parts available anywhere. The Peerless gearbox is supposedly maintenance free but the shaft seals do apparently fail. Deffo no filter. A few vids on YouTube of them being stripped. Will try and find a link.
-
If that's the case it's crap, a serious oversight by Sunamp and a serious step backwards for the product as a whole. People expect to be able to store every drop of excess PV they can. I really wonder if they've been "got at". Think of the money the British public pump into goods and services that tick an eco box but aren't really as good as they could be; double glazing when triple should be standard, the fitting of either and poor install methods by Part N approved contractors. New housing stock. With all of this the net result is energy loss and more £££ in the coffers of UK plc. Sorry, rant over, I can hear the black SUVs pulling up outside and choppers overhead. My mate has just specified one on his new build (though he has no PV just an ASHP). I'll be talking to him tomorrow. Another one was toying with it to store his excess PV. Let's face it their service is crap anyway. Same mate saw them at Build It and his enquiry died a death. Sounds like, PV utilisation wise that you were in a better position with the old Sunamp PV. I believe Sunamp took yours back for a strip down and look see how it has performed. Can I ask though whether there was fundamentally anything wrong with it? Is it that with the UniQ there are less sensors hence less complexity but they are limiting the number of recharge cycles deliberately to prevent early failure?
-
I'm a bit lost here. Isn't the underlying tech and indeed the PCM material in your old Sunamp PV and new UniW eHW the same? Therefore it's just a changeable controls setting issue? Why are you "getting very poor excess PV generation utilisation" if you've changed the setting?
-
Help with kitchen renovation/ 1st house.
Onoff replied to zoothorn's topic in Bathrooms, Ensuites & Wetrooms
Anywhere you can expose an edge? People use weird stuff if they don't know what they're doing or it's free! My lounge walls are roofing battens covered in 1/4" hardboard then woodchip paper. The floor is ordinary chipboard not flooring grade. In one of the eaves the remanants of the old flat roofs were pallet wood. -
Best simple ideas and concepts to design in to new build
Onoff replied to albert's topic in New House & Self Build Design
Certainly not SWMBO. -
Help with kitchen renovation/ 1st house.
Onoff replied to zoothorn's topic in Bathrooms, Ensuites & Wetrooms
Asbestos? -
Help with kitchen renovation/ 1st house.
Onoff replied to zoothorn's topic in Bathrooms, Ensuites & Wetrooms
Careful if exposing old chimney breasts that the mortar is in good order if you've still an open fire below. Nasty fumes can kill you super quick. -
Best simple ideas and concepts to design in to new build
Onoff replied to albert's topic in New House & Self Build Design
Sorry but imo you can't beat a hard wired switch. That from someone who uses Quinetic. -
Best simple ideas and concepts to design in to new build
Onoff replied to albert's topic in New House & Self Build Design
Intermediate switches are handy on mid landings etc. -
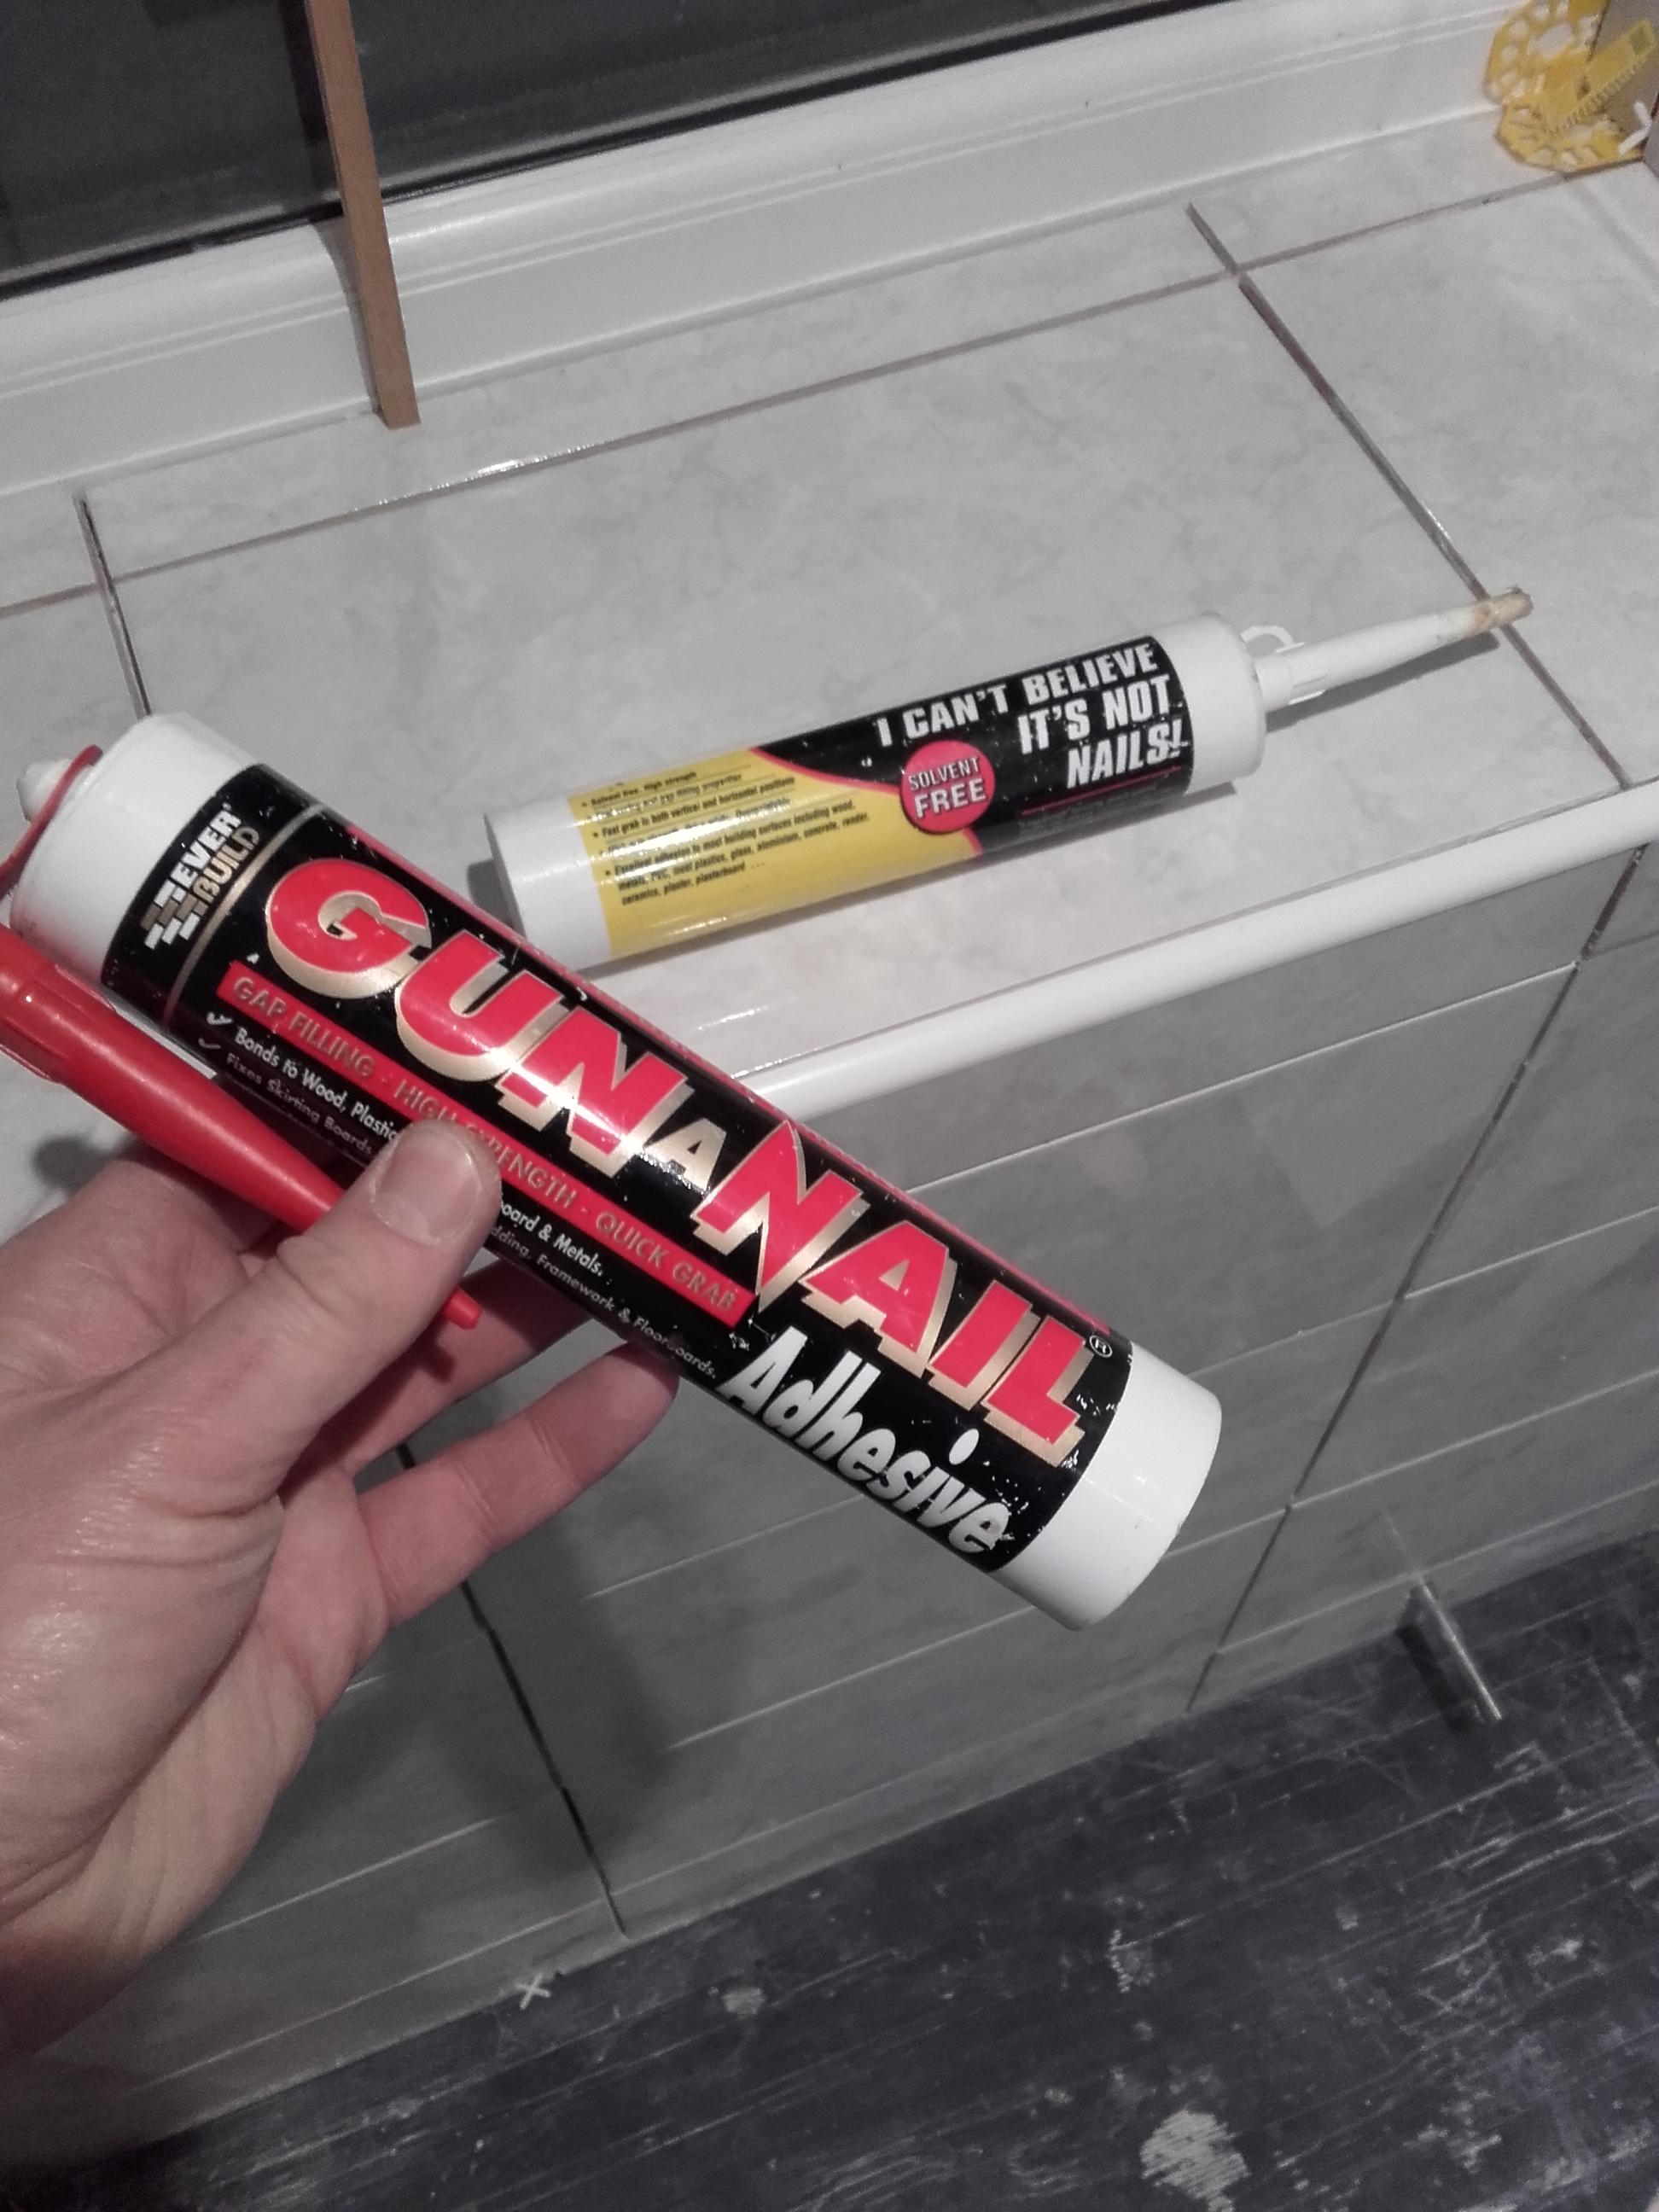
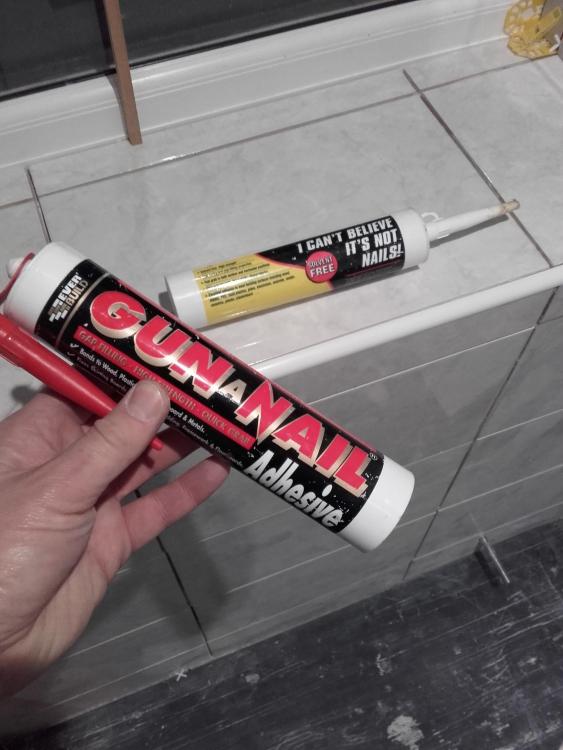
That's it for tonight. Run out of CT1 & Sticks Like Sh!t: Off to Screweys in the morning to get another couple of tubes of Sticks Like. Debating buying a box of 12 for £60 and doing the bath tiles with that. Then though I think I should use plain old clear silicon or tile adhesive what with the substrate being ply. But it'll be tanked so why not tile adhesive? I just don't know what way to go! Did find a couple of generic adhesives, one expired Oct 2014 and the other had Oct 2014 as the manuf date and a 24 month shelf life! Maybe I should bin 'em?
-
I've left a credit card size gap between the bottom of the wall tiles and the floor tiles. I'll grout then wipe flush and finish with a white, good quality silicon that I can replace as and when. Can't remember if @Nickfromwales said to CT1 and wipe flush after the grout but before the white silicon? My bath doesn't abut the walls as such but sits on a marine ply deck that will all be tanked. That'll be flat tiled first. The bath will sit on those flat tiles. The wall tiles will come down and sit on those flat tiles with the same 1mm gap as elsewhere. In case anyone's forgotten what's under all the crap and temporary boarding:
-
Help with kitchen renovation/ 1st house.
Onoff replied to zoothorn's topic in Bathrooms, Ensuites & Wetrooms
Plasticiser just makes it more workable. FFS don't use washing up liquid. You get various "admix" from separate ones to 3 in 1 types. TP do the exact same Sika waterproofer as Wickes as they have the same parent company. https://www.wickes.co.uk/Sika-Proof-Waterproof-Admixure---5l/p/133791? -
Help with kitchen renovation/ 1st house.
Onoff replied to zoothorn's topic in Bathrooms, Ensuites & Wetrooms
When you post a link you can delete back to the "?". Makes the link shorter. As above. Tbh you could probably just mix a bit of ordinary 5 water:1 pva in with your mix if you're going to paint afterwards with an exterior masonary paint. Yes, I add the Ever Build waterproofer to concrete, render, mortar. Worth blocking the gaps up where you can. I too have uneven rendered walls. If nothing else it'll help stop getting wasps, social bees in there. You can also get thin upvc trim you can stick on to take the shape of the wall and back it up with white silicon designed for upvc products of use the silicon on its own even: https://www.screwfix.com/p/sika-sika-plastix-upvc-sealant-translucent-300ml/8615P? Be careful though about sealing it all up too well as a draughty loft generally stays dry. You can get upvc soffit board sections with a continuous vent grill in it drill 70mm holes and retro fit round ones: I had birds nesting in the eaves and fitted these. Made it less comfortable for them and they buggered off! https://www.screwfix.com/p/circular-soffit-vent-white-70mm-10-pack/68936 On the other hand...if you increase or change the venilation paths in your roof space you can expose pipes to freezing if not properly lagged. Fun ain't they these old houses!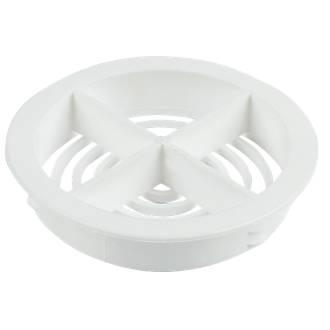
.jpeg.42027f1f54bb005a10b91a8fe353fd75.jpeg)