Onoff
-
Posts
21126 -
Joined
-
Last visited
-
Days Won
206
Everything posted by Onoff
-

Bath Surround / Boxing In, and concealed pipework
Onoff replied to Onoff's topic in Bathrooms, Ensuites & Wetrooms
Chucked the lights in. I'll sleep on it. Then SWMBO will decide! -
The absolute mutt's nuts Morse Cobalt hole saws imo. Cut countless stainless steel with those.
-
Doh! I've only gone and ordered a "deep" hole saw from the same place I did before in the opening thread only to find it's a standard one.....like I did before. SHISTERS!
-
Single, white females with a penchant for wandering the CCTV covered communal areas in the noddy? Seriously though well done!
-
Bath Surround / Boxing In, and concealed pipework
Onoff replied to Onoff's topic in Bathrooms, Ensuites & Wetrooms
Roughly where the 22mm hole is! SWMBO decrees we see what 3 looks like with the option of going to 5. -
Bugger! Just done my 18th with a lad from Woking and he could have dropped one off. Probably won't see him for another 10 years.
-
No. Totally different tool. Go buy a Lidl Parkside one: https://www.lidl.co.uk/en/Offers.htm?articleId=19790
-
Bath Surround / Boxing In, and concealed pipework
Onoff replied to Onoff's topic in Bathrooms, Ensuites & Wetrooms
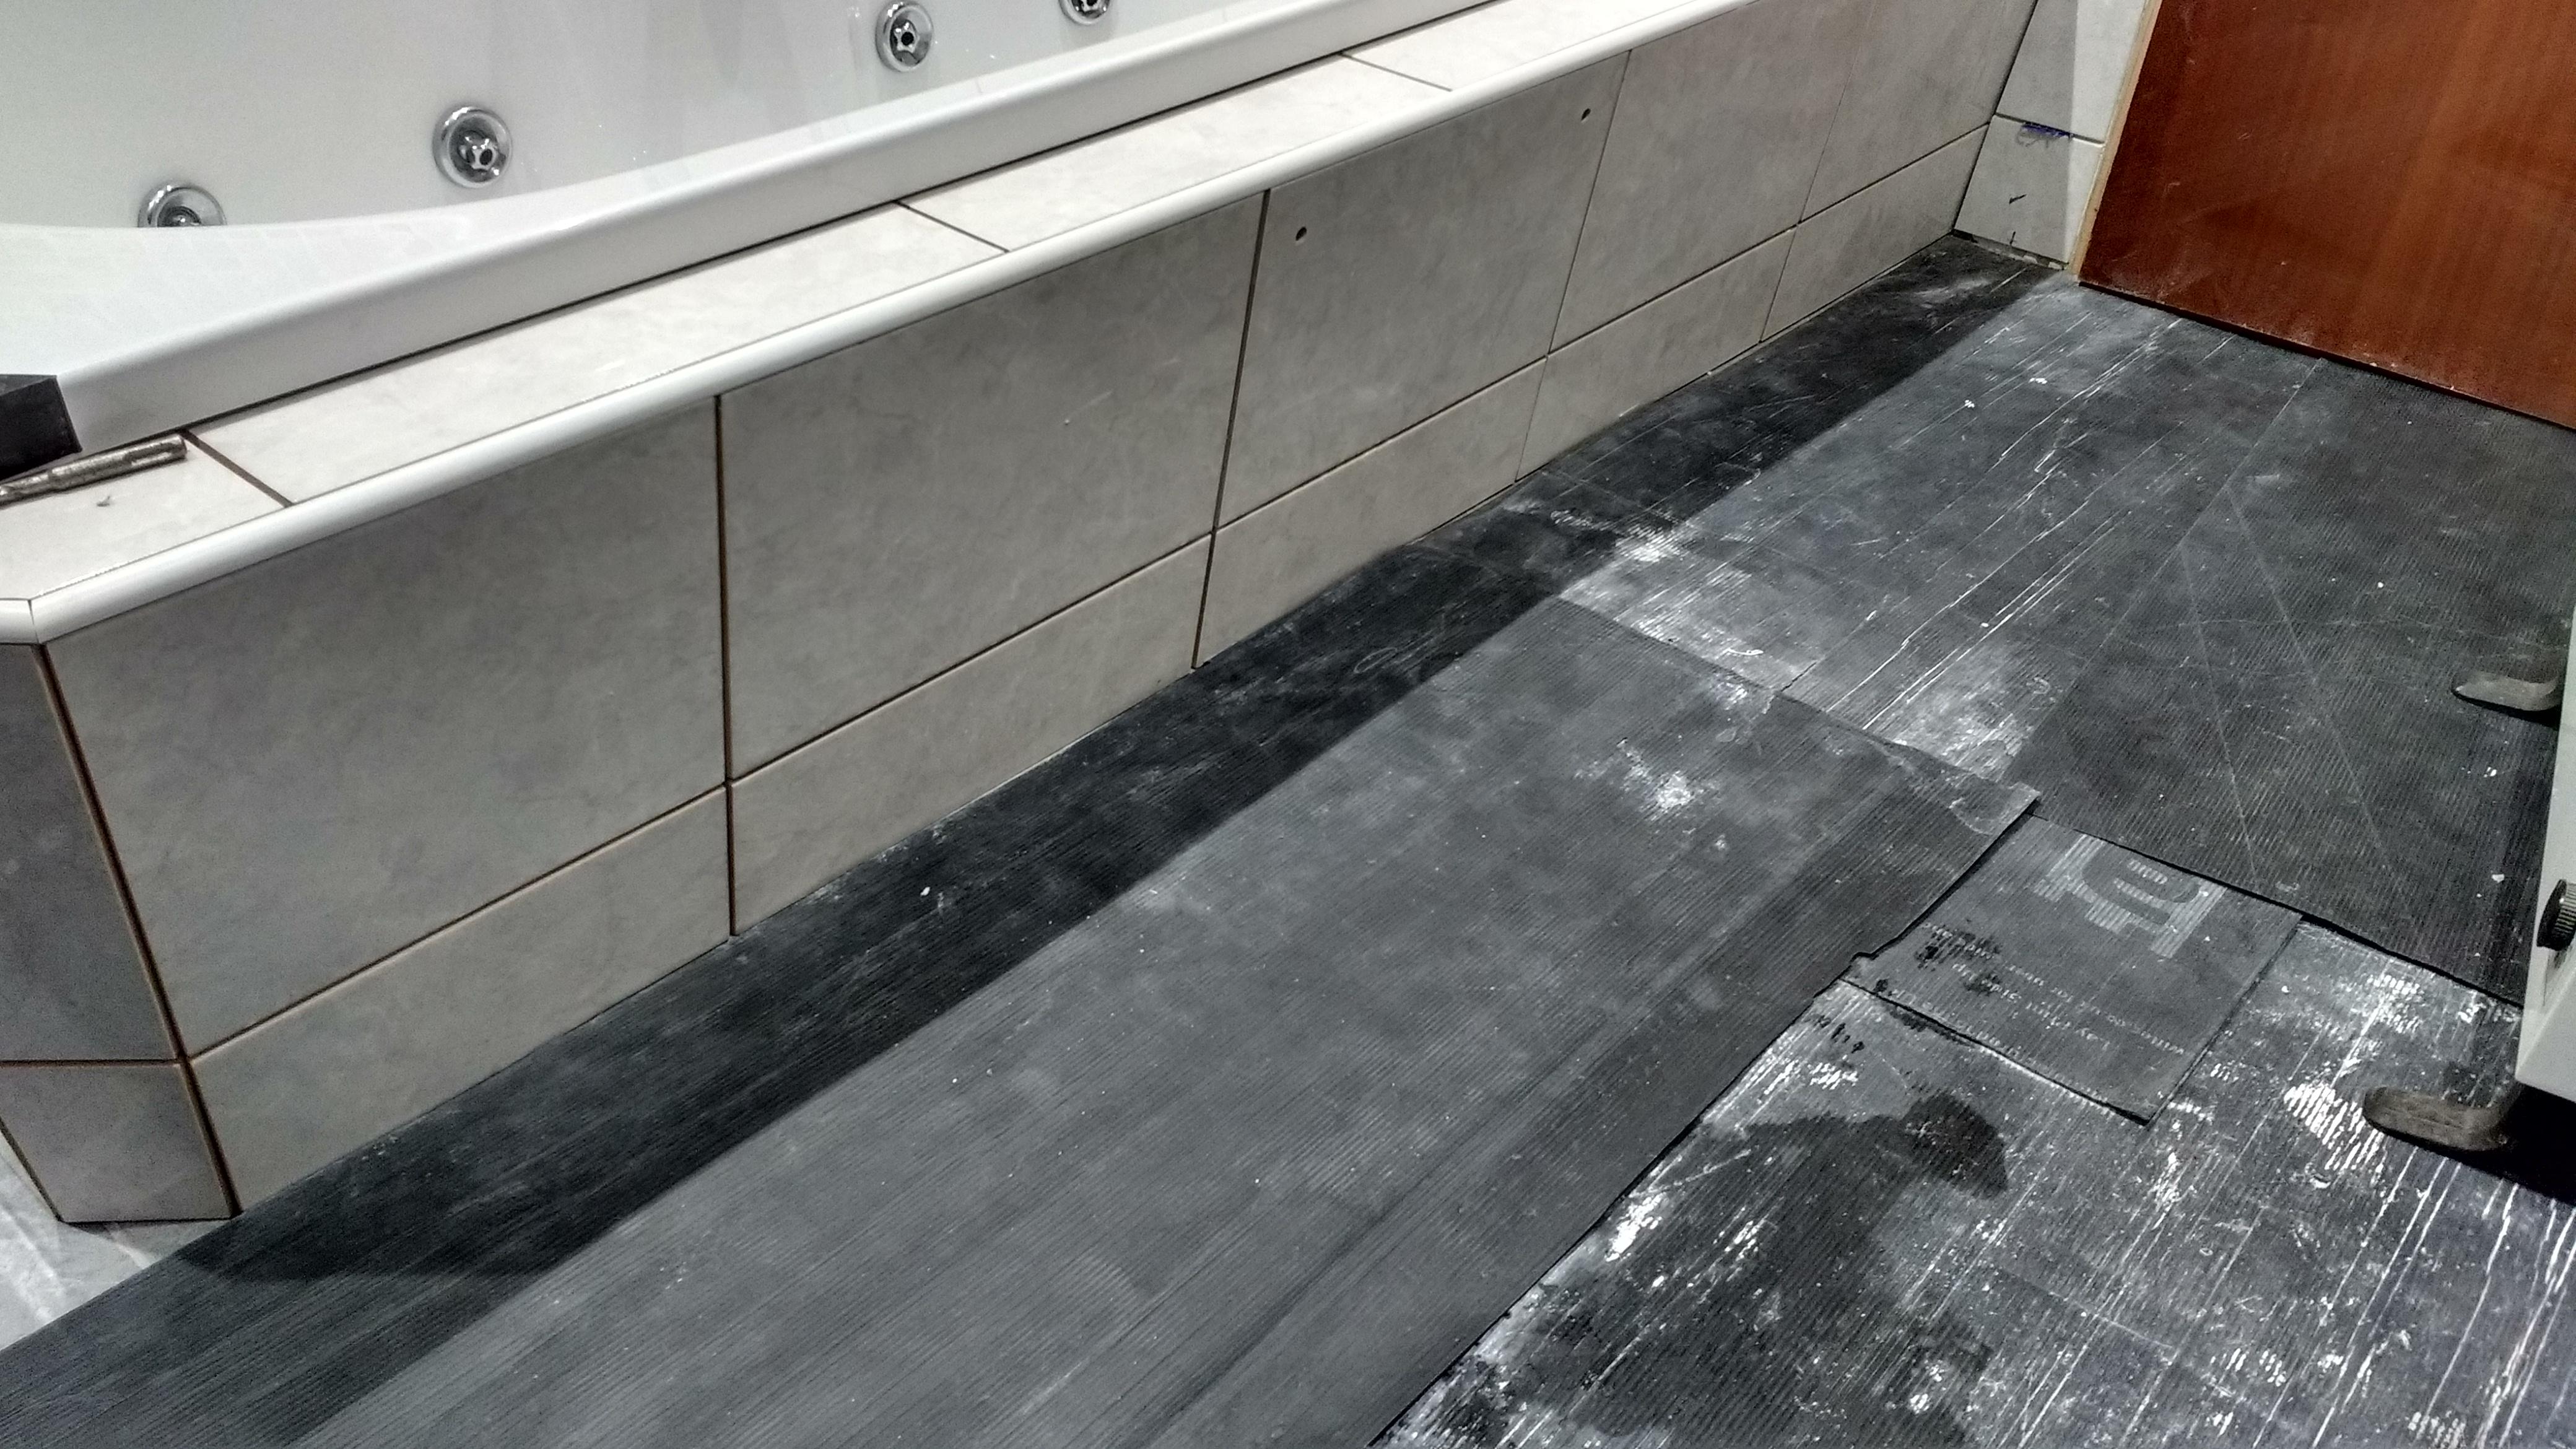
As to "three down the side" do we reckon one in the centre and one each end or 3 in the main 3, uncut tiles?
-
Things going bump in the night!
Onoff replied to Redoctober's topic in General Self Build & DIY Discussion
Whack some rat poison down and wait for the smell. No rats, no smell. Saying that in a well sealed house the smell must be proper rough! How do I know? Just had the same issue. Who else has flies in the house mid winter? Glad my lad's at uni as it smells the worst in his room! -
Something I wrote in another thread. "Once the low expansion foam can is on the gun you leave it on until it is empty. You do not take the foam can off to clean in between uses unless you need to change foam types. You use the gun cleaner with the red nozzle on to clean excess, WET foam from around the nozzle (and anything you might get it on accidentally). You undo the knob screw at the back of the gun to adjust the foam flow rate and squeeze the trigger. When finished for the day you turn the knob to close the valve and clean the end. Put it aside and pick up the next day or next week, month etc. When the can is empty: Have an open plastic bag/bin liner ready. Have the gun cleaner at the ready with the red nozzle on. Unscrew the empty can quickly and put straight in the bin bag. Pick up the gun cleaner and use like an aerosol to spray up inside where the can screws on as some foam will be coming out there. Then screw the gun cleaner into the gun and give a blast thru pointing the nozzle into the bin liner. Remove the gun cleaner and screw on your new can of foam. After you have used the gun then yes you can leave it upright with the foam can still screwed on, with the base of the can on the floor for however long you want within reason. Cleaning these guns doesn't mean a quick squirt through. Pretty sure the instructions say to put the gun cleaner on and leave for X minutes before blasting through finally. This is more for if you want to thoroughly clean the gun and store without a can on".
-
Go for it. Tbh I think the TS gun cleaner might be cheaper too. Whatever I would stick with that Soudal foam linked.
-
This: https://www.screwfix.com/p/soudal-soudafoam-expanding-foam-gun-grade-750ml/5026D? + https://www.screwfix.com/p/no-nonsense-foam-applicator-gun/28483 + https://www.screwfix.com/p/no-nonsense-foam-gun-cleaner-500ml/60133 SO much easier than the hand held cans with drinking straw tubes you'll wonder how you managed without one.
-
Lots of cracked sealant around the inside too I note. Worth renewing. Again on the inside if you remove the old silicone then foam any gaps. (Low expansion Soudal from S'fix in a proper gun).
-
Will I need a compound mitre saw for a diyMax build?
Onoff replied to epsilonGreedy's topic in Tools & Equipment
The Evolution behaves like no other saw I've used. Slow start as in very slow start. Runs at about half the speed of a similar diameter blade in an "ordinary" saw. Blade / tooth set arrangement is unusual too. GREAT for chopping up box section, angle iron, scaffold and conduit. Sounds more like a 9" grinder than a chop saw. Just about OK for architrave. Utter shite for through housings & skirting. -
Someone on here had a good link to a place that does older DG components. ???
-
Will I need a compound mitre saw for a diyMax build?
Onoff replied to epsilonGreedy's topic in Tools & Equipment
Some reading here: -
Probably didn't allow for the cill when measuring. Cavity wall? The wind will be howling in there and escaping through every gap. Foam that lower gap inside (dampen first), cut flush then silicone over. You can work silicone grease into perished rubbers that might help too. You're on a loser taso some extent as the window is set so far out beyond the cavity. Been there / done that / living it:
-
When you see the speed at which window fitters put them in... Combine that with the fact the DG company "surveyors" no doubt allow for massive clearances. One of mine: I'd hazard a guess most original timber windows are better sealed around the frame as they get mortared in as the walls go up.
-
I am guessing you have white trim pieces up the sides and across the top where the frame meets the wall. Will probably have been stuck on with mitre bond. These will have had a silicone bead run up them after fitting. Unfortunately the fitters have likely just whacked the windows in with frame fixings and packs and not bothered to use low expansion foam or Compriband around the frame. Most of my 2G windows are the same. I'm addressing as I go along. In your case it looks like like there was a cock up with the height so they've chucked a bit of 4"x2" in and rendered over it. At the very least they should have stapled some expanding metal on it. I'd take the rest of that render off. Use a plant sprayer over all the gaps to wet them then get a low expansion foam in there. To make pretty ideally screw some st/st expanded metal to the timber and render over. Won't help with any cold bridging but should stop draughts. Alternatively screw a strip of upvc over it and silicone round the edges. In my bathroom there was a 1" gap between top of new window and lintel all covered over by trim! You'll still have I bet huge gaps up the sides. You could take the trim off and repeat the exercise then fit new trim.
-
He doesn't have to buy oil any more. That's £2k p.a. on fine wine & cheese!
-
All that good living!
-
You can get waterproof PVA as I said above. Why not floor paint? My double garage had never been worked in just used as a store so when we bought the place I Hoovered the concrete floor and tipped all the collected half tins of grey scrounged from sites etc into an old 5 gal fermenting him. Applied with an old broom head. I'll never match the grey again but it looks good.
-
Think it's @nod that favours SBR as a primer? As an aside, with my Aqua Seal tanking kit, it says if you run out of the Aqua Seal primer then use SBR.
-
I had the dust problem so I gave the bathroom floor a coat of SBR diluted down. Lasted me well until I was ready to tile the floor. I chose SBR over PVA as I've read any water getting under tiles later on can lift PVA. I know you can get waterproof PVA but SBR is a darn sight cheaper. Cementone was the brand I used from S'fix I think it was.
-
Seems strange to see words in print that I'll never utter!