Onoff
-
Posts
21126 -
Joined
-
Last visited
-
Days Won
206
Everything posted by Onoff
-
I think I might have gout...
-
"Gouting" ?
-
Typo? Just do it as Nick might say!
-
Like when I asked about plastering my own walls & ceiling on the plasterer's forum no doubt! "Get a proper spread in / you'll cock it up etc!" THAT in fact went alright.
-
Blame @Tennentslager for putting the idea into my head! Tbh nobody has answered him as to whether it can be done with a "mastic gun".
-
@Nickfromwales, probably a huge no no to the experts but is there any merit it trying to use the gun in the link above to apply tile grout? It'd certainly force loads into the gaps but would it "ram" it in like you could with a proper rubber grout float?

-

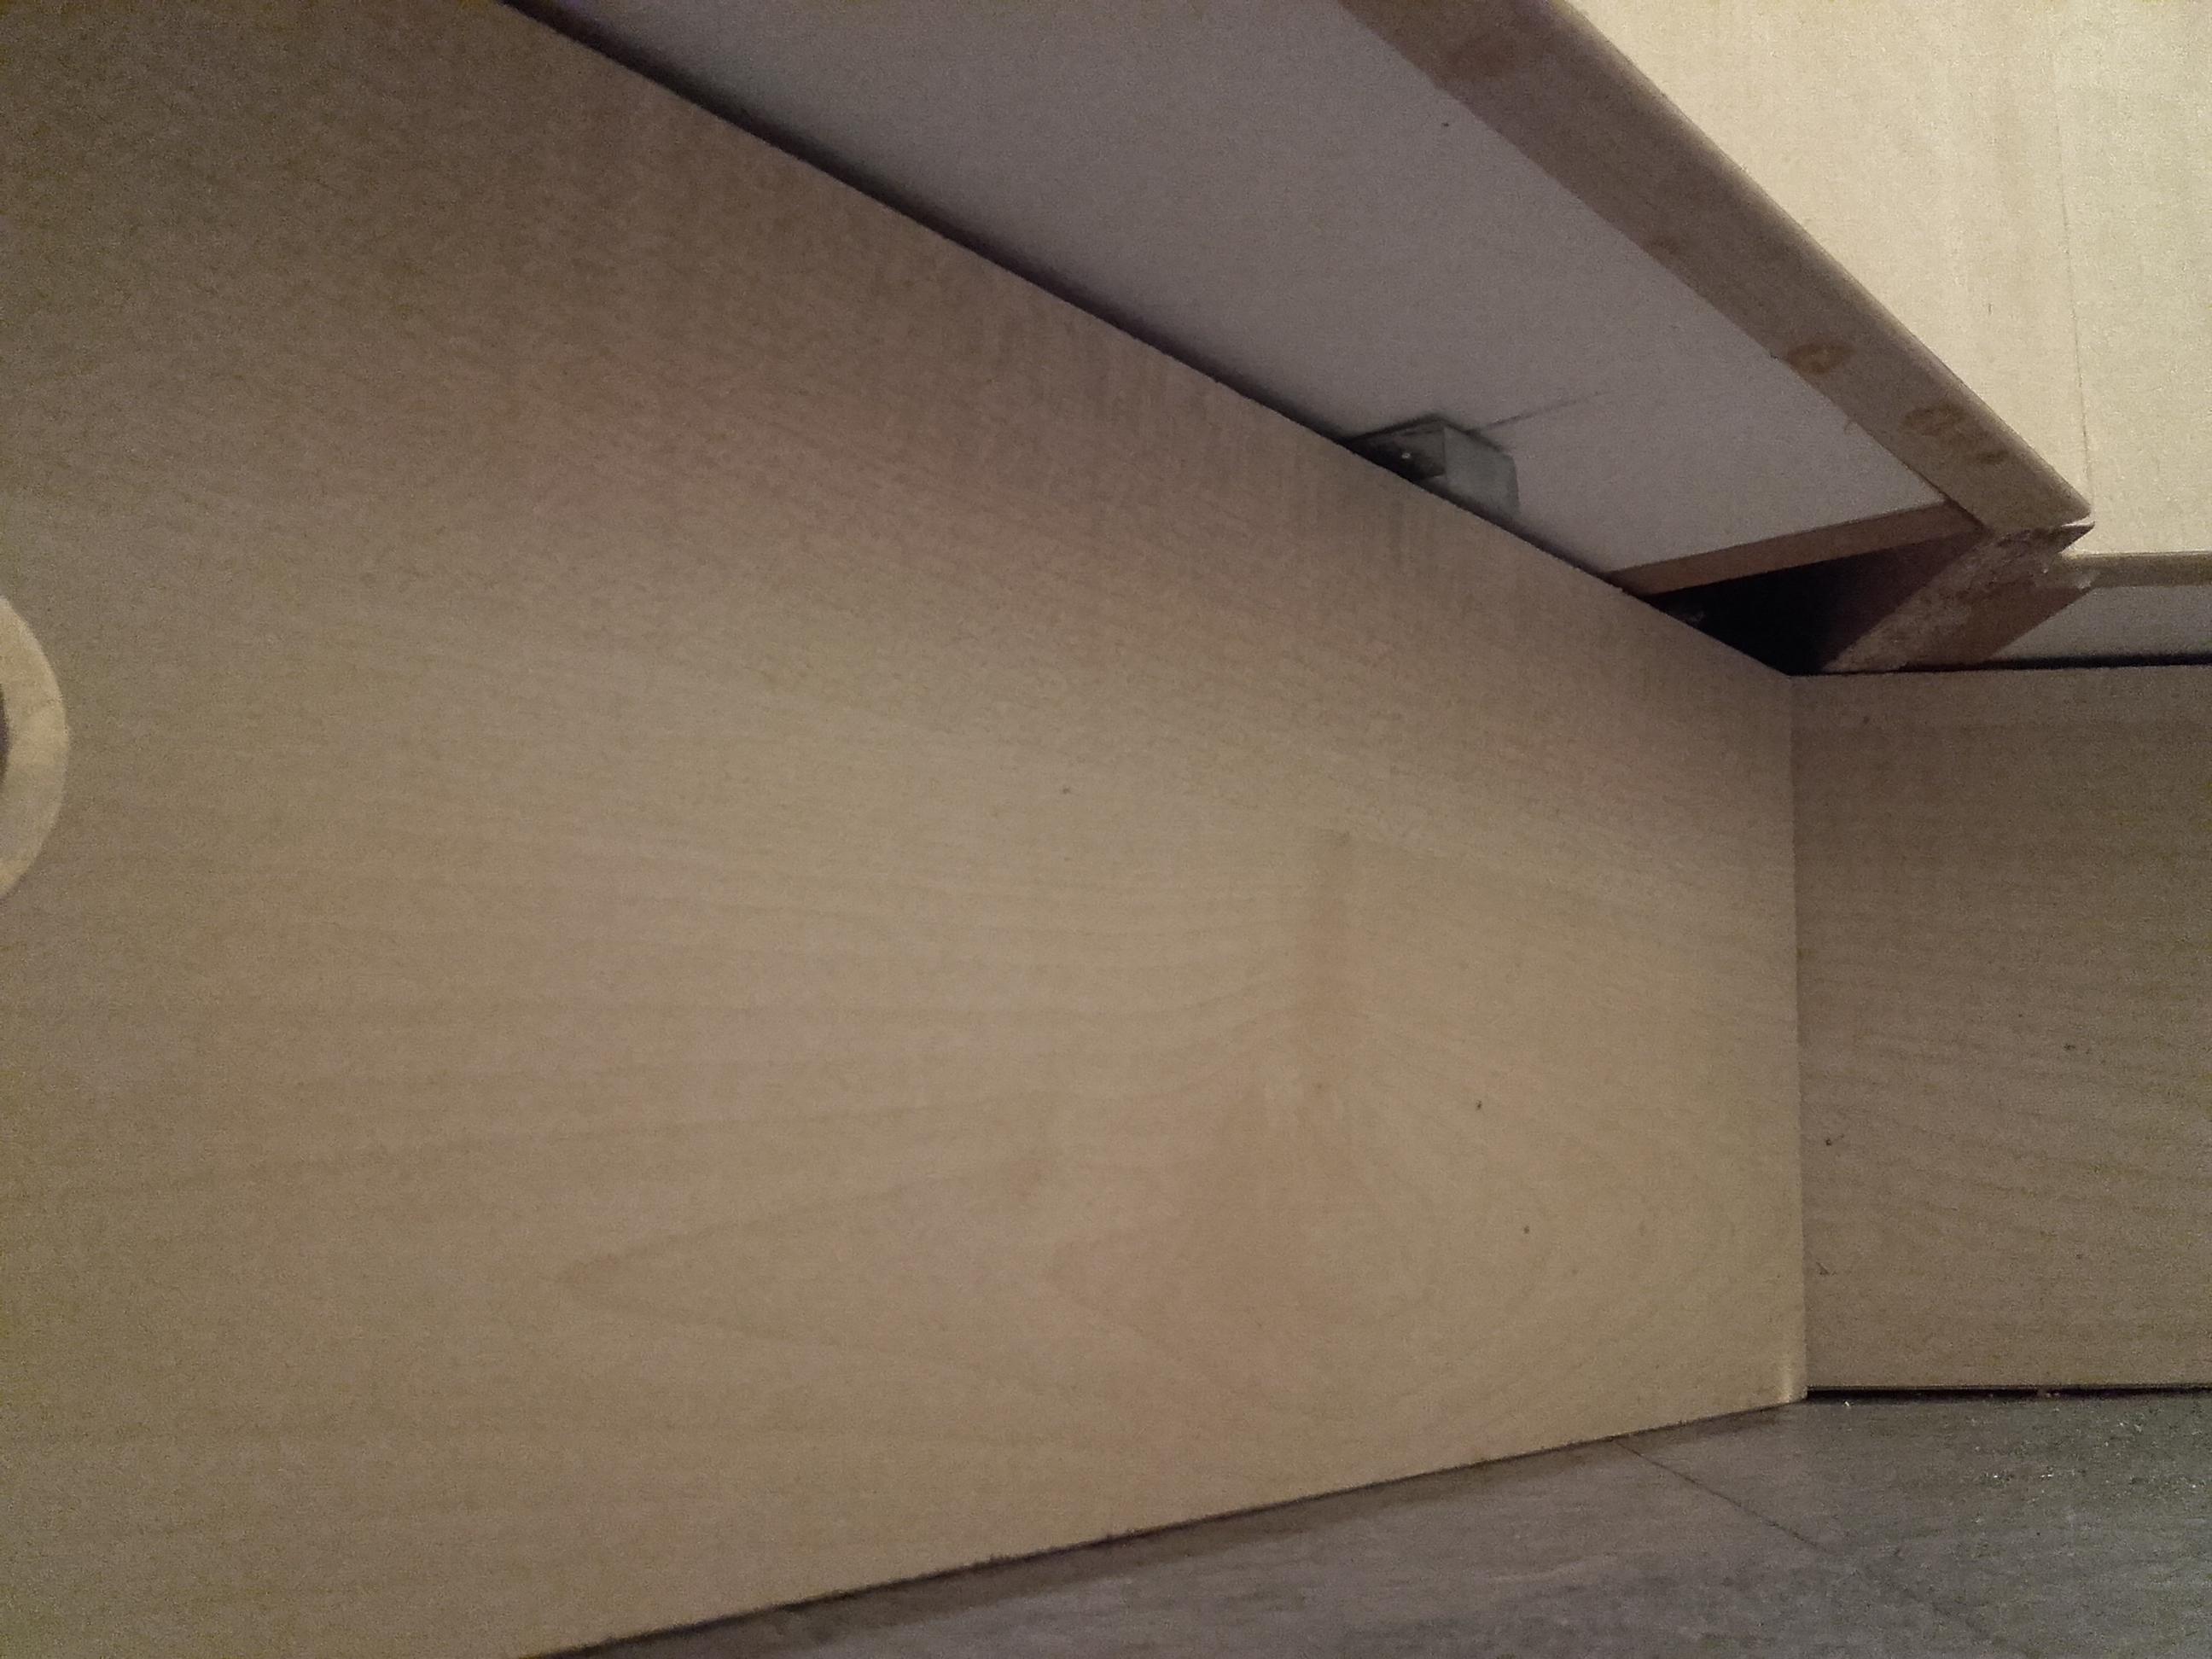
Bath Surround / Boxing In, and concealed pipework
Onoff replied to Onoff's topic in Bathrooms, Ensuites & Wetrooms
Going to try 3 down the side and one on the end. I can always add more. Cheers. -
Bath Surround / Boxing In, and concealed pipework
Onoff replied to Onoff's topic in Bathrooms, Ensuites & Wetrooms
I hear you both! It was done initially as the removeable ply panel halfway along is only one tile wide. It has one full and one cut tile bonded to it. I could have centred the tiles with the rest and had two full and two cut tiles on the removeable panel. I felt that would make for a fragile removeable piece with overhanging, unsupported tiles once removed. The main reason for it though is both SWMBO and I would rather look at full or near full width tiles. Centred and we'd have had thinner vertical tiles each end; by the wall and the mitred corner. Really doesn't bother us. Beauty is in the eye etc. Sit on the wc if you really want to stare at it full on! (That is when the wc is finally fitted...). -
Help with kitchen renovation/ 1st house.
Onoff replied to zoothorn's topic in Bathrooms, Ensuites & Wetrooms
If it works for you etc! I doubt any chop saw maker would recommend chopping firewood with it though. Lumping logs onto the bed will knock it out of adjustment I imagine. Cutting wet wood will put more strain on the motor too. I think too that by cutting thicker diameter logs you probably have to rotate them to get through it? That'll put lateral strain on the blade and bearings over time. My chippy mate would have kittens. -
I'm thinking a video of me in the bath and then a FINISHED sign rises slowly out of the bubbles.....
-
My early concept CAD:
-
Standing on the bath surround. Tbh it'd take a few minutes to clear the buckets, tools and tat on the window cill. We're a little way off of the unveiling shots though!
-
Help with kitchen renovation/ 1st house.
Onoff replied to zoothorn's topic in Bathrooms, Ensuites & Wetrooms
With the Rage 3 I can lay a STEEL scaffold pole on the cutting bed alongside a piece of 4"x2" timber and it'll cut through BOTH. It's more for building sheds and stud walls though than fine cabinet making. Lacks repeatability too I find but good for "rougher" work. -
Help with kitchen renovation/ 1st house.
Onoff replied to zoothorn's topic in Bathrooms, Ensuites & Wetrooms
Toupret filler is magic imo but expensive. It doesn't shrink or slump. Make sure you sand off the wispy bits where you've countersunk the holes. You can do good things with MDF. I always use MDF primer before painting. Made this from some scrap cover boards from the local wood yard: Back to chop saws...The Erbauer is pretty low down the food chain. I tried cutting a through housing with my Rage Evolution 3. No proper depth stop and quite springy. Bottom of the housing was like a set of stairs! Back to the Dewalt radial arm saw! (Reminds me I must replace the capacitor in the saw that I borrowed for the gennie). -
Help with kitchen renovation/ 1st house.
Onoff replied to zoothorn's topic in Bathrooms, Ensuites & Wetrooms
Tbh that really doesn't look that bad. At this stage I would I think back off the screws and get those mitred faces pushed together and glued and pinned. Wipe off the excess glue. That will of course leave a gap to the wall. Fill with decorators caulk and smooth level with the skirting. -
Help with kitchen renovation/ 1st house.
Onoff replied to zoothorn's topic in Bathrooms, Ensuites & Wetrooms
Cheapo chop saws are useless for accurate skirting imo. The Evolution Rage I have is crap for it. A decent big Dewalt is the kiddie for this job. I HATE doing skirting. -
Help with kitchen renovation/ 1st house.
Onoff replied to zoothorn's topic in Bathrooms, Ensuites & Wetrooms
YES THEY HAVE A COUPLE OF SHARP POINTY PRONGS THAT EASILY TAP INTO CHIPBOARD. AS I SAID BEFORE YOU COULD BUY ONE V GRADE T&G CHIPBOARD FLOORBOARD AND RIP INTO STRIPS. PAINT BLACK? As I think I said before I've a bunch of magnetic catches that might work I was going to use for the removeable bath panels but with the tiles they're too heavy. You're welcome to them. Tbh they're getting in the way. These: https://www.ebay.co.uk/p/Access-Panel-DIY-Kit-Make-Your-Own-Any-Size-Tiled-Control-Hatchmu1/1762505231? PM your address and they're yours. -
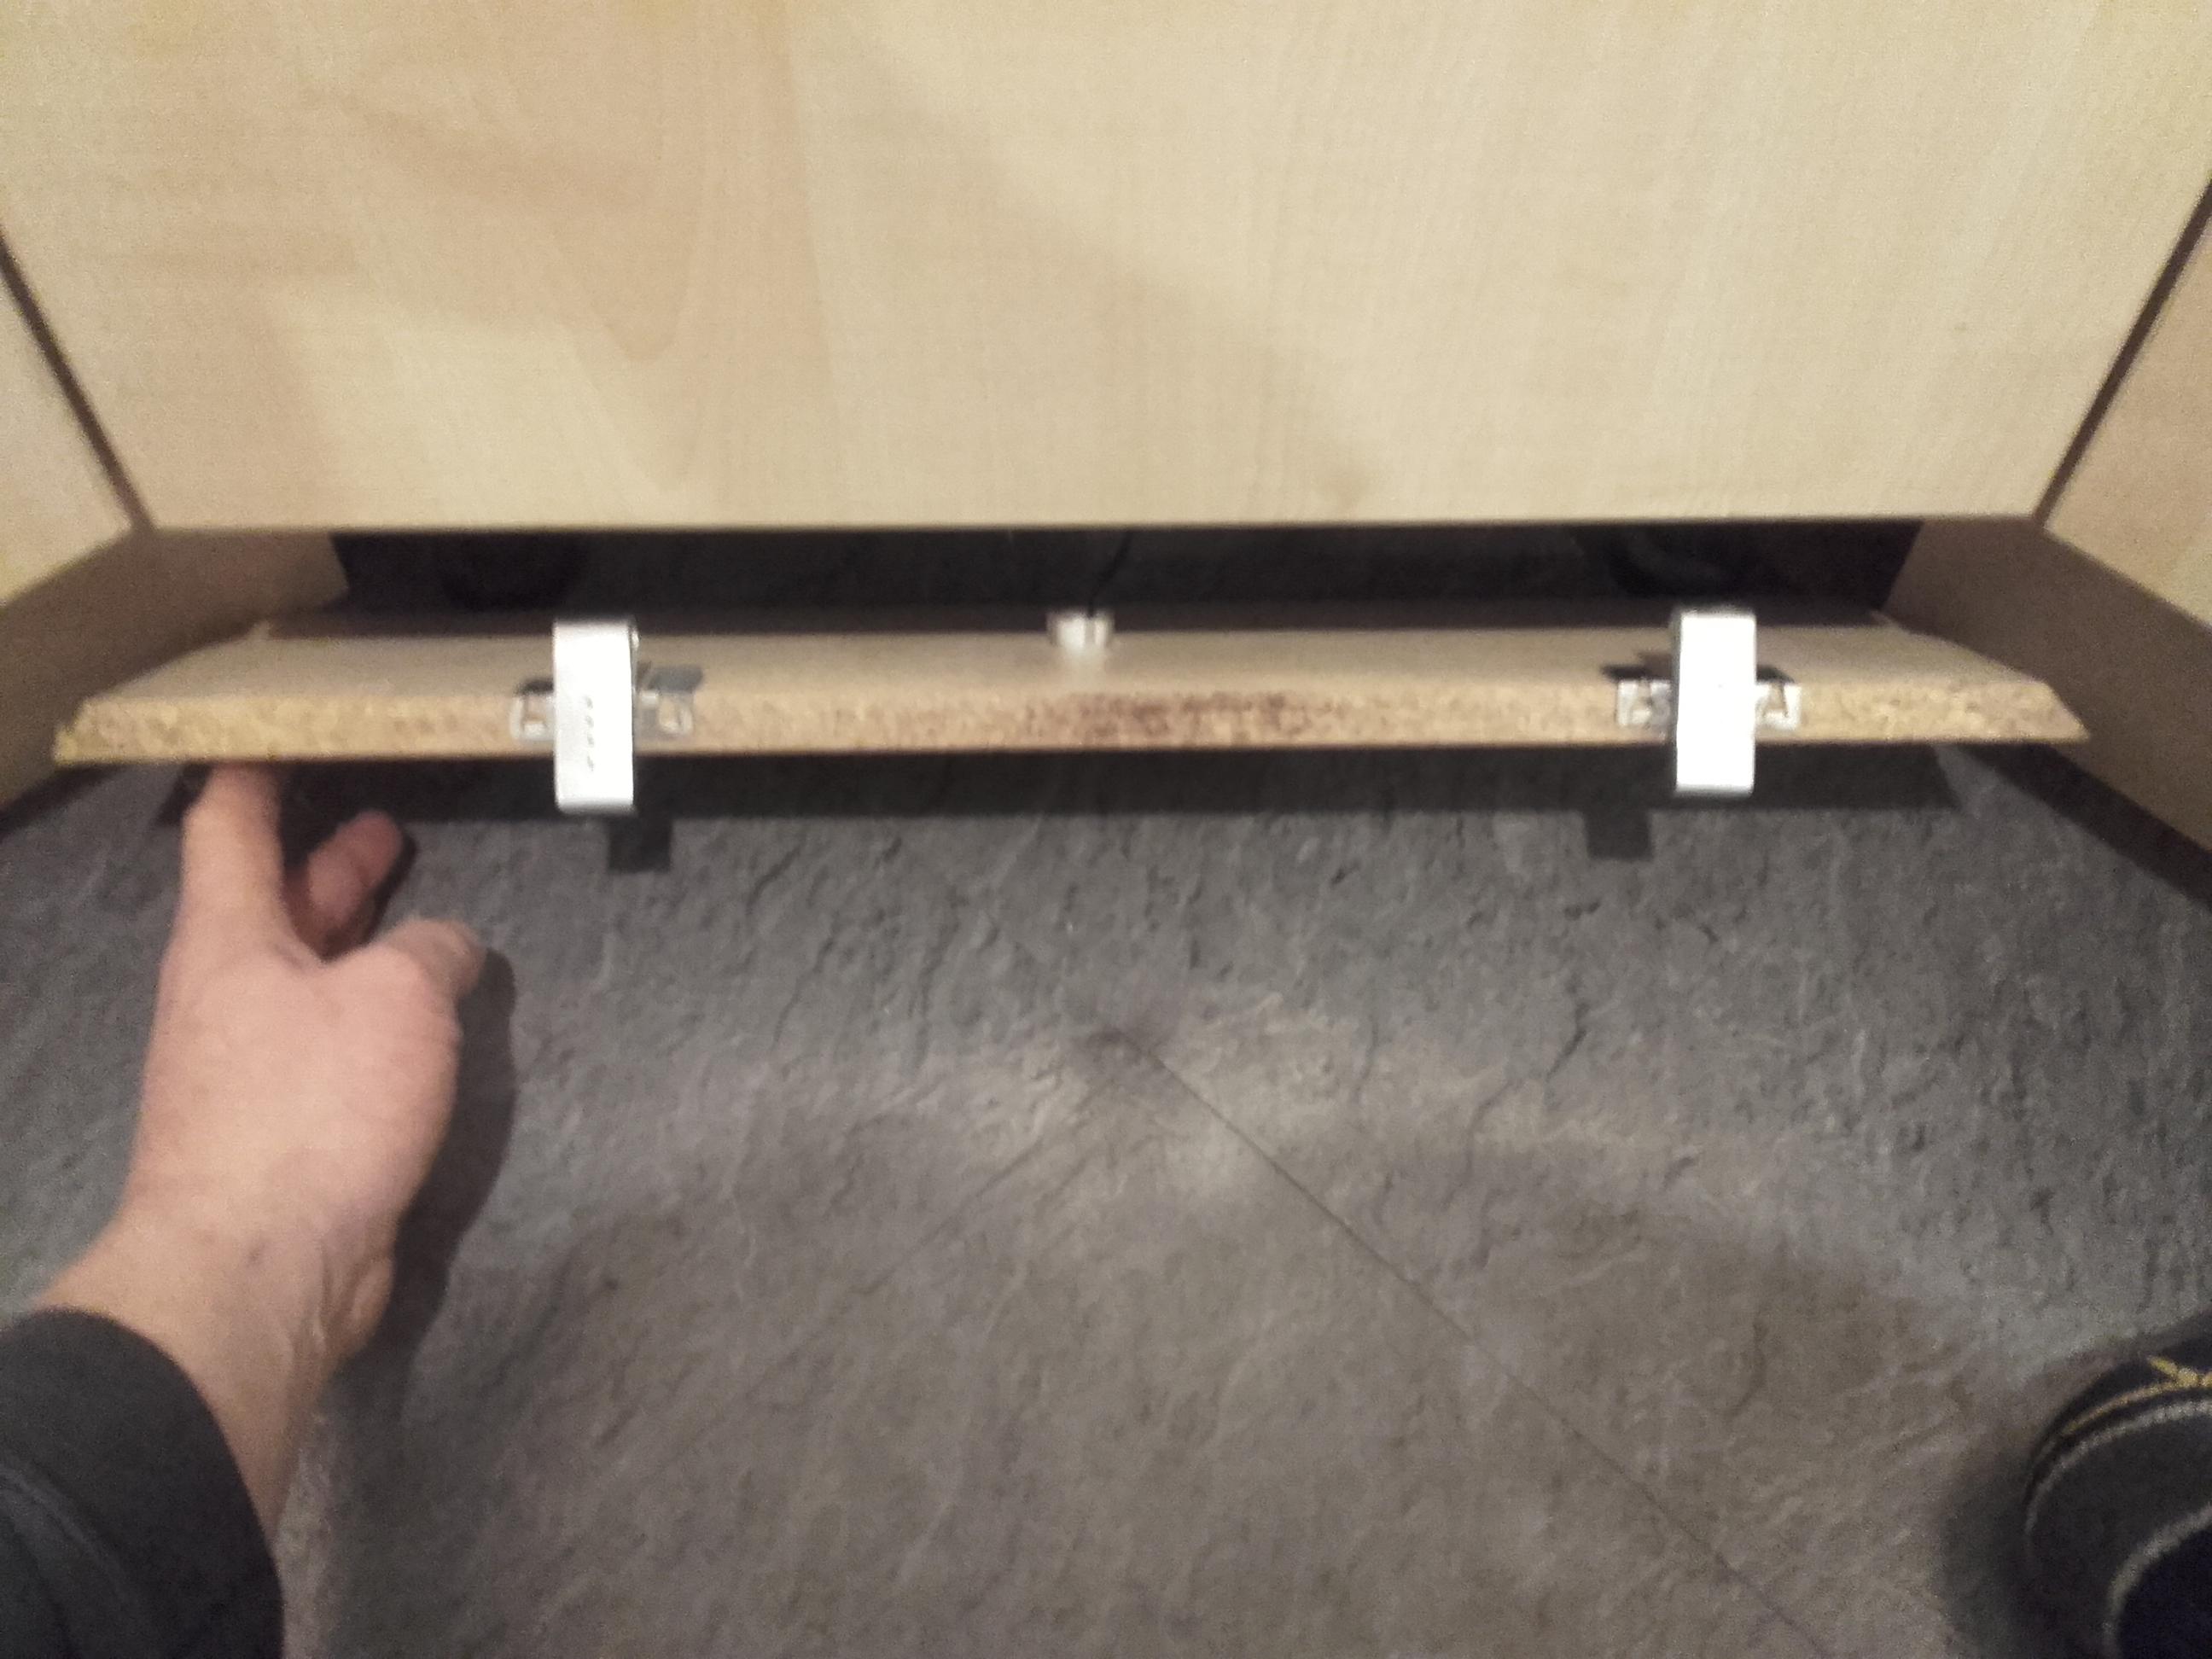
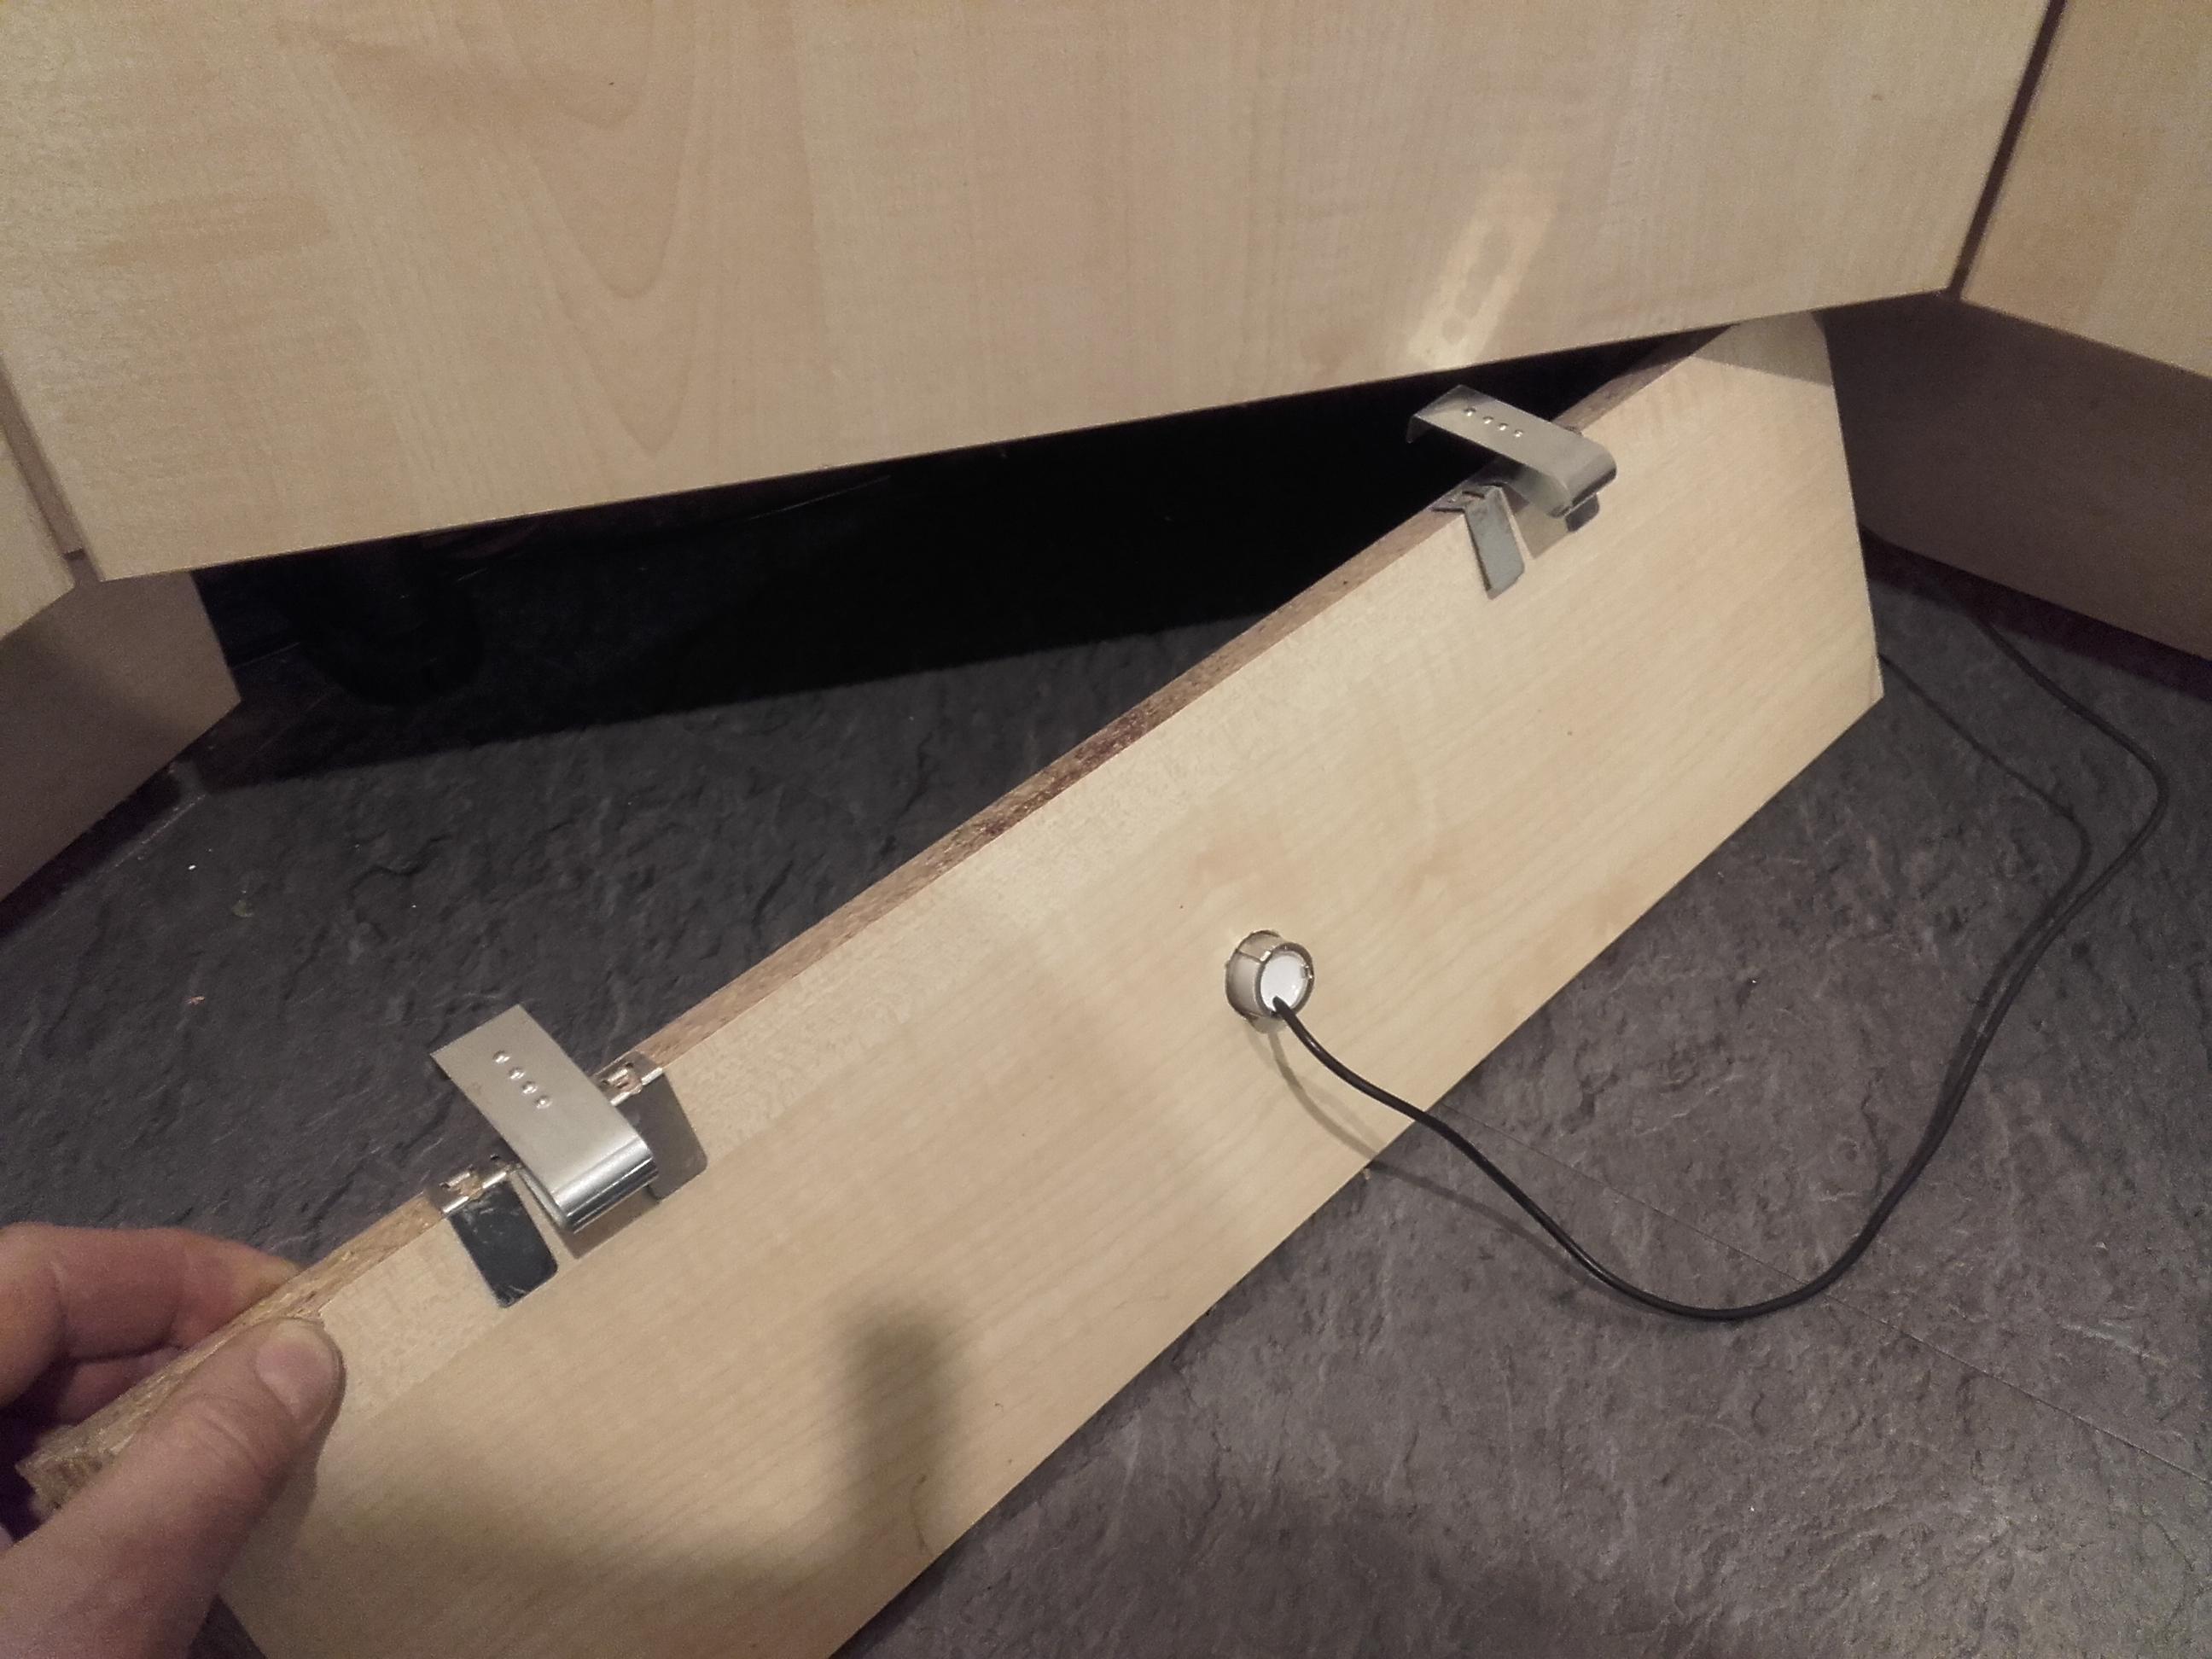
Help with kitchen renovation/ 1st house.
Onoff replied to zoothorn's topic in Bathrooms, Ensuites & Wetrooms
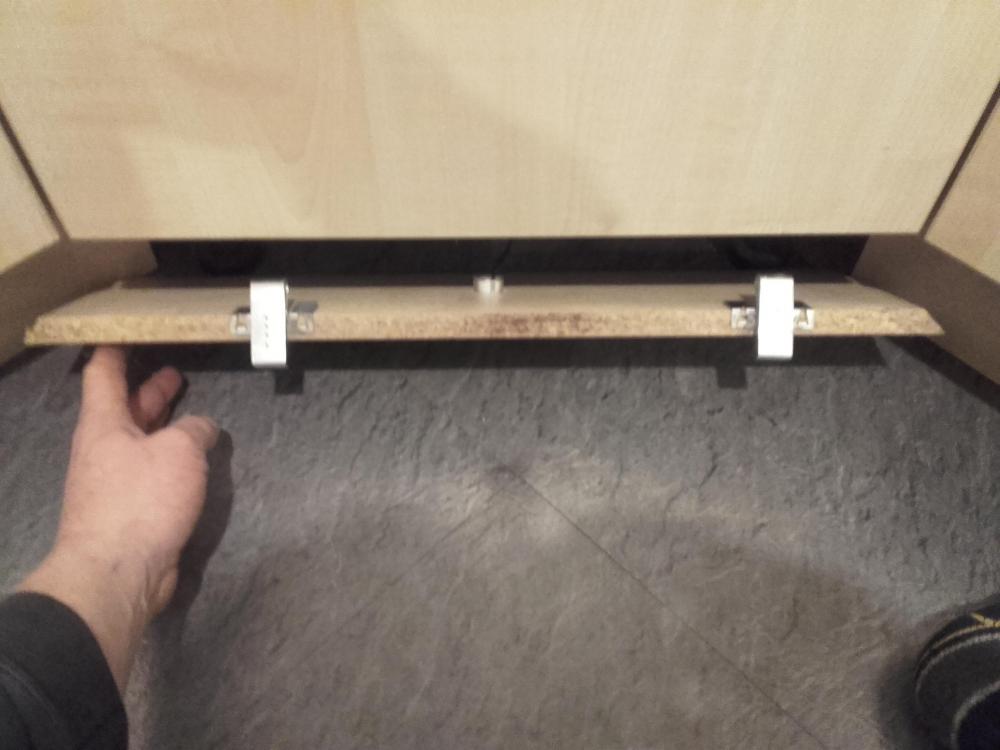
@zoothorn, you need to cut the plinths just right height wise. I cut mine a bit tight. Broke a bloody nail getting these pics!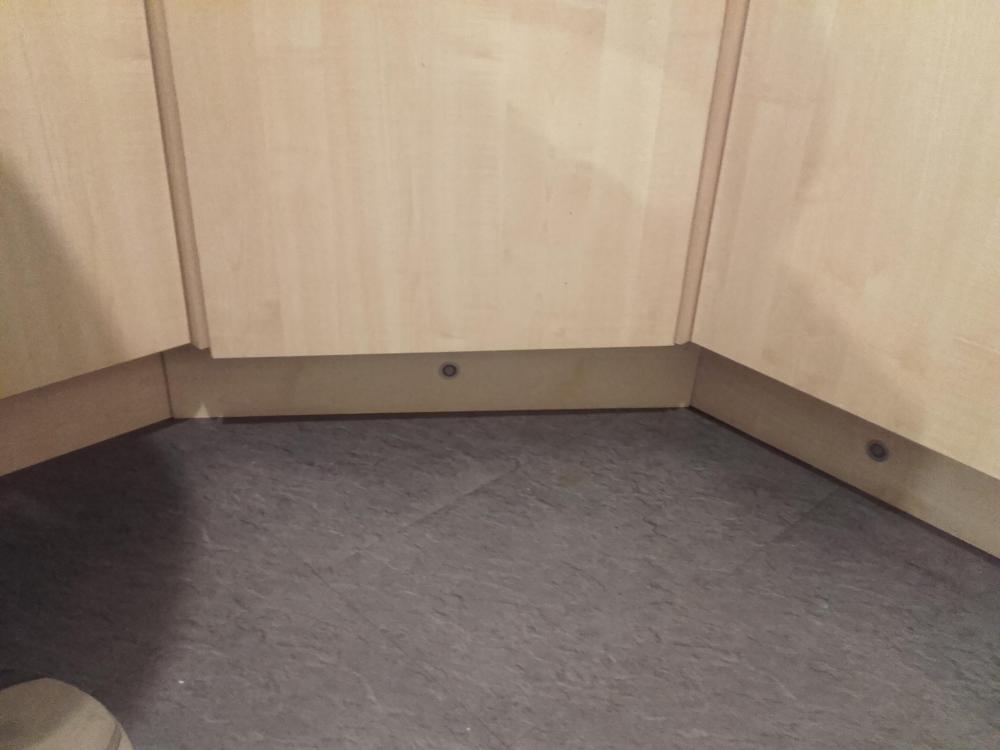


-
Bath Surround / Boxing In, and concealed pipework
Onoff replied to Onoff's topic in Bathrooms, Ensuites & Wetrooms
I WAS going to have 4 deck lights along the side of the bath panel down low along the floor and probably two on the end. When I say low I mean halfway up the slimmer tile at the bottom. To that end I've 6 20mm conduits that exit into a service void outside the bathroom. But...a slight, last minute change in layout means I've now 5 "big" tiles instead of 4. So just 5 down the side maybe? Or even 9 as in one in EVERY tile including the corner one? Too Close Encounters? -
How about a dropped kerb the other side of the plot so you can drive in/out?
-
This site is a superb resource favoured by a few on here: http://pavingexpert.com
-
Can't keep my daughter out of it! Tanked marine ply so a few splashes won't hurt pre G-Day.
-
I suppose it's come on...
-
Like this?
-
Bath Surround / Boxing In, and concealed pipework
Onoff replied to Onoff's topic in Bathrooms, Ensuites & Wetrooms
Can you believe I'm actually ready to do this? Cut the brass down and made a lovely job: It fits in a treat. Just happened to have saved an offcut of 14mm Allen key years back: Now to fit this: It fits in just below the tile surface as per instruction: The intent is to ditch the rubber washer it came with and PTFE both ends of the brass: So do I put 22-25 turns of PTFE BOTH ends of the thread, screw in with the Allen key then wind in the chrome bit until plumb and make sure I don't turn it back? Then pump full of CT1, push chrome ring against the tile and baby wipe off?