


Onoff
-
Posts
21126 -
Joined
-
Last visited
-
Days Won
206
Everything posted by Onoff
-
Liking that a lot. How does that vertical timber on the left attach/support the roof if that's what it does or is it just a feature?
-
Apparently I don't listen! SWMBO HAS found the colour she likes: However...it doesn't match the blind. Now found that B&Q do Valspar bathroom paint that they'll colour match. The blind will be the next argument. She wants it on the outside of the reveal. Pointless imo and won't help with the cold spot of the cheap 2G window. I want it inside the reveal by the window. I've just been informed (allegedly I was told previously) that it's a patterned blind we're having: I SH!T ye not!
-
Ta. A PRACTICAL comment! Regular, but decent silicone I assume rather than sh!t to blanket stuff like CT1 is what I'm thinking? I've a couple of new tubes of Forever White here that I reckon'll do.
-
I more lurch from one crisis to the next and then manage it to death. What colour, like I know or care!
-
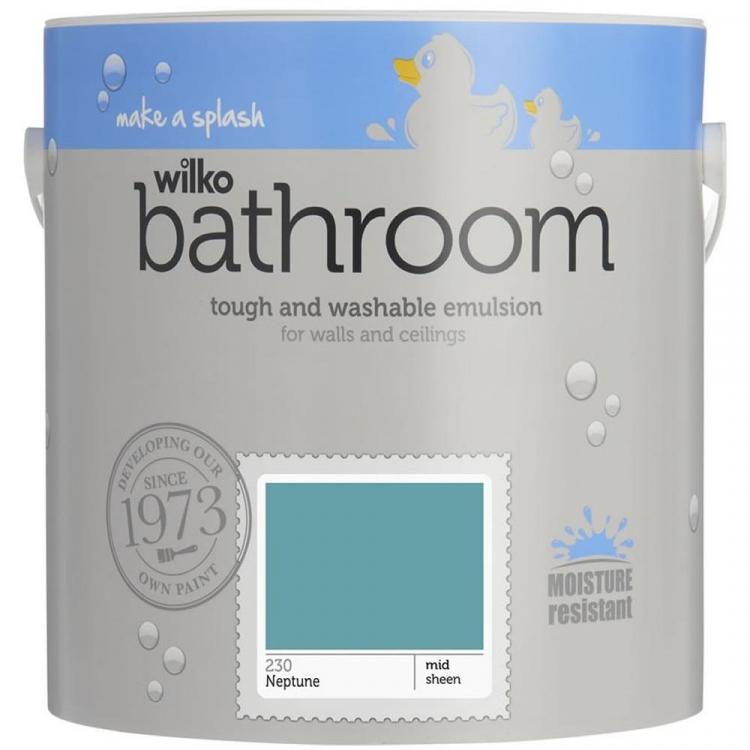
- I've to solder that lead to the LED strip that goes up in the long pocket. - Fit & test the extra plinth lights along the side and decide on ones on the end or not. - Fit bath end panel - Grout bath - Silicone where wall and floor meet. Got a Mapei grey. - Colour match silicone (white) any gaps at the various trims - Run a cold mains supply to the basin up in the loft. Could be an issue as I've a single hole mixer tap and the hot is gravity fed. - Shower plate to go on. Do I silicone between the back of the plate and the tiles? Presumably I don't use CT1? - Shower handset / riser to go on. - Wall drain cover to fit - Flush plate to go on - Wall mount WC to go on. Plenty of questions coming! - Paint that wall. SWMBO likes a colour in Wilkinsons of all places but it's not "bathroom" paint. Do any of the sheds make up bathroom paint if I get a Wilko match pot? Etc, etc Roll on Easter!
-
OK...whoever said it'd look better with grout might have had a point. From a distance that is... Just the bath to do now, tiling wise.
-
Just sounds so wrong...
-
Our very own @Nickfromwales?
-
What type of cloth are you using to rub out with? I've a window cleaners scrim seems pretty good for buffing up and getting the dust off. At any time does a wet finger/rubber glove come into play along the joints?
-
Explain please!
-
Tbh we're both pretty useless! Me: Her: Not sure she's putting enough in? I am trying to sponge off at 45deg to the grout lines always. Also I keep the sponge dead flat. Seems ironic it failed at the last hurdle as in the tiling.
-
Difficult to call. Tbh none of it helped by my sh!t tiling. Hers. Mine: I'm going to do the wet room corner. Don't think it fair if it leaks. I can certainly ram it in harder.....
-
SWMBO helping with the grouting. Doing opposite ends so we don't kill each other! Wet room corner tomorrow and maybe around bath. I PTFE / CT1'd the shower hose connector into the wall. 20 turns of PTFE felt a bit too much tbh.
-
NOW I know what my pi$$ taking mate meant by "shadow" lines!
-
Are you going to be taking orders? This thread is giving me a bit more of an incentive to maybe model some Makita BL18** battery to "cheapo 18V cordless tools collected over the years" adaptors.
-
What did it cost out of interest? I see Aldi have one in again: https://www.aldi.co.uk/balco-3d-printer-/p/086887240233900?
-

Discount Offers of the Week
Onoff replied to Ferdinand's topic in General Self Build & DIY Discussion
Handy stove fan: https://www.aldi.co.uk/workzone-wood-burning-stove-fan/p/072454265672401 -
I think its more for ventilation under the panels. Keeping the panels cool I believe improves efficiency too.
-
? https://www.tradetiler.com/consumables/grout-colorant.html
- 1 reply
-
- 1
-

-
Stopped between floors as in broken down? I used to work with German firms and tried to learn a bit of the language. I was asking how to spell something like "essen" and the guy said "No we never say "s, s", we say "double s"...we had a bad time during the war!"
-
Bath Surround / Boxing In, and concealed pipework
Onoff replied to Onoff's topic in Bathrooms, Ensuites & Wetrooms
@Nickfromwales, these SELV deck lights. Obviously meant for garden decking but IP67 and cheap! The lamp unit itself is IP67. The (very) thin stainless flange sits on the face of the tile. Water could then get between the flange and tile face and in turn under the bath. In the garden no issue of course. Not that it'd be that much water anyway. I was going to apply a thin bead of silicone sealant to act as a sealing washer but figure this might be detrimental to removing later on to replace. To replace it'll be a thin blade job either side to lever them out without damaging the tile. What do you reckon to silicone grease here instead of silicone? -
Bath Surround / Boxing In, and concealed pipework
Onoff replied to Onoff's topic in Bathrooms, Ensuites & Wetrooms
They're wet under the Antinox sheets. A combination I think of never really having lifted them up since tiling when I was sploshing water about in there. I also think there's an element of condensation about it. Room is v.cold at the moment. There's 175mm of insulation under the slab. Where warmer slab meets cold room maybe? It'll all come good with some proper heating and venting in there. -
Think the gun cleaner is acetone based.
-
Bath Surround / Boxing In, and concealed pipework
Onoff replied to Onoff's topic in Bathrooms, Ensuites & Wetrooms
Bit late for that!


