ToughButterCup
-
Posts
11716 -
Joined
-
Last visited
-
Days Won
98
Everything posted by ToughButterCup
-
I did that with some vertical louvres I installed recently. The gap was 89.5mm - well it should have been. I made a story stick as you suggested and then made three spacer blocks for top middle and bottom of each gap. Each spacer was screwed to the 'previous ' louvre. In other words the next louvre was bang on correct during the fitting process. But... I reviewed the results when finished. The screwing process sometimes made a noticeable difference to the final postion. Over 10 louvres the error seemed to disappear. Then I checked with the story stick I made. It was miles out. A chippy looked over my work, sucked his teeth and said Next time mark the story stick with a knife. Cumulative pencil errors.....
-
Well @GaryM, I've had a few years of JustBloodyDoItFirst swiftly followed by RepentAtLeisureLater. There's a lot to be said for the approach, and often just getting on with it is useful. Just ask @Onoff But - cladding - everyone and their dog will be looking at it. And I don't want to be wincing every time I look at it. Ok so far. BUT - using vertical boarding - just like the image you posted @GaryM; What happens with 'visual' interruptions like doors and windows - annoying things that they are? I think I have to treat any total wall width as a series of gaps - for example in a wall with one door in the middle of the wall, the gaps might be from left to right (LH) edge of wall to (LH) edge of door above door (RH) edge of door to (RH) edge of wall In this scenario (using vertical boards) I'd want a whole board on the left hand edge of the wall the right hand edge of the wall the left hand edge of the door the right hand edge of the door That makes three spans. And in one (or more) of those spans I bet , there will be tears, wailing and gnashing of teeth. But I have a table saw. And persistence.
- 63 replies
-
- 1
-

-
- cladding
- open joints
- (and 1 more)
-
Hmmm, is that an invitation to try a 35mm gap then? ? here's the formula... Measure the complete gap to be covered. Measure the total width of the number of boards you want to use Deduct the total boards width from the complete gap's width (Nett gap) add 1 to the number of boards used - that number is the number of gaps Divide the Nett Gap size by (Number of boards +1) . Disappear up your fundament trying to tinker with the numbers to suit window and door openings. I am glad to have a chippy working with me so he can sweat the fine detail round openings. The thing I am trying to avoid is having part of a board running up and down the sides of windows and doors. So, I think in (say) a wall with one door and one window in it, there will be four gap calculations given that I want the edge of the doors and windows to have full boards next to them - oh no, five (because theres a gap above and below the window - no hold on, six becuase theres a gap above the door. Hold on a minute thats wrong - ah stuff it @the_r_sole will be along in a minnit. (please)
-
Thats what we plan to do - maybe 8mm, but we'll see what the 2mm difference makes visually . Tyvek Solitex Fronta Quattro is what we're using beneath the boarding. Its really impressive (if very expensive) stuff: its been up for a while now. In using that product, the only restriction is the relationship between the width of the board and the size of the gap between the boards up to 35mm. The exterior cladding needs to be at least three times the width of the gap. Our boards are 144mm wide, so in theory we could have 35mm gaps. And who knows, if I have got the maths wrong, maybe we'll have to have 35mm gaps. But man, I'll be glad to see the boards on at last ... soooo glad.
-
That's exactly what we are doing. Starting the job Monday, planned job duration 10 days. Mesh? No point.
-

How Long Should Structural Calcs Take
ToughButterCup replied to SteveMack's topic in General Structural Issues
C-19 is a gift to procrastinators. Talk. -
Here be dragons. Expensive dragons
-
Foolish not to check for services before piling?
ToughButterCup replied to Dreadnaught's topic in Foundations
Our piling company would not proceed unless I showed them evidence of our correspondence confirming no known services on the plot. (They all ran alongside the plot in the road) -
If it feels like it, it is. Organise your way past that problem.
-
Here be dragons. Research every last local (in the same geographic and planning area) build project that started with similar circumstances. Look at what happened. Analyse why it happened. Why do that? It will inform the converstation you have with the planner - your planner not the LPAs - As for an incredibly enthusiastic anybody: it's cold hard analysis you need. Determination, persistence and clear-headedness is whats needed now. Dream details later. Now is fundamentals time.
-
Sewer on Neighbours Land - Charge to Connect
ToughButterCup replied to NewToAllOfThis's topic in Waste & Sewerage
As is so often the case @Ferdinand is exactly correct. Why do I say that? He describes what happened to us. He even got the price right. £1000. -
Locally, I have it on excellent authority, one or two firms tend to get half their pay in (excellent quality) white powder.
-
Write to three lawyers; describe the problem succucintly, and ask each of them for a fee proposal.
-
-
+ 1 I bought a twiddler years ago. Don't use it often. But when I do it's brilliant. Needs a bit of persistence , practice, but after that it's like riding a bike. You can make up lengths of twisted wire for use later - you get to feel for the correct degree of twist after a bit. The result is very strong wire - and gabions are the perfect place for that.
-
Might the post immediately above be considered an advert?
-
Not all installers are equal. Check the Sunamp website for the list of approved installers. The list on the website was out of date last time I checked. They may well have updated it recently though.
-
Exactly correct. Our was fitted upstairs by a reliable installer. We have two suicide doors in upper bedrooms (soon to be Juliette balconies) Ours popped straight through one. Two blokes, bit of sweat, tea, medals.
-
The installer matters.
-
How do you know that Russ? ?
-
connecting inspection chambers together - its a stupid question!
ToughButterCup replied to redtop's topic in Waste & Sewerage
It is very pleasing to think that handing on a bit of hard-won experience helps someone else. Made my day, thanks. -
connecting inspection chambers together - its a stupid question!
ToughButterCup replied to redtop's topic in Waste & Sewerage
It's a matter of giving yourself room to work. If both ends of the pipe run are fixed (you cant move or wiggle the IC) , first connect to the IC, then use a slip coupler to link the pipe. If the IC at one end is relatively free, then jiggle that to fit. By accident I over-dug one section of our drainage run. Work connecting the IC in that section was much easier. Enough room to squat down by the IC is very valuable, as is room enough to turn round - without treading on the unsupported pipe- in the trench. For me that meant another half day digging by hand. The disadvantage is that you need more 10mm to backfill. How mean am I ? -
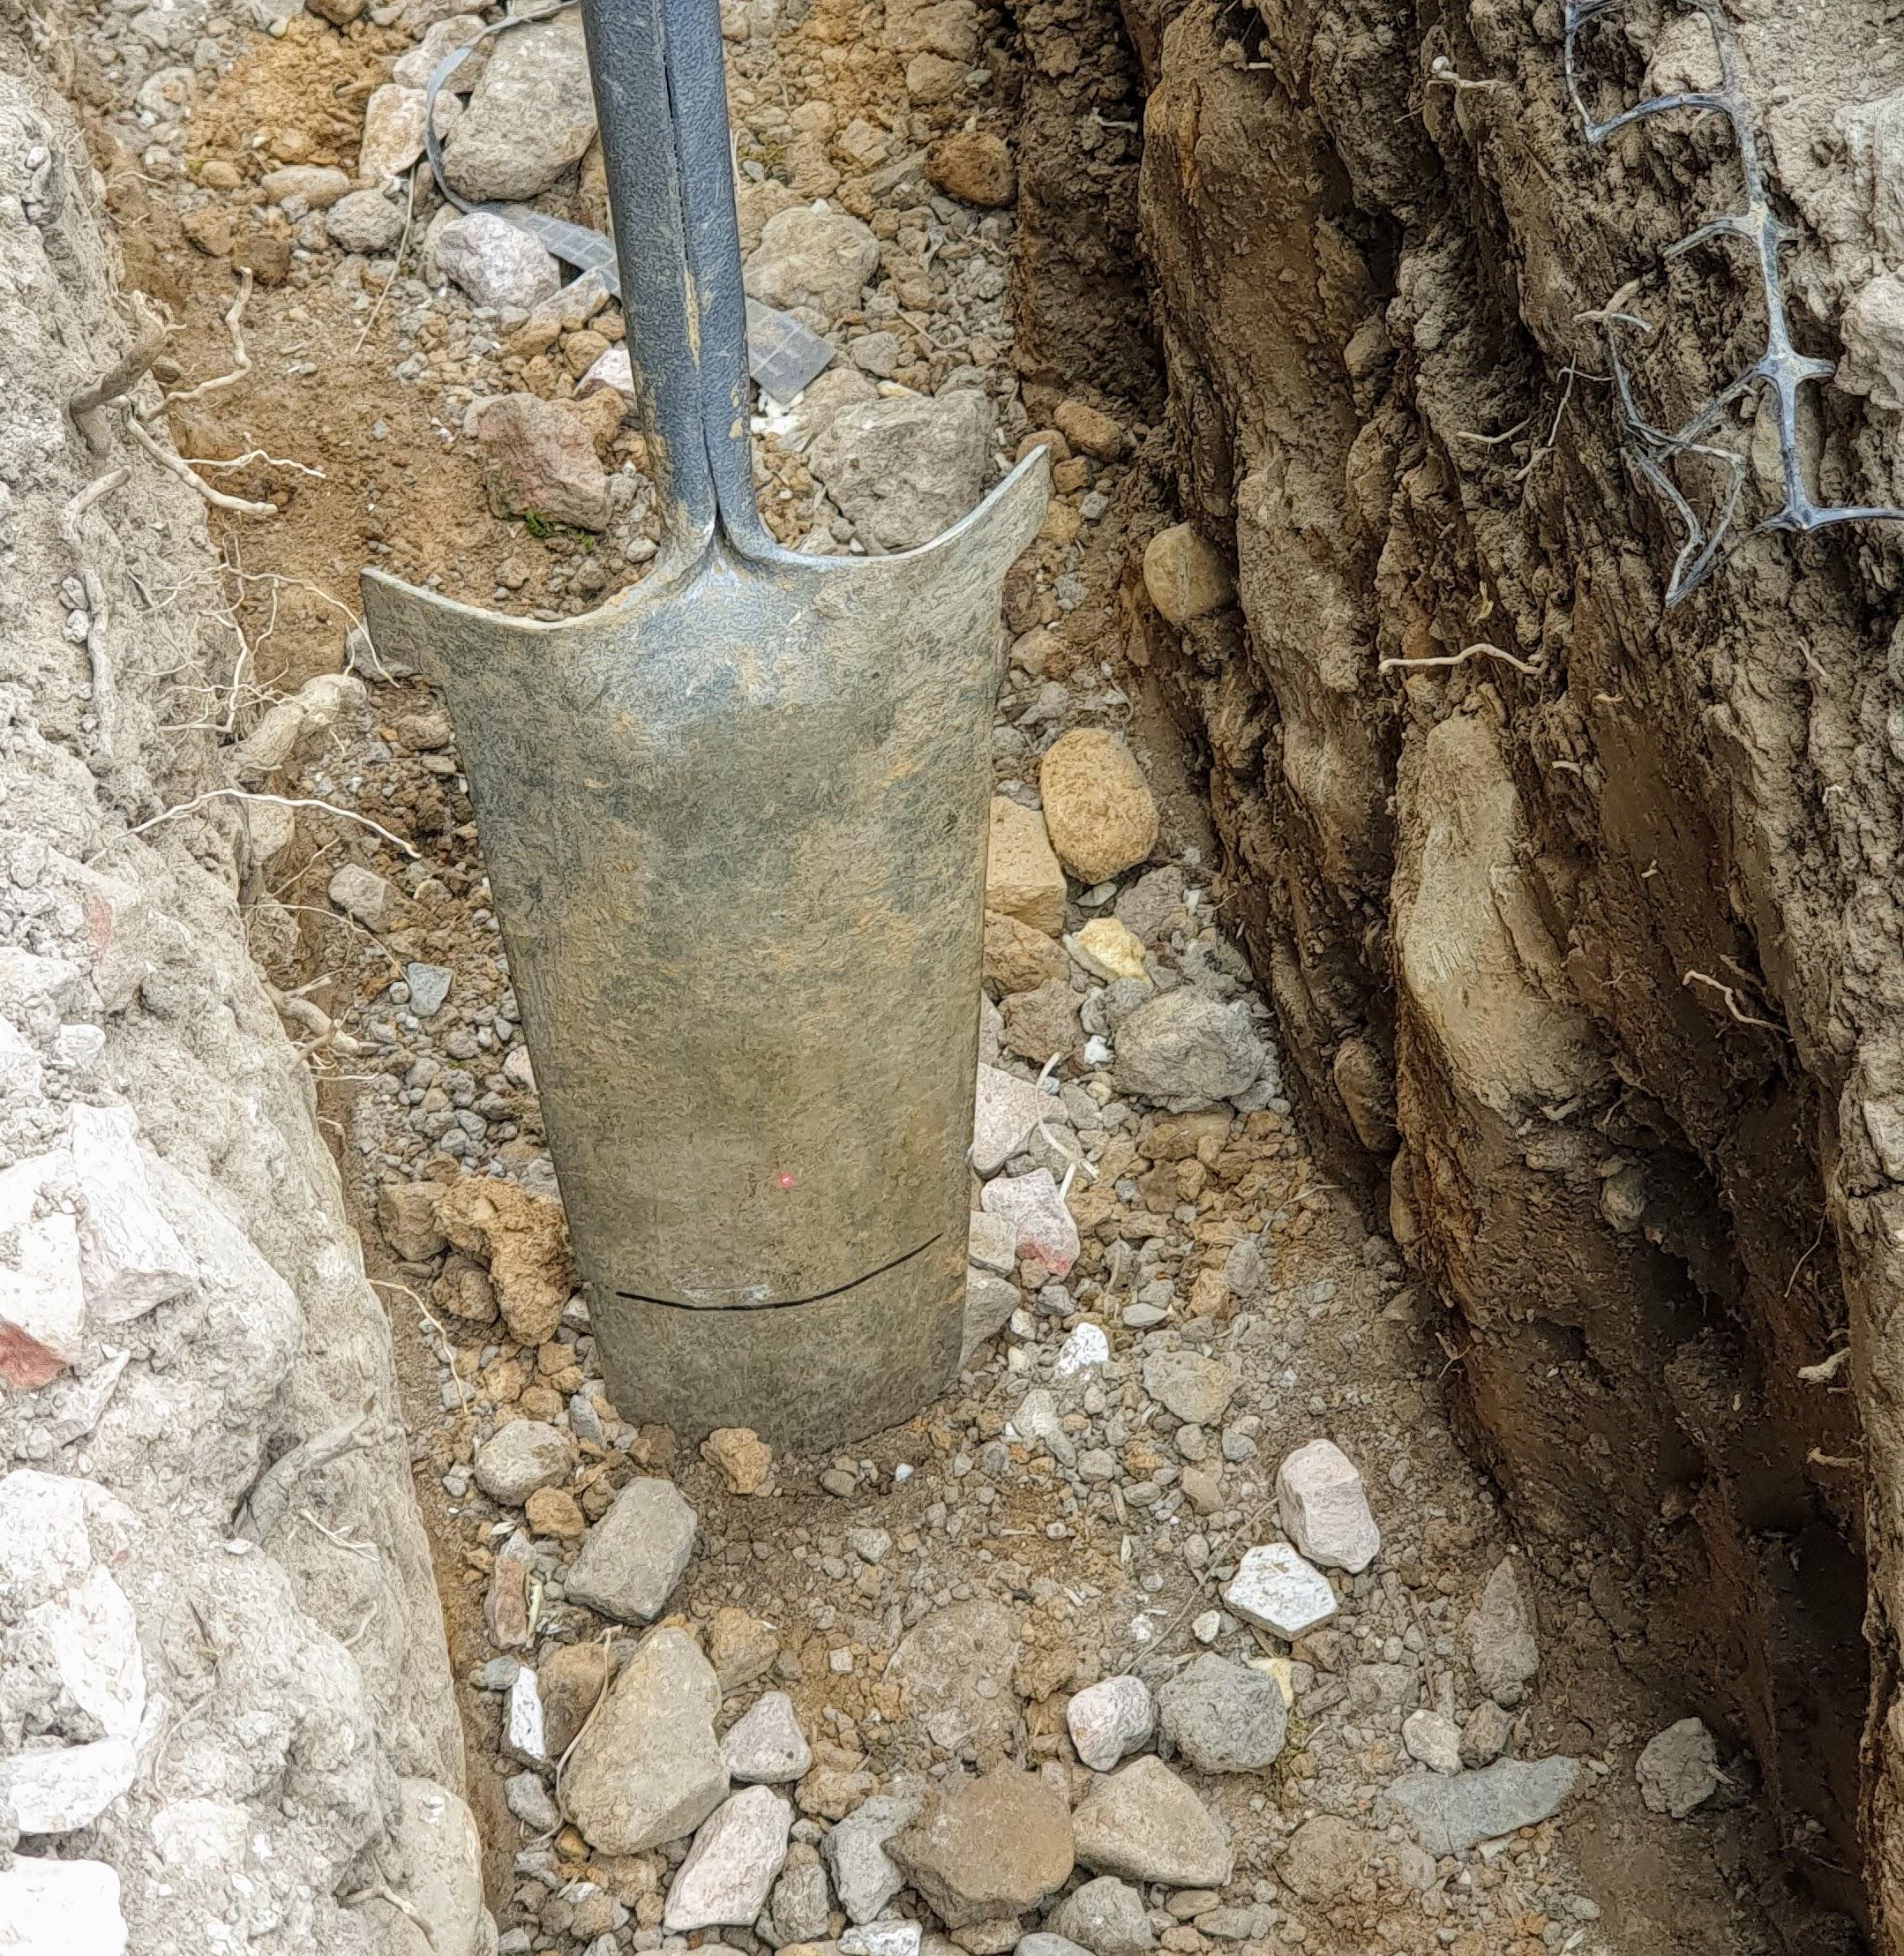
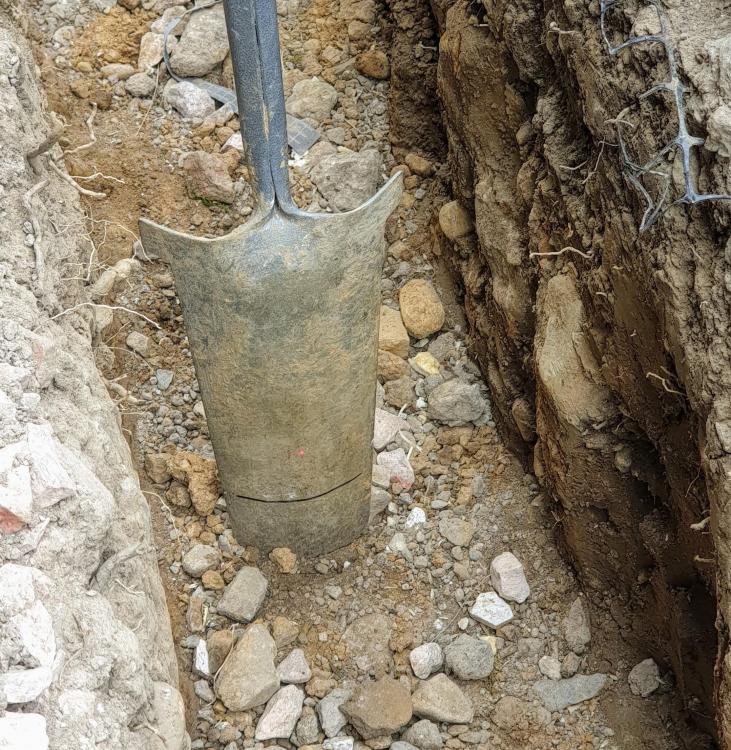
This is a hand one And a clay spade for a digger is a thin bucket with its cheeks cut off You're on clay ... unavoidable expense...
-
Sewage Treatment Plant - Discharge to ditch
ToughButterCup replied to Gymwear7's topic in Waste & Sewerage
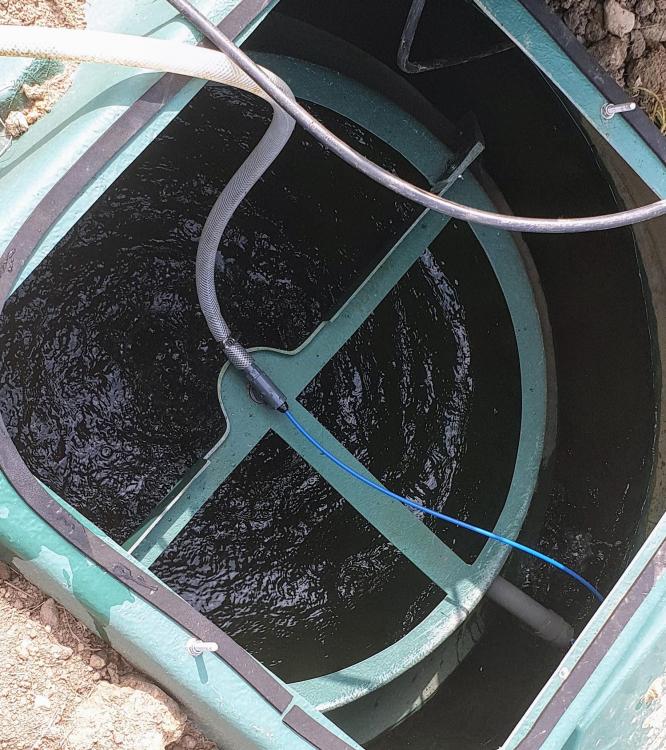
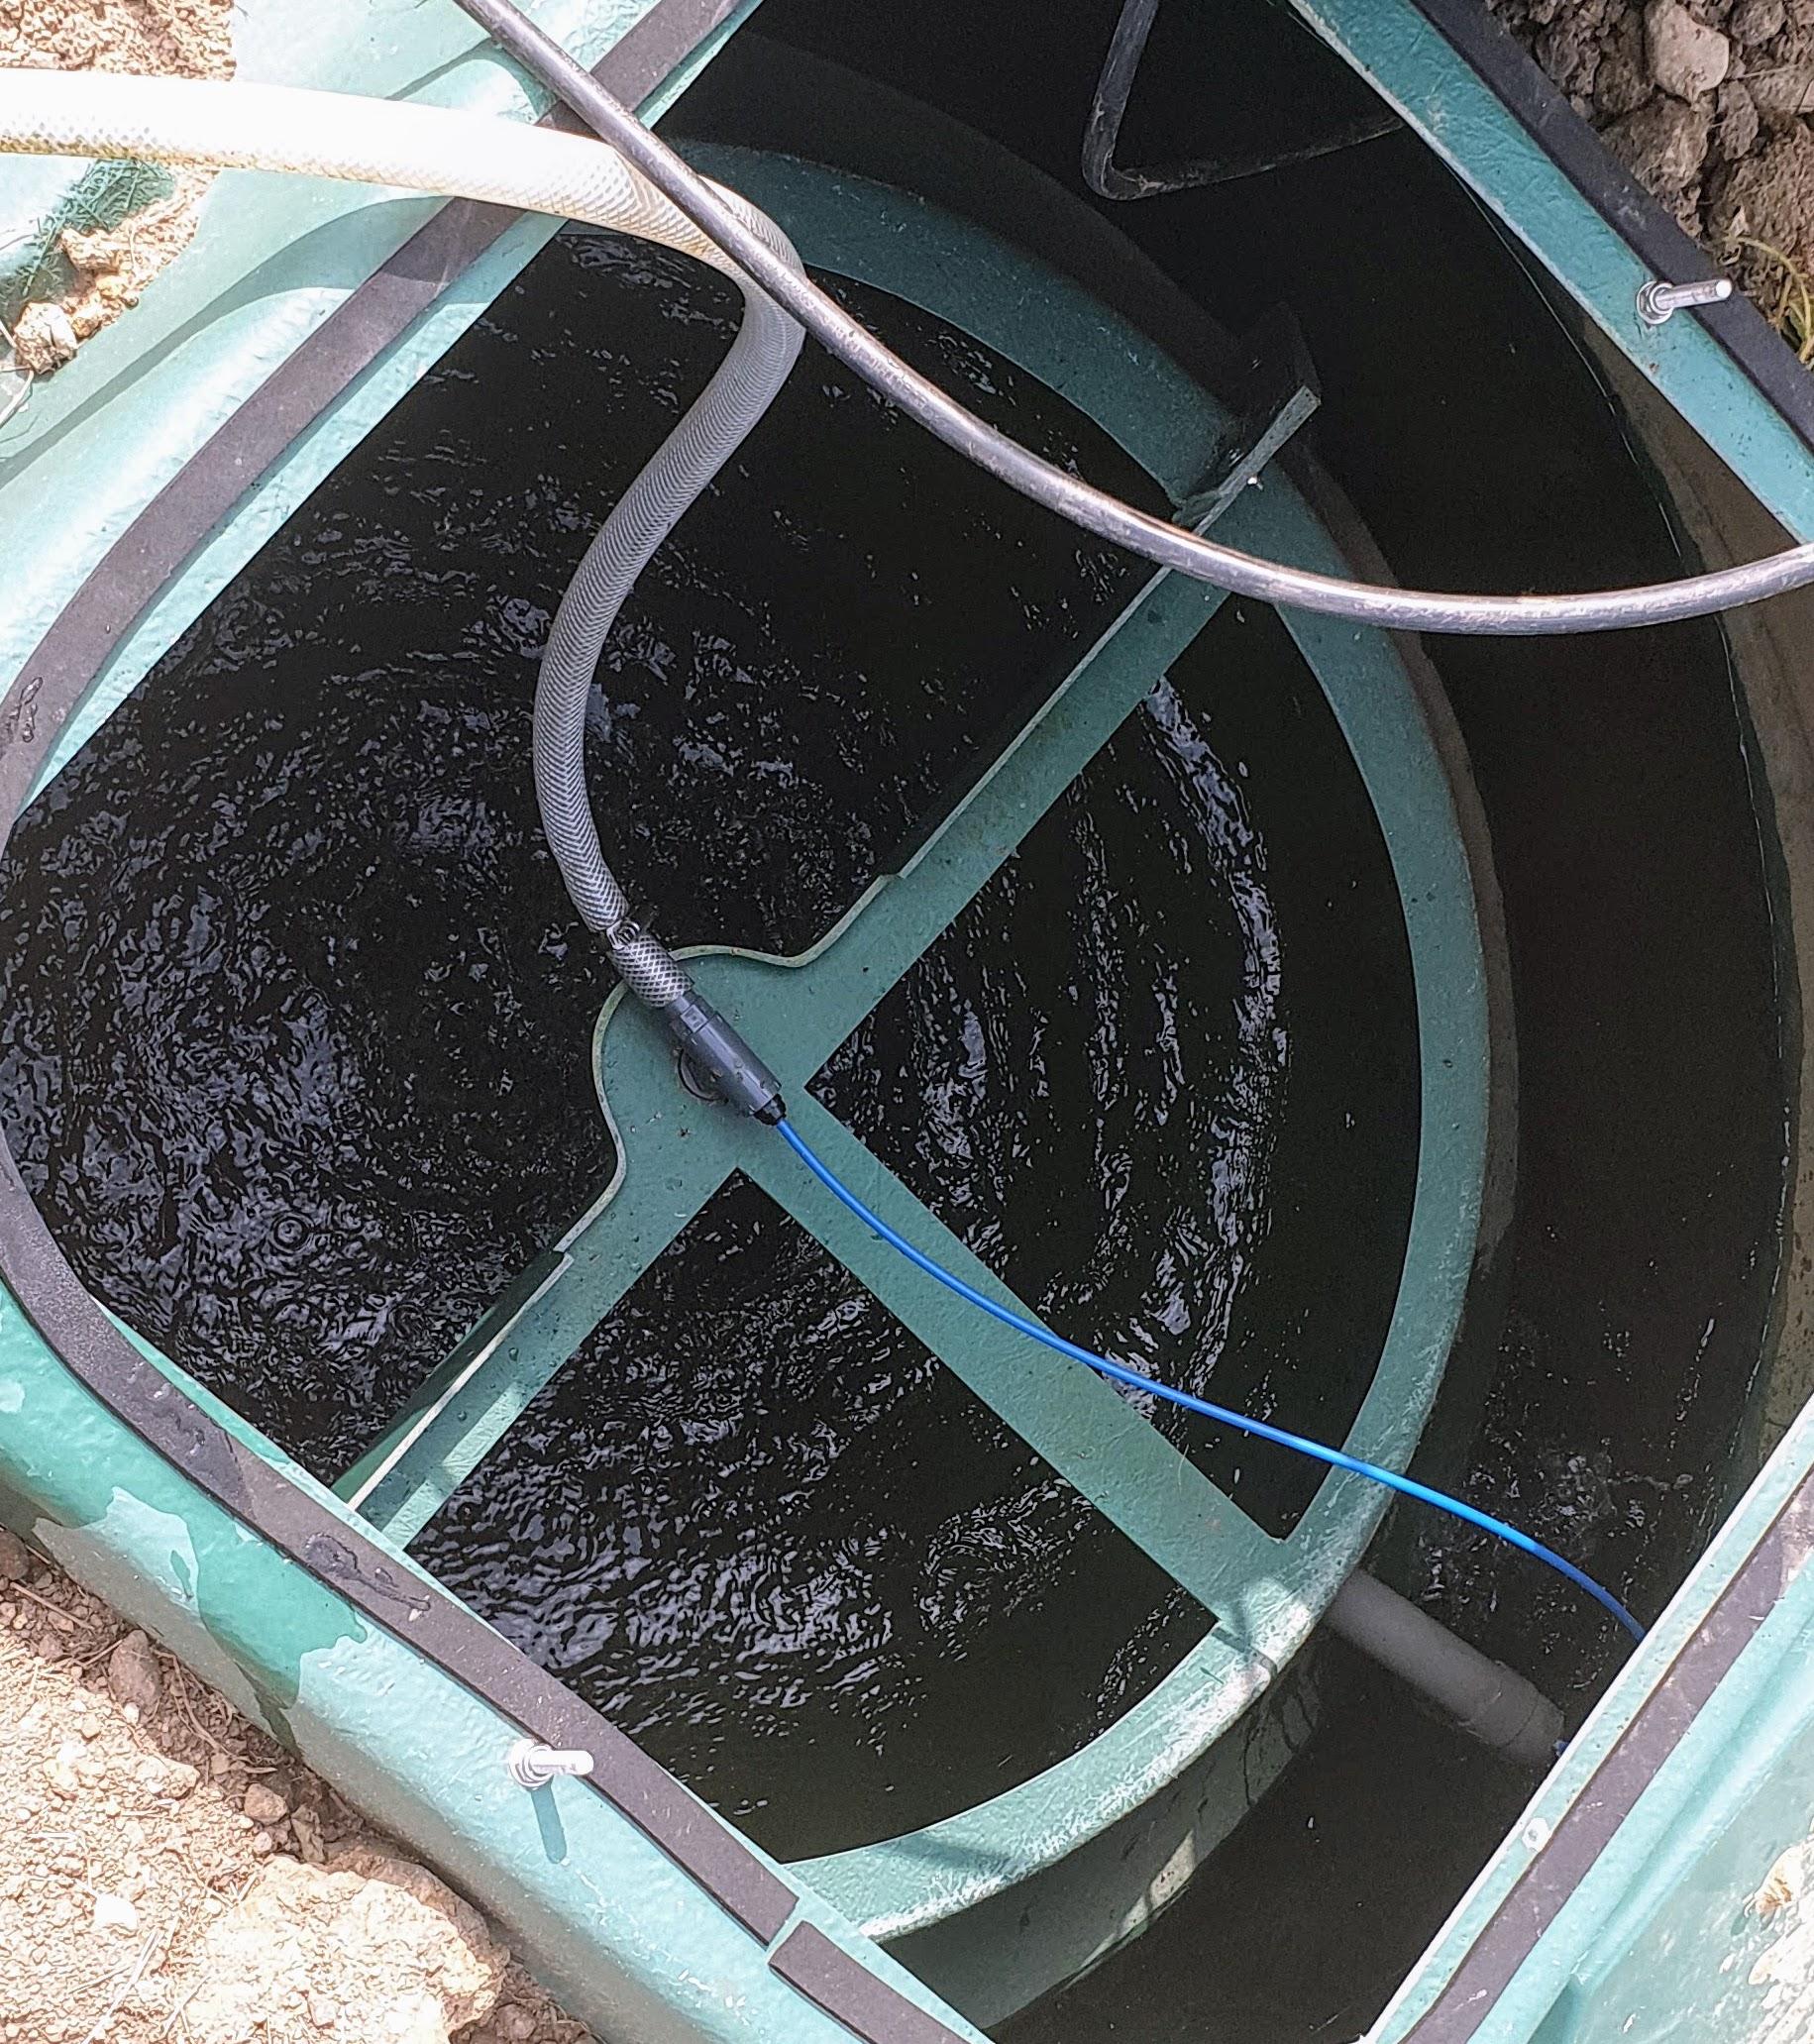
The 3 to 15 people version (BioPure 3 maybe ?) Jim, because we decided to put two houses on it. £3000ish delivered. Also decided to bed it in concrete (high water table sometimes) - easy - attach 4 concrete fence posts with chain to 8 shackles and drop them in first. The a tonne or two of concrete. Get the tank in the right way round (who can guess why I thought it useful to point that out), and then above say a meter from the bottom - above the concrete - put a whole load of 10mm in with a French drain sleeve bedded in that lot ... so it becomes a soak away ... and duct the soakaway to the outfall. Tickety Boo. I had the fear of God put in me by someone pointing out that Digesters can float even when full of packed lunches. He'd seen it happen. And I believed him. -
Sewage Treatment Plant - Discharge to ditch
ToughButterCup replied to Gymwear7's topic in Waste & Sewerage
Switched mine on for the first time last week. It was like switching on a log flume or jacuzzi. (Clear fresh water I hasten to add) No moving parts. Pump breaks? Take the lid off replace the pump , reconnect, go. Found a great crested newt clinging to a piece of PIR, tried to rescue it, leaned in - glasses straight off the end of my nose never to be seen again, but Sharpies float. NotAlotOfPeopleKnowThat