
Russell griffiths
-
Posts
7786 -
Joined
-
Last visited
-
Days Won
60
Everything posted by Russell griffiths
-

Kitchen Grid/Isolation switches
Russell griffiths replied to Spinny's topic in Electrics - Kitchen & Bathroom
two switches for ovens, why make it any more complicated.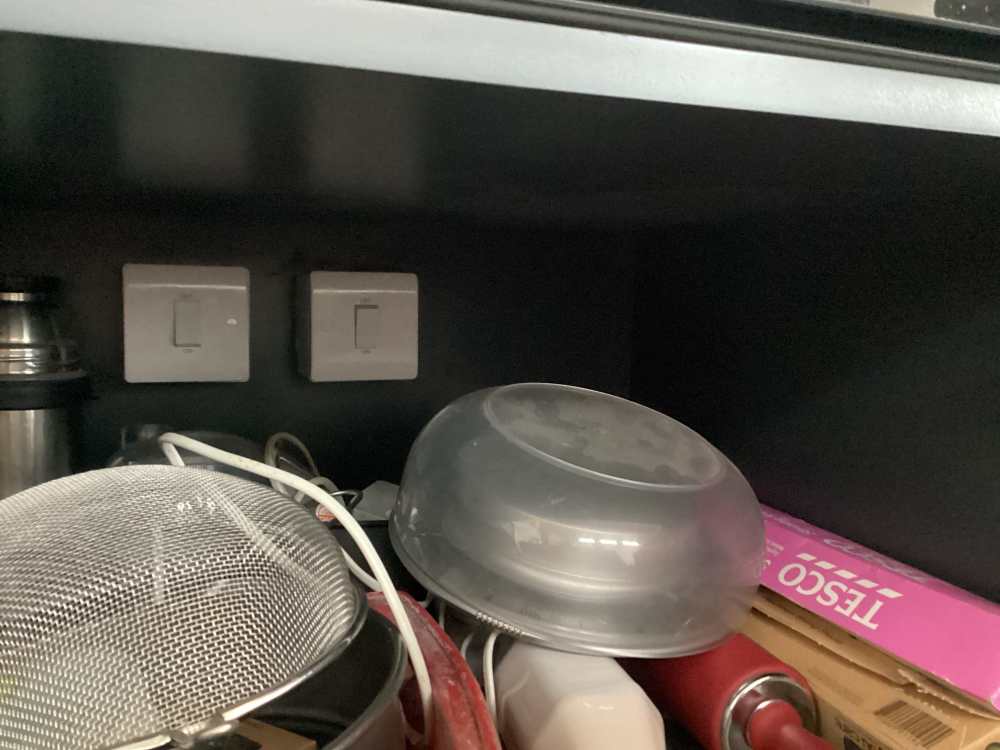
-
360 degree laser level recommendations
Russell griffiths replied to flanagaj's topic in Tools & Equipment
Get a pole that the laser fits too for indoors, they have a mount for the laser that has fine adjustment, a spring loaded foot so you can compress the pole and fit it in a doorway. wish I had bought one years ago. the standard method of fitting indoors is to get an old wood saw and smash the plastic handle off, then use the hole in the end of the blade to put a screw through and hang on a stud or something, magnetic fixing on back of laser onto saw blade. -
New build waste drainage, durgos and the regs.
Russell griffiths replied to jimseng's topic in Waste & Sewerage
To vent the STP you can do this with a vent pipe running up the back of a shed or into the bushes and vertical, what you don’t want is it near the patio and bbq area. -
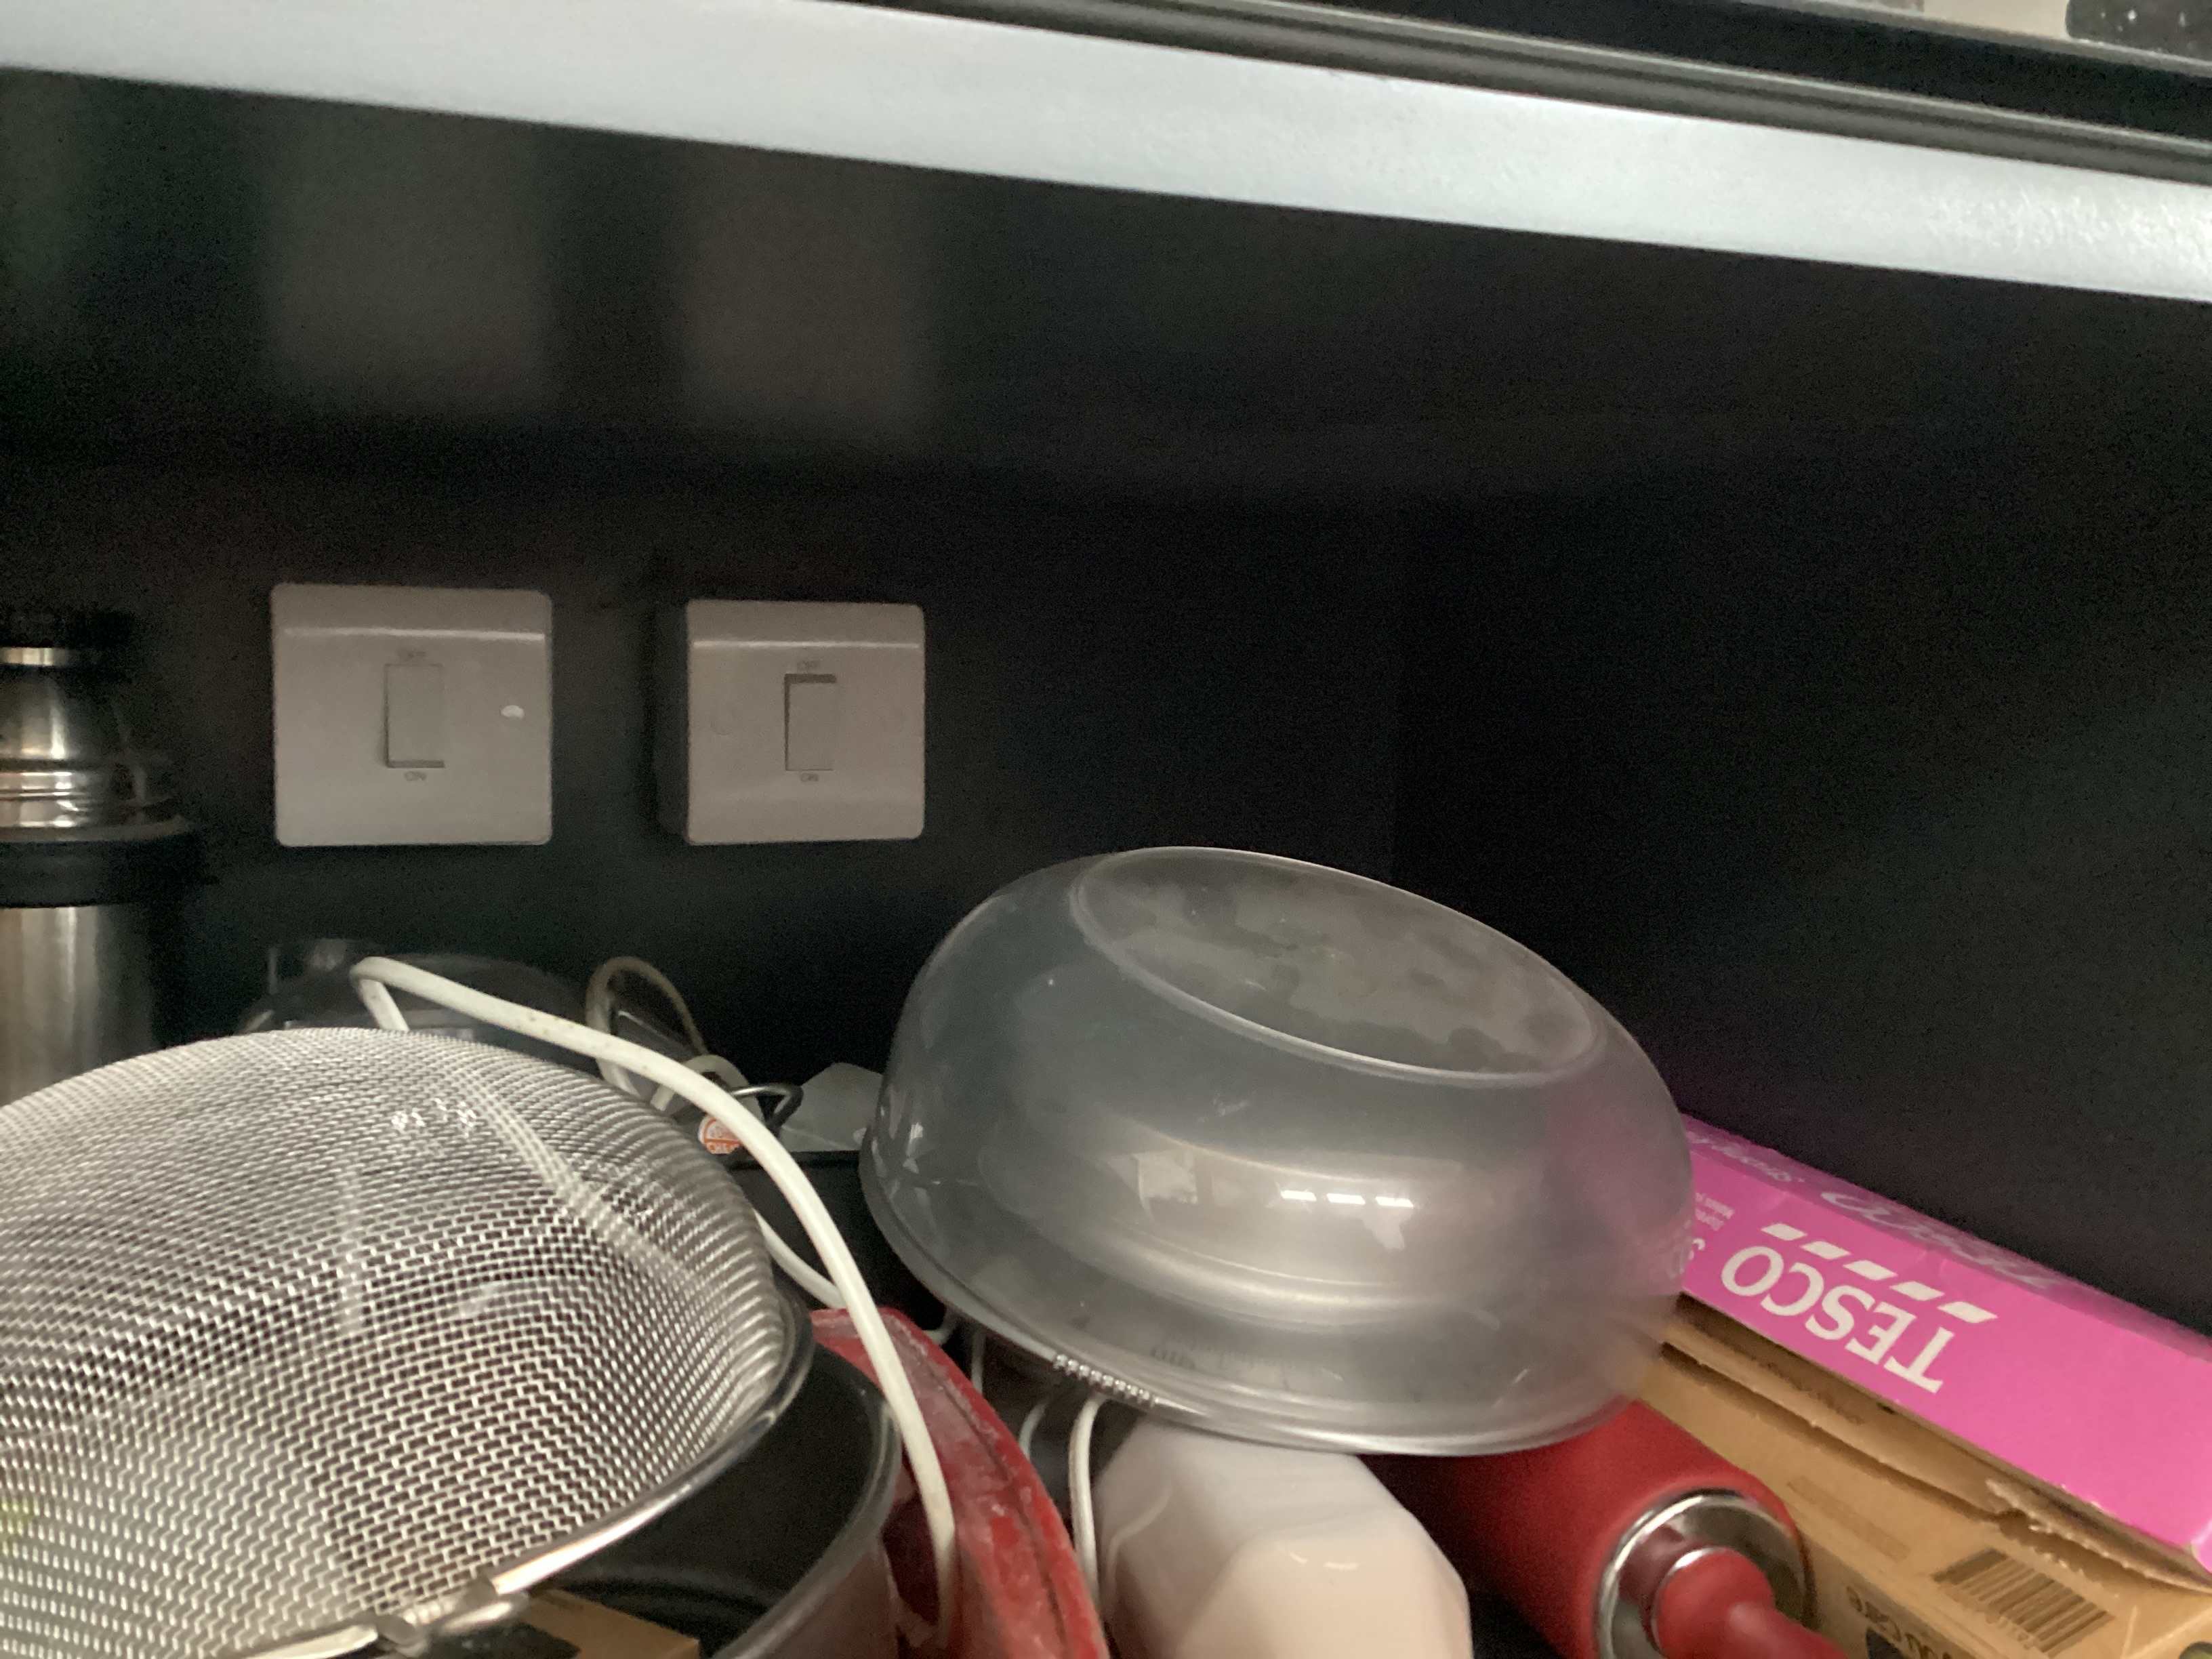
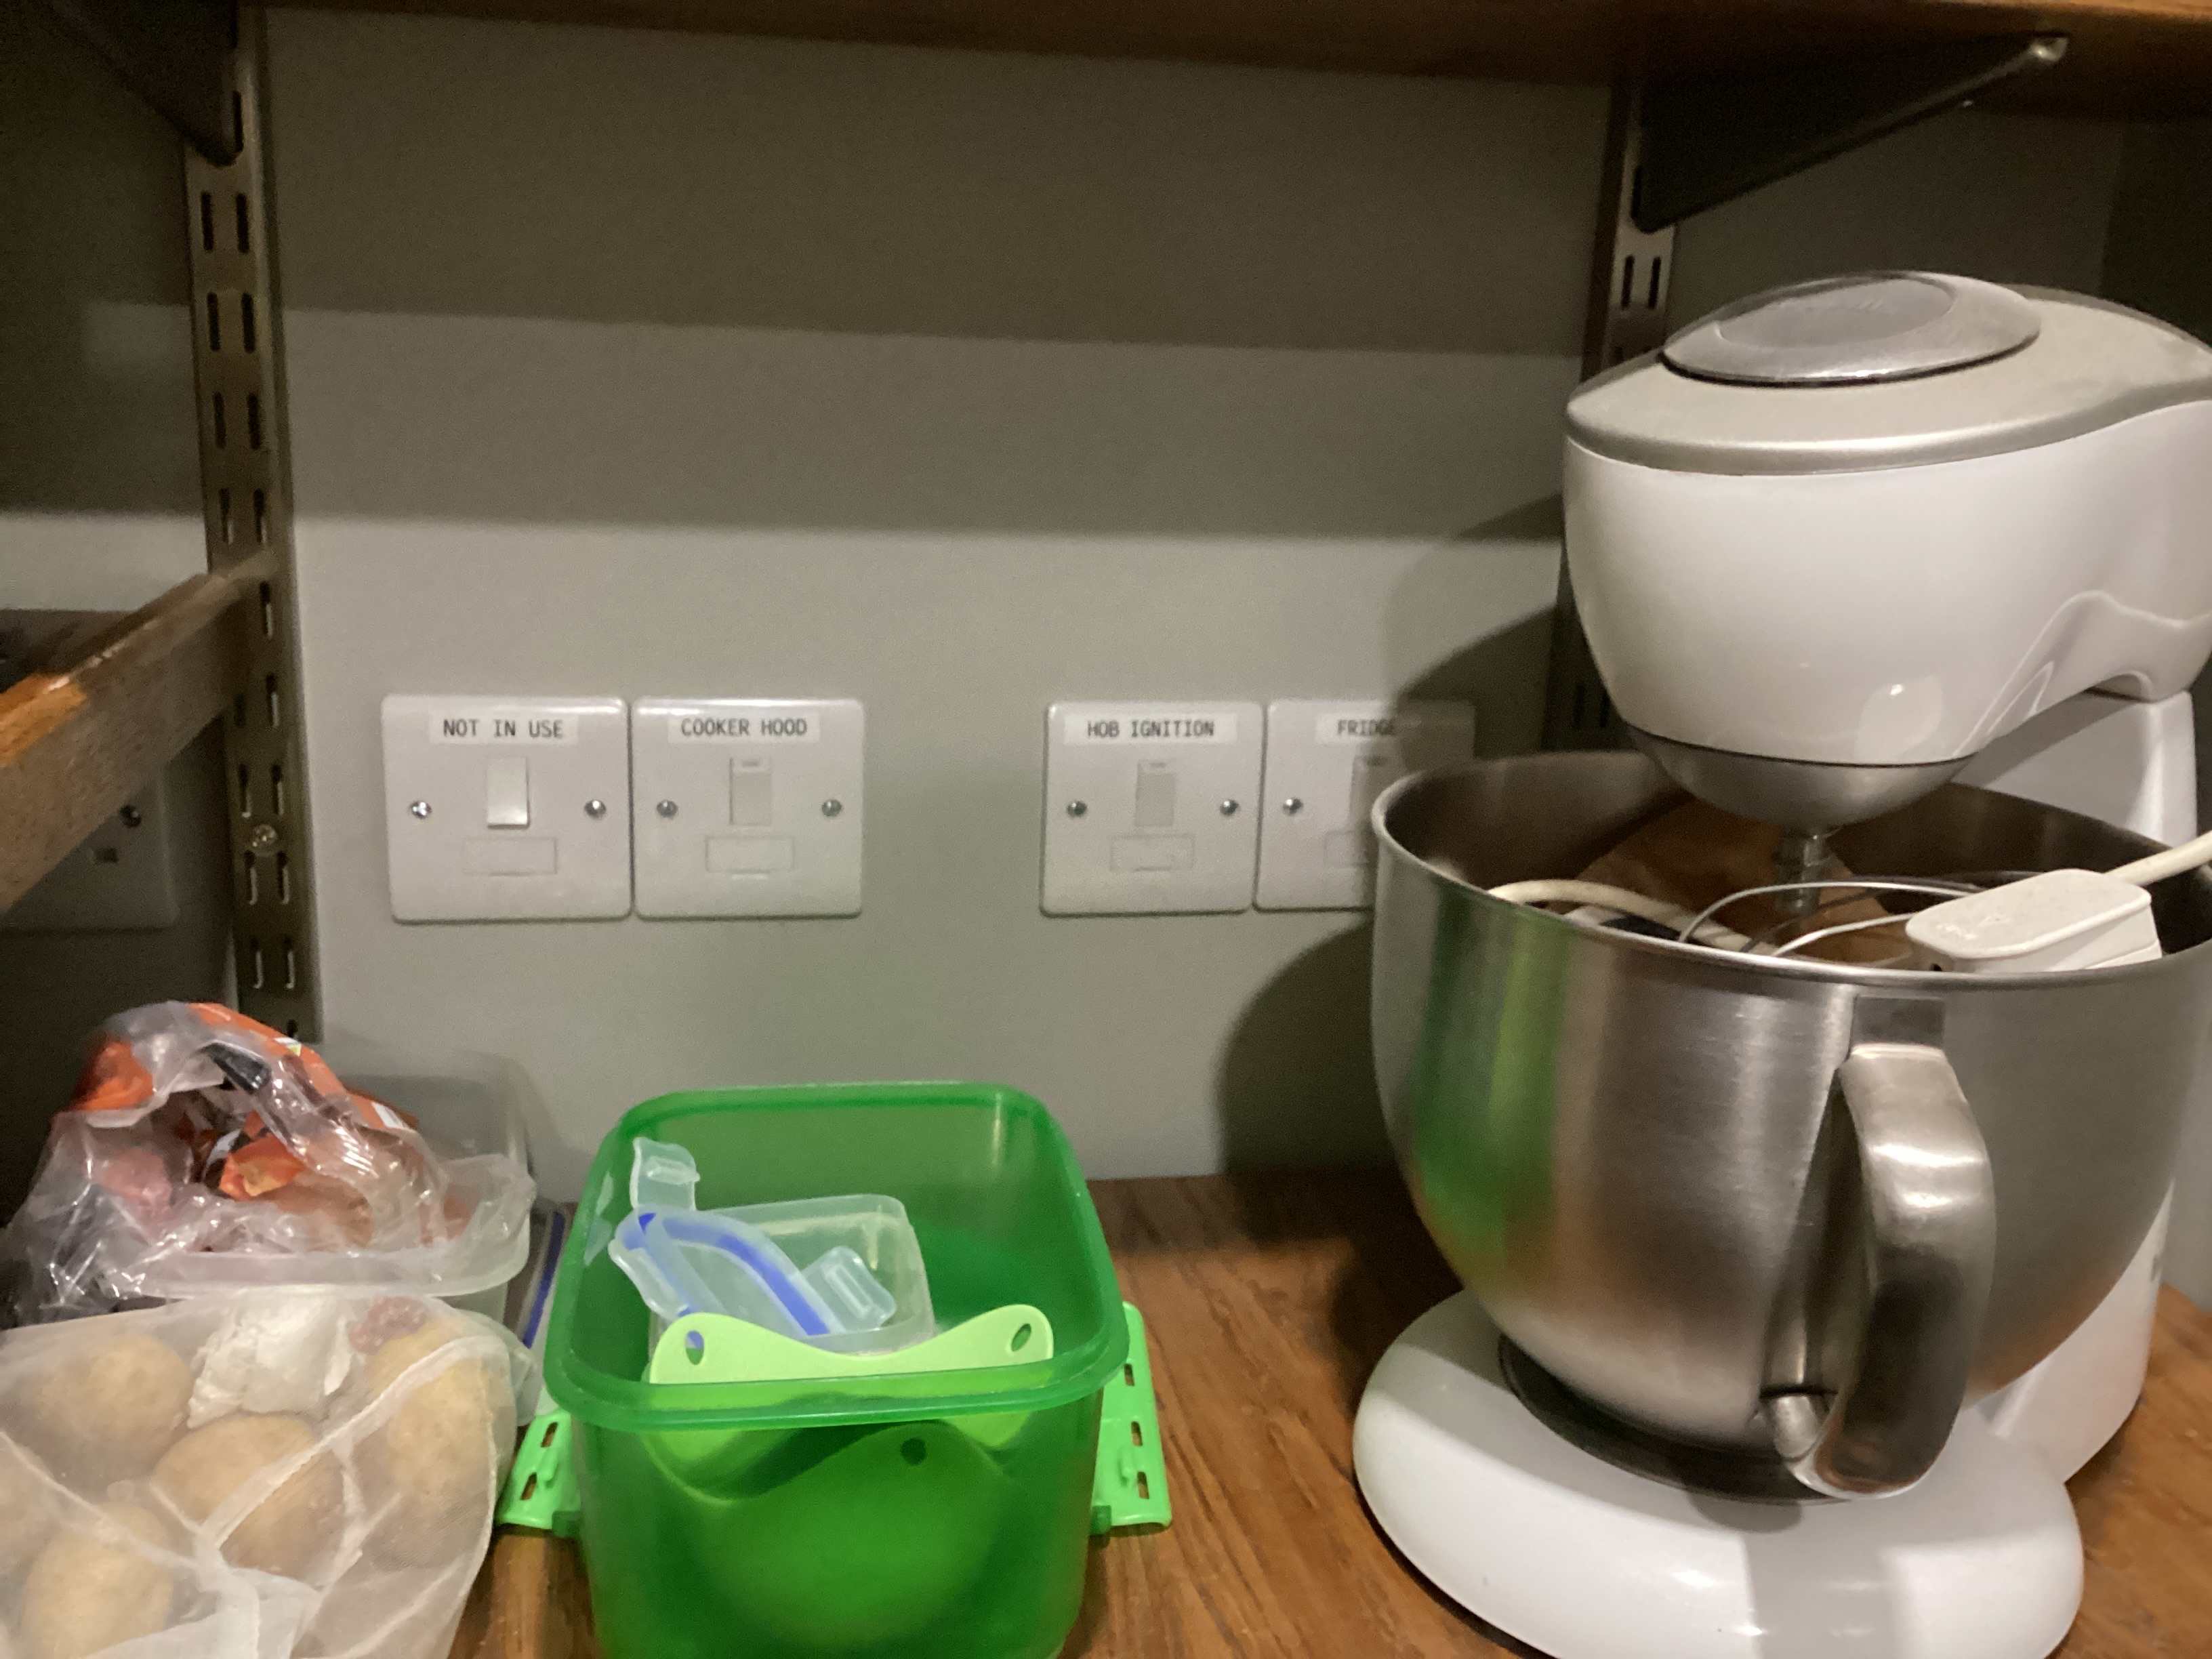
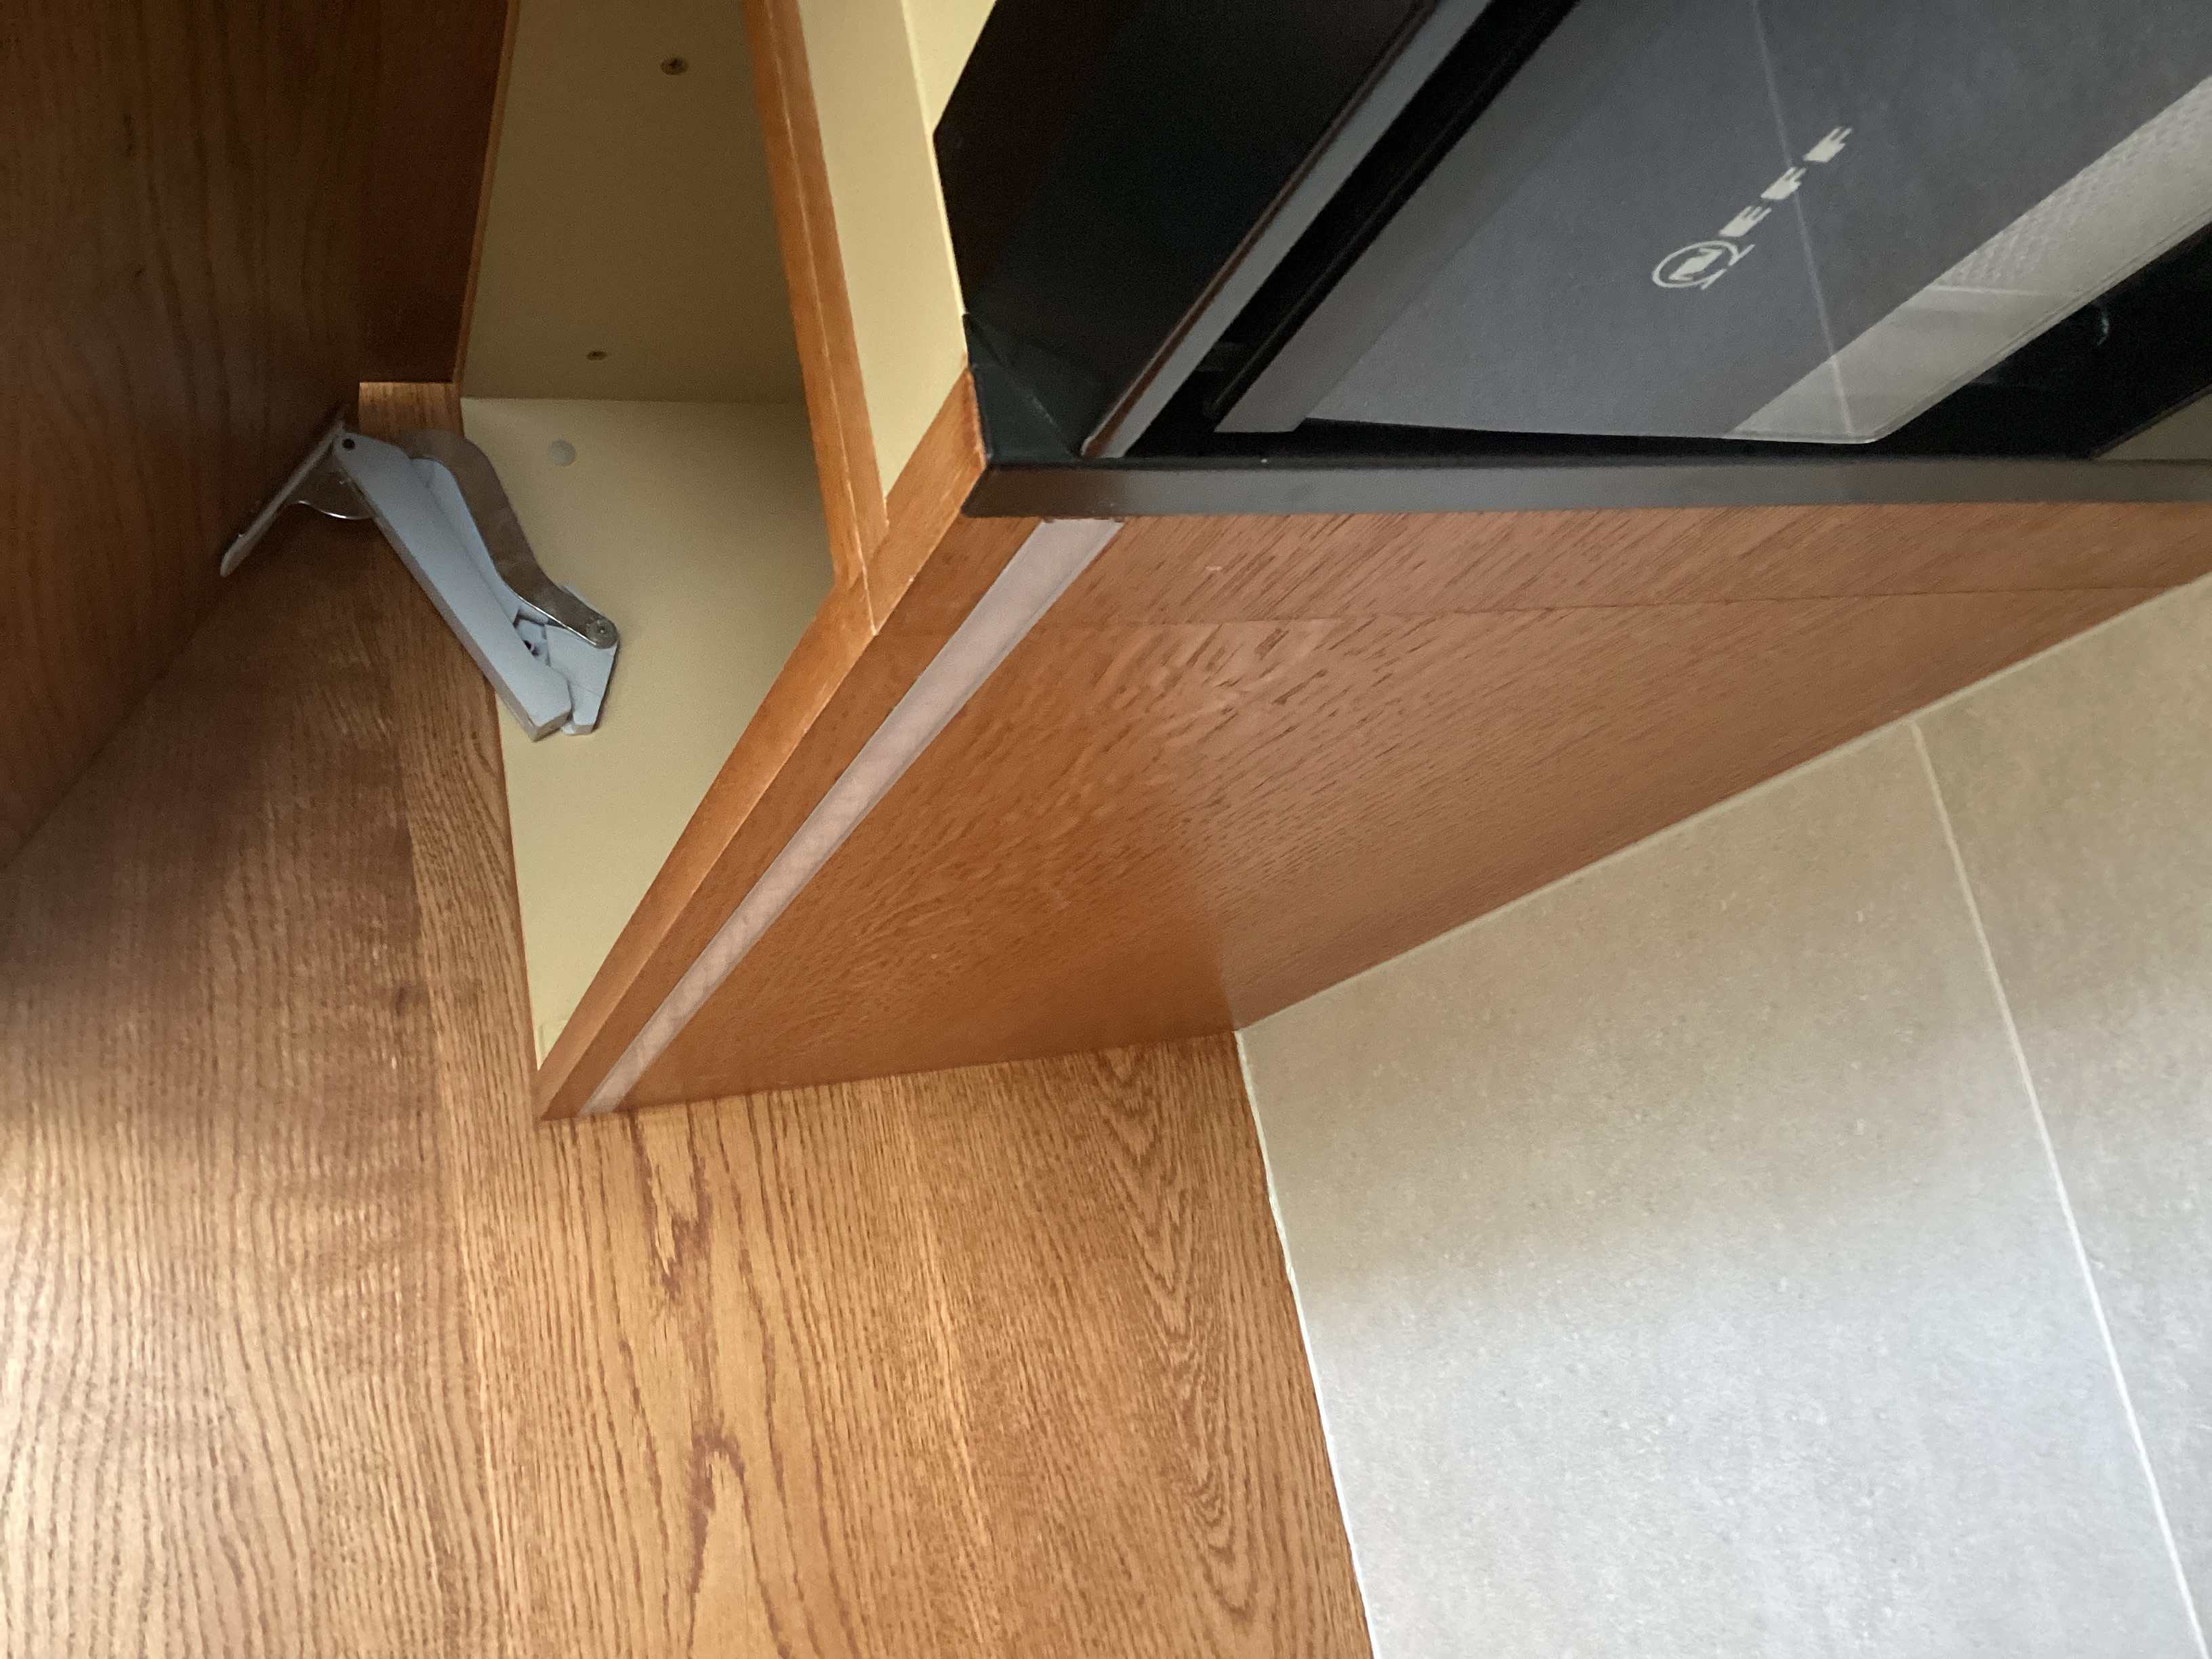
Kitchen Grid/Isolation switches
Russell griffiths replied to Spinny's topic in Electrics - Kitchen & Bathroom
If the wires are in place then that’s that, unless you want to move them. most of our isolation is in the pantry all flush fitted. however the isolation for the two oven is as you describe a 47mm surface box in the back corner of the cupboard. cut a square of osb and fit it behind the cupboard where the switch is going. 47mm in a 600 deep cupboard isn’t exactly taking up a lot of room.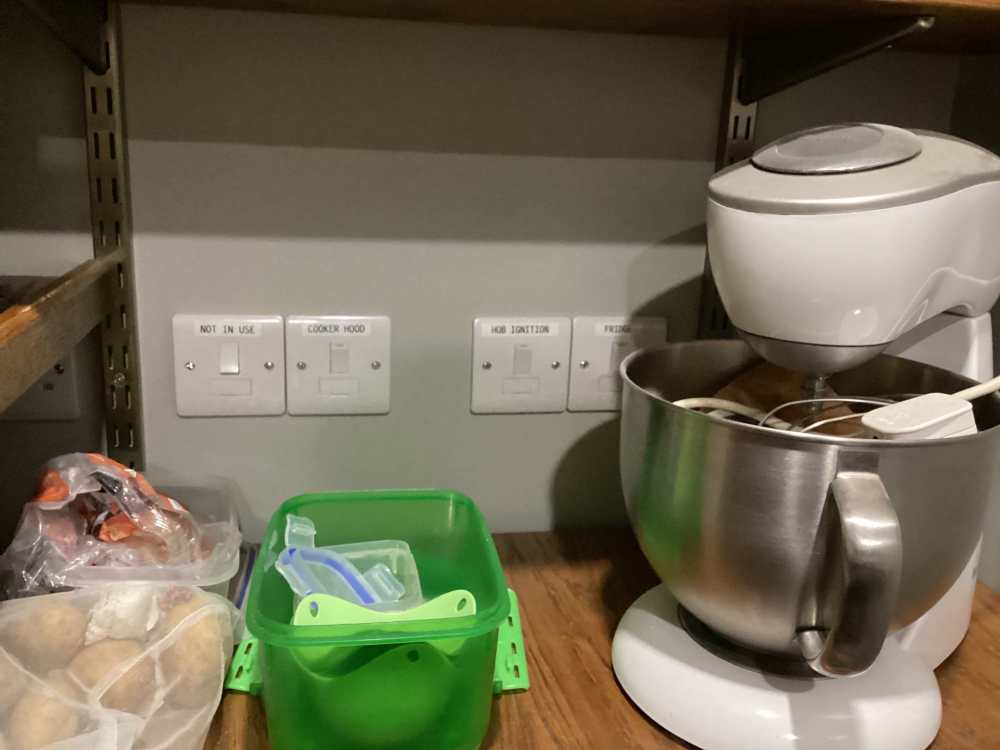
-
Get on the phone now and sort some insurance. we were in exactly the same position, site insurance ran out in about a fortnight, we could extend but it was £1200 a year, go to a broker and talk through what you have built, don’t do it online.
-
Run cables in external wall cavity
Russell griffiths replied to allthatpebbledash's topic in Electrics - Other
Be careful looking at pictures not in the uk, it’s easy to find an idea that would be very hard to replicate with our regs and building methods. -
How heavy ? some of the metal toggle fixings can take a large amount of weight now. you might need to chuck the original fixings away and add more to the cabinet to spread the load. show us what you have, opening up the wall would be the last resort sort of situation.
-
@saveasteading you rattle me a lot actually you have a habit of quoting people, but only including part of whatever they have written. which leads to leaving out vital bits of the quote. please if you copy something that someone has written include all of it for context.
-
Fu#k me!! who rattled your cage this morning. should you not be offering help and support instead of some of the wanky replies you have handed out on this post.
-
Forgive me if I’m being thick. but the colour changing and temperature changes are down to the led and driver unit. thin profile is down to the aluminium profile that you recessed into the cupboard, as long as the strip fits in the profile then off you go. just get a profile thinner than your bottom of your cupboard.

-
As above, check your insurance and move in. you must be 100% happy it is safe though, so all fire escape windows and routes out the building complete, smoke detectors in place and electrical sign off, after that it’s up to you.
-
Better pics needed but I would not render it take the top 3 courses off and either rebuild those, or just re cap it at that lower height. Does it need to be a specific height for it to function correctly, what purpose does it serve. replace the low down blown brick and give it a bit of a re point.
-
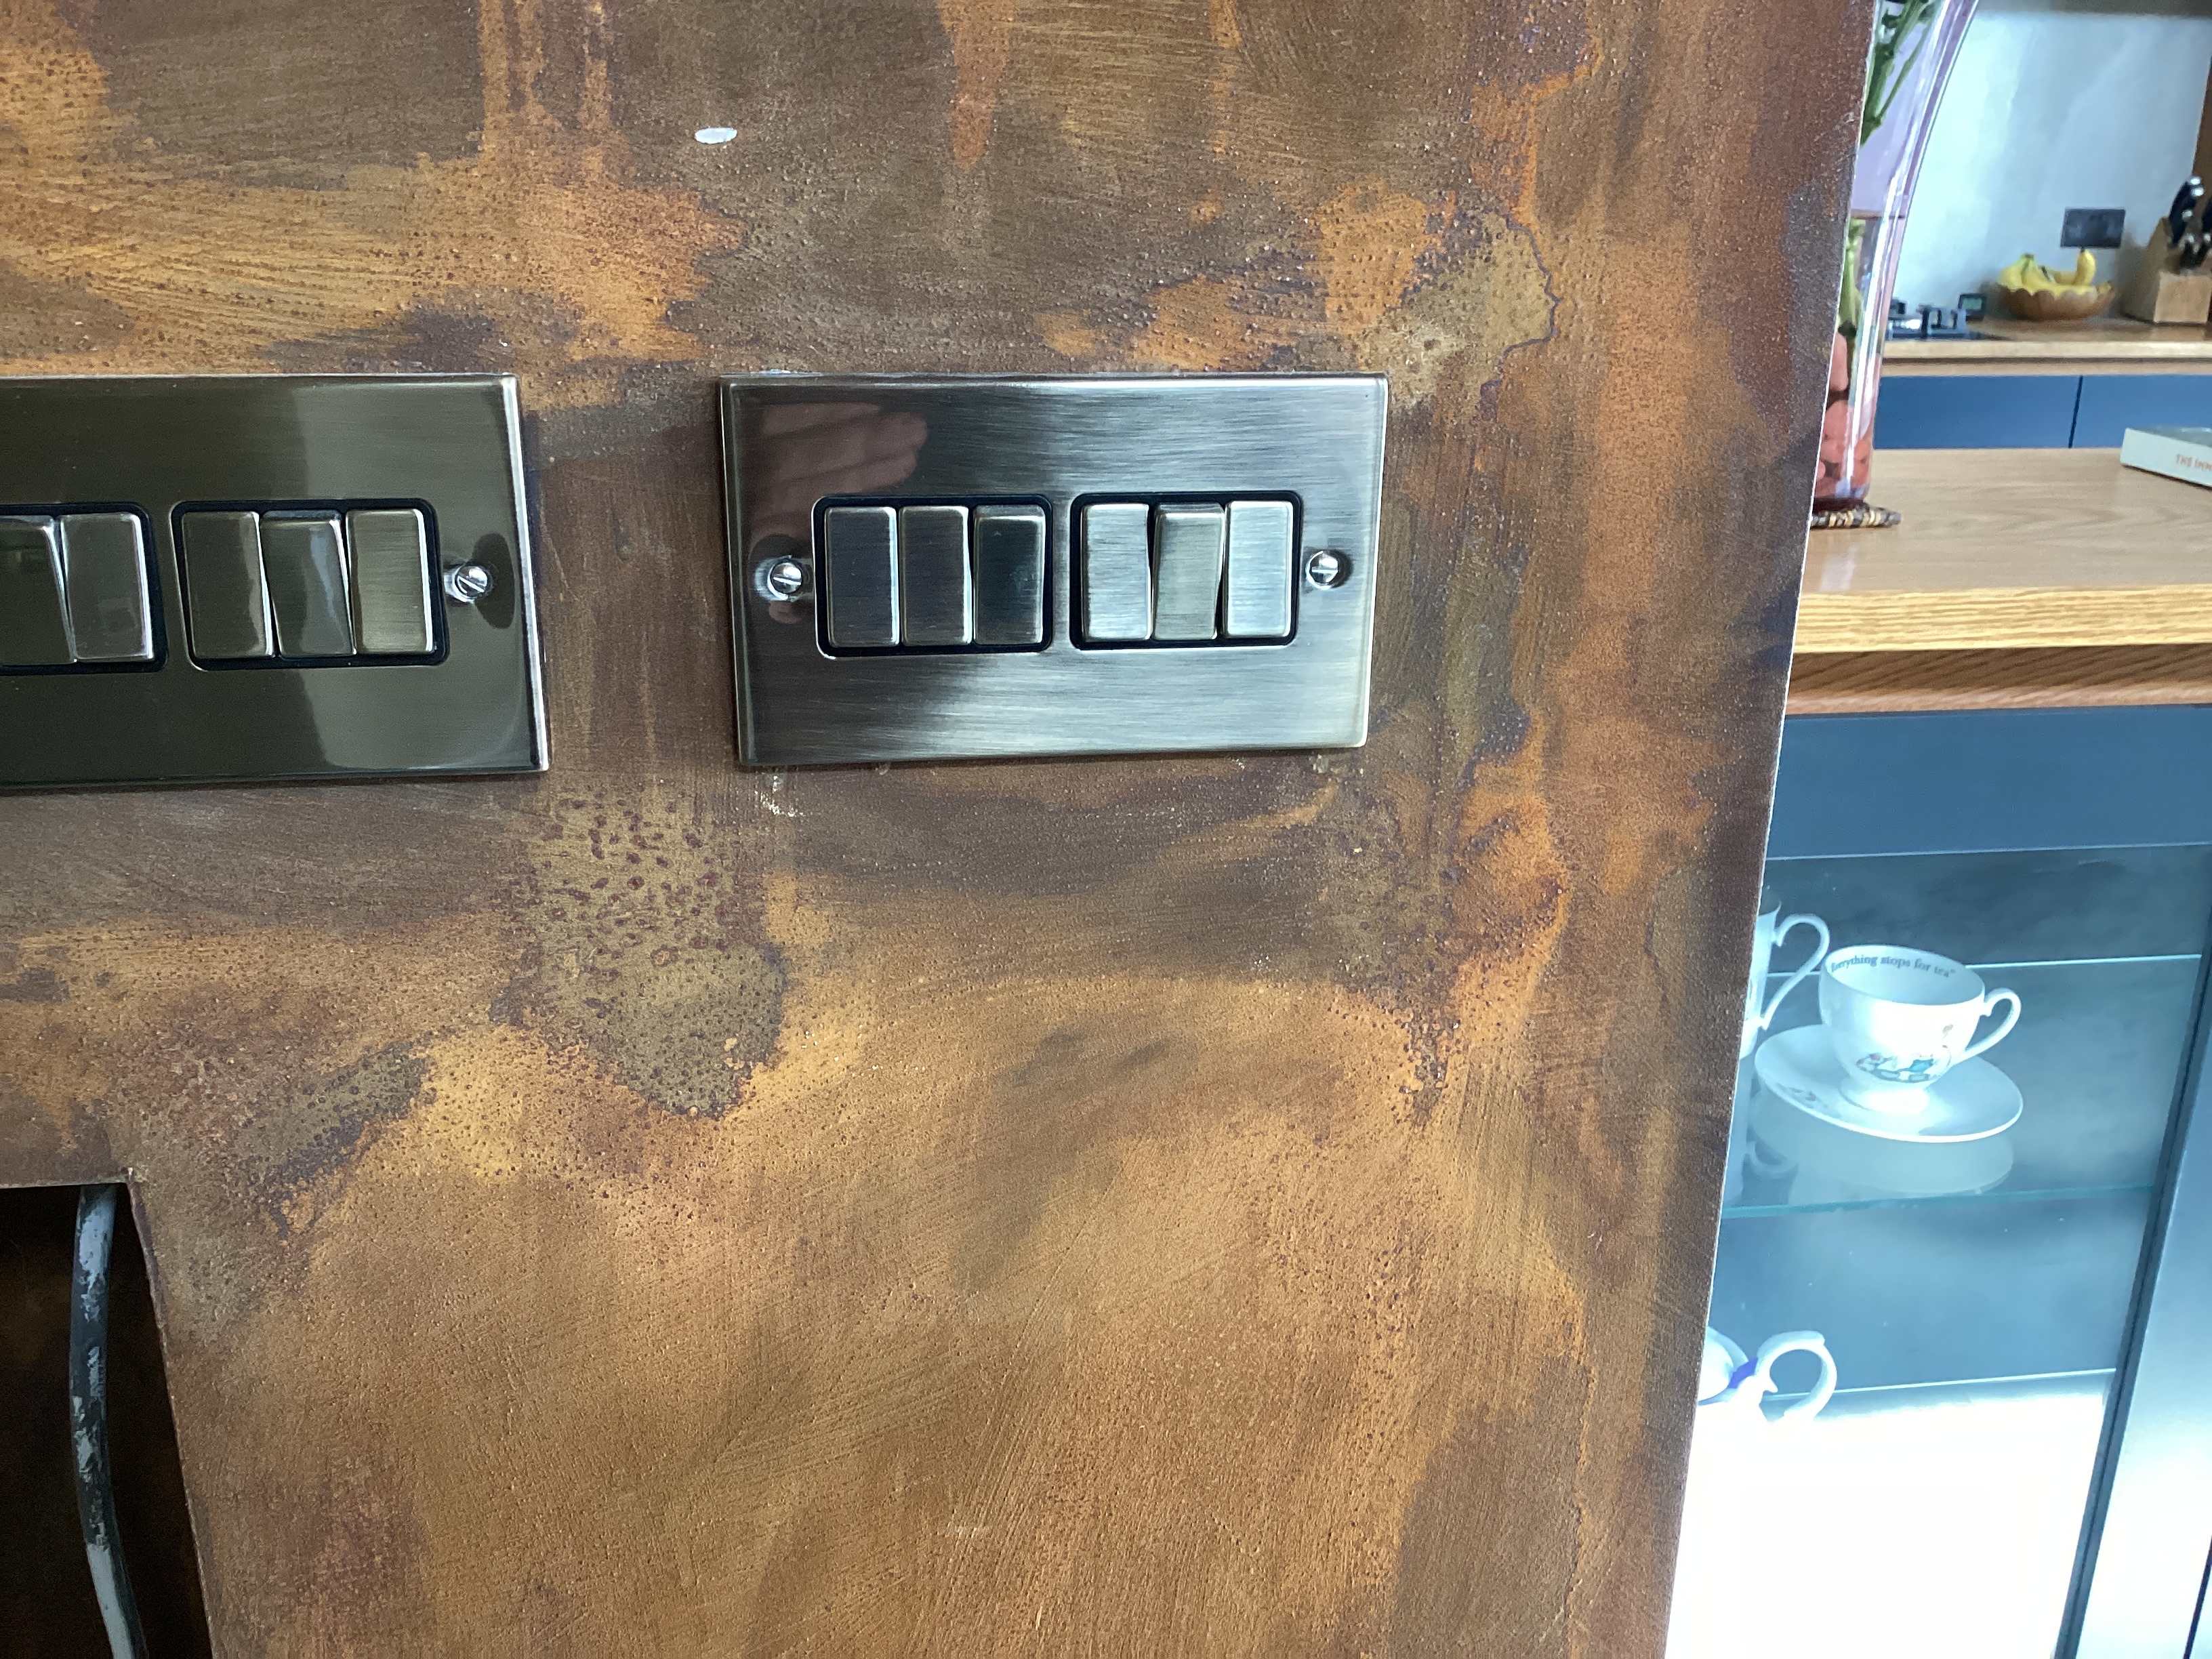
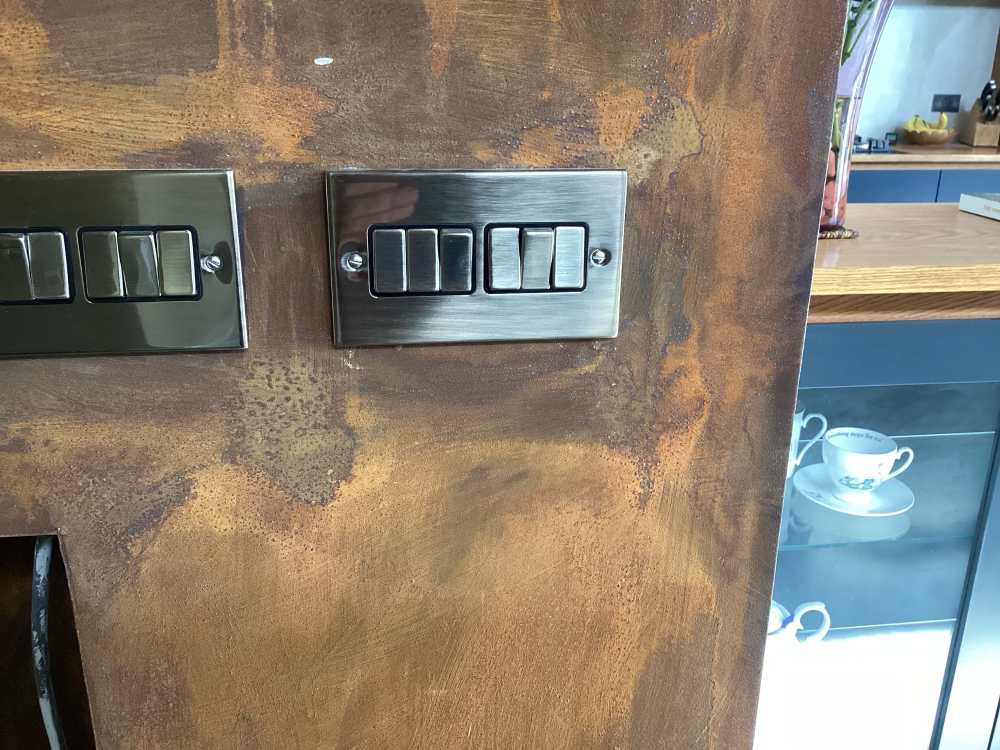
Buy good quality switches with interchangeable modules. unless your place is costing north of a couple of million to build then just have faceplates with screws in them. it’s just another problem you don’t need, and after a month you won’t look at the switch ever again. 12 switches in the photo, click mode by scholmore would they look better without the screws ??
-
YouTube channels and playlists
Russell griffiths replied to Square Feet's topic in Property TV Programmes
Watching robin clevett will give you unrealistic expectations of your trades people. -
Sticking insulated plasterboards
Russell griffiths replied to Arnold9801's topic in General Self Build & DIY Discussion
Go online and buy in box quantities of 12. -
It’s a ball ache job in a trench that narrow, two courses of trench blocks, or I prefer concrete blocks.
-
Show me your pond!
Russell griffiths replied to canalsiderenovation's topic in Landscaping, Decking & Patios
still probably too big for what you would need, not sure if it gives the right feel though. about as natural as it gets. my friend has a wildlife pond he dug and used a liner, I will see if he has any pics. he’s the type of bloke who would have researched it for a year first.
-
Show me your pond!
Russell griffiths replied to canalsiderenovation's topic in Landscaping, Decking & Patios
just messing. get your spade out, you would need to shift a few tonnes to get a pond like my one. serious photo to follow when I can find one.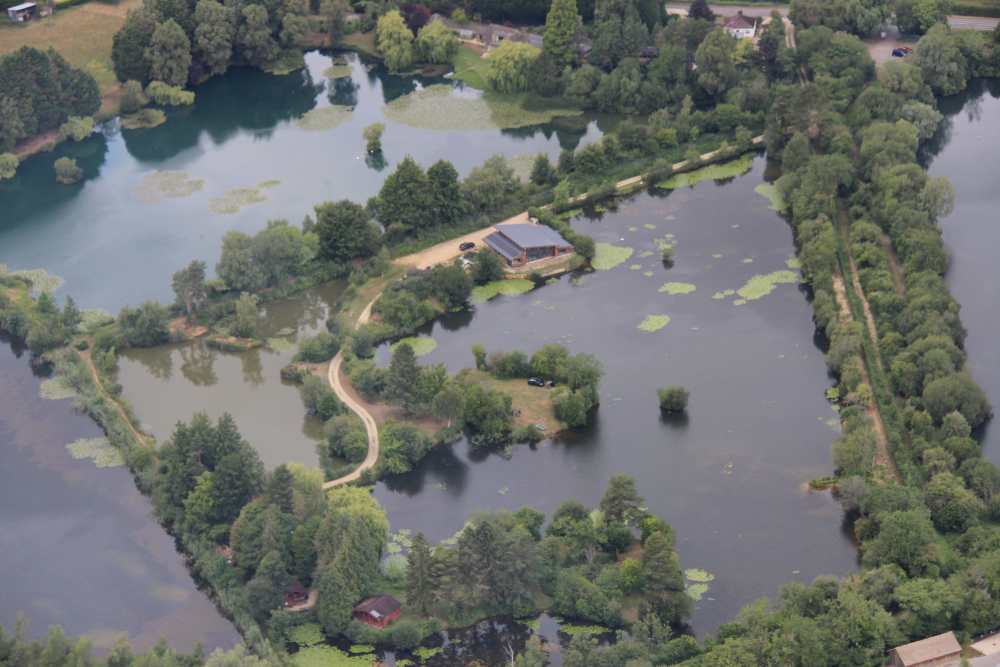
-
Vaillant ashp (my battle with).
Russell griffiths replied to zoothorn's topic in Air Source Heat Pumps (ASHP)
Have you not noticed the oil crisis oil for heating is not available at the moment by me, with the depots saying a 3 week wait for deliveries, then they are saying that they won’t give you a price until they have it. it’s nearly 3 times the cost as it was last summer. I think @Onoffis trying to conserve it for hot water. Once that tank is empty it don’t work anymore. -
Cellulose insulation at velux windows - problem
Russell griffiths replied to Dunc's topic in Heat Insulation
Illbruck fm 330 is actually as cheap as the nasty rubbish from screwfix if you buy a box of 12 cans. do some google searching and buy a box of it, you will have wished you found it years ago. -
That’s the problem with those trucks you don’t know what you are getting until it’s in. 3 x 8m trucks is 24m ask what a truck holds. unless you had 4 that is. I don’t like volumetric as I feel it never looks mixed properly.
-
I’m afraid you need to be firmer on the phone and say what you want. say you have a pump on site and need trucks at 30 min intervals for the first two, then the first one returns for the third load, probably hour and half after he was there the first time. should be all in the ground by 11.30. im afraid you need to be firm and try not to sound like a diy er. you will get it sorted for the floor slab.
-
My recent one was £250, but it was cheap as it was a second test and they knew everything was ok because the first test was below passive house standard. I would expect £400 for a test and then some exploration.
-
Landscaping - Bank Edging Replacement
Russell griffiths replied to BOSullivan's topic in Landscaping, Decking & Patios
If you use the new tanalised post’s you will be lucky to get 7 years out of them. the old treatment was far superior. We are replacing fence posts by the thousands at the moment and some I remember putting in myself and I’ve only lived here 12 years. we are replacing everything with creosote posts. i would do some serious research before just buying a standard treated round post. there’s better out there but they come at a premium. how long are you going to live there ? -
Doesn’t it need to score below 8 for building regs. I believe to get as bad as an 8 you could have a window open. I cannot see the developer doing anything, and I don’t believe they have to test every house anyway, so he will have a good excuse for it being poor anyway.