Nickfromwales
-
Posts
31382 -
Joined
-
Last visited
-
Days Won
346
Everything posted by Nickfromwales
-
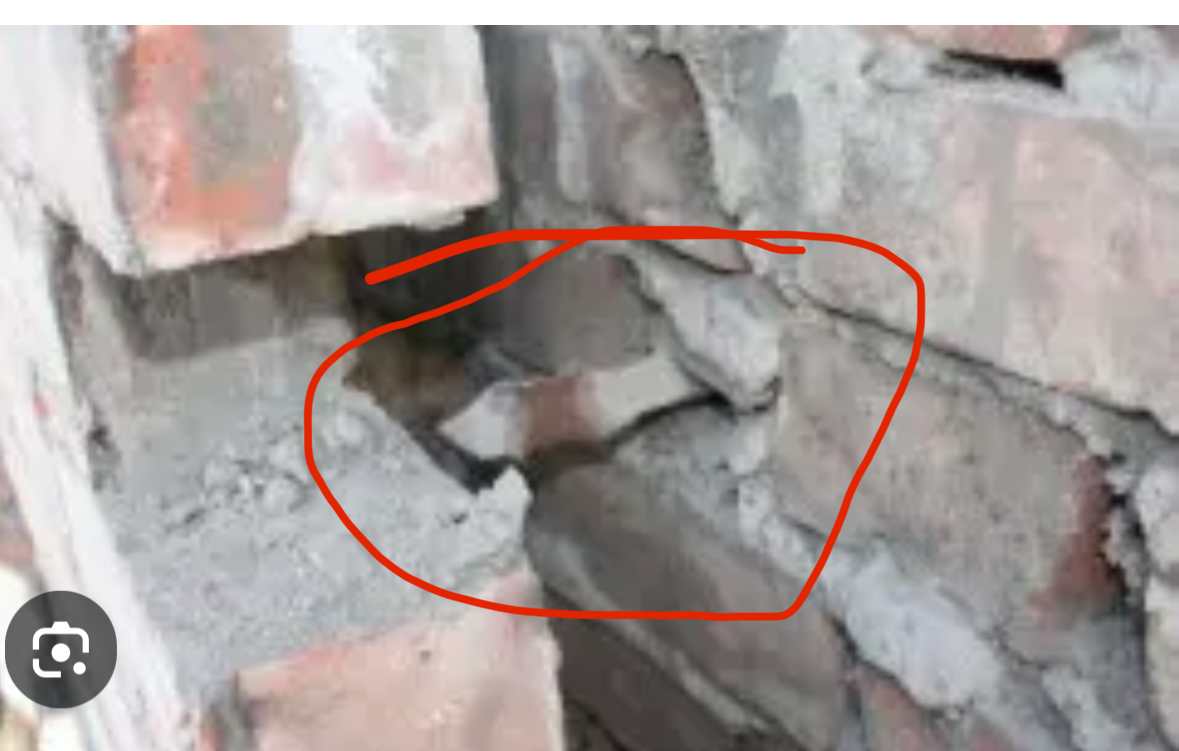
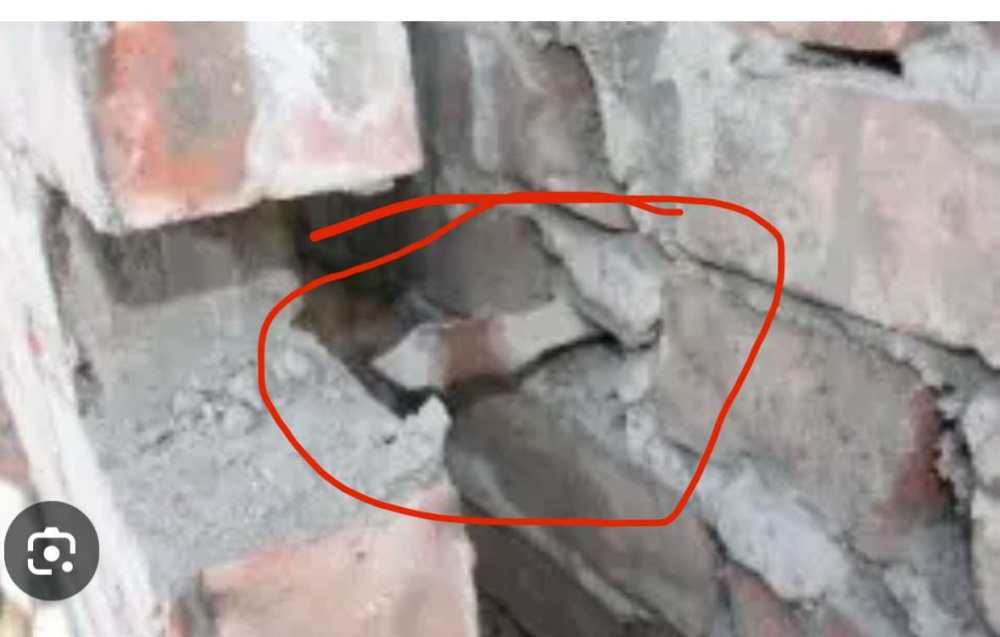
Random Internet pic. These are dotted all throughout the cavity. A ferrous metal band (tie) usually with a twist in the middle to create a drip off. These rust and then track damp across, which is why the problem from the interior is so pinpoint to specific locations. It’s like someone poking a wet finger in your internal leaf of brickwork.
-
You’re no longer allowed to mount the optimisers remotely, I did this on a previous project, when it was ‘permissible’, but it was frowned upon by the solar company that I was instructing. The optimisers are only needed if there’s split elevations on the same string, or shading. If you have optimisers it allows you to address each panel, so if a panel fails you can identify its location. If you got a solar PV panel such as the ones I mentioned above, then you’ll be at > 90% productivity in 30 years from now, guaranteed. Why accept diminishing returns or possible early failure from buying cheaper Chinese stuff, even more so when you’re already saving on the slates etc?? Poor place to economise imho.
-
 Why do you say that? I’ve recently specc’d a large dwelling with GF and FF in hollow core concrete precast decks, with a service void below. If somebody wants a ‘solid’ masonry deck then let them fill their boots If posi joists aren’t the local (Bahamas) flavour then nobody will know anything about them.
 -
Who what in the where now??!!?? @Boyblue, you pay for the hotel and beer and I’ll come out and build it lol. I worked on a cruise liner out in the Caribbean, and sailed around the islands, was amazing. Repairing the open deck cafe roof, with 2 pairs of sunglasses on to stop from going blind with the sunlight 🌞. Was sad to come home….. 🥥 🏝️ 🍻
-
Ok, so a bit over 400mm. Appears to be a cavity wall, so I now would put money that your damp is from ancient rotting metal cavity wall ties, which are tracking moisture / damp.
-
Can 100mm block walls be built on top of beam and block
Nickfromwales replied to Boyblue's topic in Floor Structures
When you factor in cost / cement products being imported and carted around, and the time and effort etc, then chasing services into the blockwork for 1st fix, they’re not actually low cost (stud work is cheaper, better, faster, and promotes installation of 1st fix services with ease. 🤷♂️😜. -
https://www.pavingexpert.com 👍🫡
-
Can 100mm block walls be built on top of beam and block
Nickfromwales replied to Boyblue's topic in Floor Structures
I’m fine, thanks for asking. You? -
I’d say probably, yes, so clean that junction (between worktop and tiles) thoroughly and leave to dry. Then try using some chamfered tile spacers to wedge the gap apart a little, and use the rest of the clear CT1 to seal there too. Inject it into the open gap, smooth it all back with baby wipes, (use LOTS of them vs keep using the same one), up close to the spacers, then immediately pull the spacers out to let the gap close. Wipe again with baby wipes, forcing the excess into the voids left by the spacers. Wipe it all back until you can’t see much of the CT1, and leave to cure for 48hrs. Then use a bead of quality Microban type clear silicone to give a finished cosmetic / water seal. Then go to pub.
-
More than the length (not width) of a common brick you say?
-
Having that 25mm insulation in there won’t stop draughts getting in when there’s a hoolie blowing outside. Air finds its way through tiny gaps, benefitting from when there are lots and lots of them, but it certainly loves any bigger ones! The boxes should (could) have foam around them, and the boards foam sealed at the head / foot / sides / returns etc. The issue here is that if it wasn’t specified as an airtight build then the builder hasn’t charged you for one, hence you haven’t got one. What did you ACTUALLY have in the specification and agreement, in terms of these considerations?
-
Take the socket out and have a look? Do you know if they’re metal boxes or fast fix (plastic into plasterboard) boxes? Beware stripping the threads when removing / reinserting the plate screws that hold the socket on.
-
Can 100mm block walls be built on top of beam and block
Nickfromwales replied to Boyblue's topic in Floor Structures
Usually not, but the SE or designer should have already detailed this off the plans? Why not use stud partitions instead of masonry blockwork? Studs can be used for load bearing applications with ease. -
It is unbelievable that anyone came and did this job this way. The driveway should have been excavated out to drop the top of your new driveway down to the original finished level, with at least 100mm of MOT1 or other sub base material down under the new block paving. Shocking. Glad you pulled him over this, and that you pushed back. I bet there’s a lot of people who’ve had the same issues and have not gotten anywhere. The bad news is, you’ll have to pay someone to pull the last 5-600mm of drive up and relay it where the last couple of blocks are set into a concrete / mortar haunching. This will otherwise all start to move about and go south very soon. Then, as said, clear out about 150-200mm below dpc and fill with decorative colour matched chipping to allow water to fall to ground away from the brick wall. Might be a good idea to paint on some “black jack” (liquid damp-proofing membrane) to go belt and braces. Just stop that about 50mm above DPC and paint anything showing with the wall colour paint.
-
Defo seal around that pipe! Clear CT1 will do a great job. Leave the tip cut at it’s narrowest and inject into the void until you see it come flush to the render, then cut to an 8mm nozzle and do a 360 around. Use cheap baby wipes to clean up the goop, and the gun, and your hands, as CT1 is sticky as feck. Where does the vent appear inside the house? May have been there to compliment a solid fuel or gas appliance. If you e a modern, room sealed boiler now then the likelihood is that the vent is now just a nuisance and is adding a lot to your heating demand. So, yes, consider getting rid. Can you measure the thickness of the wall, and if it’s the length of a brick plus mortar / plaster etc then a cavity can be ruled out. I went to a similar call-out in an immaculate £(x)m+ house with a burst cylinder. Indoor water feature……😵💫 but I doubt your internal plumbing is relevant here. If the UFH was leaking you’d be topping up the boiler ever couple of days.
-
ICF basement and 2 floor rear extension
Nickfromwales replied to Osato's topic in Introduce Yourself
Yes, thanks, you’ve posted this previously and it’s good to hear. Odd how converse both my experiences were with woodcrete ICF, but I’ve not ‘done’ a Durisol build. Durisol has the same manufactured-in bridges, so strange how zero rain penetrated. They have more internal > external bridging than any other WC ICF too. I visited one in Poole, was passing so went to spec and price the heat pump and MVHR, but was there just in time to see the last of their pour going into a hastily organised skip. Bottom course blew out as they were trowelling off, must have been gutted, but the Durisol block looks to be the most robust tbh, with the 3 bridges per block so maybe DIY error played a part. @JohnMo, did you do much bracing / shoring up? And did you screw each block to the last as you were going along? Just seems, vs EPS ICF, to have a lot of woodcrete in with the concrete, so did you have to put any structural steel reinforcement in also?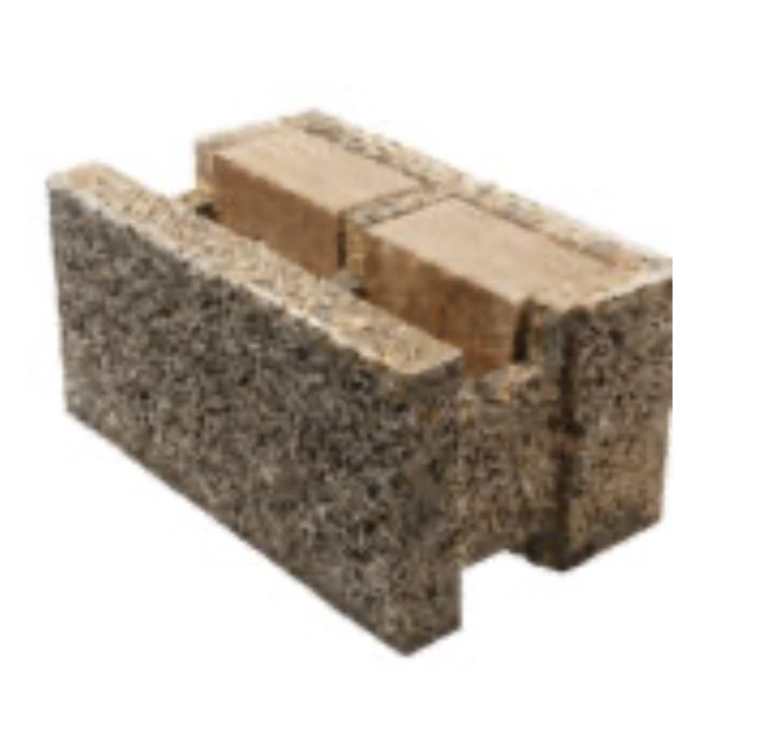
-
Yes, it’s possible to link to adverse examples, but in my M&E designs I mitigate these things out before they become a problem. Having these issues afterwards means you either didn’t have an M&E designer or coordinator, or had a poor one. To have such cold air constantly pumped into your fantastic new home, is rubbish in terms of a result, sorry. To mitigate that particular issue I “heat” (zap the cold out of) the incoming air; this is done by sending the supply air coming out of the MVHR unit into a heat battery, fed from the ASHP, and then onto the distribution manifold. This had the equal effect in the summer, zapping the heat out (if the HP is in cooling mode). If someone has designed a system that constantly blows cold air onto whilst you lay in your bed at night……👎. 💩. “Don’t let the door hit you on the ass on the way out”
-
ICF basement and 2 floor rear extension
Nickfromwales replied to Osato's topic in Introduce Yourself
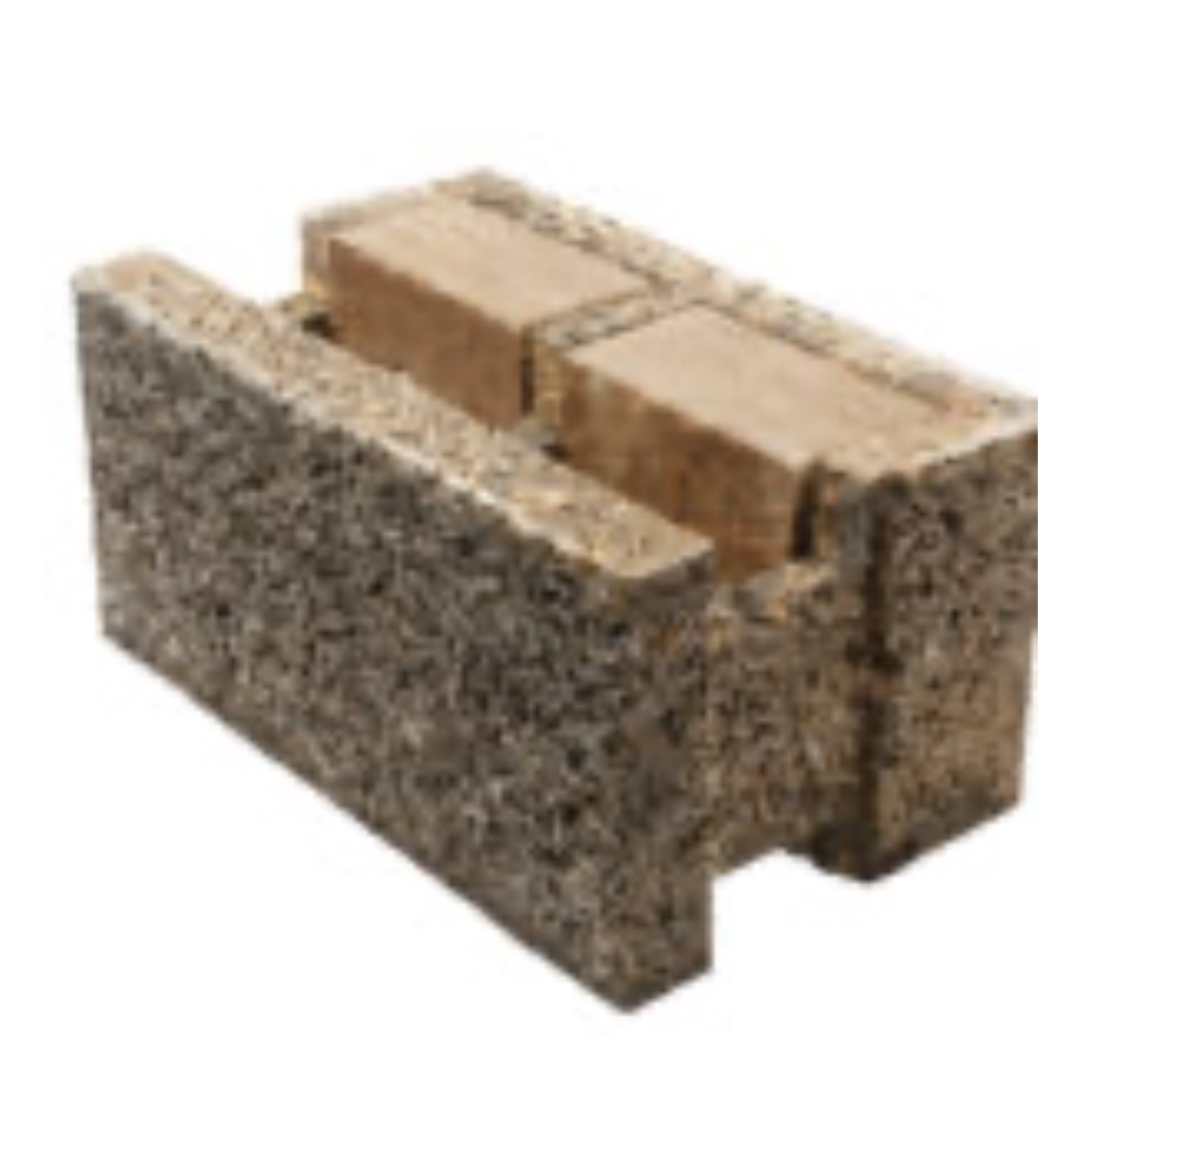
I’ve worked on many EPS ICF builds and only 2 woodcrete ICF builds (1x Velox and 1x Isotex), so I can speak of both from hands on, literally, experience) and have had sufficient ‘contact’ to decide that I’d never use woodcrete over EPS, EVER. Working on these 2 woodcrete jobs was painfully difficult, and eye-wateringly expensive for the clients, eg for us to go to the lengths that were necessary to achieve anything ‘great’ with it. I’m getting a headache just typing this, remembering back to these jobs! Sorry, it’s just horrible in comparison to an EPS system. If you’re considering doing a basement, or anything sub or semi-subterranean with it, then I’d suggest having you sectioned. It’s porous for starters! Just “no”. Getting my clients woodcrete projects airtight was just insanely and unnecessarily hard work, compared to the EPS ones, and keeping the weather out was horrendous too. Constantly ‘soggy’ with the Velox one literally having little rivers flowing across the downstairs floors when it rained for a few days or more; took forever to dry out afterwards too. This is far worse on both counts with Isotex, as the blocks have a woodcrete bridge manufactured in to hold the inner and outer leafs together. These bridge both moisture and air, which makes problems you then have to pay again solve / resolve. Velox don’t have these woodcrete bridges, thank feck, but instead you have to install hundreds (or thousands) of metal ‘forks’ (3 or 4 per block iirc) and it is these which hold each leaf of the system in position during construction. Total PITA as these need installing by hand vs being already inbuilt as they are in the majority (all?) of EPS blocks. The builder on the Velox job was top of his game, and this saved the client a lot of time and money, on top of the ‘lot’ he had to charge to do it. Even he abandoned pumping concrete in eventually and went to hand balling buckets into the void; this was he needed to stop boards repeatedly breaking / blowing out during pours. If you asked him to do another Velox build, I’d keep just out of arms reach…. The amount of additional timber work / shoring / shuttering etc that the builders had to do was ‘significant’, adding even more time & cost. Also, with the Velox project, they insisted on overselling the blocks at the point of order (20% iirc) just in case of blowouts or damage (blocks and boards breaking) during the build. This was, as it turns out, due to huge lead times to replace anything on warranty. So they paid in advance for the hypothetical warranty claims / product failures. You’d think if nothing out of the surplus was used you could of course ask for a refund, like these clients did, and they got told…. “nope”. They were then left to either sell it for pennies or pay to dispose of it, I cannot recall which they ended up doing but I got offered it and surmised that it just wasn’t worth the time / transport / storage, as there was a huge volume of it. During the Velox build, before the pours began, the Velox rep was summoned to site by the builder and was shown the irregularities in the blocks, where there were gaps you could stick your little finger into. He simply said they would send a few cases of FM330 foam to squirt in all the gaps to stop the concrete escaping during the pour. Drumroll please….. Then they sent the invoice for the foam. WTF 😳. Both systems needed parging, then repeated coats of a liquid airtightness membrane at corners and junctions where you can’t parge properly, and even then this still didn’t completely negate airflow through the entirety of the wall; the blocks are so porous the parge coats just sink in, shrink back and crack, meaning they were still permeable after all that huge effort! Then more AT membrane got painted on, and on, and on. The clients using Velox had to parge every single m2 of wall, and the client with the Isotex had to parge and then spray Passive Purple onto every wall and roof etc, the house looked like Barney at the end, and cost a fortune to do. After all that it still had an appalling airtightness score, that’s with me babysitting the builder and the client and then going back over things again in my own time when they’d both left site…. The Velox build eventually returned a score of 0.88 at the first attempt, then I went around fine tuning, then it got 0.66, but the pain, suffering, time, labour, parge & AT products costs endured to get to that score ran well into into 5 figures. Not much change of £20k in total I’d bet. Isotex build costs for same, again change of £20k. AT score of 3ACH for that one!? Completely soul-destroying tbh, and a shame to see good time and money gone to polish a turd of a product. So: Woodcrete ICF is fine if you want to DIY a building regs home, eg particularly airtight etc, etc, but for anything else I’d implore you to use EPS; definitely avoid woodcrete if going anywhere near underground. The end. -
I always aim to put supply vents in the area that is diagonally opposite to the door, eg where the air exits the room. The difference between rooms temp and incoming air temp (fresh supply air from MVHR) is really negligible in real life, so it doesn’t really matter on trickle. The air will mix relatively quickly and be inconsequential by the time it floats its way across the bed head. None of my clients have ever given feedback to the contrary (negative), but if it’s a larger family home with a few bathrooms then boost would need to be factored in as a consideration, at the design phase, to prevent that 30 or 60 min ‘nuisance’.
-
AS long as the PIR and the Compacfoam meet, you can keep more of the block. Will be a less harsh 'temperature transition' then as the threshold wont be as cold internally as the block. This is how I do most jobs, unless there's a bloody good reason (stubborn penis architect usually) to not do so.
-
Never seen those before tbh. Thanks for the link, much appreciated.
-
Is this actually going to happen with trickle rates? Reasonable to think this would be more relevant when boosting, eg perhaps a good consideration for instances where running the fan speeds up during summer helps attain Part O compliance.
-
EDIT, it wasn't a transit van lol, of course, it was a BMW
-
Have a look at SolarWatt's glass/glass offering. I think there's YT footage of them being driven over by a transit van, and iirc then having golf balls fired at them at 80kph! The SolarWatt stuff have excellent performance and product warranties too, 30 years at 90% for the panels, and 12 years at 80% for the batteries. New stuff just been released, literally the paint is drying on the logos, and I saw it for the first time last Saturday at Farnborough HB&R show. Warranties and guarantees all backed by a company that is basically BMW. The biggest kick with warranties for solar, is that most offer long periods of cover, but if the installer goes bust your warranty goes with them. The other gotcha is that IF you get a replacement panel under warranty, you get exactly that....a panel delivered to your front door. Scaffold and fitting (including working out which one is duff) is down to you. So, if you're going to fit some solar, and it is going to be a functioning part of the fabric of your build (on the roof as the rain-screen) then you'd want to fit the best panel by the most reputable supplier, so you don't ever have to climb back on the roof. Some places it's fine to tighten the purse-strings, budgets aren't infinite by any stretch, but in some places it's best practice (IMHO) to pay a little more to get the best that's out there; providing it is not grotesquely over-priced for what it is, of course.
-
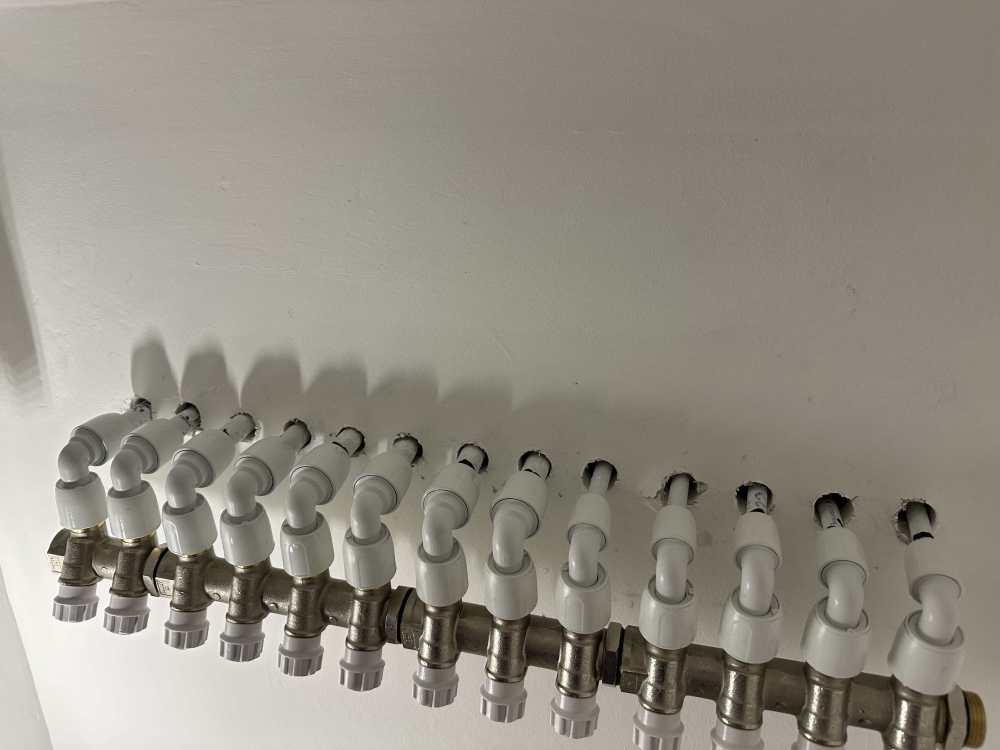
First fix of point-to-point plumbing PEX
Nickfromwales replied to CurvedHalo's topic in General Plumbing
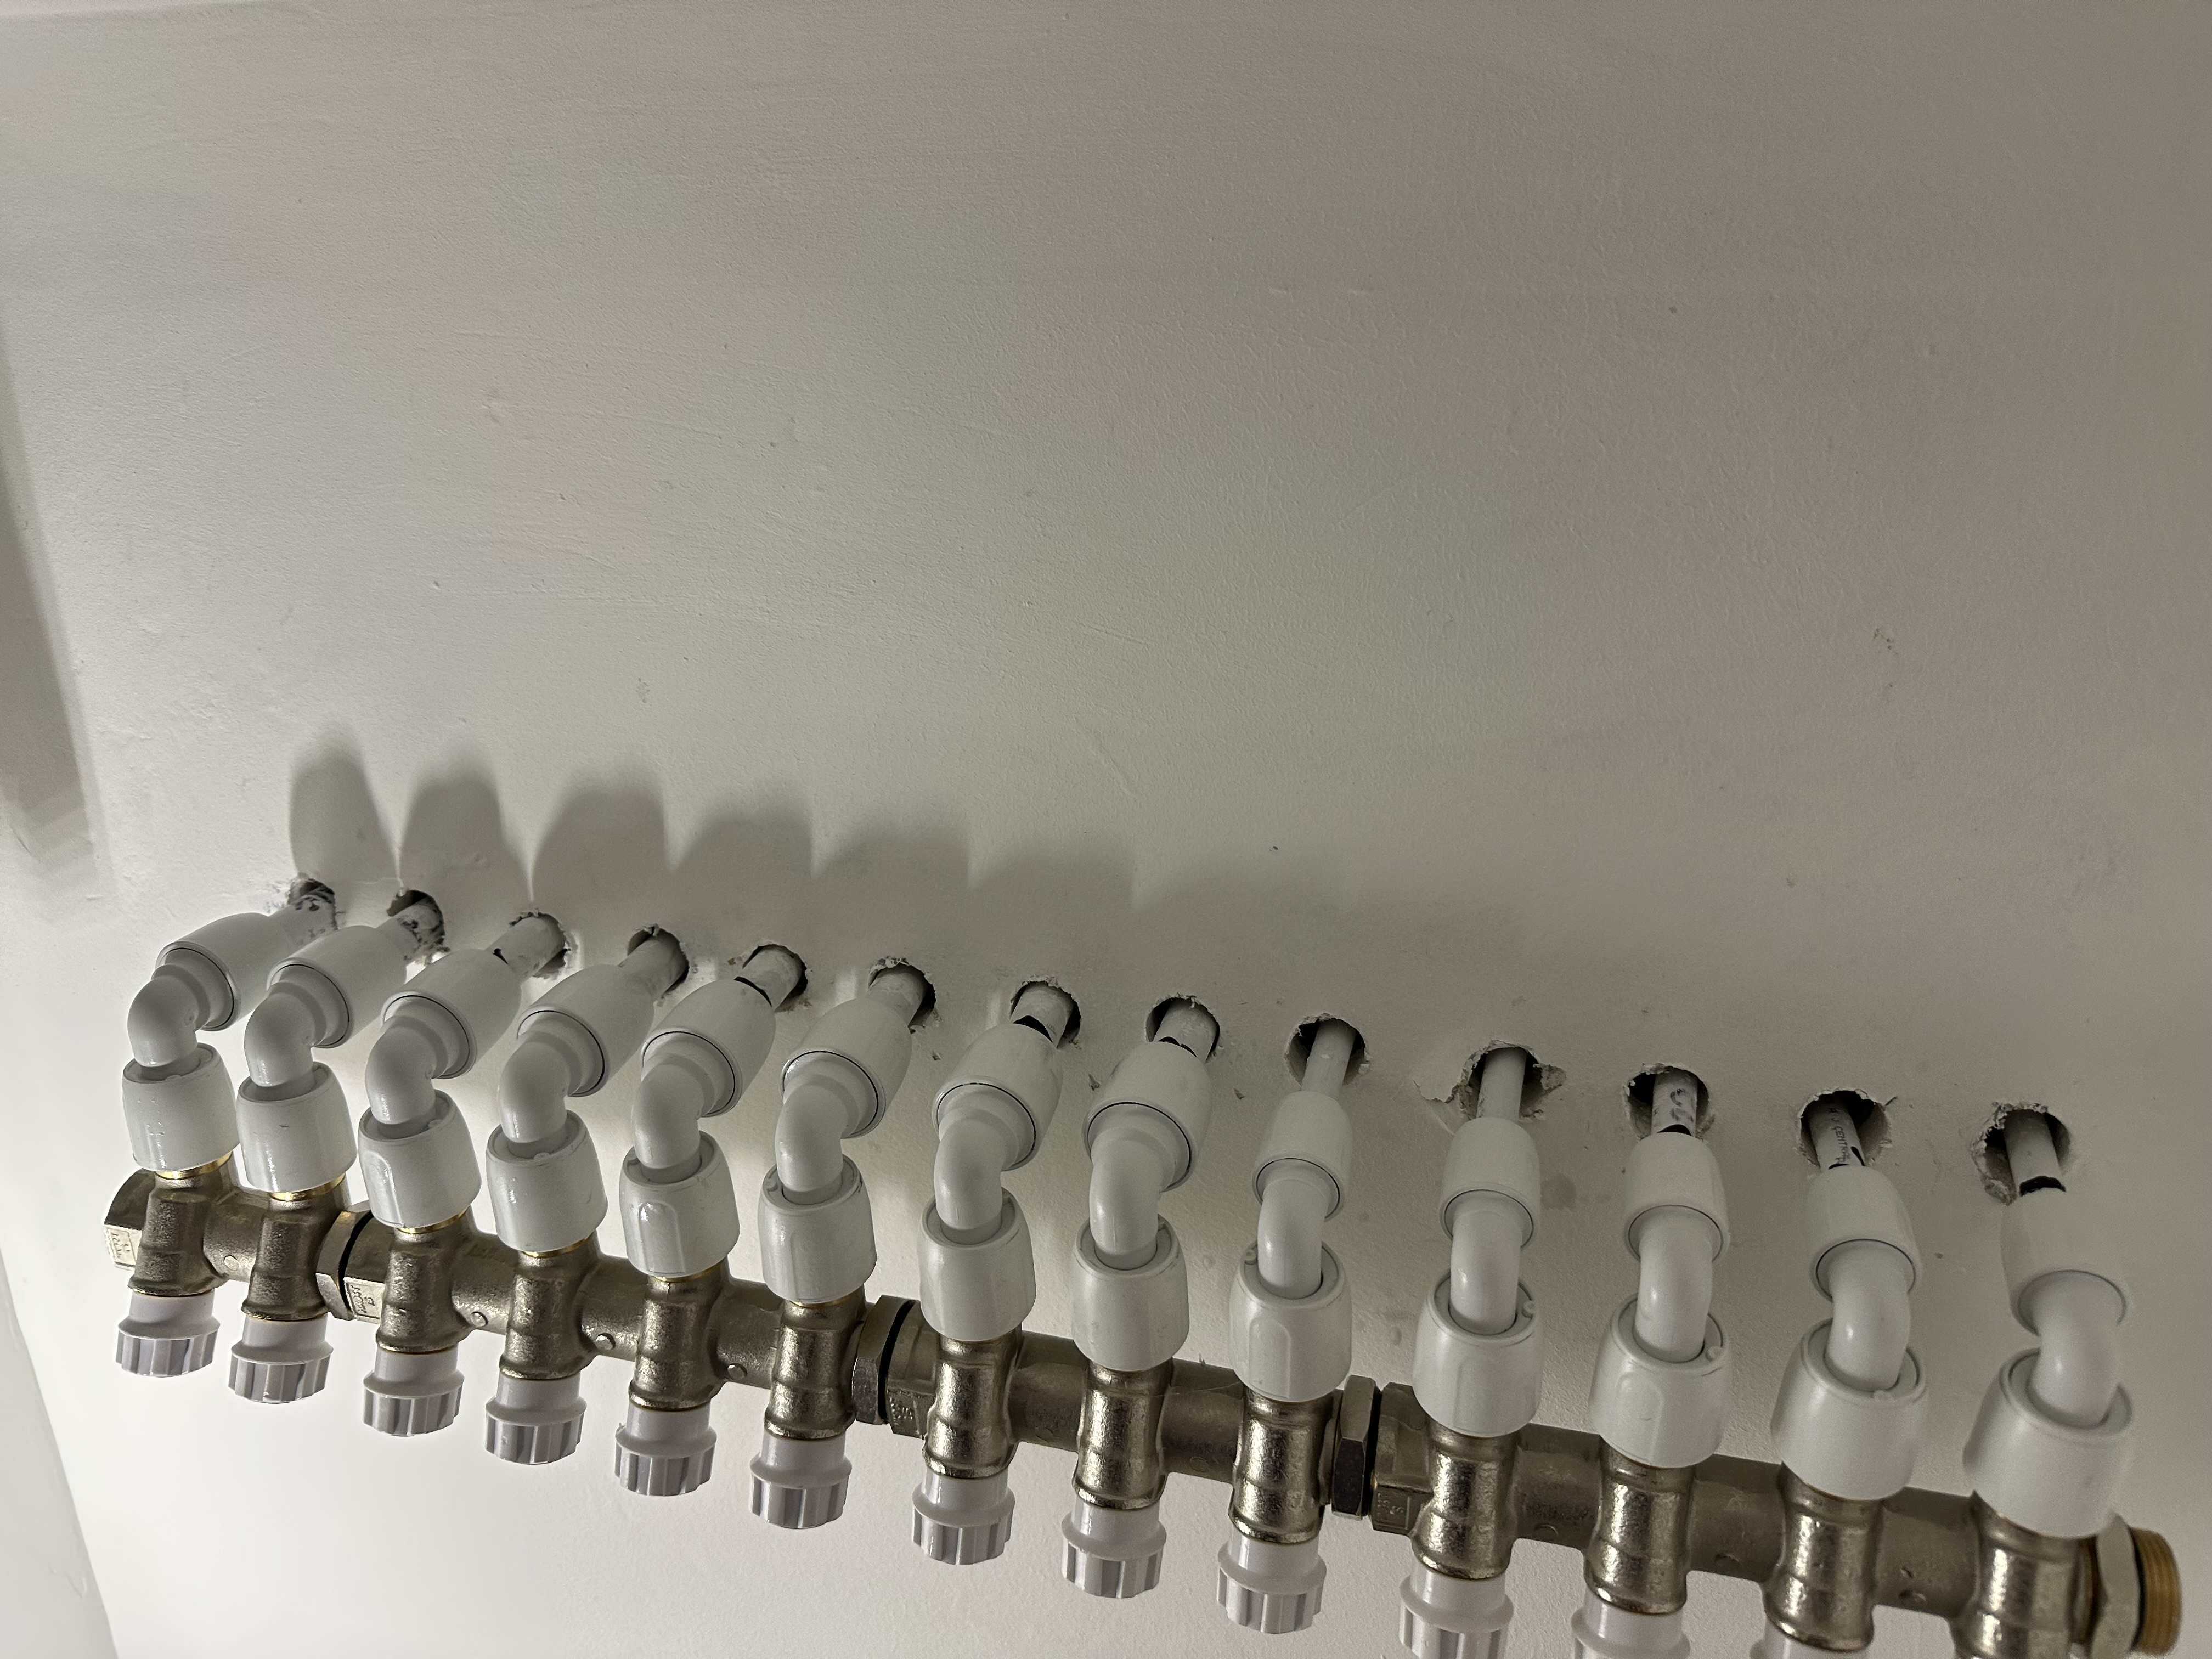
Bonjour, as we say in Wales It's not the biggest crime in the world, I did this christ knows how many times (before I stepped out of the dark and into the light) lol. I would always use the brown horsehair / hessian type of 'wrap' to give some kind of thermal separation between the pipe and the sub floor or masonry of a wall, plus I have never buried a copper pipe that wasn't first mummified in duct / gaffa tape. Plumbers should know nowadays that anything that gets hot should NOT be in direct contact with something cool or cold, it's just not cricket. If, however they can fit suitably sized pipe insulation around these and THEN fit the floor insulation around that, then they can crack on. Less of a problem on pipes where they heat sporadically (hot water drawn), vs heating pipework that is very hot for a very long time. The biggest issue is you cannot bury pushfit fittings in the slab, so unless the depth of finished floor is deep enough for the pipe to bend upwards and outboard of the slab and finishes, and THEN have a fitting put on, it;s "no dice". I've had the same phone number for over 25 years, and nobody's rung me to say their pipes leaked (they damn well would too!). Soldering joints and wrapping the pipe in duct tape to prevent corrosion etc, plus working to a high standard prevents these issues afaic. Leaks come from poorly made joints, rather than pipes corroding between joints. I've seen original (bare) copper pipe that's been buried directly into concrete or mortar etc for 30+ years, and still doesn't leak (doesn't look like it would be far off by then, but what would you expect there?!). Leaks are caused by shit plumbing, in a nutshell. Pipes will be free to expand / move in the thinnest of insulation, so 9mm for cold water, 13 or 19mm for hot water, and 19 or 25mm insulation wall thickness for heating (if buried). Insulation will act like a protective conduit, but if you think you can pull these in/out retrospectively then you're mistaken, sorry, unless they're arrow straight, short runs, with access both ends where they emerge from the slab. Plumb properly, fit & forget In a true manifold arrangement, you are right, there should be a single pipe to each outlet / appliance. Question is, do you need that? It is perfectly acceptable to plumb a single 15mm cold feed to a single bathroom, as your chap suggests, and how many time are there more then 1 person in that room using water at any one time? If this is not a multi-bathroom, 6 bedroom mansion, then I'd suggest your plumbers logic is sound. This is both practical and far more cost-effective imho. Last job I did: 13 outlets, 13 valves, 13 pipes.