Leaderboard


Popular Content
Showing content with the highest reputation on 08/26/17 in all areas
-
If the whole top of the container is shot, then you could just take the easy way out; wire brush the worst of the rust off and give the whole top of the container a layer of fibreglass. Pretty quick to do, will last a long time and will be waterproof. Probably a lot quicker than faffing about trying to patch up lots of holes.2 points
-
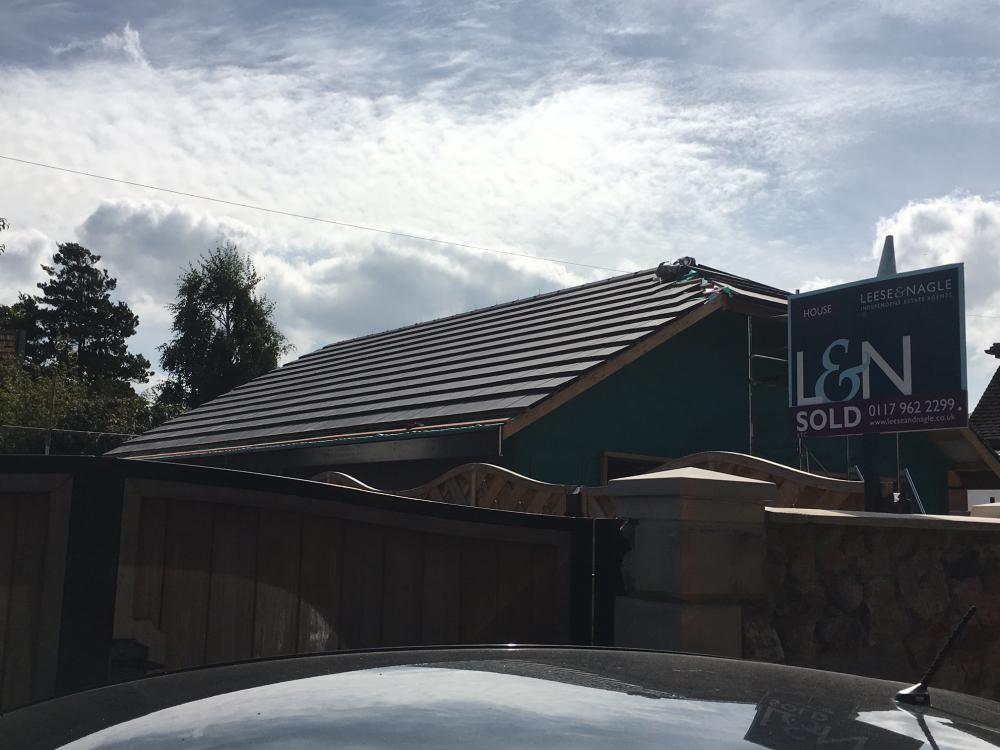
Right! Not quite finished. Ran out of tiles and some plastic. Arrived 7:15am ; left 1:30pm. At peak maybe 11 guys on there whom then disappear after a few hours. Certainly can't fault the work so far! Should mention I have used this 'builder' once before. But he's a fecking nightmare to deal with! ; "guess the price", "extras mate" , "Need 1k now to keep the lads happy" all the usual BS - so I was prepared. On the initial inspection before we'd even agreed/argued a price he had called the scaffolder to attend and start erecting anyway! They work their bollocks off though! - but not surprised taking the cost into account!!!

 2 points
 -
I'm on my way to godliness, one failed weld at a time. So far, on this job, I have managed to burn my wrist and get some spatter in my T shirt , and coat my watch glass with small flecks of something. And weld nothing. Because it started raining. People (well, little boys) walking past (the container is very close to a small lane) seem to think its OK to talk about an eejit sitting on top of a container with a welding mask on and say, "Look mummy there's Darth Vader"2 points
-
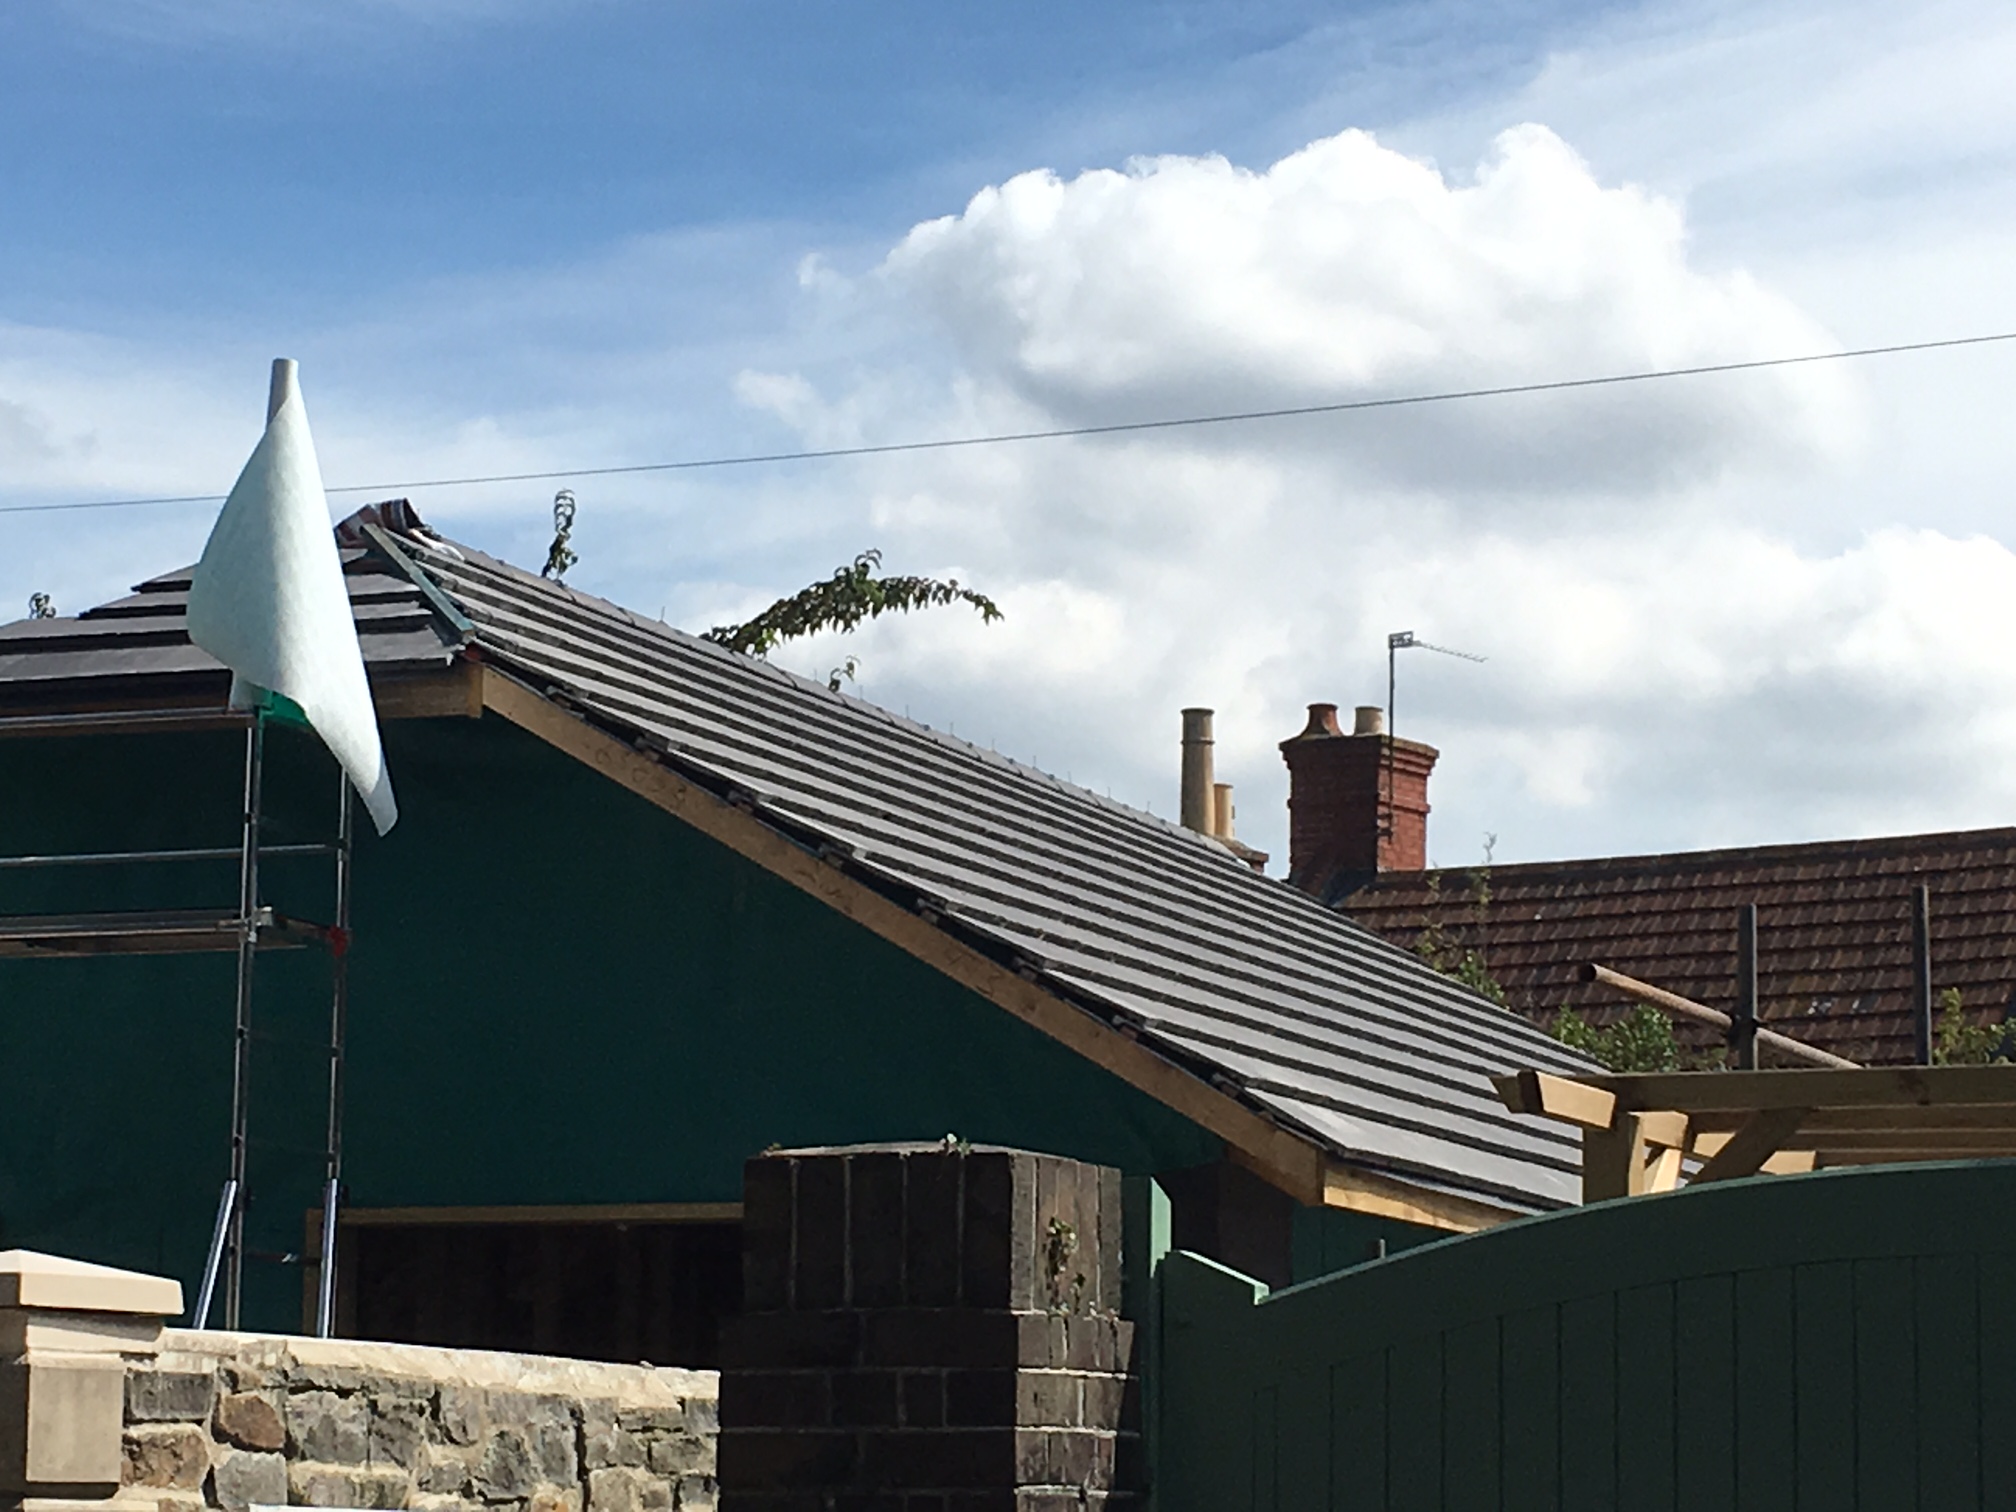
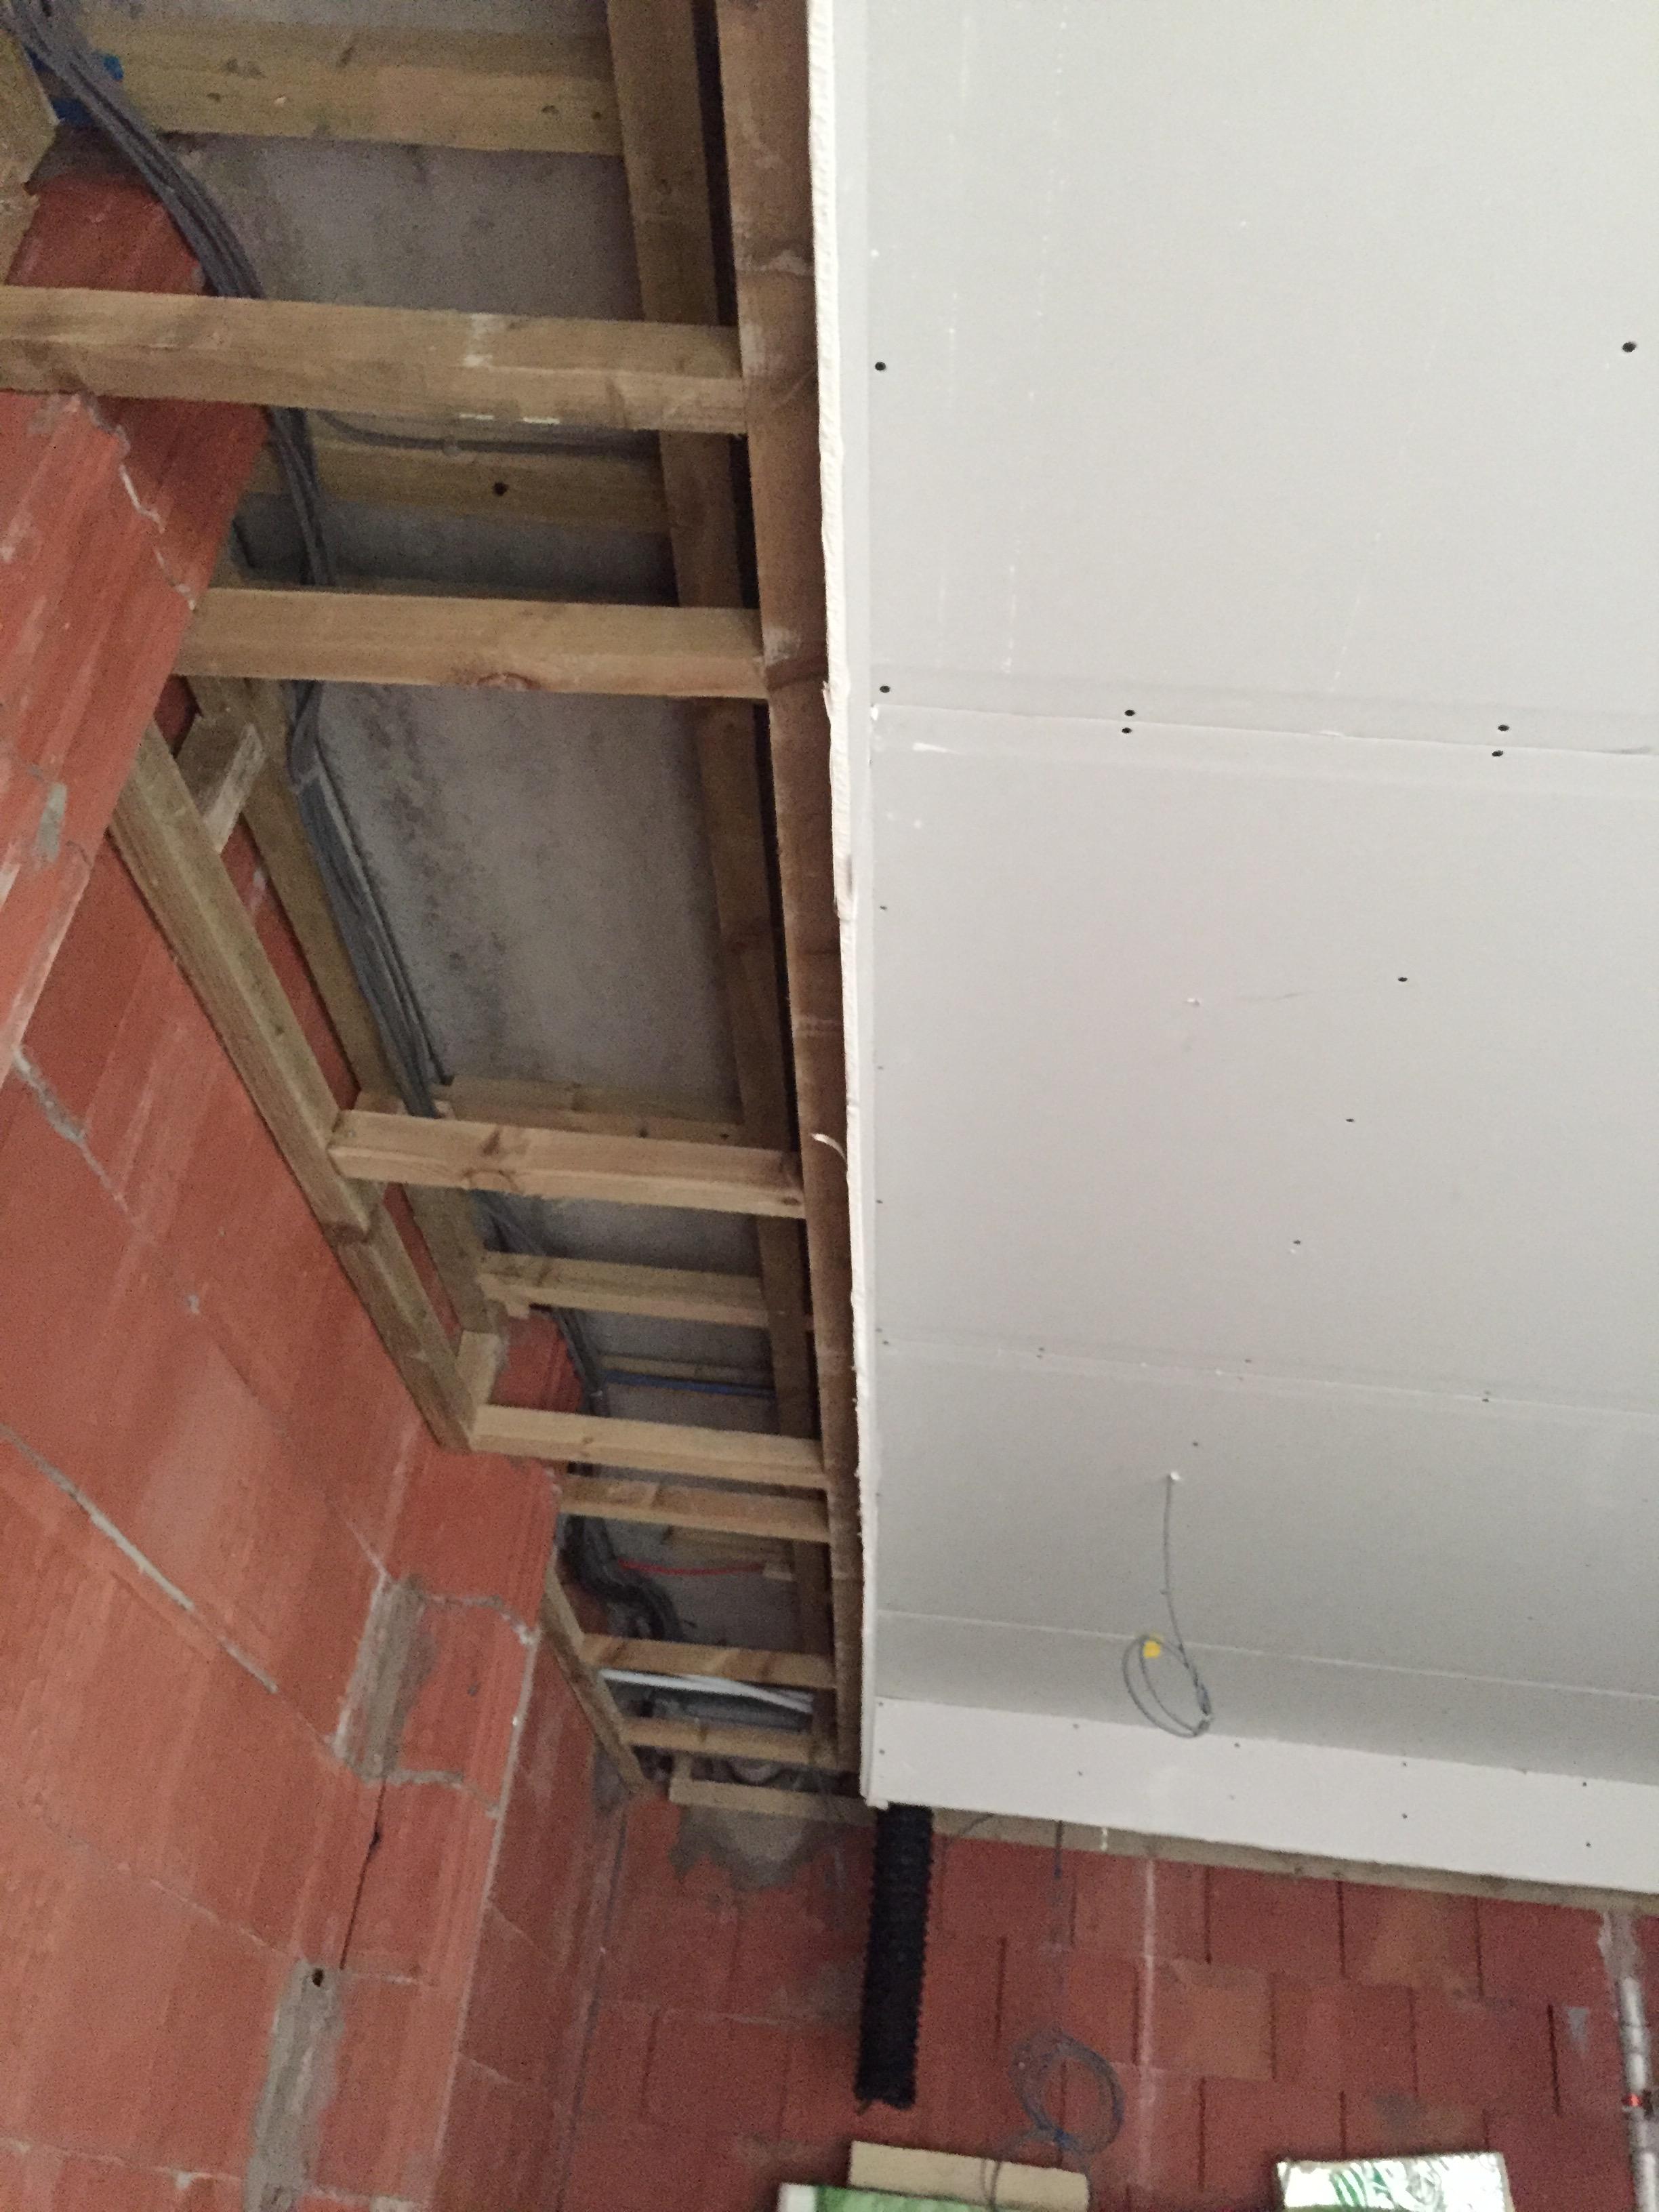
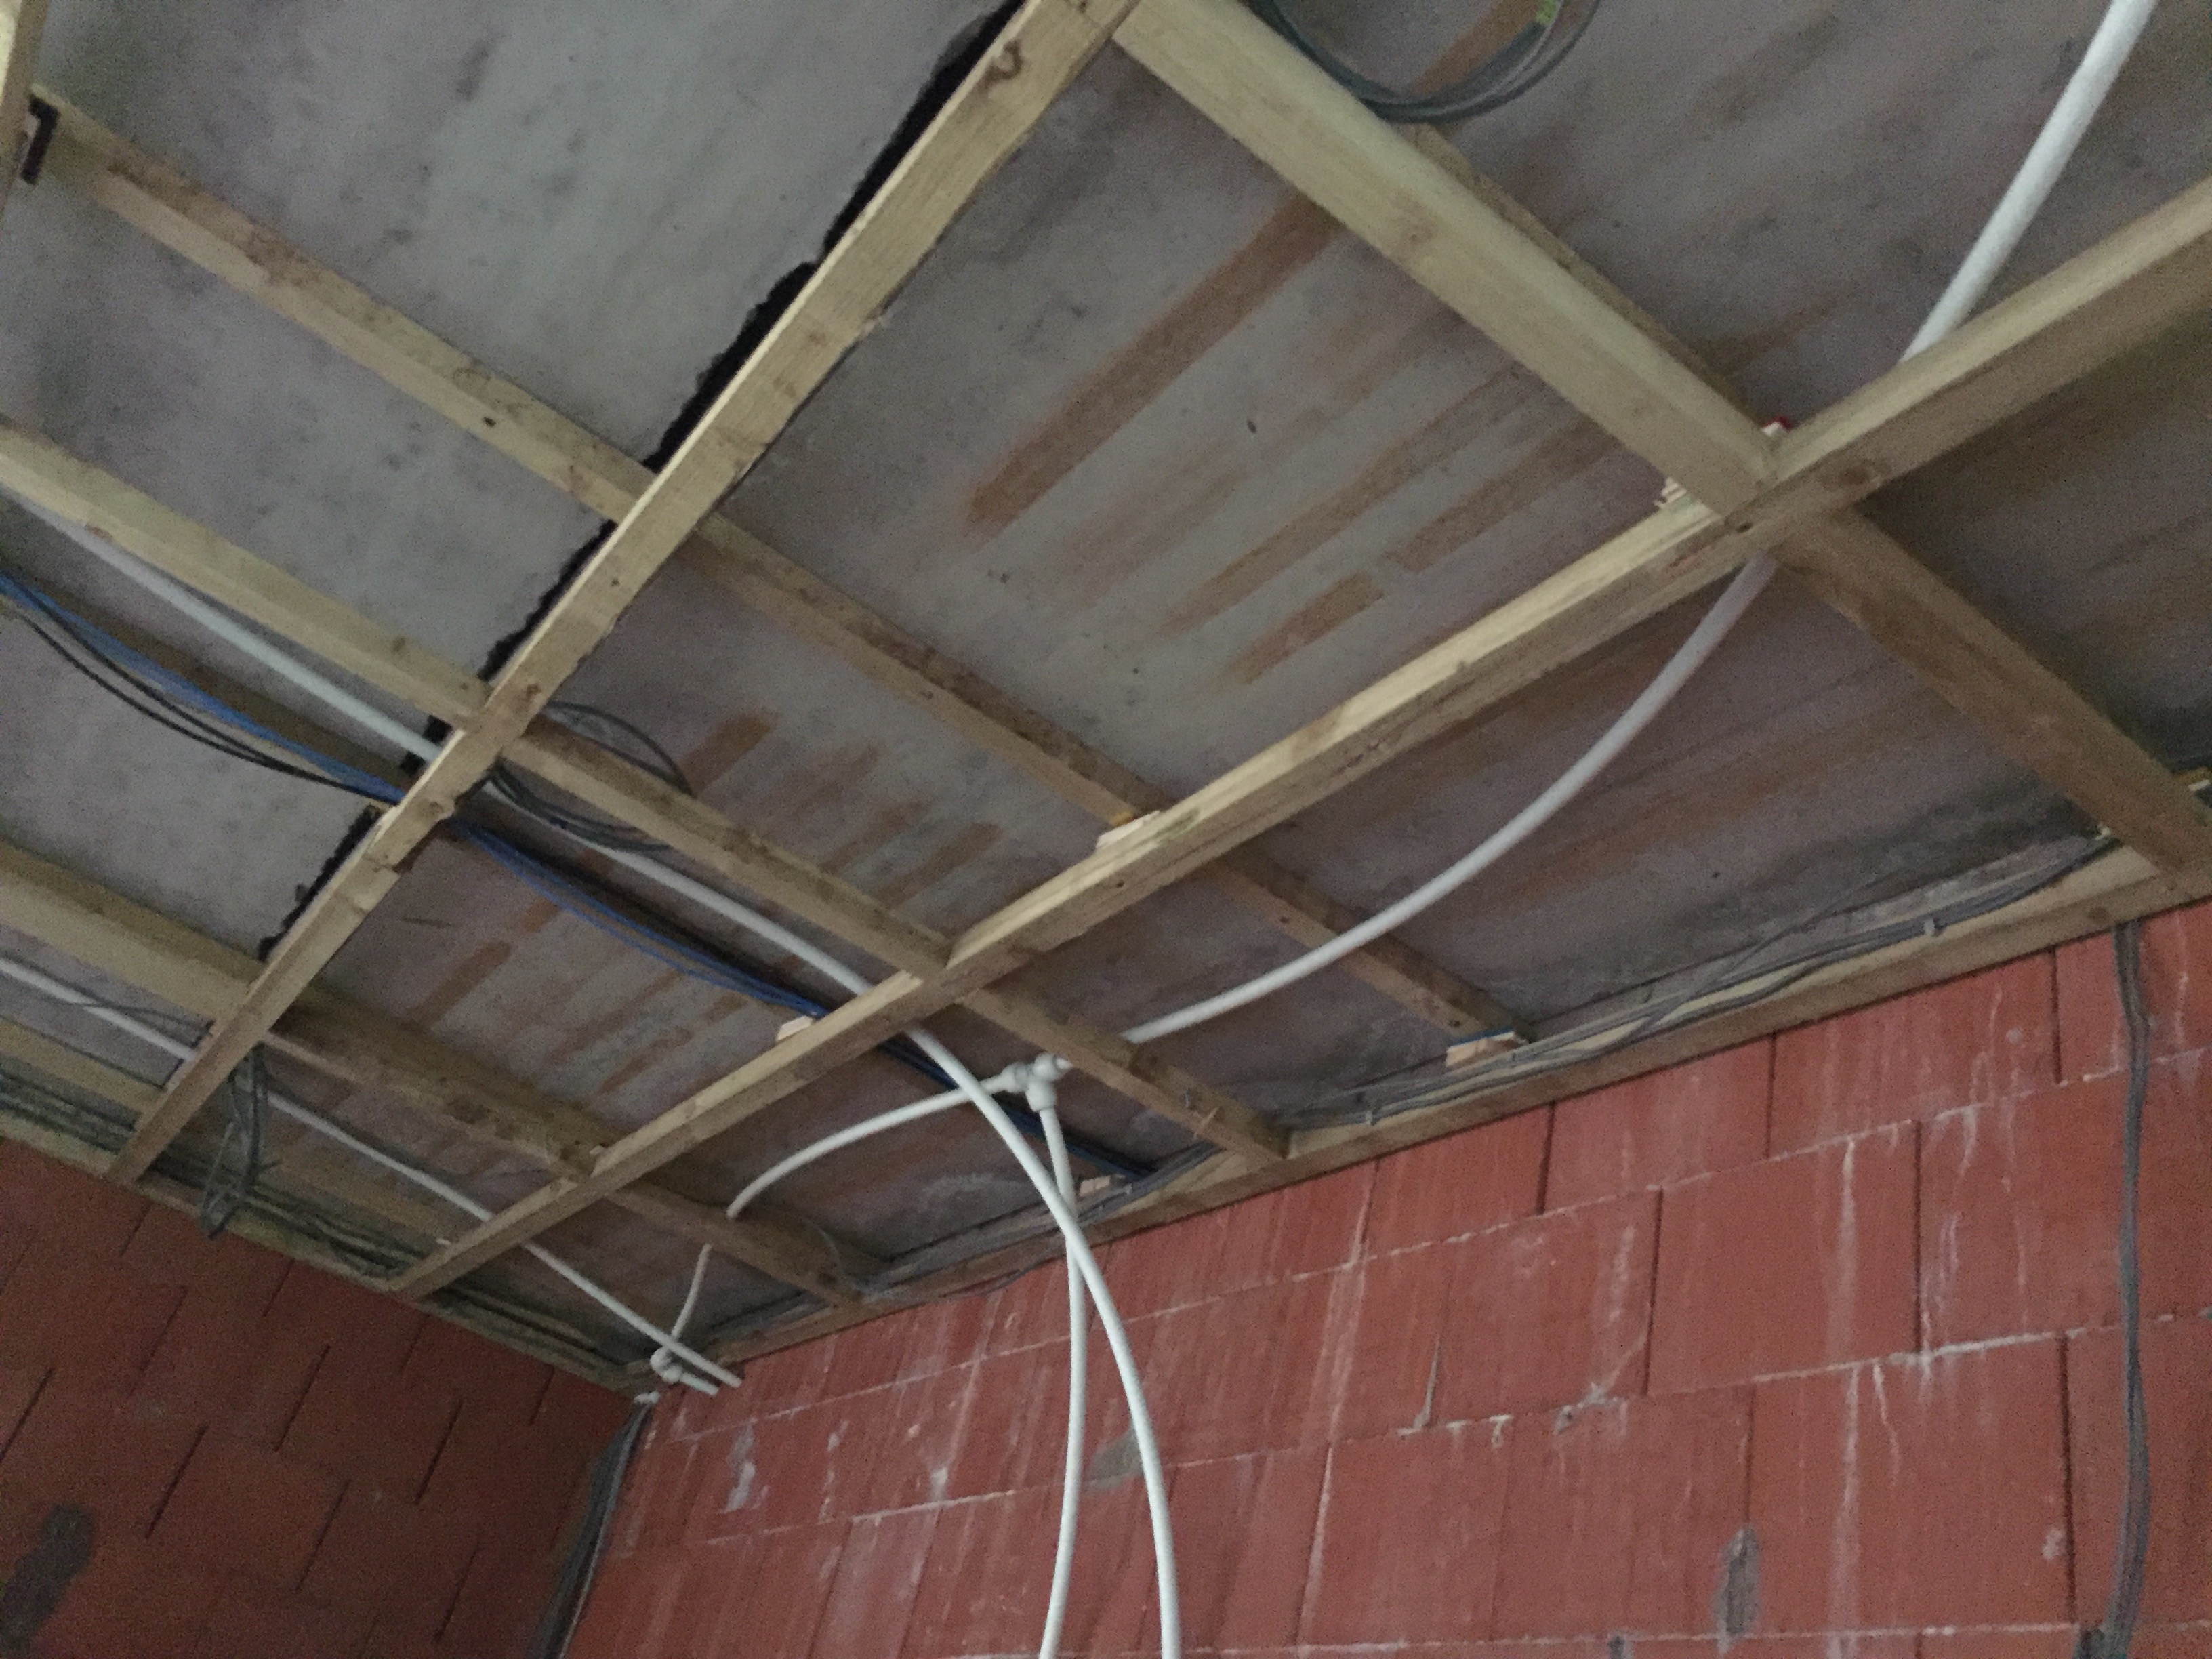
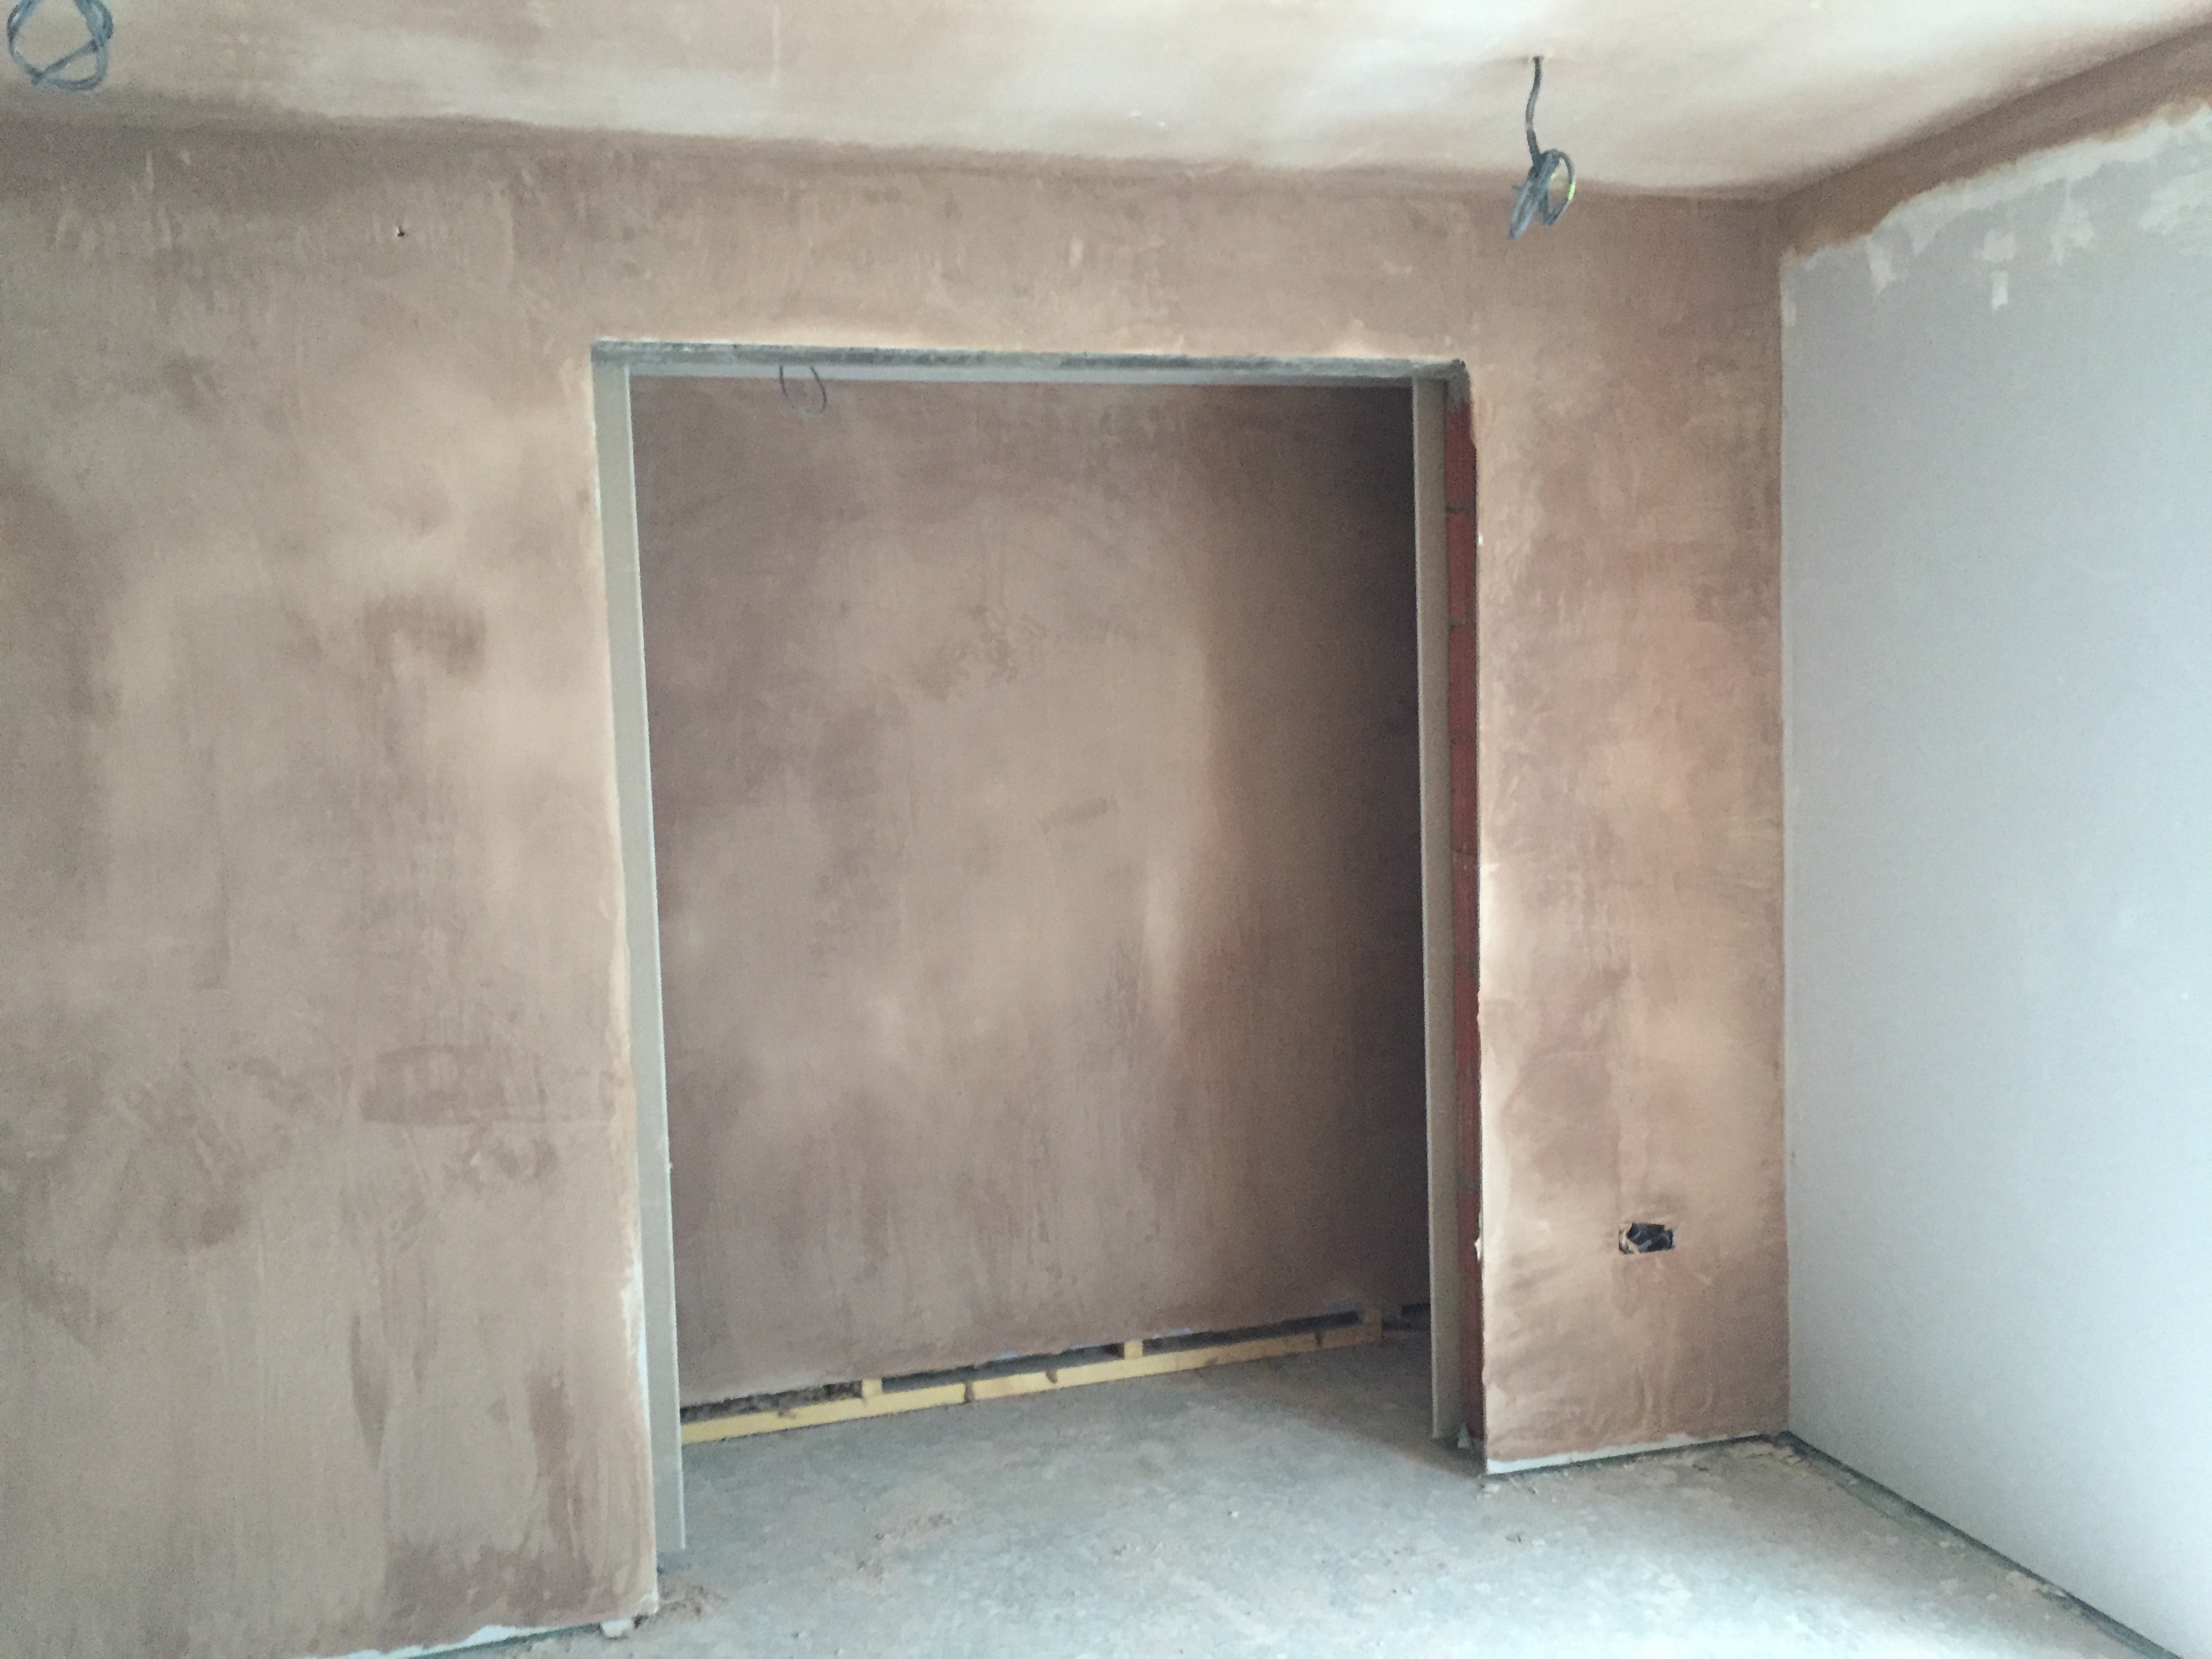
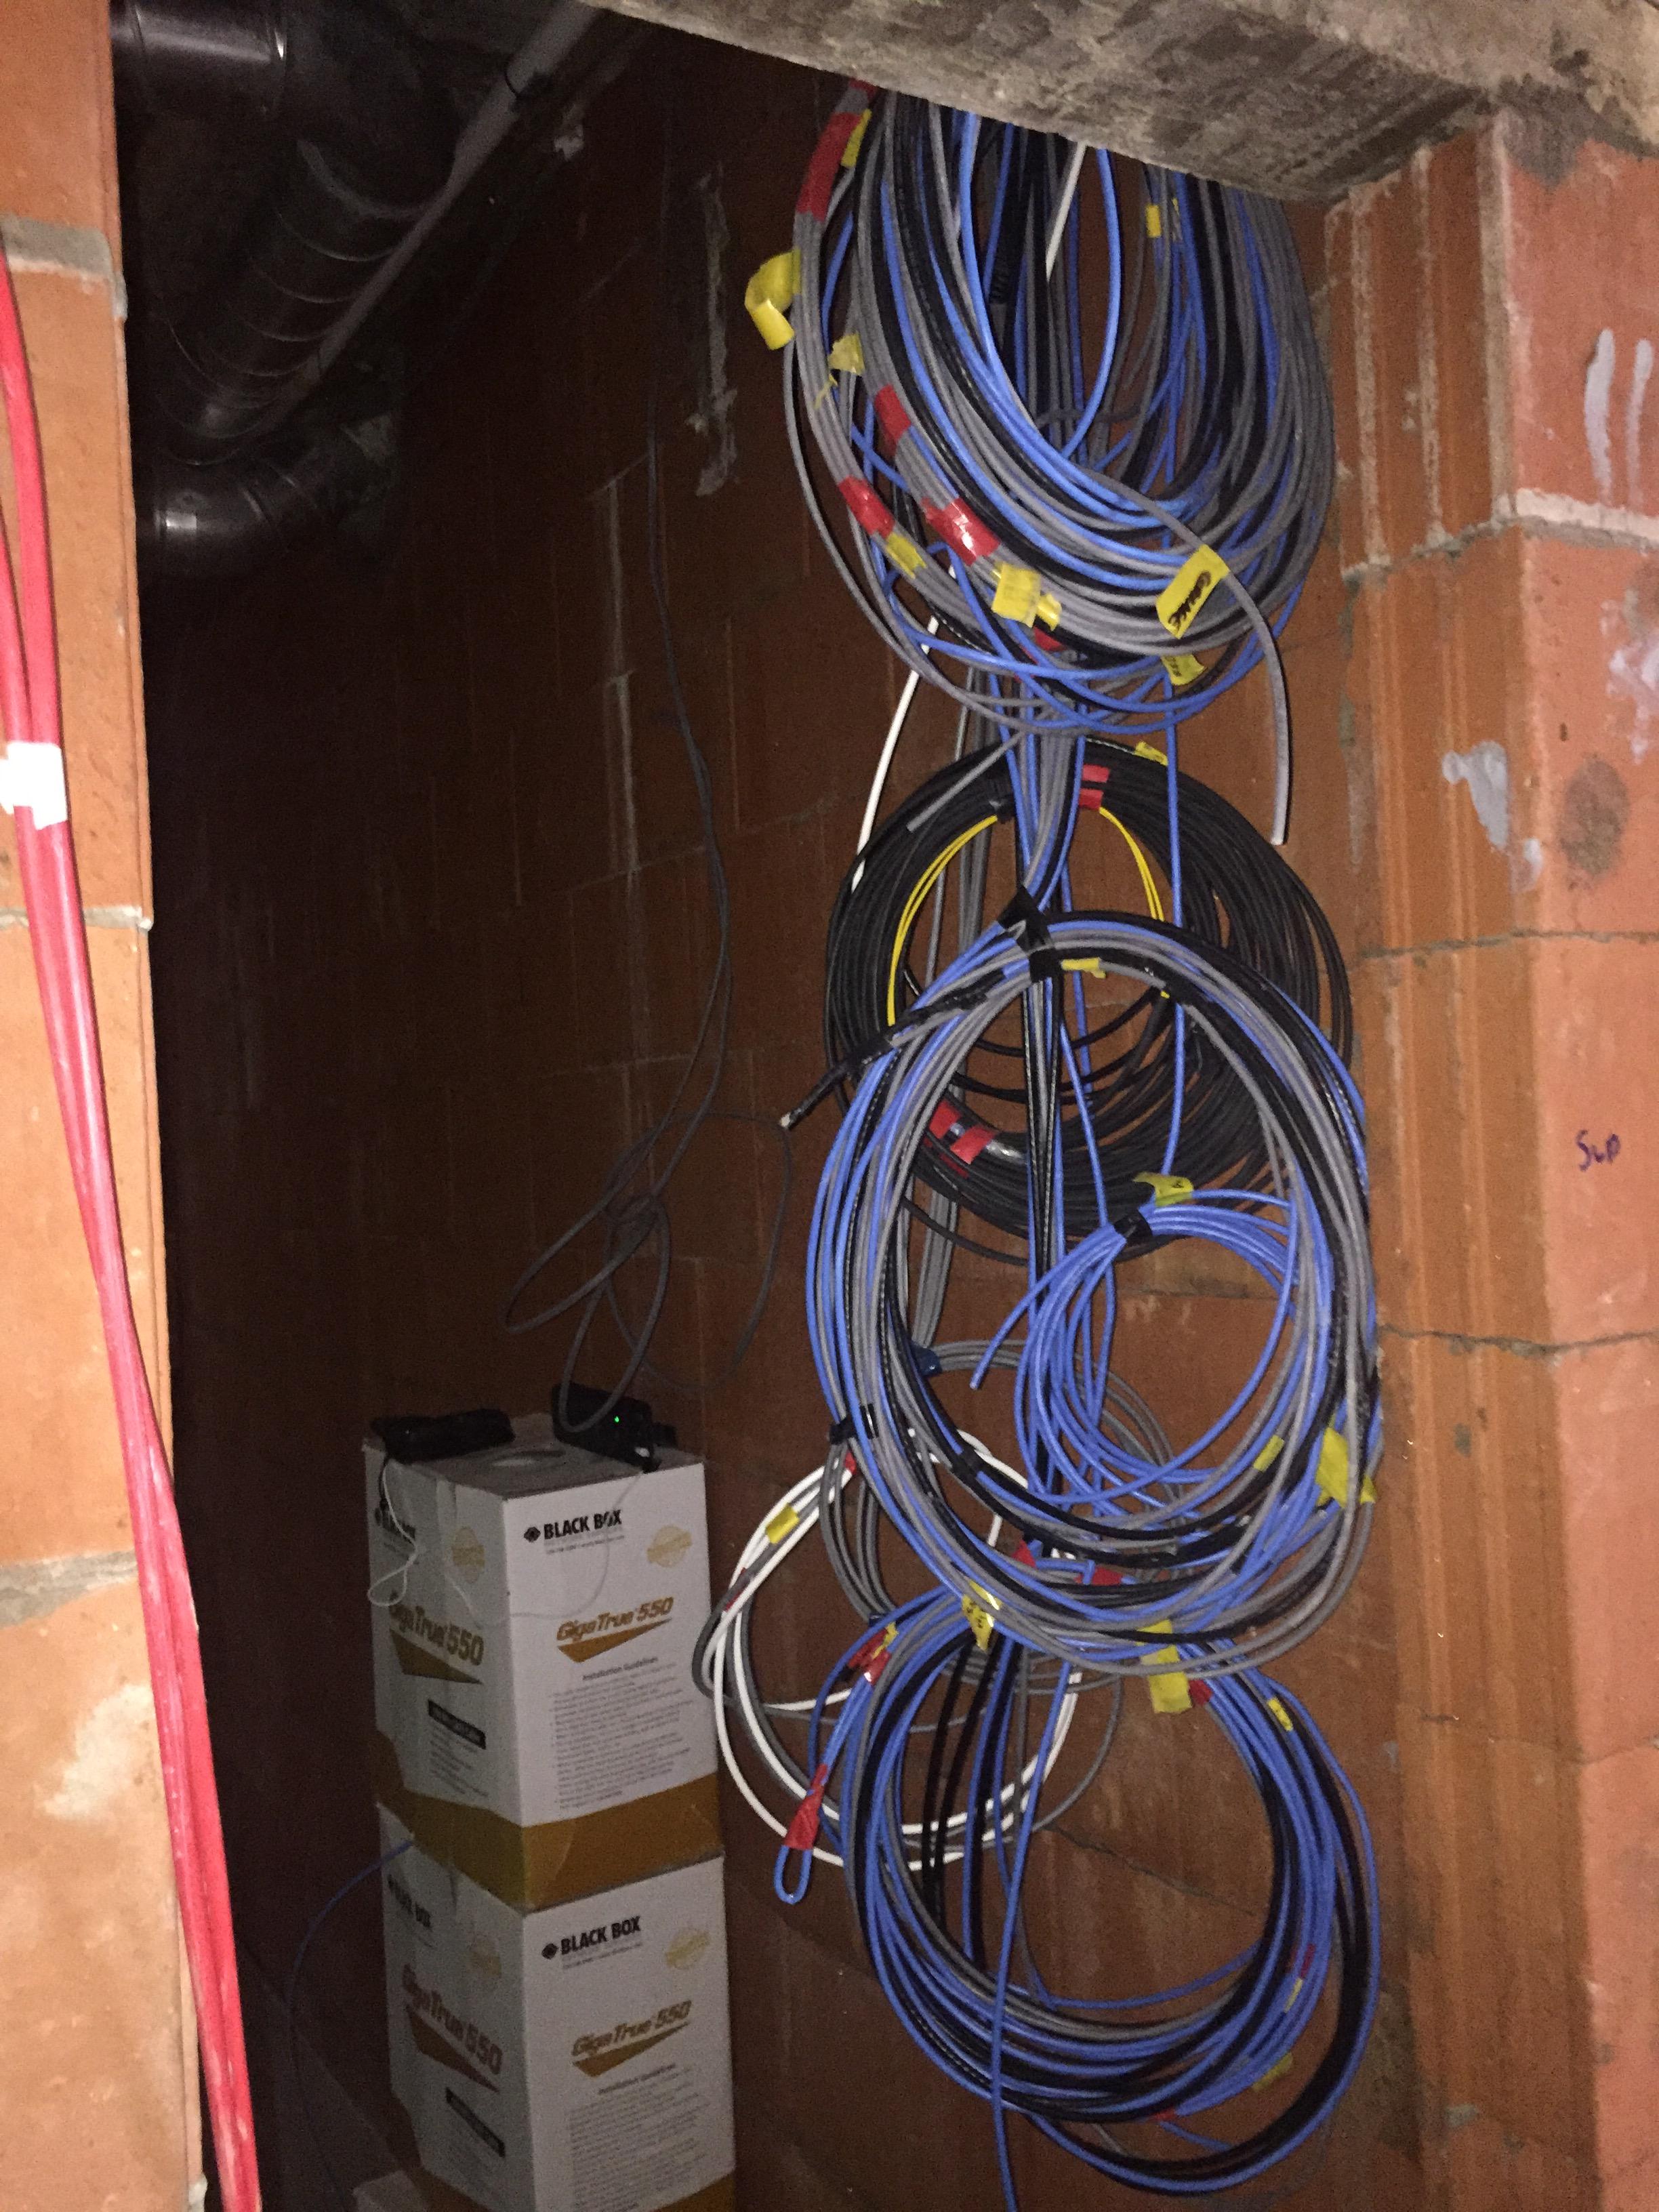
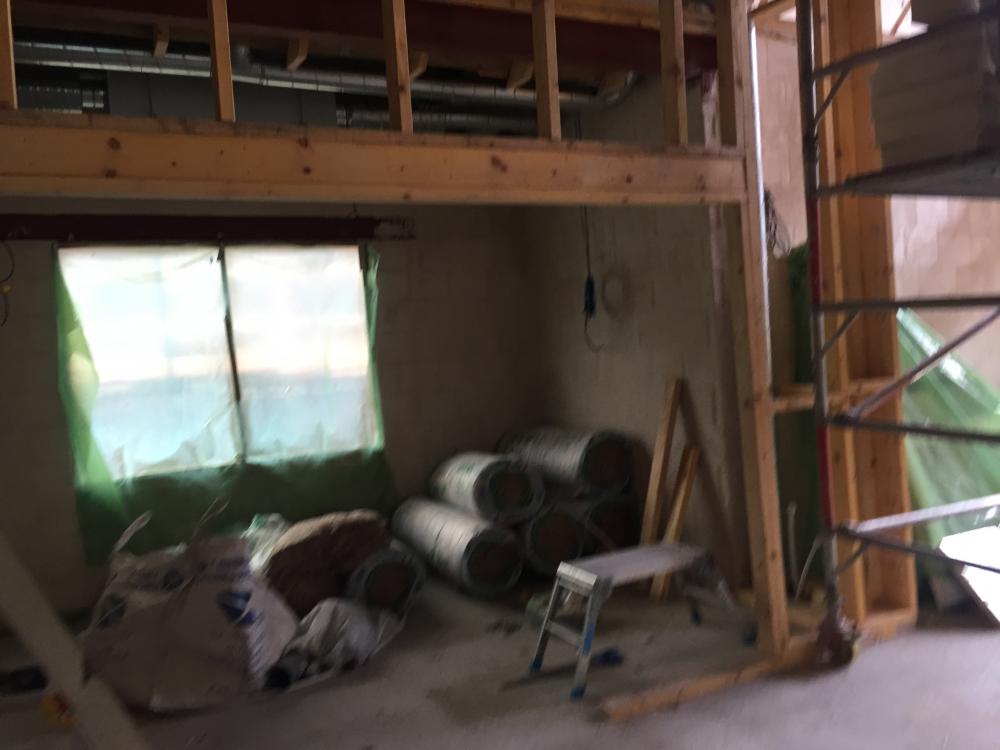
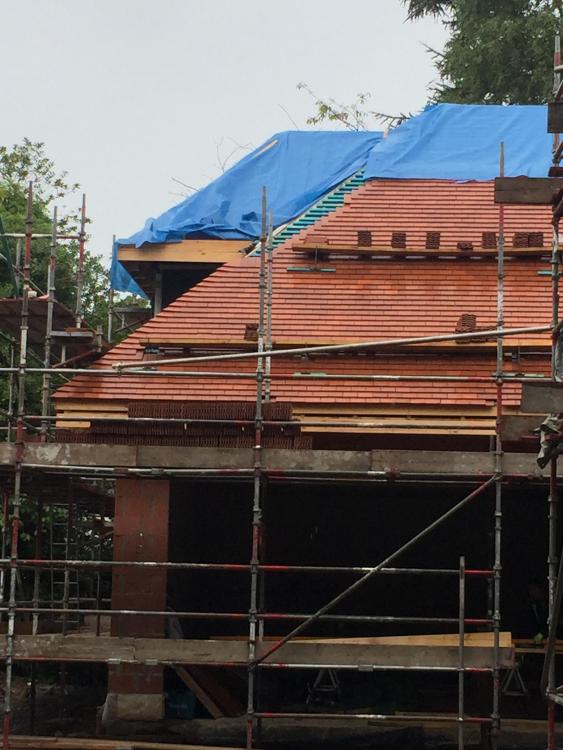
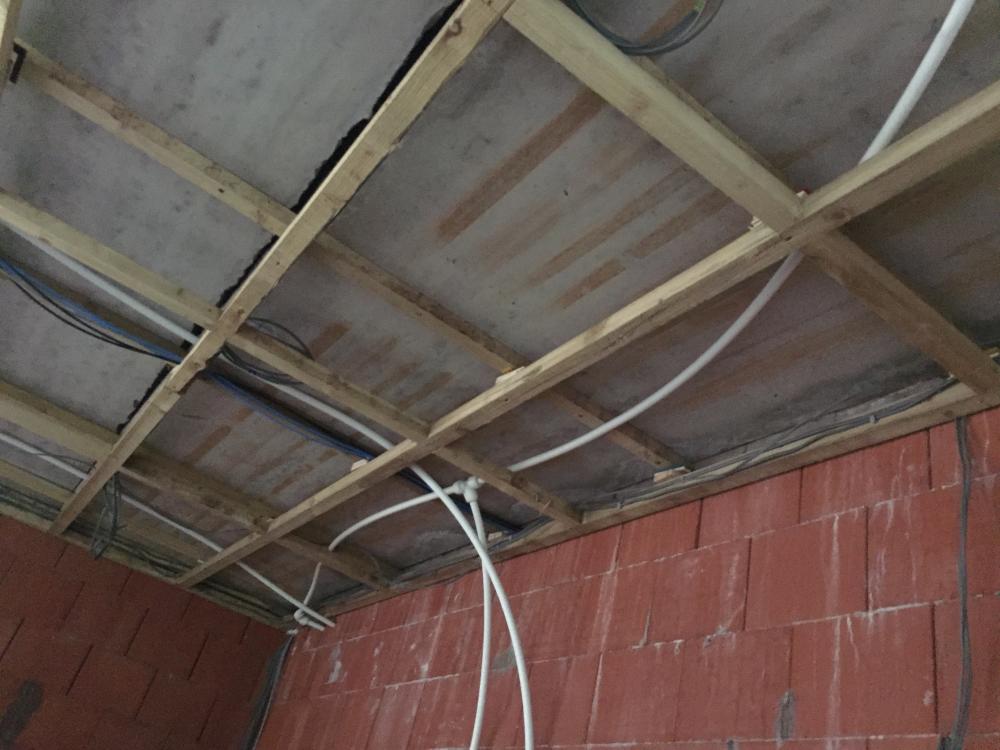
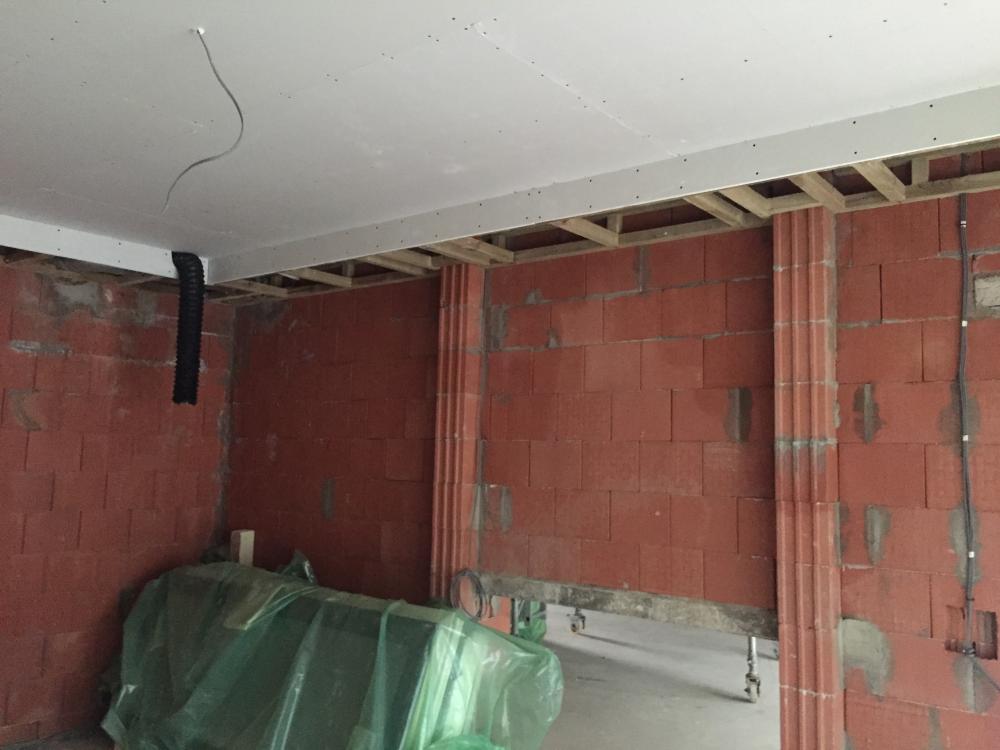
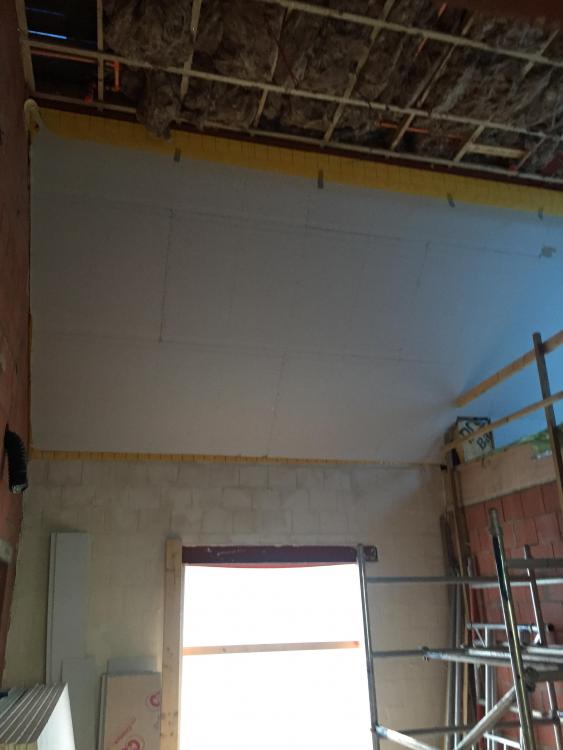
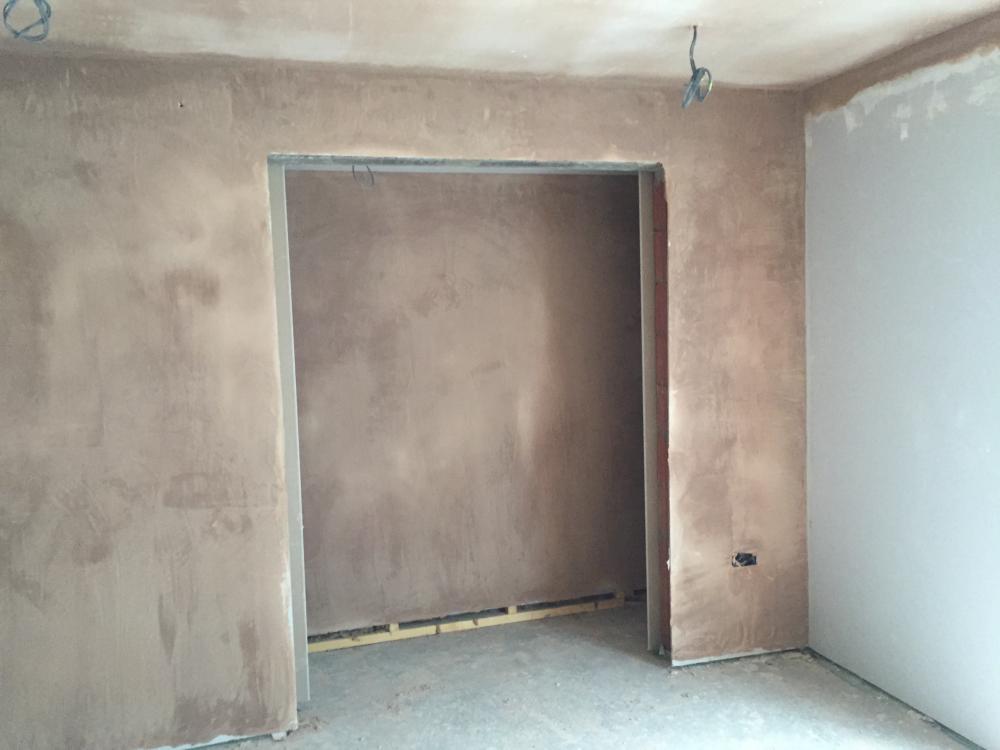
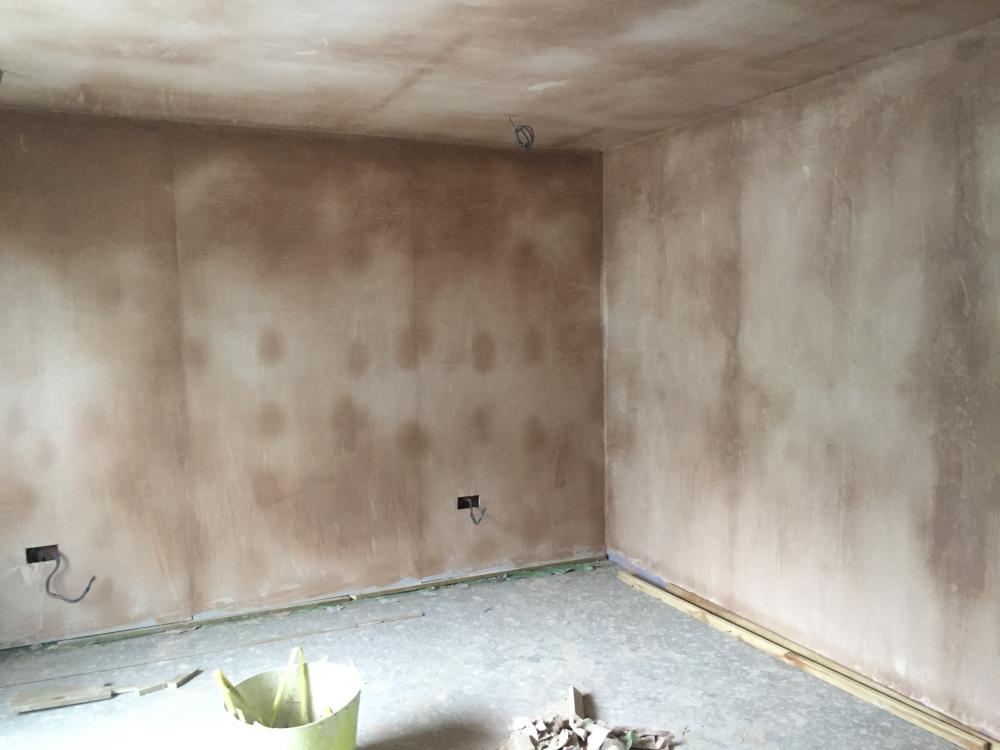
For me this has been the hardest few weeks as we get closer to finishing there seem to be more decisions for me to make. Also finishes and how things look become more important. With the build dragging from an initial July finish, to end September and then end November, I decided that I had to make sure it was not going to slip anymore. I think we are now good for mid November. My wife has a party organised for December 2nd which allowed lots of time from completion when it was arranged. I managed to source paint for steel painting which was quoted at a ridiculous £150 a square metre when they knew it desperately needed done, I expect the final cost to be around a quarter of that. I have just got an estimate for the internal doors. Lucky I did as the specials are 8-10 week lead times. They have pretty much finished the electrical first fix and started on the plumbing. They have been framing out and plaster boarding upstairs. The plaster skimmed walls have lovely finish. The windows are still not in due to the steel lintels not being painted and the roof in only around 25% tiled. The windows should be done in two to three weeks and the roof maybe a week later. Then the rendering can start outside and we can work on finishes inside. I have just told my wife that she can finally choose paint colours. Framing for master en suite More roof tiles MVHR and other pipework Hot and cold water loops going in. These will be fixed to the slab. Sprinkler system in, can finish plaster boarding the ceiling now. Plaster skimmed walls More plaster Cabling in AV cupboard Plant room


 2 points
 -
Didn't know you were Russian:2 points
-
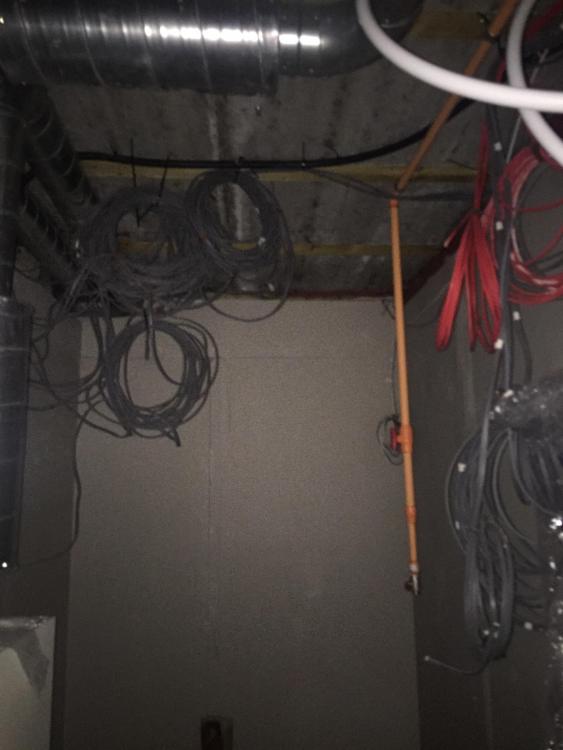
Thanks for that, anything would be better than the pretty naff app that the cameras came with. That's the next thing on the agenda, see if I can turn this box into a CCTV NVR. I'll report back on how I get on.1 point
-
My partial soakaway is simply one section of the drain run, that runs parallel to the burn, being made of perforated pipe, and set on a bed of stones before being encased in more stones, covered in plastic and the trench refilled. The theory is, when the ground water table is low, most of what flows in will exit the perforated pipe into the stones and soak down into the ground, leaving very little coming out of the other end to enter the burn. This indeed is how it seems to be behaving in summer. In winter the water table will rise and the stones will become saturated in standing geound water so nothing more can soak into the ground, so it will all pass straight through and out into the burn, I believe it will actually act as a land drain to stop the water table rising much above the level of that section of pipe. The stipulation here is no part of an infiltration field will be less than 10 metres from a road, or a watercourse, so I have used that only available thin strip in the middle of my plot that meets both those dimensions. It does seem rather logical that one might want to continue with the perforated pipe and partial soakaway right up to where the pipe discharges to the burn, but one is not allowed to have the soakaway less than 10 metres from the edge of the burn. That restriction seems a little bit daft when one has a permit to discharge what is not disperseded to land, into the burn. EDIT: Another difference betweern England and Scotland, is according to the binding rules, a partial soakaway must be within 10 metres of the watercourse, but as I have already mentioned, Scottish building regs prohibit it being within 10 metres of the watercourse.1 point
-
@JSHarris re using hikvision software for your cameras. There are dozens of standalone android apps that work with any cameras. Some are nearly identical to the Hikvision software as Hikvision make a lot of other cameras like Swann. Have a look in play store.. Another place to look is https://forum.use-ip.co.uk1 point
-
How about sticky velcro..? Or get MrsJSH to run it through her sewing machine..? You could then velcro the edges to the frame and also to each other1 point
-
@JSHarris You can use autostart apps that load up whatever you are trying to get to start each time you start the box. I used autostart no root on an older box so xbmc , what kodi used to be called before it became popular, loaded up at the start.1 point
-
A 1500mm Impey has less than 20mm iirc. Any fall will suffice TBH as long as the drain is capable of 150% of the shower head max flow rate. You'll have that with ease as it's a linear slot.1 point
-
Right @joe90 I've got .... - 250 UVC with a HP coil. Immersion for legionella control and nightly boost to 65c - 90 litre buffer (std direct cylinder) for the UFH and as a preheat for the DHW via plate heat exchanger - 9KW ASHP All on E7, no PV...1 point
-
@joe90 go for a 250l HP UVC and you won't be far wrong... price difference for 200-250 is buttons.1 point
-
Can't wait! I'll be nice to meet the rest of the Buildhub crew!1 point
-
The bull float, long handle job, just gets it flat, after tamping / pokering before power floating. On our small garden room slab we used the bull float and then after a period of drying (2-3 hours) the power float was used. As it was a small area the power float was a single propeller & handle job rather than a ride on as you describe. It worked very well although making sure it was dry enough is clearly part of the art of power floating.1 point
-
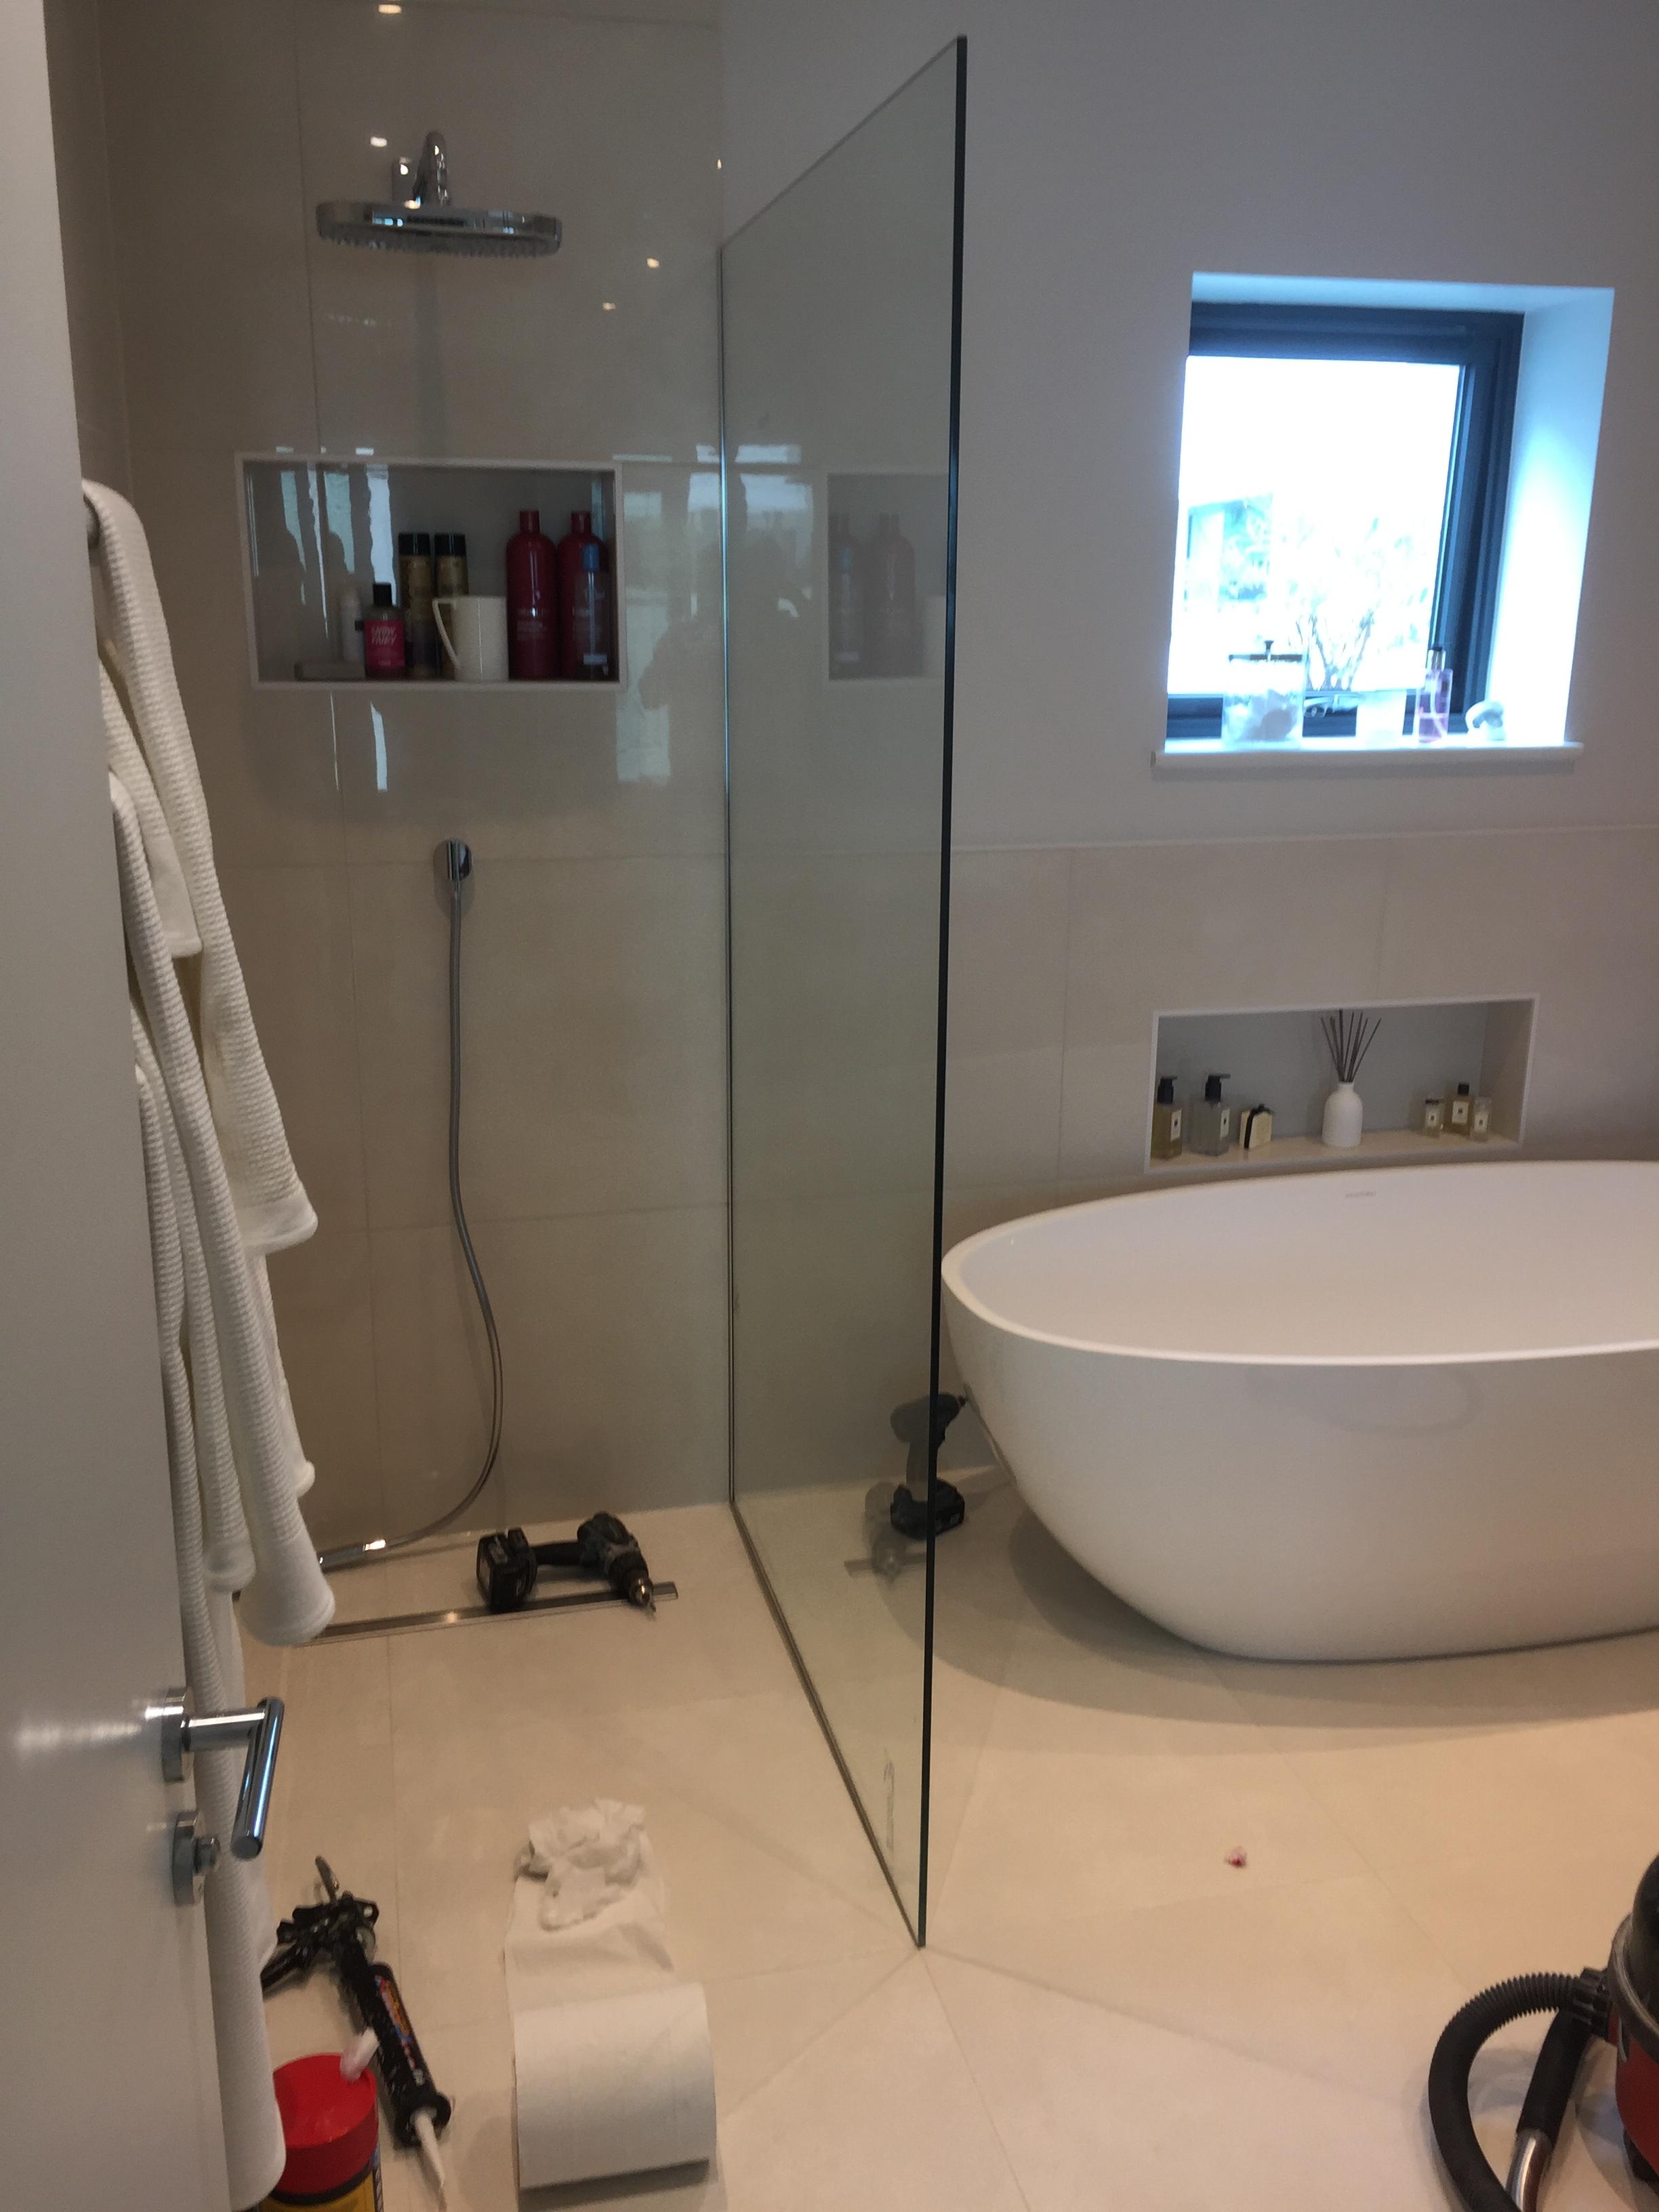
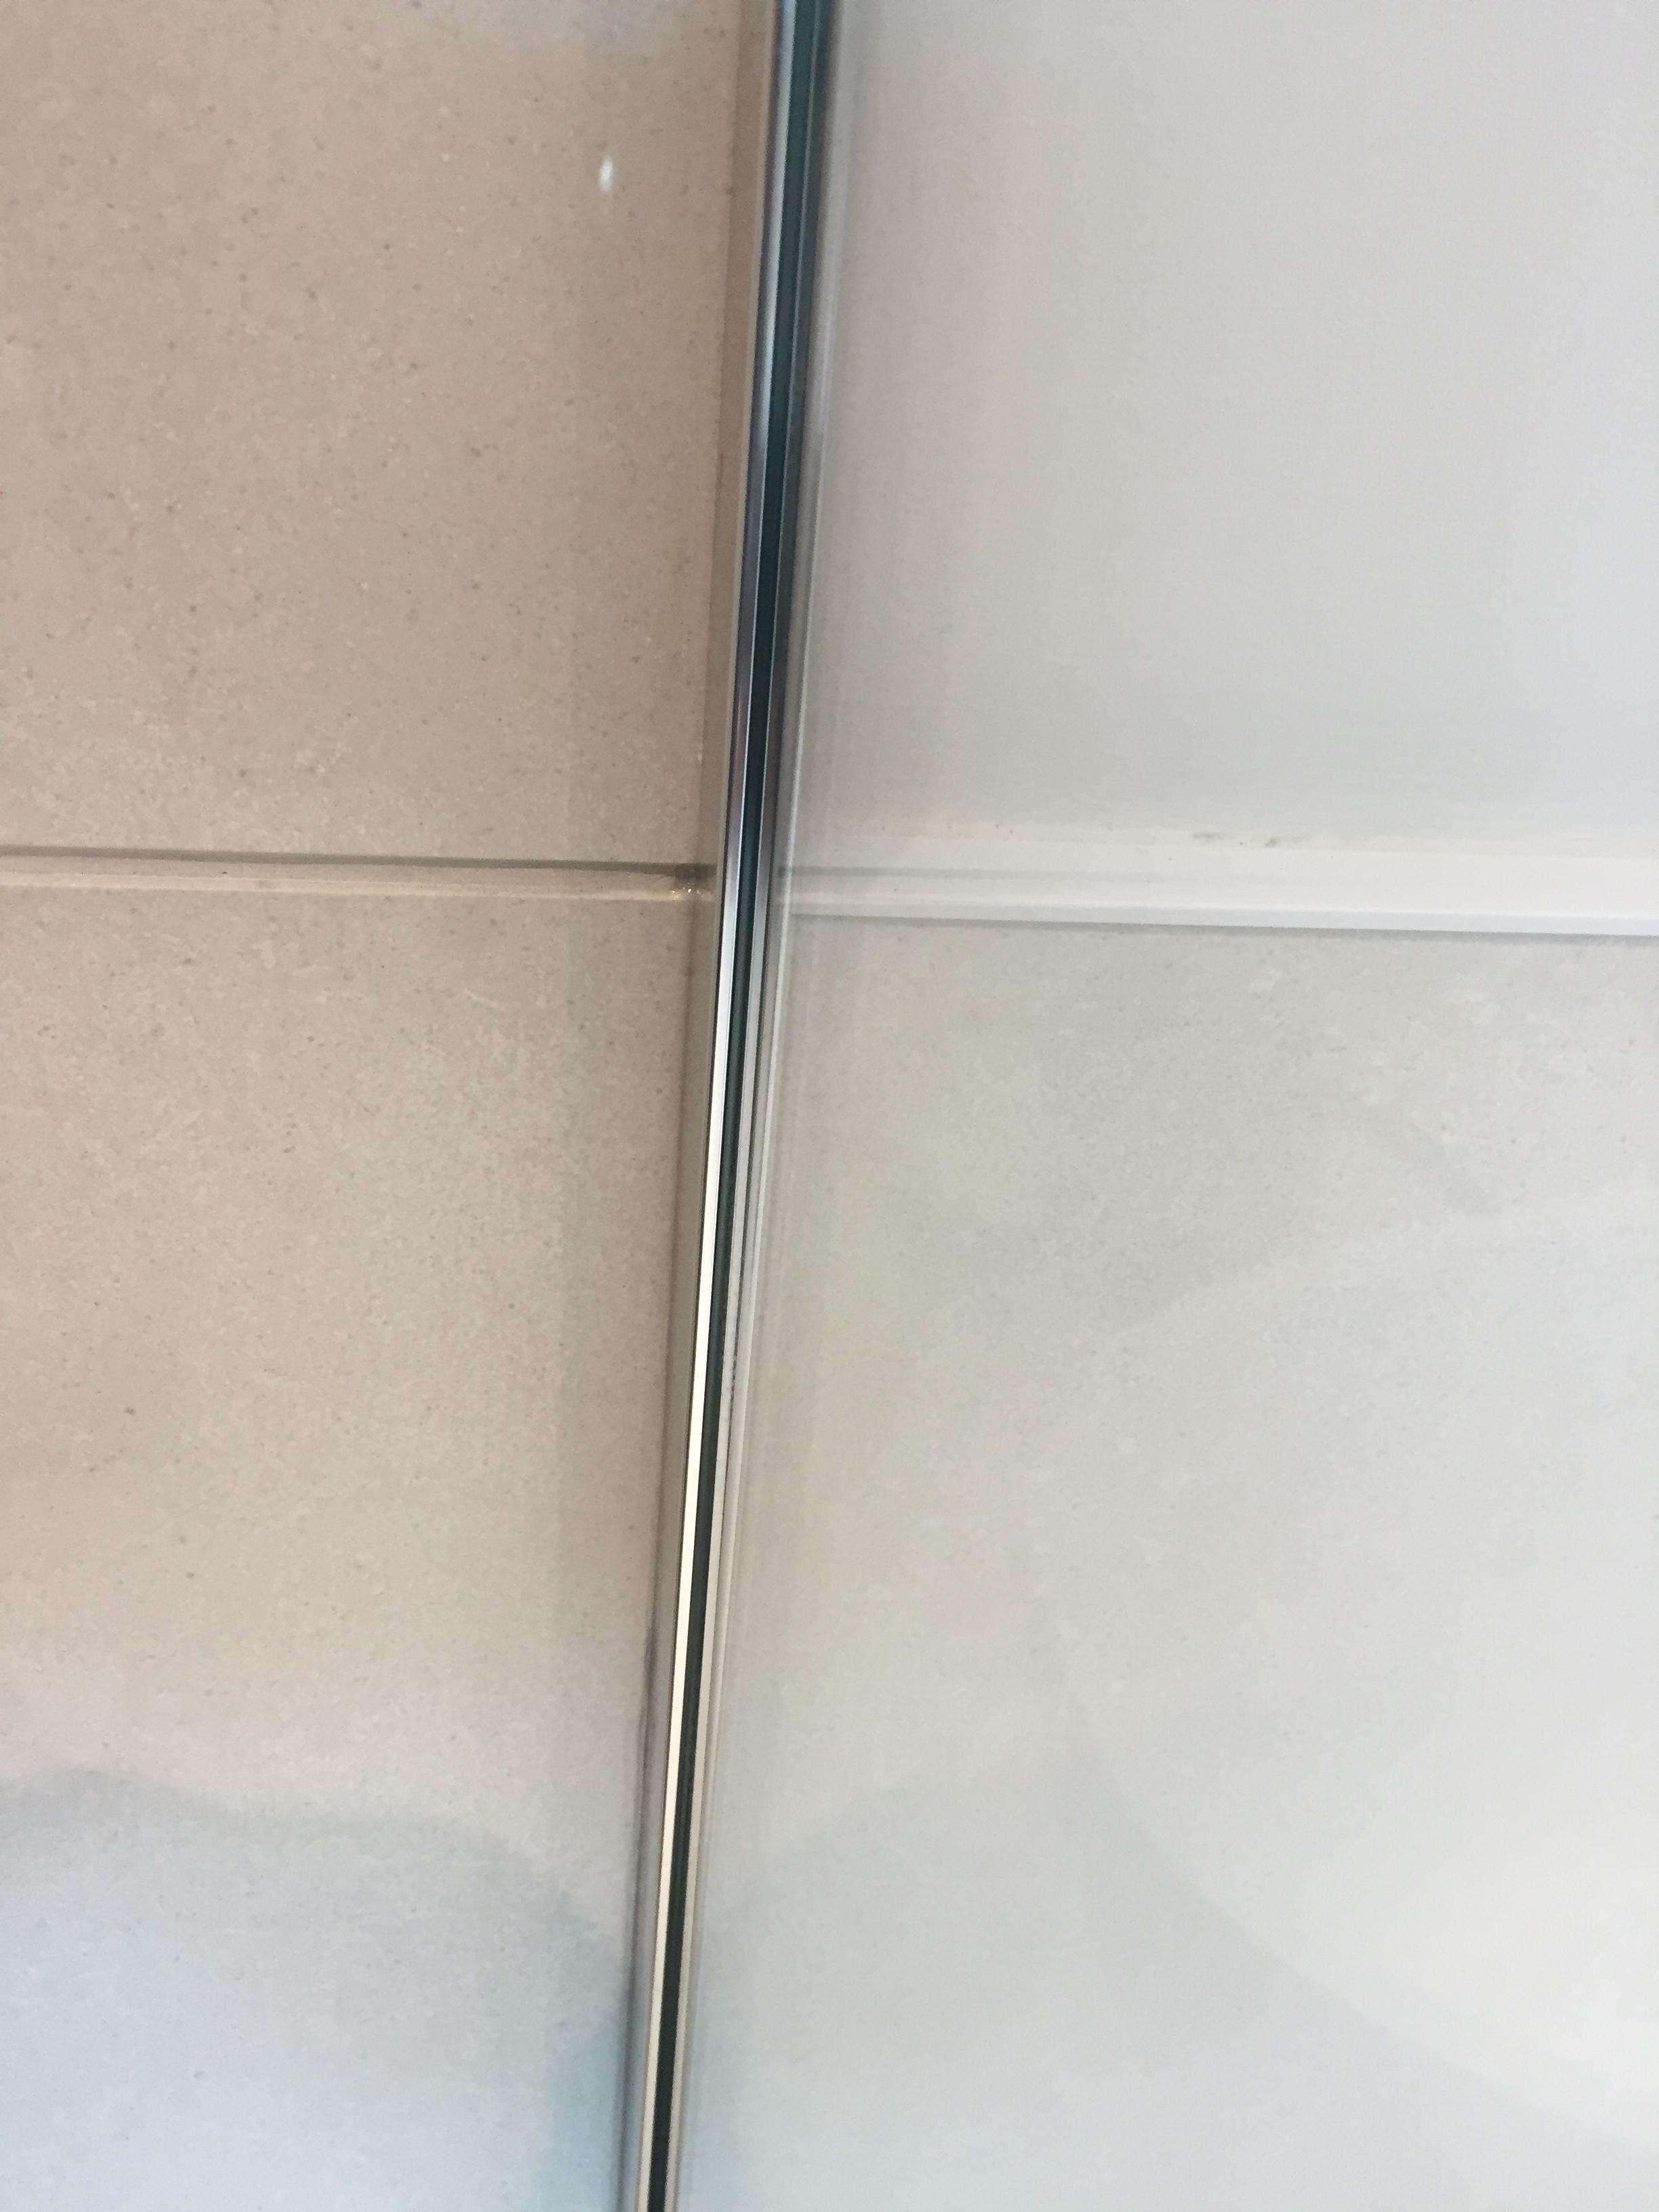
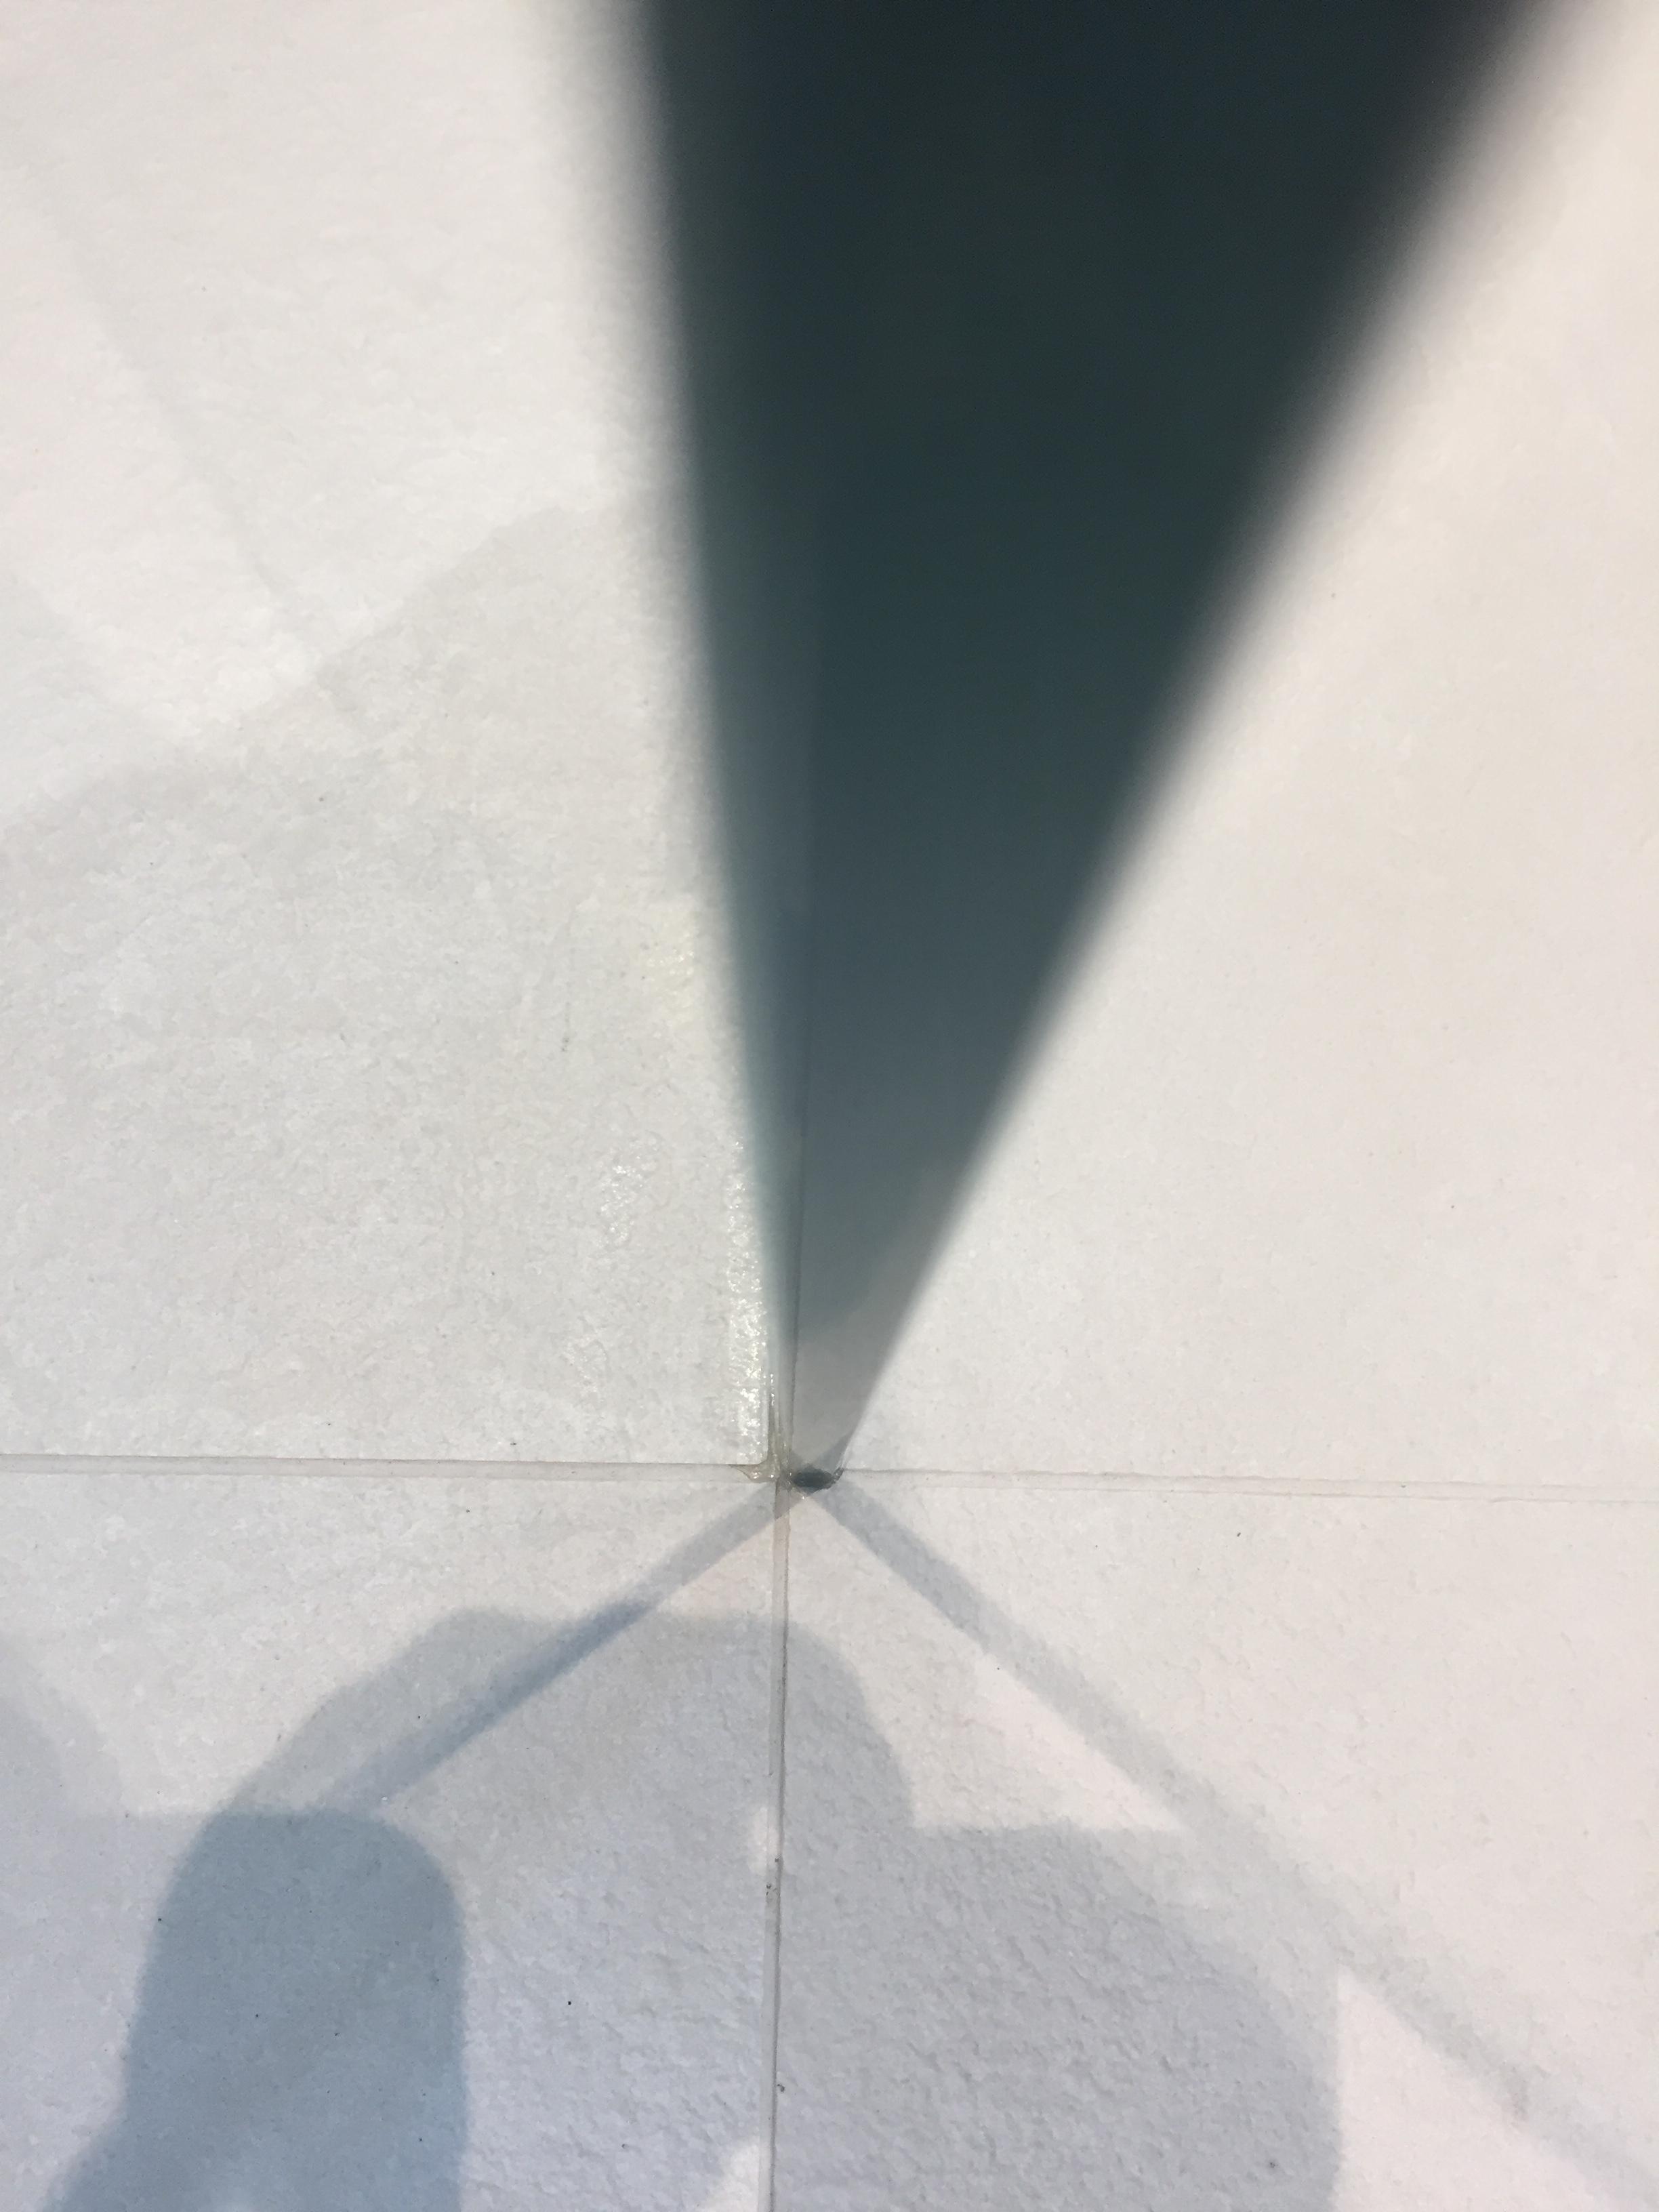
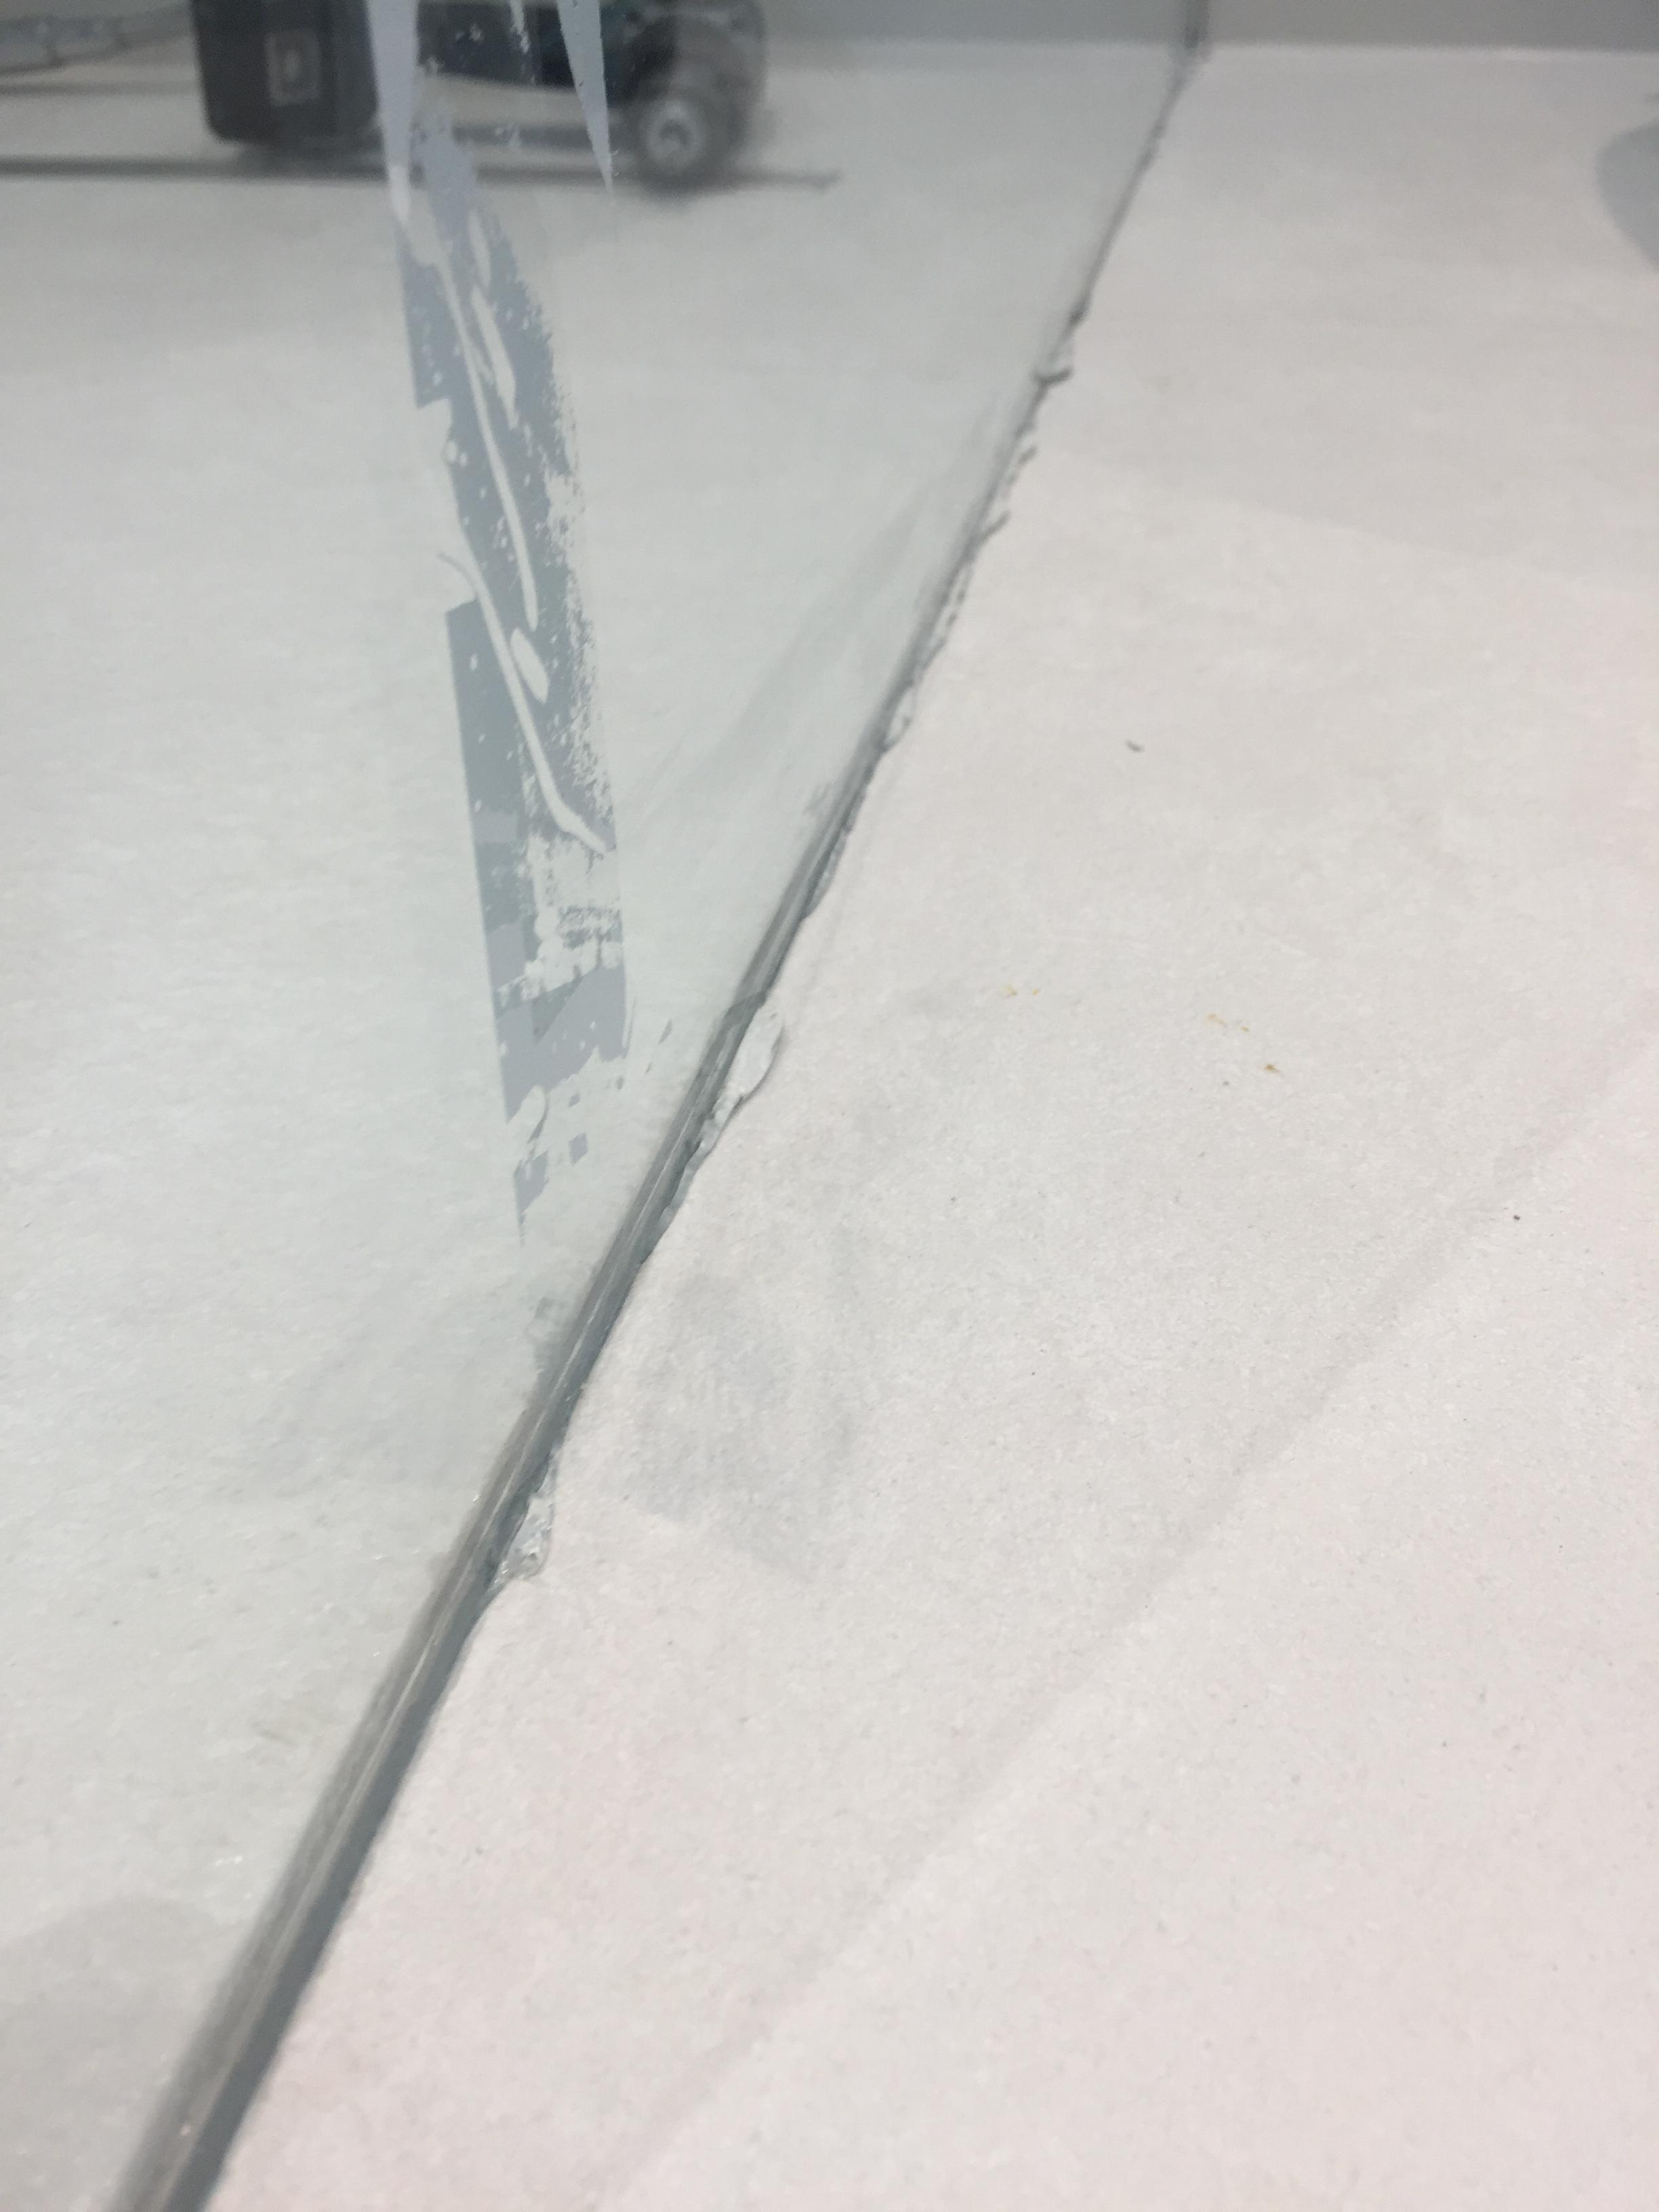
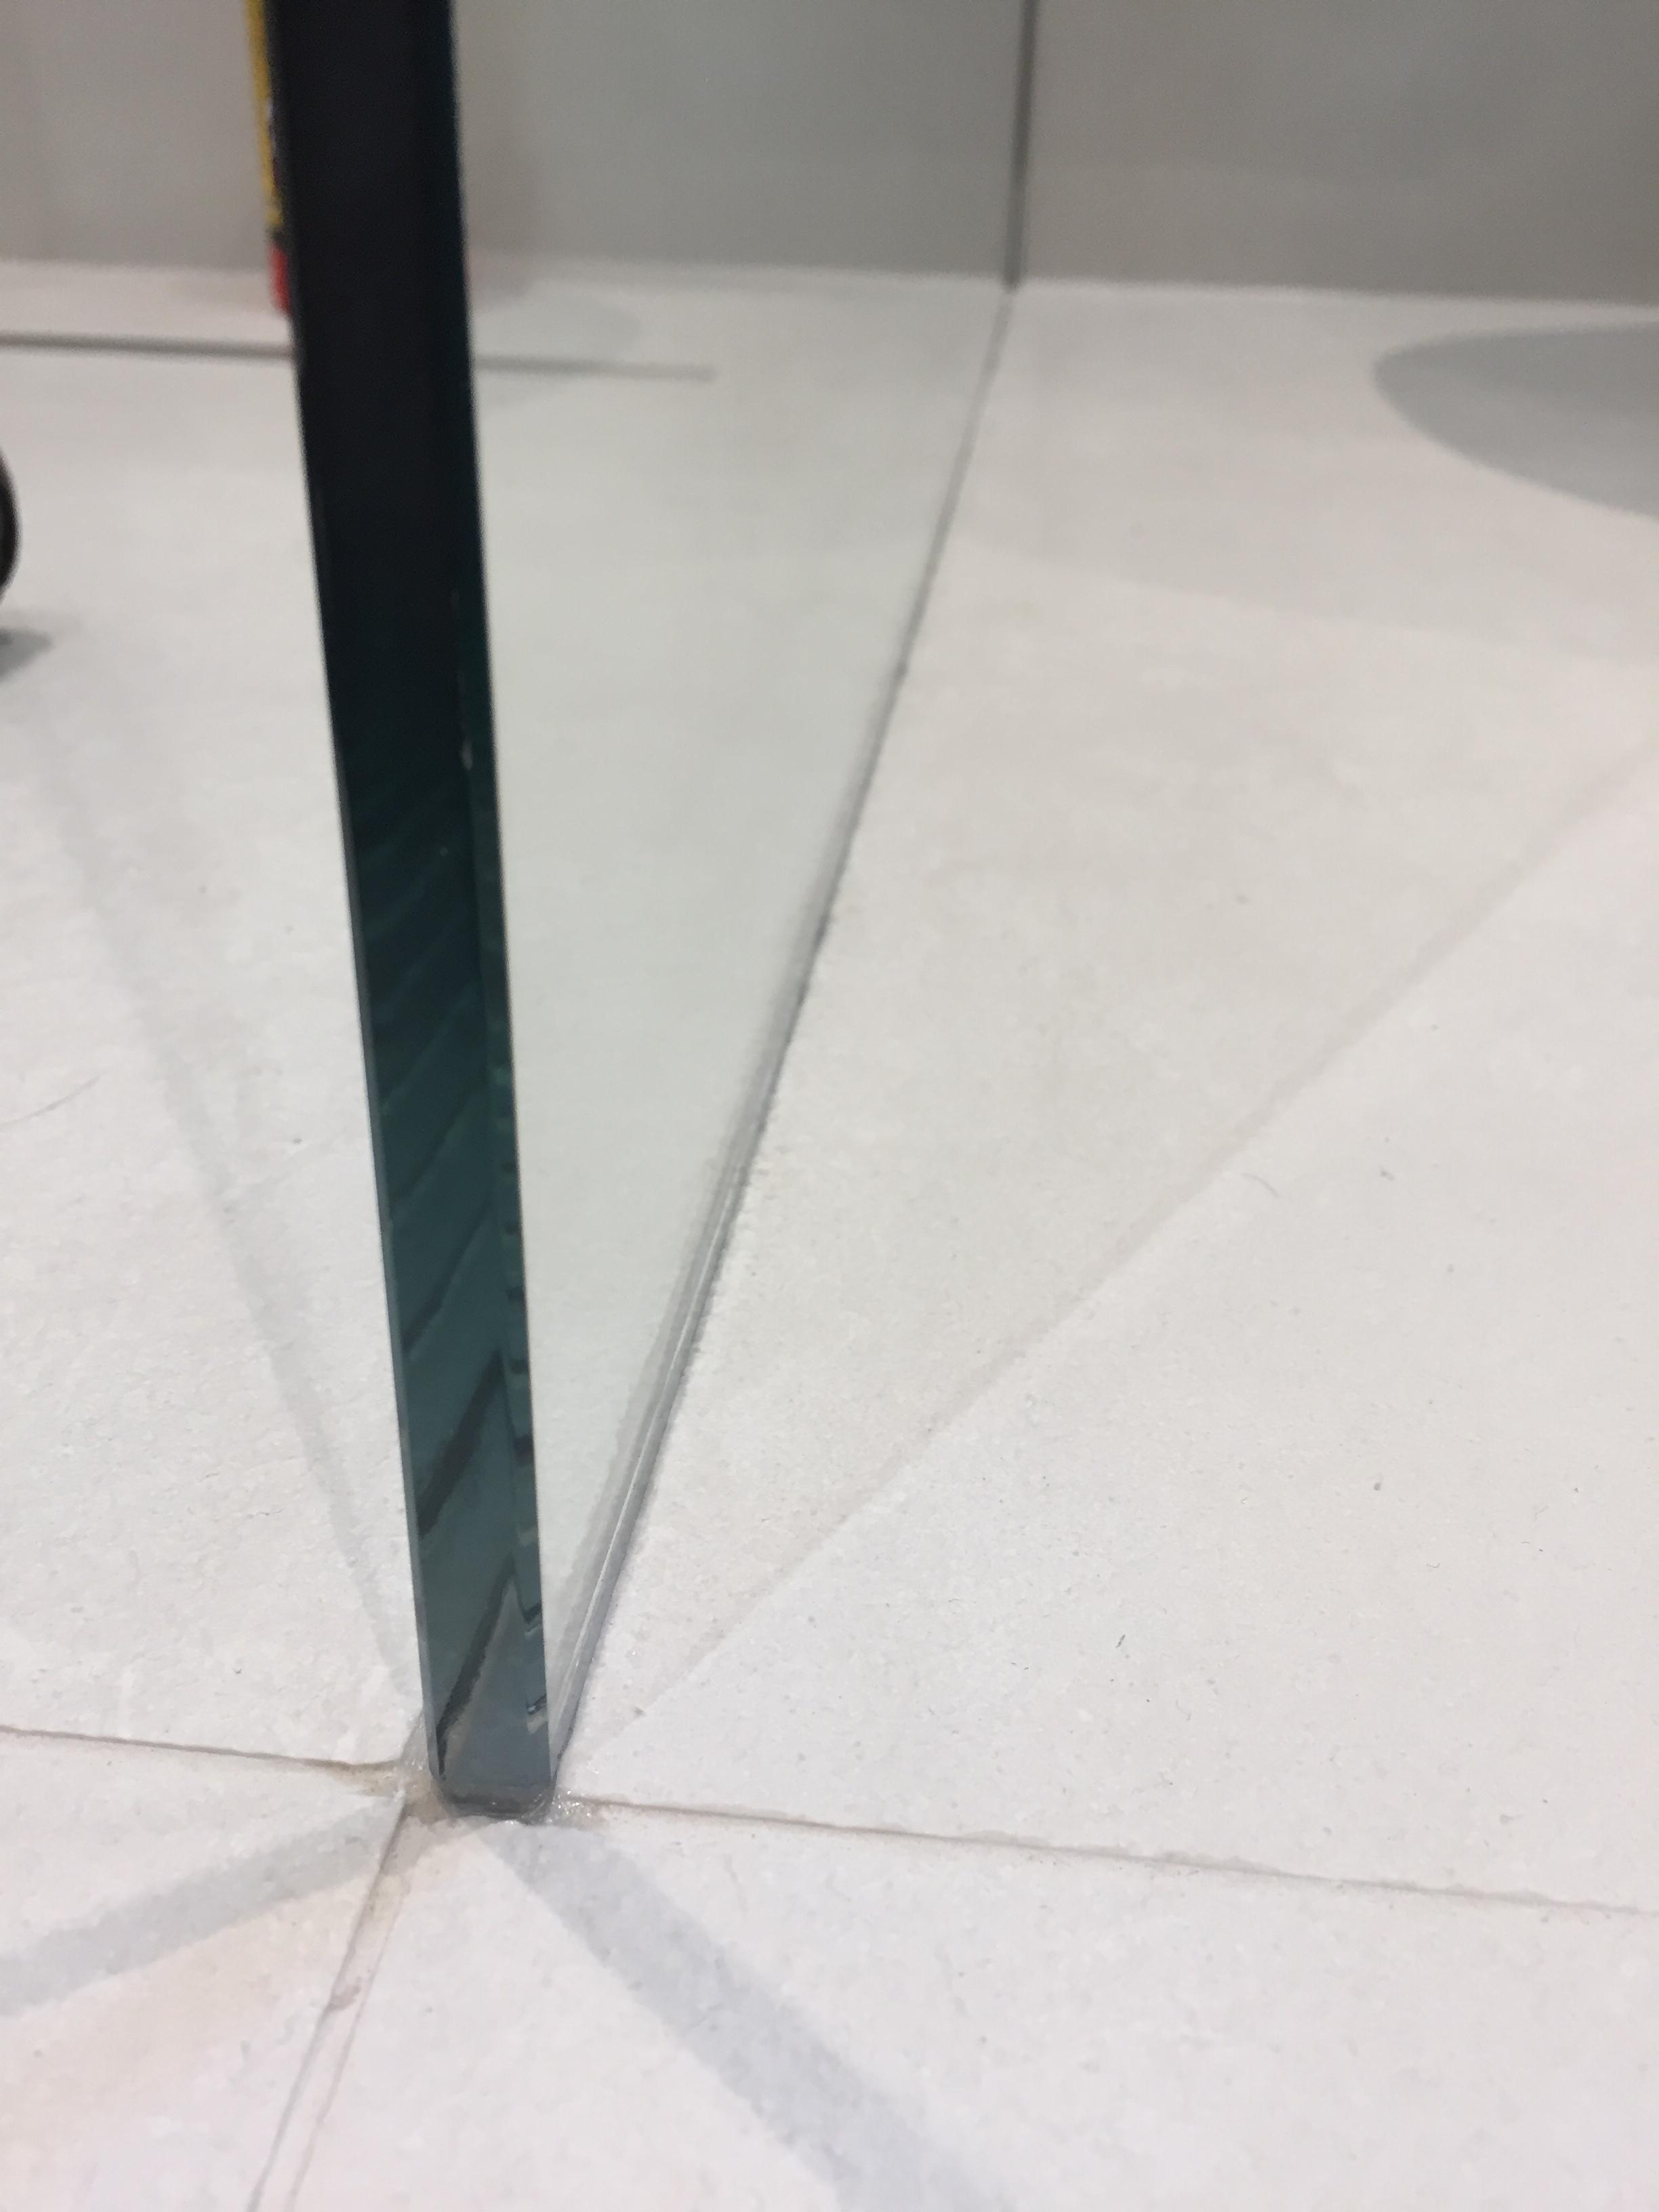
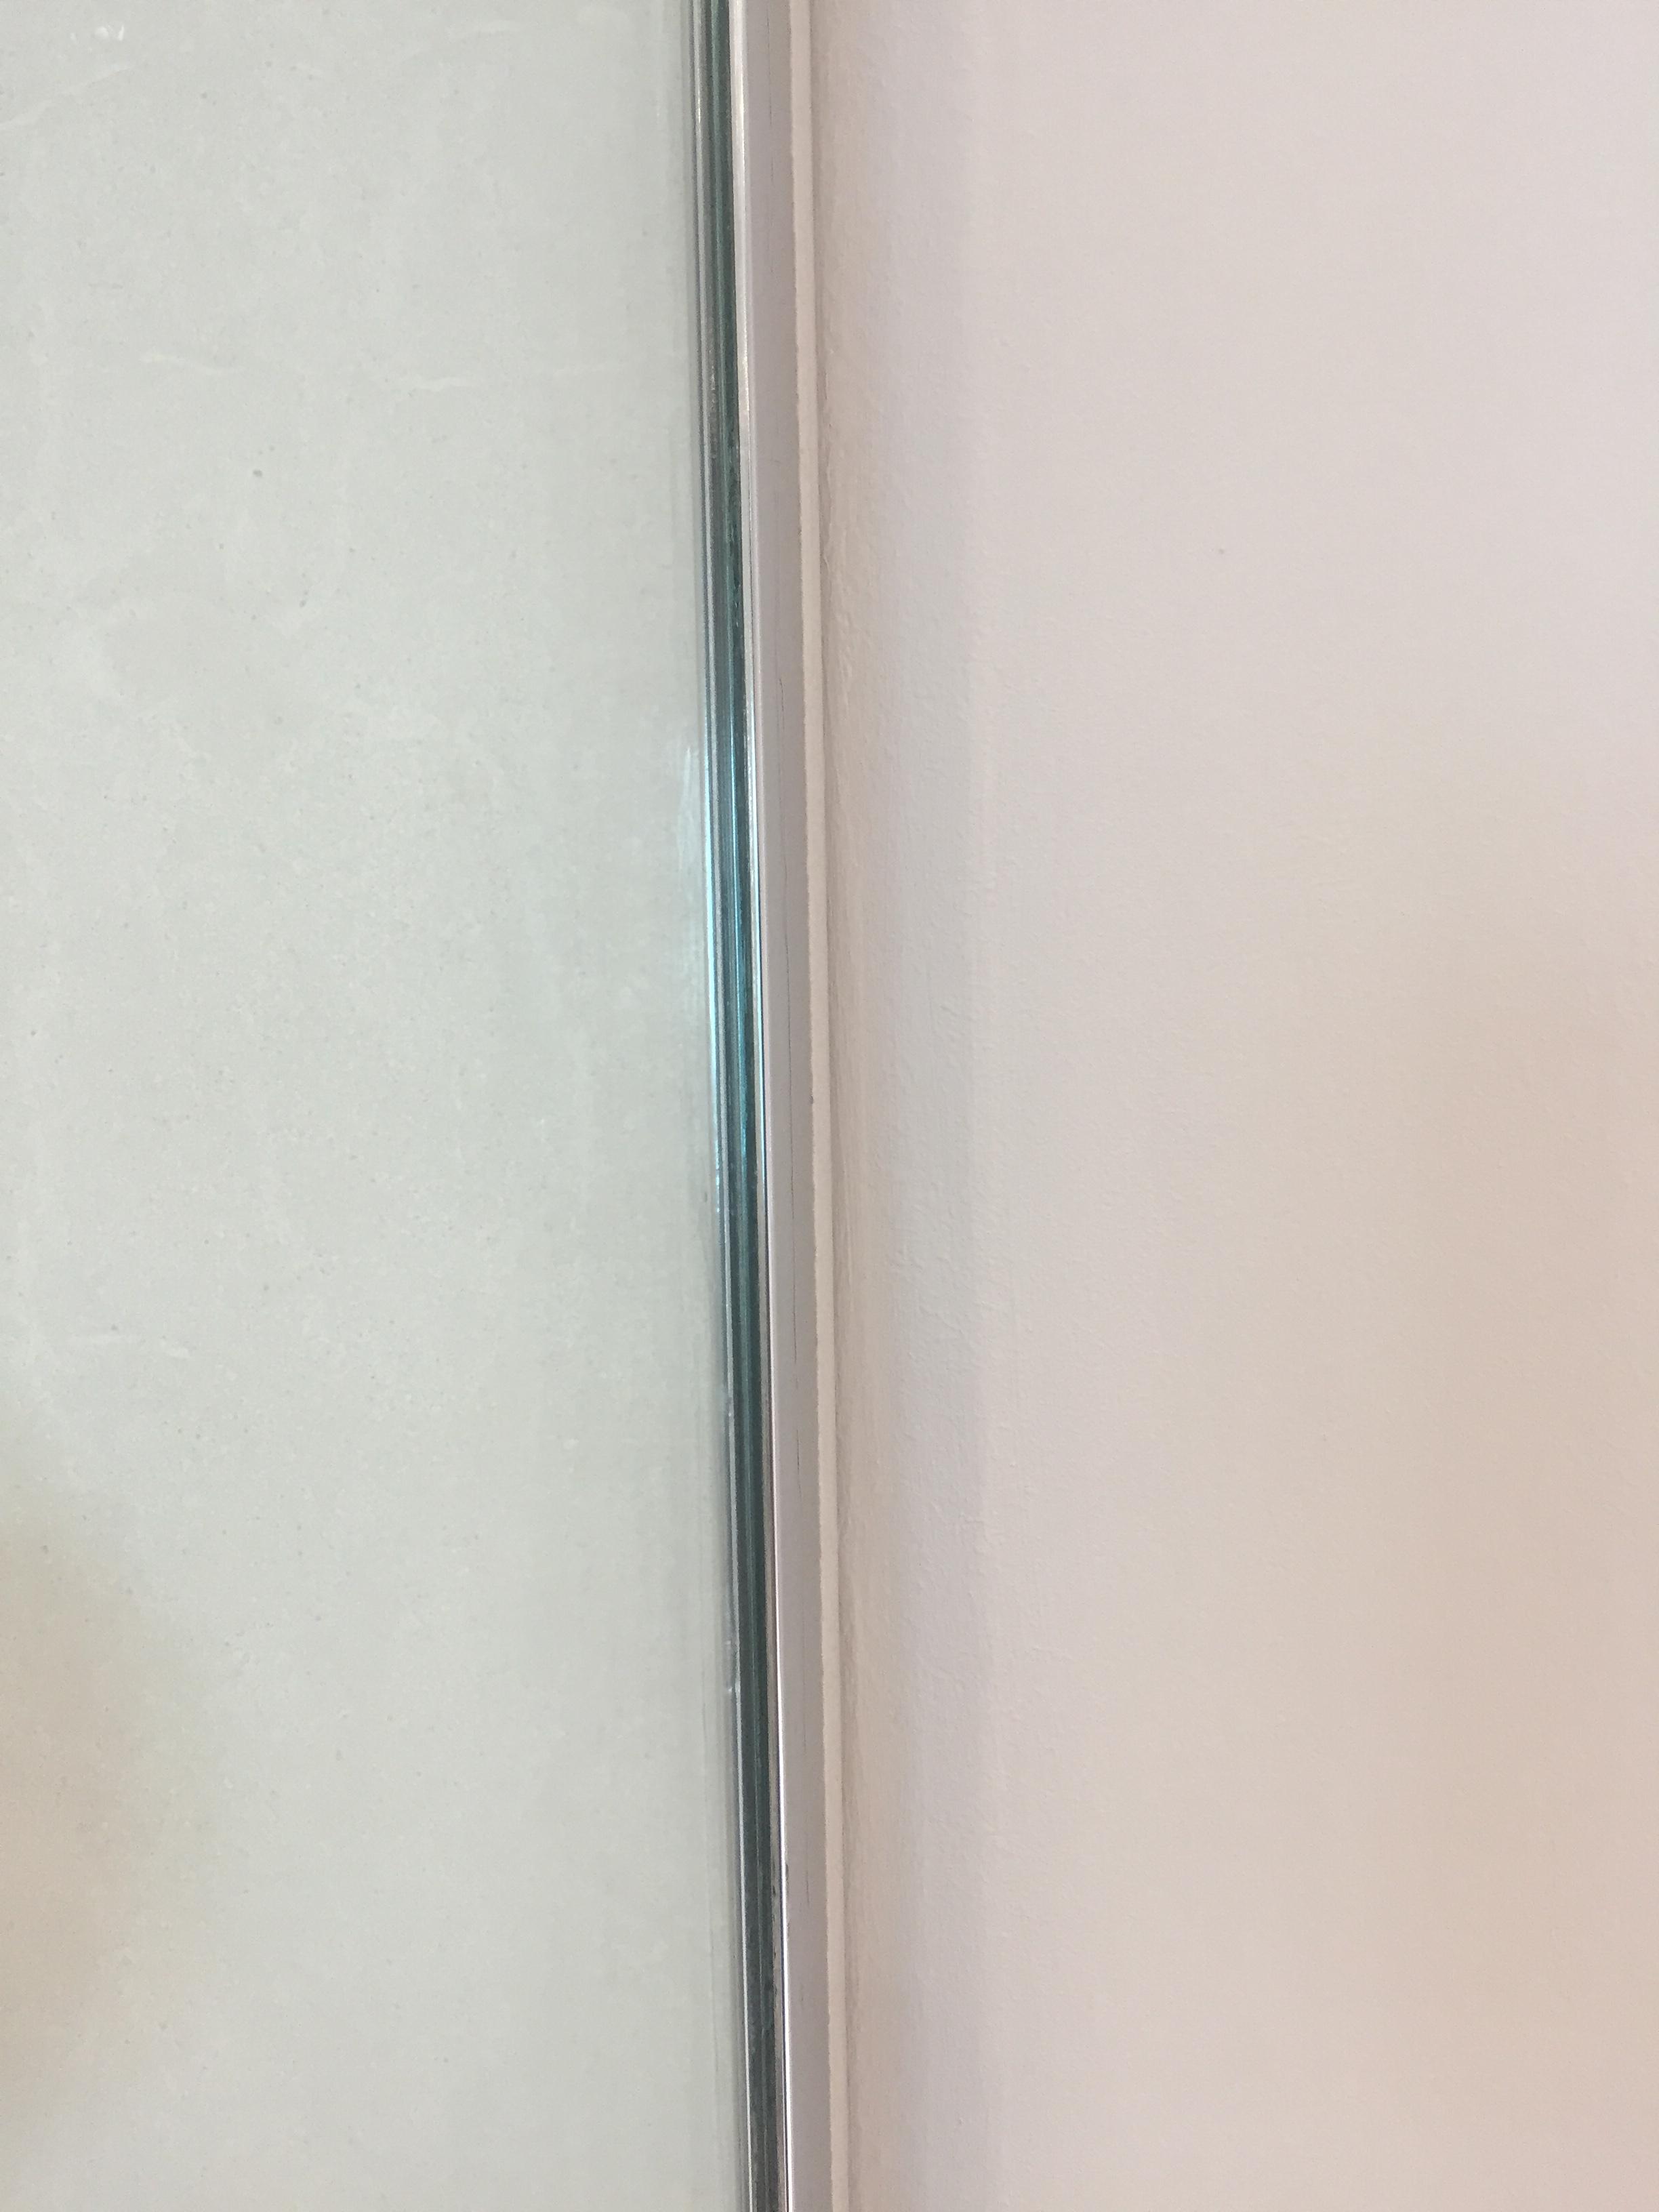
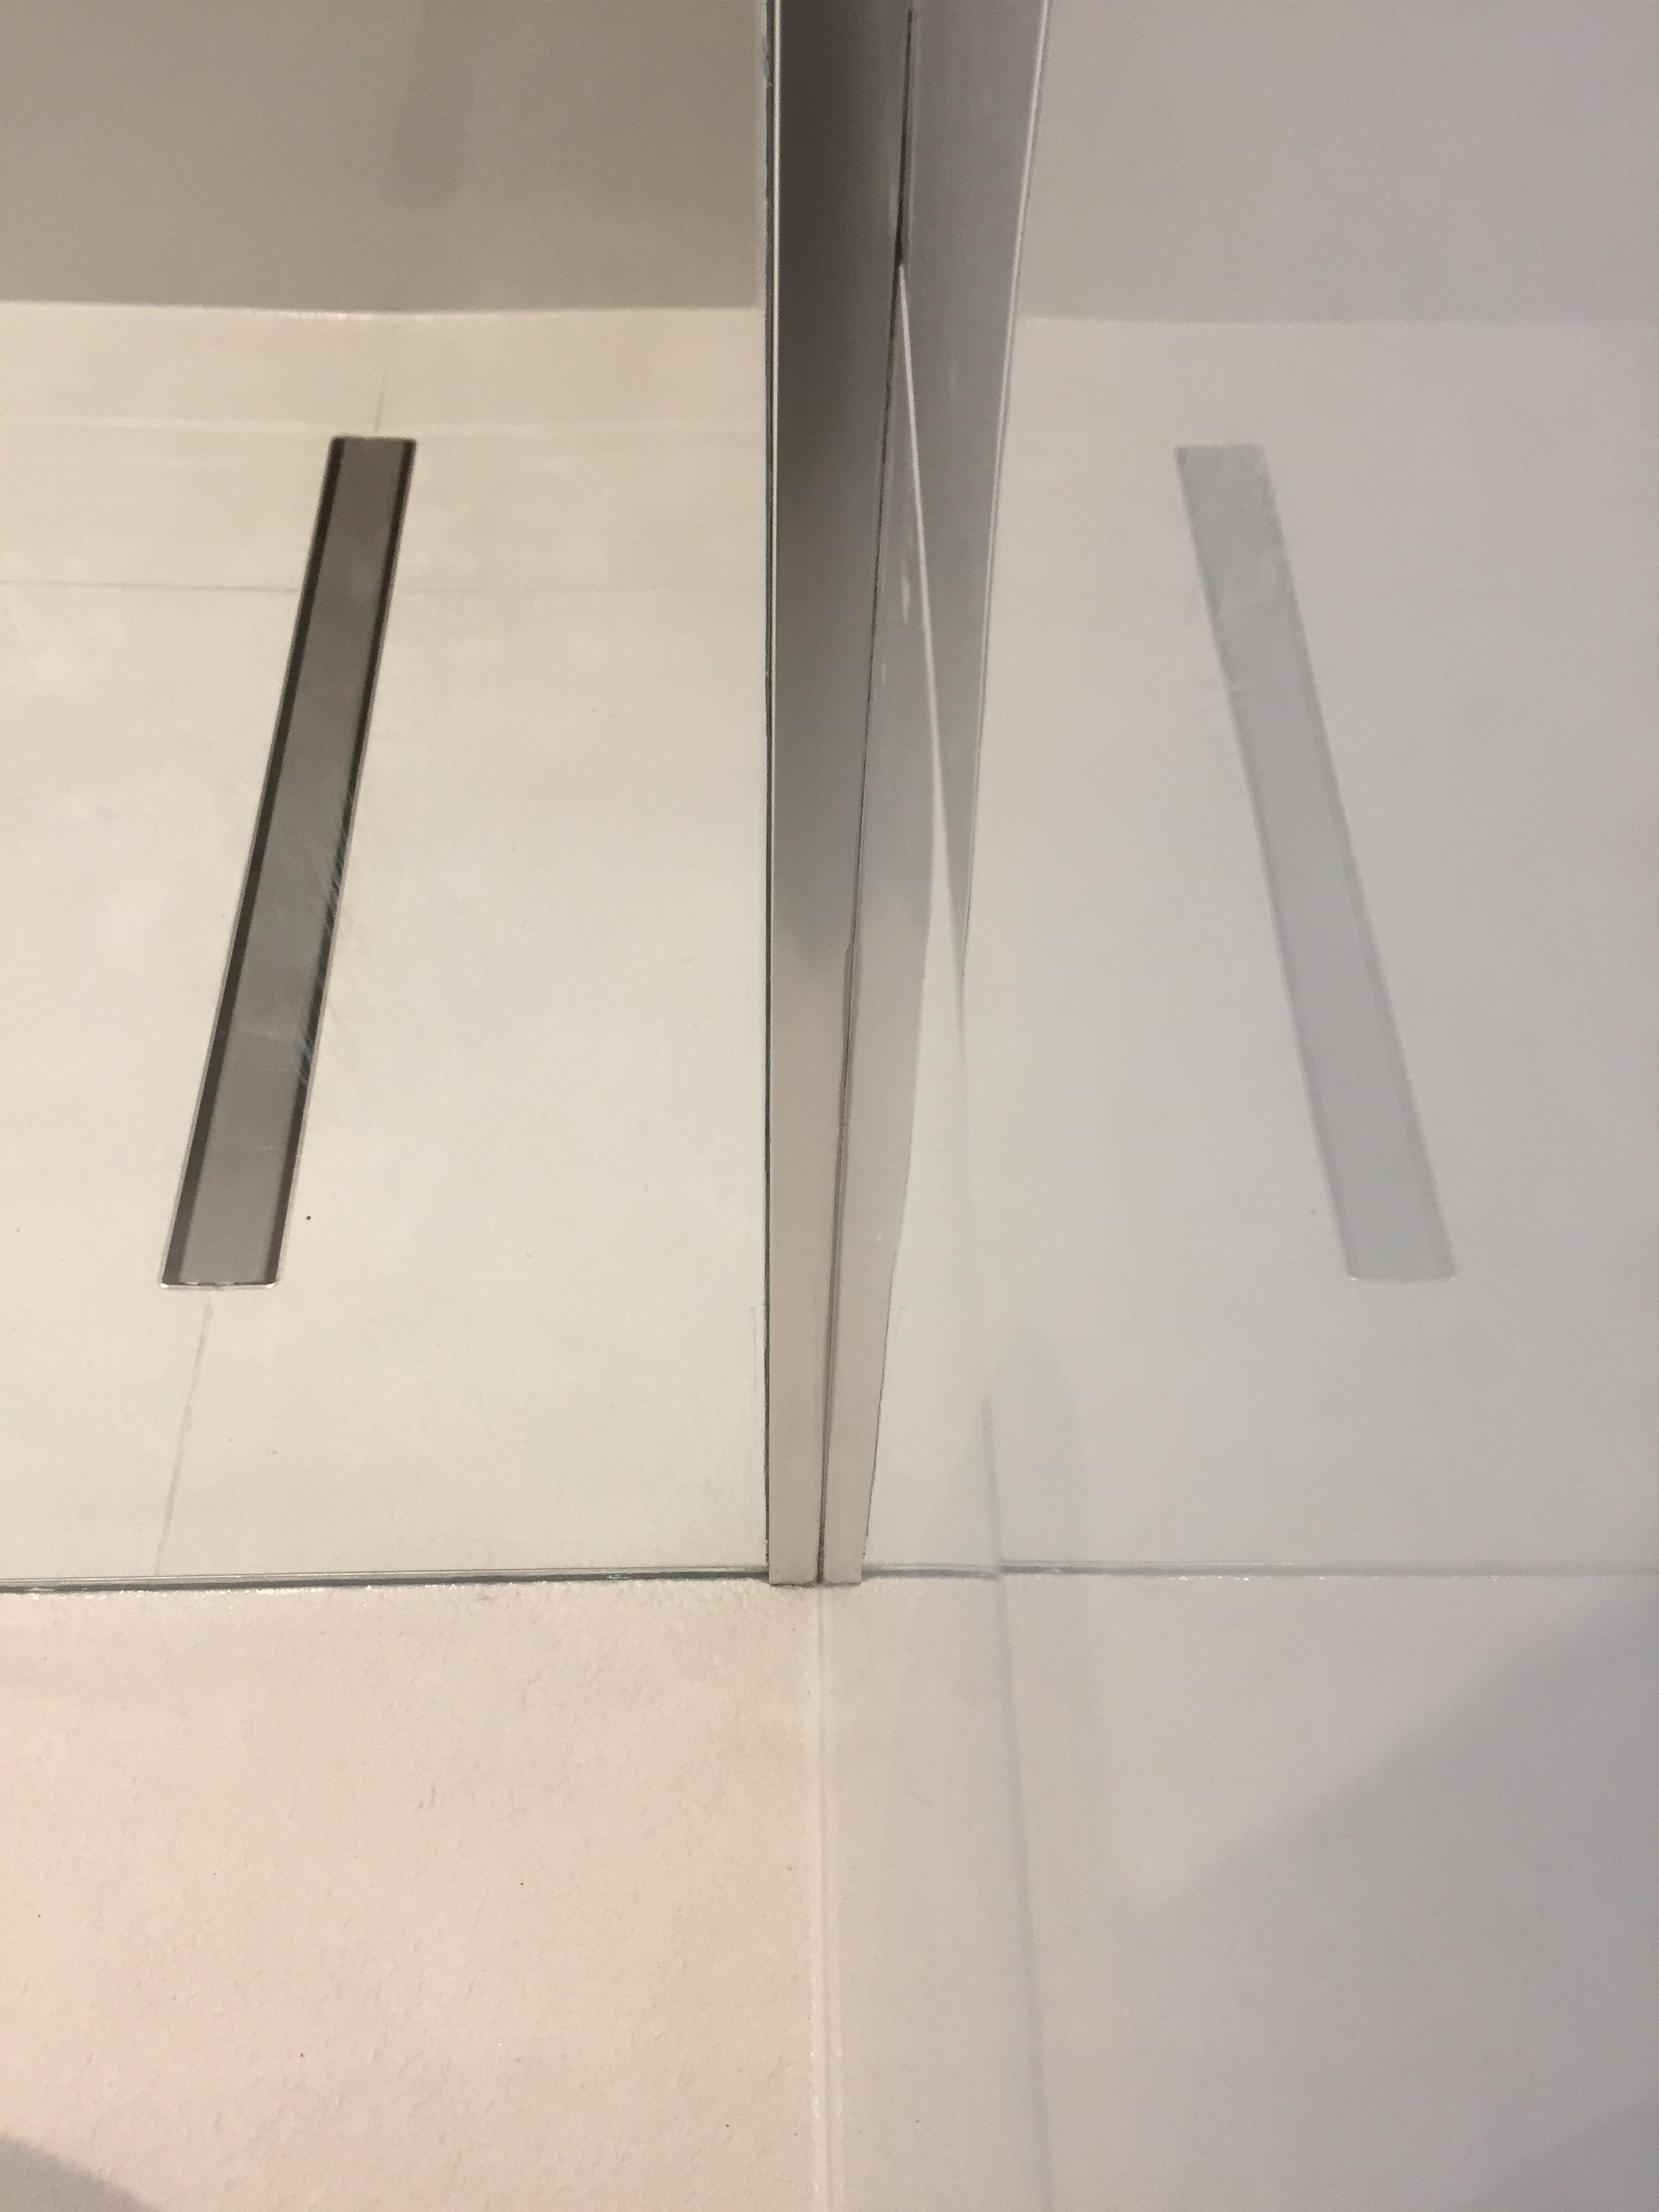
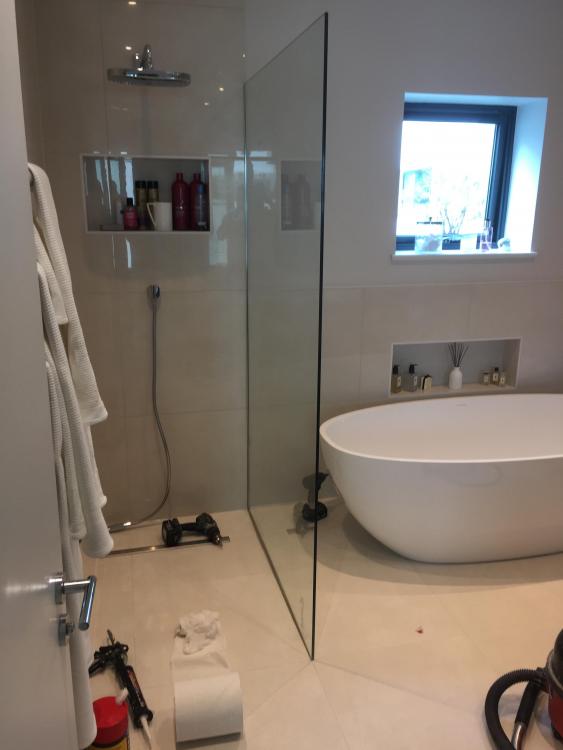
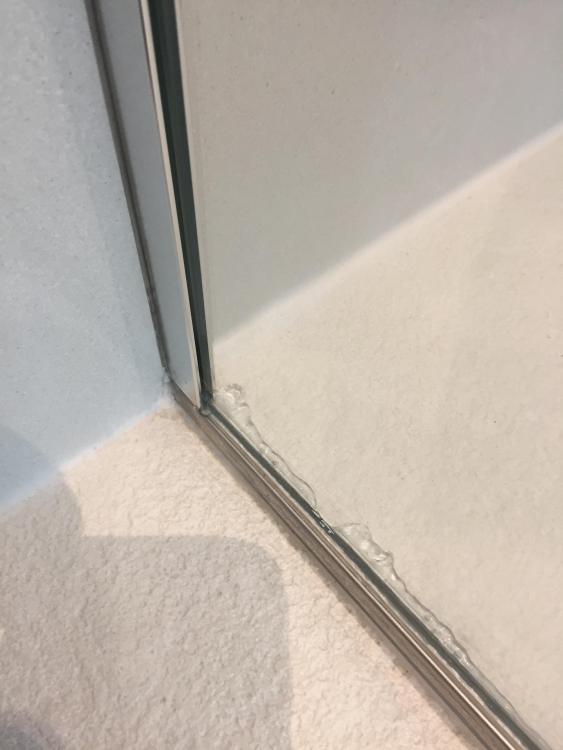
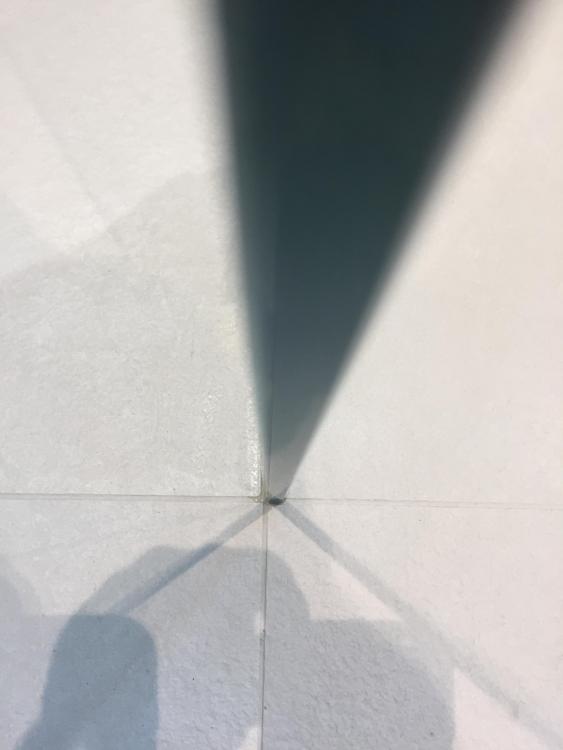
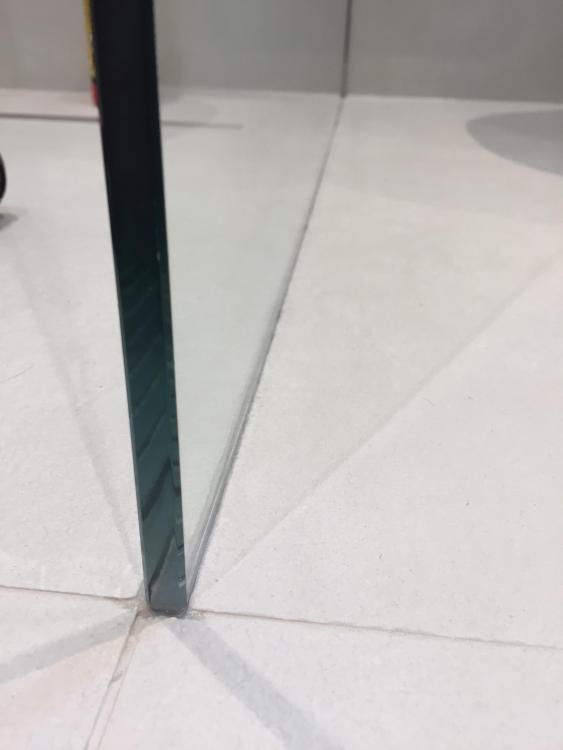
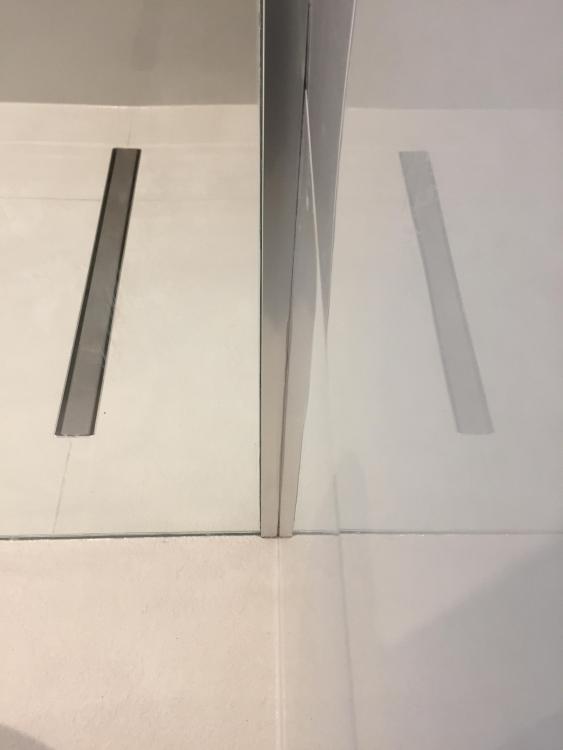
Fitted the glass today. 1.5 x 10 x 1.5 receiver. Minimalist as it can get. Slid into the wall channel and lowered into a generous bead of CT1. Measured so it ended where the grout lines intersected. CT1 displaced ready for the wet wipes Wiped up and looking slick. The wall channel after the gaps were CT1'd and cleaned back with wipes. Side view of the channel after sealing. Bird is the word. ?


 1 point