
Leaderboard


Popular Content
Showing content with the highest reputation on 02/22/17 in all areas
-
So the roof is now totally finished- was a beast of a job and having finished the ridge I felt as though I had been riding a particularly fat horse all week. Physically tough doing it without help and using just a ladder, but I'm impressed with the corrugated steel and would happily use it in future. I would seriously consider it for wall cladding as well, as it was much quicker and not any more expensive compared to my larch. I had made a start on the larch wall cladding a few months back, fixing the first layer of boards on the gables. I'm now comfortably past the half way point with the cladding, with only the seaward walk not yet started. It's been a process of trial and error to find ways of getting each board in place ensuring that it more or less plumb and with equal gaps either side. Part of this learning process has been judging what kind of tolerance to work to. The boards are highly variable, from less than 95mm width to over 100mm, sometimes tapering at one or both ends, and often with a bit of a curve to them. So my first idea of using a long spirit level and a wooden block as a spacer wasn't going to work. The first layer was done quite carefully with markings on the battens; temporary nails on these marks located each board whilst I used the coil nailer to fix it in place. For the top layer, I didn't want to use that method as it would leave nail holes in visible parts of the cladding. So the best method for fixing the long boards of the gables seems to be to put small marker nails on the reverse side of each board, spaced to match the gap that is being covered. It's obviously a lot of prep time, but I can do that inside the house during bad weather (it is February in Skye after all), and then when the weather allows I can literally just shove the boards up against the wall and they will be in the right place. Unfortunately my progress is now going to be rapidly curtailed as I become the stay at home Dad- SWMBO has gone back to work, so my day now revolves around the couple of hours nap time that let me sprint down to the house site, baby monitor in my pocket, and feverishly nail some boards on. Next project: self build baby pen...4 points
-
Some may have noted my absence over the past two or three weeks. The curse of self building - not enough hours in the day! After a final push, a lot of cleaning and packing, we are at last in our new house. A few bits and bobs to finish off, but we do have a Temporary Occupation Certificate, and really have nothing much more than pulling together paperwork for our Completion Certificate. Watch this space...Blog update to follow in the next few days.4 points
-
just a quick update. i received the pack from MBC today as promised,2 points
-
Oh and I forgot the best bit: I was packing up for the day and couldn't find my wee radio... I could hear it though... no prizes for guessing where it was So hopefully that's the only time I will have to pry off a piece of cladding...2 points
-
Maybe so, but for the 3rd or f4th time, I will say: these jubilee clips aren't some generic ones: we bought these as part of an installation kit from a reputable Gas supplier. I agree that all sorts of comments are relevant to auto changover set-up, but having now read through the guidelines, LPG configurations are divided into three categories: Cylinder installations -- that is where you have a static storage vessel which is typically refilled on-site from a suppliers LPG tanker Multiple bottle installations Single bottle installations. The best practice for these three is different. Jan and I decided from the outset that we wanted a single bottle installation. And that's what we have. IMO, it doesn't make sense to say: I would have had a multiple bottle installation and then criticise the installation for not following multiple bottle best practice. There's a lot of good advice here but maybe we should somehow tag the various points as relating to either single bottle or multiple bottle installation and keep the two quite separate.1 point
-
Just to wet all your appetites I'll show you attempt 2 before destroy it
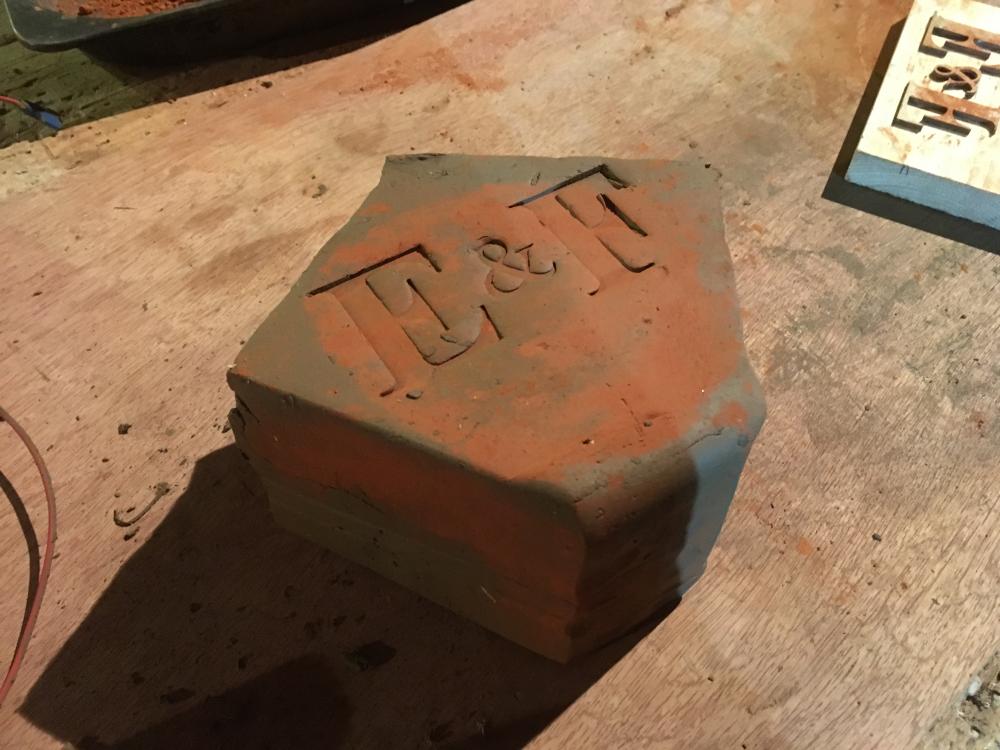 1 point
 -
what colour for the GCNs, Pete?1 point
-
I intend to add insulation to outside if i can. this is the design i have been sent slab.pdf1 point
-
I know the feeling - couldn't find my favourite hammer at the weekend whilst doing some gyproc. We decided we were too tired and wished it well in the darkness but it turned up later under a pile of Rockwool! It's all looking great!1 point
-
Your old system probably stopped working around 10 to 15 years ago, in reality. This is the reason that treatment plants are now preferred over septic tanks. What happens with a septic tank is that it relies on the leach field to do 90% of the treatment, the tank itself is just an anaerobic settling chamber and does very little to remove any pathogens (in fact, being anaerobic it is always a significant source of potentially nasty pathogens, hence the same "septic tank"). The treatment in a conventional septic tank mainly happens in the aerated soil around the leach field drains, where aerobic bacteria in the surrounding soil feed on the high biological oxygen demand effluent and render it safe. What happens after a few years is that the biofilms develop around the field drains and seal off the surrounding soil from air, so the soil around the field drains then also becomes anaerobic and septic. This isn't usually visible unless you dig up an old leach field, where the black and pretty foul soil around the drains will be apparent. In effect, a septic tank ends up dumping raw effluent out of the drains after a few years, and presents a potential health and environmental risk. The snag is this can't be seen, as far as the user is concerned it's all working as it always has. Treatment plants work differently. They are all aerobic, so they don't allow the release of anything with a high biological oxygen demand (BOD). This means that their effluent is pretty harmless and can be discharged into a watercourse, large soakaway or whatever, with very little risk of harm.1 point
-
Why not use some heat transfer paste and a jubilee clip1 point
-
The key thing is that this threshold support has to be integral with the slab, so that there is no chance at all of differential movement. The cut-out in the upstand method is very simple and ensures that the slab and door threshold are contiguous. There's very little room to secure any other material to the slab, so that it would never move, as we're talking about a strip 100mm x 100mm x the door width, that would need to be secured to the slab somehow. Remember the DPM is under this, so there really isn't a simpler way to detail this that I can think of.1 point
-
Lights, camera, move over Ed! You can just about hear a drone in the background but don't tell her I said that!1 point
-
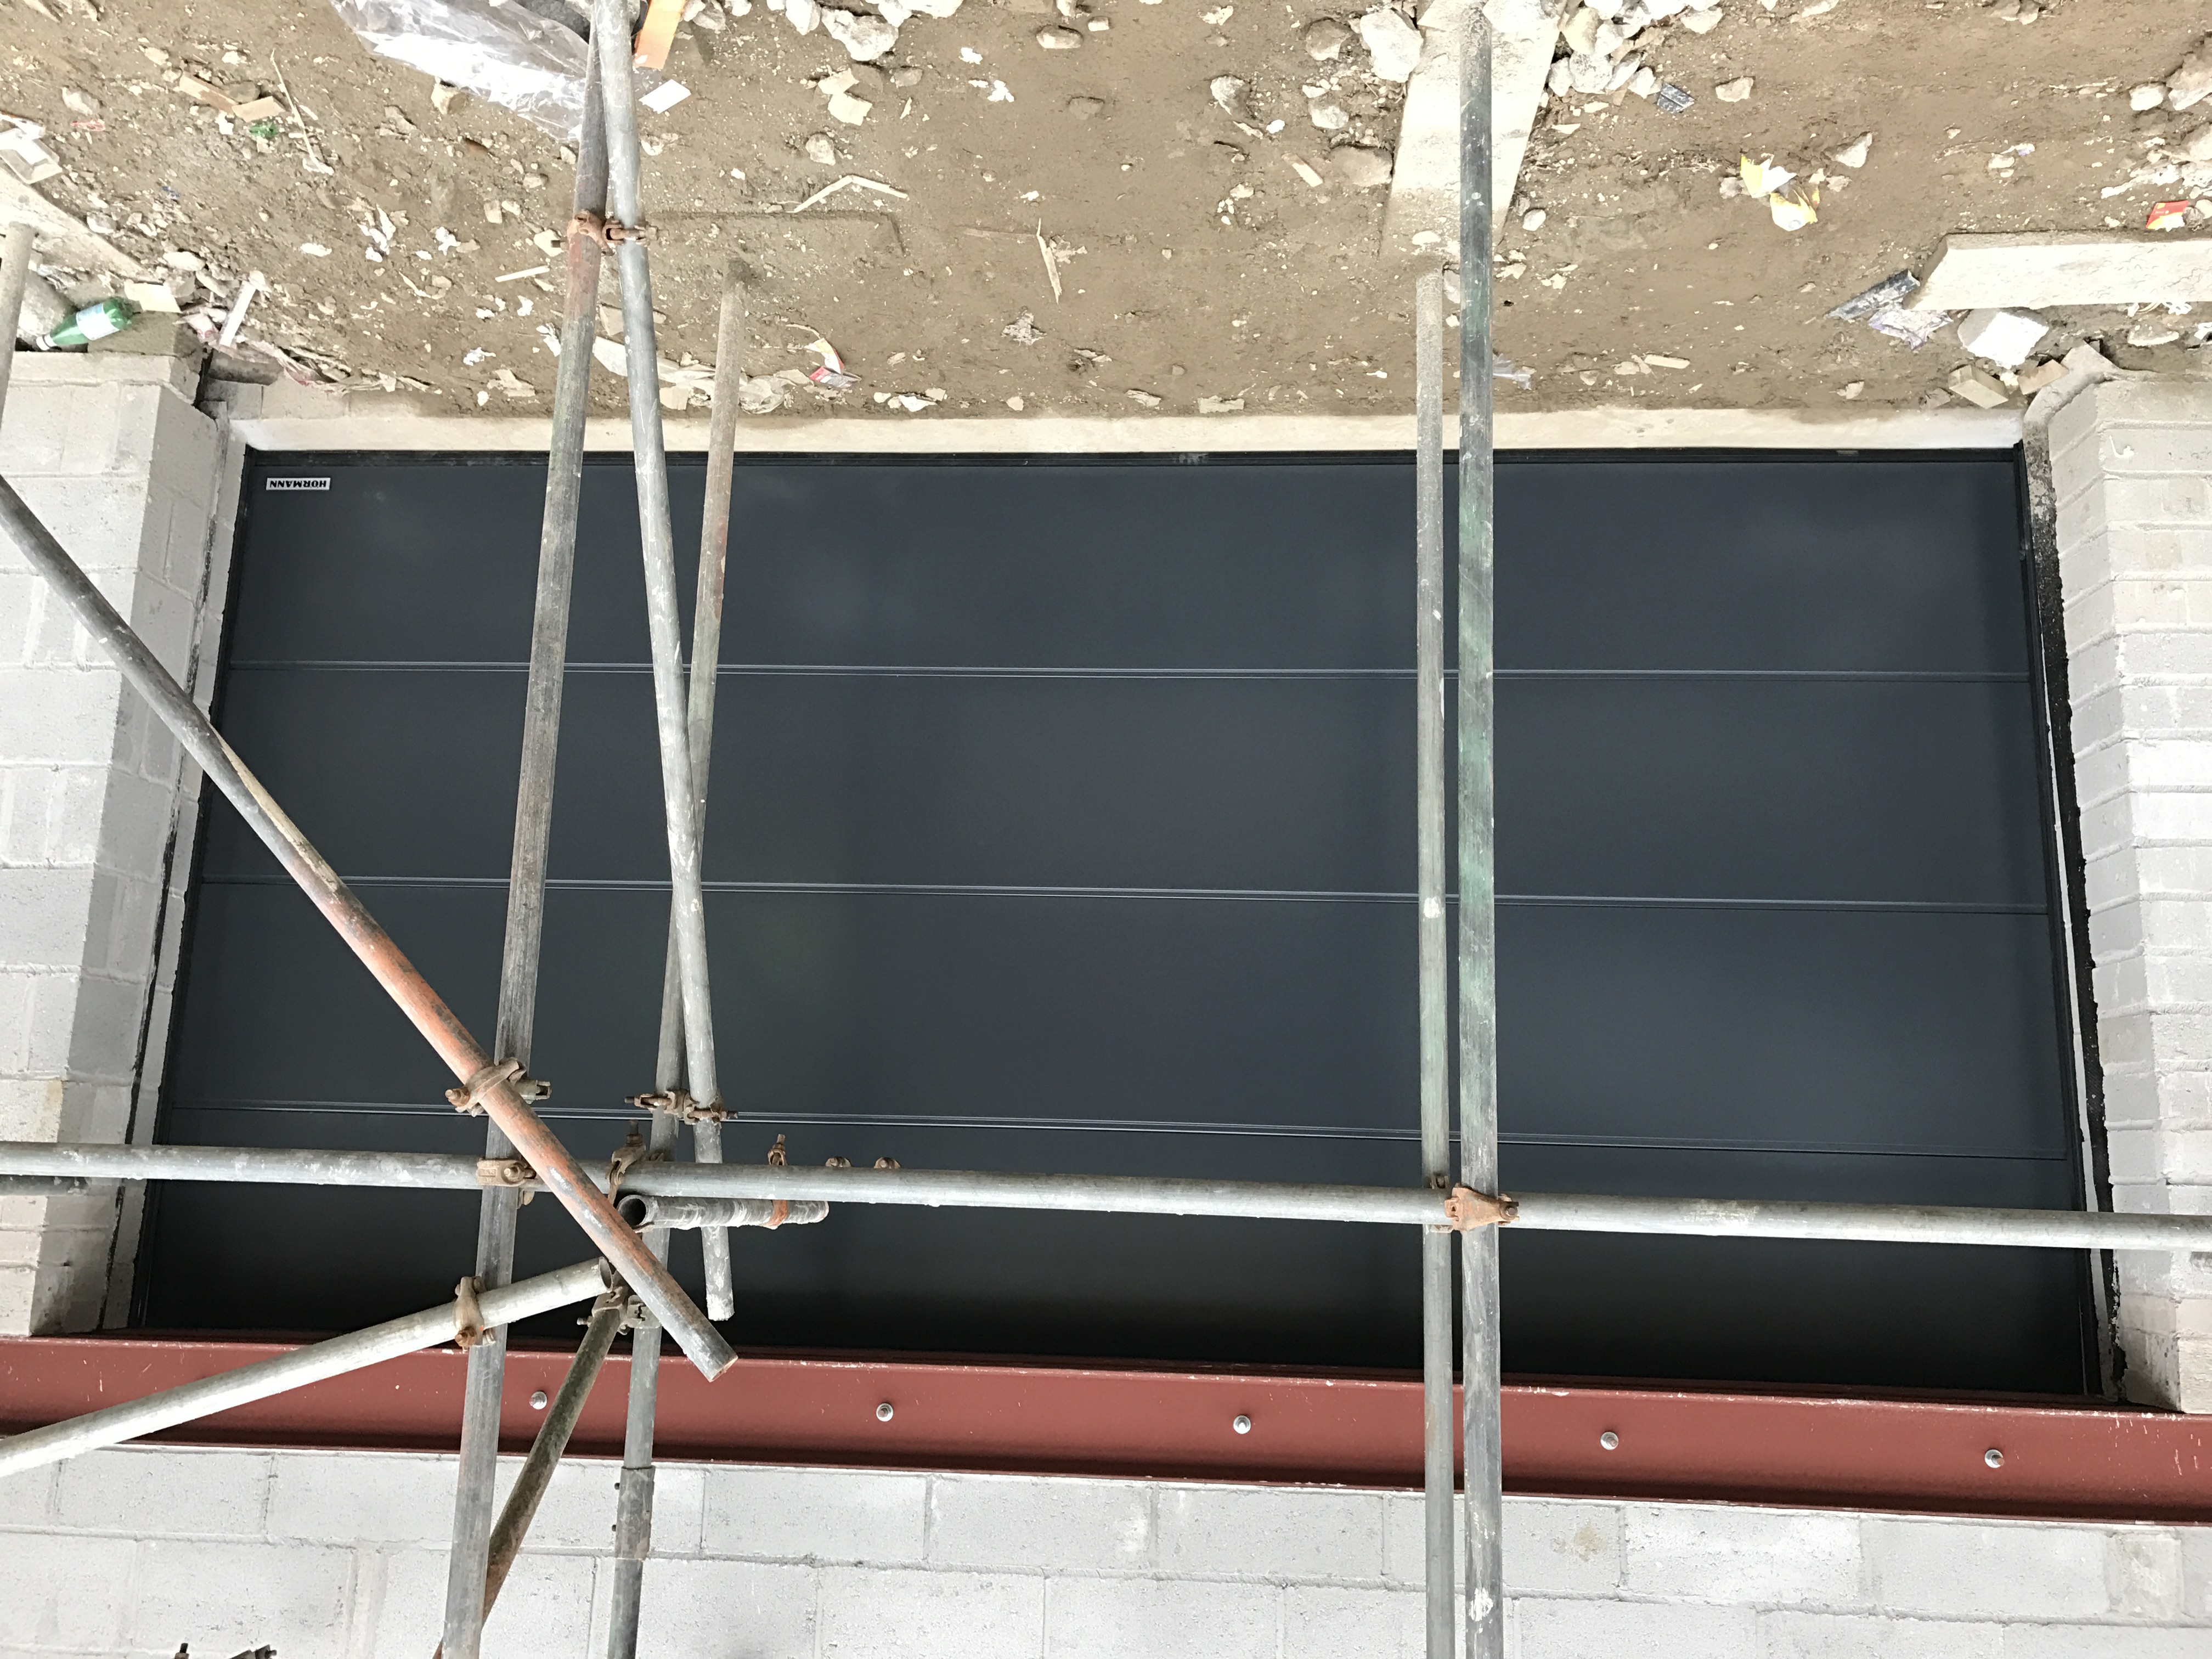
Horman L rib insulated sectional and Horman supramatic opener - 14' x 7' £1750 ex VAT installed
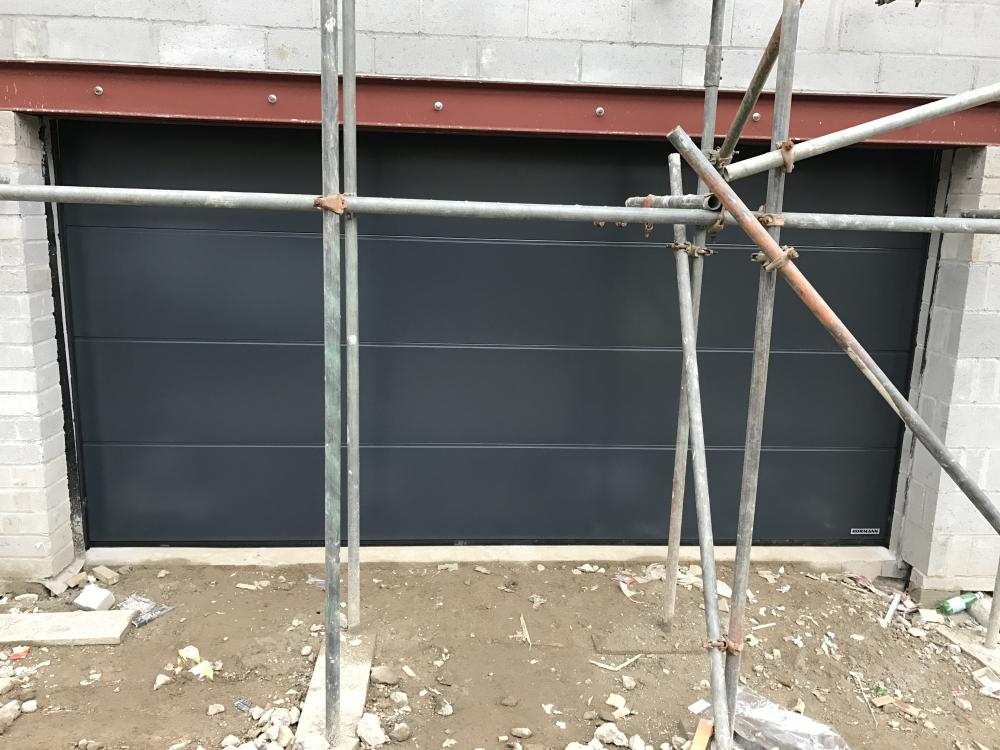 1 point


This leaderboard is set to London/GMT+01:00