
Clad tidings...

Entry posted by Crofter
3269 views
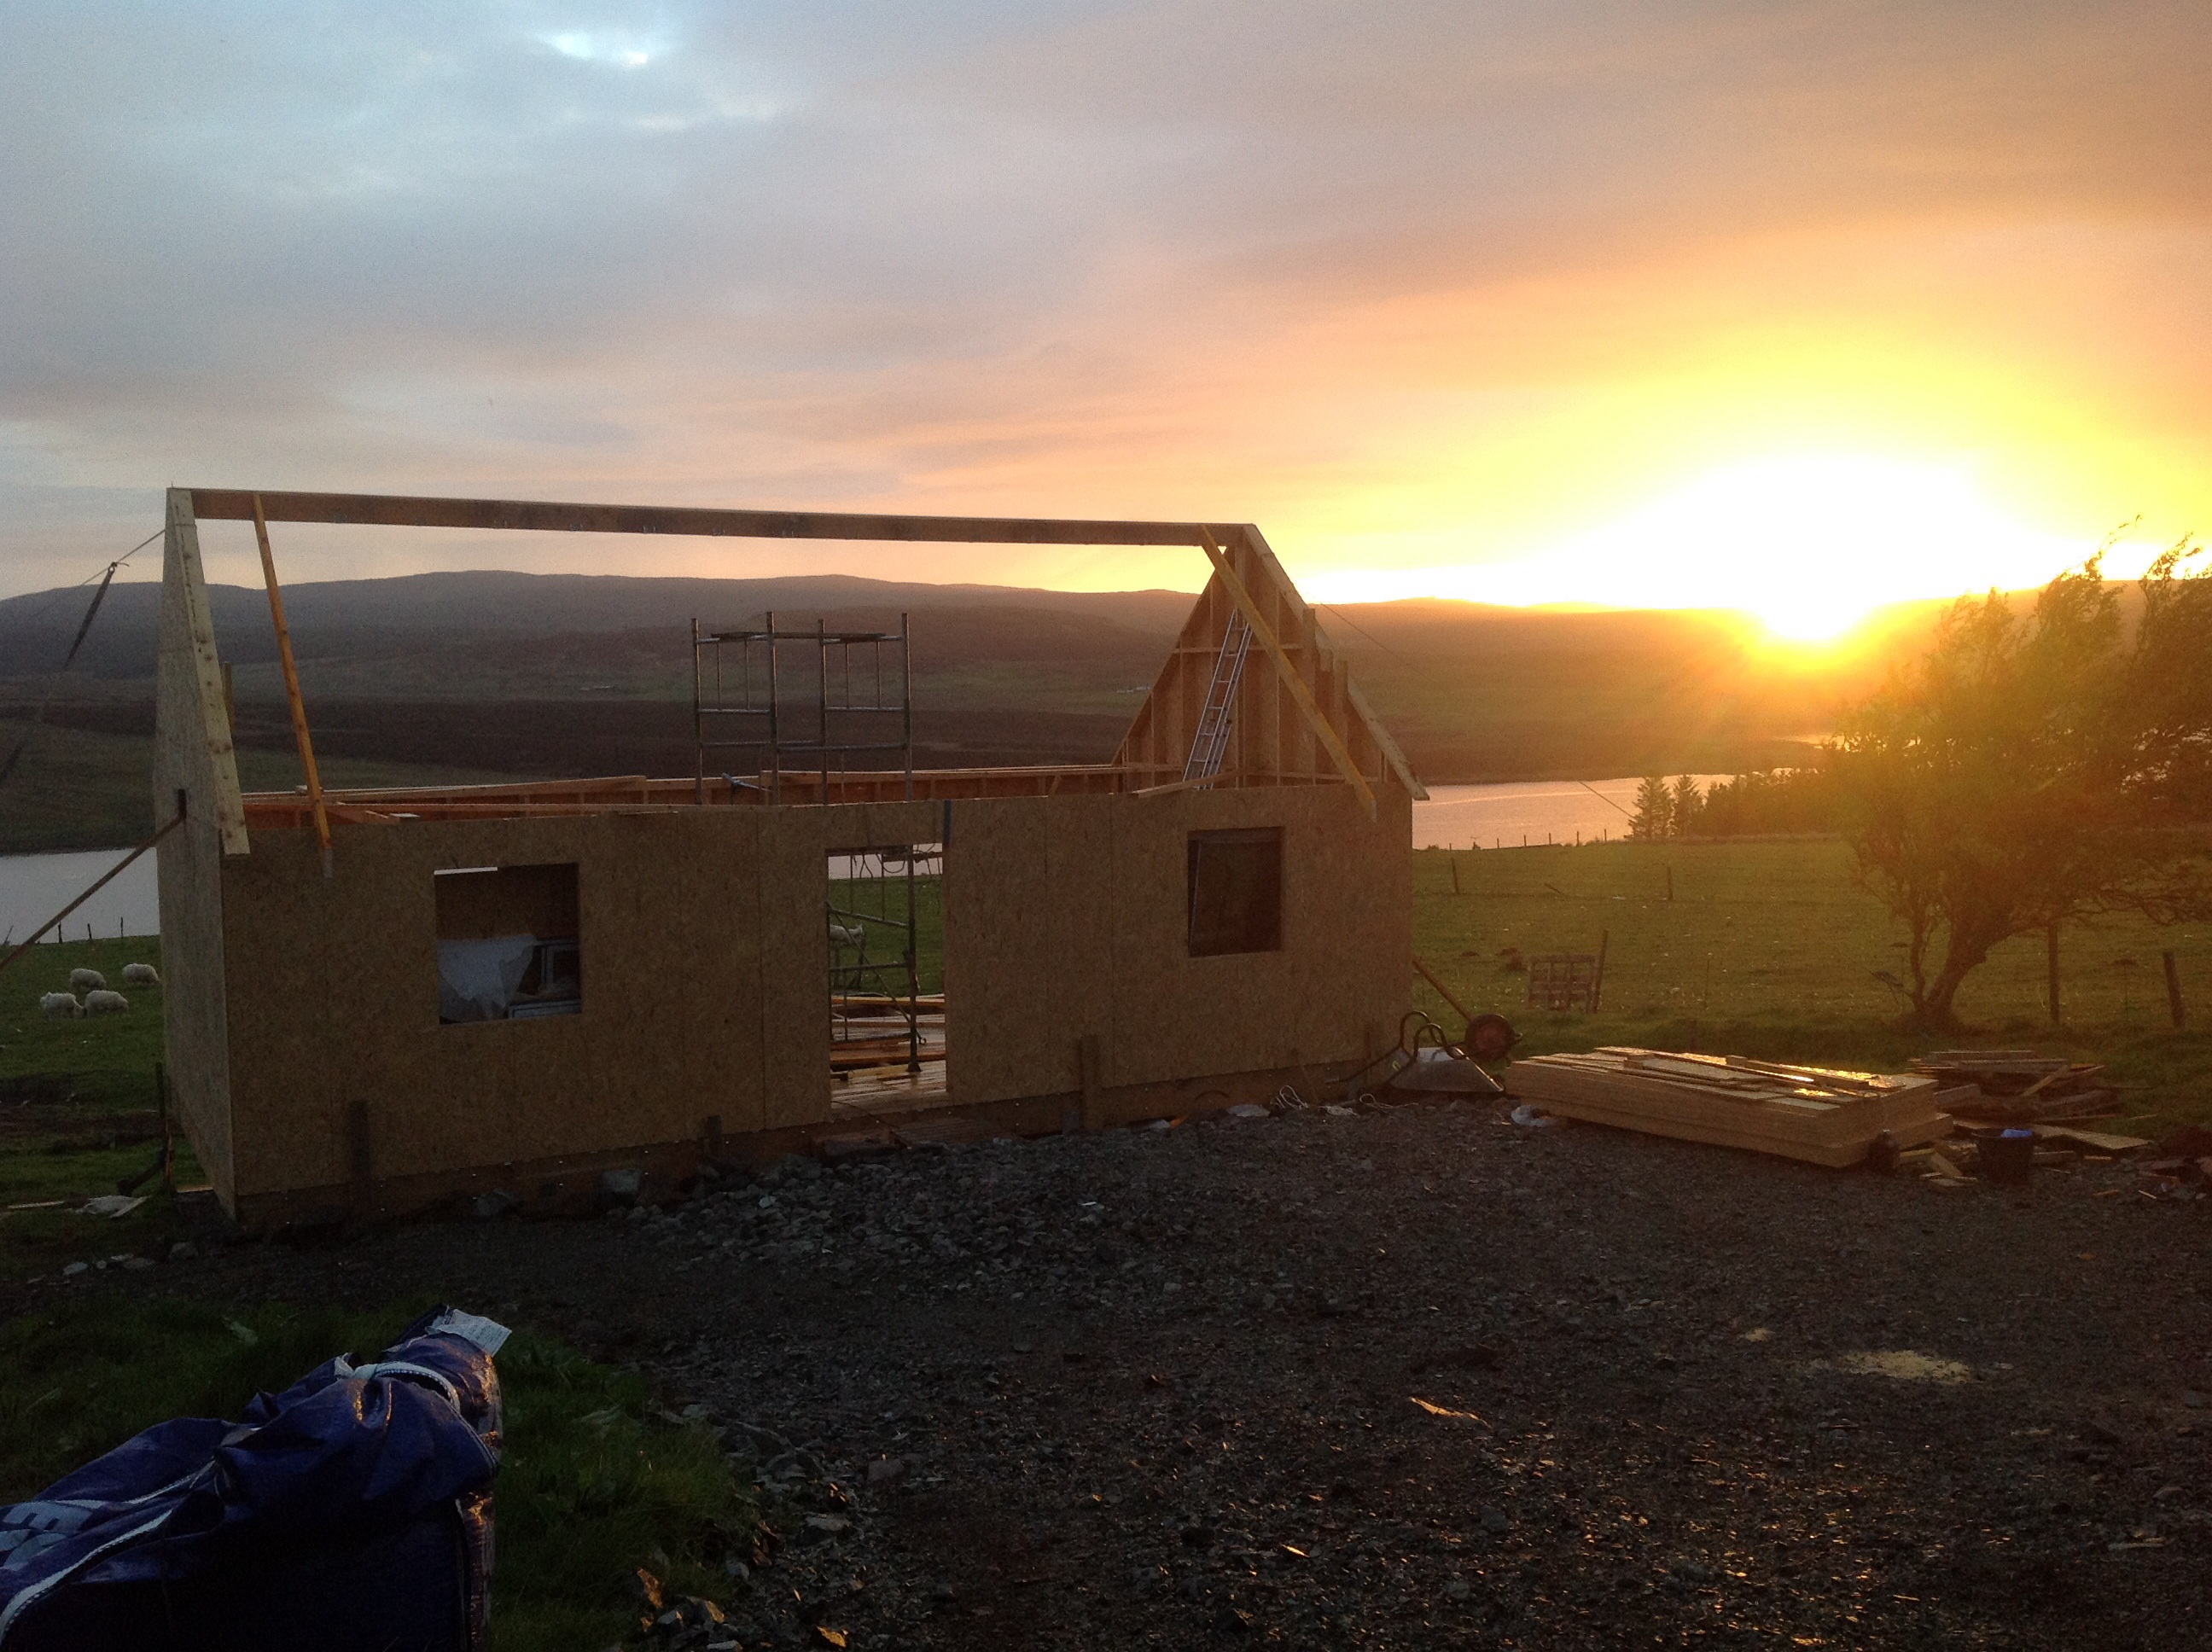
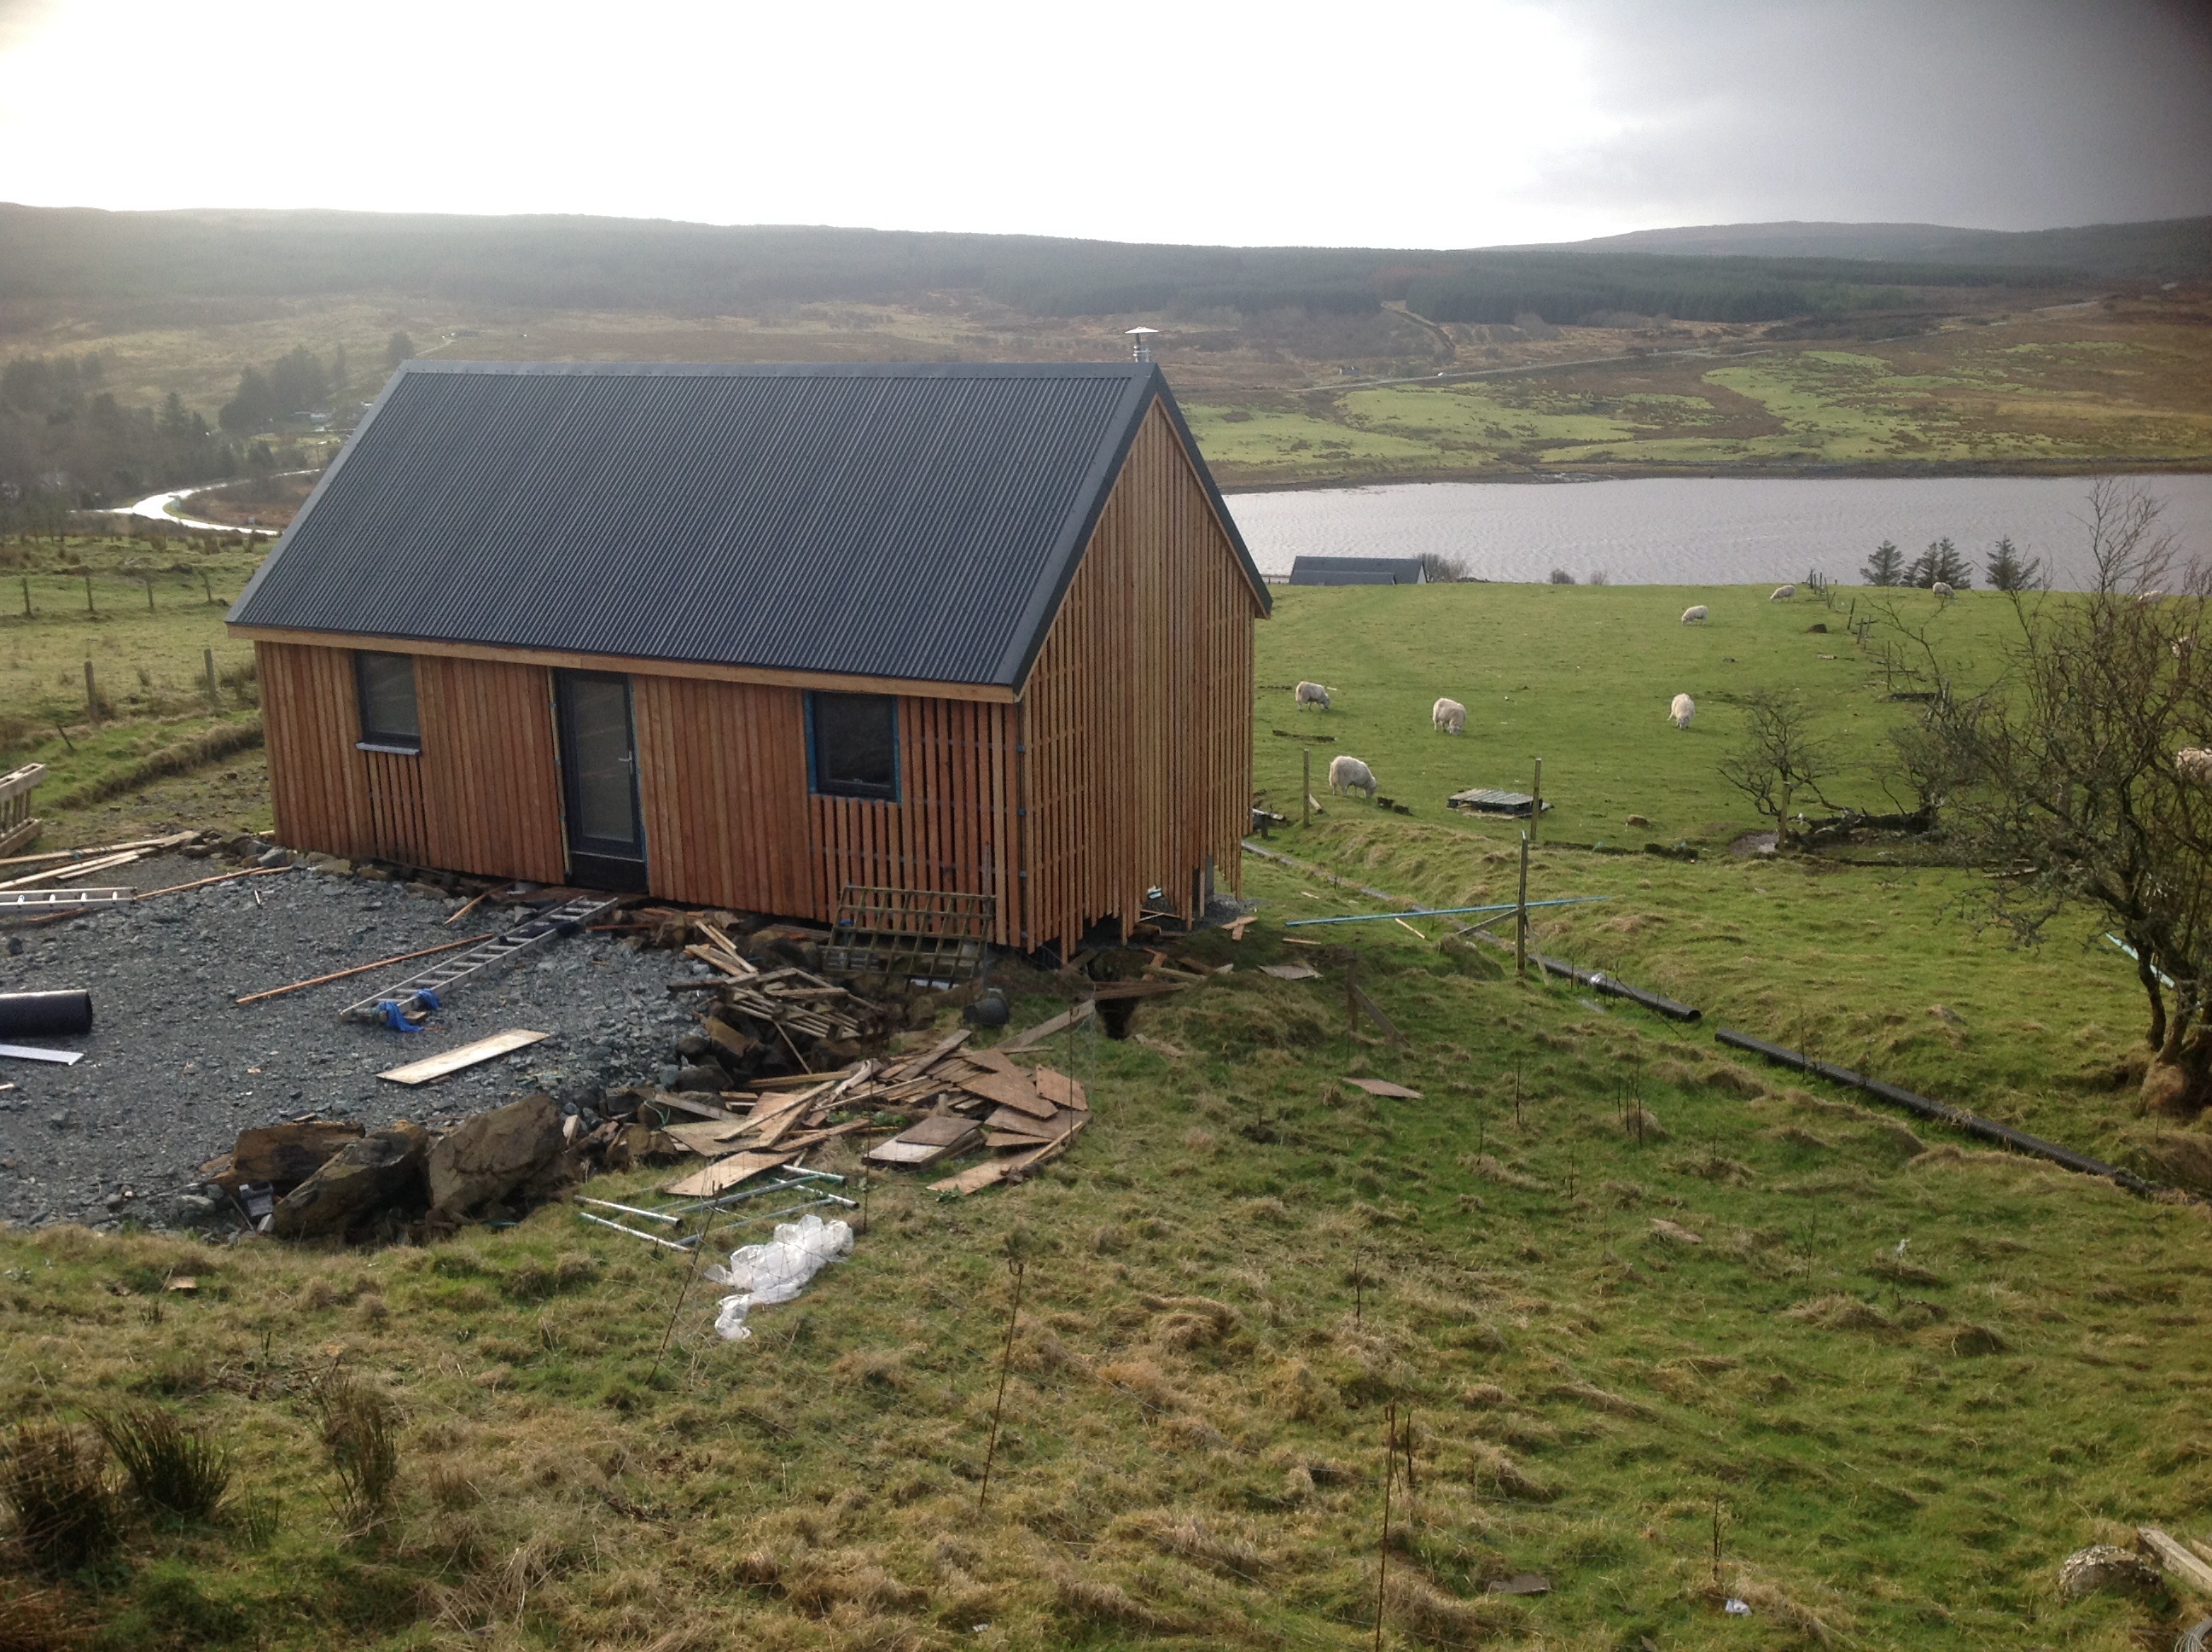
So the roof is now totally finished- was a beast of a job and having finished the ridge I felt as though I had been riding a particularly fat horse all week. Physically tough doing it without help and using just a ladder, but I'm impressed with the corrugated steel and would happily use it in future. I would seriously consider it for wall cladding as well, as it was much quicker and not any more expensive compared to my larch.
I had made a start on the larch wall cladding a few months back, fixing the first layer of boards on the gables. I'm now comfortably past the half way point with the cladding, with only the seaward walk not yet started.
It's been a process of trial and error to find ways of getting each board in place ensuring that it more or less plumb and with equal gaps either side. Part of this learning process has been judging what kind of tolerance to work to. The boards are highly variable, from less than 95mm width to over 100mm, sometimes tapering at one or both ends, and often with a bit of a curve to them. So my first idea of using a long spirit level and a wooden block as a spacer wasn't going to work.
The first layer was done quite carefully with markings on the battens; temporary nails on these marks located each board whilst I used the coil nailer to fix it in place. For the top layer, I didn't want to use that method as it would leave nail holes in visible parts of the cladding. So the best method for fixing the long boards of the gables seems to be to put small marker nails on the reverse side of each board, spaced to match the gap that is being covered. It's obviously a lot of prep time, but I can do that inside the house during bad weather (it is February in Skye after all), and then when the weather allows I can literally just shove the boards up against the wall and they will be in the right place.
Unfortunately my progress is now going to be rapidly curtailed as I become the stay at home Dad- SWMBO has gone back to work, so my day now revolves around the couple of hours nap time that let me sprint down to the house site, baby monitor in my pocket, and feverishly nail some boards on.
Next project: self build baby pen...
-
 7
7
9 Comments
Recommended Comments
Create an account or sign in to comment
You need to be a member in order to leave a comment
Create an account
Sign up for a new account in our community. It's easy!
Register a new accountSign in
Already have an account? Sign in here.
Sign In Now