Barney12
-
Posts
2556 -
Joined
-
Last visited
-
Days Won
29
Everything posted by Barney12
-
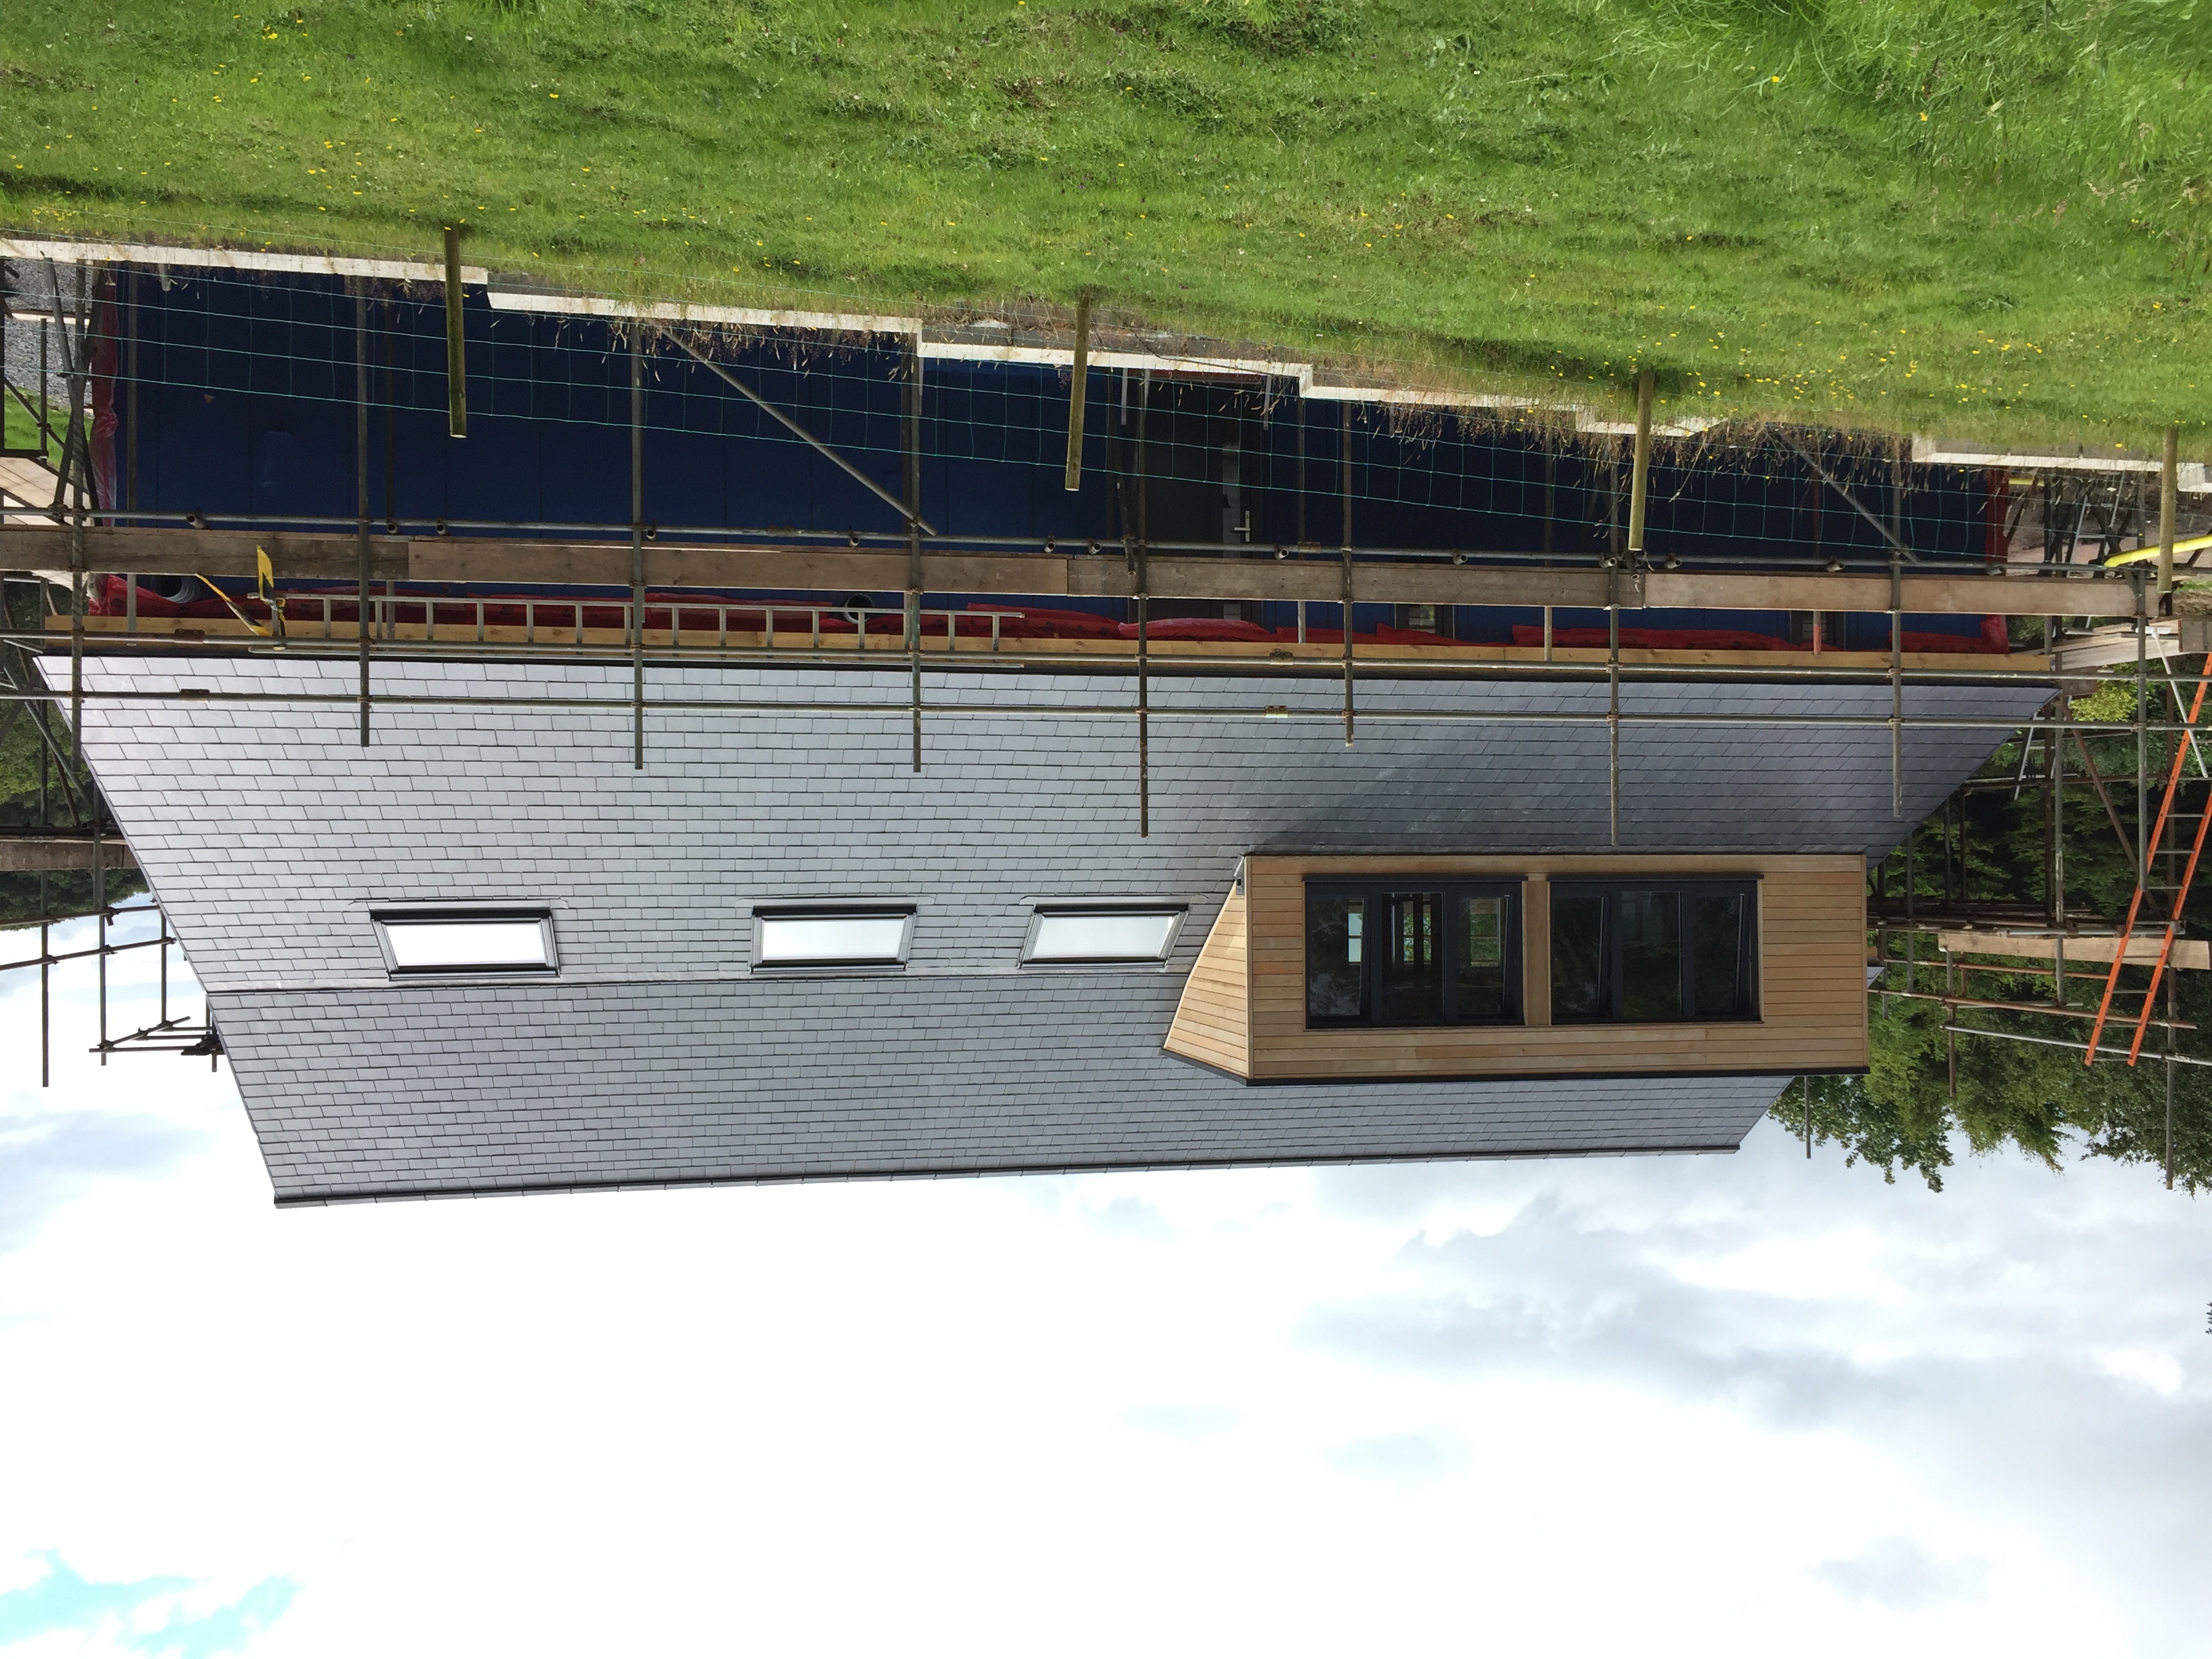
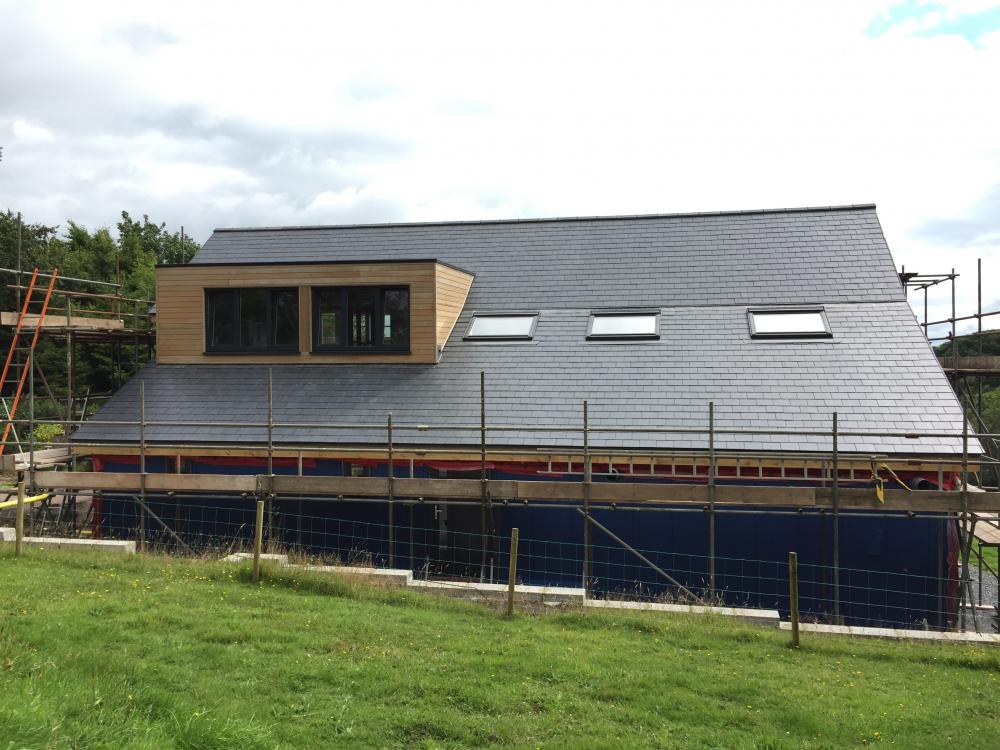
It bloody rained all day today but I was still on the roof! Wussy
-
Get on with it then !! The next challenge is working out guttering. When it rains (and boy can it rain up here) the amount of water that comes off that roof is incredible. It's like a waterfall.
-
Ta. That's good to know as it's part of the sealed GSHP loop which will be a pita to drain (not to mention expensive because of the antifreeze)
-
You are not wrong! Thankfully the front was much smaller. It's what they call a "cat slide" roof round these parts. It's very much part of the National Park vernacular (great word!) hence why we were forced to have one There is some logic to it. They are generally sited North so that the North elevation is protected from the elements, that area contains the 'service' rooms and have tiny windows, if any.
-

recommendations for low profile frame sliding glass doors
Barney12 replied to Adamantium's topic in Windows & Glazing
We have a 4m wide Internorm HS330 'lift and slide'. Its a thing of engineering beauty but not cheap -
The roof is finished! Hurrah!! I'm not doing that again. FAR to much like hard work. Actually there is still the porch to slate once it's built but I think I can cope with a couple of m2!
-
Thanks guys. It is indeed. Reducery thingy obtained from Screwfix.
-
DIY SOS (last week's episode), cavity insulation removed
Barney12 replied to j_s's topic in Property TV Programmes
I don't need to imagine. I've done it. The house we demolished had the cavities filled with loose beads on 2 elevations and what I can best describe as cotton wool in the others. The loft was insulated with loose polystyrene chips the type of which I've never seen before. They looked like pieces of shredded sheet, 10-20mm in size. What a bloomin mess! -
Thank heavens for that. Faith redeemed
-
Eugh! Please tell me he likes a beer?
-
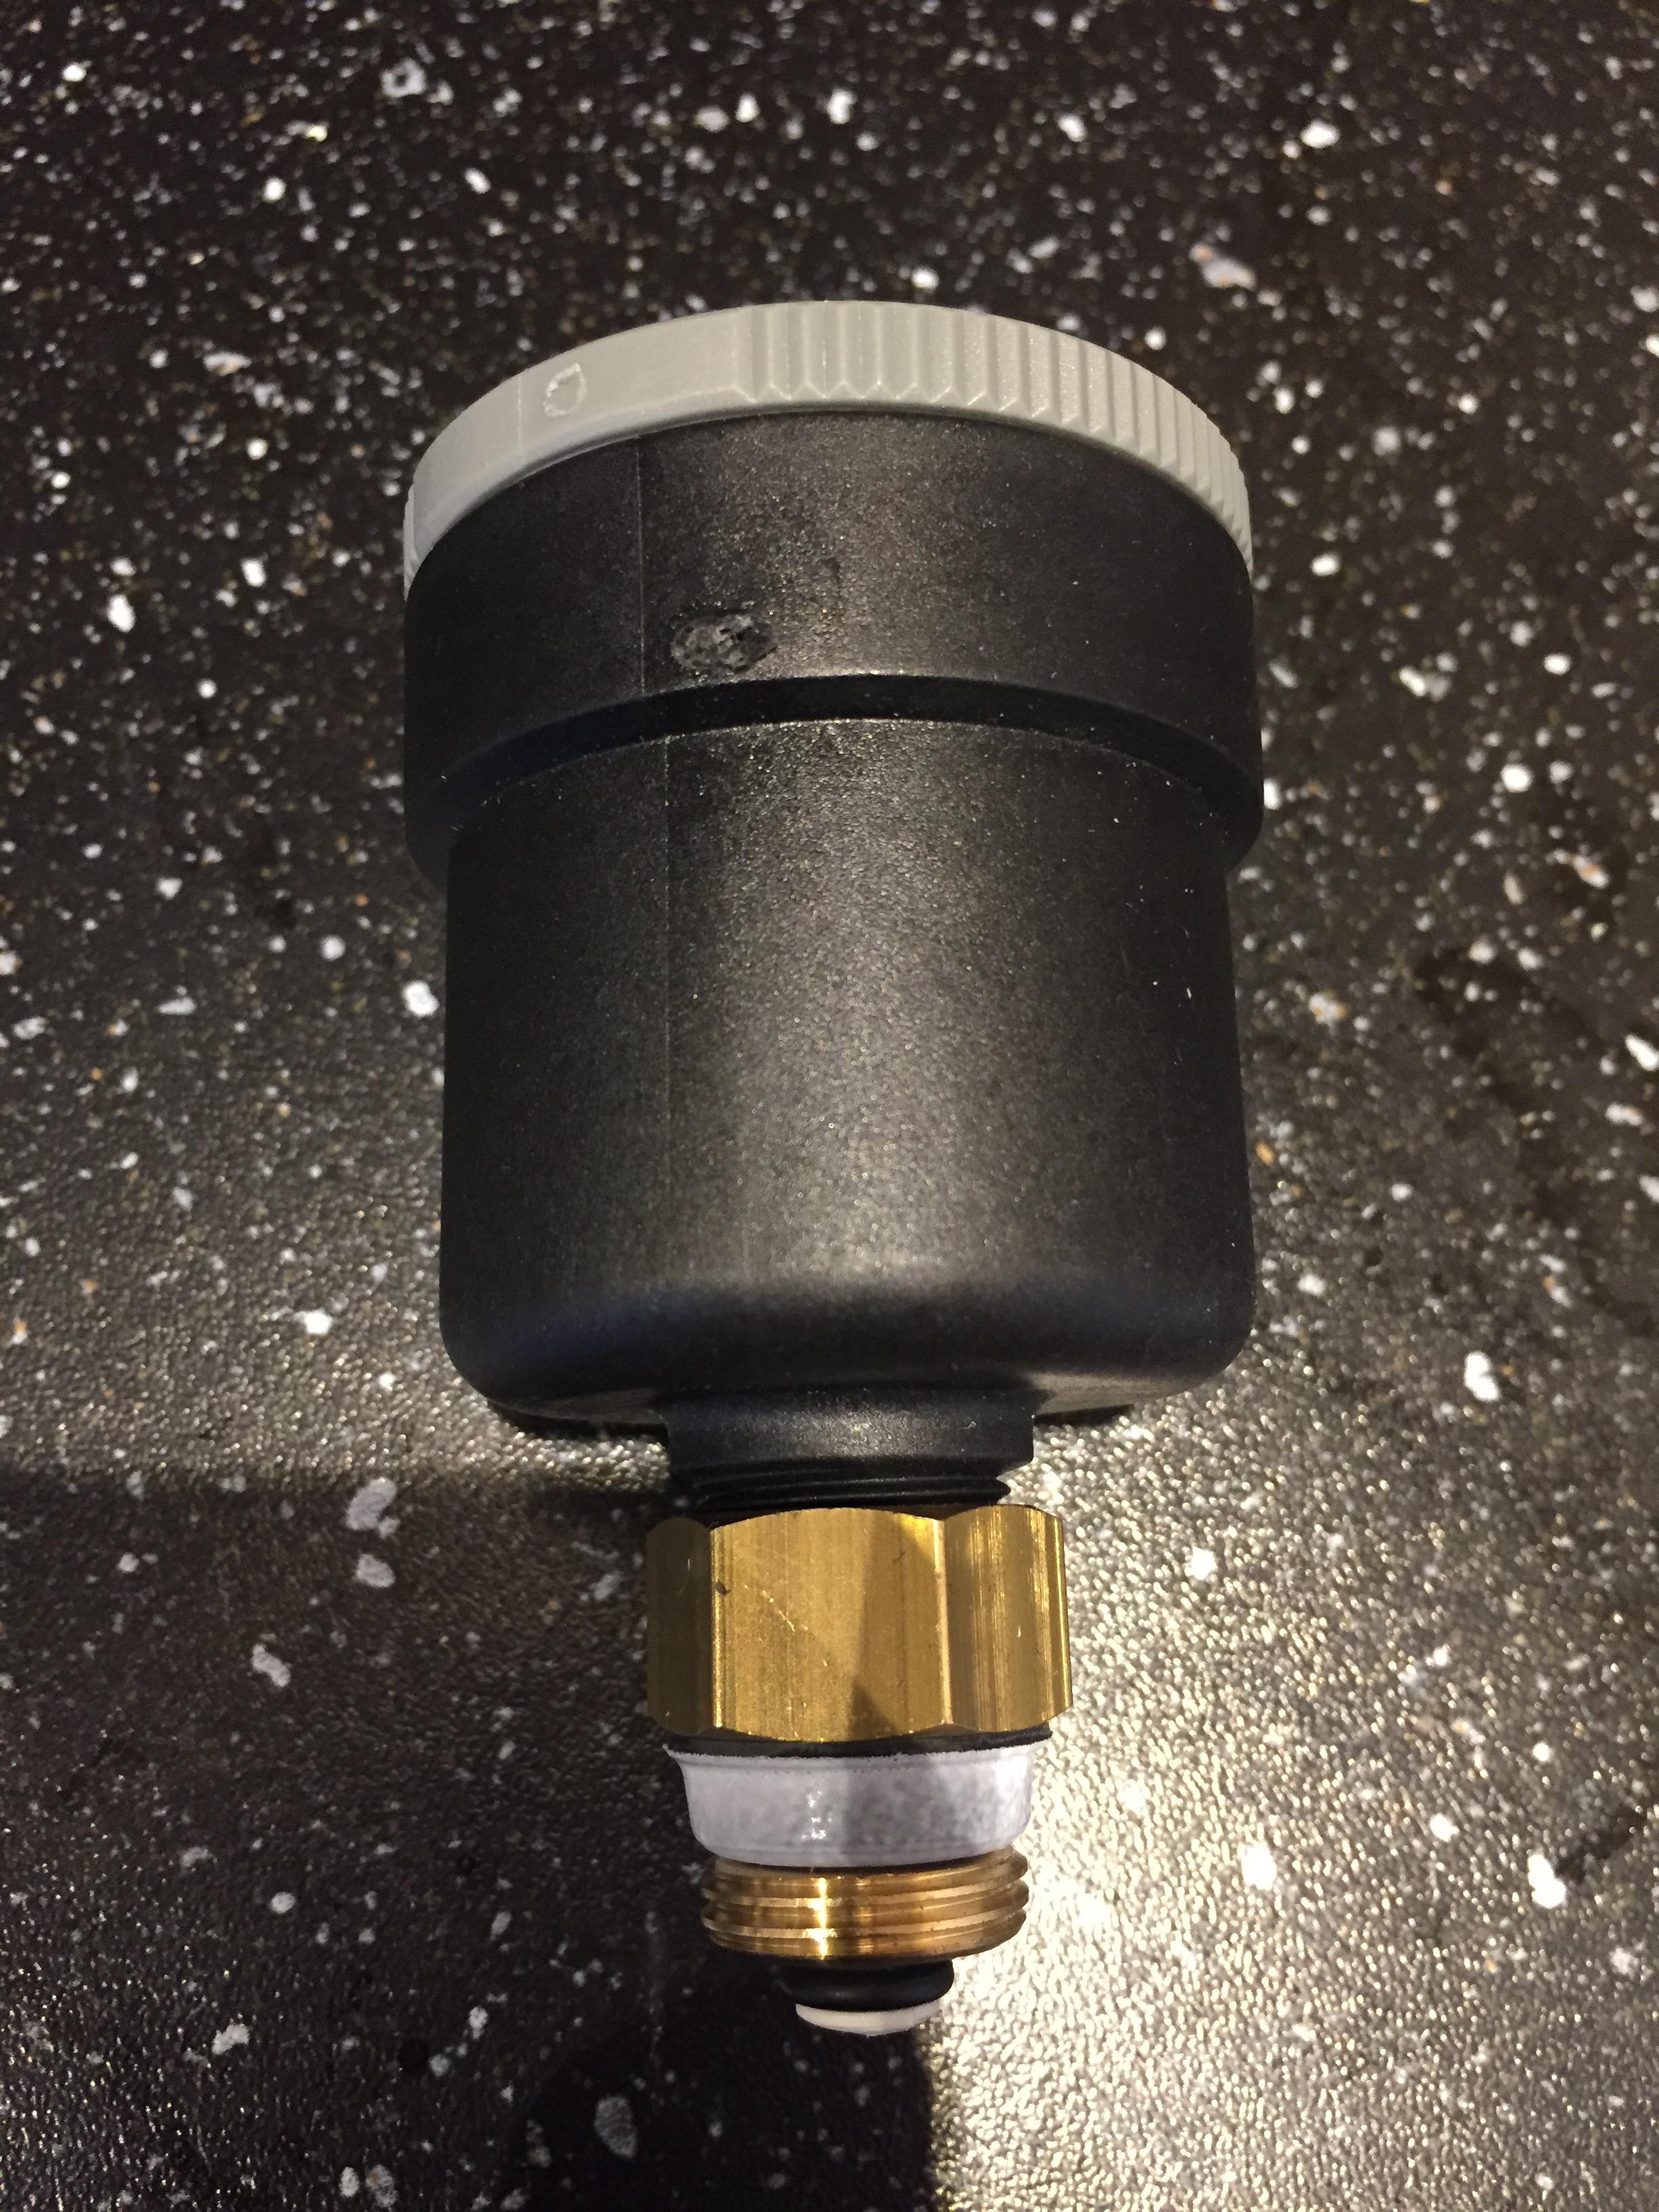
Sorry, another plumbing question. I beleive this is an automatic air release valve (its got a red niple on the top not in the photo). Can anyone tell me what I seat this into? It's smaller than 1/2 bsp. it came just as photographed

-
And a pina colada
-
LOL. Didn't want to text him on his holidays.
-
My understanding from the last place I did is "yes" and its gets expensive! That's why you might just provision the cabling and wait until your build is finished and signed off. But I'm NOT condoning that behaviour I'm just pointing out an option.
-
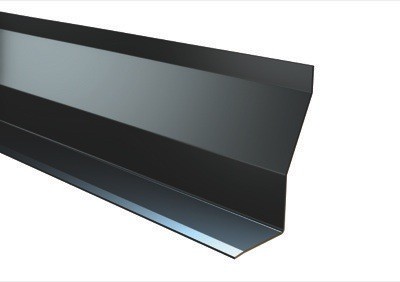
Thanks guys. I'm going to go with the Catnics (or equivalent) @PeterW does Steve like soft (building) sand for his mortar mixes? Or does he like to add sharp to the mix? Cant ask him as he's on his Lilo!
-
Hi All Quick sense check. I'm just sorting materials for the blockwork and I've got Catnic CTF5 Lintels listed in my pad. Overkill? Seems a good solution but then so would a concrete lintel with some DPC to create the fall away from the skin!
-
Discount Offers of the Week
Barney12 replied to Ferdinand's topic in General Self Build & DIY Discussion
Sorry, £10 off. -
Discount Offers of the Week
Barney12 replied to Ferdinand's topic in General Self Build & DIY Discussion
I got that email. -
No, it's the GSHP water to air exchanger for the MHRV. Airflow call it a 'heat battery'. I agree either a HEPvO or the dry tundish I linked to (it's a tundish combined with a dry trap). But whatever I chose I'm going to have to terminate 15mm copper or HEP2O and 21.5mm plastic overflow into something not designed for either Ive done some googling and there are a few forum posts that suggest you can connect 21.5mm plastic waste into a 22mm compression fitting if you use a 3/4" olive. Perhaps our expert @Nickfromwales knows. So I could get everything terminating in 15mm to that 1/2" inlet on the dry tundish with a bit of buggering around with reducers. Im guessing that the 'heat battery' and MHRV will rarely keep a trap filled before it dries out? Alternativelt then hen it wouldn't be hard to make the required connections with something like CT1 as I doubt the water flow is ever going to be more than a trickle or drip.
-
If its a chipboard core then soaking the hole with superglue and activating (AKA Mitre bond kit) first will shore up the chipboard around. Then as temp has said; wood fillets (matches or lolly stick slithers) soaked again in superglue, screw the screw in and activate. Try and leave it 24h before using too much. Or........... coach bolt from the front
-
Hi All Quick question: I've got two condensation drains to connect up from my heat battery and MHRV. Whats the best way to connect to the soil stack? Annoyingly the heat battery is a 15mm pipe outlet (from a 1/2" BSP connection) and the MVHR is 21.5mm overflow type plastic pipe. Even more annoyingly the heat battery has no form of trap. I think I'm going to have to create some form of homebrew connection. Perhaps using one of these to create the sealed outlet? https://www.monsterplumb.co.uk/hotun-hiflo-shield-white-black-RATech-HW100C-dry-trap-tundish?language=en¤cy=GBP&gclid=EAIaIQobChMI49O69a7F1QIViIePCh0cRwYhEAQYBCABEgIN3fD_BwE
-
Any thin coat product should allow the grain to show but its very timber dependent. If you ply is super smooth then don't expect the grain to suddenly appear through a solid coating. Don't be confused by the term "lacquer". He will be referring to a "pre-catalysed" or "acid-catalysed" lacquer. i.e Morrells http://www.morrells.co.uk/pre-catalyst-lacquers-fastmatch-colours/ Both are available in clear or solid colours. Solid colours are "paint". He's just referring to a trade term. The advantage is that you can get great coverage thinly (using spray equipment) which preserves any grain. You can also create a raised grain but it will be very dependent on the ply top layer. I wouldn't risk it. A translucent colour will show the grain for obvious reasons.
-
No. Not without a stain first. There are various options but I wouldn't be brush or rag applying any wood stain to an area that large. Spraying is the only option really for the level of finish that I think you'll want. Clear lacquers can be tinted but again I wouldn't DIY that route. In my reply I had assumed you wanted an opaque paint finish. If you actually want a tinted timber finish then there are a lot more options. If you're going down the DIY route then I would personally stick to oil/wax based products. They are much more forgiving. E.g. 3067 Light Grey or 3074 Graphite Osmo Tints. http://www.osmouk.com/sitechapter.cfm?chapter=82&page=250 Or any of the wood waxes: http://www.osmouk.com/sitechaptern.cfm?bookid=Products&chapter=82&page=373 Sample and test, sample and test. I've left out traditional stains such as Vandyke crystals et all as thats really not the realm of a DIYer (IMHO).
-
OSMO opaque colours works well although the sheen level is a little higher than you might want for internals. Available in a range of colours or any colour to order. I.e. http://www.wood-finishes-direct.com/product/osmo-country-colour?gclid=EAIaIQobChMI-7Poyb3E1QIVbb7tCh2XYgeXEAQYASABEgKbbPD_BwE It does need to be applied carefully though it doesn't like being applied thickly and will look glossy if over applied and you'll loose the wood grain you're wanting to achieve. Practice on a scrap piece first.
-
I'm not an expert on UFH but my one observation was: Are the bedroom wardrobes fixed? If not is there not a risk that the layout might get reversed at some point which would cause a large cold spot? Or changed for a single bed? (These things might not happen in your ownership) My my understanding is only fixed furniture is piped around.