Onoff
-
Posts
21061 -
Joined
-
Last visited
-
Days Won
206
Everything posted by Onoff
-

Help with kitchen renovation/ 1st house.
Onoff replied to zoothorn's topic in Bathrooms, Ensuites & Wetrooms
IoW for a week. Just back. Nice ales & pub grub etc. About to pressure test the towel radiator loop then tanking time!
-
Help with kitchen renovation/ 1st house.
Onoff replied to zoothorn's topic in Bathrooms, Ensuites & Wetrooms
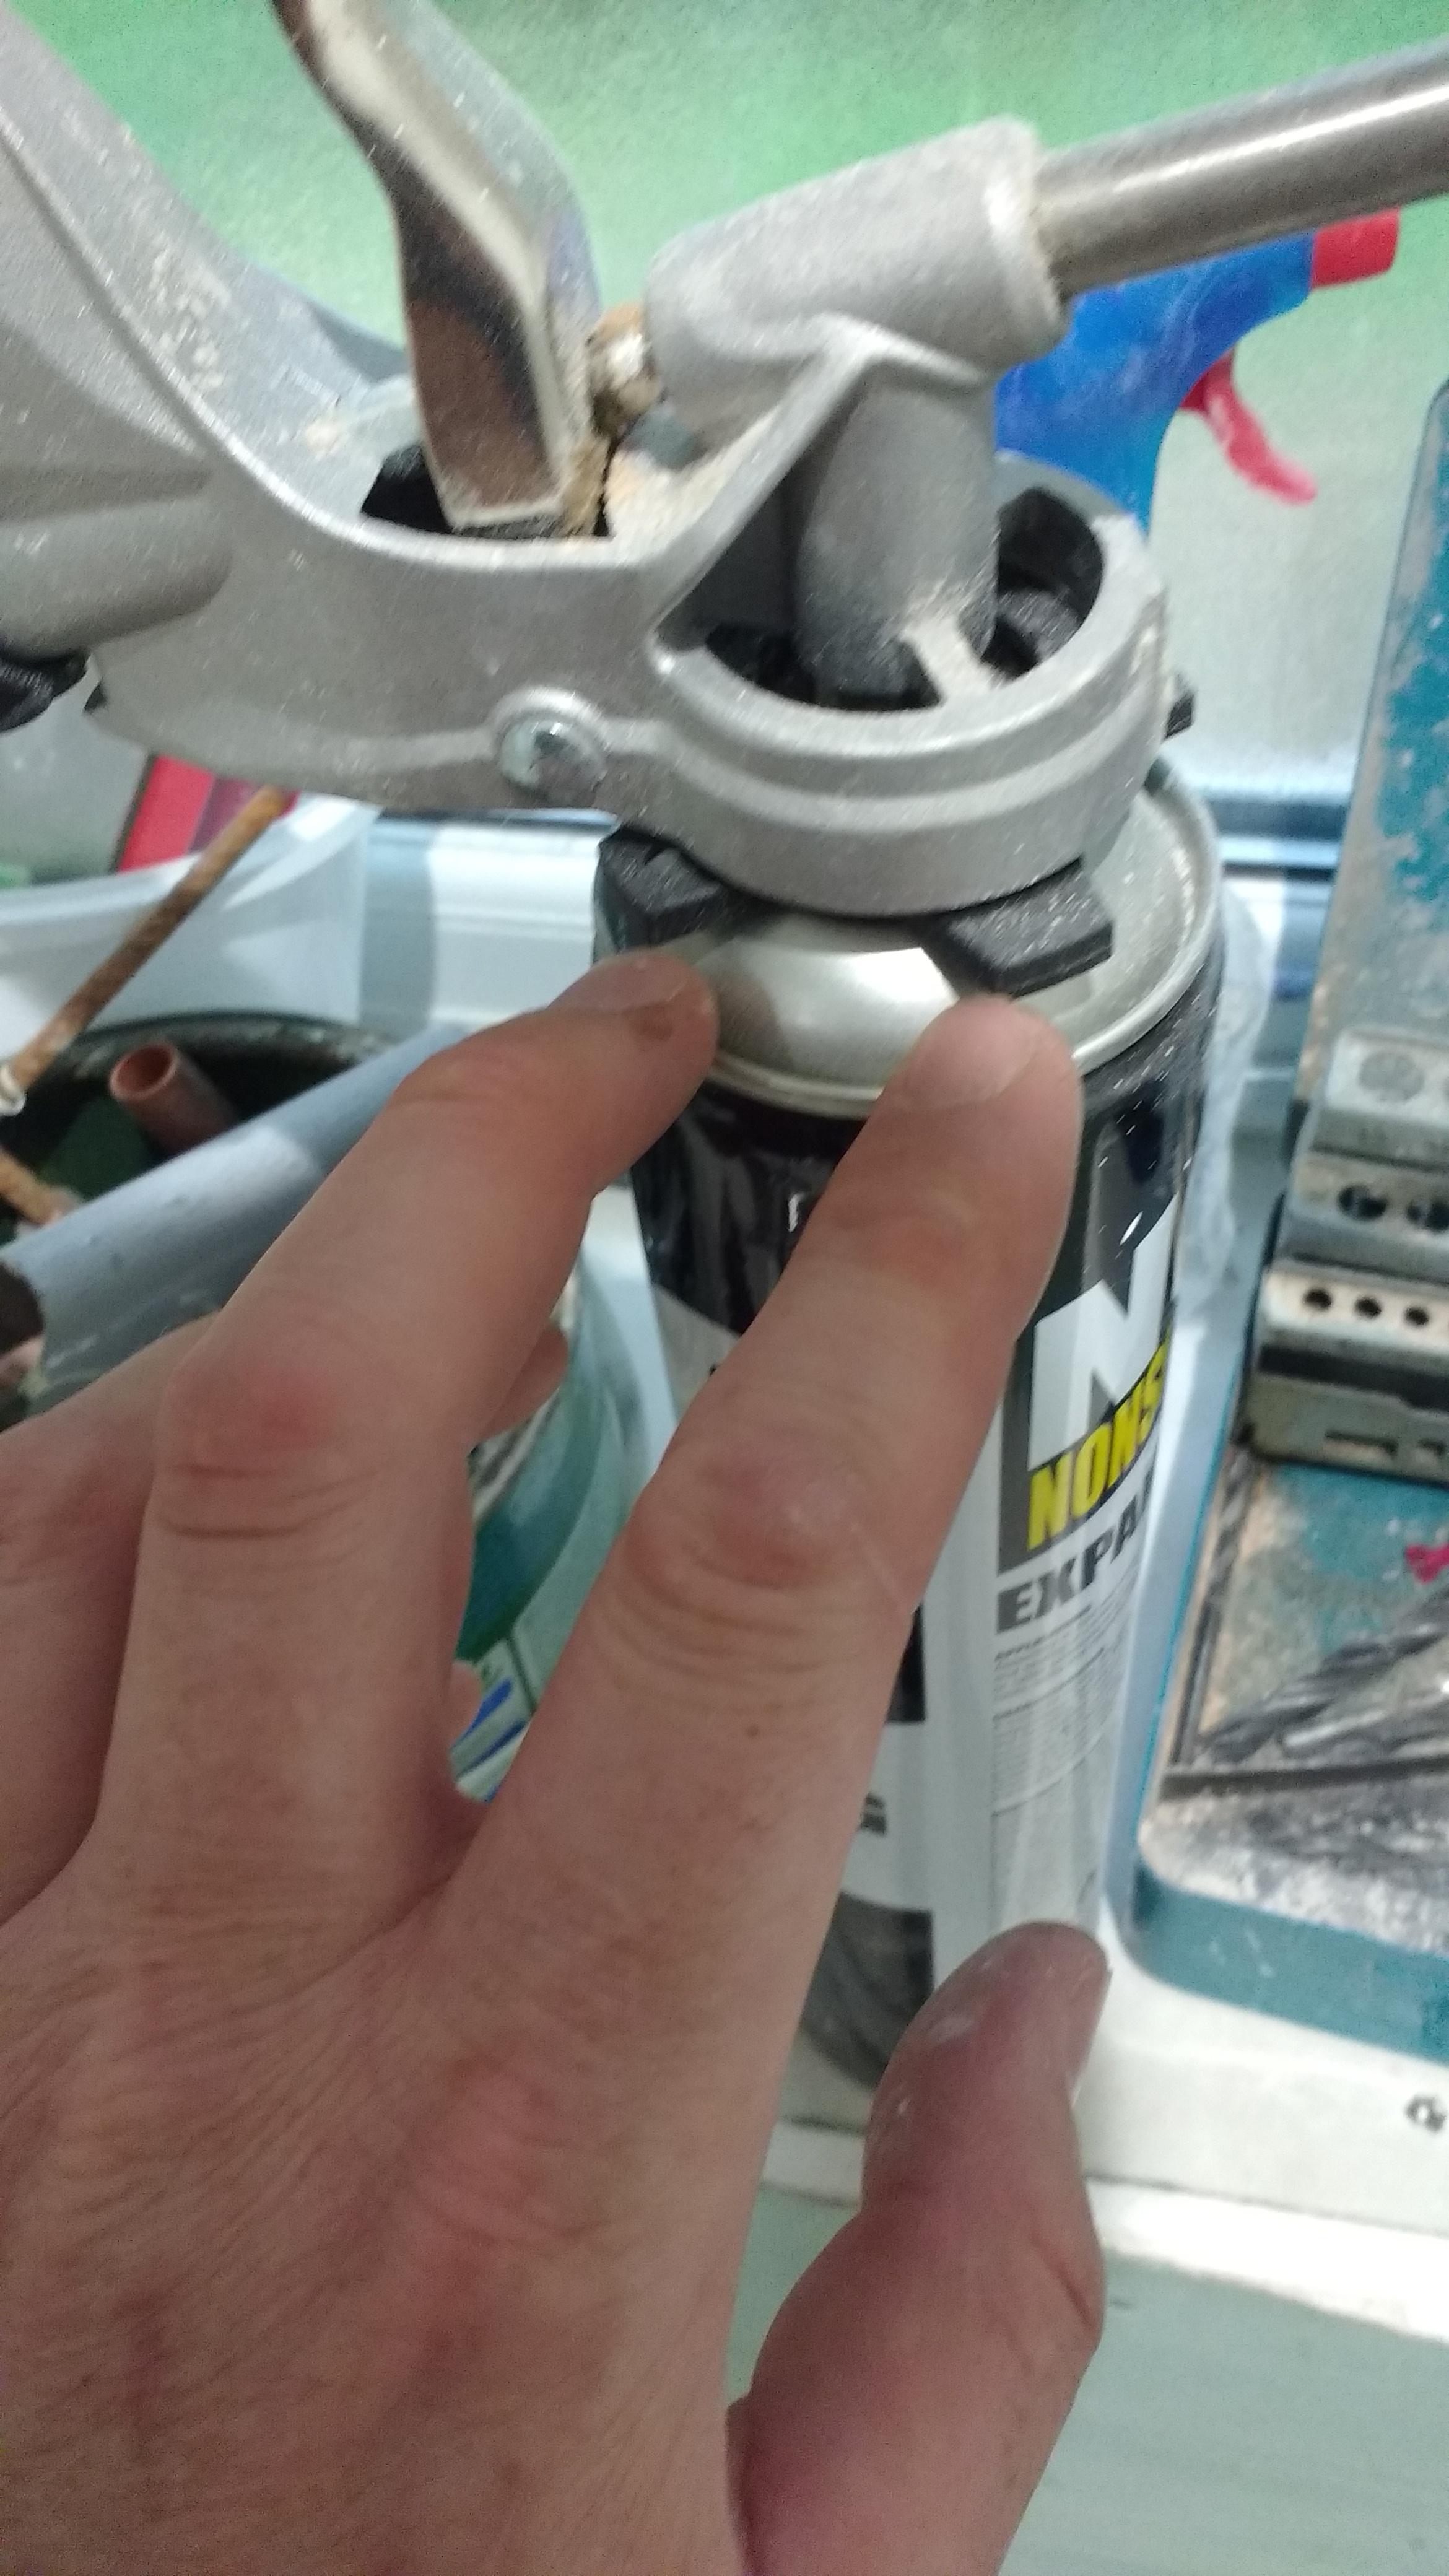
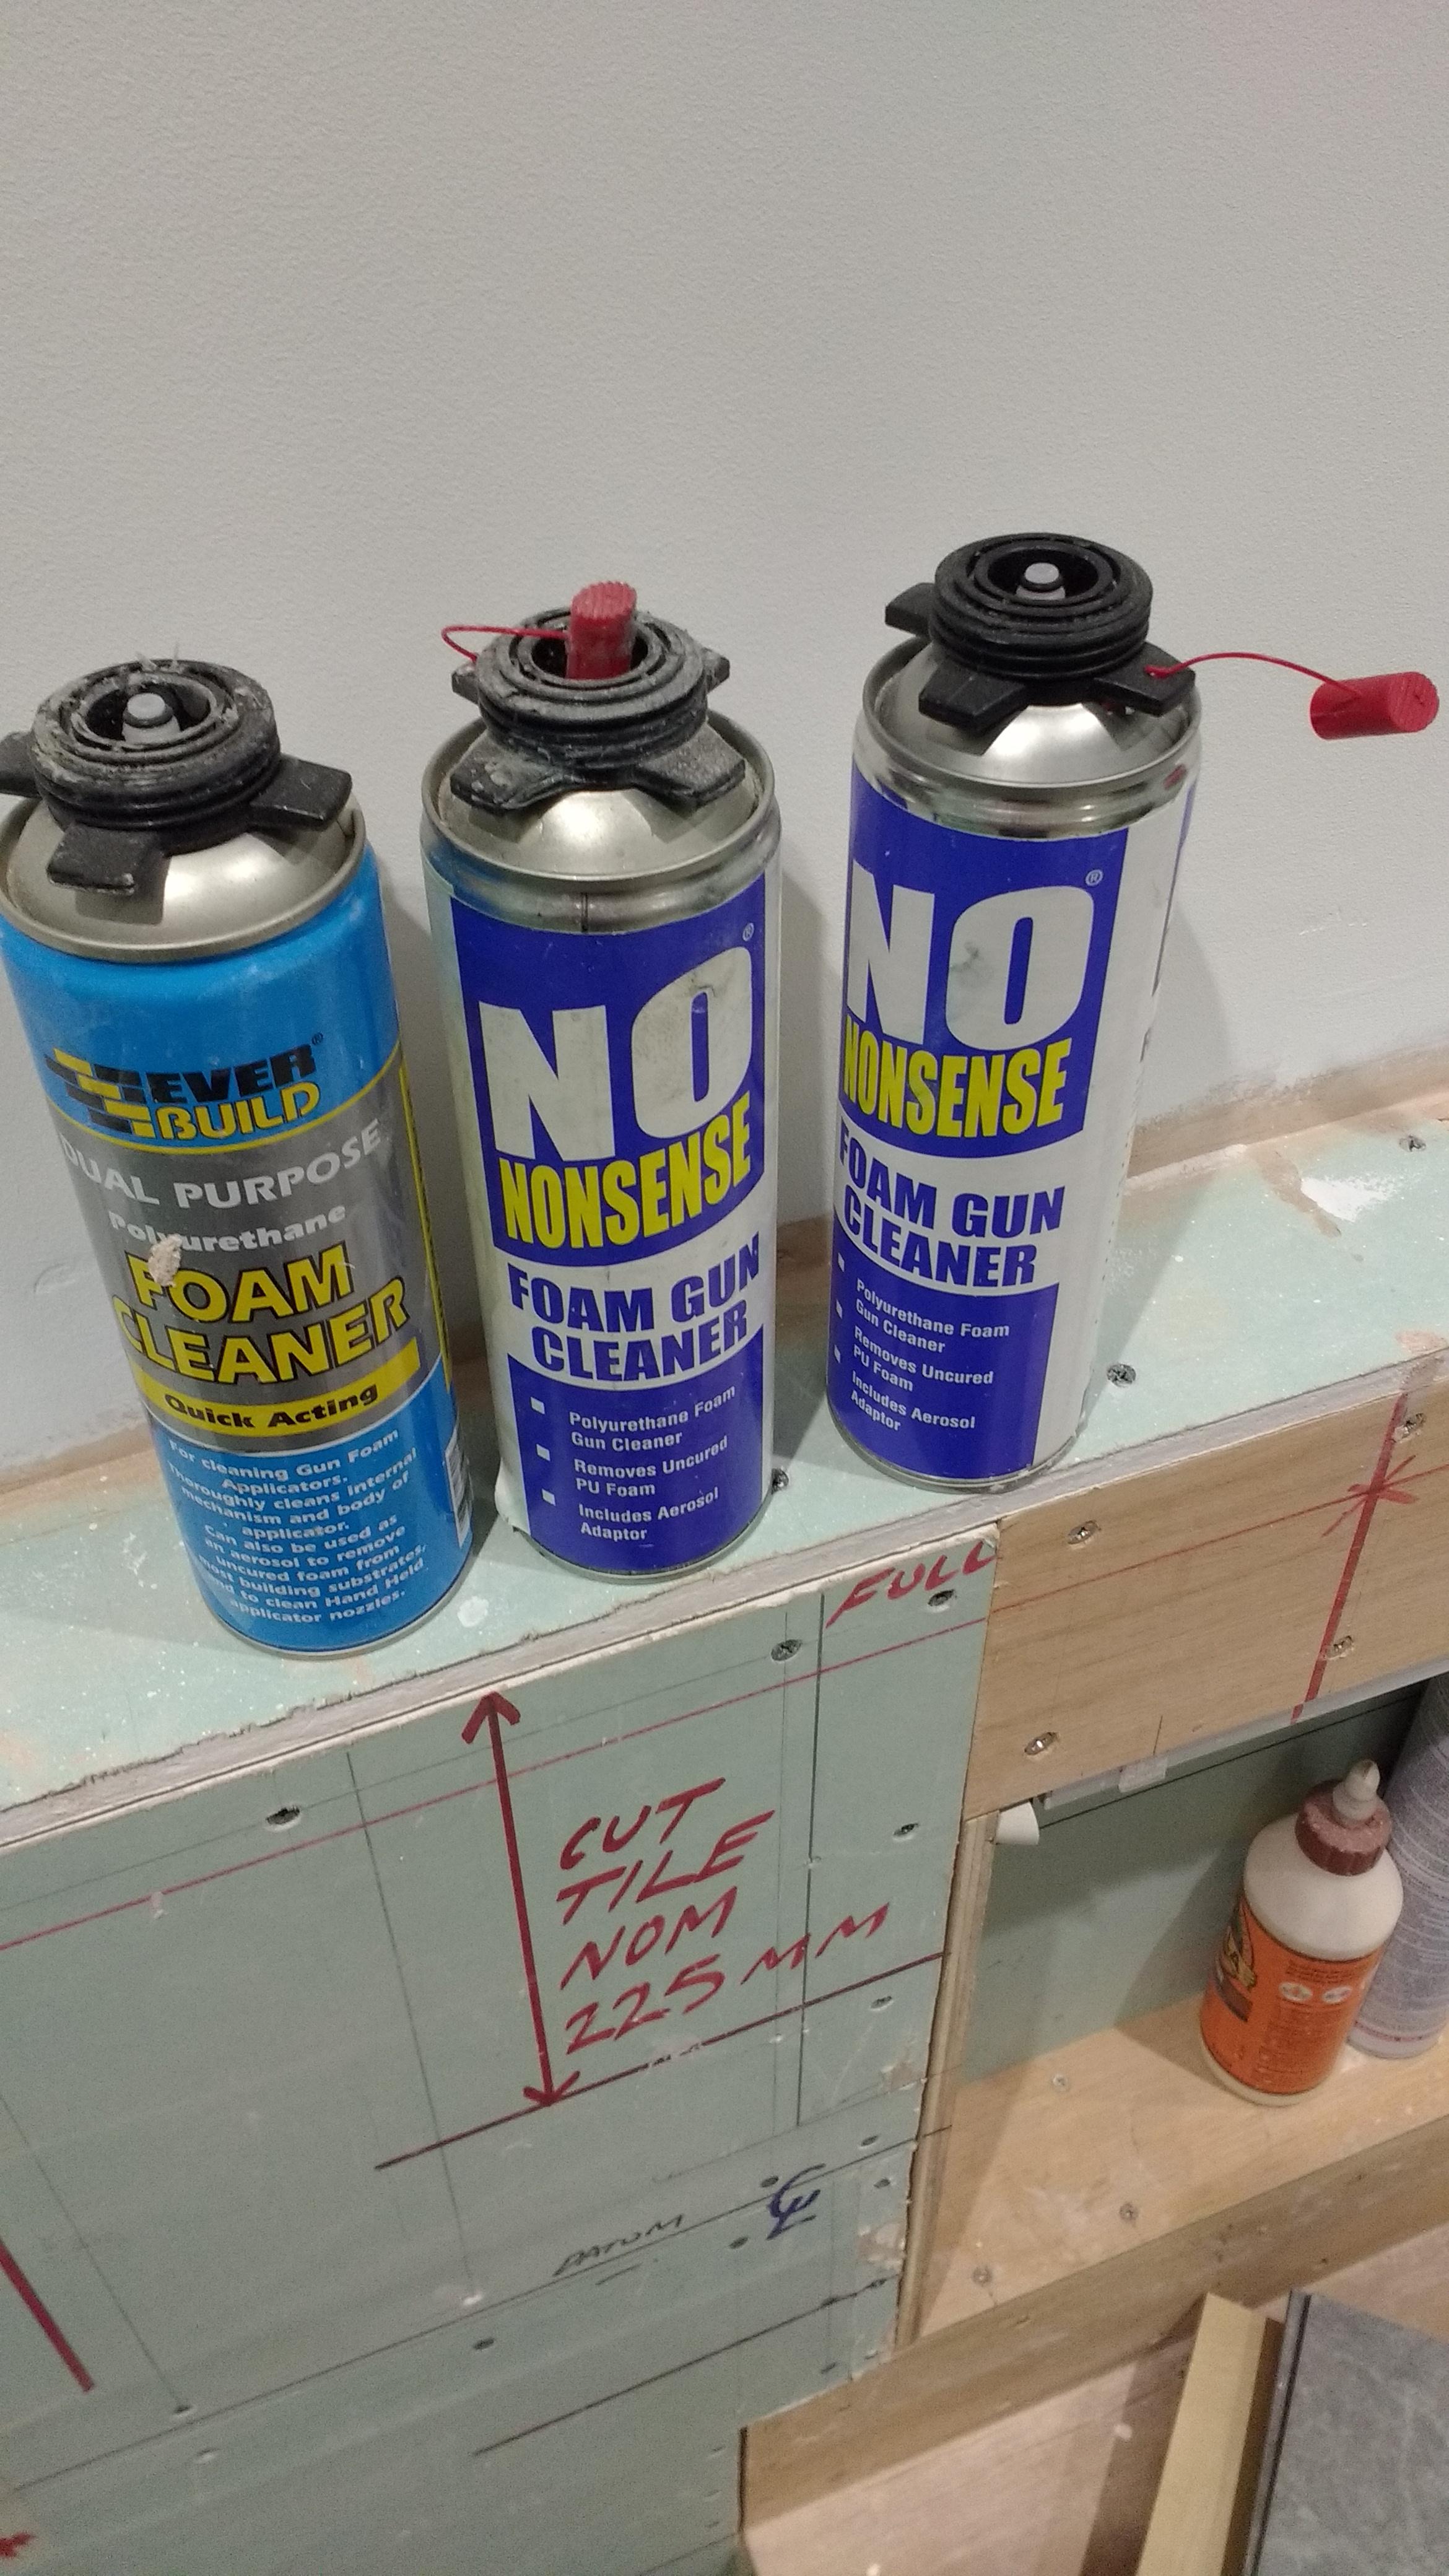
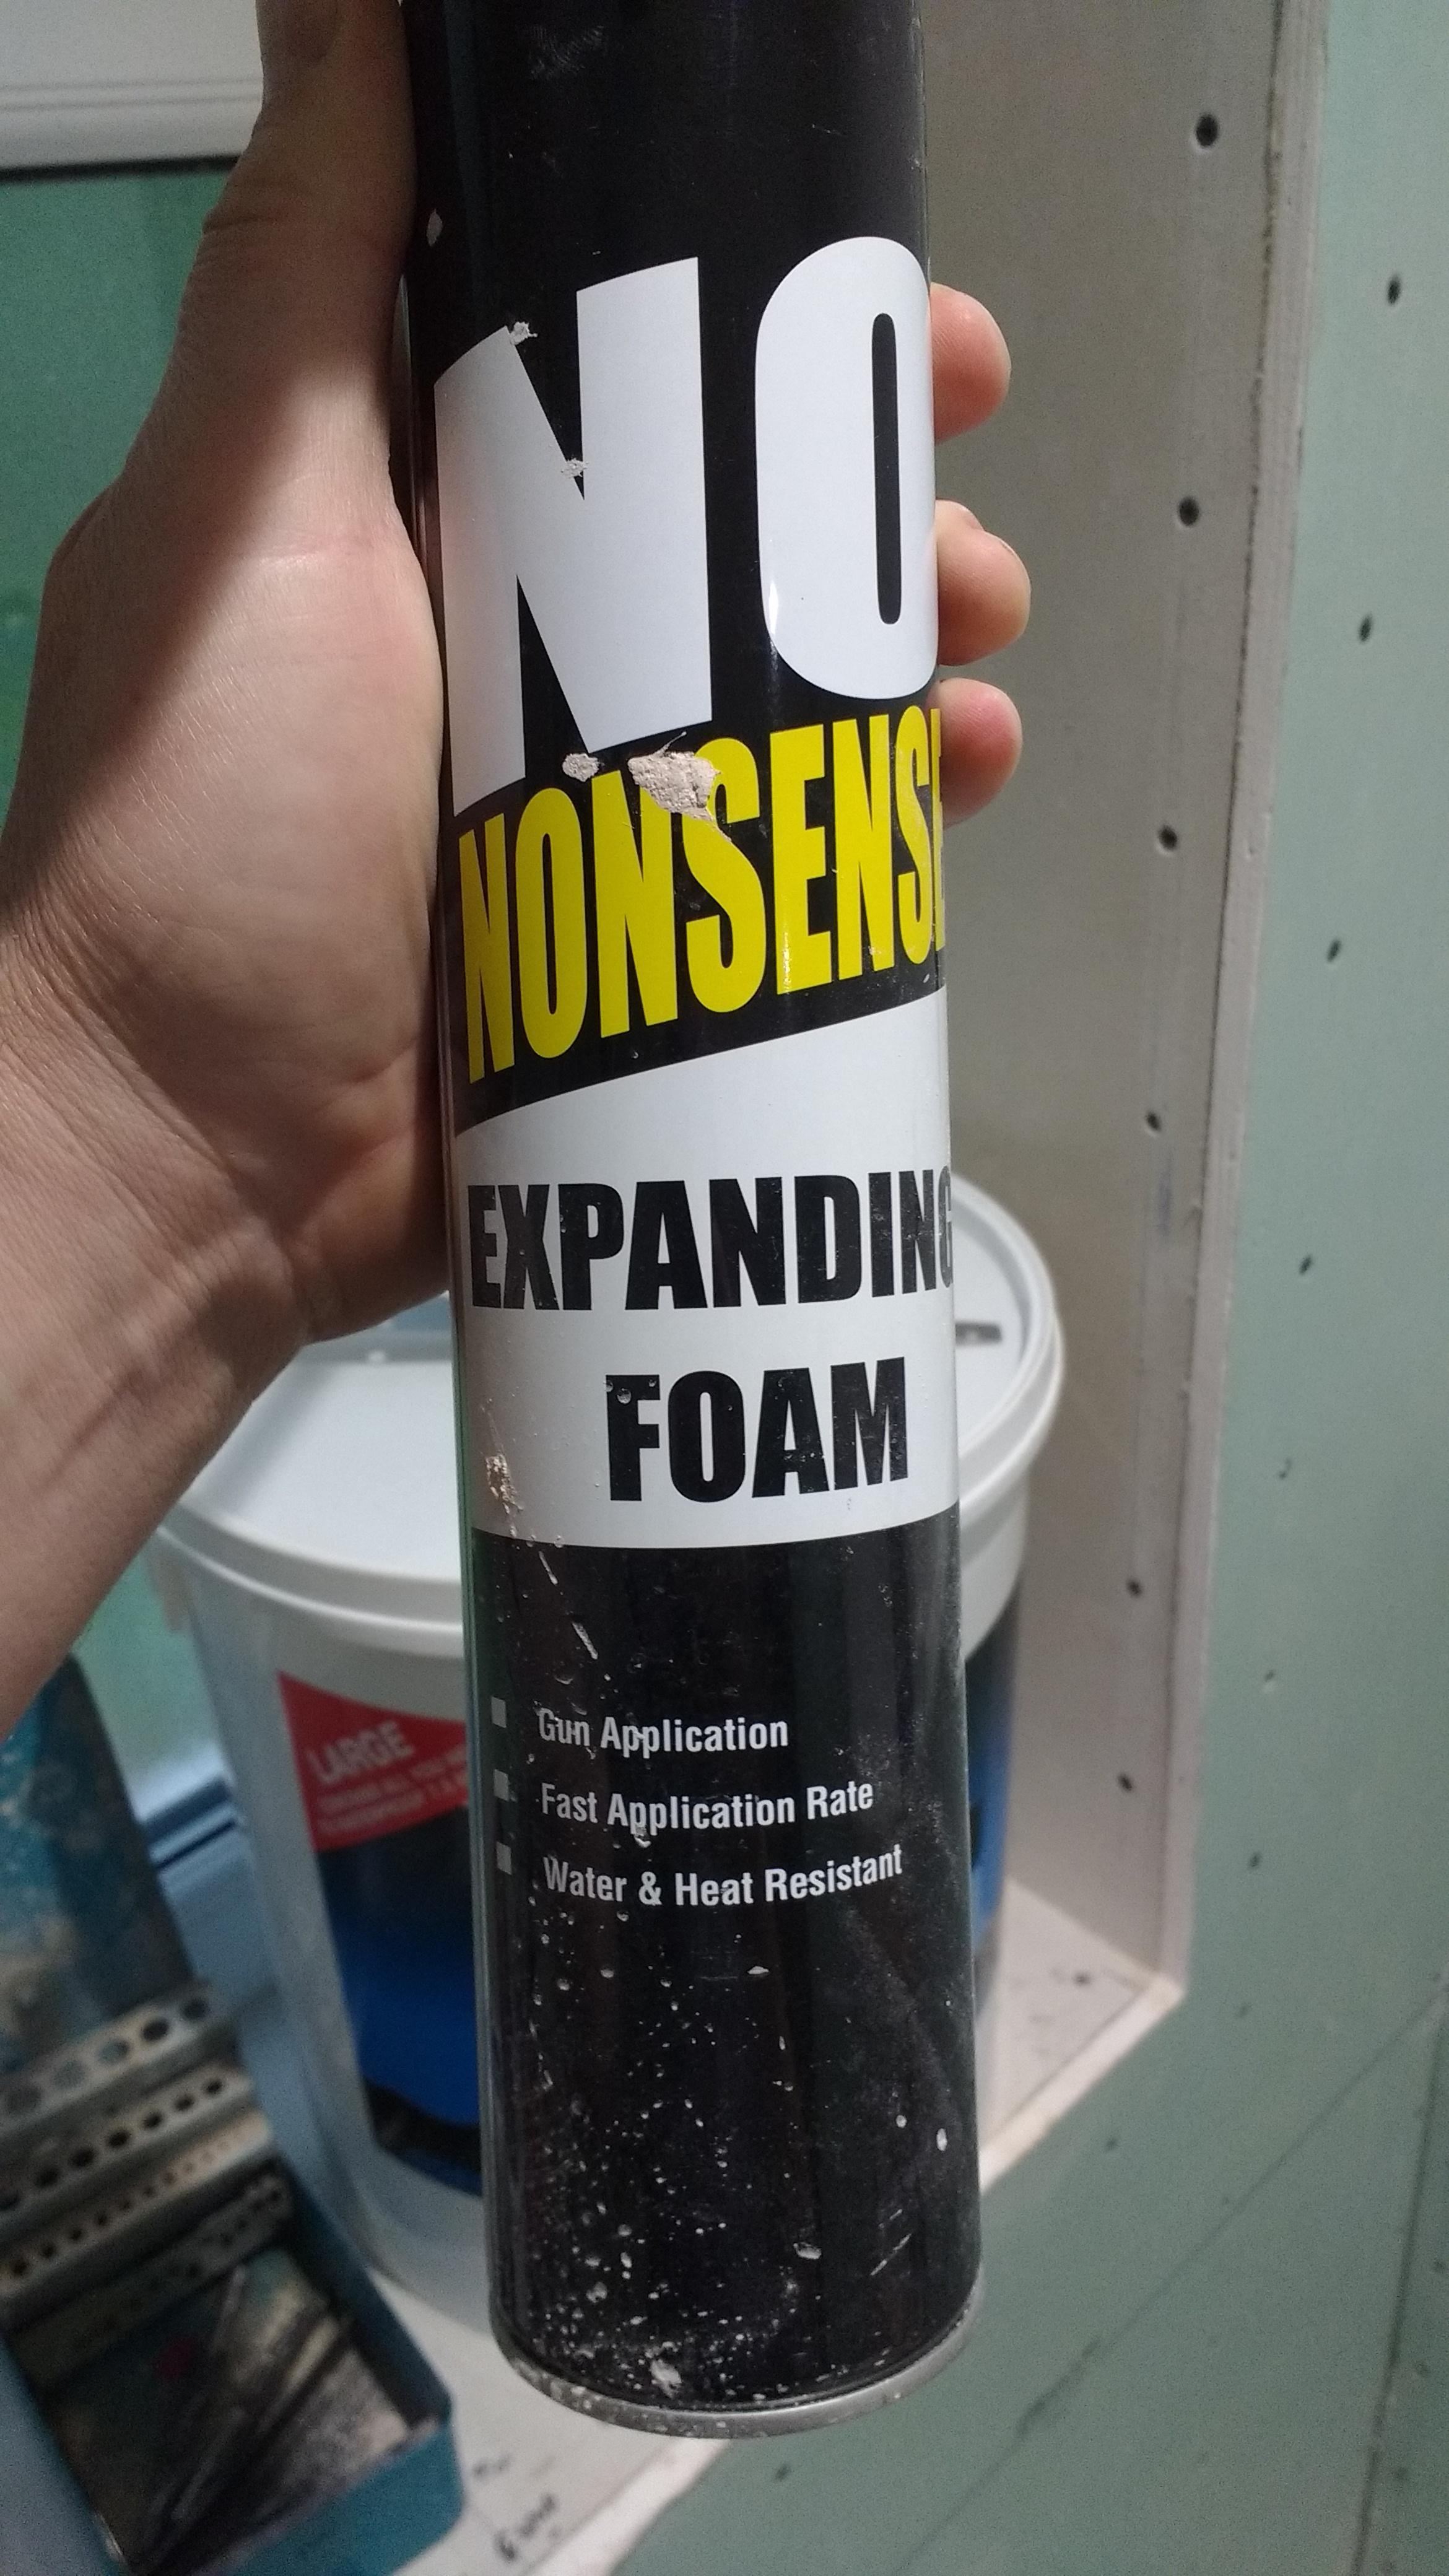
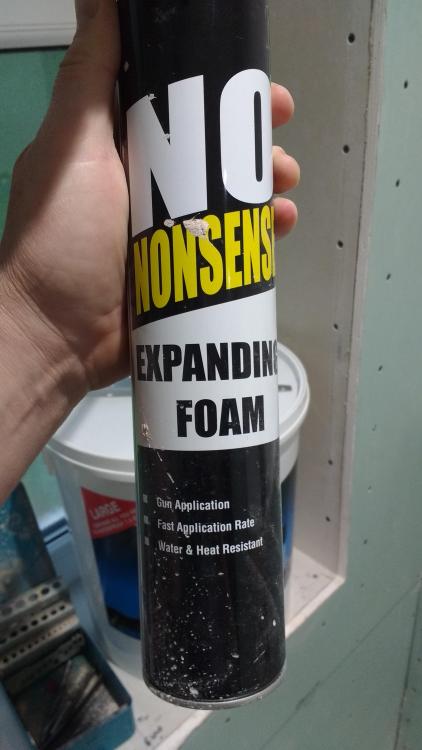
If you have a foam gun you need "gun grade" foam. Look thru the Screwfix book and there'll often be a price for handheld or gun grade. Cans to screw on the guns have a 4 prong plastic bit on top. My fingers on two of the plastic bits: The top of the gun grade cans looks the same as on these cans of gun cleaner: One on the left is from T'station others are Screwfix No Nonsense brand. They come with the little red nozzle. You can either use as a conventional aerosol or screw onto the foam gun to clean it out. This is Screwfix own brand gun grade foam. It's cheap. It expands...a lot...as I guess it's meant to! This is Soudal Low Expansion foam, better than the Screwfix one for sticking things on etc as well as not expanding so much: https://www.screwfix.com/p/soudal-soudafoam-expanding-foam-gun-grade-750ml/5026d Ref the blue dpm, over my battening I did the walls and ceiling with a continuous membrane or vapour control layer as a nod to draught proofing.

-
Being a big lad I have to be careful not to break stuff and have a tendency to get unfamiliar stuff right second time around! The torque wrench is my friend at work and on the car, tbh If I can see a torque setting I'm happy!
-
If you have an idea of what spring you want then these people are great and do small orders. Been using them for years at work and for home: https://www.springmasters.com/
-
Help with kitchen renovation/ 1st house.
Onoff replied to zoothorn's topic in Bathrooms, Ensuites & Wetrooms
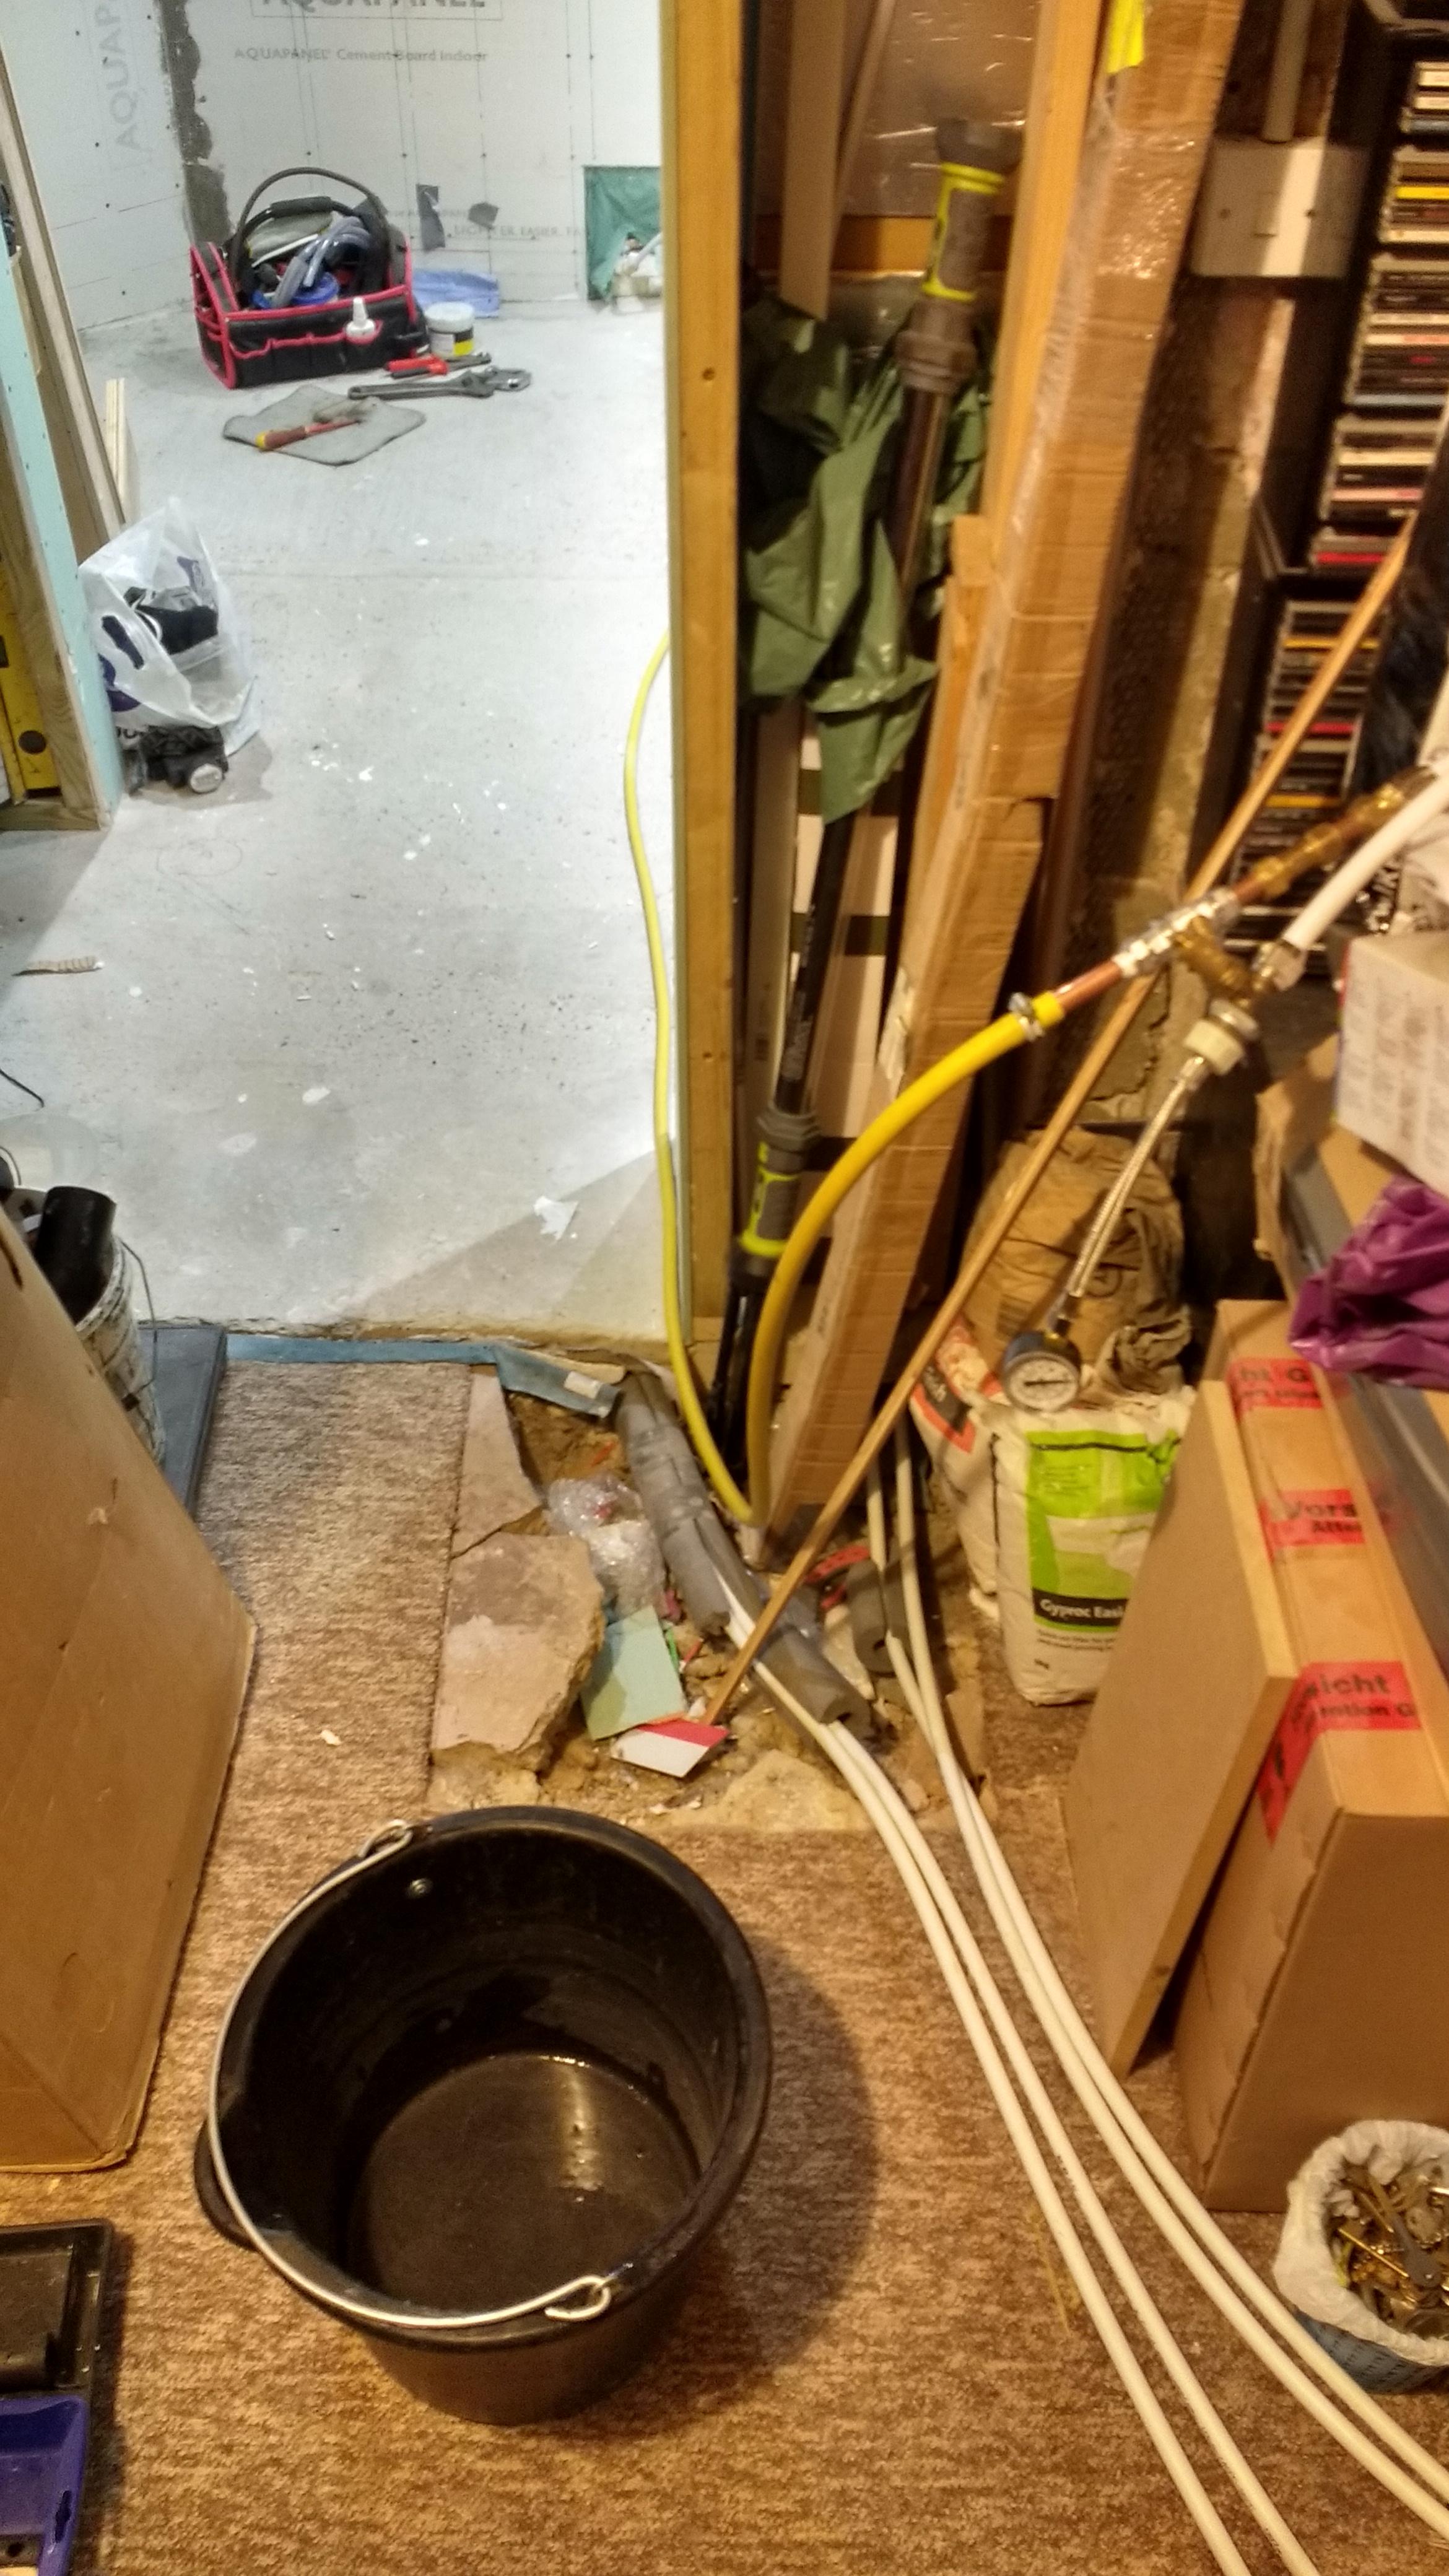
@zoothorn, the floor in this room you're doing... I assume this is the badly done, "modern" extension that you're battening out, so it has a damp course in the walls and damp proof membrane under the floor? Get the gaps round that window sorted and it should help a great deal. It amazed me how I could feel the draught through the tiniest of holes when I was blocking things up. In fact as the gaps to fill got smaller it seemed to concentrate the cold air blowing through! -
Help with kitchen renovation/ 1st house.
Onoff replied to zoothorn's topic in Bathrooms, Ensuites & Wetrooms
Q from me..... I debated, but didn't, sticking ordinary 25mm foil faced pir to my reveals then ordinary pb onto that. It would have been too thick aside from whether it would have worked. Hence I went for the 27 mm insulated pb. Would it have worked? -
Help with kitchen renovation/ 1st house.
Onoff replied to zoothorn's topic in Bathrooms, Ensuites & Wetrooms
Try and cut it pretty accurately I would. At 25mm thick you could virtually cut with a craft knife with the blade out a bit and GLOVES! Sawing PIR makes horrible dust. Some advocate cutting 5mm short and filling the edge with foam. If I'm a "bit" out I might run a thin bead of foam up one batten then push the pir against that and in between the other batten. Foam expands to fill the gap. Oh, and photograph against a tape / mark the wall either side etc where any horizontal battens are. Any wall cupboards going on this wall? -
Help with kitchen renovation/ 1st house.
Onoff replied to zoothorn's topic in Bathrooms, Ensuites & Wetrooms
Given the times people on here have told me the same thing until it's sunk in I'm quite happy to keep repeating myself! :) Careful with the drugs and tools / measuring. I've made some classic clangers just on ale! Foam gun "etiquette" is very important or you'll find yourself buying a new gun! READ THE INSTRUCTIONS that come with it. Buy a can or two of No Nonsense Foam Cleaner whilst you're there as well. Make sure you buy GUN foam too, I've accidentally bought the hand held stuff before when in a rush. Soudal Low Expansion is expensive but v.good. The 2.5" gap. Don't fill all at once. Ideally a strip of eps in there first like I did to bulk the gap out. Eps from packaging would be fine tbh. If relying on foam then you will need to do a line left to right say 1/2" thick and wait for it to set.Then another thin line until you fill the gap. Top tip to make foam stick better to a substrate or dried foam - use a little spray bottle filled with clean water to dampen the substrate. I use an old Detox kitchen spray bottle. -
Help with kitchen renovation/ 1st house.
Onoff replied to zoothorn's topic in Bathrooms, Ensuites & Wetrooms
3mm packs, good man, fingers crossed. 460mm will be alright! -
Help with kitchen renovation/ 1st house.
Onoff replied to zoothorn's topic in Bathrooms, Ensuites & Wetrooms
At 600mm the pb wont be supported enough and will be too flexible. -
Help with kitchen renovation/ 1st house.
Onoff replied to zoothorn's topic in Bathrooms, Ensuites & Wetrooms
Mark the ceiling LIGHTLY with a soft pencil before you fit the boards so you know where the centreline of the battens are. Like this though maybe NOT with a BFO green marker! The line should be perpendicular to the wall and long enough so the pb doesn't obscure it: What @Ferdinand means is if say you've fitted a board and aren't sure where the battens are you can use the end of a screwdriver handle to locate the batten. A hollow sound means you're likely NOT on a batten. A denser, sharper sound means the batten is there 'ish". AVOID the need to do this and mark on ceiling AND floor. You can just draw a line between the two and that will g'tee you're on the centreline.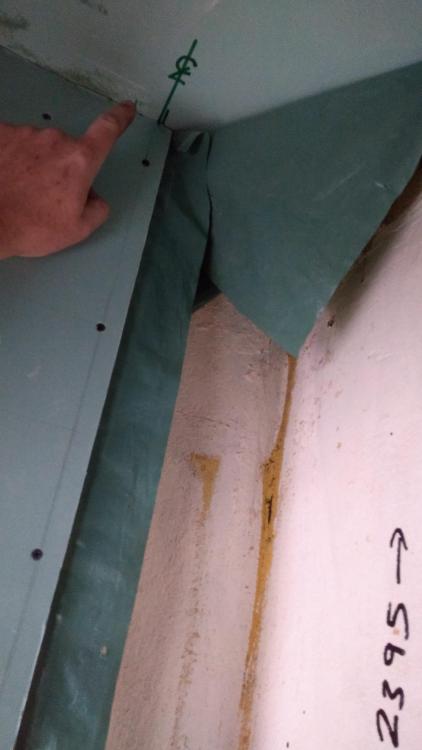
-
Help with kitchen renovation/ 1st house.
Onoff replied to zoothorn's topic in Bathrooms, Ensuites & Wetrooms
I think you may struggle to fit "25mm" Celotex in between 25mm battens in that the Celotex might be more than the nominal 25mm thick it says it is. I hope I'm proved wrong! It was why earlier in the thread I said about packing behind the battens. In what school does 3x440=1200? -
Cuprofit push fit or similar is that?
-
That dog rough socket behind waste pipes and melamine cut out like its been done with a gas axe...not a new build surely???
-
SWMBO wants the door frame white glossed...so that's the end of this thread!
-
Help with kitchen renovation/ 1st house.
Onoff replied to zoothorn's topic in Bathrooms, Ensuites & Wetrooms
@zoothorn not sure if you answered but what size are those battens? -
Help with kitchen renovation/ 1st house.
Onoff replied to zoothorn's topic in Bathrooms, Ensuites & Wetrooms
Don't you read the replies? As @PeterW said above: Don't drill and "screw" it, cut a piece of timber to fit between the verticals and stick it on with grab adhesive - cheap ones in my link. I have to say it looks like you're getting the hang of this lark! Back to "foam". I stuck on the eps (expanded polystyrene) direct to concrete, brick etc using the Soudal Low Expansion foam in my link above. As Peter said, put a few lines on and let go tacky for a few minutes then push whatever onto it. I held mine on with the bricks you can see, It was @JSHarris put me onto that method with the Soudal Low Expansion foam. Back to the window reveal. This is deliberately picture heavy. It's how I did MINE. You'll have to glean from it what you can and adapt to suit: My reveal. A 60mm cavity between two 4" breeze block walls: See how I had the white plastic trim up the side: I removed the trim from the sides and top. They stick it on with "Superglue". Usually a thin line. It came of with a chisel. See how the top trip was covering a bloody great gap. There were gaps up the sides too: IF you take that upvc trim off you will have MORE draughts before it gets better. With the top trim all off revealing the HUGE gap across the top of the window: Nearly an inch. I could see daylight through it: The "cure": Foams all round with Soudal Low Expansion gun foam. Let it go off and cut flush: I then wedged a 2" bit of eps in first and foamed between it and the inner leaf: Let dry, cut flush. I then put a smear of sand and cement on: I then sprayed the reveal with spray adhesive and stuck some strips of dpm (damp proof membrane) on. Tbh you could use clean, cut down rubble bags etc: Did the dpm top, bottom and sides. I ran a line of Sikaflex EBT up the corner against the window and in lines on the dpm and pushed my 27mm pb onto it. The sill bit went on first, weighted down. The bricks are on the eps, the eps is only there to protect the insulated pb. Could have used Soudal Low Expansion Foam instead: The sides support the top bit. Supporting the underside of the top bit whilst it's going off. Note front edges of the insulated pb also screwed down to the batten around the window: Done: It's made a huge difference to draughts around the window. -
Help with kitchen renovation/ 1st house.
Onoff replied to zoothorn's topic in Bathrooms, Ensuites & Wetrooms
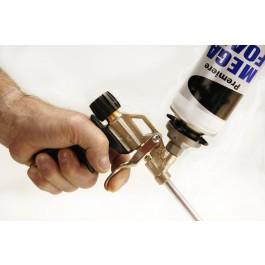
OK, so you've found where a lot of the draughts were probably coming around that window! I had exactly the same issue! Not all expanding foams are made the same! You get the normal high expansion stuff, you get low expansion stuff and you get extra sticky type ones for "gluing" boards on. Now this might seem an expense you don't want but if intending to do a lot of "foam" work then an expanding foam gun is an absolute MUST! Much much more controllable than the "hand held types. Photos are atypical, just grabbed off the web. This is a hand held foam can. Comes with a plastic drinking straw type tube you slip on the end. Push the trigger down and foam comes out of the tube. Really though you want to be using it all in one go on a big job or the foam goes hard in the tube. This is a typical foam GUN. Has a valve on the back whereby you can adjust the flow rate of foam or switch off altogether. You can leave it on the shelf like it for a few months and come back and its good to go again. Note you use it with the can above: This is my gun from Screwfix: https://www.screwfix.com/p/no-nonsense-foam-applicator-gun/28483 This is the low expansion foam I used. See earlier photos in this thread where I stuck the blue membrane to the reveals with spray adhesive then used this foam between the back of the insulated pb and blue membrane to stick the board up. Note how I used temporary bracing in the reveal. Also good for gap filling where pir doesn't quite fit etc. https://www.screwfix.com/p/soudal-soudafoam-expanding-foam-gun-grade-750ml/5026d#product_additional_details_container As Peter says use a grab adhesive like Pink Grip, No Nails, Stick Like Sh!t etc to put that batten up where you're hitting the lintel. A couple of quid a tube like these: https://www.screwfix.com/p/i-cant-believe-it-s-not-nails-solvented-grab-adhesive-350ml/1120d https://www.screwfix.com/p/no-nonsense-11665502-grab-adhesive-solvent-free-white-310ml/87451 I used a chisel and took off the upvc window trim to allow the insulated pb to fit better (I'll find some pics shortly). Double glazing fitters are notorious for using this stuff for covering up horrendous gaps. Basically they can't be arsed / don't have the time to foam fill / wait for it to go off etc.
-
Help with kitchen renovation/ 1st house.
Onoff replied to zoothorn's topic in Bathrooms, Ensuites & Wetrooms
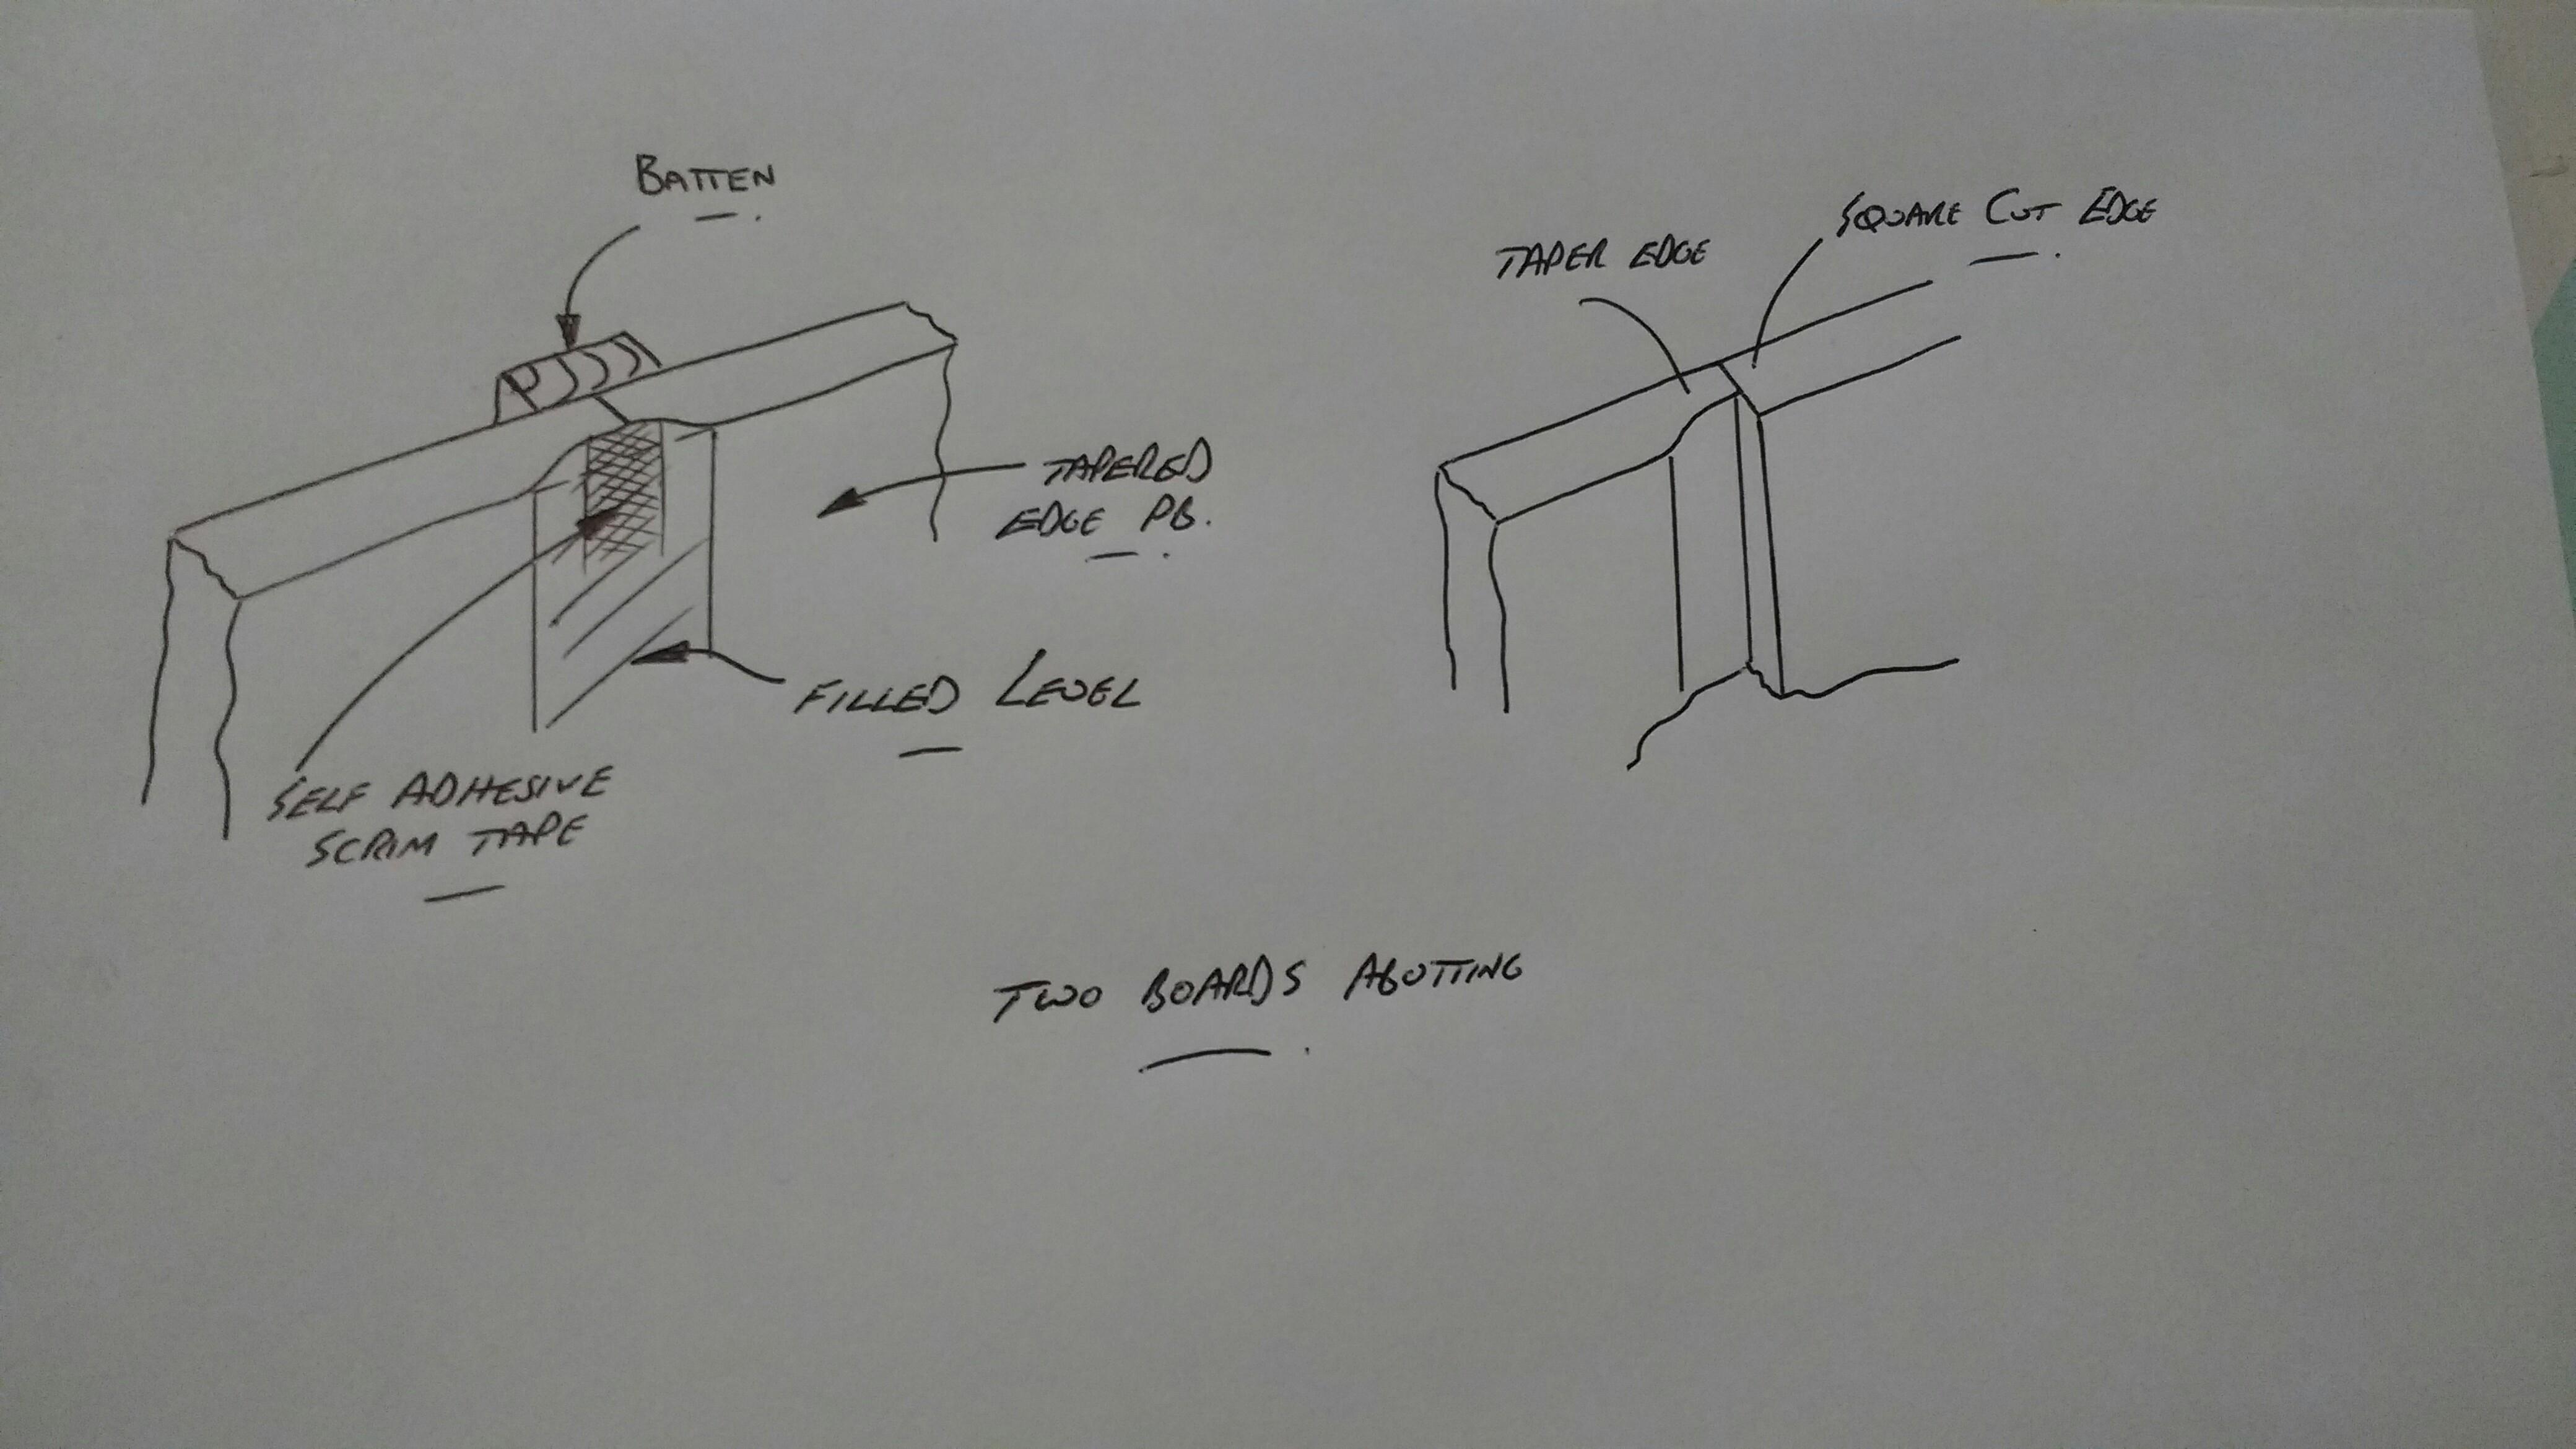
Abutting - where two things meet / join together. In this case where the edge of one board meets another. If you go full board followed by another full board from L to R you might end up having to put another batten in. However this option might be better if intending to tape and fill, that is tape the joint, fill (and sand if required). Two tapered edges are easier to tape and fill than a tapered edge abutting a square edge. However...if you've wall units going below the window you would lose most of a dodgy tapered meets square edge joint. The only bit you would need to worry about is between the top of the worktop and window cill and then above the window. If tiling above the worktop then that's the joint there covered. If you can wriggle that black sill out you could tack a bit of timber on the back to bring it out over the new pb. Whilst the sill is out block up any gaps under the window. Looking good btw!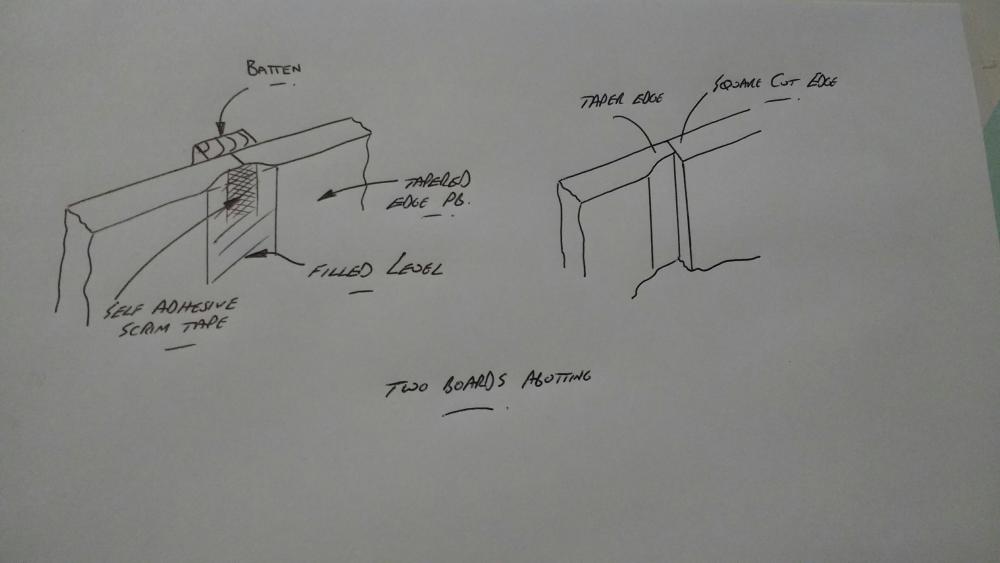
-
Help with kitchen renovation/ 1st house.
Onoff replied to zoothorn's topic in Bathrooms, Ensuites & Wetrooms
If jointing and taping go full board, full board and finish on an odd size, cut one in the corner ensuring that tapered edges are always on joints. Otherwise you'll be abutting a cut, square edge to a tapered edge. -
Help with kitchen renovation/ 1st house.
Onoff replied to zoothorn's topic in Bathrooms, Ensuites & Wetrooms
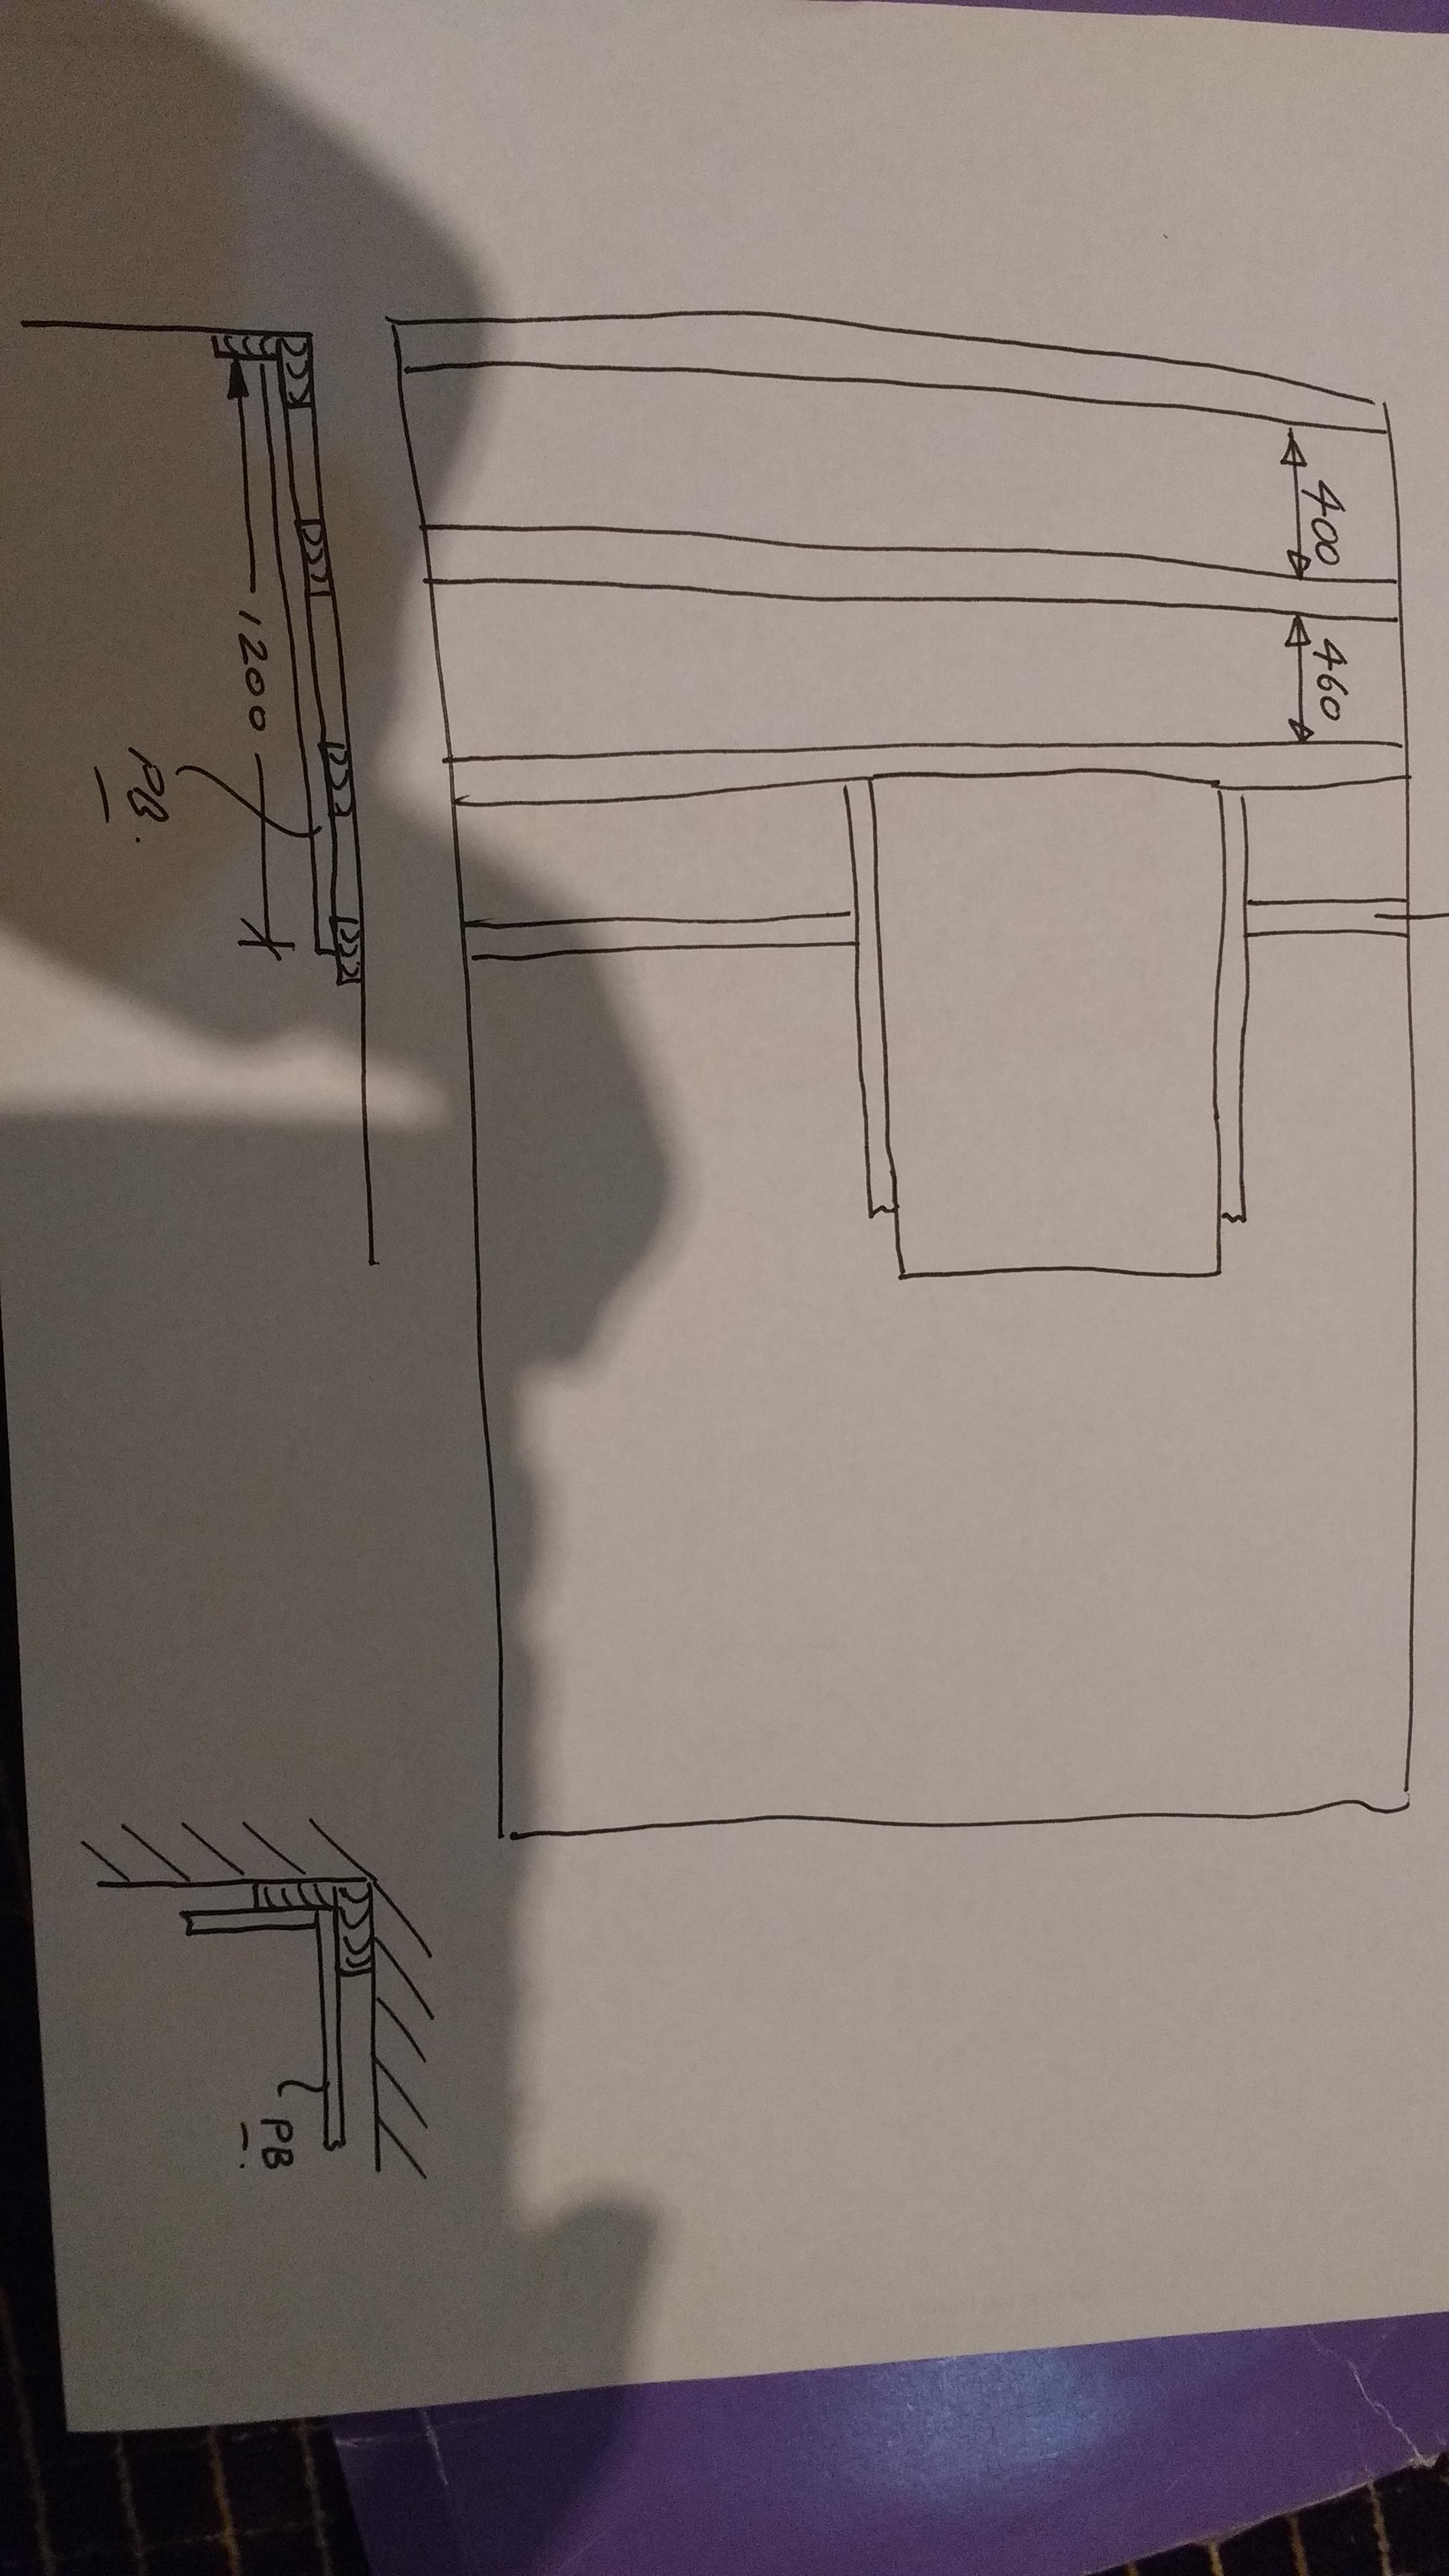
First board is 1200 wide, something like this:
-
Help with kitchen renovation/ 1st house.
Onoff replied to zoothorn's topic in Bathrooms, Ensuites & Wetrooms
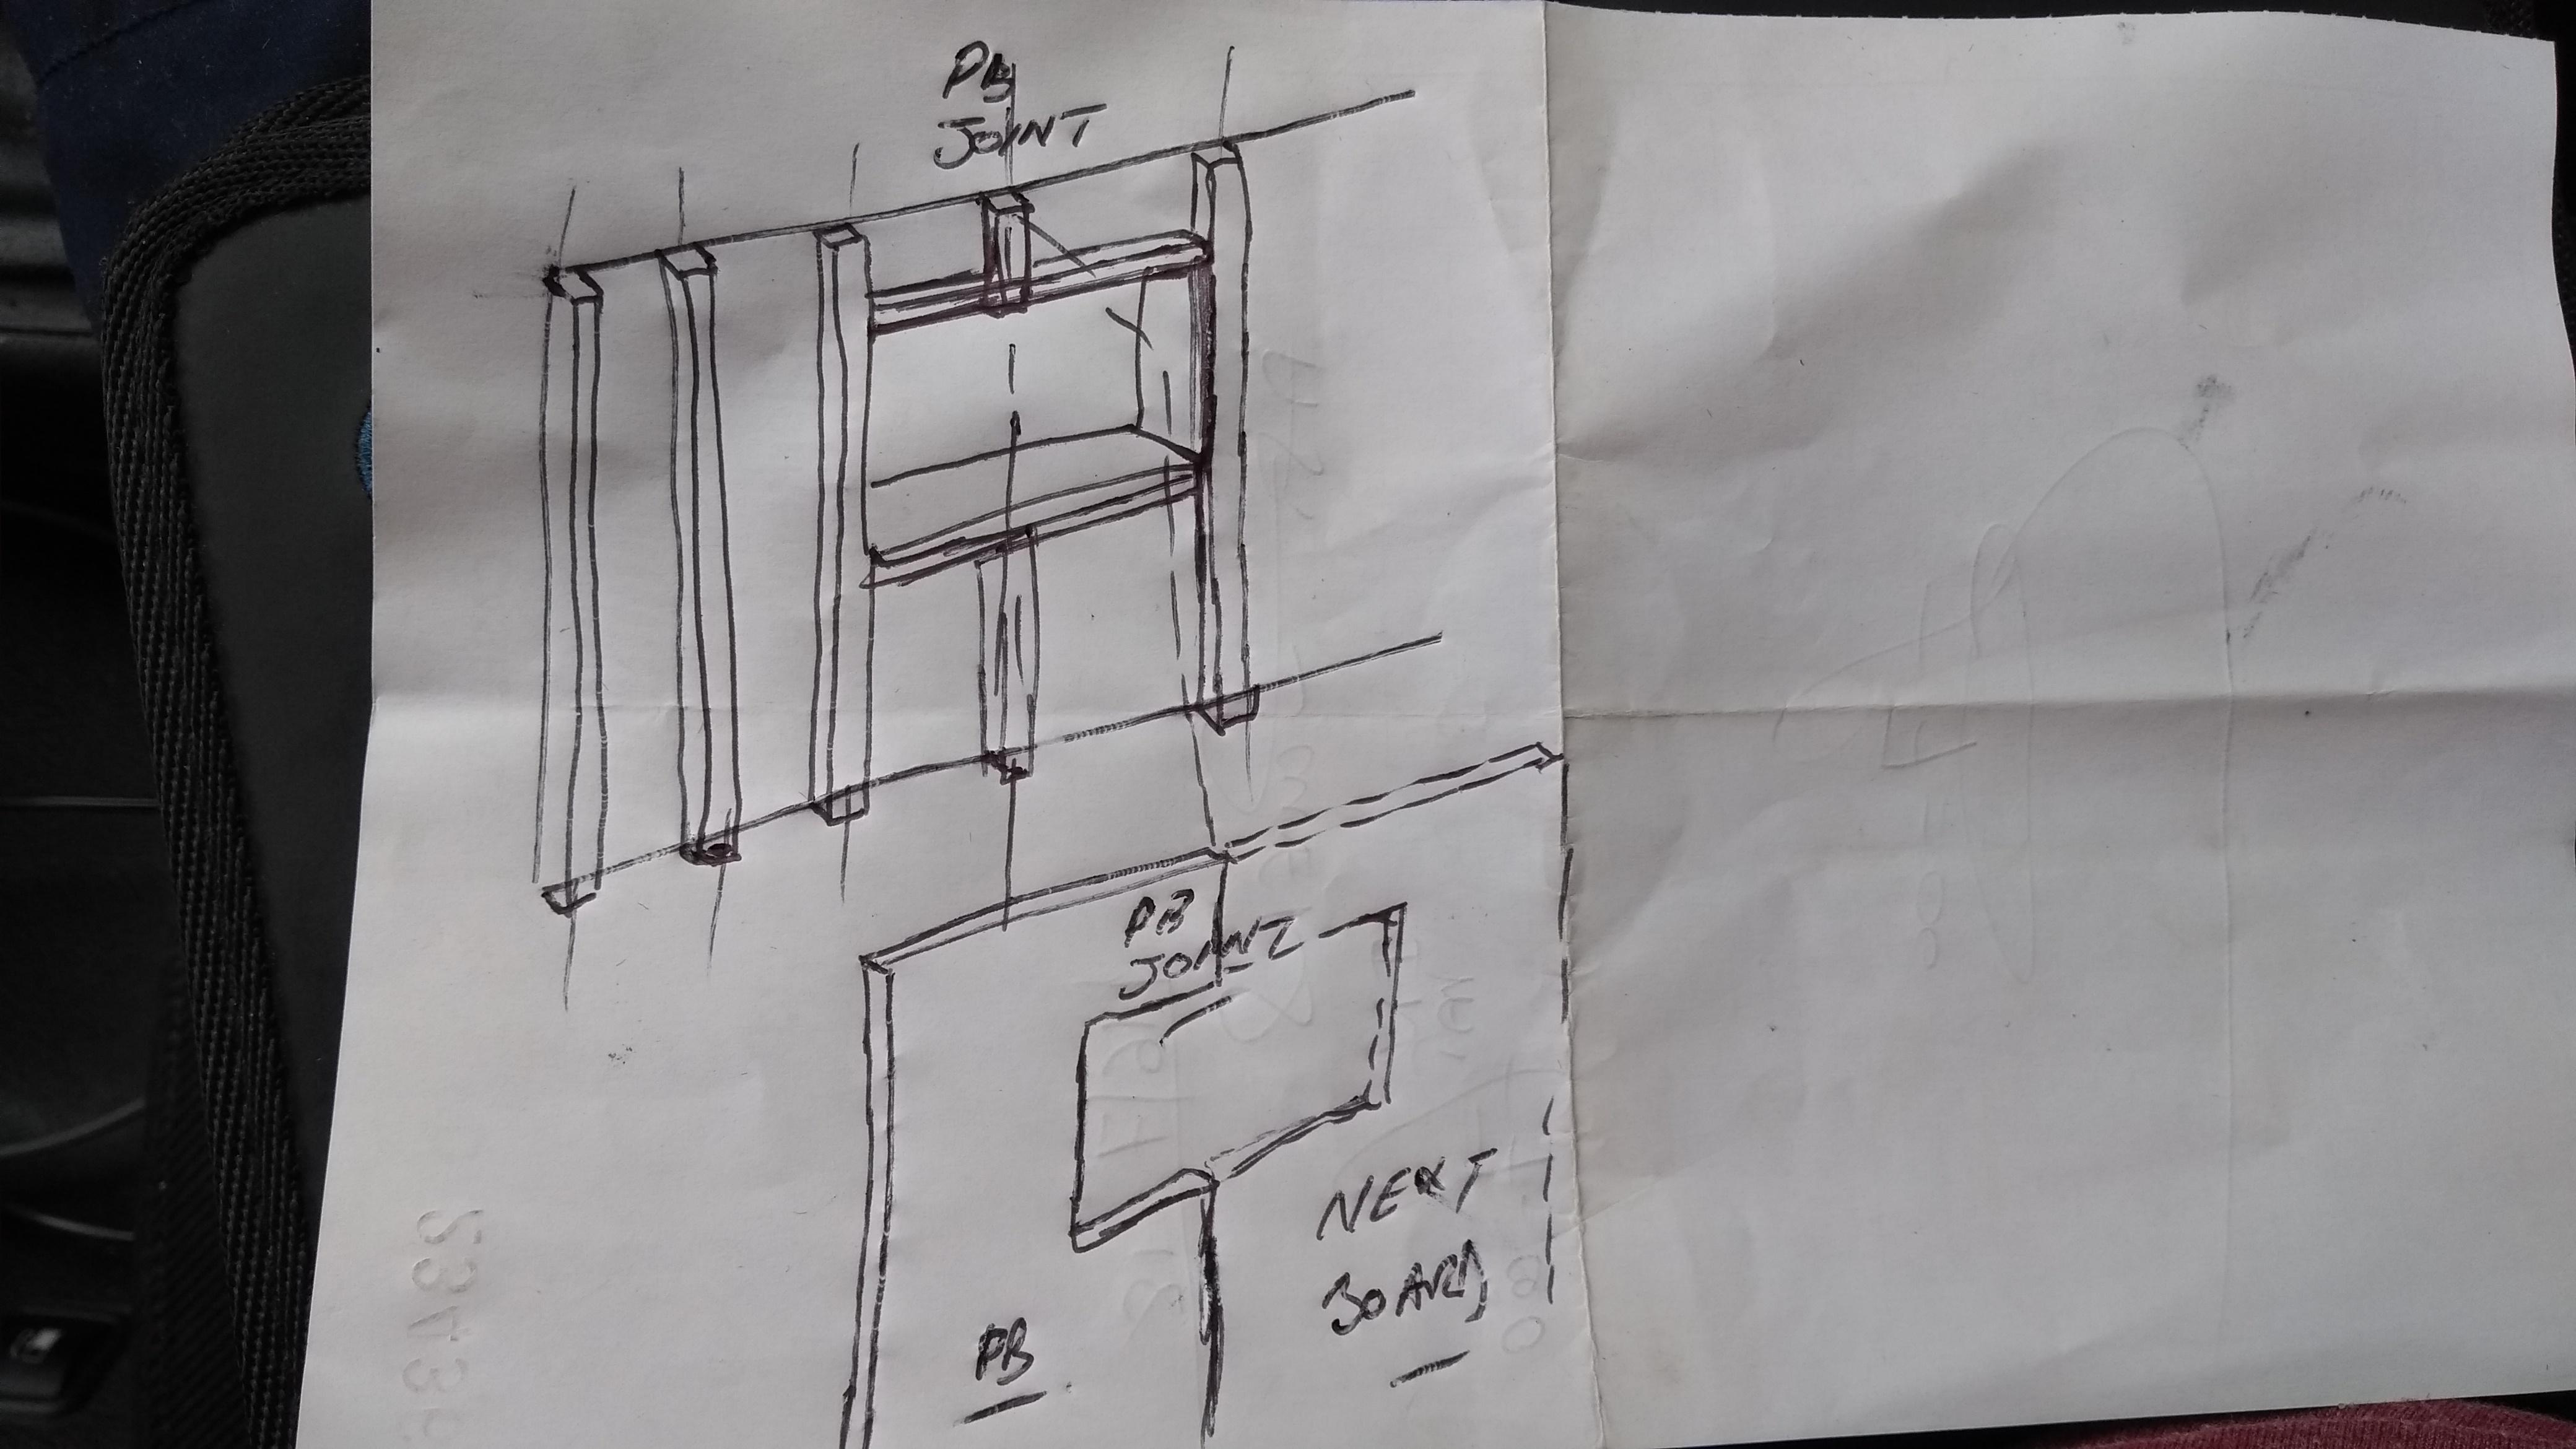
CAD - Computer Aided Design...drawing on a computer rather than a fag packet sketch! Look at page 6 of this thread. Exactly the same as your area except mirrored. Battens up to the window and top and bottom over the window. A full sheet of pb cut in a backward C shape. The 1200 width goes from the corner and finishes halfway over the vertical batten top and bottom of the window. Are you lining the window reveal like I did with insulated pb? -
Help with kitchen renovation/ 1st house.
Onoff replied to zoothorn's topic in Bathrooms, Ensuites & Wetrooms
Not near a CAD machine at the mo! -
Help with kitchen renovation/ 1st house.
Onoff replied to zoothorn's topic in Bathrooms, Ensuites & Wetrooms
Yes you can cut pb in an L shape or C shape. Look how I did it when my kid helped. Same as yours just mirrored. Yes pir is Celotex, Kingspan etc. https://en.m.wikipedia.org/wiki/Polyisocyanurate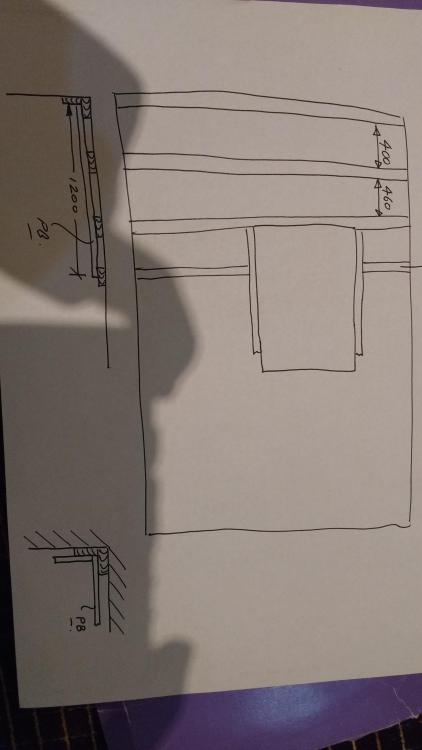
-
Help with kitchen renovation/ 1st house.
Onoff replied to zoothorn's topic in Bathrooms, Ensuites & Wetrooms
Go B. The pir will just get cut a bit wider there. Think now where your 1200mm panel will start from the lhs. You'll need a batten above & below the window so that 1200 wide panel finishes exactly on the centre line of the batten. What size are this battens...30mm thick?