Nestor
-
Posts
798 -
Joined
-
Last visited
-
Days Won
6
Everything posted by Nestor
-
Time for some new Makita goodies- any good deals on?
Nestor replied to Crofter's topic in Tools & Equipment
About to give this ago, DUC150Z for 50 metres of Devon bank medium hedge pruning / cutting back. Will let you know my thoughts in a few days Silky saw, no batteries required.
-
What is this made of? Ceiling wood fibre board type stuff
Nestor replied to paro's topic in Building Materials
Looks like hardboard due to the staining but It could be a type of Sundeala board, wood fibre pin board originally. Is it slightly soft if you apply a little pressure to it from inside the loft? Very impressed with your clear up, proper job. -
Time for some new Makita goodies- any good deals on?
Nestor replied to Crofter's topic in Tools & Equipment
The Makita kit has been great. Just bought some 6.0Ah batteries from Toolden, always worth a search around for best prices. FFX now ITS https://www.lawson-his.co.uk https://its.co.uk https://www.powertoolworld.co.uk https://www.worldofpower.co.uk https://www.toolden.co.uk/tool-brands/makita/?utm_source=Klaviyo&utm_medium=flow&utm_campaign=Makita Cross Sell&utm_id=VXmYPi&_kx=iewy0UUI_HNqAKAOi3JbrAcYoka6HO07az6VLHTOI0U.WVZJJz -
This.
-
Retrofit timber frame in stone building
Nestor replied to RoIrl's topic in New House & Self Build Design
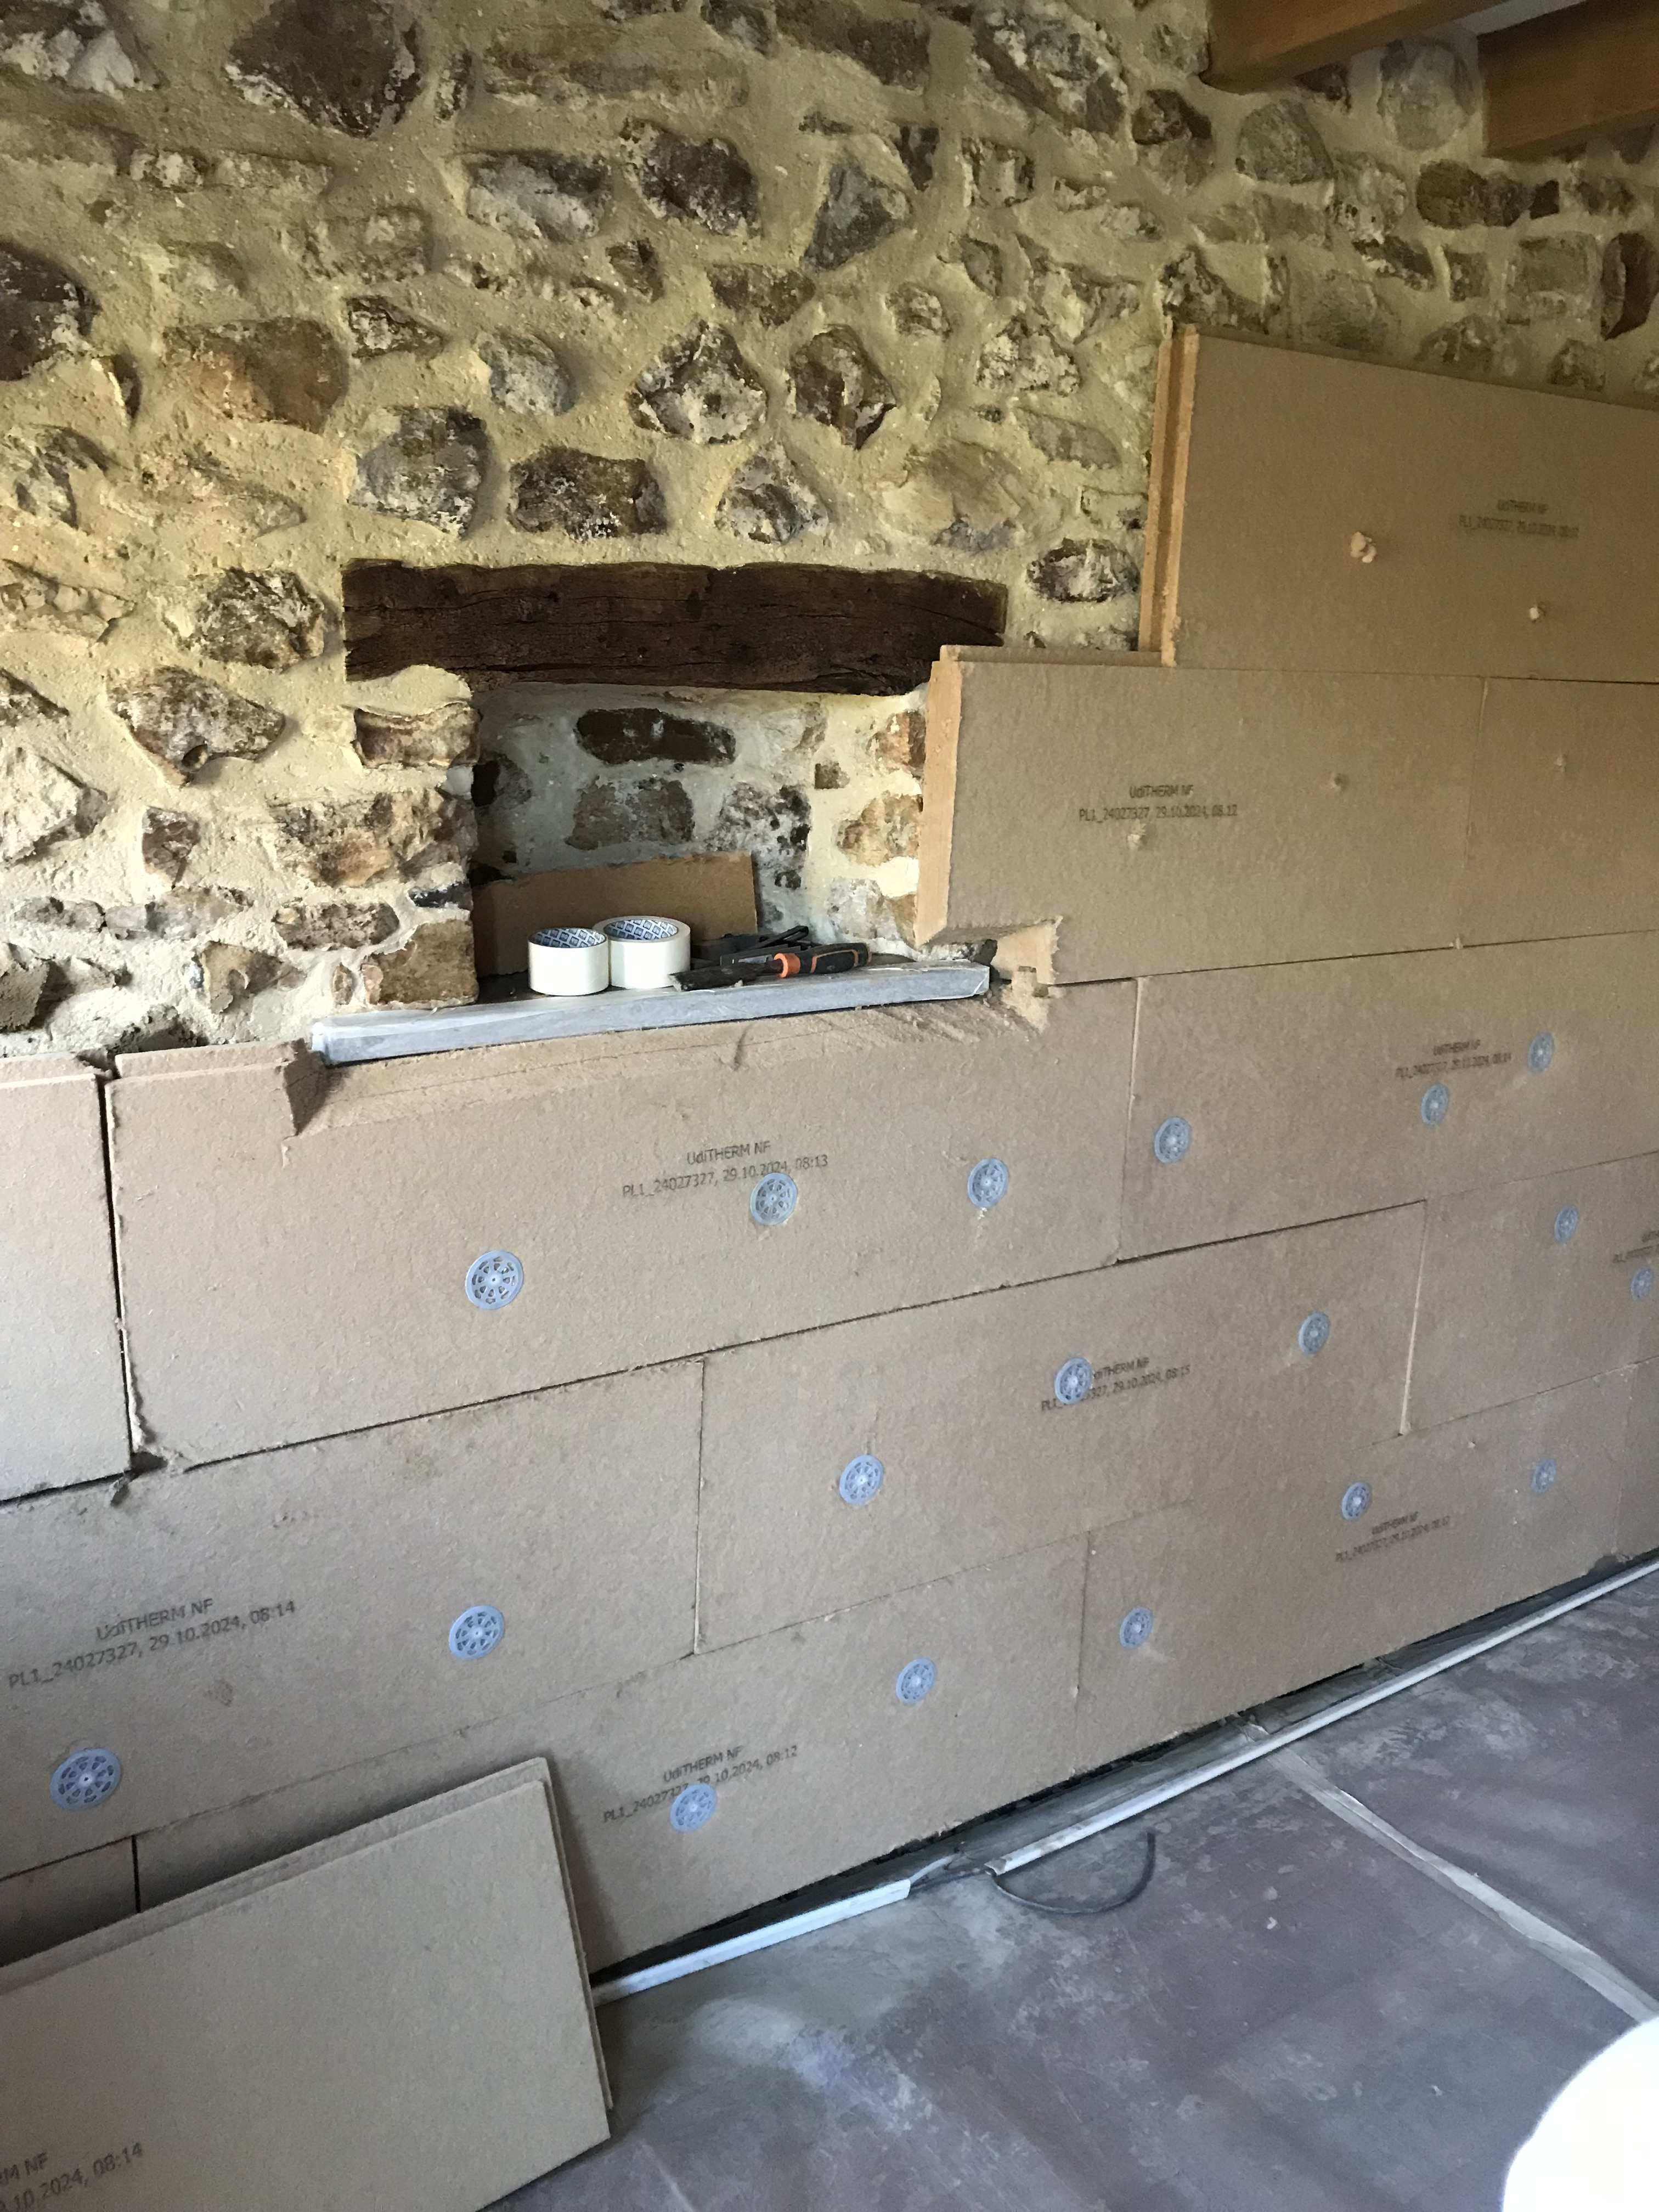
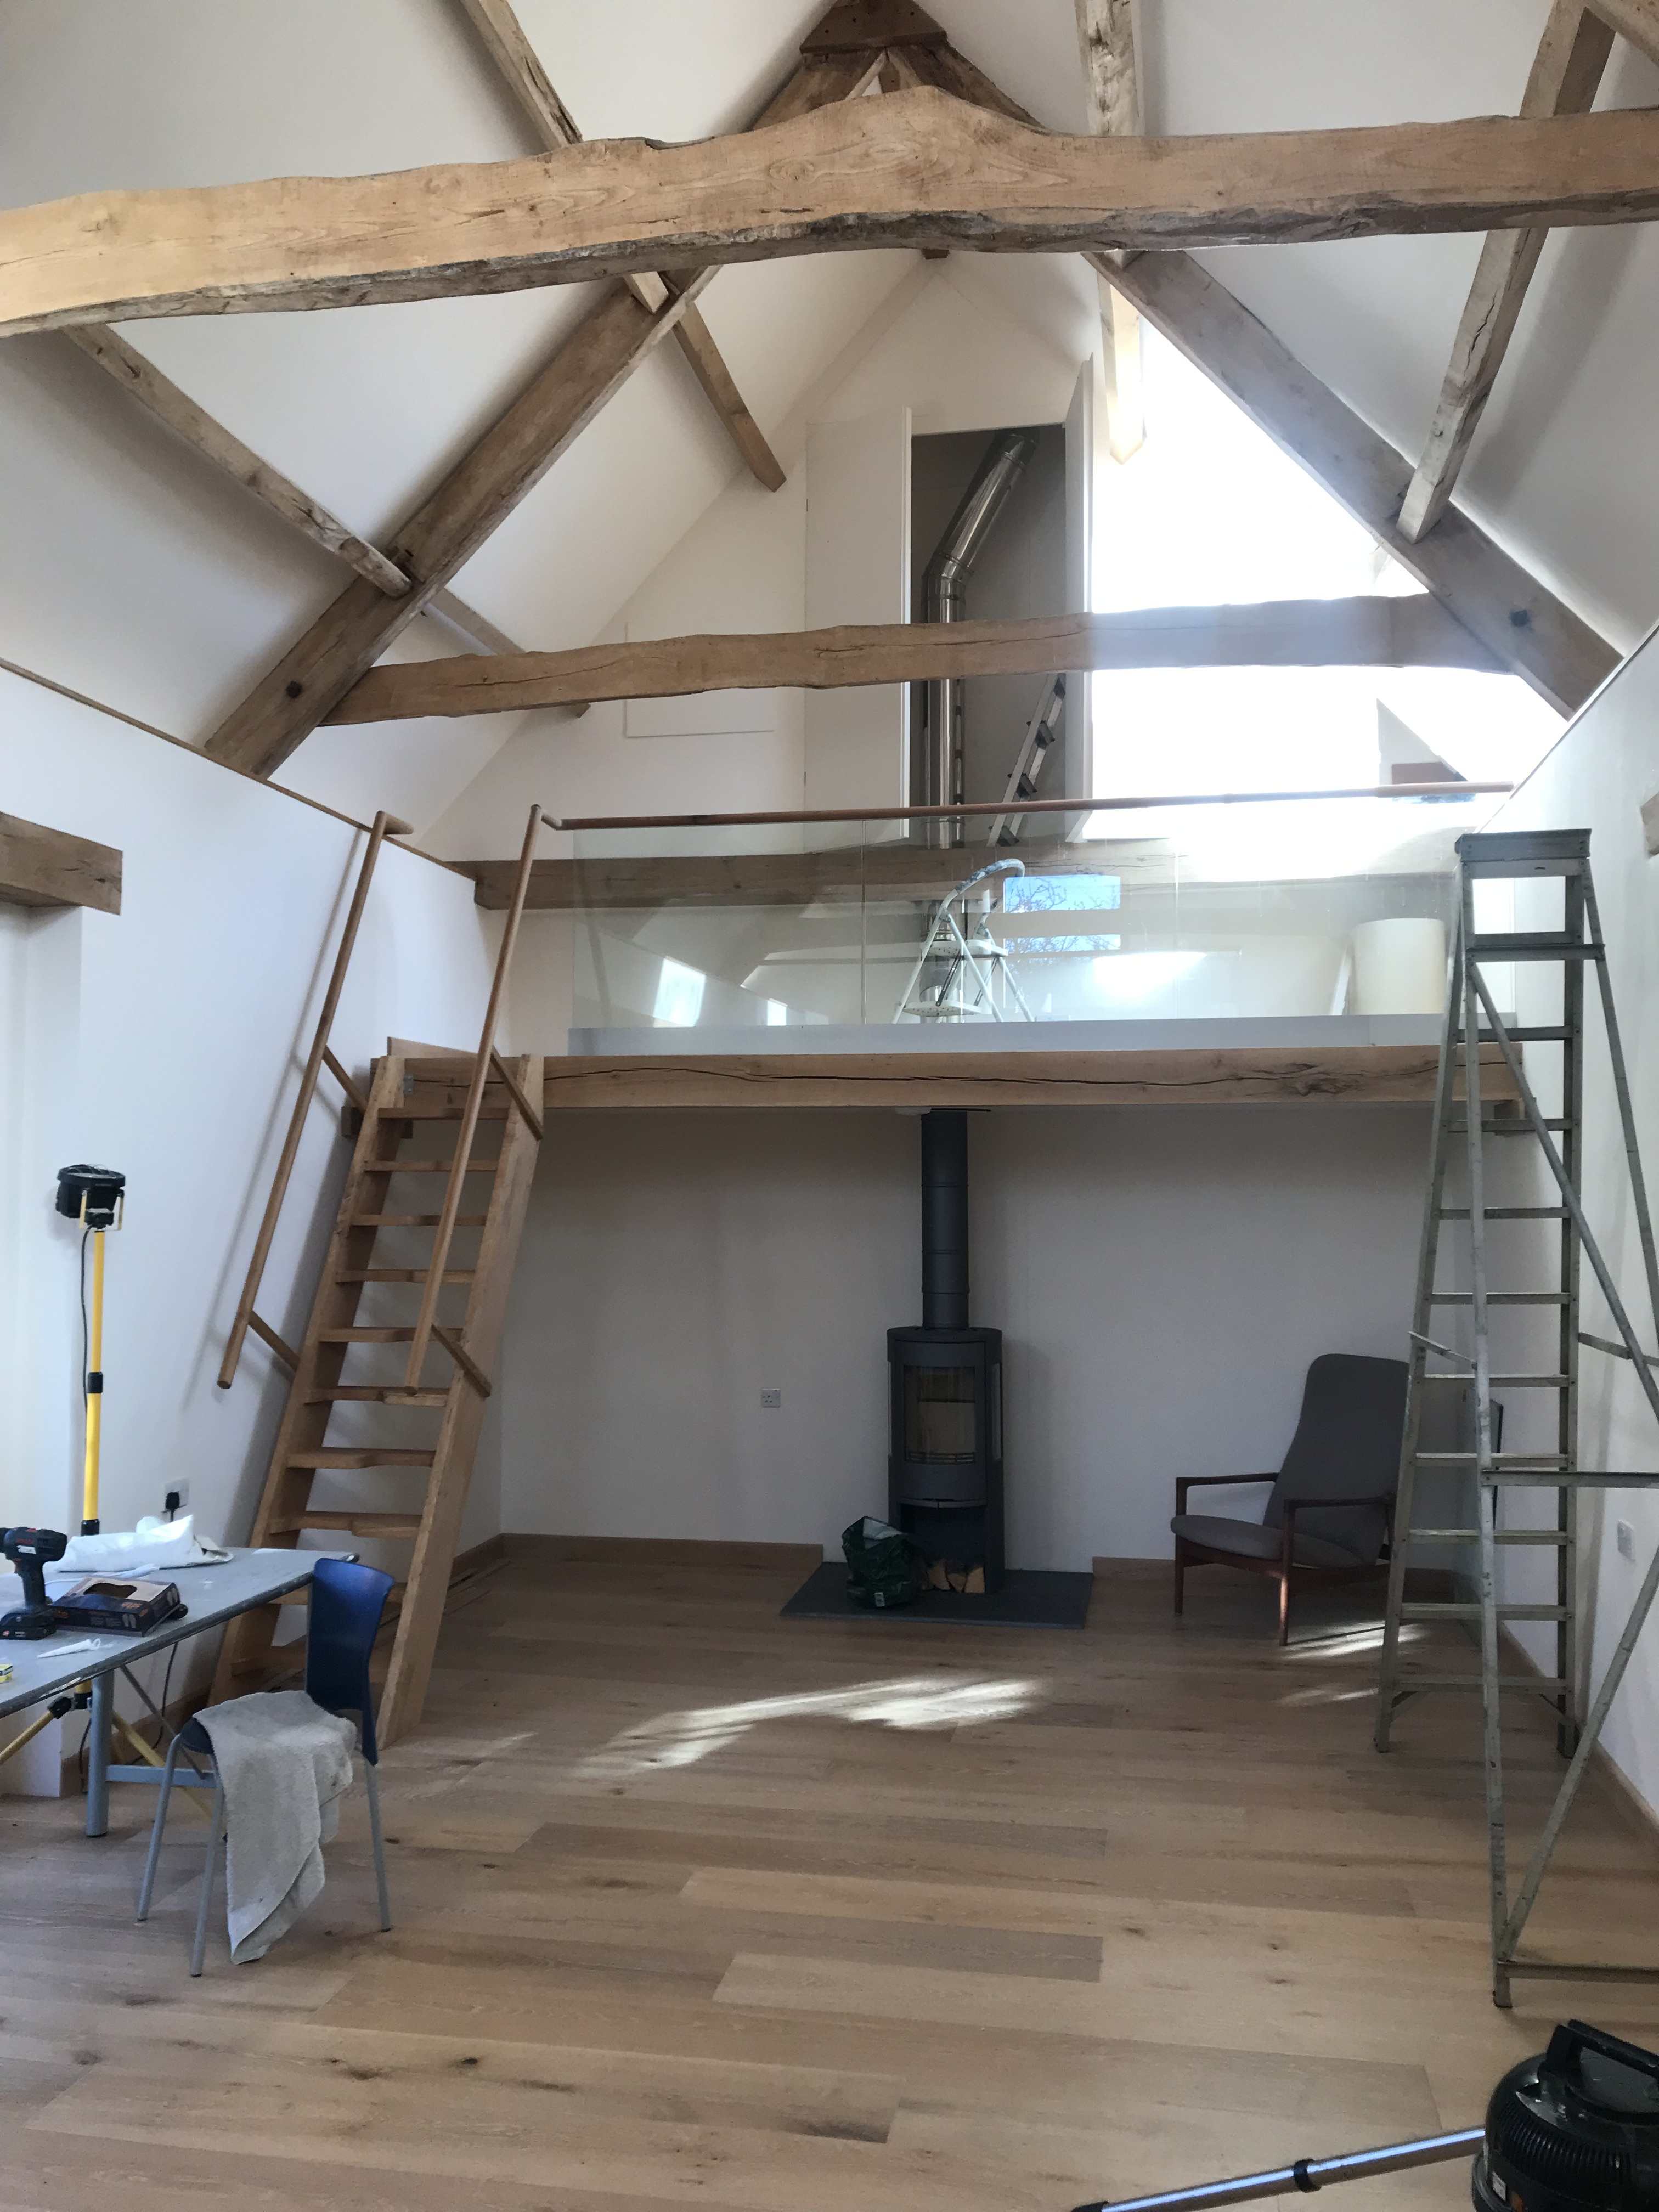
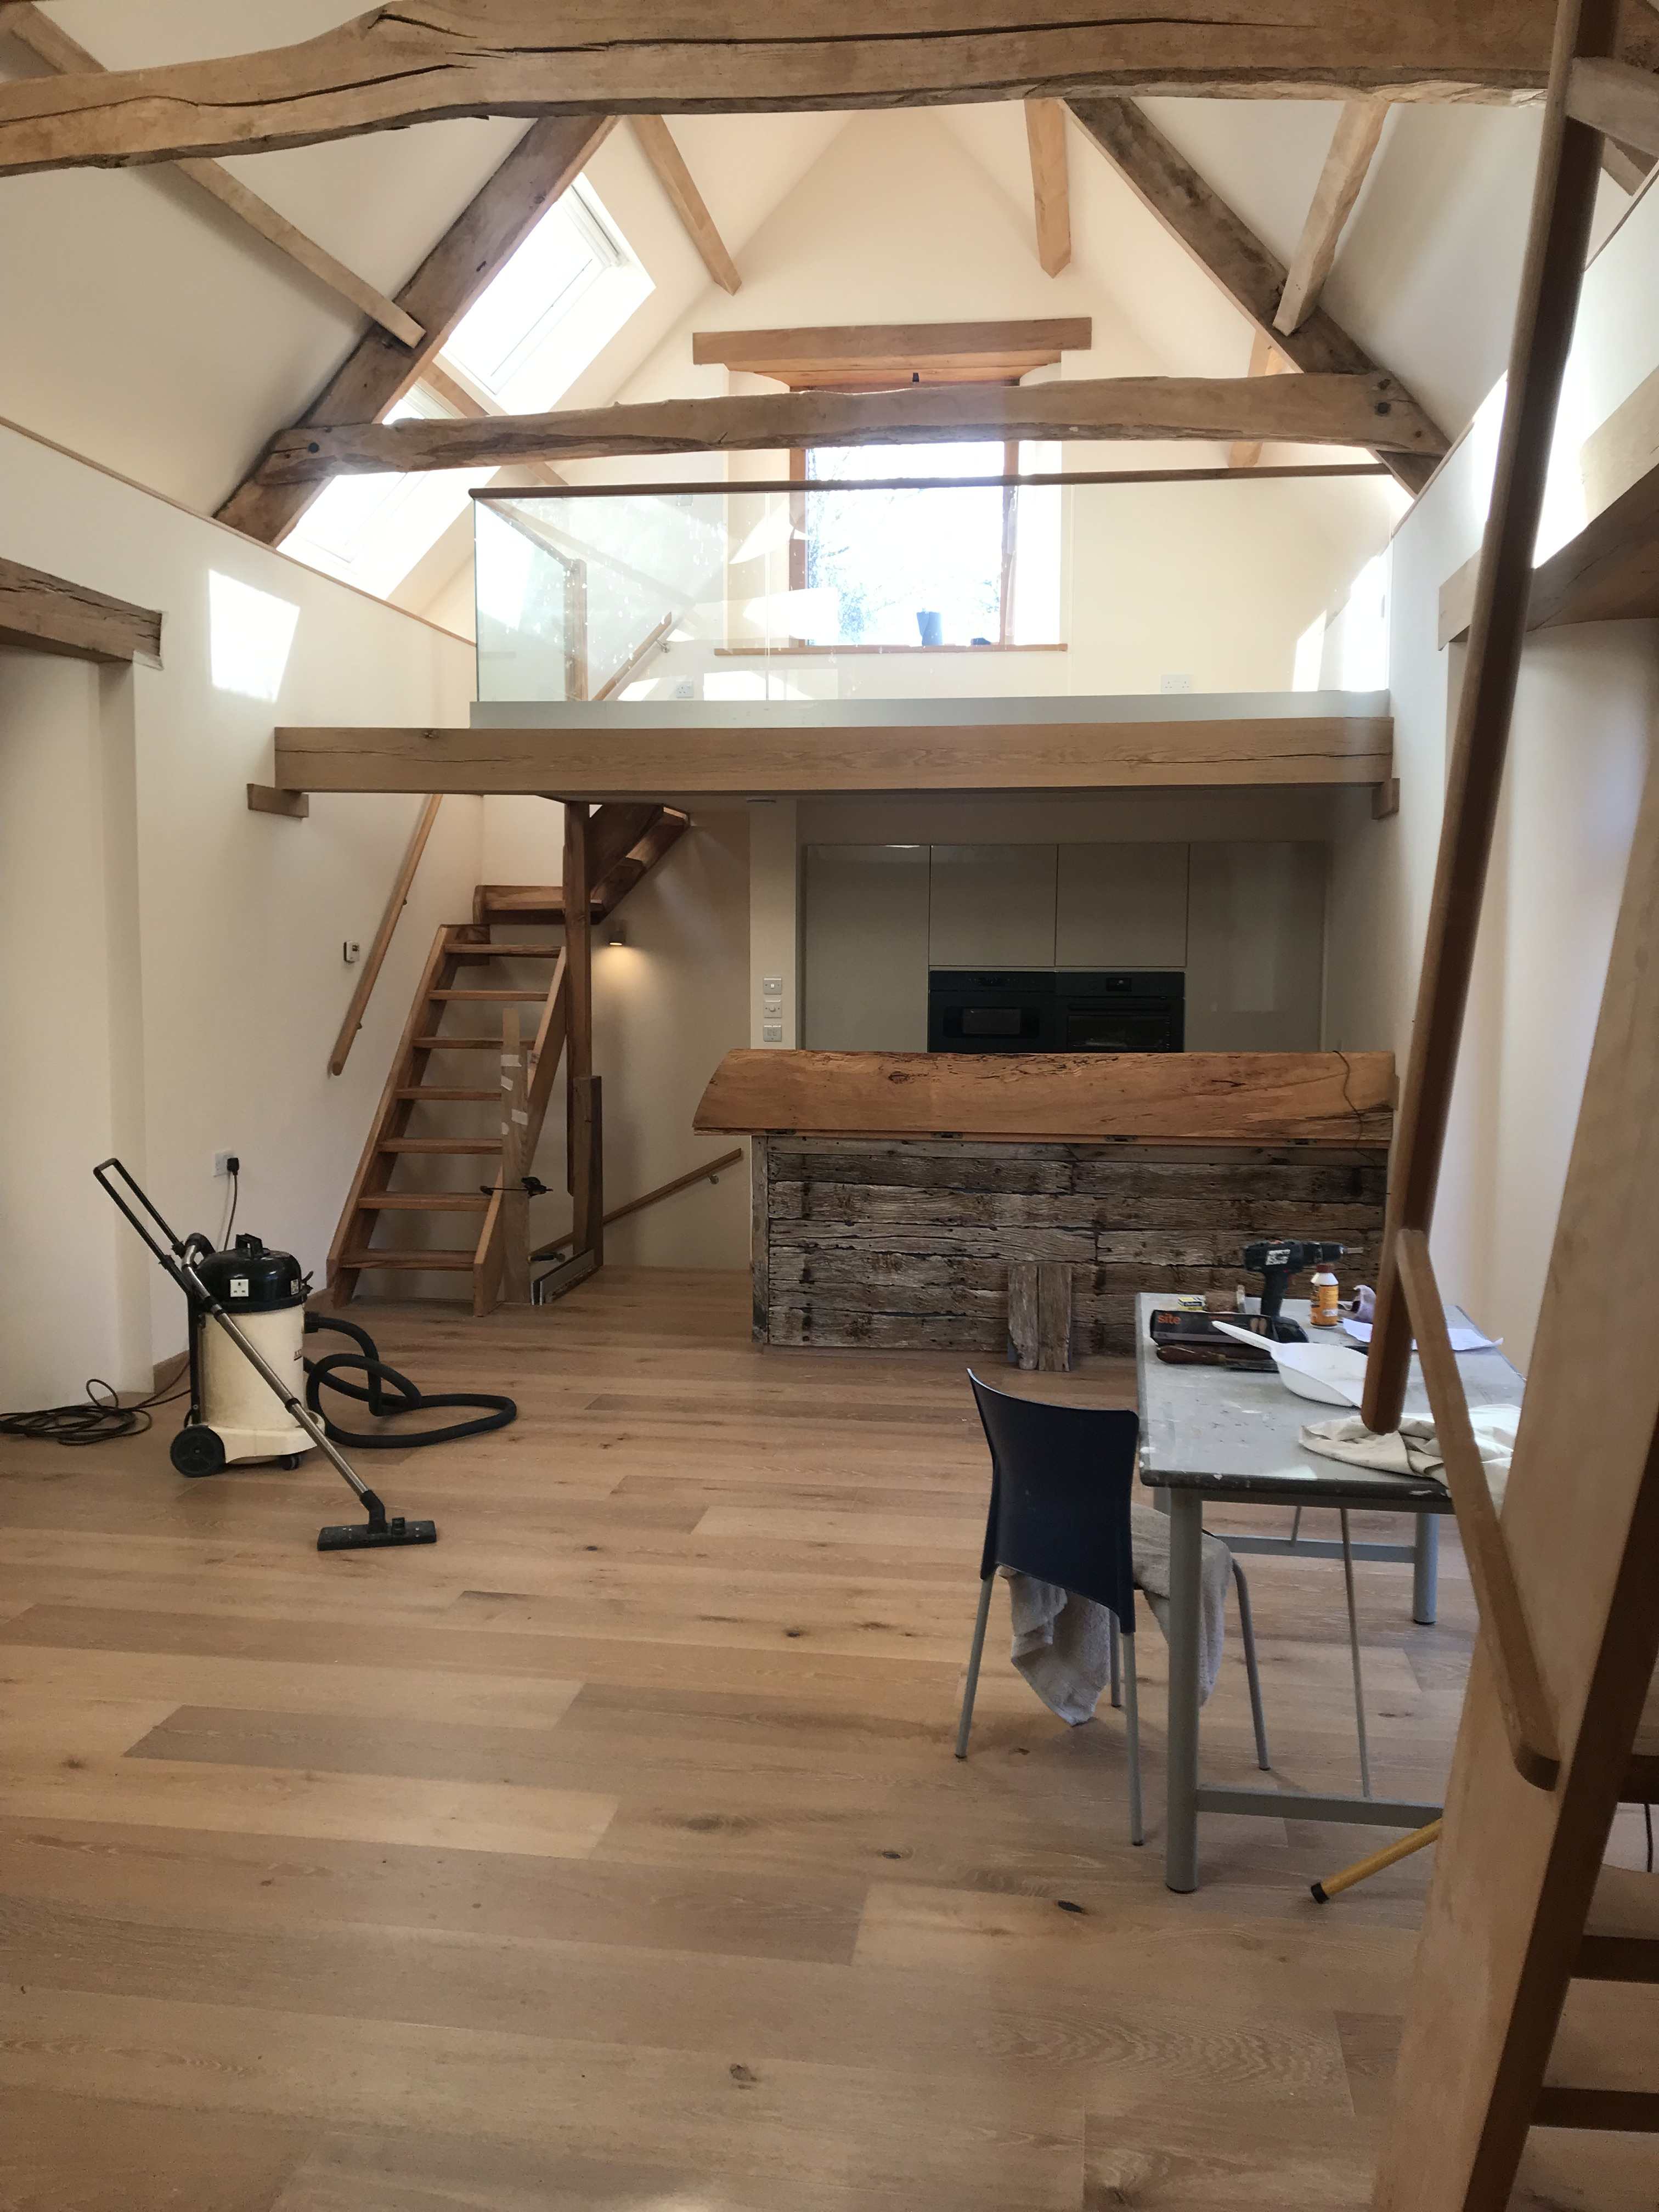
@Hastings Great work, love the pulley approach. My parents ,now late octogenarians converted dilapidated flint stone barn late 90's. Tons of work. Only now, due to feeling the cold decided to insulate the walls with Pavatherm and lime plaster. Huge difference in comfort and minimal space lost. They also converted another shed using the approach above, internal timber frame, Pavatherm and lime. Keeps them busy!


-
War. It's a cult. Let's get back to weather compensation.
-
I had the ASHP supplied and fitted from one company under the RHI scheme. All the UFH materials supplied by Wunda which I installed.
-
Low points: and how to get out of them
Nestor replied to ToughButterCup's topic in General Self Build & DIY Discussion
We hear you Ian, I now try to focus on one task only and do not deviate. (Not easy) January has been to complete the bat roost. Baffles, partitions, F1 bitumen felt, crawl access etc. It will be done. Not been on holiday since 2017 when the build started, though have crossed the Taymar bridge a few times! February's plan is hopefully outside dealing with hedges, fences. A good clear up and sort out, dip in the river or sea helps me.
-
-
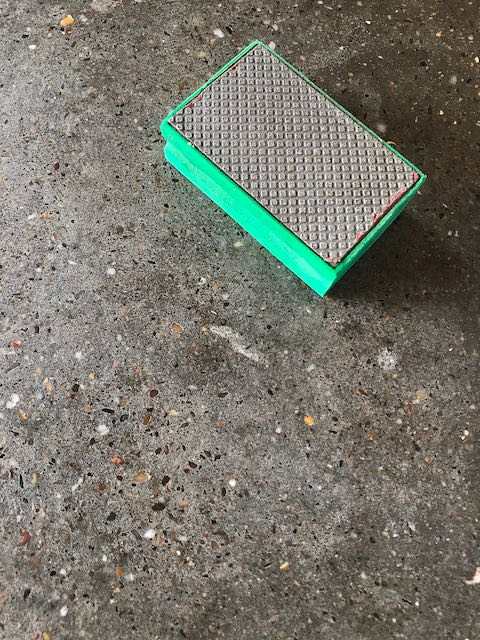
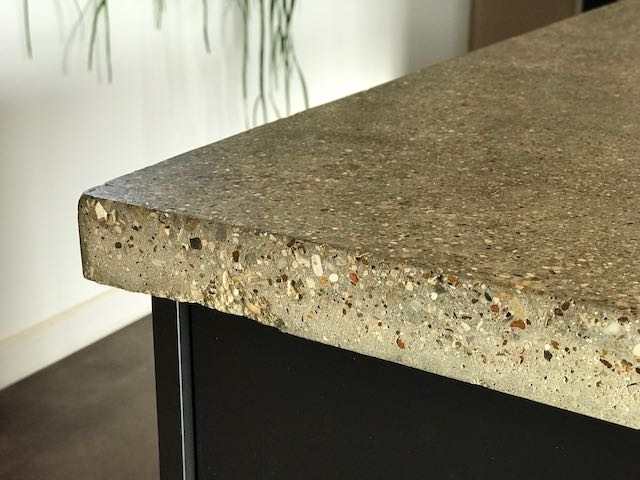
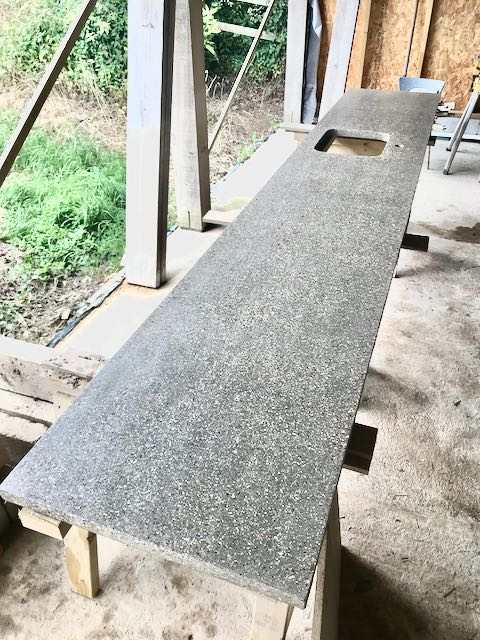
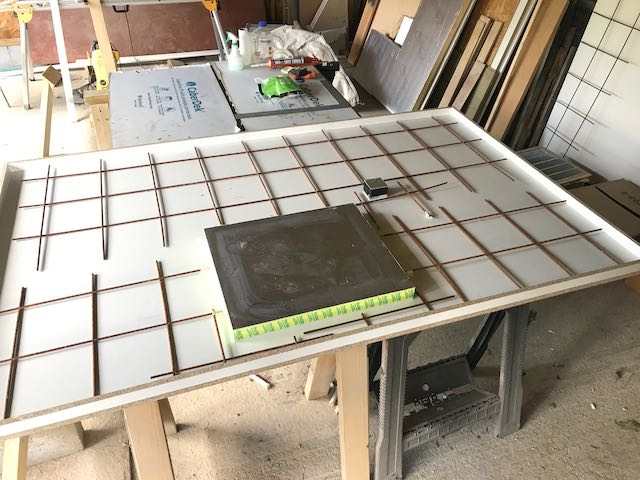
Morning @Duncan62 Were you expecting the self levelling concrete to be your final flooring or adding another layer? I sense that a concrete surface was / is your desired outcome. If you have the time and energy I would recommend you do a test with a grinder. The grinding discs or pads are the costly part. I made some concrete worktops with fibres, lots of wet grinding and very pleased with the outcome.

-
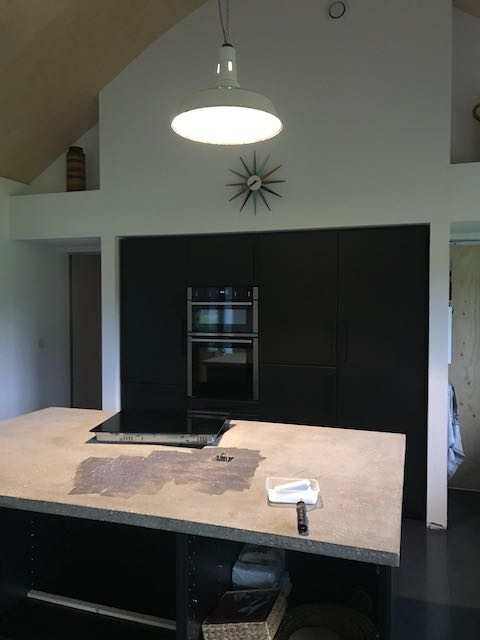
I used to regularly clean with a diamond pad and recoat with water proofer but not for 5 years now. I does take on more of a mottled surface visually overtime so not everyones taste. But it works here, a slight relief as most other materials in the build are very uniform, floors, doors, cills, etc. The concrete samples I received were so perfect they could have been moulded plastic. I do like a challenge and did test first.
-
On my warm flat roof I fitted the VCL after the Rockwool in between the joists, then OSB, Batten, Plasterboard. I fitted 40mm Pavatherm above the joists.
-
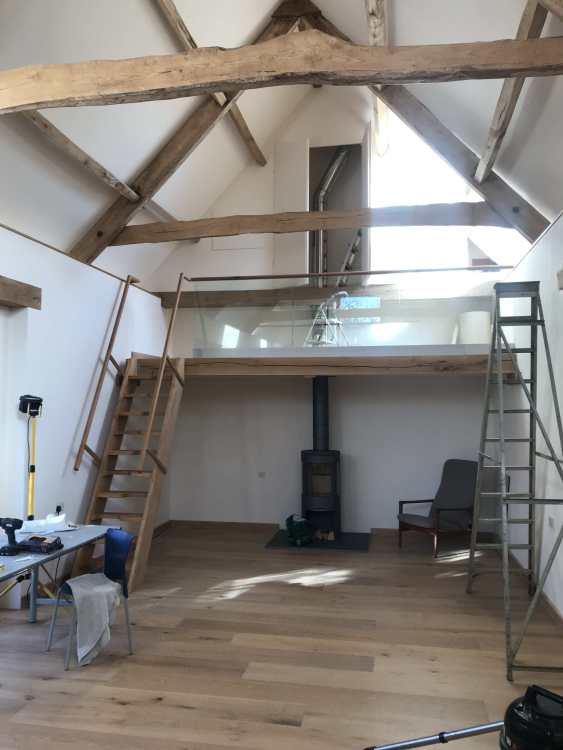
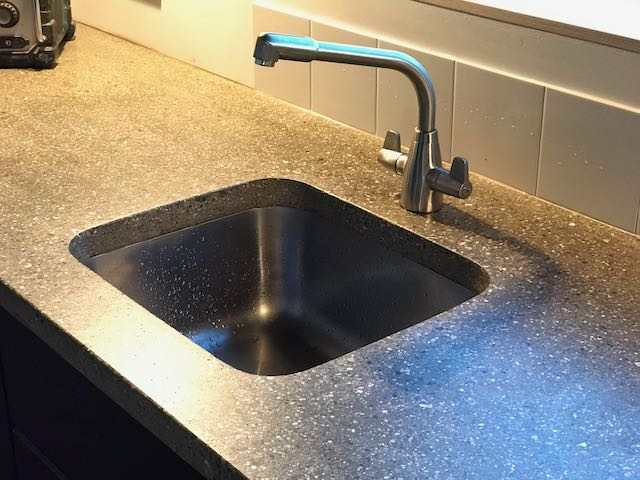
Up for an adventure? Homemade worktops, utility, kitchen and island. Biggest issues were moving from garage to kitchen. More compliments from visitors about the worktops than the rest of the house. Cost was 10% (excluding my time) of the quotes received. It was an enjoyable part of the build.

-
Per Capita.

-
Does depend a bit on the floor covering. Tiled wet room and the UFH is in use over the winter, the other bathrooms with cork flooring have never required heating.
-
Recommend in bathrooms, electric UFH and electric towel radiators with accessible timers. We have wet UFH elsewhere but not used in the first floor bedrooms since moving in. Cooling must be considered. I plumbed for independent AC (Not implemented yet). As above keep it simple.
-
Unfinished? Worth checking.

-
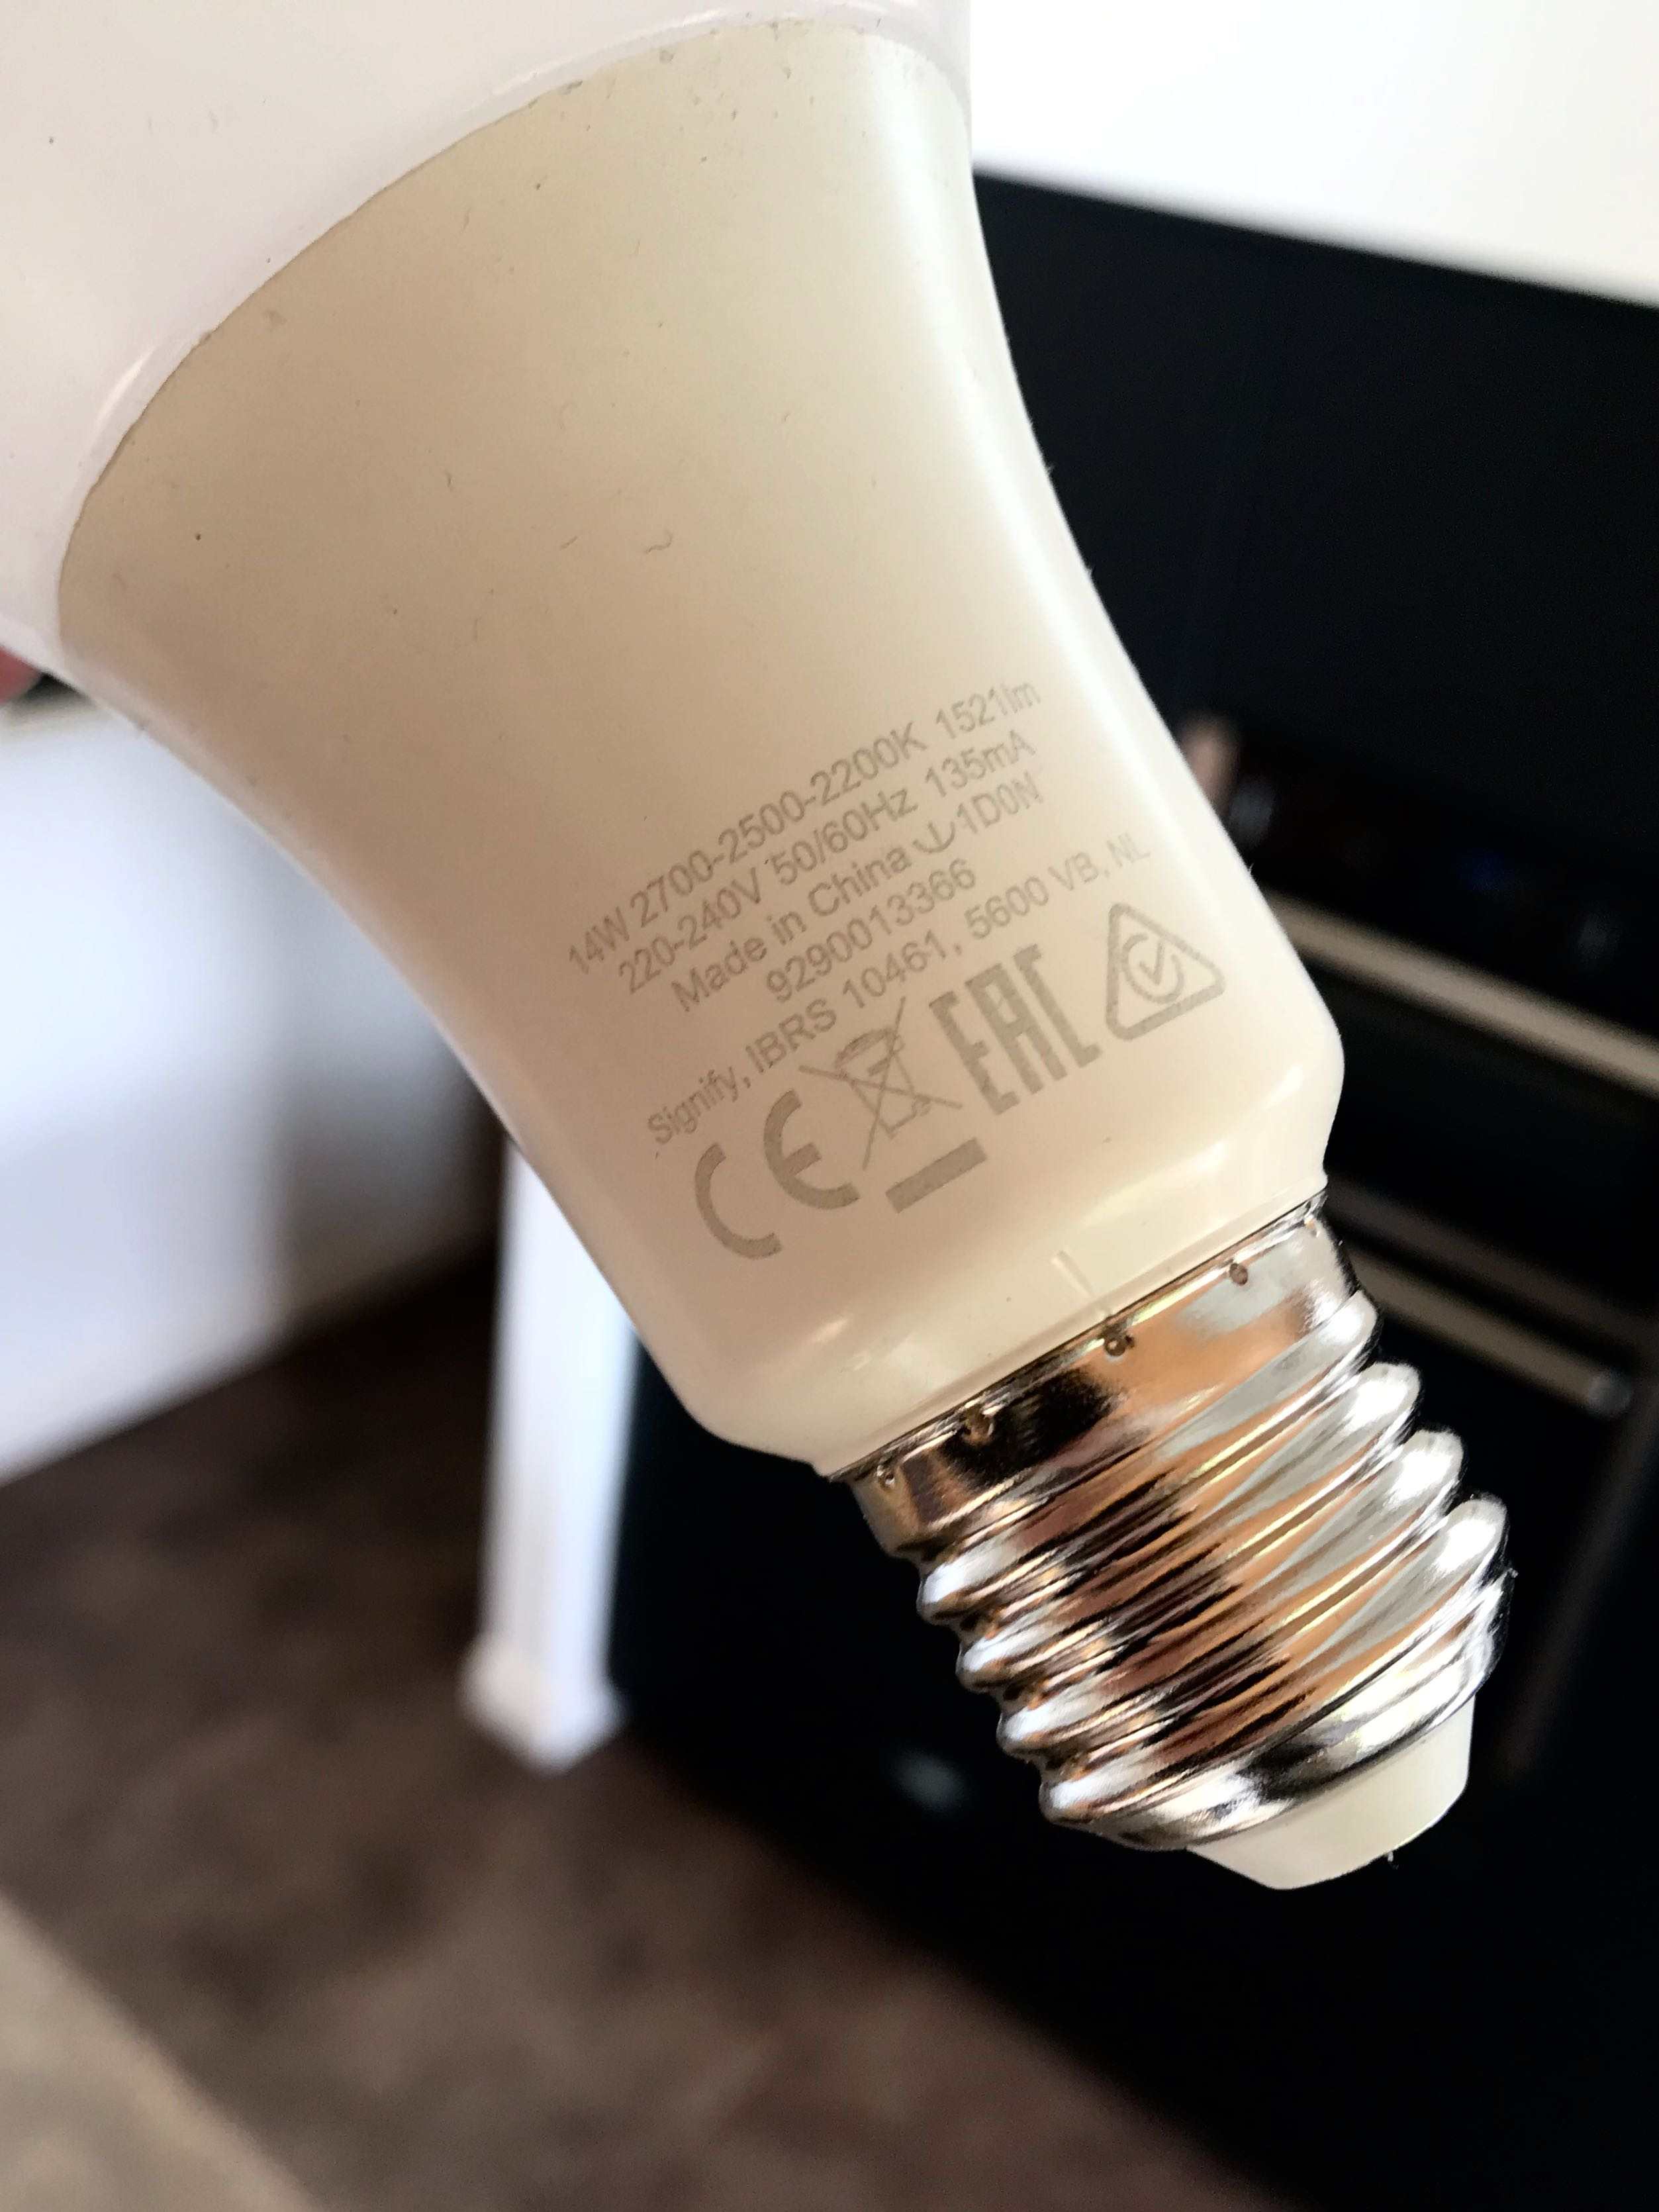
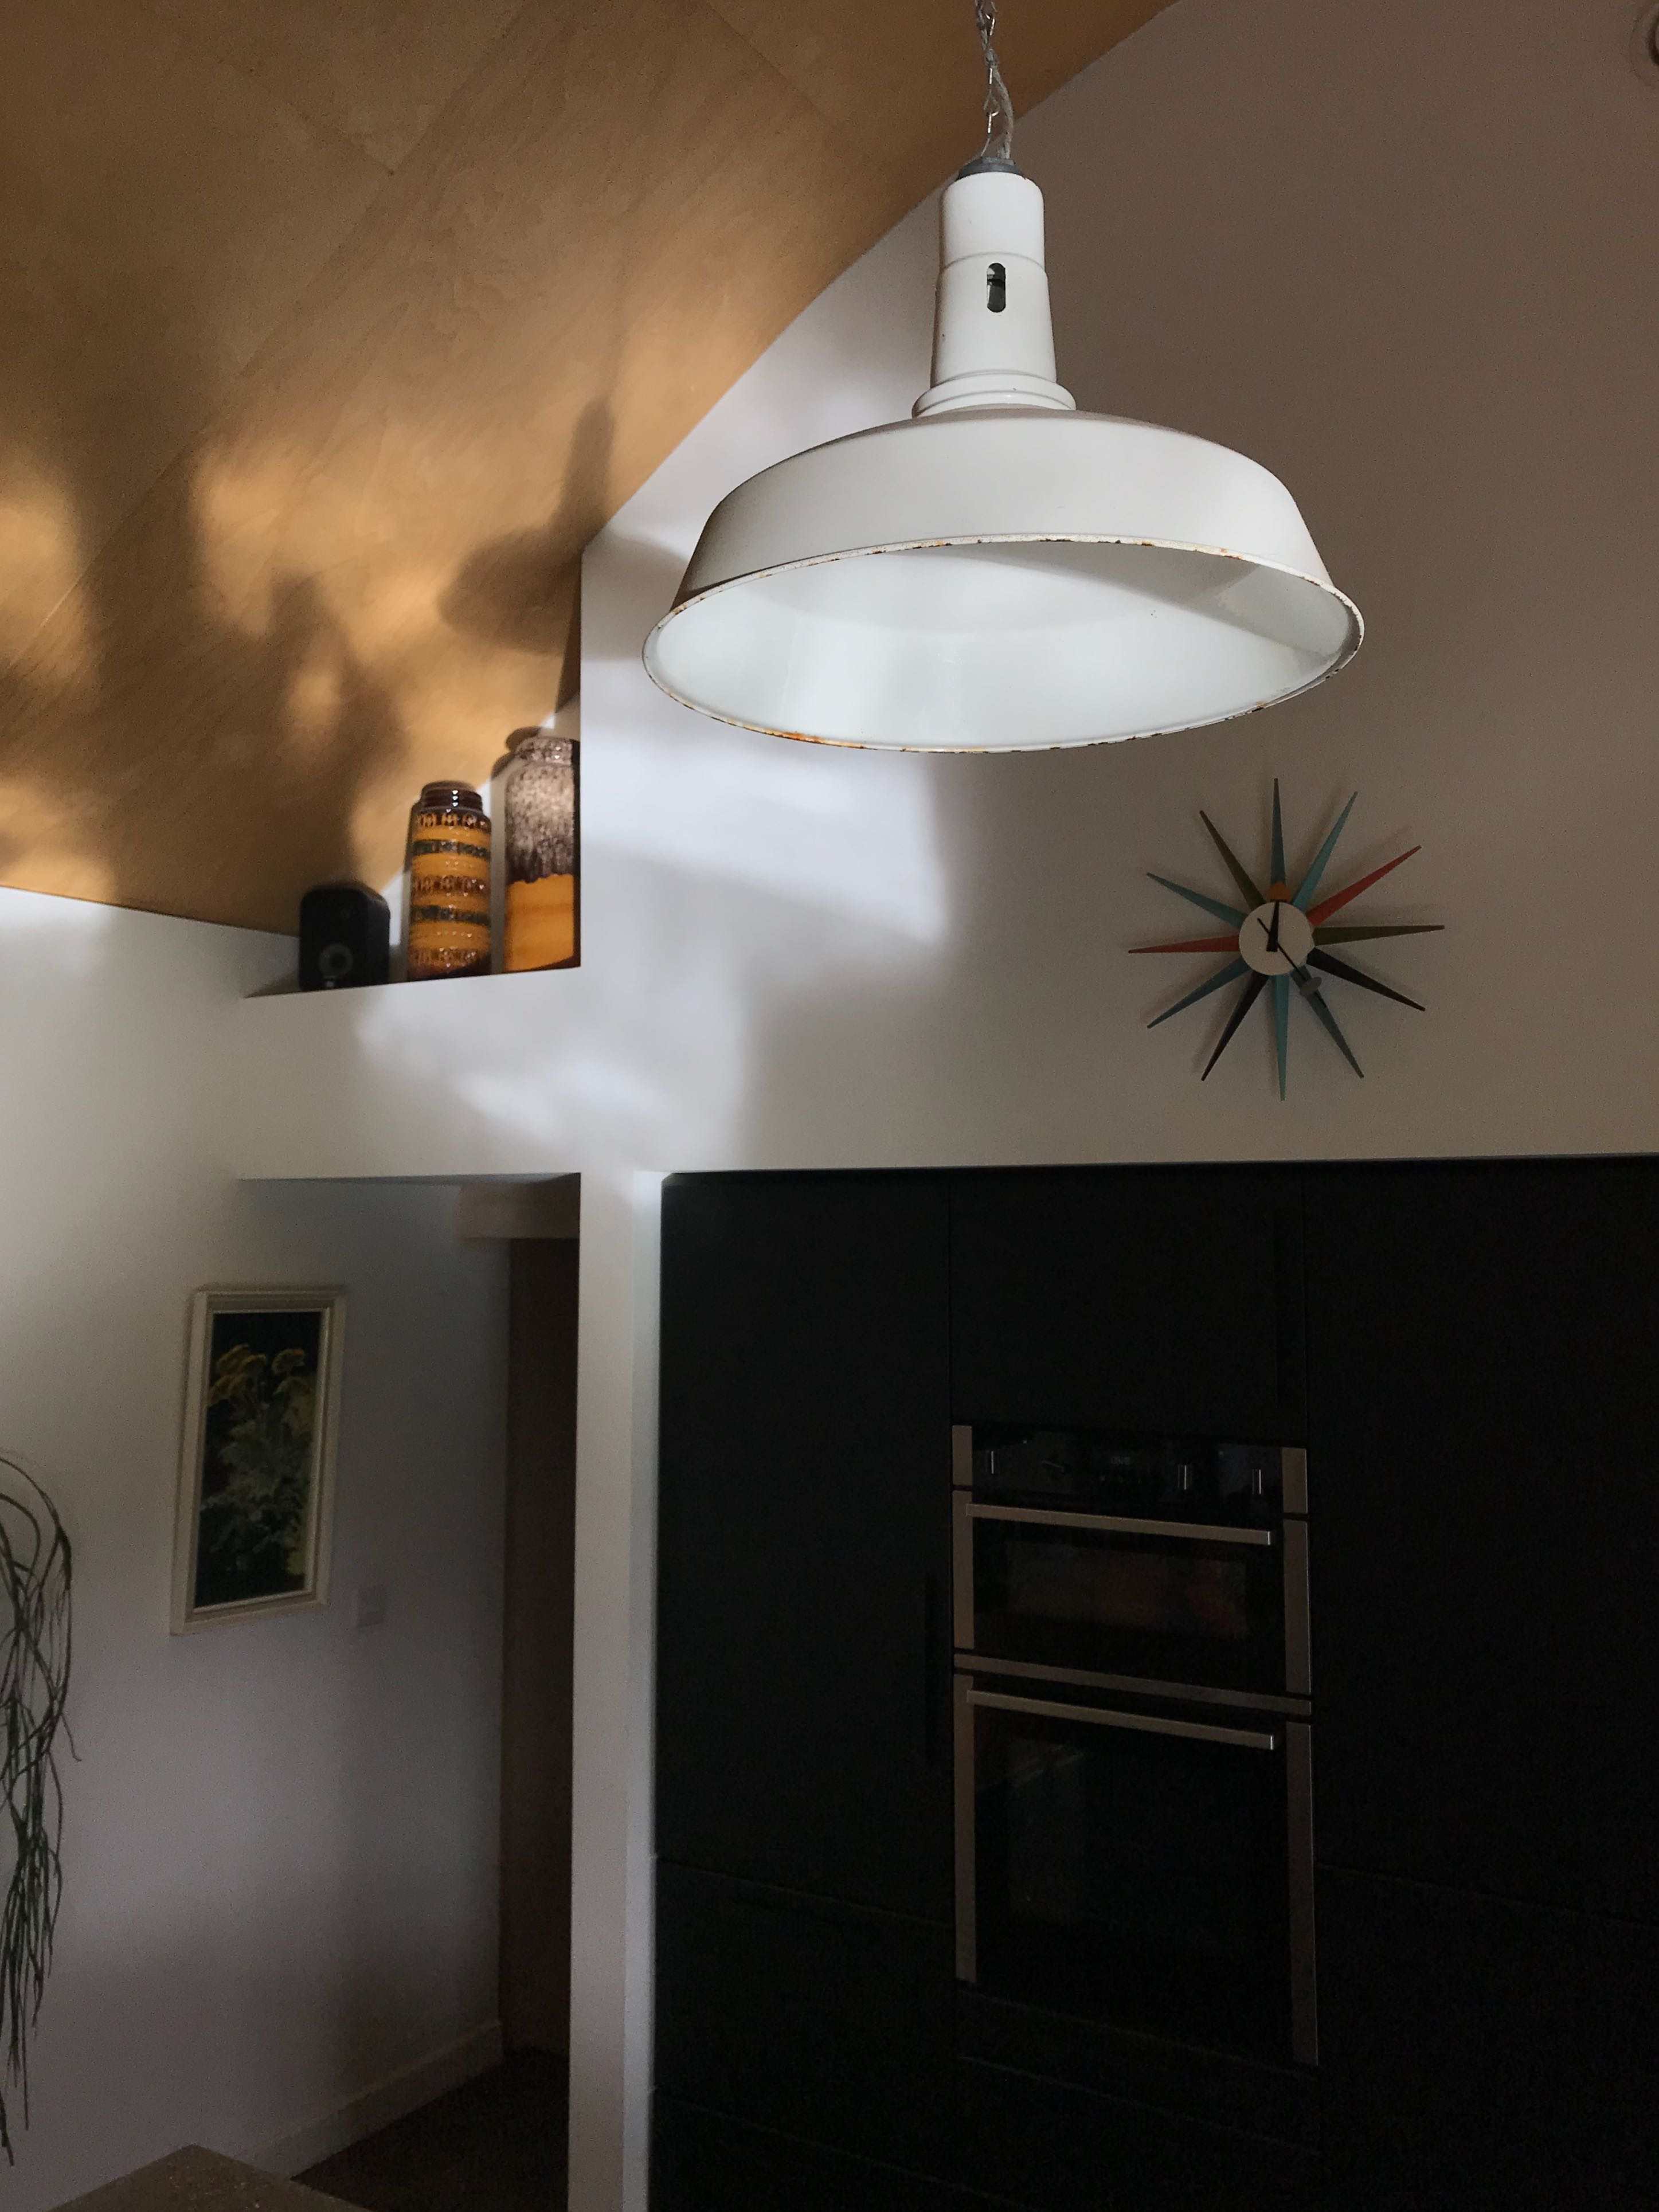
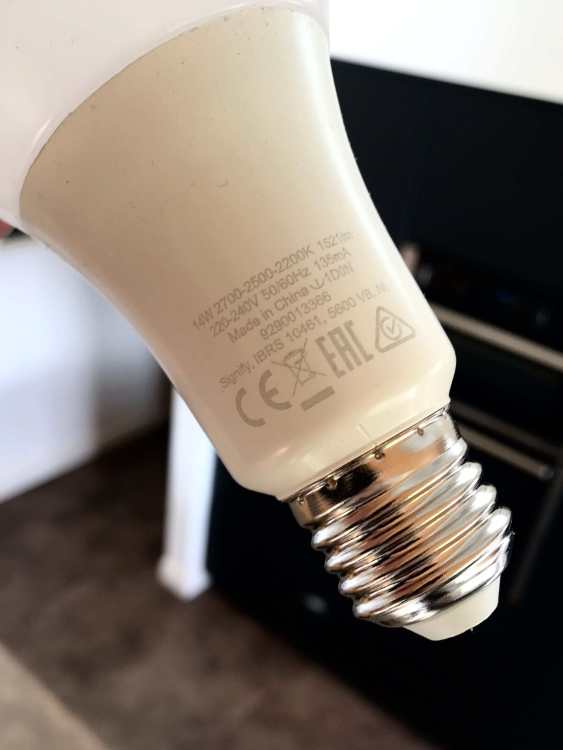
We have a single pendants above the island and dining table, 4 floor lamps and 2 wall Anglepoise. Bit of chaos but it works for us. 3000K seems just right. Fitted with a Philips 14W 2700/2500/2200K which works off the wall switch. Can you find a LED with adjustable temperatures? Brightness is also a consideration. As @Mike consistency throughout the room if possible.

-
I don't have green fingers, what to do?
Nestor replied to Post and beam's topic in Landscaping, Decking & Patios
Sounds great. If the ride on is more of a finishing mower it might struggle until most of the field is under control unless it is a brush cutter / flail, you will know if it starts shredding belts. Areas for wild flowers ideally need to be power harrowed (you could try a rotovator) before seeding with Yellow rattle (helps reduce the perennial grasses) and other wild flower seeds. What to do with the meadow grass needs to be considered, ours is cut and bailed late summer, once the seed heads have flowered, cut and leave on the ground for a few days during a dry, warm period and then remove all the cut material. I have used a scythe. Continually dig out, remove the roots, cut back the unwanted shrubs, some even spot spray as well. It is a bit of a task, takes a few years to establish but very rewarding. -
I don't have green fingers, what to do?
Nestor replied to Post and beam's topic in Landscaping, Decking & Patios
We can but dream, had a Husaberg 600 which I used at Lydden and Brands for supermoto days out. Had to call out the AA outside the gates at Brands to take me home as big end gone!! -
I don't have green fingers, what to do?
Nestor replied to Post and beam's topic in Landscaping, Decking & Patios
It won't power harrow the field though.
-
I don't have green fingers, what to do?
Nestor replied to Post and beam's topic in Landscaping, Decking & Patios
A bit of space is a nice issue to have really and a few questions. Does it have hawthorn, brambles, bracken, dock as well as grasses growing wildly? Is it level, does it have good stock proof fencing or hedges and do you have responsibility for the boundaries? What would you like it to be, an area of short grass with easy maintenance by regular mowing? Would you like a wild flower meadow, a small copse of native or fruit trees. Post some photos. What Ducati is that, a 750 Sport? -
Fire Stop Locations for Timber frame with external cladding
Nestor replied to HanleeHouse's topic in Timber Frame
The mesh is fine, how effective it is, down to whoever fits it. -
Fire Stop Locations for Timber frame with external cladding
Nestor replied to HanleeHouse's topic in Timber Frame
I fixed this mesh at the top and bottom of the battens behind the Cedar cladding. https://www.robinsonwirecloth.co.uk/online-shop/Soffit-insect-mesh-stainless-steel-30m-roll-p49612077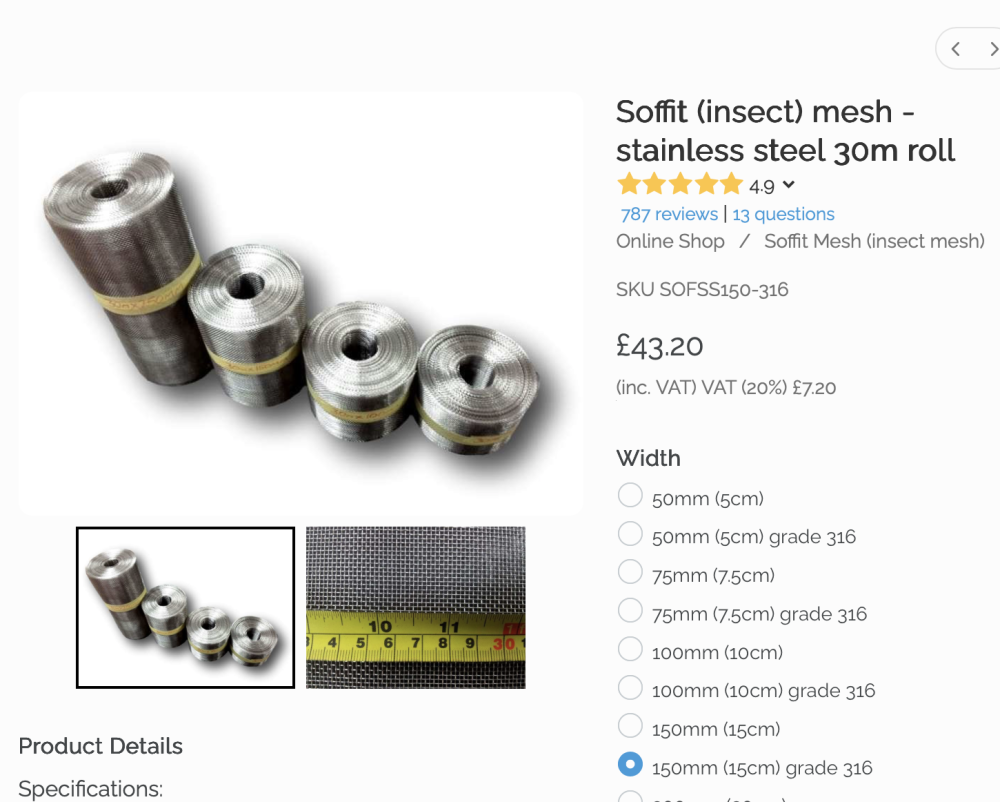
-
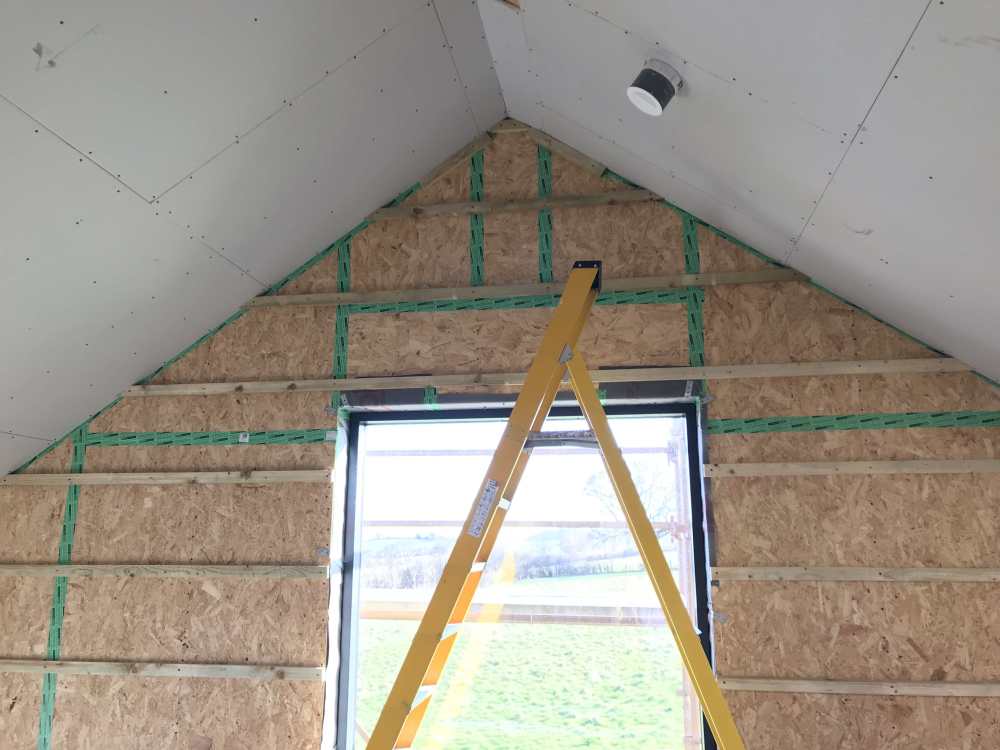
Yes, I fixed PB next to OSB on the sloped ceilings. Service batten only fixed to walls.