
BotusBuild
-
Posts
1379 -
Joined
-
Last visited
-
Days Won
10
Everything posted by BotusBuild
-
Beat me to it. Good news
-
No. The electrician will sheath the cables as required with the appropriate colours when he connects it all up.
-
I tried in a Chrome browser. I got to the point of entering my personal details as a new customer and it was still translated to English. Do you have a Paypal account - I noted that was a method of payment, and that will be shown in your native language
-
I'm not going all the way there to read it
-
Have you got any good paint stripper in stock? Try it on a small area, then paint that bit with a good primer then appropriate outdoor paint. Nitromors would be my goto for paint stripper.
-
Sorry (sheepish grin)
-
Energy and transport cost increase being passed on?
-
Recessing elec conduit in floor for floor plugs?
BotusBuild replied to Great_scot_selfbuild's topic in General Flooring
As long as there are wall sockets in the vicinity that comply with the height guidance then floor sockets are allowed -
Recessing elec conduit in floor for floor plugs?
BotusBuild replied to Great_scot_selfbuild's topic in General Flooring
A hot knife is good for polystyrene. They just dont cope with PIR. Someone may be along to explain why. Most guidance for cutting is sharp knife, jigsaw or handsaw -
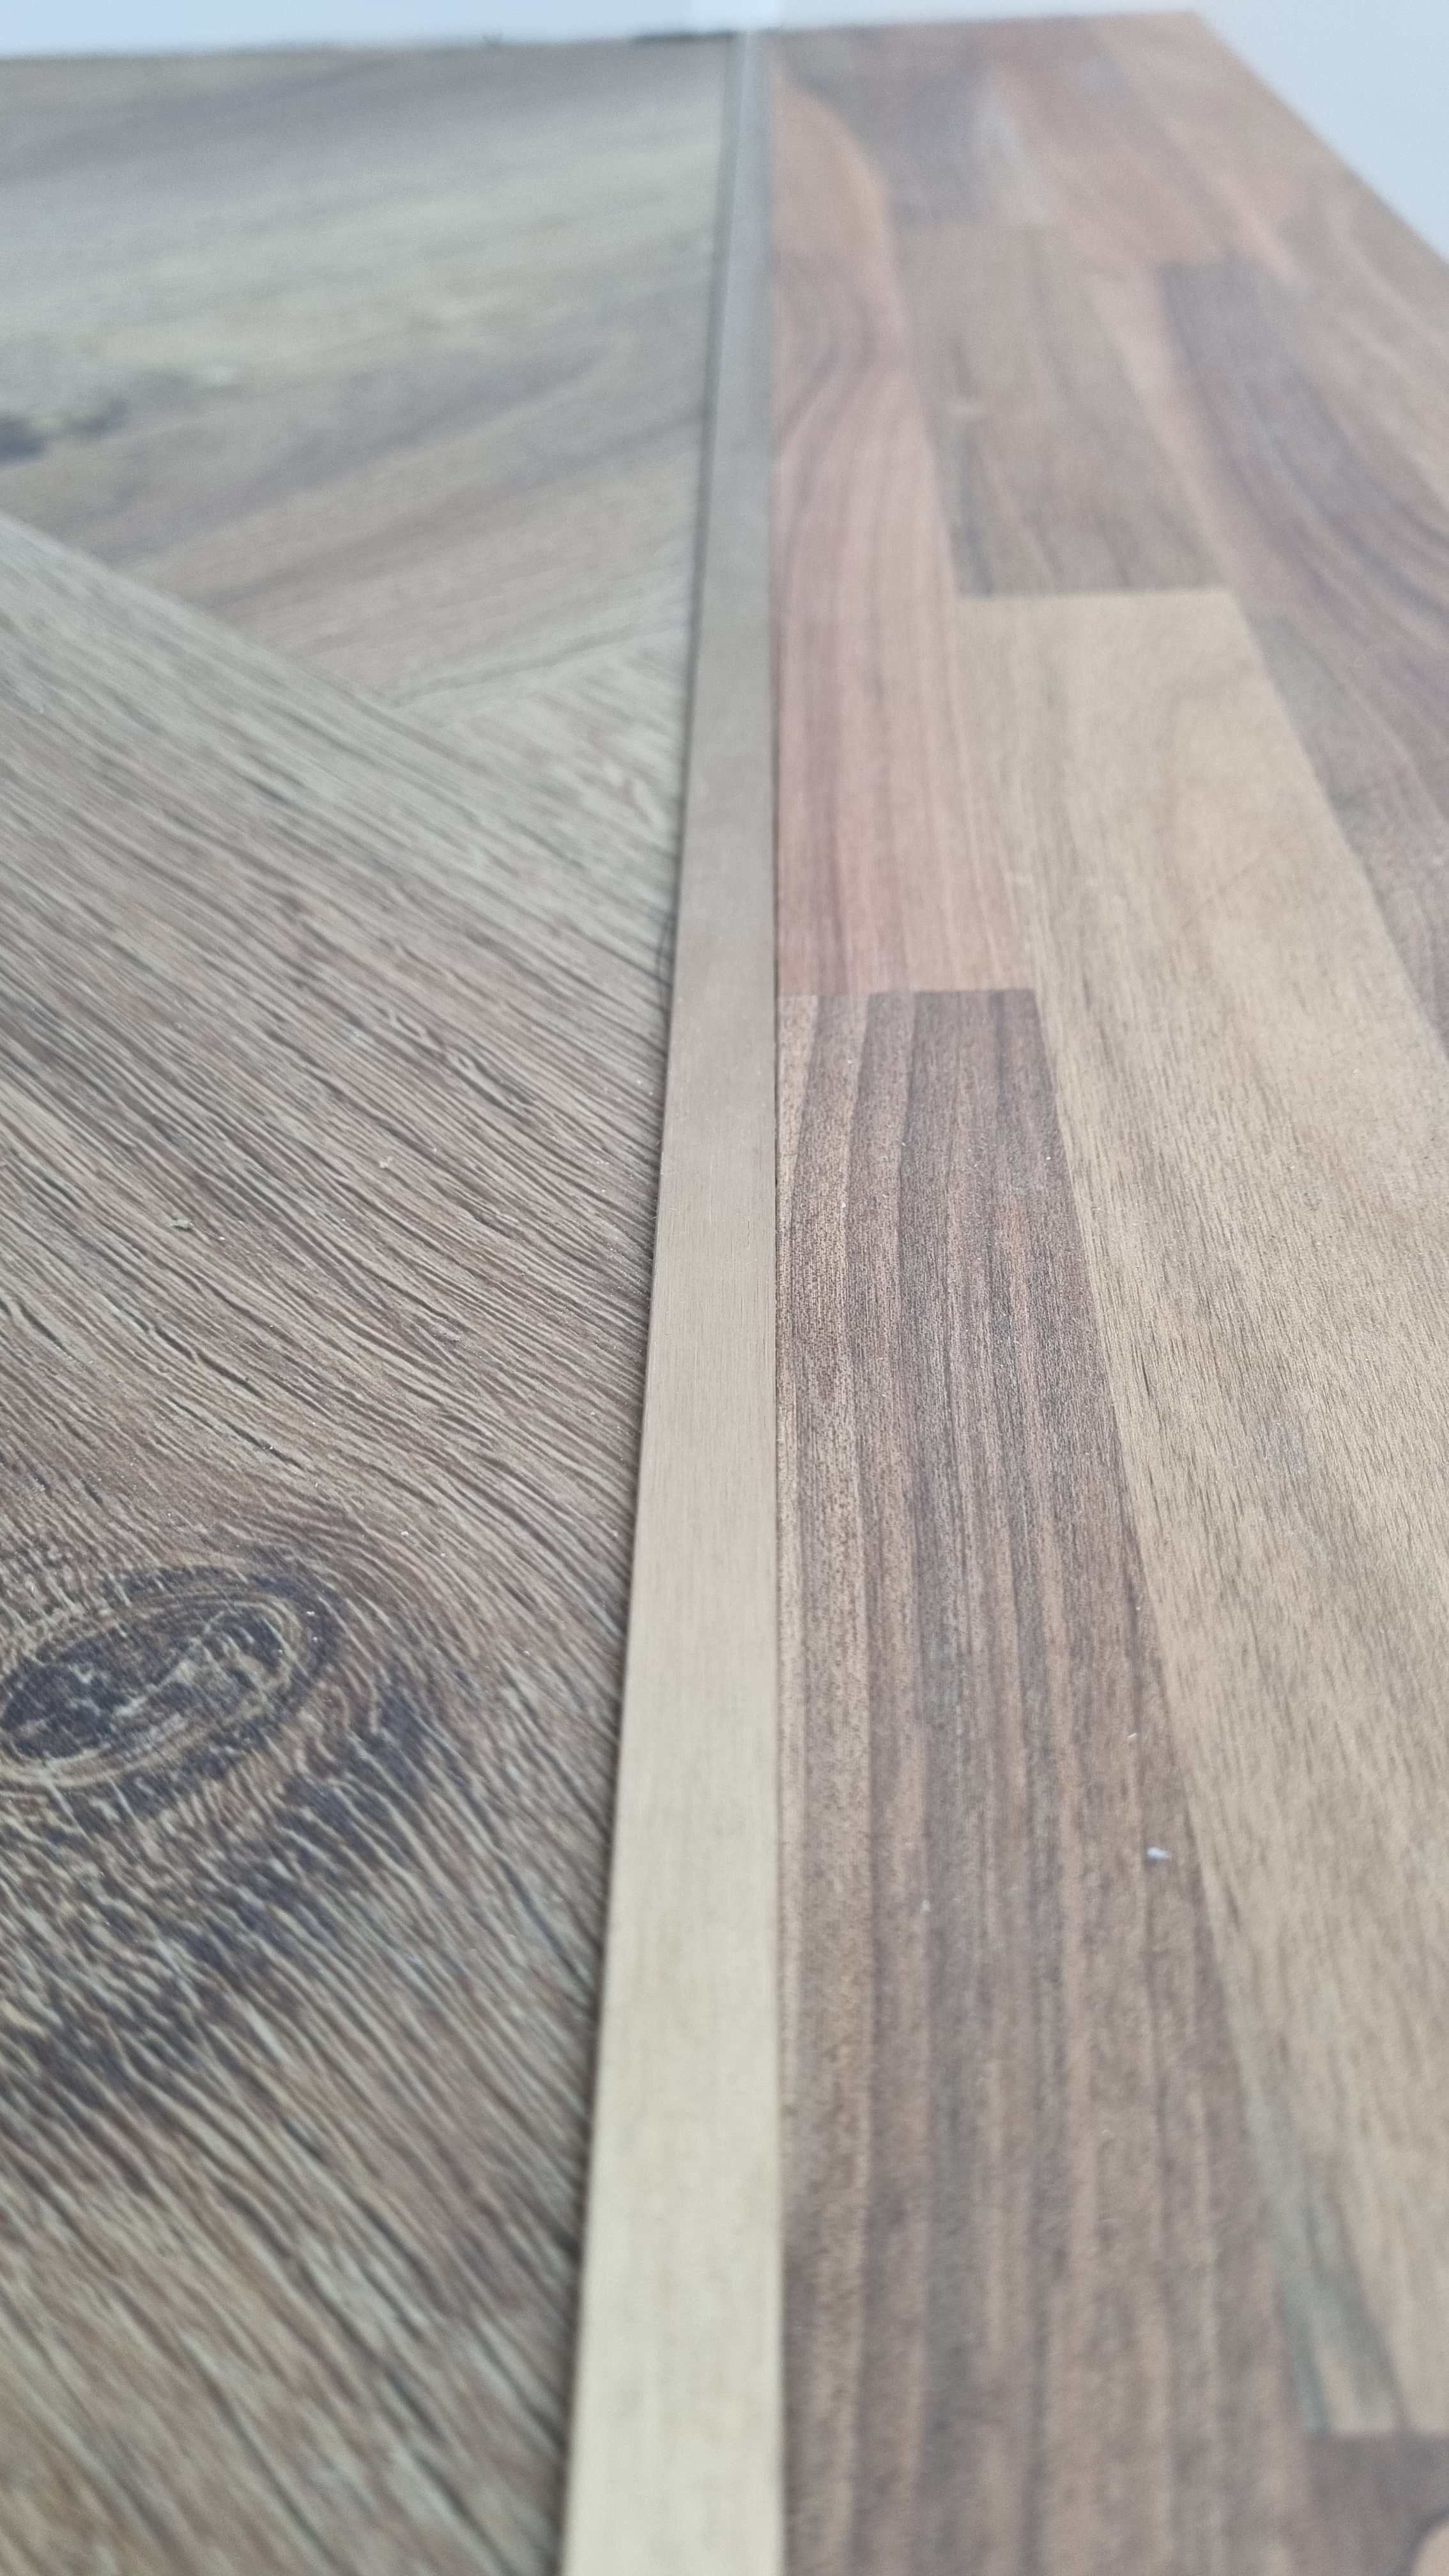
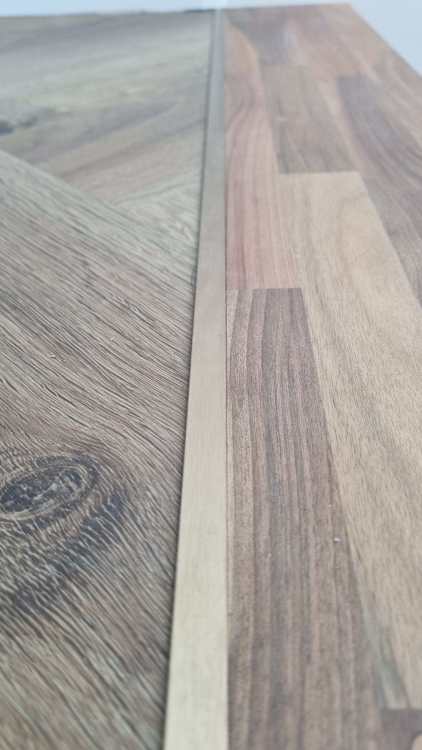
I used tile trim from my local tile shop. Cut back the bit that would normally go behind the tile leaving about 5/6mm to stick it to the wall/door frame/top step of stairs (as in picture)
-
Recessing elec conduit in floor for floor plugs?
BotusBuild replied to Great_scot_selfbuild's topic in General Flooring
So your approach seems the only option 😉 As for cutting the PIR, a reciprocating saw (I'd use a hand held one for control), and you'll have to break small chunks out as you go. Messy but a hot knife won't work. Use the chunks to wedge the conduit down from the UFH. -
Recessing elec conduit in floor for floor plugs?
BotusBuild replied to Great_scot_selfbuild's topic in General Flooring
How deep is the PIR? What is the build up of the floor upto and including the PIR? Could you run the cable below the PIR and then bring it up to the location of the floor sockets? I have 2 floor sockets. The cables were run between the joists and then a hole made to bring the cable up vertically to where the floor sockets would be. -
Conor, I would try to pull a drawstring through first - hit, and overcome, all the snags and route smoothly without possible damage to the 6mm cable. I think you would benefit from a hole at the wall where the cable goes the wall to the charger to make feeding the cable as easy as possible. I have used a piece of wire taken from a stock fence to do similar routing instead of the fibreglass rods. You can bend it when necessary to go over or under awkward points. Also, when you start pulling the cable with the drawstring, have someone feeding the cable in the first hole to reduce tension in the string and the cable. This also minimises damage to the outer insulation. Good gaffer or duct tape is very useful for this job. Best of luck with this.
-
Bossy! 😀
-
OK, off to SF 😀. I'll channel my inner Scot as I fit it 😉
-
Looks like you have to be able to get a hand inside the pipe to attach it? If so, I can't use this 😞 in this instance.
-
If that's the case, I will do this as I can get round the pipe.
-
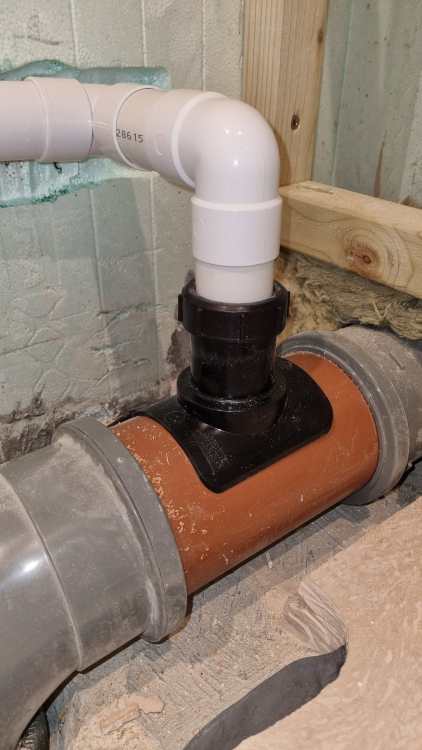
I have a need to connect either 32 or 40mm waste pipe to a 110mm soil pipe that I can't disconnect, so been looking at options. The strap on connectors seem to depend on the rubber adapters. I'd rather have a more permanent seal, so looking for a solvent fitting. Found these available in either size. Yay or Nay?

-
Looking good. You're doing great.
-
Just came across this. Anyone else seen them before? With a 5 year warranty seems a vale for money way of getting storage. Can link 5 units together. Needs some extra bits to provide critical circuit backup. https://eco-recycle.co.uk/product/mcx-5kw-energy-storage-unit/
-
Cutting XPS insulation?
BotusBuild replied to Alan Ambrose's topic in General Self Build & DIY Discussion
+1, and a facemask -
Communicating with the builder
BotusBuild replied to Bancroft's topic in General Self Build & DIY Discussion
I'm presuming you mean a computer system? Is the main builder computer literate? If so, do they use something already? If so, use that. If the answer to any of the above is No, then I suspect you will be fighting a losing battle trying to get them use something. Next time you speak with them, explain what you'd like to be able to do, and see what the reaction is to the idea. It may be a simple as use of email, which I am presuming they do use already in this day and age. -
ASHP outdoor unit heating pump Q
BotusBuild replied to BotusBuild's topic in Air Source Heat Pumps (ASHP)
Time to plan the change 😀 -
ASHP outdoor unit heating pump Q
BotusBuild replied to BotusBuild's topic in Air Source Heat Pumps (ASHP)
So, unless you're close to a limit on your water pumps capability, the chart is accurate enough would be the conclusion? -
ASHP outdoor unit heating pump Q
BotusBuild replied to BotusBuild's topic in Air Source Heat Pumps (ASHP)
For anyone who comes back this way to ready this thread, I strongly recommend taking a look at and using the above calculator.