Iceverge
-
Posts
4384 -
Joined
-
Last visited
-
Days Won
31
Everything posted by Iceverge
-

Hello careful refurbishment in a period property
Iceverge replied to Mickey_'s topic in Introduce Yourself
Welcome to the forum. Subtly adding appropriate ventilation, airtightness, windtightness and insulation as you go will really help preserve your house too. Particularly windtightness and airtighess and it sounds like you have the attention to detail to make a great job of it. -
Glidevale protect vp400. Have a look at the g/m2 and tear resistance figures to find a good one.
-
50mm popular battens is all they are. I would round the edges of them had i the time again. Beware using the pigs ear hand rails, they're not particularly grippy.
-
I guess if it's the first floor then no insulation will be necessary. Structurally we would have been ok with just the slabs but they do hump up in the middle so the engineer specced 75mm concrete with a252 mesh in it. Seems like total overkill but probably just as cheap as screed.
-
High quality uPVC are perfectly fine and will last decades and decades without any care whatsoever.
- 65 replies
-
- 2
-

-

-
- comparison
- cost
- (and 1 more)
-
That's definitely getting wet from somewhere. Pipe leaking in the wall is my guess.
-
300mm of EPS 70 or seconds PIR followed by 100mm concrete, You should be able to get it together for about £40/M2 for that depth.
-
The joists are hanging from the steel. The load is being transferred from steel down to the foundations throughout the steel post pictured and the padstone/wall. It looks fine to me. Do you have any engineering drawings to compare it to?
-
I do like hand drawn plans. Somehow they're easier on the eye than cad drawings.
-
Apparently there's some kind of air curtain effect to improve the comfort as the rising air from the rads counteracts the cooling air from the window panes. I'm not convinced. Seems like a way siteing your rads to loose heat to the outside as swiftly as possible. Under the windows helps sometime with furniture placement however.
-
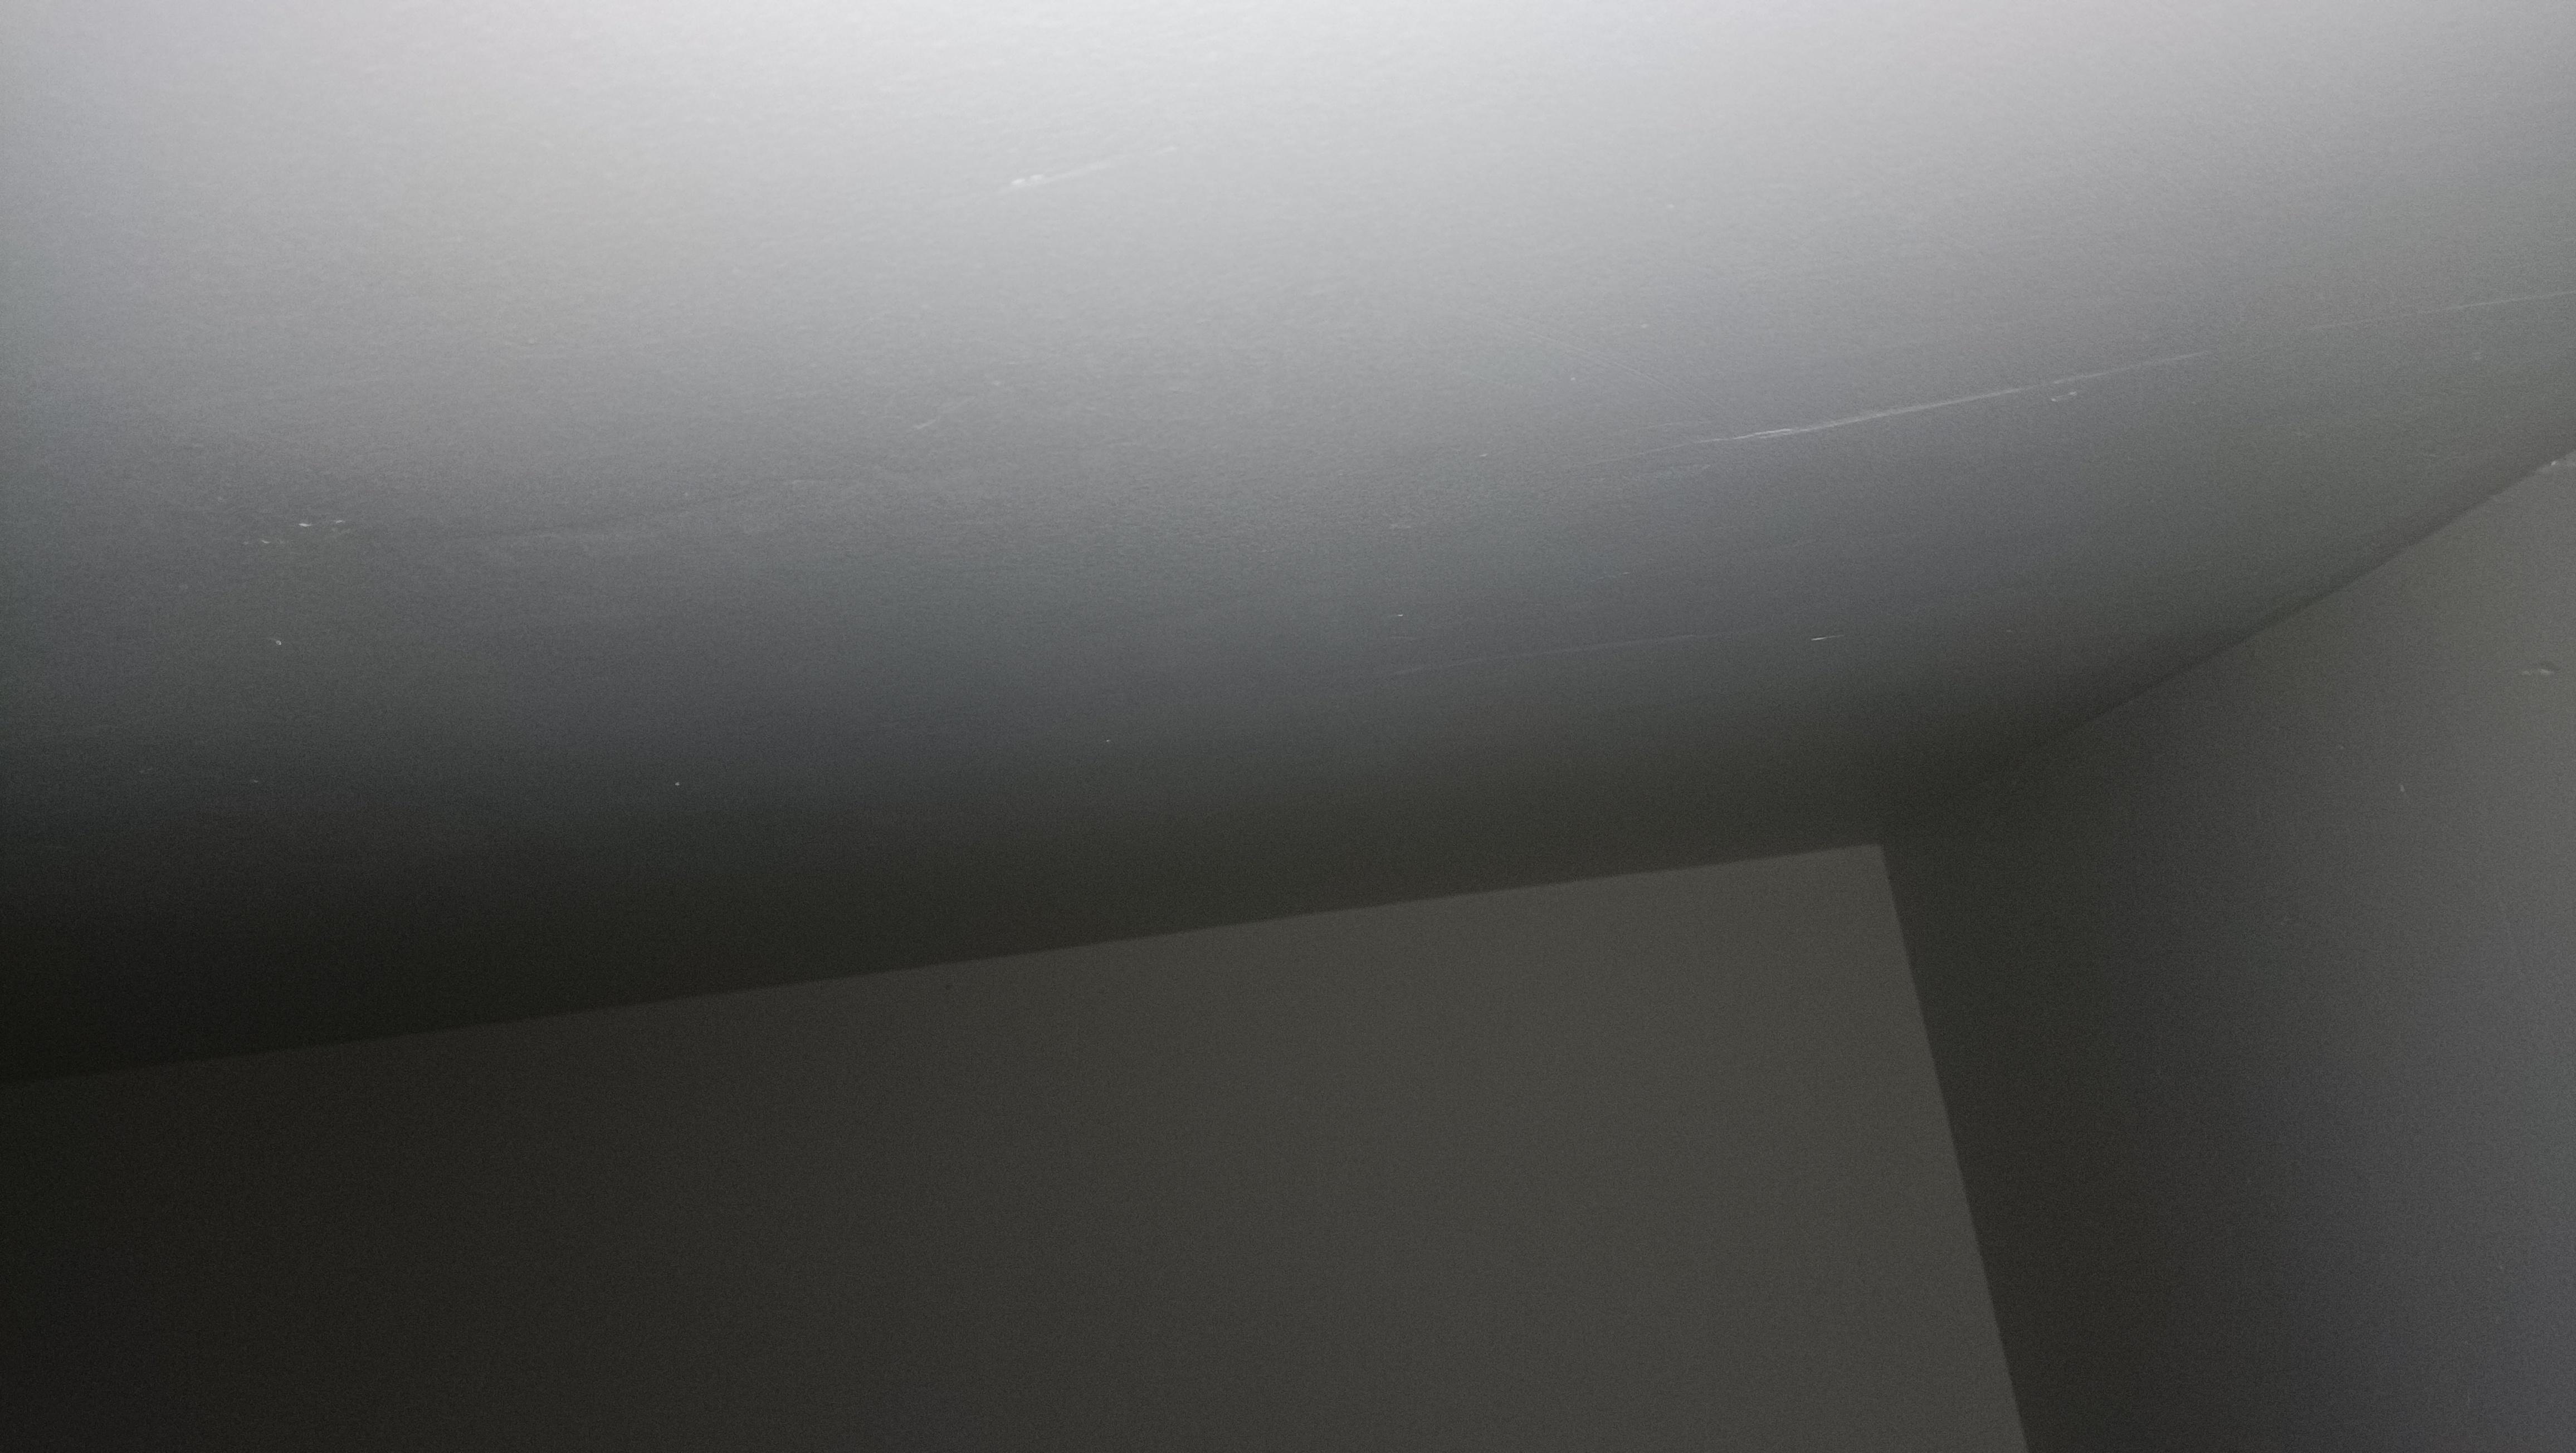
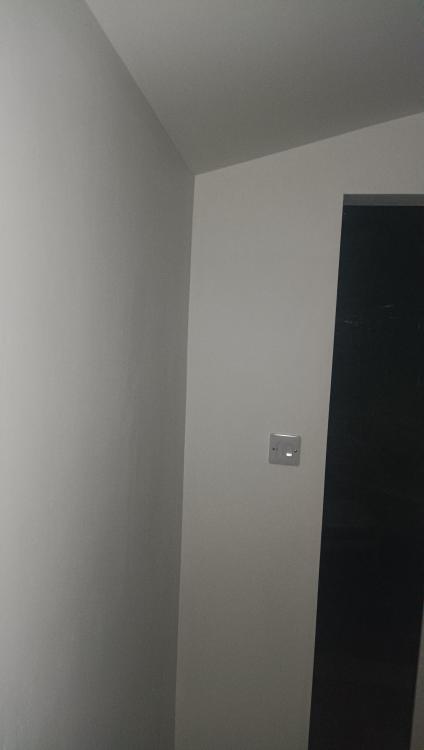
Here's some pics taken with my phone torch "along" the wall. You can see the imperfections and occasional gouges. Not @nods pro standard but much better than my tape and jointing. If some prat comes to my office/pumphouse however and does that with their torch, i'll eject them through the second hand pvc door, head over heals into the garden and they'll be followed by pointy end of the skimming trowel looping parabolically towards their nethers.

-
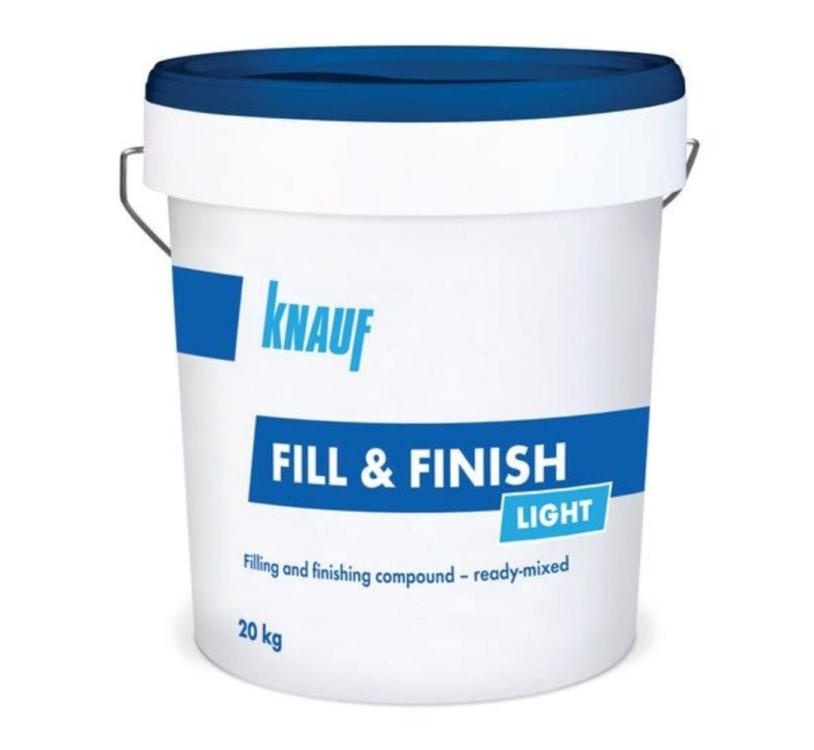
This is the stuff I used. I didn't water it down at all at the beginning an it was like treacle. Later on I did so that it was the consistency of sponge cake mix. I was doing it wall by wall. The first 1m² took me nearly 3hrs and my arm was killing me. The next 2m2 took me about 2hrs. The next 4m² took an hour. The last couple of 4m² including the ceiling took me under 20 mins each and was the best finish of the lot.
-
You say that, I taped and jointed my little office. I was unsatisfied with the results so I skimmed it. I did use premixed buckets of skim though as I was starting and stopping a lot. It's not enormously difficult once you get the knack and it really covers a multitude of sins.
-
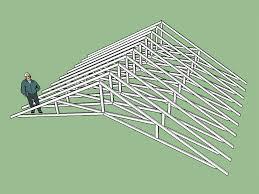
Simple pitched roof on timber building
Iceverge replied to Kombi Camper's topic in Roofing, Tiling & Slating
Contact your local truss manufacturer about scissors trusses. They'll look vaulted from inside and their magic engineering software will do all the hard calcs for you.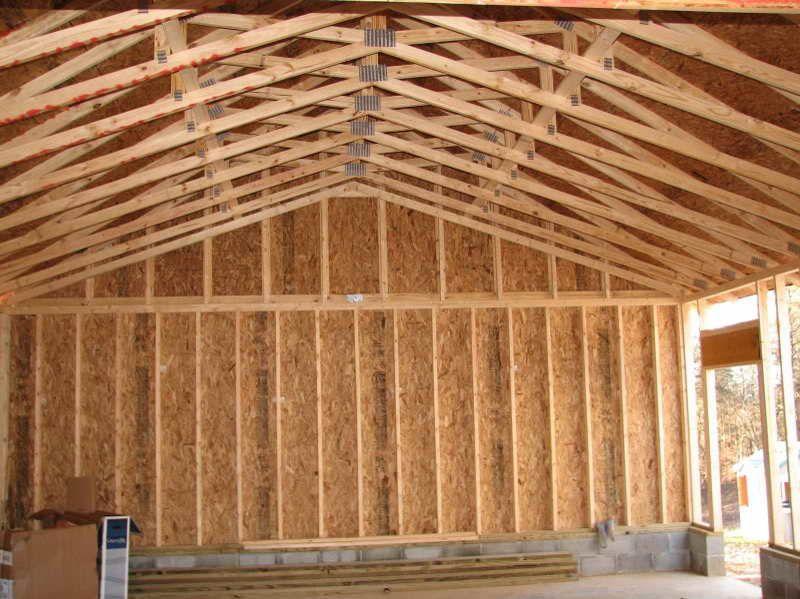
-
Warm flat roof - builder installed 100mm insulation only
Iceverge replied to Jit83's topic in General Construction Issues
There's a lot of hocus pocus about flat roofs but when there's a continuous layer of external insulation like you have they're inherently safe. In fact I would be happy to install 100mm of mineral wool with a K Value of 0.035W/mK inside your roof provided there was some form of continuous mechanical ventilation like MEV or MVHR to keep internal moisture under control. I would not install a vapour barrier and would be super cautious of a vapour control layer. Done anything less than immaculately it would be a recipe for trouble. There's a fair share of cognitive dissonance among insulation manufacturers who regretfully won't acknowledge that real life workmanship imperfections are a reality. To be pragmatic, if it was my house I would get the builder to install 100mm of mineral wool below the ply, omit any VCL or vapour barrier and fit some dMEV or dMVHR units in the house instead. Mistakes can be made, punitive punishment just for the sake of it doesn't achieve much where steps can be take to rectify the problem without starting from scratch. -
I designed ours. The only regrets I had was not including a rigid silencer between the unit and the distribution manifold. The flexible ones are not as effective. Just take a blue and red pencil and draw lines from the manifolds to the plenums on a plan until you can do it without any lines crossing over. Simple!
-
Airtightness detailing - Timber frame to Masonry
Iceverge replied to john0wingnut's topic in Timber Frame
Tape the membrane to the floor internally for airtightness and the breather membrane to the rising blockwork externally for windtightness. -
They look the business but unfortunately the performance is poor. I've been in a new build with all the airtightness measures and MVHR but these windows made it drafty and cold. You could feel a breeze from the brush seal on a windy night. Best stick to triple gasketed and triple glazed units in my opinion.
-
I'm a big fan of plant based materials. If I could marry dense pack cellulose I would. (Don't tell my wife!) However they're not the be all and end all nor solution to all problems. Moisture is however, the root and cause of all issues and if you can't logically deal with it then trouble is down the line, espically in old buildings. At the moment you have a concrete floor that is quite vapour impermeable and stone and lime walls that takes up the slack by being somewhat vapour open. If you have any localised high water tables then moisture that would have originally dried up through a clay floor now is pushed up through the walls. As they're somewhat warm on the inner surface and as they're not sealed with an impermeable layer the moisture can dry harmlessly to the inside. Before you think of internally insulating these walls and making them permanently cold you must first ensure that they have the least moisture pressure possible by lowering the localised water table. Do this by installing a french drain outside the house to well below the level of the floor, ensure all gutters and drains are clear and working and external pointing and render is A1.
-
Airtightness approach for suspended floor PIR insulation?
Iceverge replied to Sparrowhawk's topic in Heat Insulation
TBH I think going with the very first pic from environmental building supplies is the one to peg for, done well it'll be absolutely fine. A U value of 0.35 is still 3 times better than the very best 3g windows once installed so pick your battles. Material wise.... I really like Glidevales VP400 breather membrane for below the insulation. £140 from Screwfix. In any case get something with a good g/M2 figure (>140g/m²), good tear resistance (>200N) and a low SD value ( <0.03m) It is airtight so you could use it above too rather than buying a separate airtight membrane. It would be a good choice given its pretty tough. If you do want a separate airtight membrane look for a mass of >100g/m² and a tear value of >200N. I like the semi transparent ones as you can see the studs + insulation etc behind it. Something like Powerlon VCL170 can be bough for about £1.15 per M2 and will work every bit as well as in this application as Proclima DA at £2.66/M2. As for insulation. As well as the K value look for the density of mineral wool. 10kg/M3 is much harder to cut and fit accurately than 35kg/M3. -
Airtightness approach for suspended floor PIR insulation?
Iceverge replied to Sparrowhawk's topic in Heat Insulation
@Sparrowhawk Sorry I've been skimming this thread, dropping in and out. Missed the bit about going back to mineral wool. Pragmatic decision I say. Sound like Frankenstein's insulation monster. Throw "breathing" out the window I say. Replace it with materials of differing "vapour permanbility". It more accurately reflects reality. Some backyard experiments may help you to get a feeling for this. Get some leaves/grass clippings and sandwich them between two layers of your various materials and tape the edges. Put them in a dry environment and wait. Anything that looses it's moisture means the material has an appropriate level of permanbility. Anything that doesn't, eg plastic DPM will see the organic material rot and go manky. AVOID 2 LAYERS OF THIS TYPE OF LOW PERMANBILITY MATERIAL AT ALL COSTS!!! Even right next to each other as moisture will find it's way in there and be unable to get out. -
For the same cash you will get much better performance and less mainstream from uPVC than timber or Aluminium or Aluclad. Cheap uPVC are pants though. High quality ironmongery and careful fitting are just as important as the frames. We have Veka 82 profiles with WinkHaus ironmongery T&T. Not flush fit but good quality and reasonably priced.
-
Airtightness approach for suspended floor PIR insulation?
Iceverge replied to Sparrowhawk's topic in Heat Insulation
I'd be very cautious of 2 layers of polythene as it has very low vapour permanbility. You will risk trapping moisture. You will be at risk of degrading the timbers. Fit the PIR as carefully as you can. Use a foam that won't shrink over time. Some FM330 would work but it's not the cheapest. This will suffice but let the joists open to the air below. Then put an airtightness membrane over the top. Seal it correctly and it'll really limit the amount of internal airborne vapour getting to the joists. You can use the tape to secure it to the wall or else lap it up the walls and nail some expanded metal mesh over the top and render for an airtight finish. -
Parent's chalet bungalow - insulation plan.
Iceverge replied to TheTeaBoy's topic in Heat Insulation
Back to the first question. What level of destruction are you planning to fit this insulation? -
Parent's chalet bungalow - insulation plan.
Iceverge replied to TheTeaBoy's topic in Heat Insulation
Decrement delay is a better term. It's a factor of the mass, heat capacity and thermal resistance of the material. Heavier materials that are harder to heat up are preferred because by the time the midday sunshine soaks through and heats the inner surface of the material it's already night time and? the heat flow is reversed. The inner surface never gets above room temp. This can be an all in one solution like woodfiber or cellulose or you can get the same effect with a layer of lightweight insulation like EPS coupled to a concrete wall or PIR over a thick layer of OSB and Plasterboard with some concrete roof tiles on top.