Nickfromwales
-
Posts
31377 -
Joined
-
Last visited
-
Days Won
346
Everything posted by Nickfromwales
-

Does aerobarrier negate need for airtightness detailing?
Nickfromwales replied to SBMS's topic in Ventilation
-
Does aerobarrier negate need for airtightness detailing?
Nickfromwales replied to SBMS's topic in Ventilation
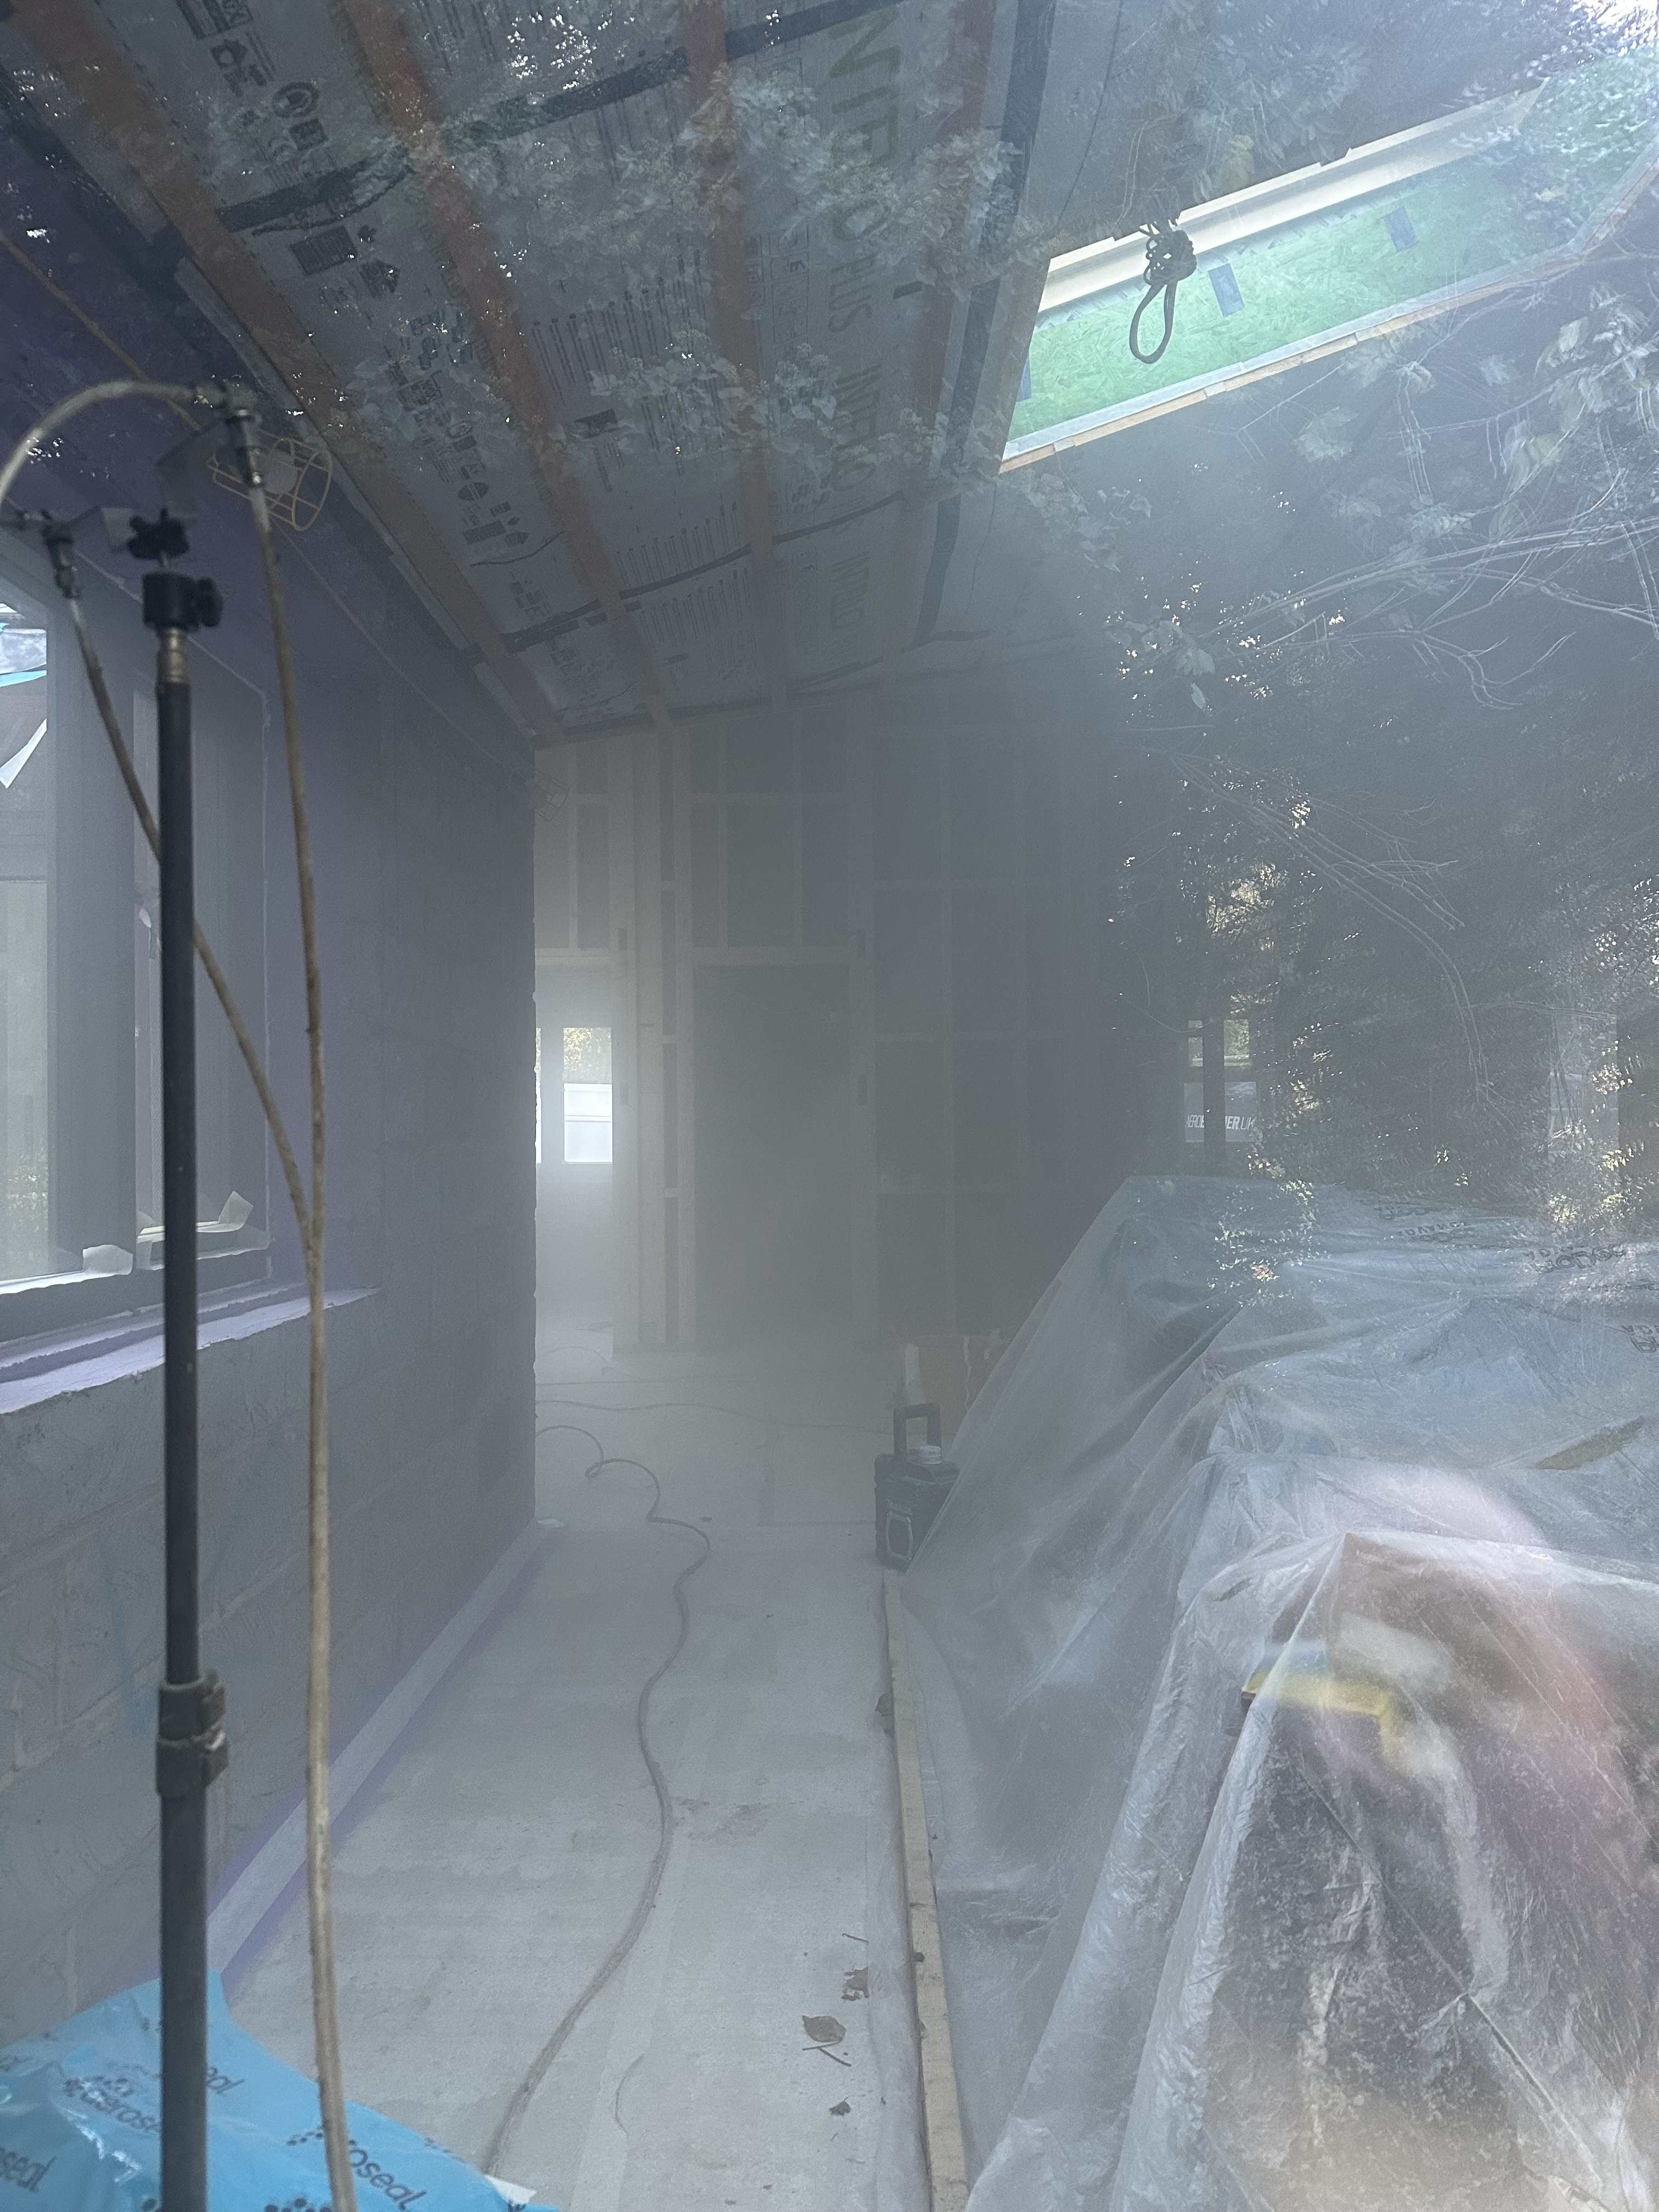
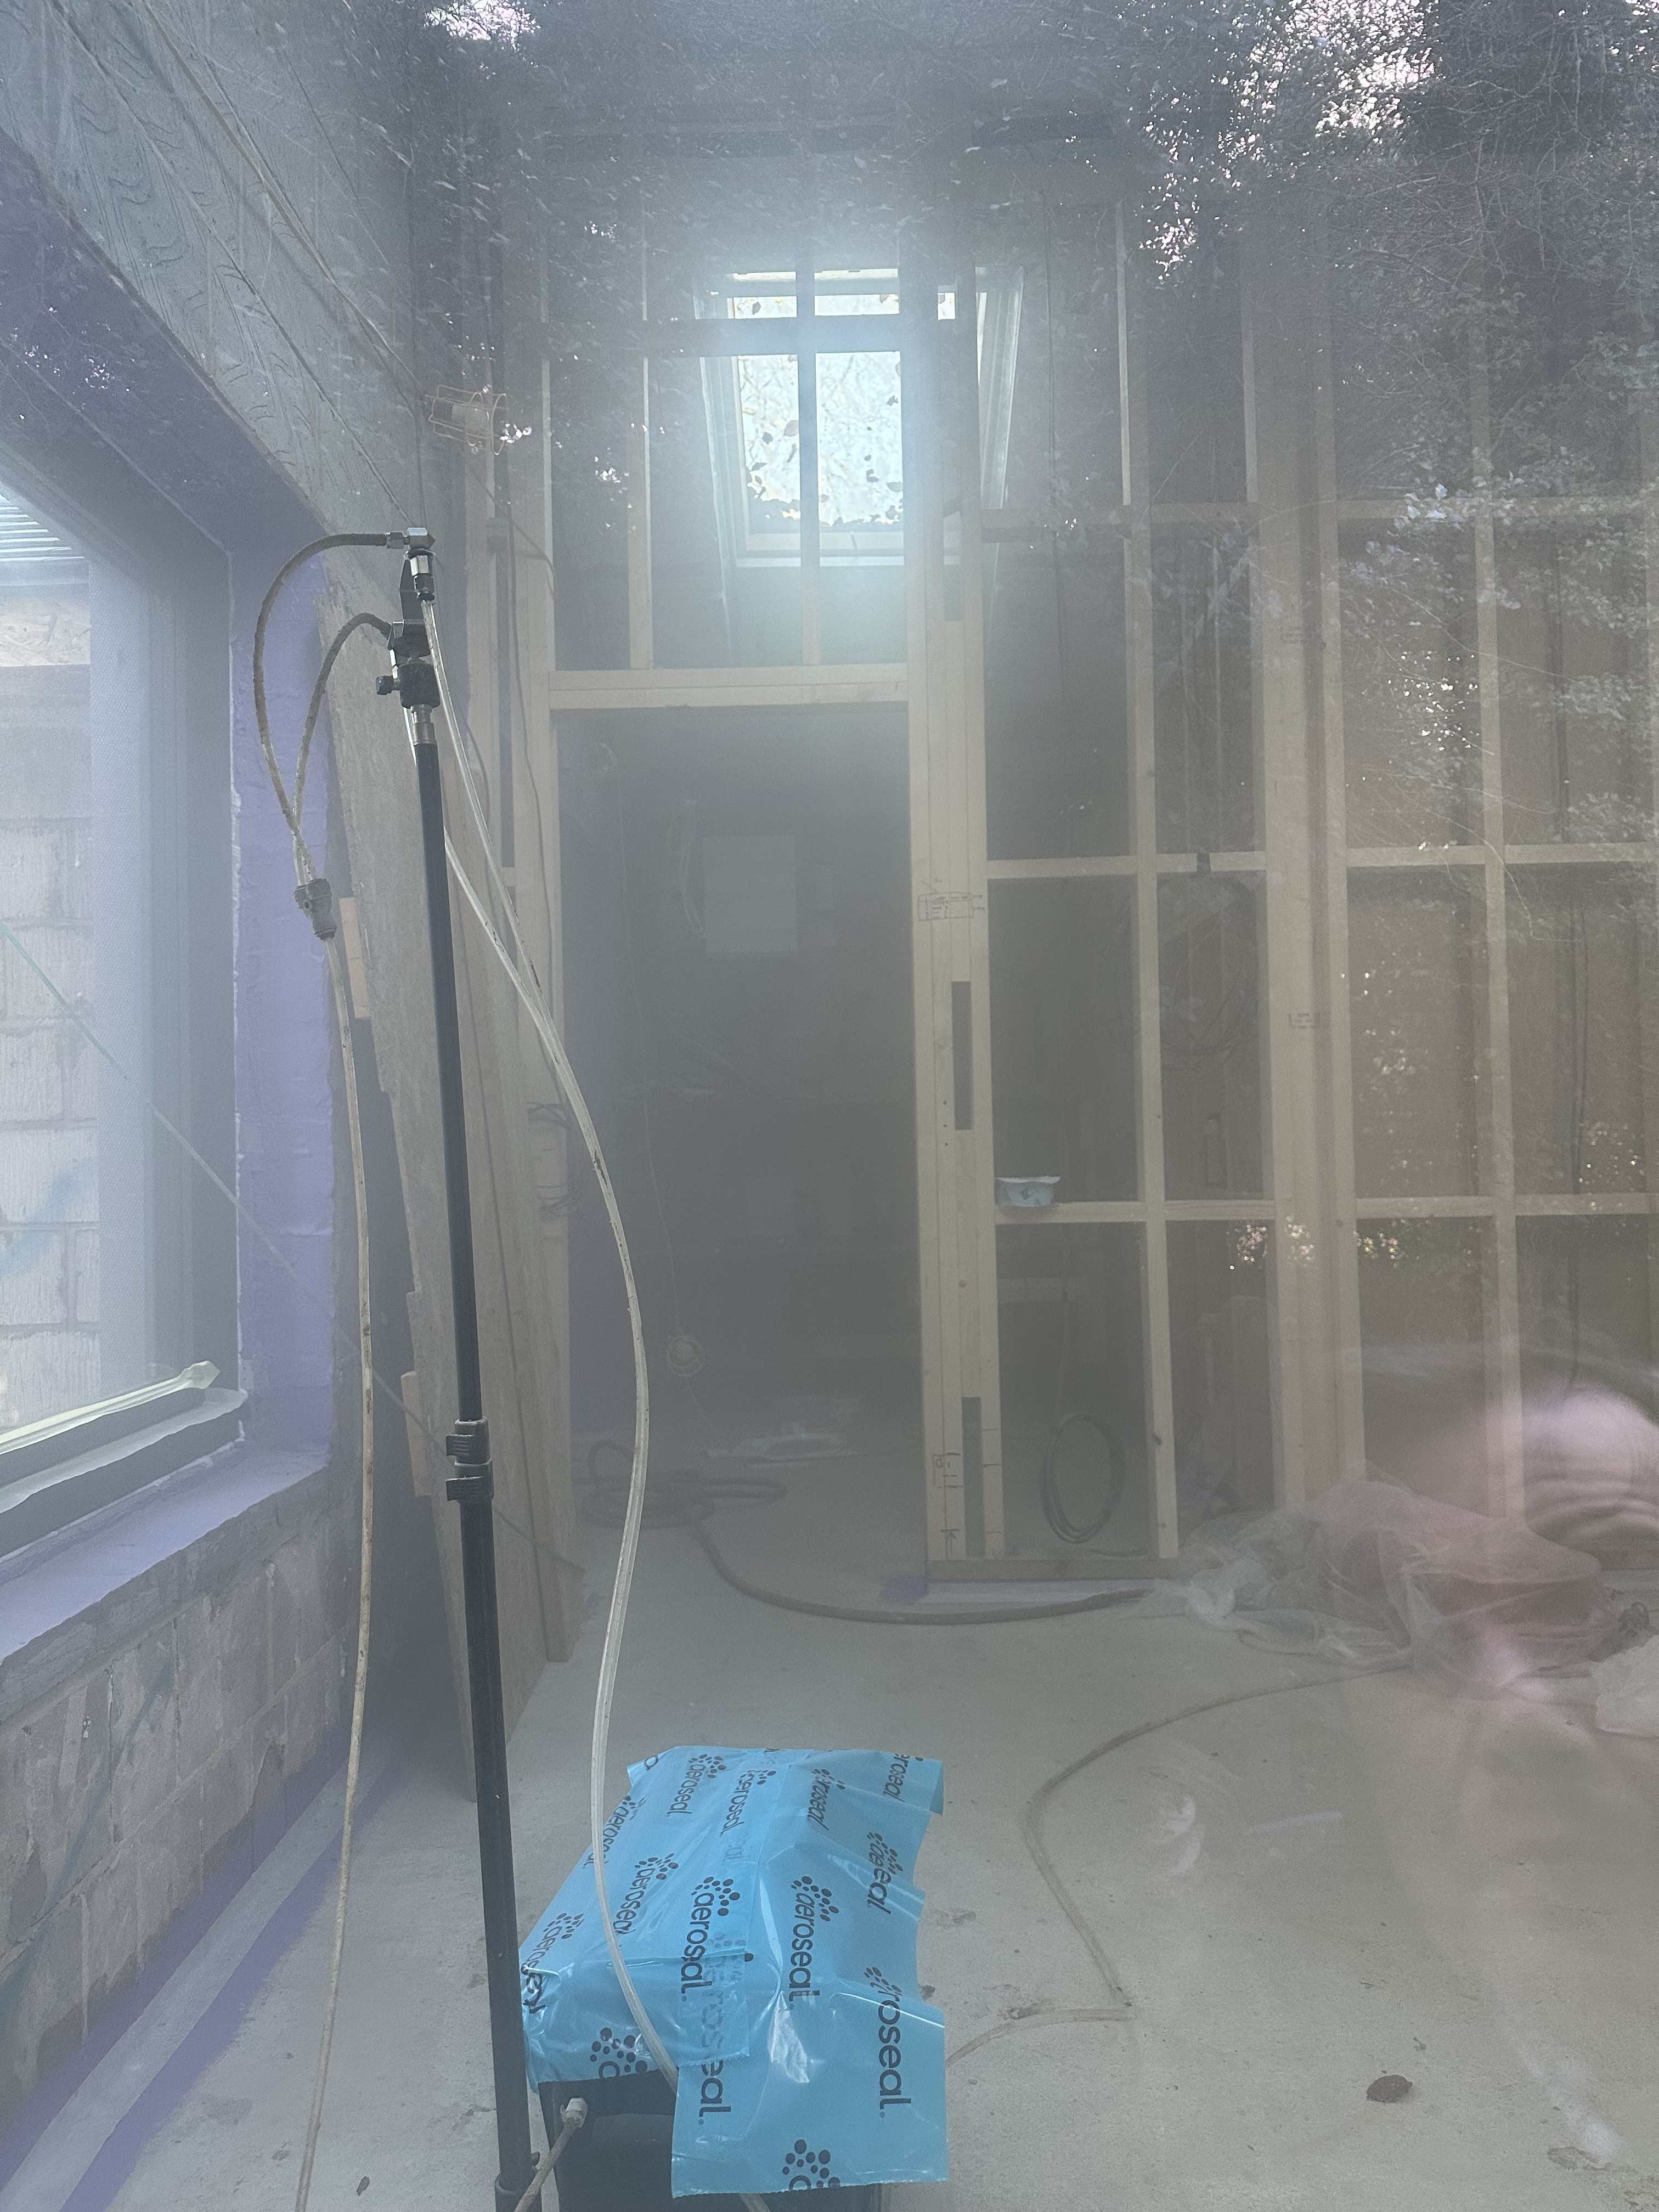
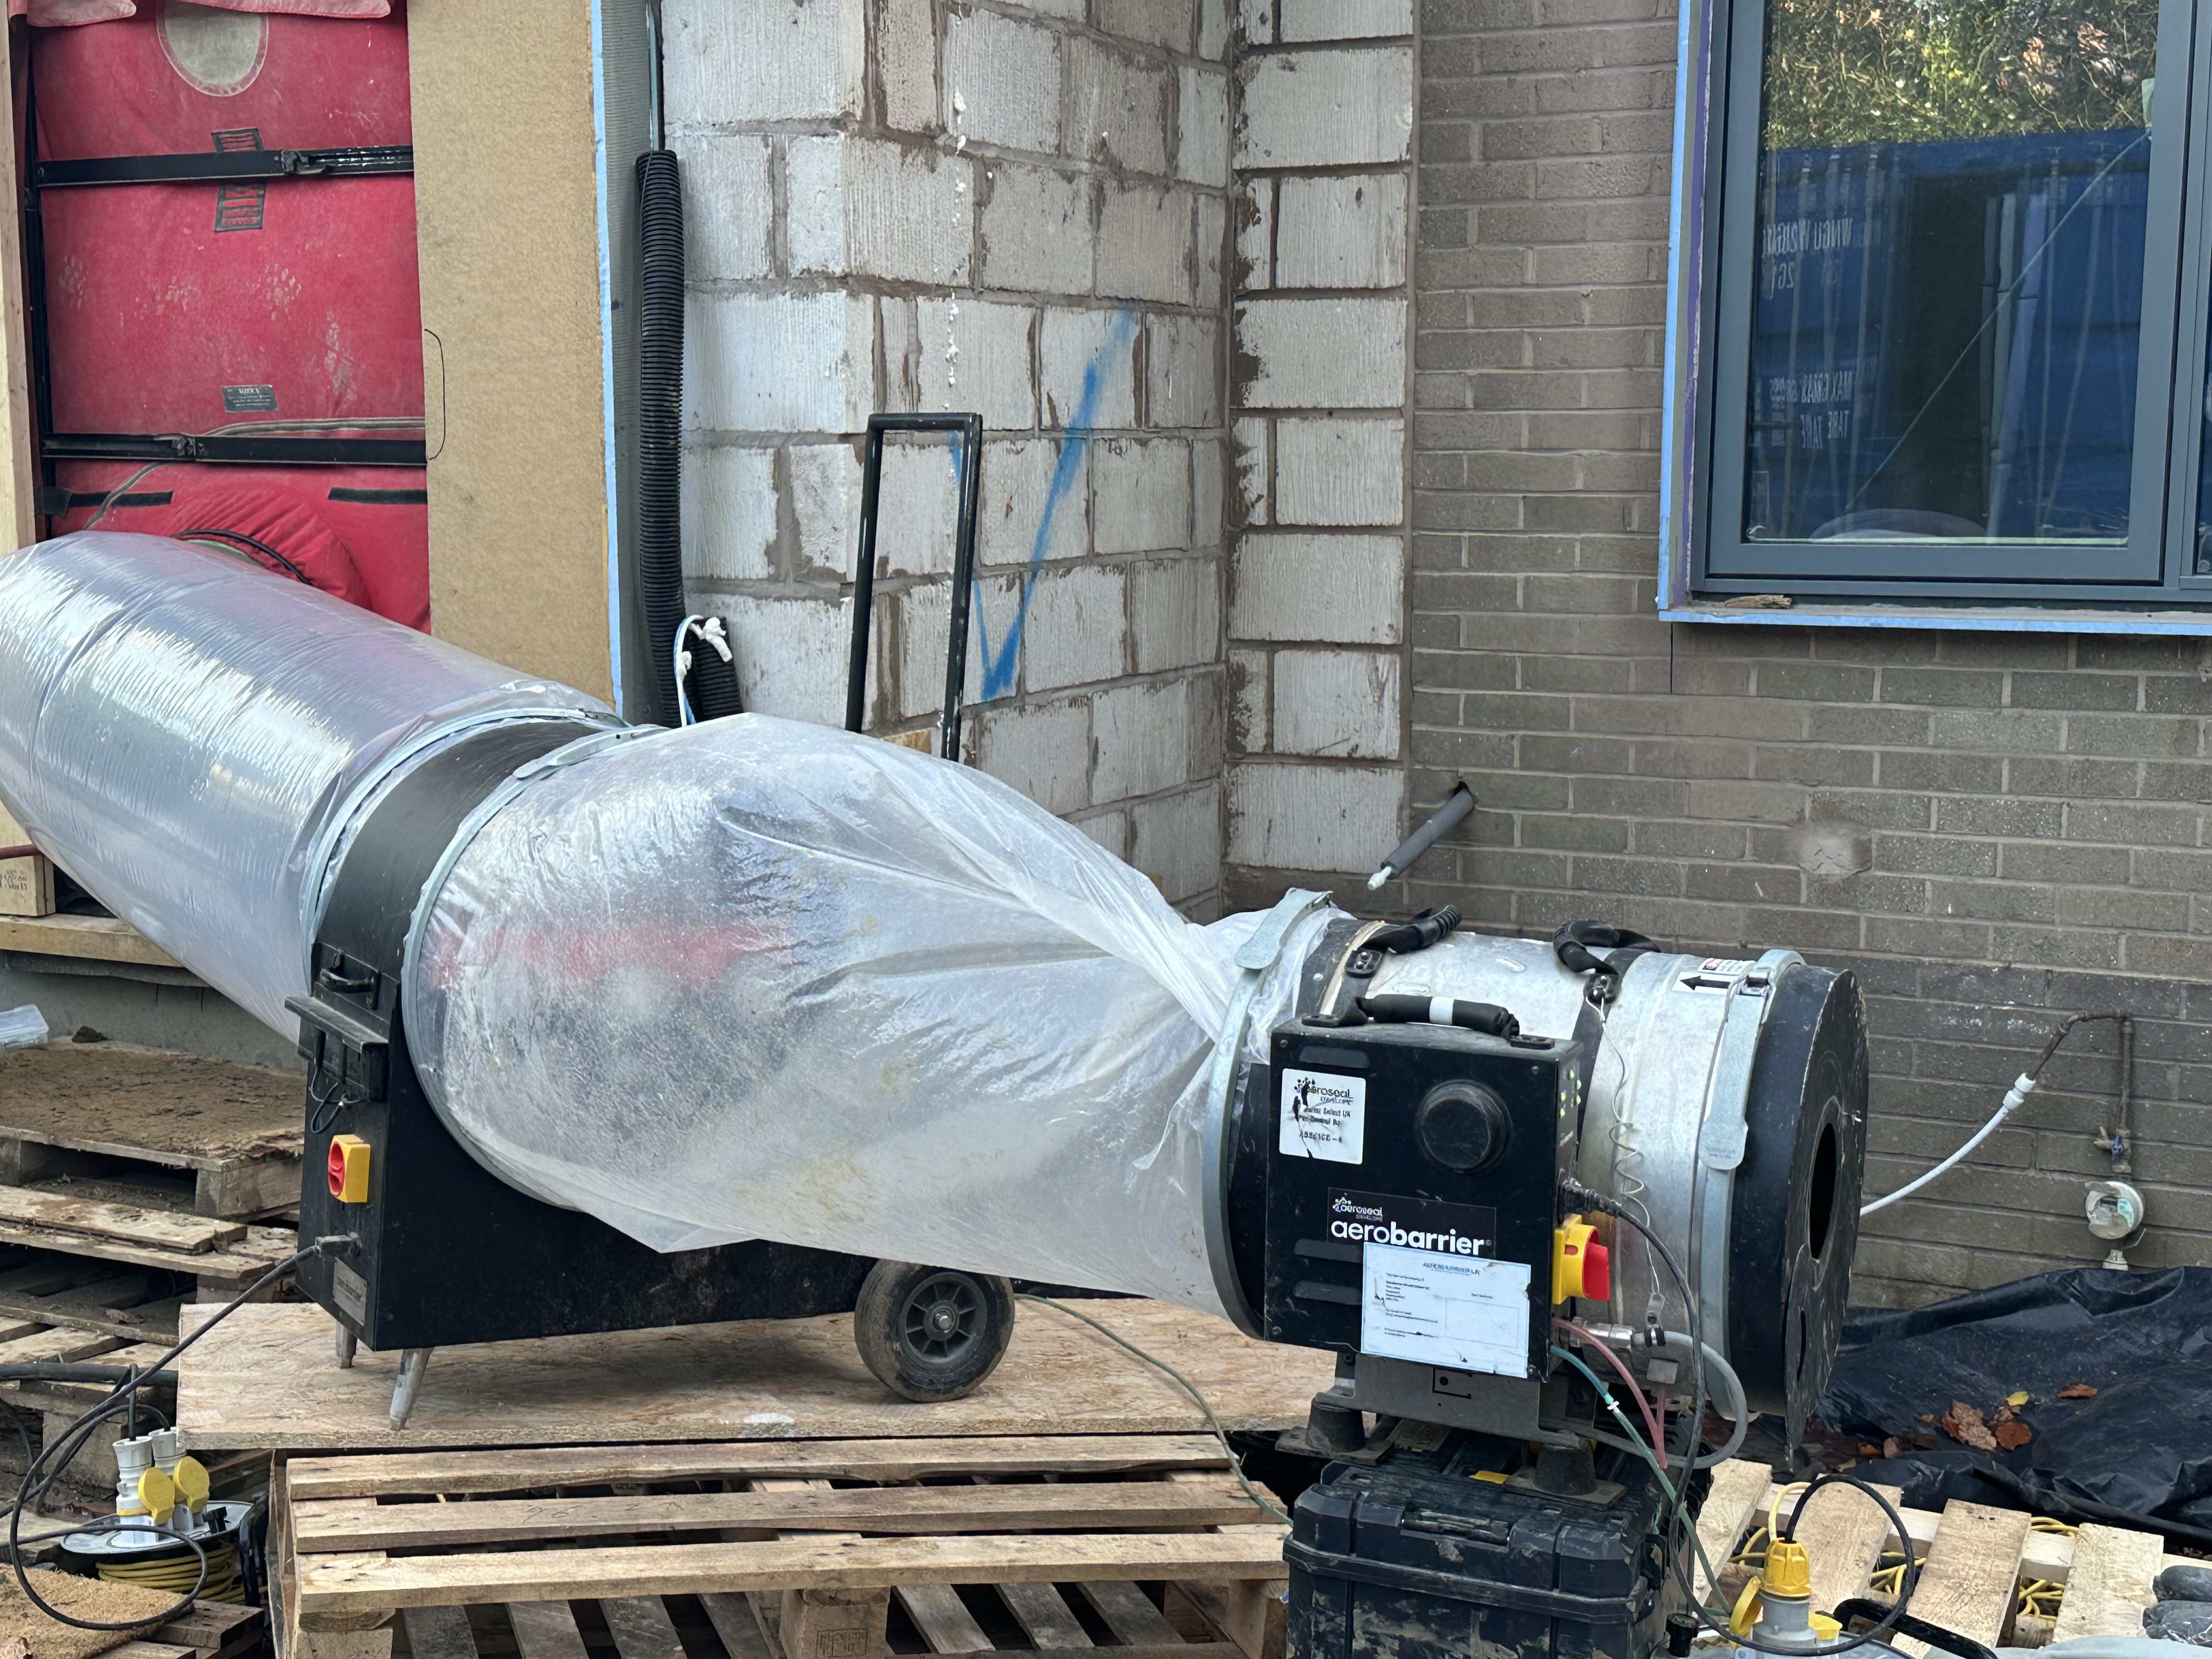
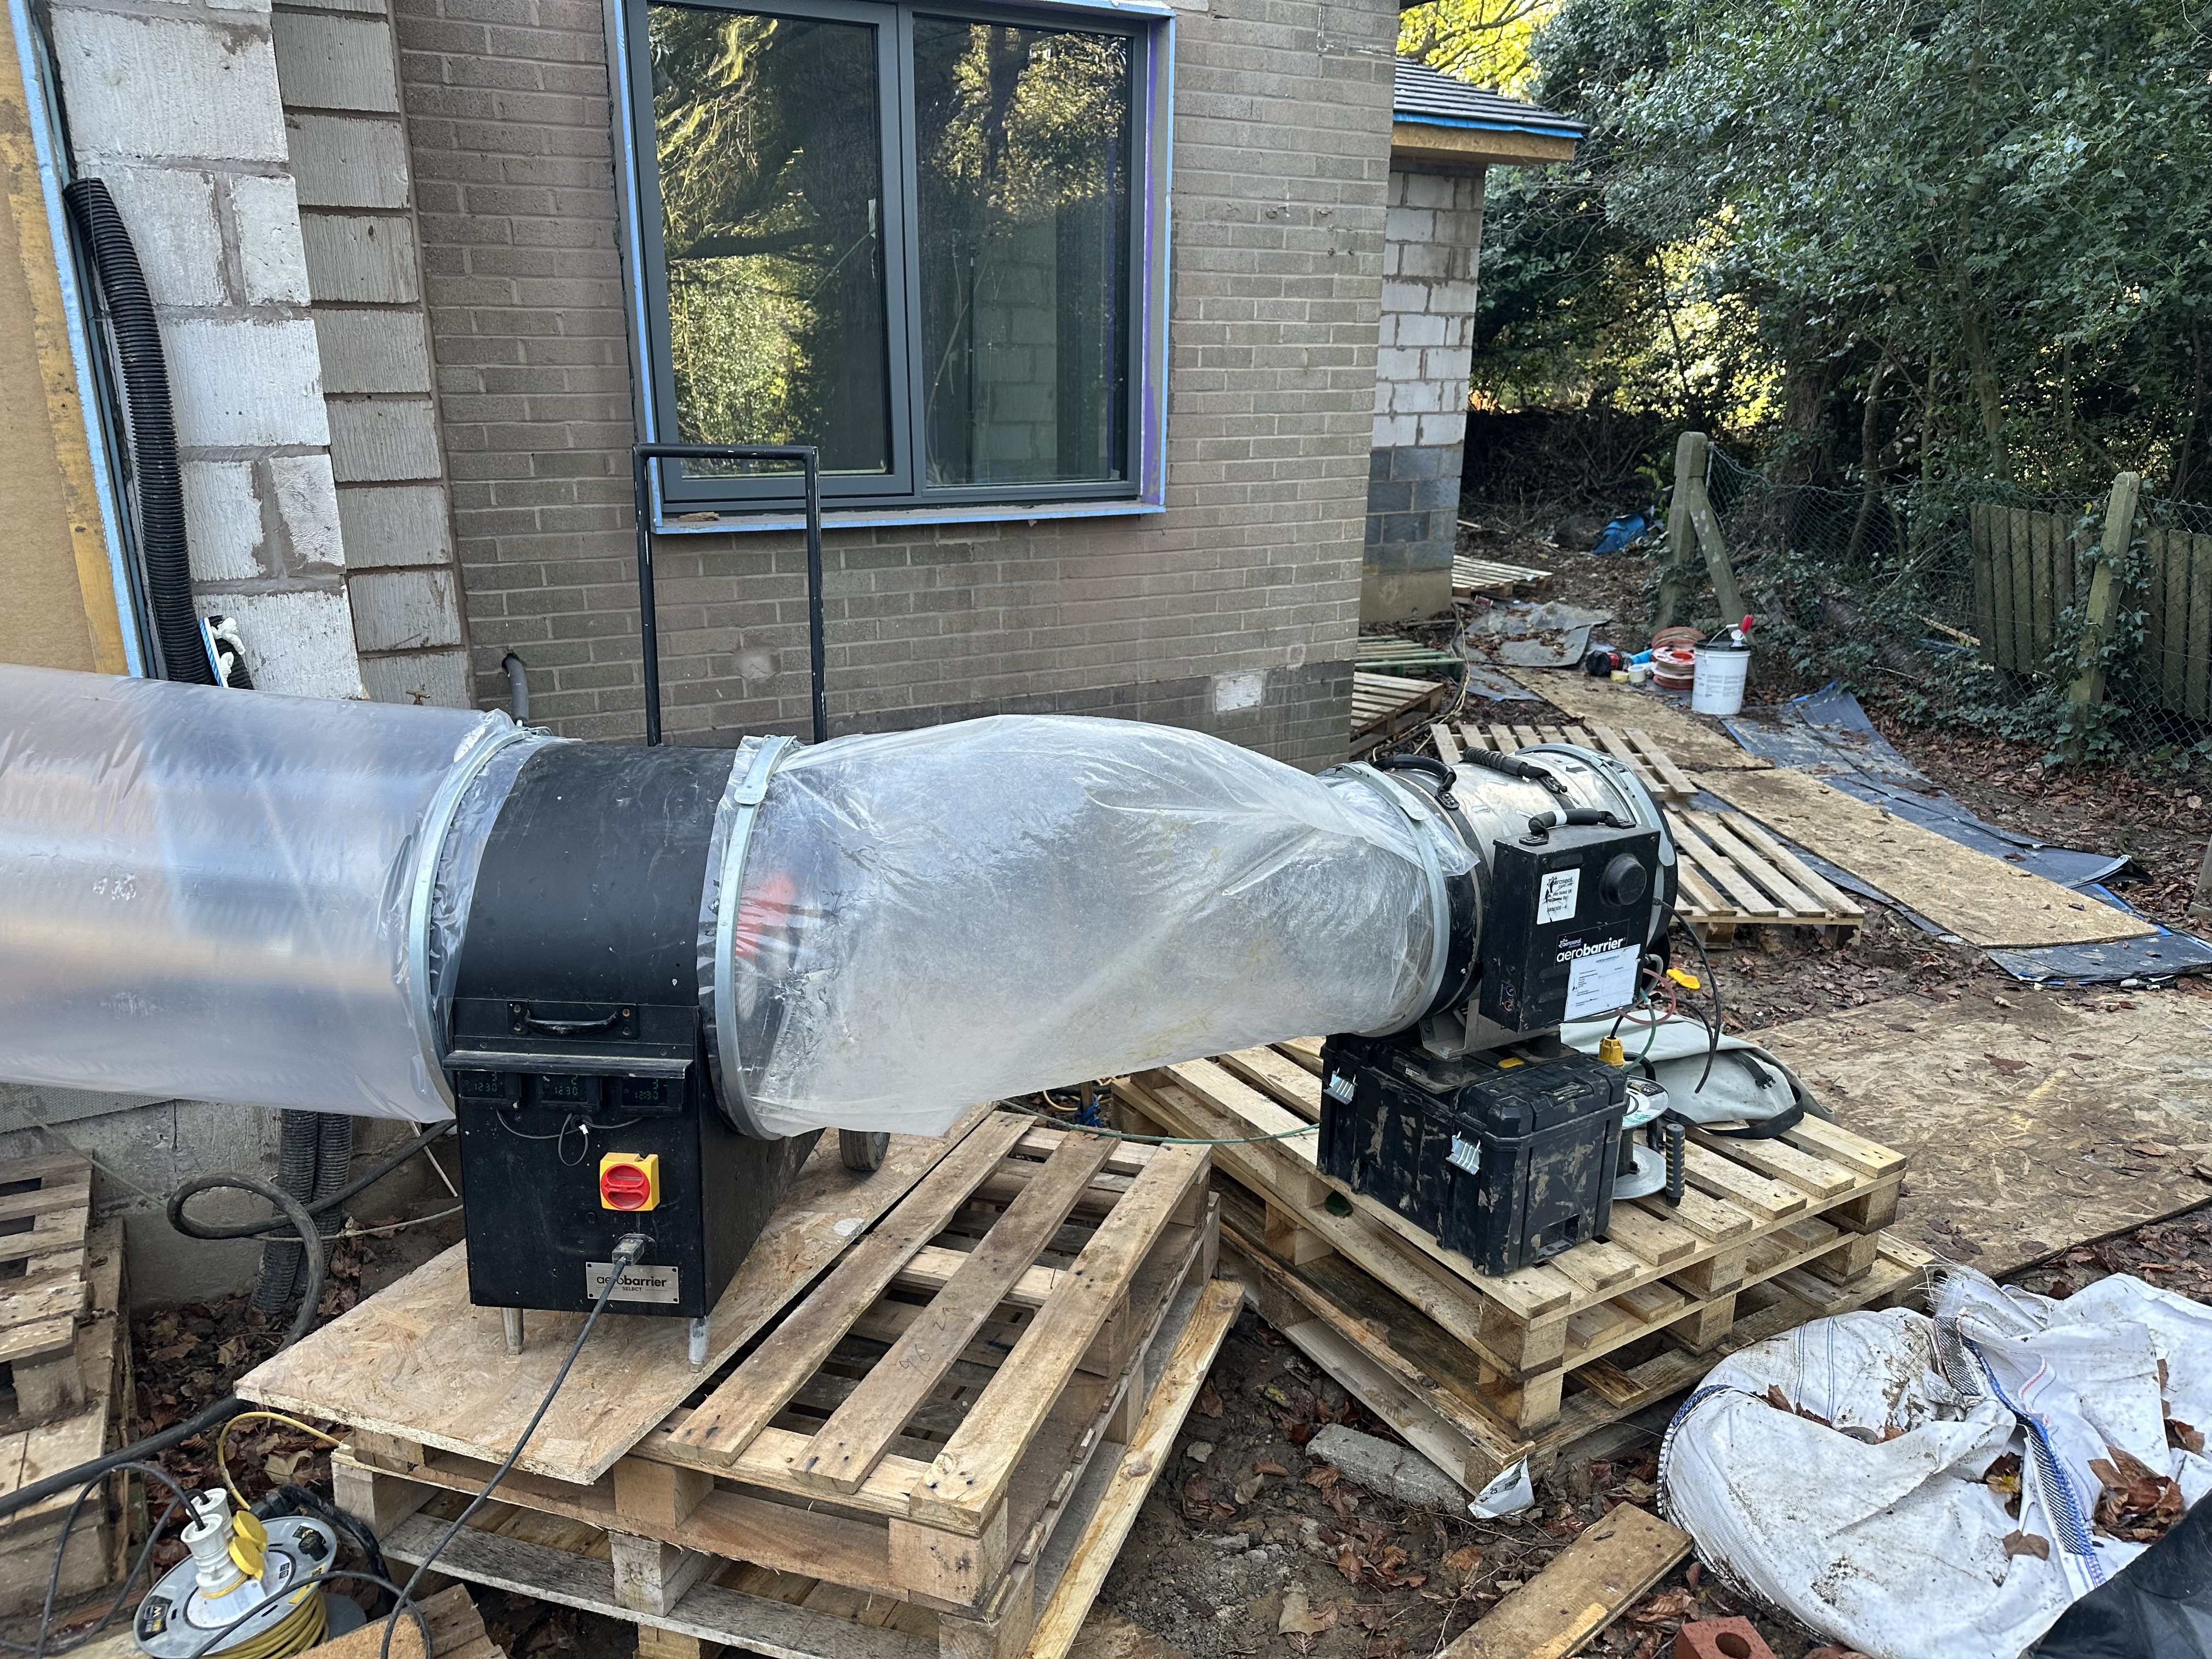
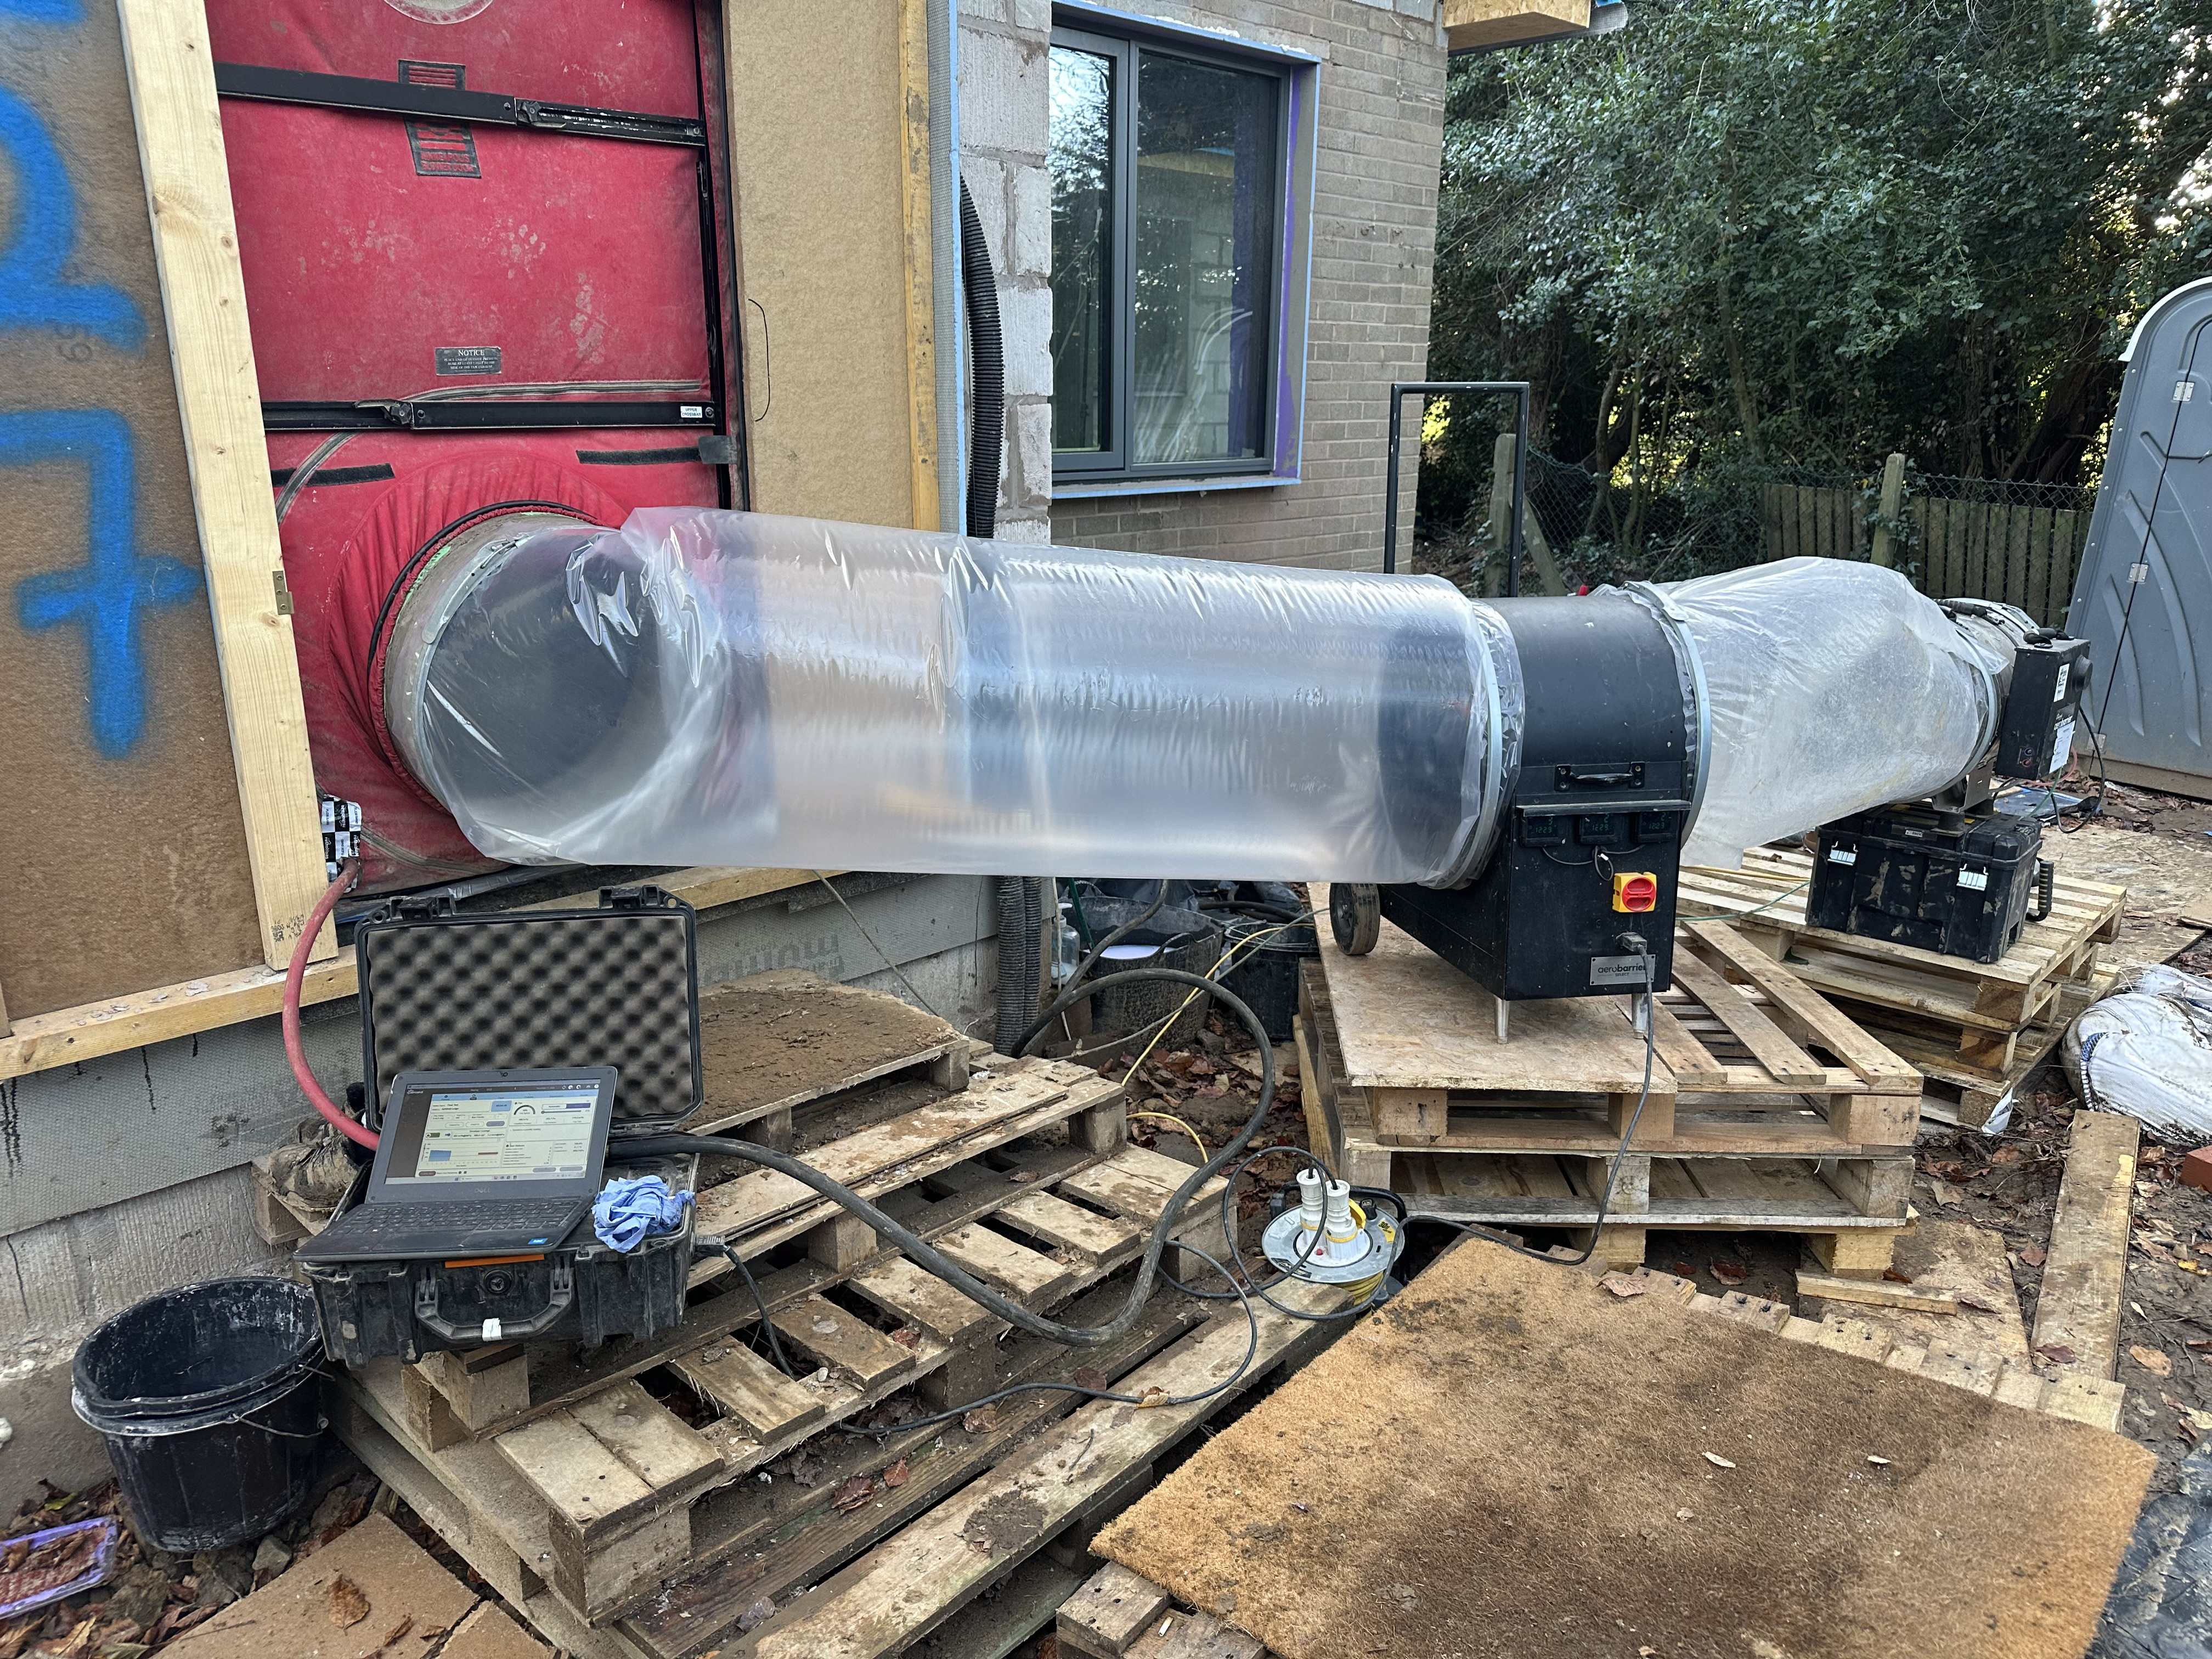
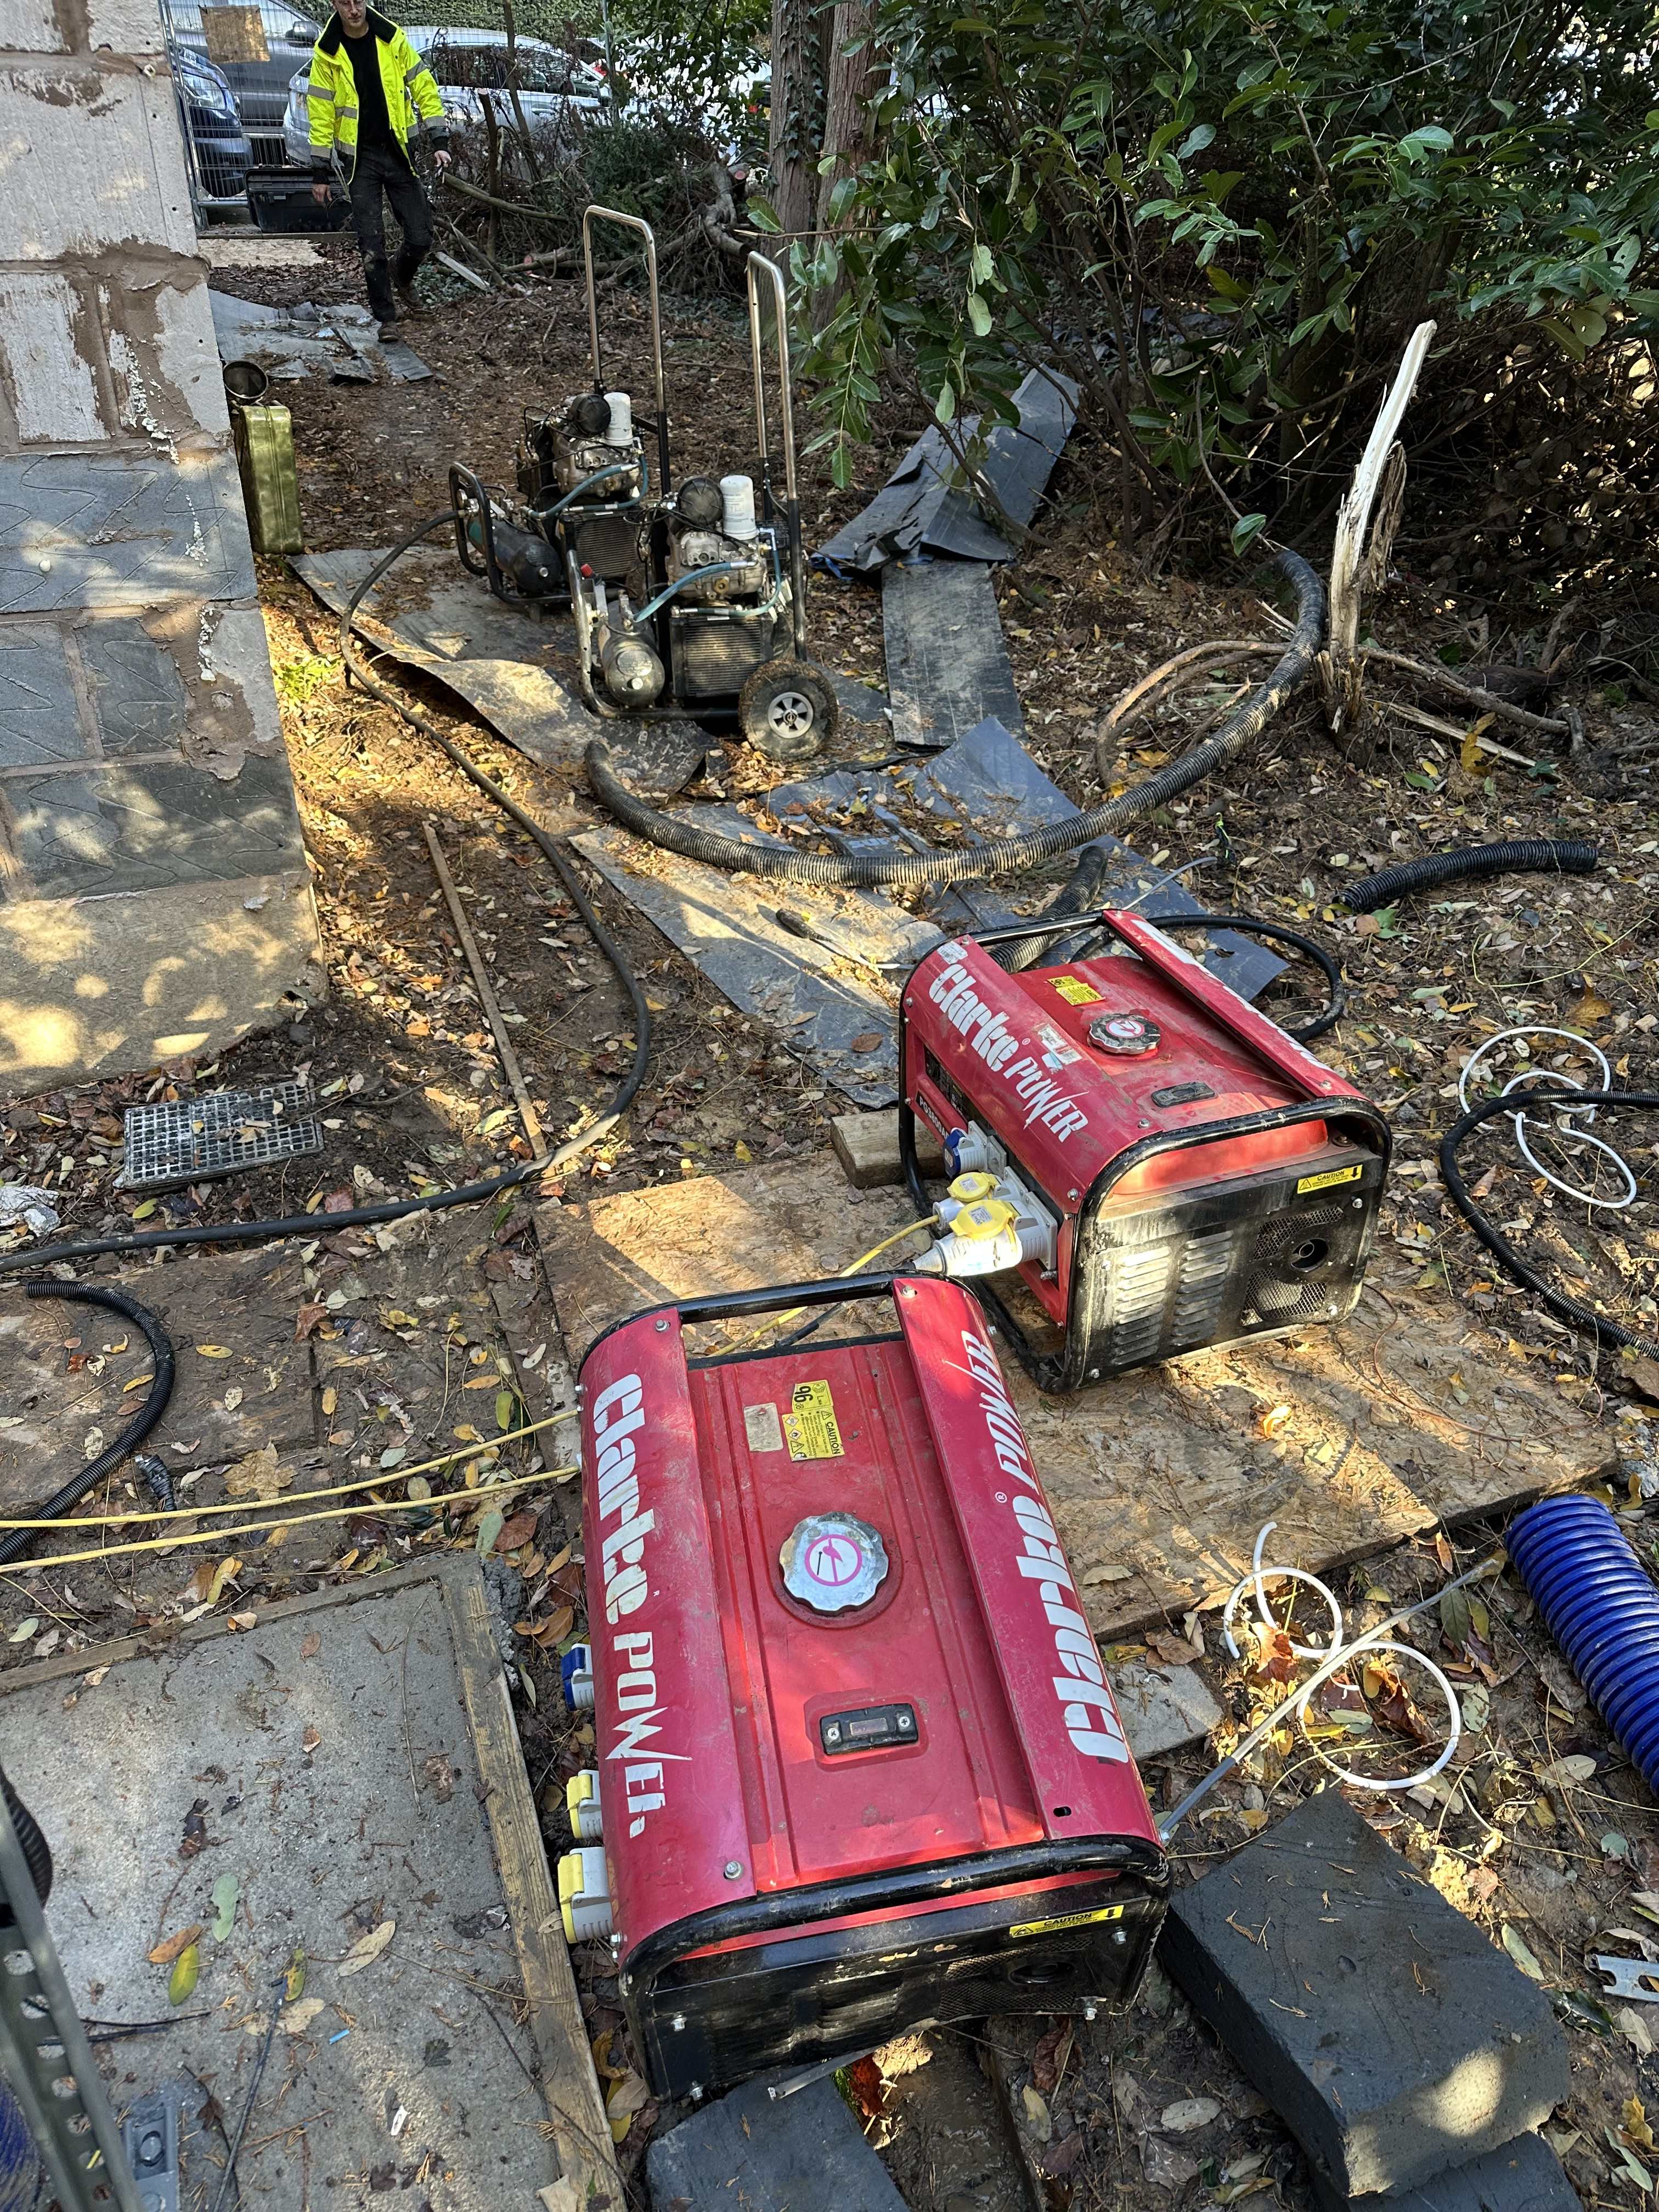
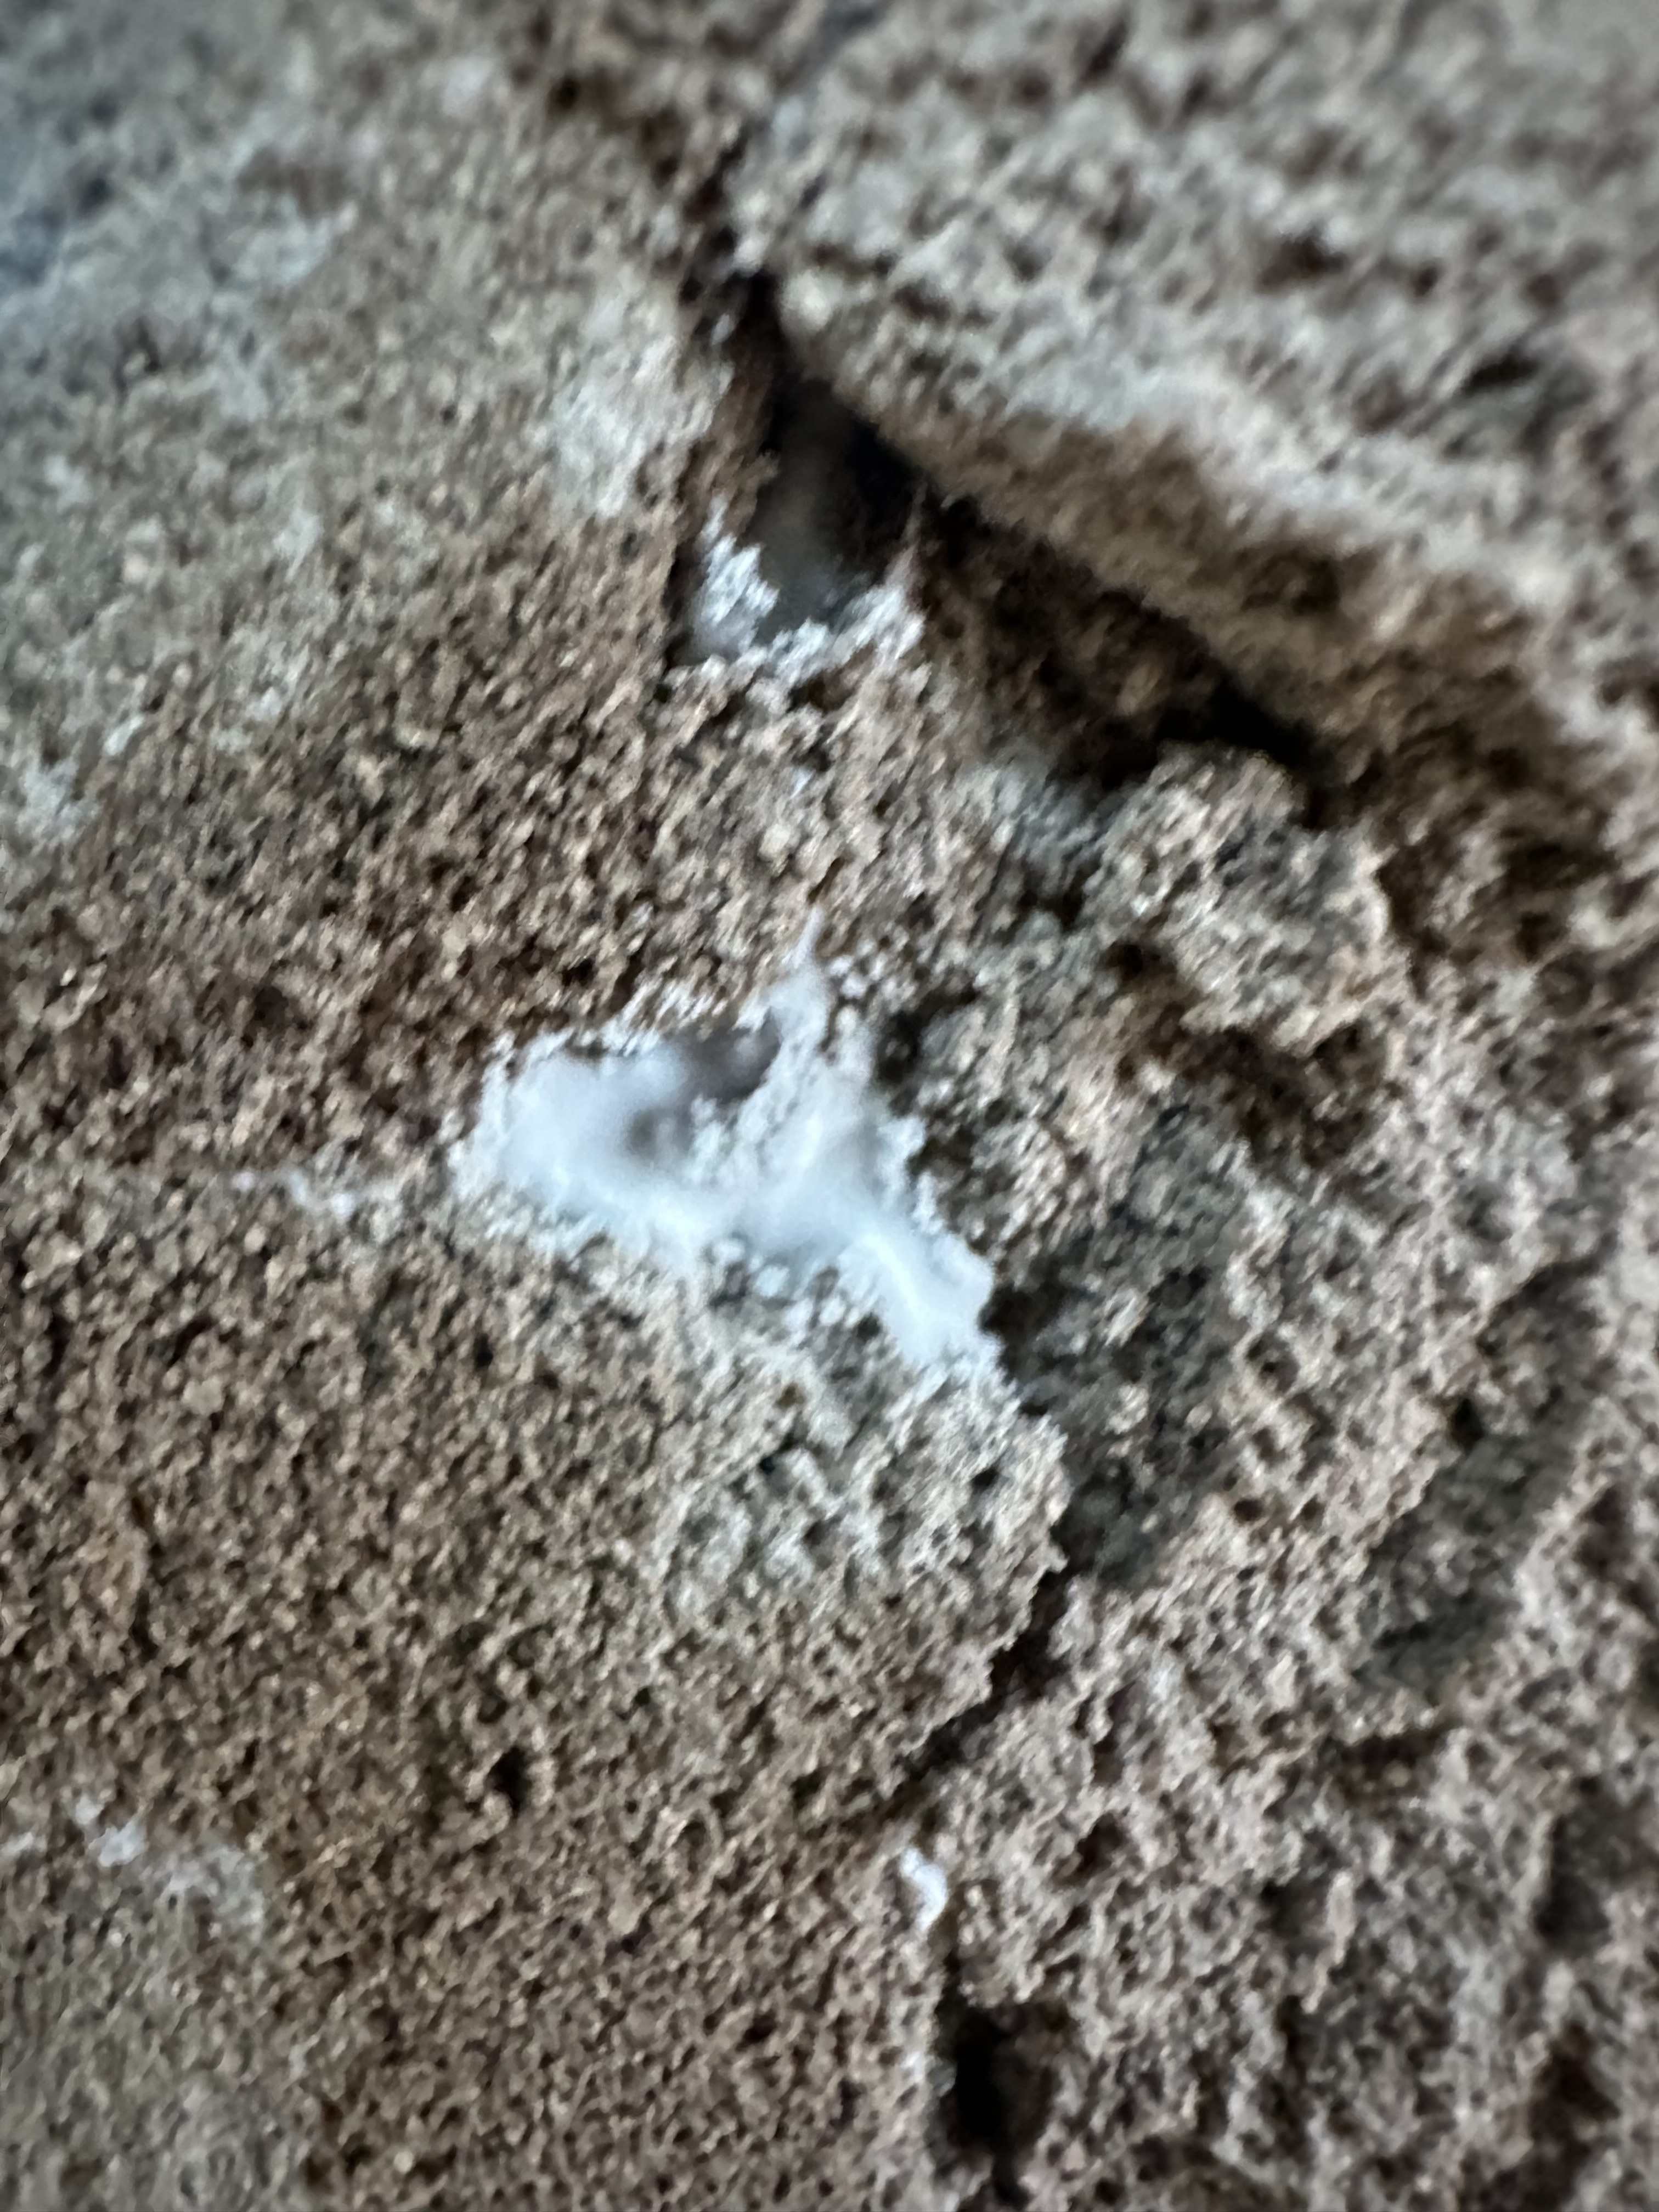
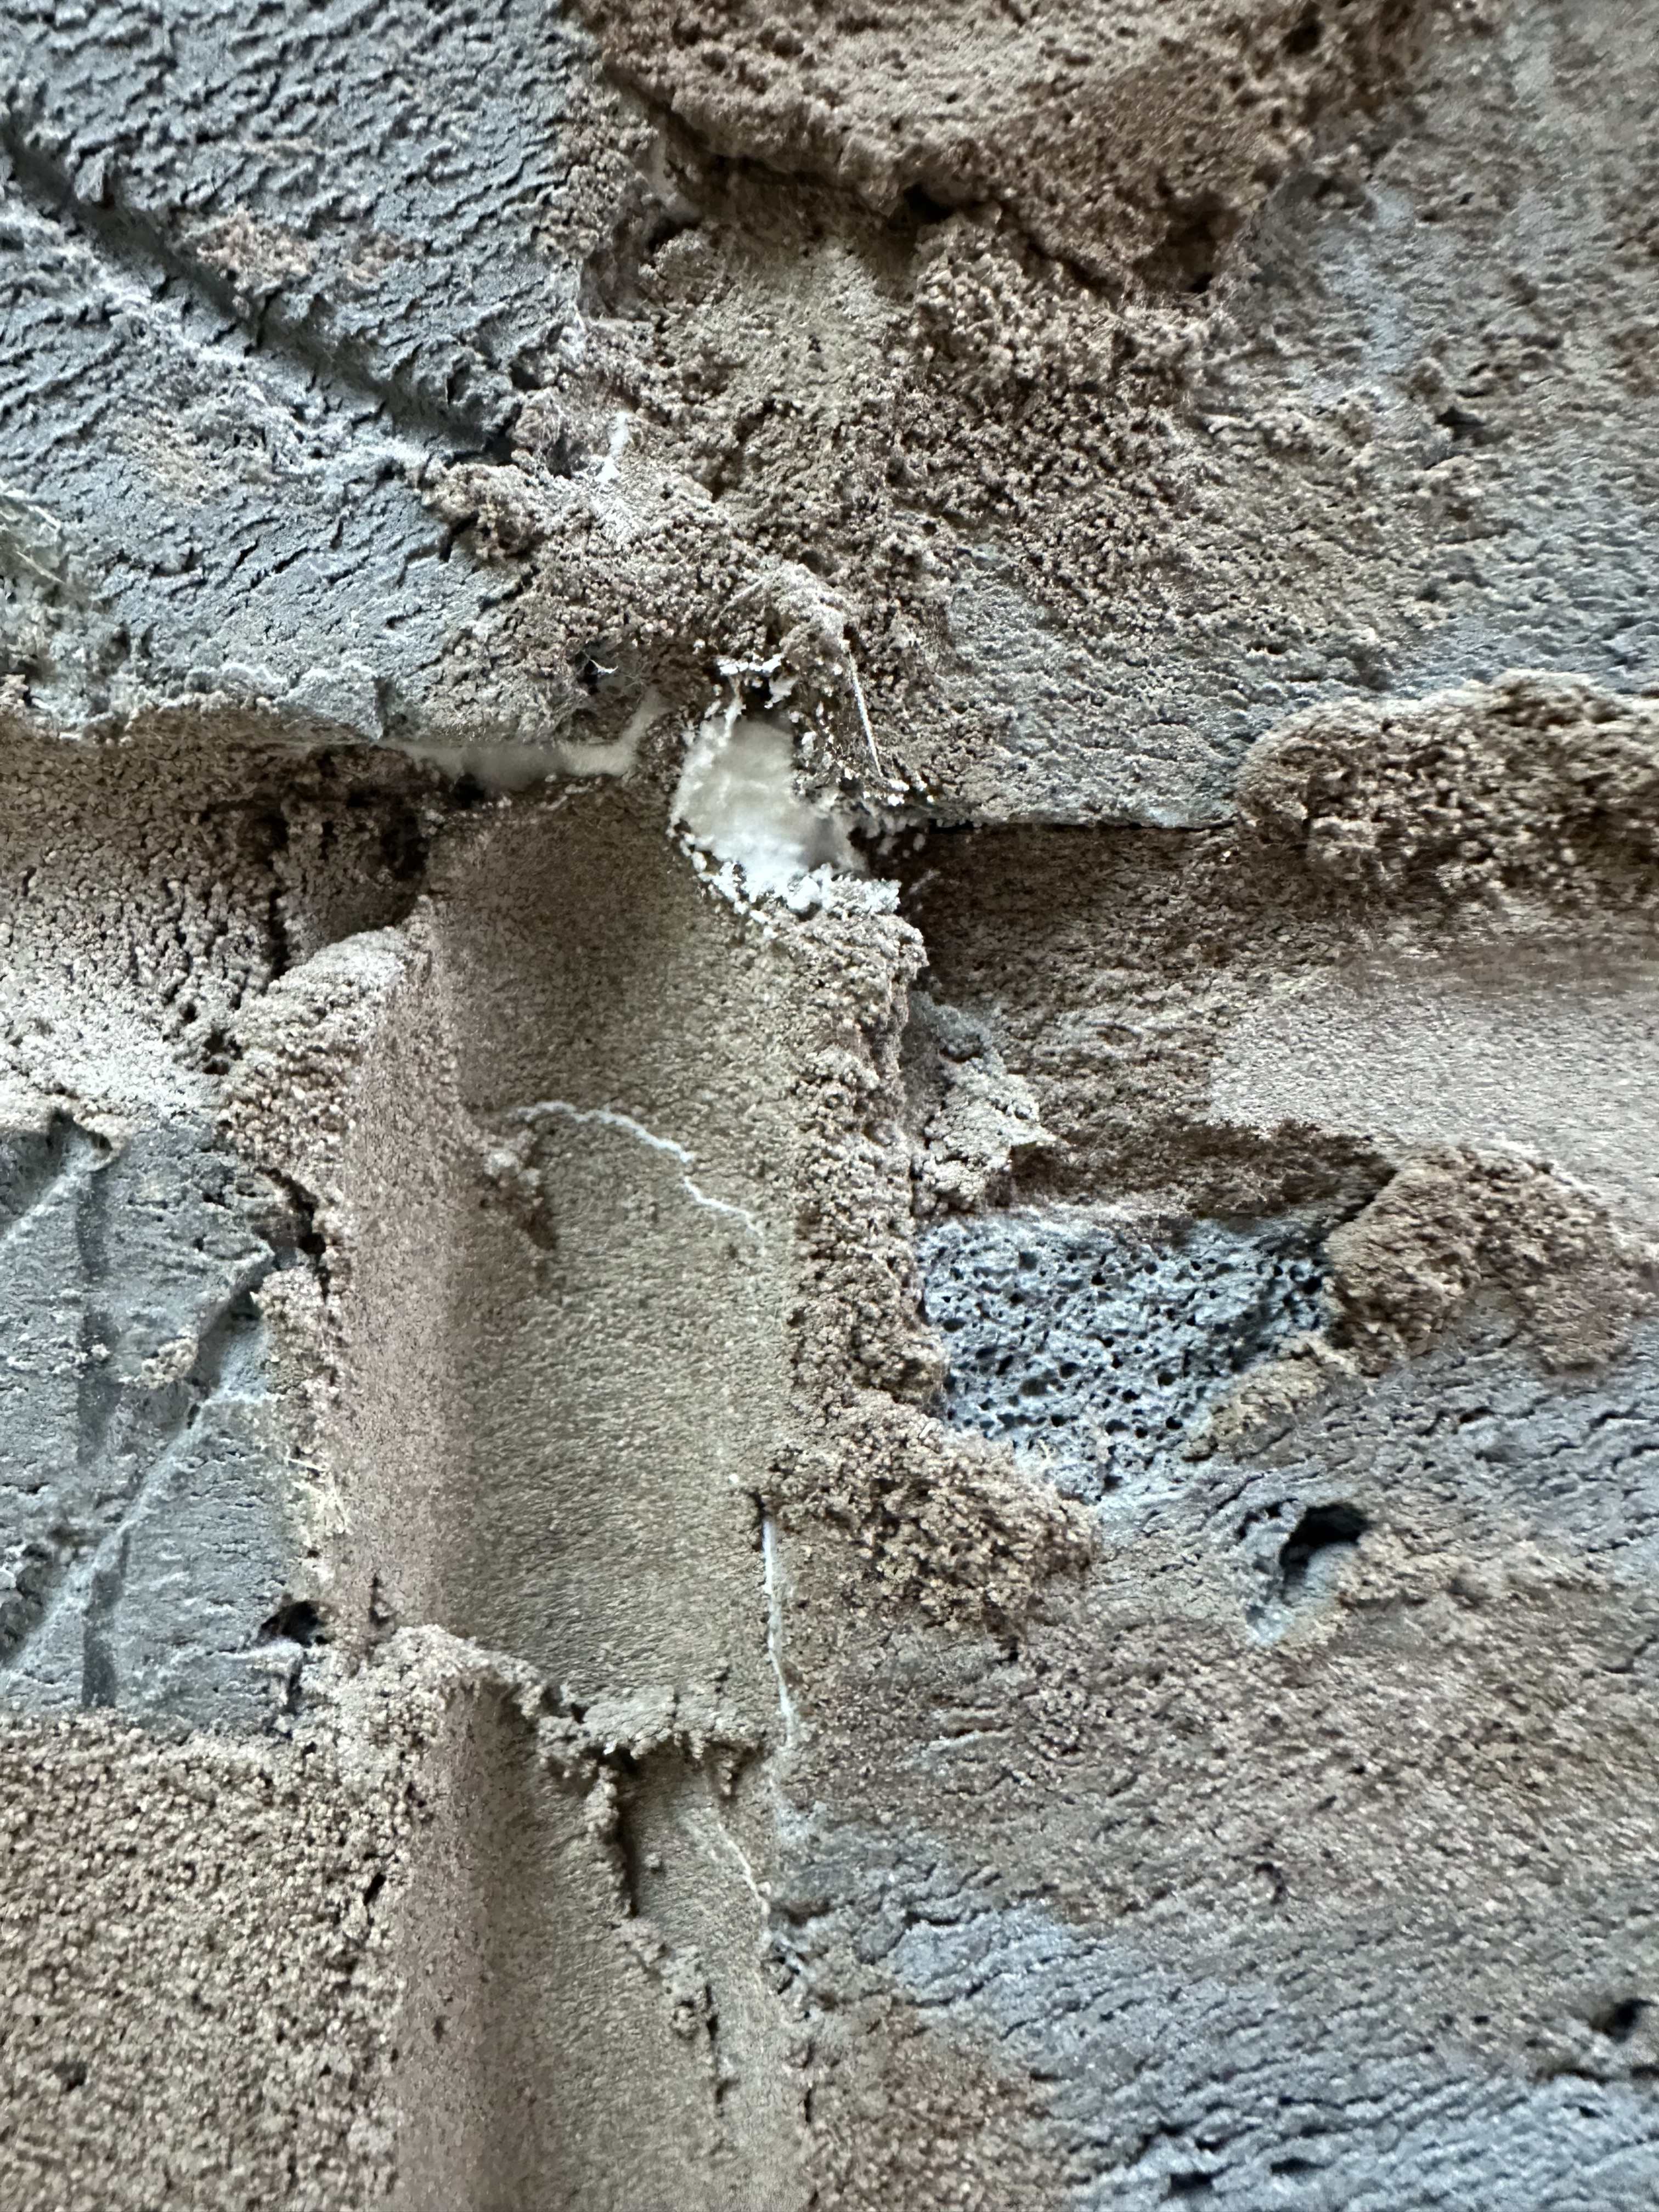
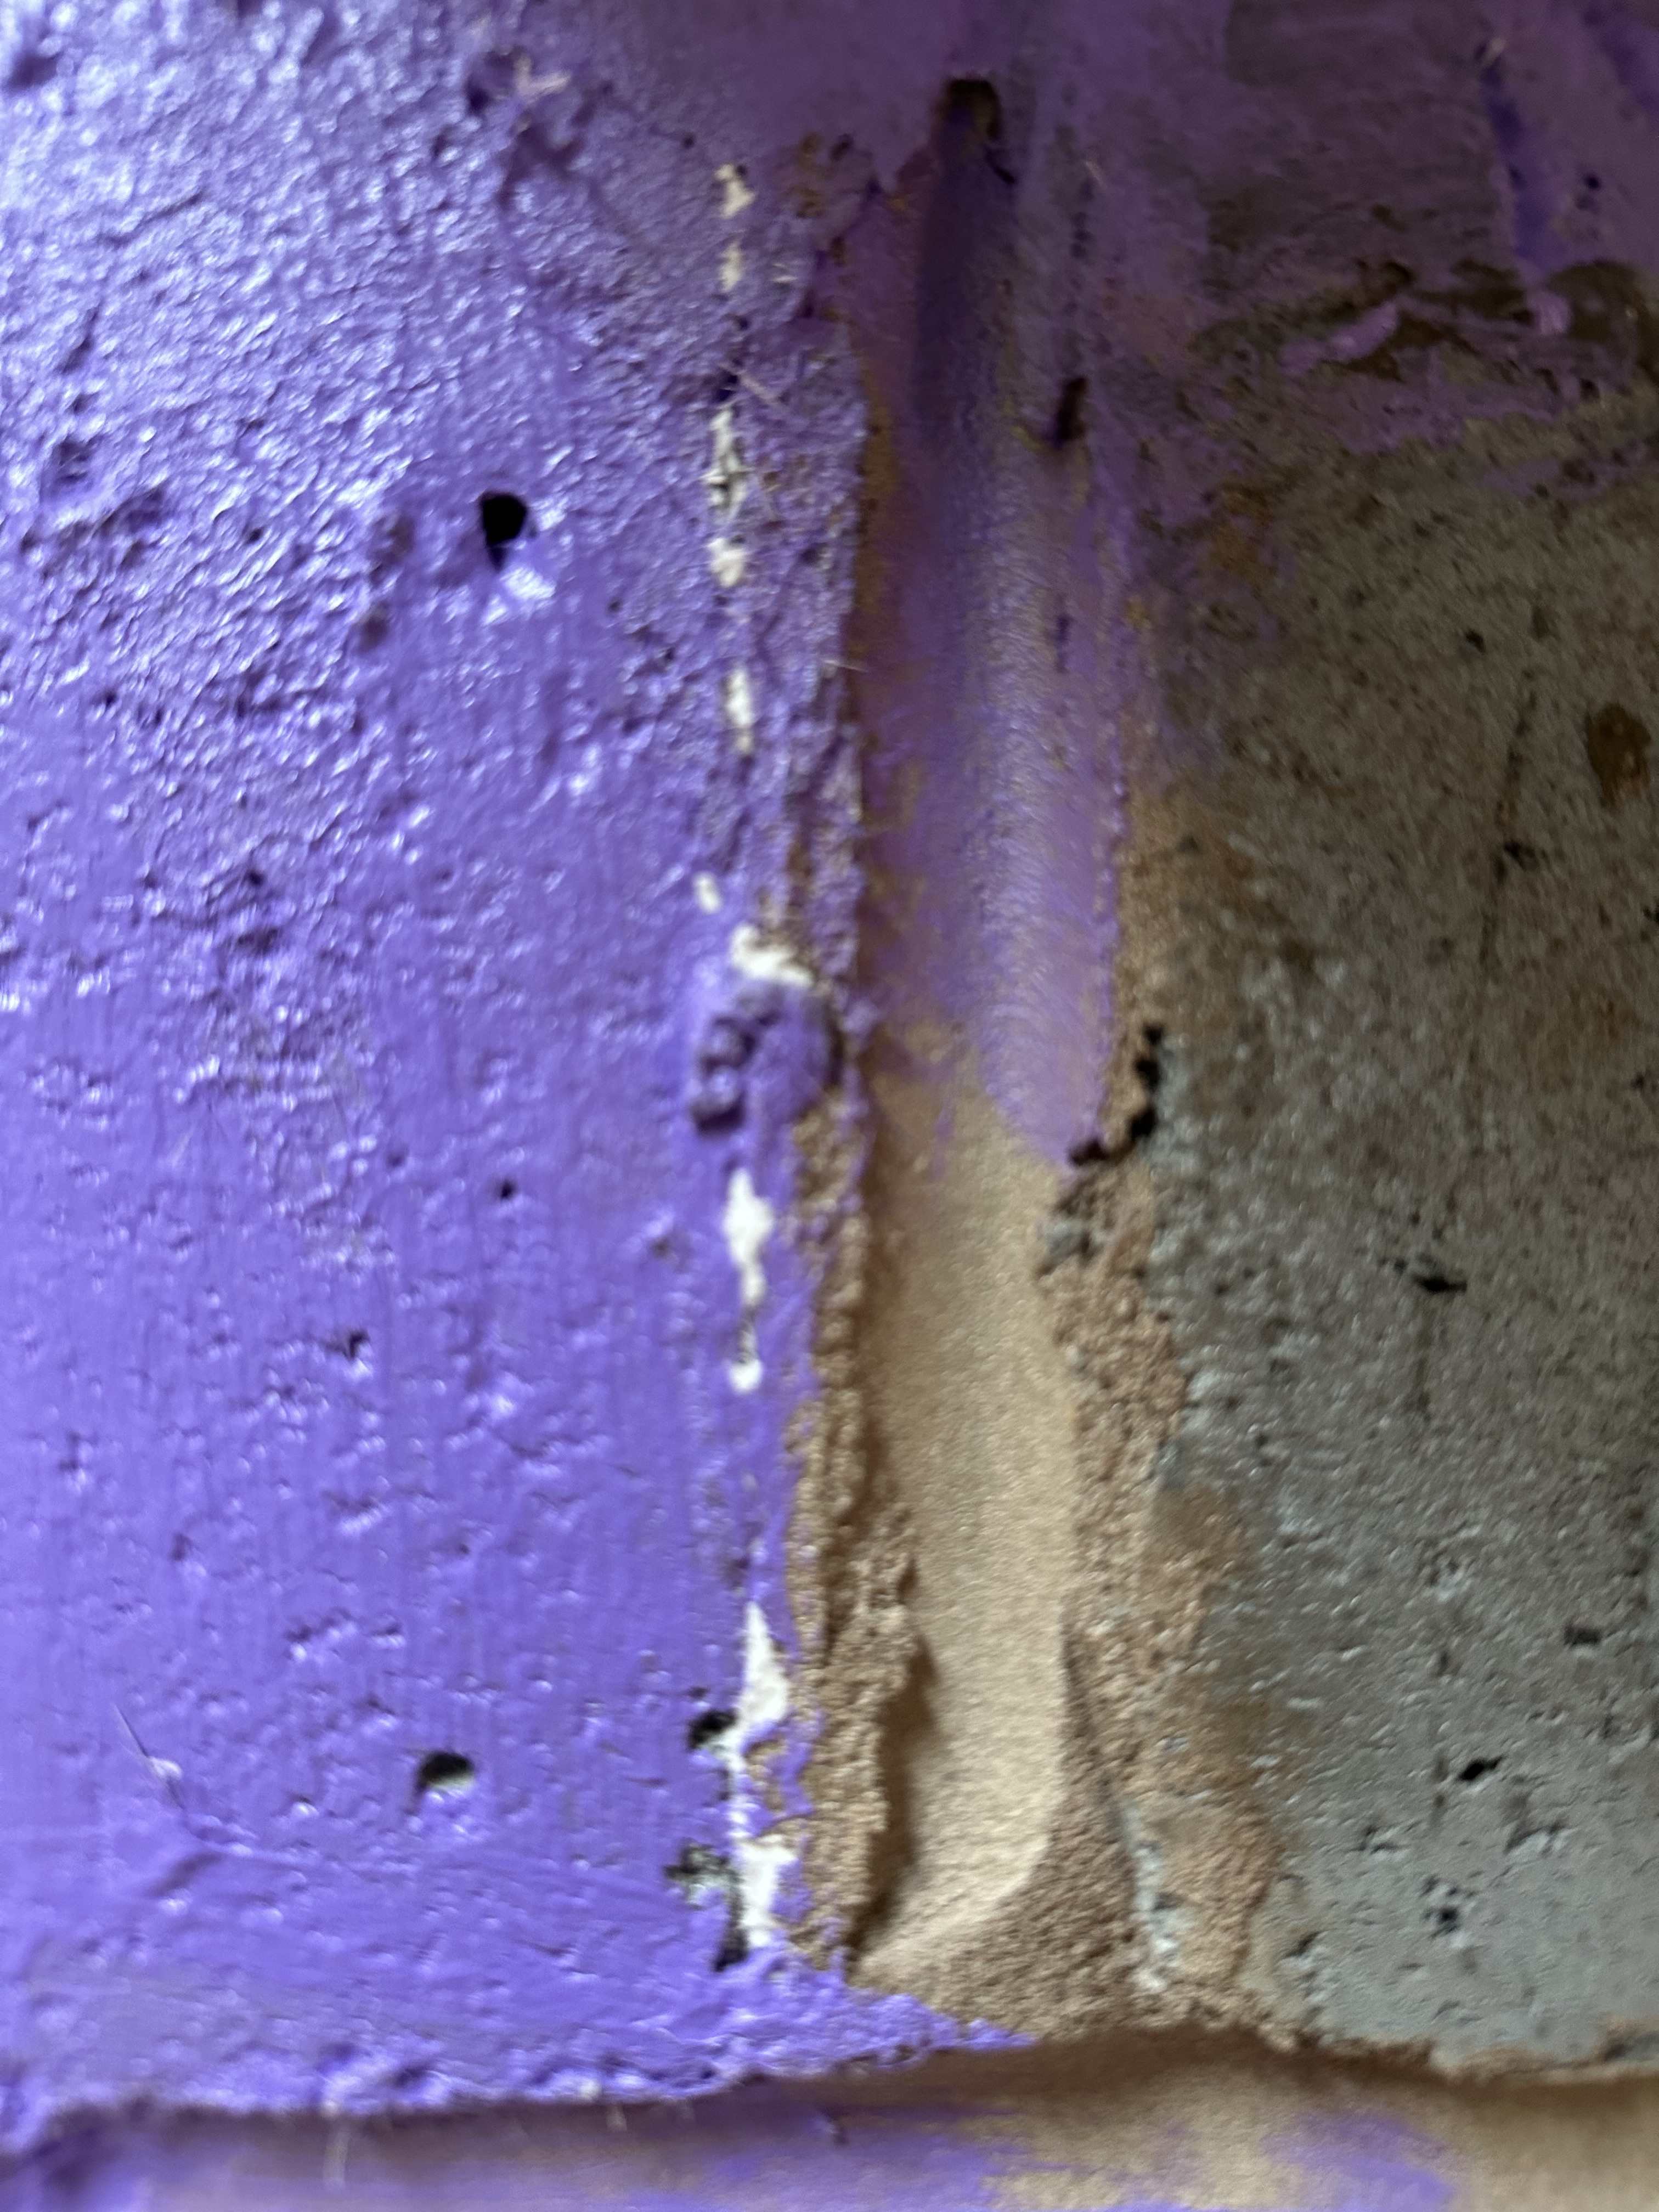
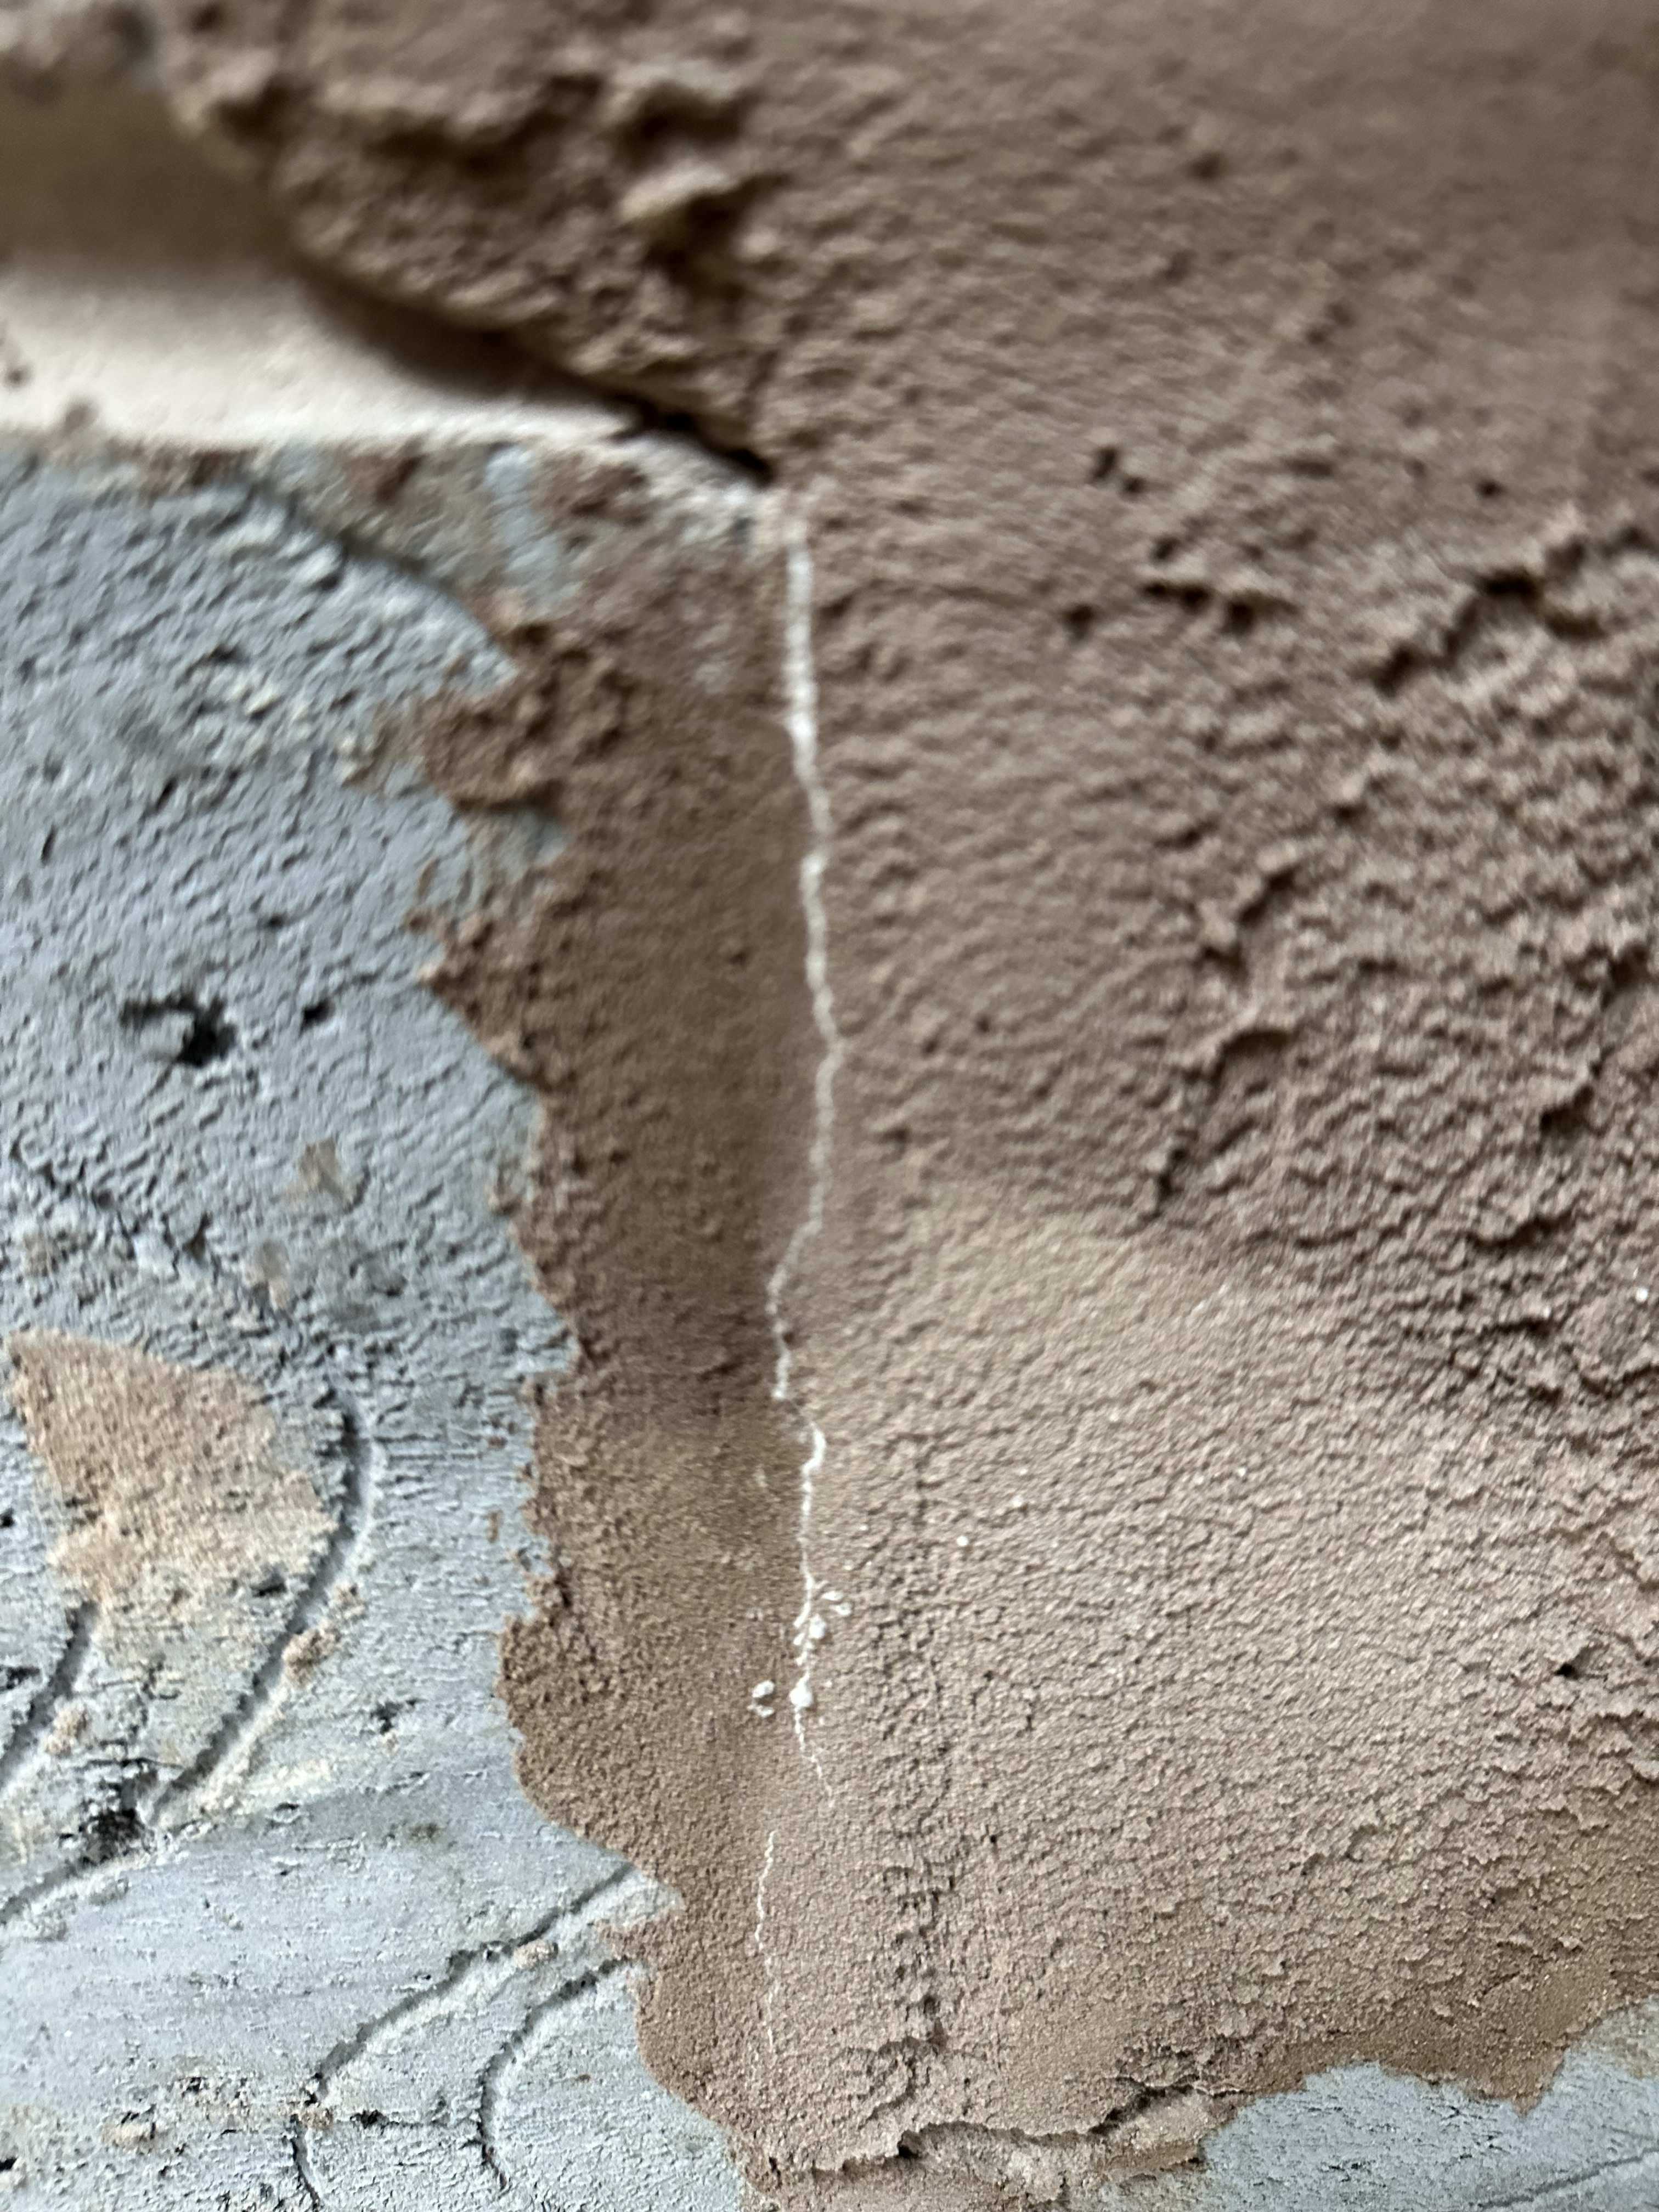
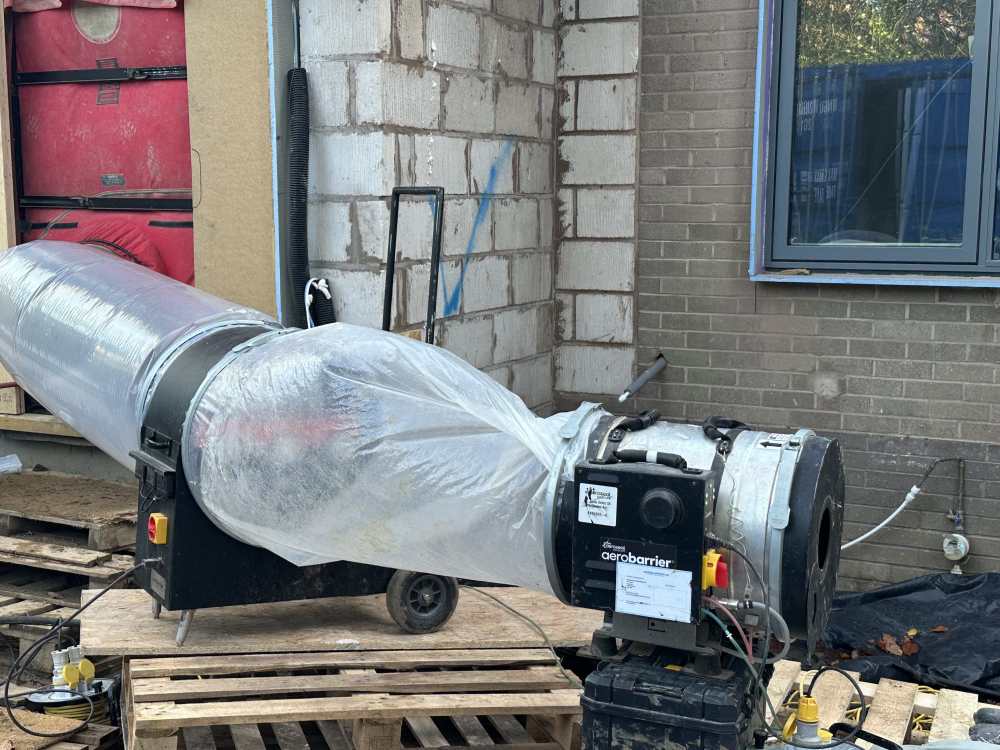
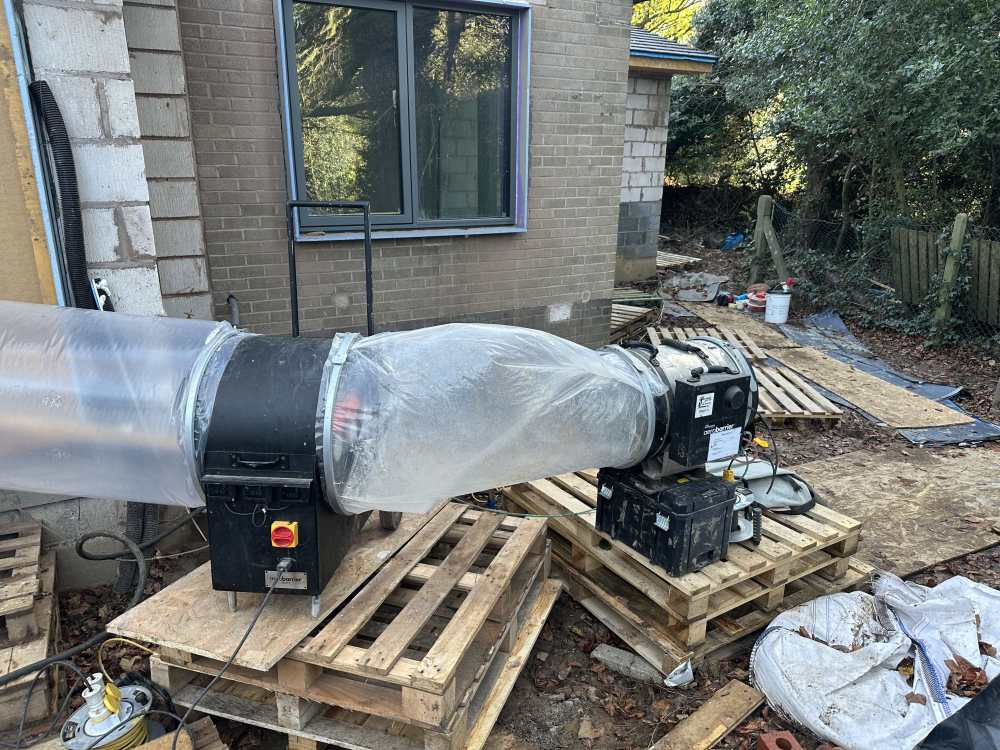
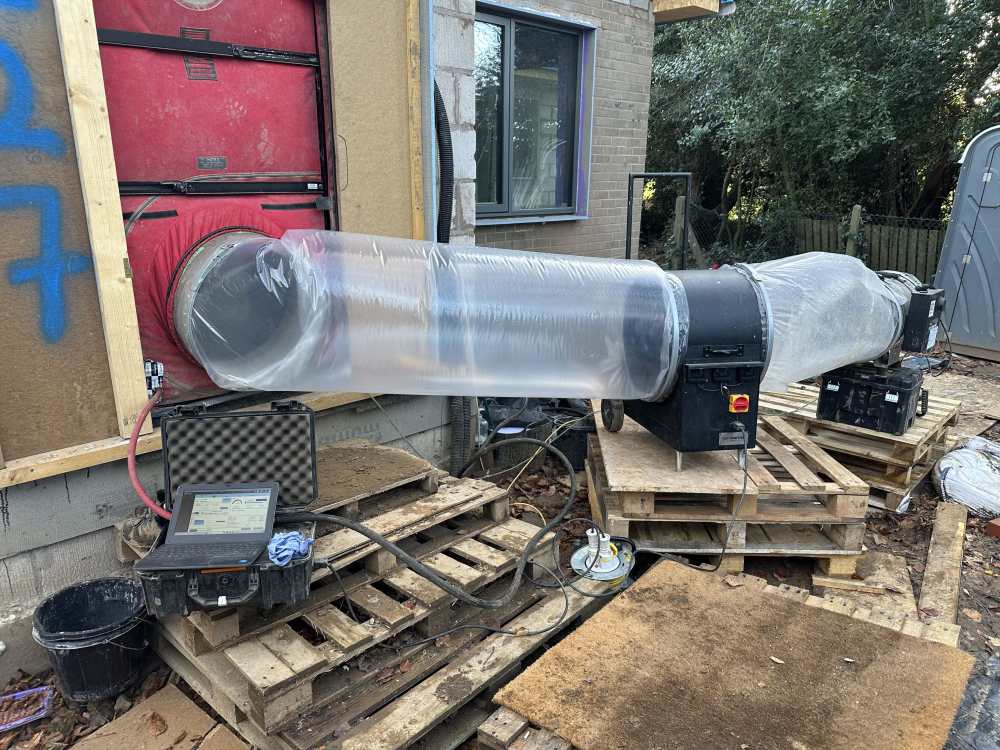
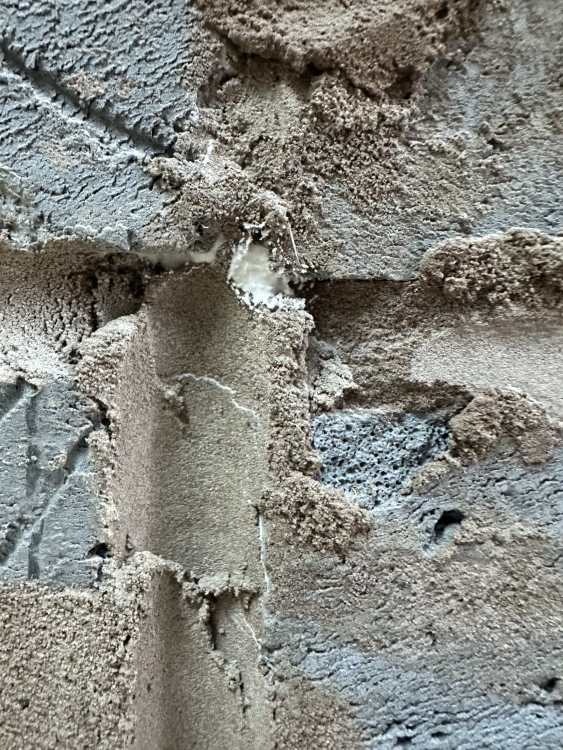
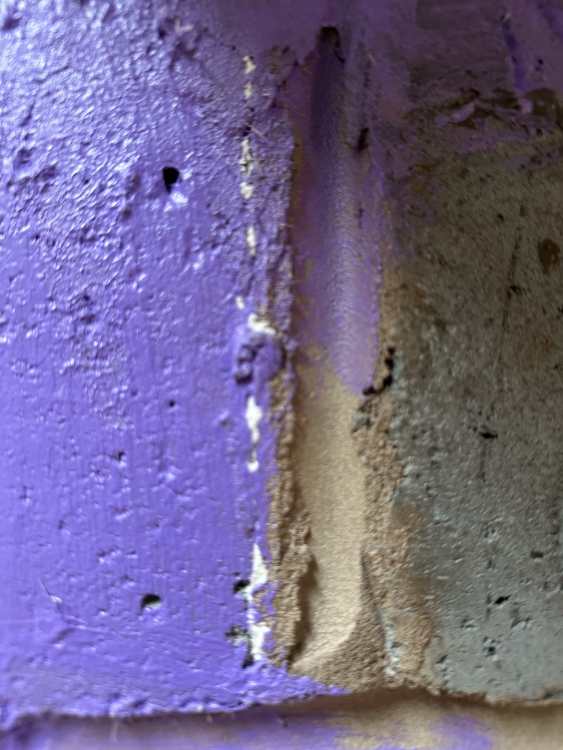
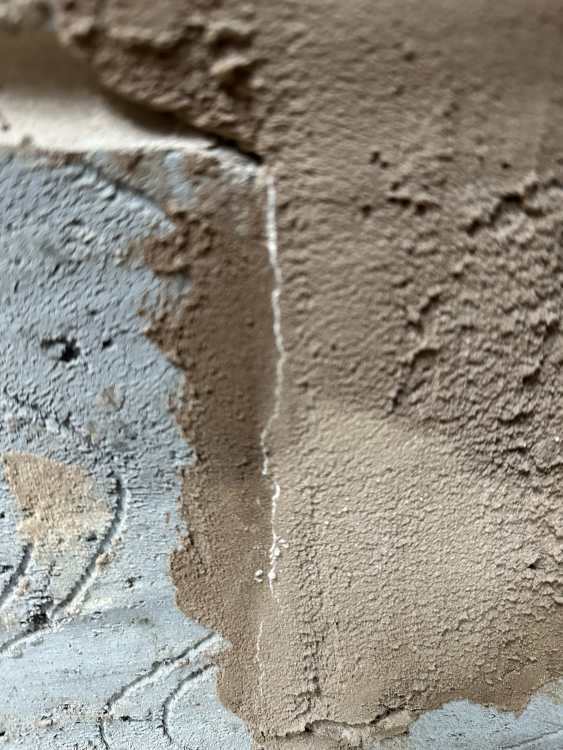
They price per m2 iirc, and I asked the same question. So no matter if you’ve parged the place and use very little product, or you’ve a woodcrete ICF or bare masonry structure, price is the same. The larger holes? Well anything that you can see should be dealt with beforehand as best you can, obvs, but to give you some idea of how good this is, bearing in mind this product gets atomised, the results can be seen here. Look for the marble lines in these pics, and the ‘hole’ in the first pic, that was not obvious to the eye, got plugged PDQ! @Mike I’m referring to the ones that your method just won’t find, not the ones it can. Have a look at these micro fractures in the pointing of the masonry, and where masonry meets blocks. The blocks / bricks themselves are surprisingly airtight as is, and no real evidence of the product having sealed them, but I’m sure it has but it’s just not as easily seen. It got into gaps thinner than a cigarette paper, as you can see right at the bottom of the last pic. Two slight white lines 10mm apart or so, which the eye, candle, or other, wouldn’t have ever detected. There was a 3.4m long metal lintel which was perforated with hundreds of 6mm holes, and this stuff went into each one and plugged them up nicely.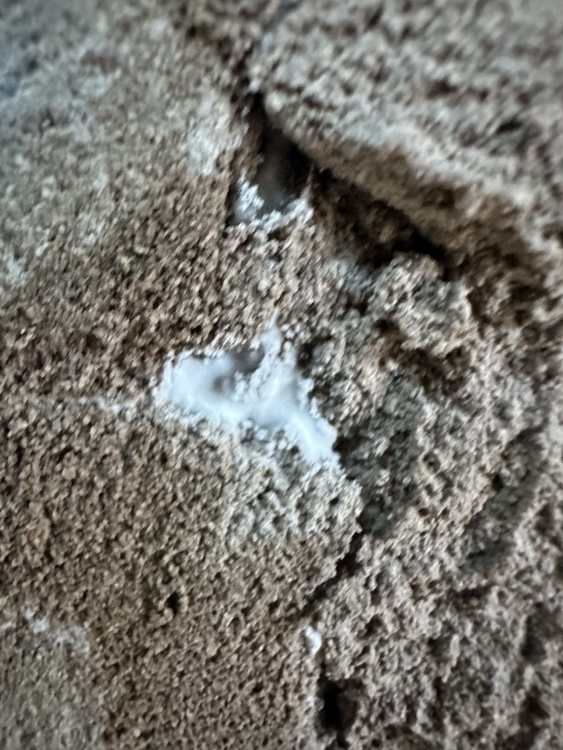
-
Does aerobarrier negate need for airtightness detailing?
Nickfromwales replied to SBMS's topic in Ventilation
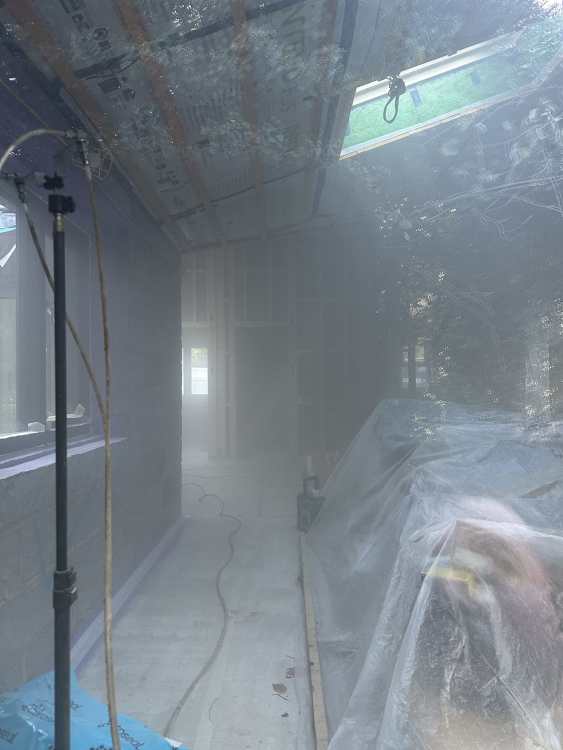
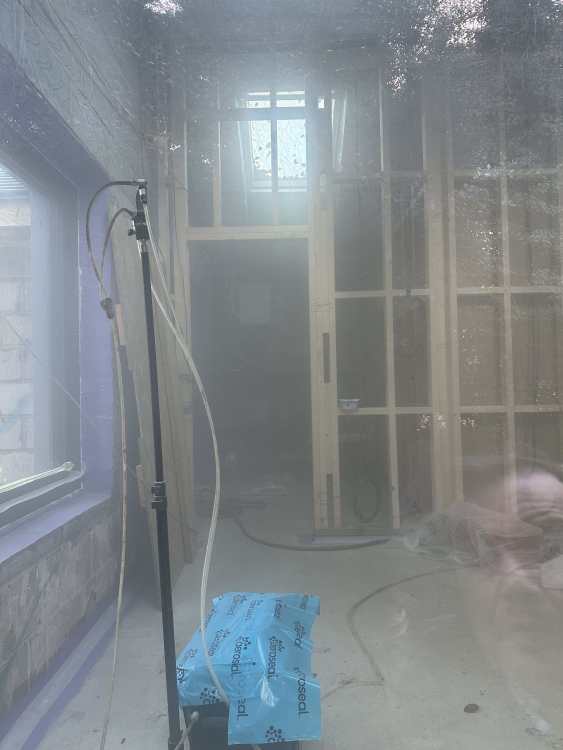
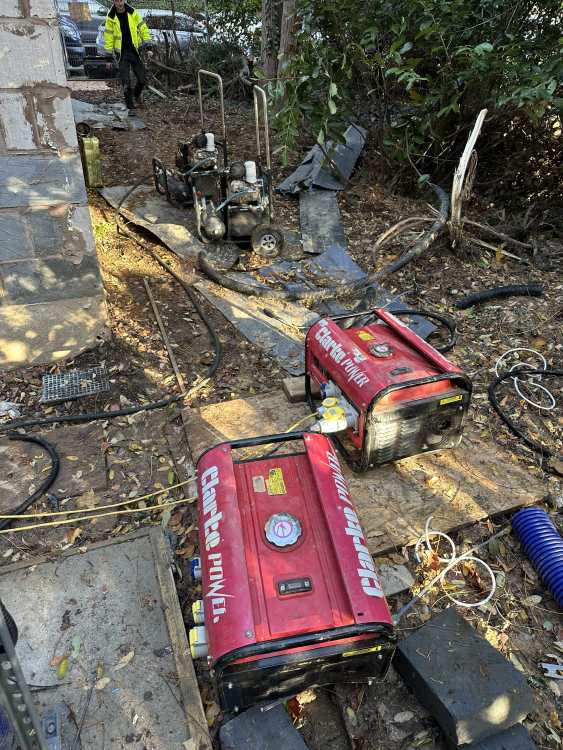
Let’s be realistic? Going around on a windy day with a candle isn’t really going to cut it . I’ve recently been working on what is basically now an EnerPHit refurbishment of a mid 60’s brick and block bungalow. I advised the client to go for a posi joist roof, with an AVCL internally. At the tops of the masonry walls we parged 300mm or so with standard set tile adhesive, after SBR primer was applied to the new thermalite blocks / original masonry. That was covered in Passive Purple, primarily to act as a quality primer for the AVCL to get taped to. At the junctions between the kicker blocks and the infill screeded sections of floors, we injected 330 foam and then multi-tooled off the excess. This was spot foamed and trimmed again. Then the screed was primered and the sole plate of each internal stud and 100mm of screed against the plate was PP’d. Then these got taped over with an 80mm tape. This bit was prob overkill seeing as AeroBarrier were in next to “seal the deal”. The brick / block / masonry walls were left untouched, just a bit of foam and some leftover PP applied to the obvious bits. No additional parging necessary. Started off at a respectable 1.2ach, and that was down to 0.5 at 38 mins into the treatment. It got down to 0.2 by about 2 hrs in, and then the chap in charge decided to go batshit crazy and upped the fan pressure to 200pa (from 50); he said “we don’t see these types of projects getting such good results, so let’s get it to a 0.1”. And he did. 👌🤝👍 The only piss you off was the laptop didn’t do 2 decimal places, so let’s assume the 0.1ach was something like 0.18, so on the rebound I can say it was definitely a rock solid <0.20ach final test result. Shit hot afaic, for an old masonry hybrid refurb. Around doors and windows, all that was done was the foam, but the windows did get taped afterwards; whether they actually needed this afterwards is anyone’s guess, but for longevity, they got taped a few days after. The roof lights had the splays done in the green propassive AT OSB, and they were taped to the AVCL and then the OSB was taped to the roof lights. This was after Gordon Lewis had been to work his magic, fully filling a rather complex roof structure. He was VERY thorough and even came back the morning after; he was supposed to have been elsewhere, but wanted to go around one more time so he could just work some of the smaller, more awkward voids to his then satisfaction. In a nutshell, he stayed until the job was done and 100% over the finish line. Big thanks and a shout out here to Gordon, so anyone wanting Warmcell blown in please PM me and I’ll zap you his details. FYI he tapes up everything after he’s done, so an AT tested build will still be AT after his attendance. The AB product is more like PVA than caulk, so it’s stretchy and won’t crack or fracture like caulk does. They were adamant that taping the doors and windows was pretty much a waste of time / money. I’ll post some pics in a bit. Places where this got in and sealed up were quite fascinating to see (if you like that kind of thing). -
metal framed cupboard and dropped ceiling
Nickfromwales replied to Thorfun's topic in General Joinery
Winner winner. Looks good, and almost as if a professional did it 👀😄 ”Result”. -
A solid section of XPS board, and zero battens. The talk of battens has left the building, and is not coming back, which is my lame attempt at a subliminal message. To reiterate. Battens = 🤐 You can have this floor 10-20mm higher to get more insulation in, that’s a good idea all round. A decent chamfered timber (hardwood) threshold has been great a way out of many similar transitions that I have done over the years. Works a treat. UFH over the XPS tile backer boards (no place for Hardie type boards here sorry) and then the least amount of SLC as possible, then the flooring. For stone, you can just lay on a decent bed of flexible tile adhesive immediately over the SLC. Or, if you’re brave or are paying a tiler, they may be ok to simply lay the tiles straight over the UFH wire / mat and save you having to use the SLC at all. That’s down to how much undulation there is in the subfloor as this will be represented above the XPSc as that will be bonded down, again with flexible tile adhesive. You can use that first layer of adhesive to remove any undulation, which may be another way of reducing layers; you can then do away with the SLC if the prep is good as above.
-
lol. I suggested similar to a client once, when younger and even dumber, with glass mosaics. It was a never-ending punishment to lay, and then the grout just refused to dry as I’d made it a bit wetter than usual (to give me some more open time)…… Then, whilst stood in the bath grouting and buffing like it was my last day on earth, I bent over and head butted one of the sharp copper pipes I left for the shower (with no cap end) and still have the Harry Potter scar on the top of my forehead; I am now ever-reminded of that “fantastic idea” I once had. ffs. 🤦♂️. Long live the large format tile!
-
Another for the KISS approach
-
Yes. Stop listening to the manufacturers and go with the bonded XPS (Wedi / Jackoboard) type material. You’ll need to self level over them as they follow to subfloor, but that’s your opportunity to bury the electric UFH. 👍 Then tank and tile.
-
You're either floating or not. Fixing the chipboard to the battens would cause a conflict. Why floating? Seems added uncertainty with a mixture of bedroom > bathroom wetroom flooring.
-
Thanks for that, as nowt beats a bit of raw data! Interesting to see how it's still performing admirably, even immediately before deciding it's time for a defrost. The ASHP that's just gone in at one of my current projects defrosts by using some of the buffer volume, I believe. When we had the bitter cold snap recently it defrosted in probably 30-45 seconds; just a big cloud of steam and an almost instant runoff of water from the melted ice. A few minutes at not much more energy consumption doesn't seem to be the worst thing, so your graph offers some assurances, so 👍. The hat's got a few holes in it, may not have taken another hit tbh......
-
As a blanket yes, but after 3ach not so much. People in affordable of HA housing will switch MVHR off and happily choke to death, whilst drying wet clothes in 3 rooms and typing out a complaint about the mould and condensation issues. You can’t educate pork, but also there are some terrible handovers conducted, or none at all, so what people don’t know they simply won’t know. MVHR and airtightness are both the best things since the slicing of the first loaf, but it needs to be done correctly, in a dwelling that sympathises, and be owned by an informed occupant / end user.
-
Absolutely. Most contractors feel they need to fear, or hide away from the BCO. Engaging with them to keep the cogs oiled is often far more beneficial overall, and prevents such feckups. Depends on how far you let the builder go before provoking a visit from building control.
-
It can prob be derived here, better, for free. These pro’s are just annoyingly expensive and underwhelming. About to get another new clients architect placed into the nearest bin, which actually happens a lot when I’m involved and demonstrate the long list of faux-pas. Current clown hasn’t actually followed the approved planning application, so that chat I had with the client to highlight this last week was “enlightening” to say the least. Then that moved quickly to being infuriated. Operation lead balloon was in full effect, yet again.
-
With your love of buffer tanks, what’s the method of defrosting in the absence of one? I’ll go get my tin hat ready……
-
A metal “bell” strip would be the junction between bricks and blocks, to kick the drip / rain away. Different types / sizes, so ask £20k boy to go draw something quick and simple; as if it was coming out of their pocket not yours for eg.
-
Stick with us, kid
-
A man of distinction. I went to price a flush in a large 3 storey town house and just told her straight, all the GF rads are skip fodder, and that doing her the disservice of flushing them would be of zero value, probably the opposite when I make all her valves leak. She said it was nice to get some truth as the last guy said £400 for the day; one assumes he would have hooked up and then gone on Farse-book to pass the time. I said we could do a good job, where we take each of the FF rads off, bring them outside, and flush them one at a time at full wallop, turning them up on end and upside down etc, which removes a load of crap. We ended up installing new rads downstairs, and whilst they were removed and capped off we flushed the top floor rads in situ. We then gave the whole house the new TRV’s and lock shield they were screaming out for. Client said the GF had never been so warm, with all her nice new oversized double convectors (Stelrad to the rescue with some nice looking rads with slight curves to sides and top covers), so happy days all round. There is an interesting gadget available…. which you use to rattle the shit out of the rads during the flushing process, particularly where the valves connect. I’ve decided to dodge this method as tbh most of the much older rads would probably piss themselves on the spot if you actually decided to go with this “initiative”. ”Springers final thoughts”…… You can’t really cheat your way around 30+ years of mild steel sat in water. Nothing lasts forever. The massive uplift in efficiency you’d get from new convectors is well worth the investment in new rads for the GF vs putting good money after bad. @Dee If it’s a matter of needs must, then just put some sludge remover in there and let the chemicals do whatever they can, aka putting a band-aid on it. Flush it all out in accordance, and then see if it’s good enough. Cheap simple DIY option. If you do go for a flush, take all the GF rads off and get them done one at a time.

-
British Gas are just legalised thieves. Their signature move is mugging old people for huge sums of money to fit the cheapest Gloworm Boiler as quickly and shoddily as (in)humanly possible. Utter shower of shit.
-
@DRT if you haven’t noticed that thread is a year old too. No probs blowing the dust off as every bit of additional info is of value, just in case you were hoping for some immediate feedback. This looks like it’s time for a new inverter from a more robust manufacturer.
-
Adding the wood (TF) section does complicate this, seemingly unnecessarily. Plates for ceiling rafters and roof rafters can be done quickly and simply to connect those.
-
What does this architectural symbol mean?
Nickfromwales replied to Tony L's topic in Surveyors & Architects
Just thought it best for a quick sanity check. One can get quite lost going down various hypothetical rabbit-holes, when it’s all you keep staring at. -
What does this architectural symbol mean?
Nickfromwales replied to Tony L's topic in Surveyors & Architects
She seems way too happy about ladders. Do you get much snow? -
Clippa plate or similar between joist ufh
Nickfromwales replied to Selfbuildsarah's topic in Underfloor Heating
Yup. I’ve allowed to insulate the flow and returns along the lengthy landing area, to ensure any heat we introduce is going exactly where I want it to. -
What areas are you using it in?
-
Clippa plate or similar between joist ufh
Nickfromwales replied to Selfbuildsarah's topic in Underfloor Heating
Not had great experiences with Nu heat previously either. And pricey.