CC45
-
Posts
1255 -
Joined
-
Last visited
Everything posted by CC45
-
It wasn't easy but I did learn a few tricks along the way that would make it easier if I did it again.
-
I used celotex in a 140mm timber frame - it took a long time. Next time its going to be a similar build as @ProDave. I used plastic sheets & tape to make it all air tight - thats Q quick tbh (need two pople to install - one to hold the sheet & one to staple it in place raedy for taping. Good luck
-
Hi @Onoff, Yes L&N at the switch & swithced live to the light. So One of these: https://www.tlc-direct.co.uk/Products/QUR303.html Plus an MK grid + one of these: https://www.tlc-direct.co.uk/Products/QUGDMK.html What are they like in use? Do they feel the same as a normal switch? Cheers to both @Onoff and @Nickfromwales for replies. Cc44
-
We have decided that the side a door hinges isn't right - changing the hinge side is easy - what isn't so easy is to move the rooms light switch which will now be behind the door when its opened. I could probably channel the plaster board out and lay some new cable but this is not going to be easy or without consequences so does anyone know if I can put some sort of remote box where the current light switch is and then run a non 240v powered switch where the new switch needs to go. Any thoughts / suggestions are gratefully received. The lights are wired with power at the switch and not the ceiling rose - just in case this is relevant. Cheers CC44
-
blown my mind completely. No idea how you know about all this.. Interesting though
-

MVHR condensation drain
CC45 replied to Pocster's topic in Mechanical Ventilation with Heat Recovery (MVHR)
I'd make the pipe exiting the warmer area to the outside much bigger than 21.5mm - prob adapt it up to 40mm. Just in case it freezes as it hits the outside, I wouldn't want it backing up .... -
Thanks to you ALL for taking time and effort to help me out here, I understand more now than I did - exactly what a forum is for. ?
- 49 replies
-
- 1
-

-
- worktop
- end panels
- (and 2 more)
-
I've showed her both - but she prefers the @joe90 version. Tend to agree with her but as said its all just opinion. Like a lot of things in self build, you worry a lot at the time but a few months later its all forgotten. Appeciate all the comments here. Being on my own doing these jobs I really appreciate the discussion. ?
-
that 'anal perfectionists' is another £112 + VAT + delivery. But agreed it does look much better.
-
cat needs a HiViz. We put expansion gaps in all doorways & have allowed expansion at sides. No probs so far. @nod is the man - do what he says
-
Hi @joe90 - the boss has said that this is what she wants. I will order another side panel and replace the existing one, better than looking at it and thinking what if.... Thanks to all of you for your suggestions.
- 49 replies
-
- 1
-
-
- worktop
- end panels
- (and 2 more)
-
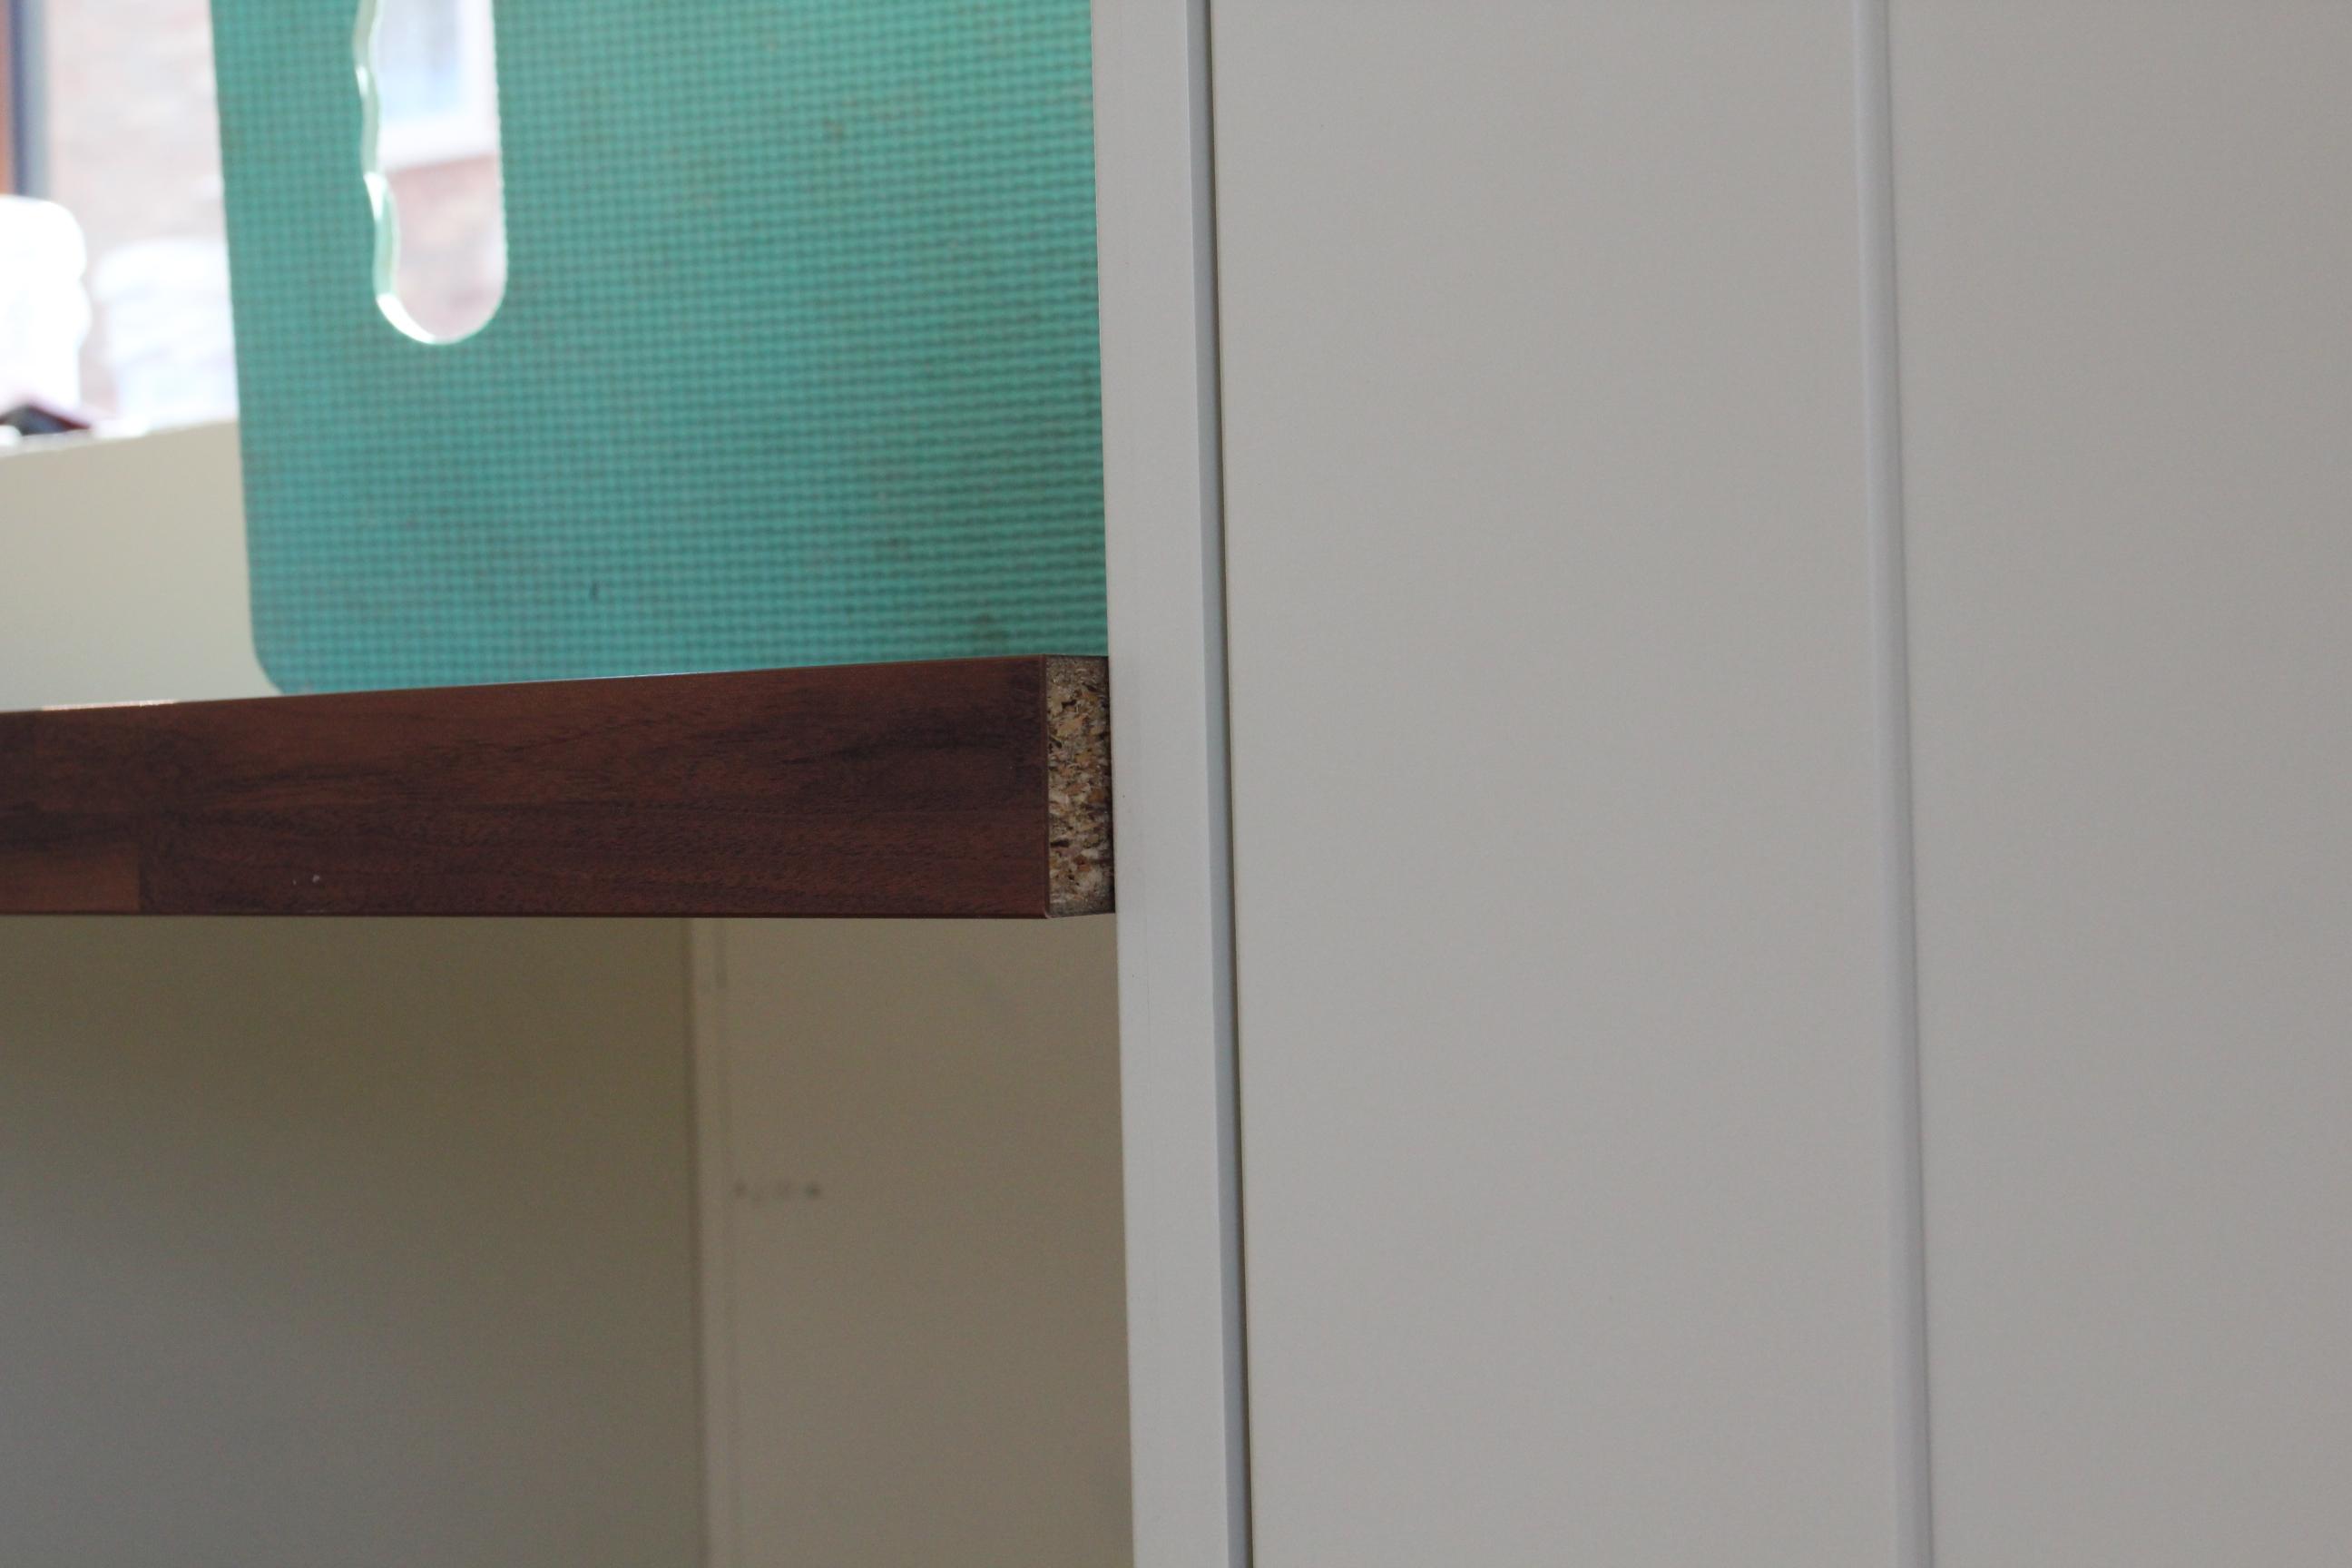
Hi - no edging tape, we were told it wasn't needed (obviously by someone who hasn't installed one ever) - can buy some though. Any pics of your finish?
-
I like this idea - but prob without the 30deg cut..
-
no overhand at the front them - won't get that past the decision maker....
-
Dear all, Was going great guns putting our utility units and worktop in until last night. I cut the worktop and slid it in place and found this: The laminate worktop is square edge and if I route a curve on this I'm told the edging tape & adhesive doesn't match it well enough to make a seamless join. I'm pretty sure it would be OK on the edge of this bit though. I'm torn now. 1. Do I just stick some edging tape and accept it looks an awkward junction and then move on to the next job OR 2. Order a new end panel and leave it at 600mm deep (current one is trimmed to 580mm to match the cabinet (560mm deep) + 20mm doors ). Take off the old one and replace it. I would need to do both sides. More £ than option 1. Reinstall cabinet the tall cabinet (RHS of the pic) and accept that the door is 20mm back from the panel edges OR 3. As per 2 but remount the cabinet 20mm off the wall so the door is flush with the panel edges. Washing machine going in next door so unlikely that anyone will really notice that these doors are further out from the wall than any other one. moving the cabinet 20mm off the wall will involve a fiddle since id does need a good brace since the rear panel has to be removed for the fridge. I could fix to the end panel. Hope thats clear. Its times like this that I wished I was in the trade and just knew what to do. Interested in your thoughts. Cheers CC44

-
straps around it, 2 people, lay on adhesive & either pull straps out or cut off.
-
We did as per @nod - bomb proof. Glue (Ardex AF200 I think) is sticky as hell. You need a 3mm tiling trowed to put it down.
-
@Temp we have same - rads upstairs but all few from UFH manifold. Separate wired rads to each room. very well insulated house so don't expect any issues.
-
DIY wooden sleeper retaining wall advice needed
CC45 replied to Zeffo77's topic in Introduce Yourself
just painted with red oxide and then a bitumen coat on top out of the ground. They were hefty beasts - will see me out for sure. Cheaper tha putting a block wall up. -
https://www.bpcventilation.com/exterior-grille-s-steel-louvered-cowl
-
DIY wooden sleeper retaining wall advice needed
CC45 replied to Zeffo77's topic in Introduce Yourself
we've got a retaining wall thats 4 sleepers on their sides deep at the worst point - fence panel on top of it. We dropped some RSJ's in (concrete) 1m+ working an a 1/3 in the ground. Slide sleepers down them. Get someone to bore the holes for you - look up agricultural fencers in your area - they frequently bore holes so should have the kit. They are quick at it and well worth the cost. -
I use 18v dewalt - a lot of my mates do. We aren't builders but are all self building. Never a bother with them. I suspect there's very little difference between Dewalt and makita. I would buy either of these and sleep easy. Buy cheap buy twice.
-
I've used masonry pain in our (open) garages. Water proof so hopefully will keep damp out of the storage room above. Does give off fumes for a long time..
-
There seems to be a degree of urgency around us to get properties on the market - I know of 2 being advertised that have no internals at all, no windows etc. Several rumours of redundancies at building companies.... Seems as if every 10 years or so there's a shock for the economy. There must be a limit of how much cheap (free or subsidised if you actually take inflation into account) cash the government can print and give away. Pumping more adrenaline into a patient only works for so long before the inevitable conclusion.
-
First costing of project, opinions required
CC45 replied to Spainy86's topic in Costing & Estimating
ground works and timber frame errected cost us £250/m2. I did look at stick build - would have saved ~ £40/m2 but you need the right crew to make it and not too many with experience around us. Next time will be block & block with wide cavity for insulation.