Leaderboard


Popular Content
Showing content with the highest reputation on 04/12/17 in all areas
-
Said every self builder ever, when justifying the latest tool purchase to the project accountant......... And never selling a single thing, just in case !4 points
-
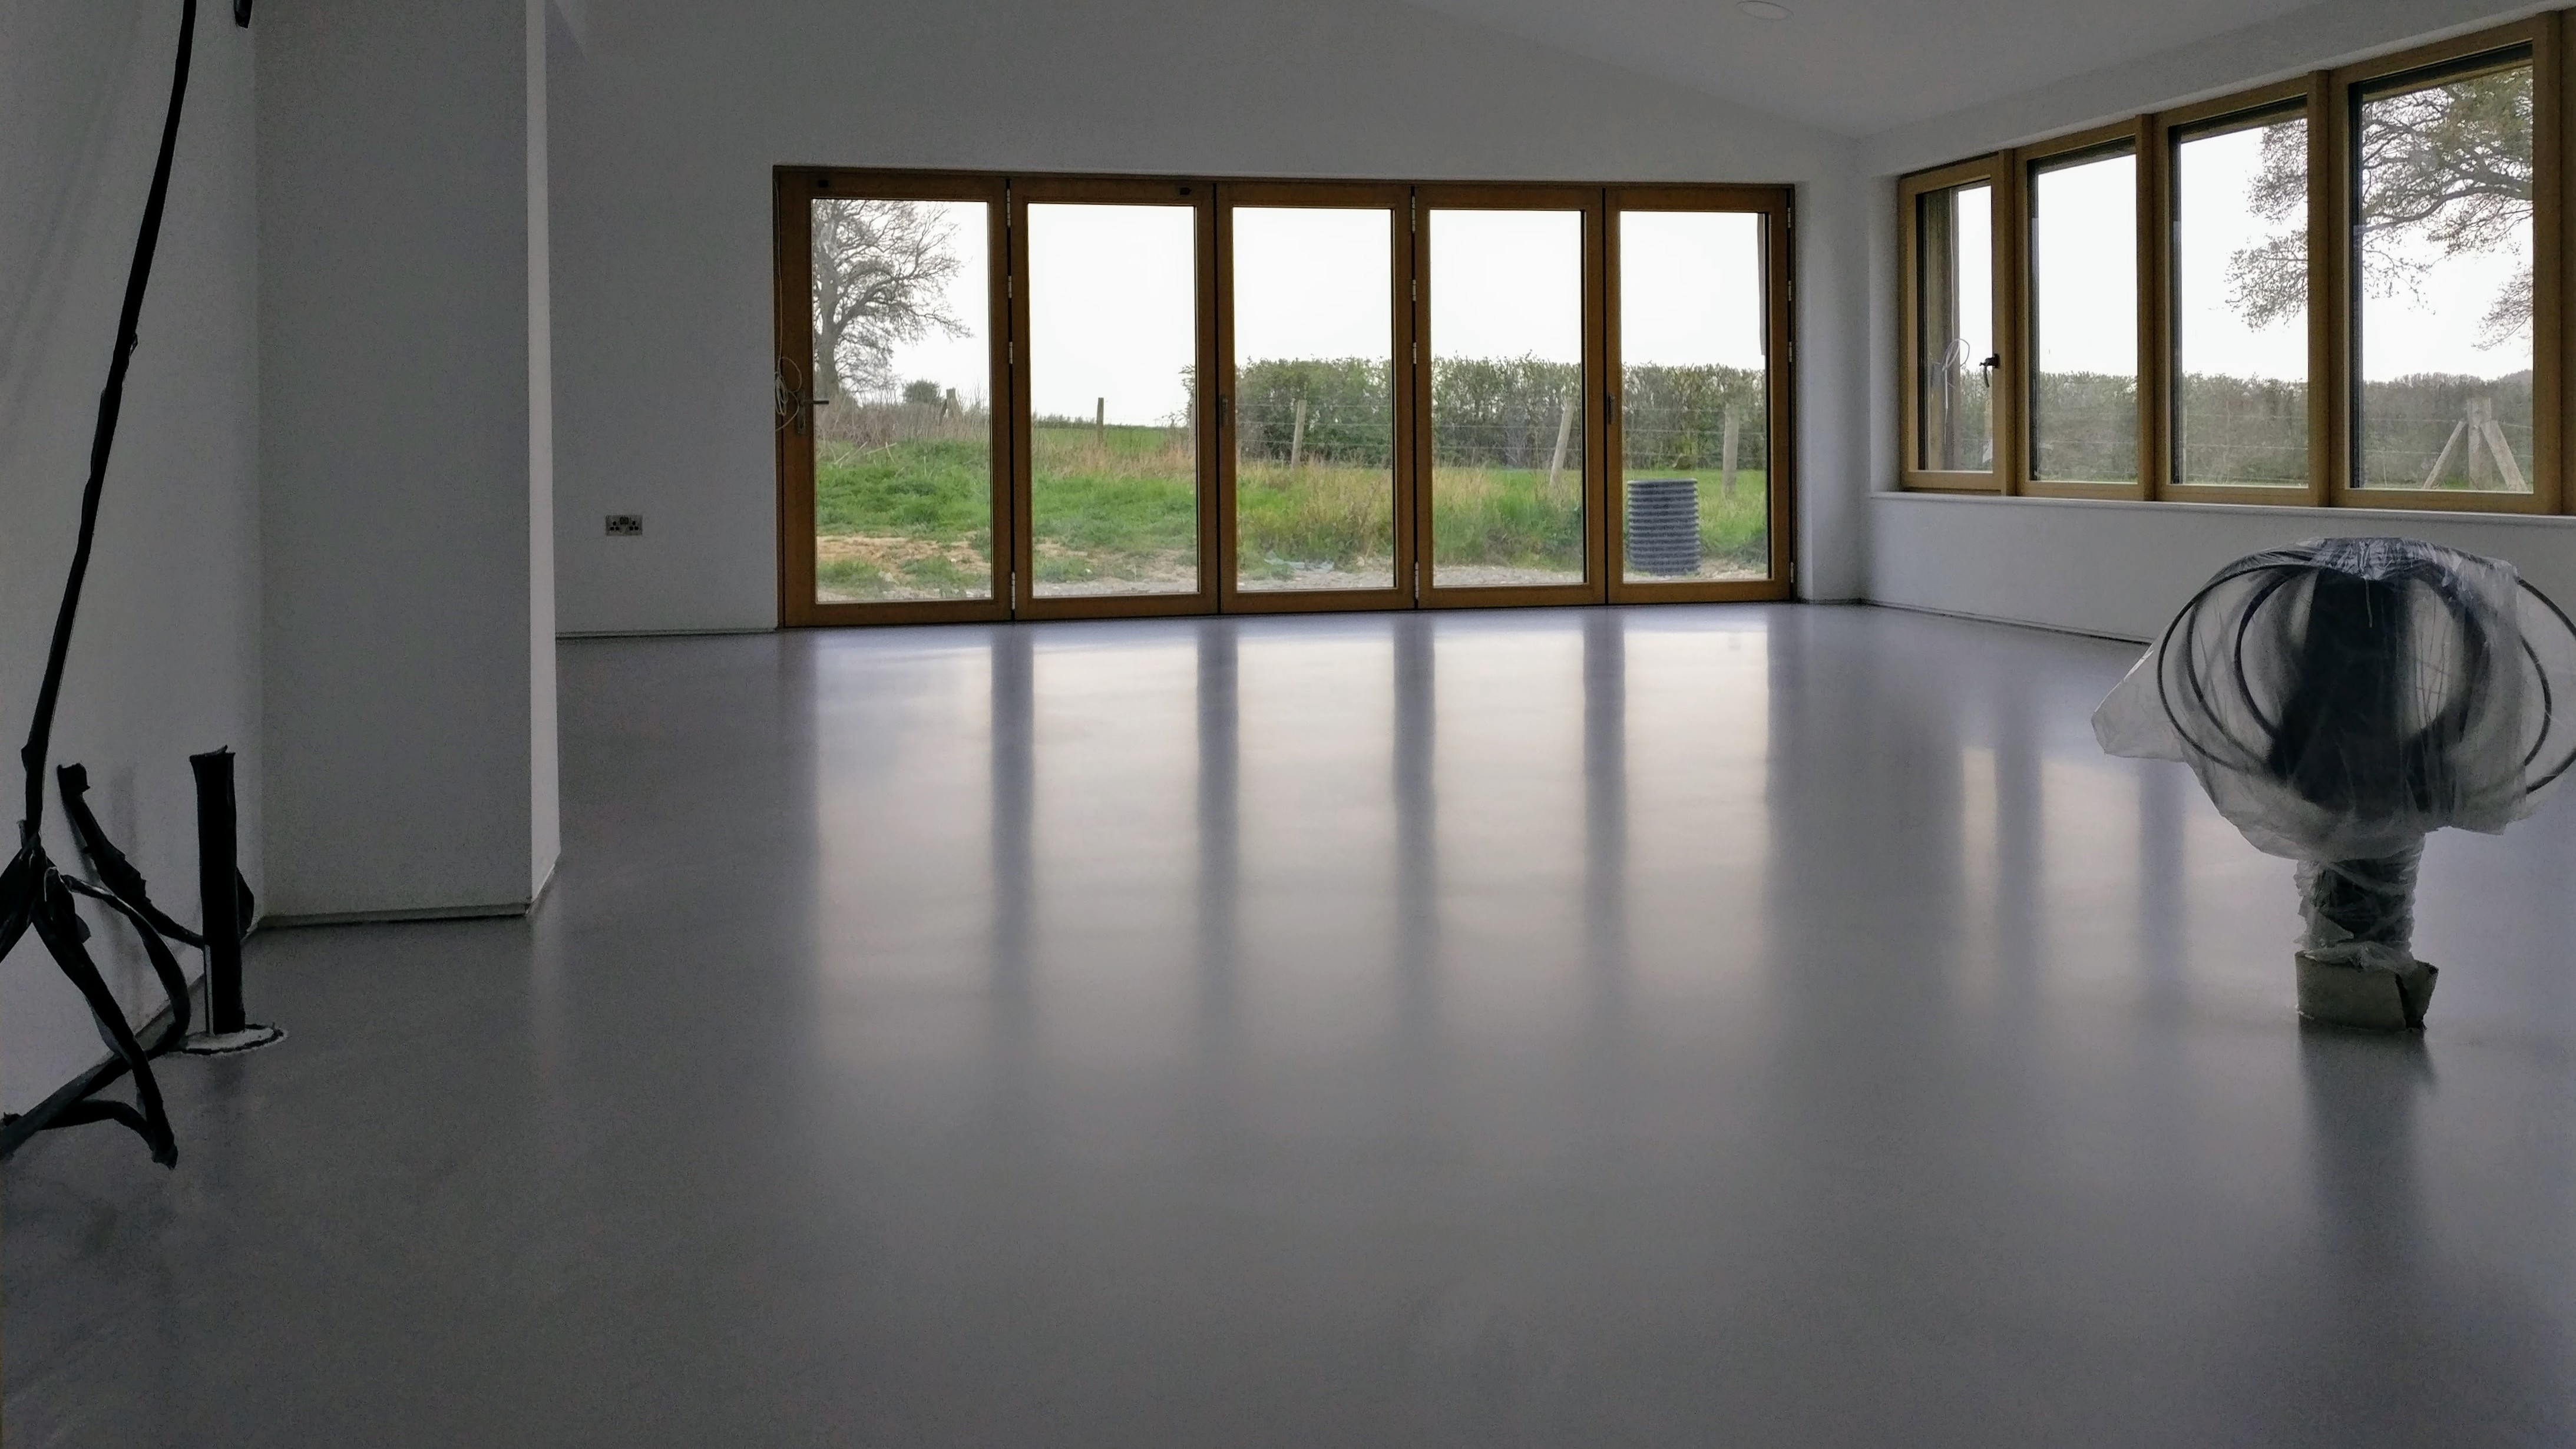
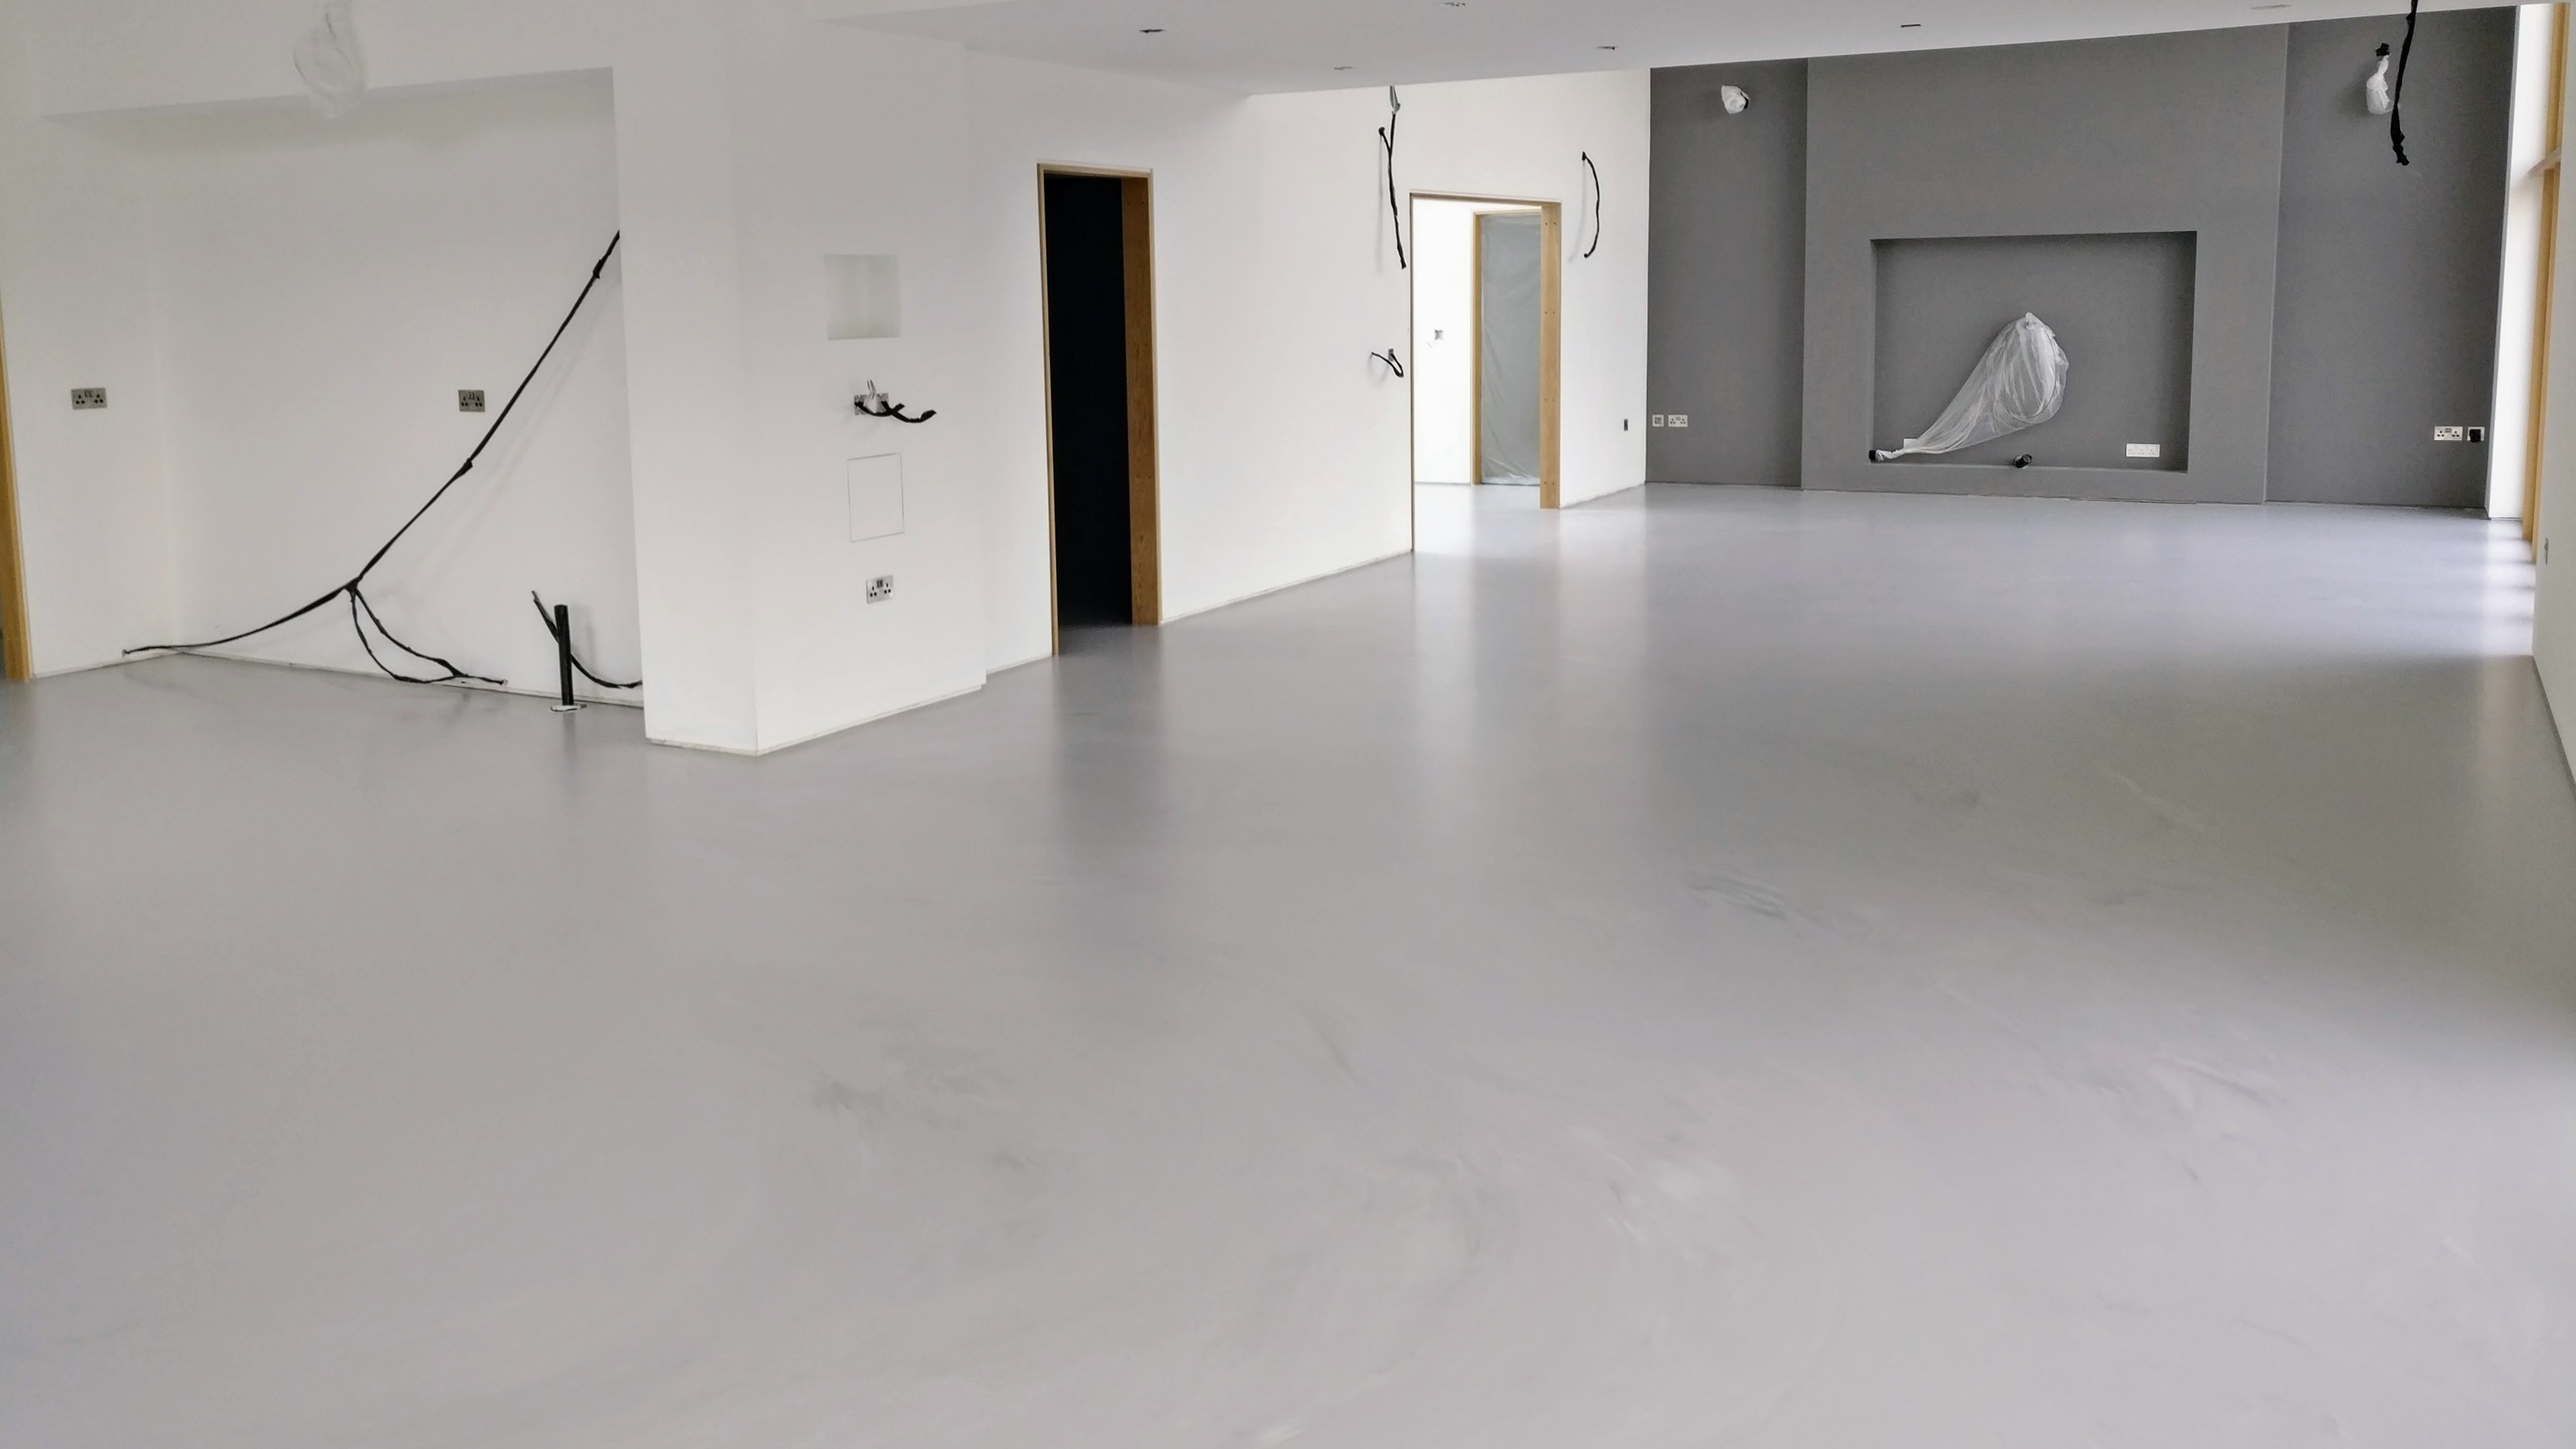
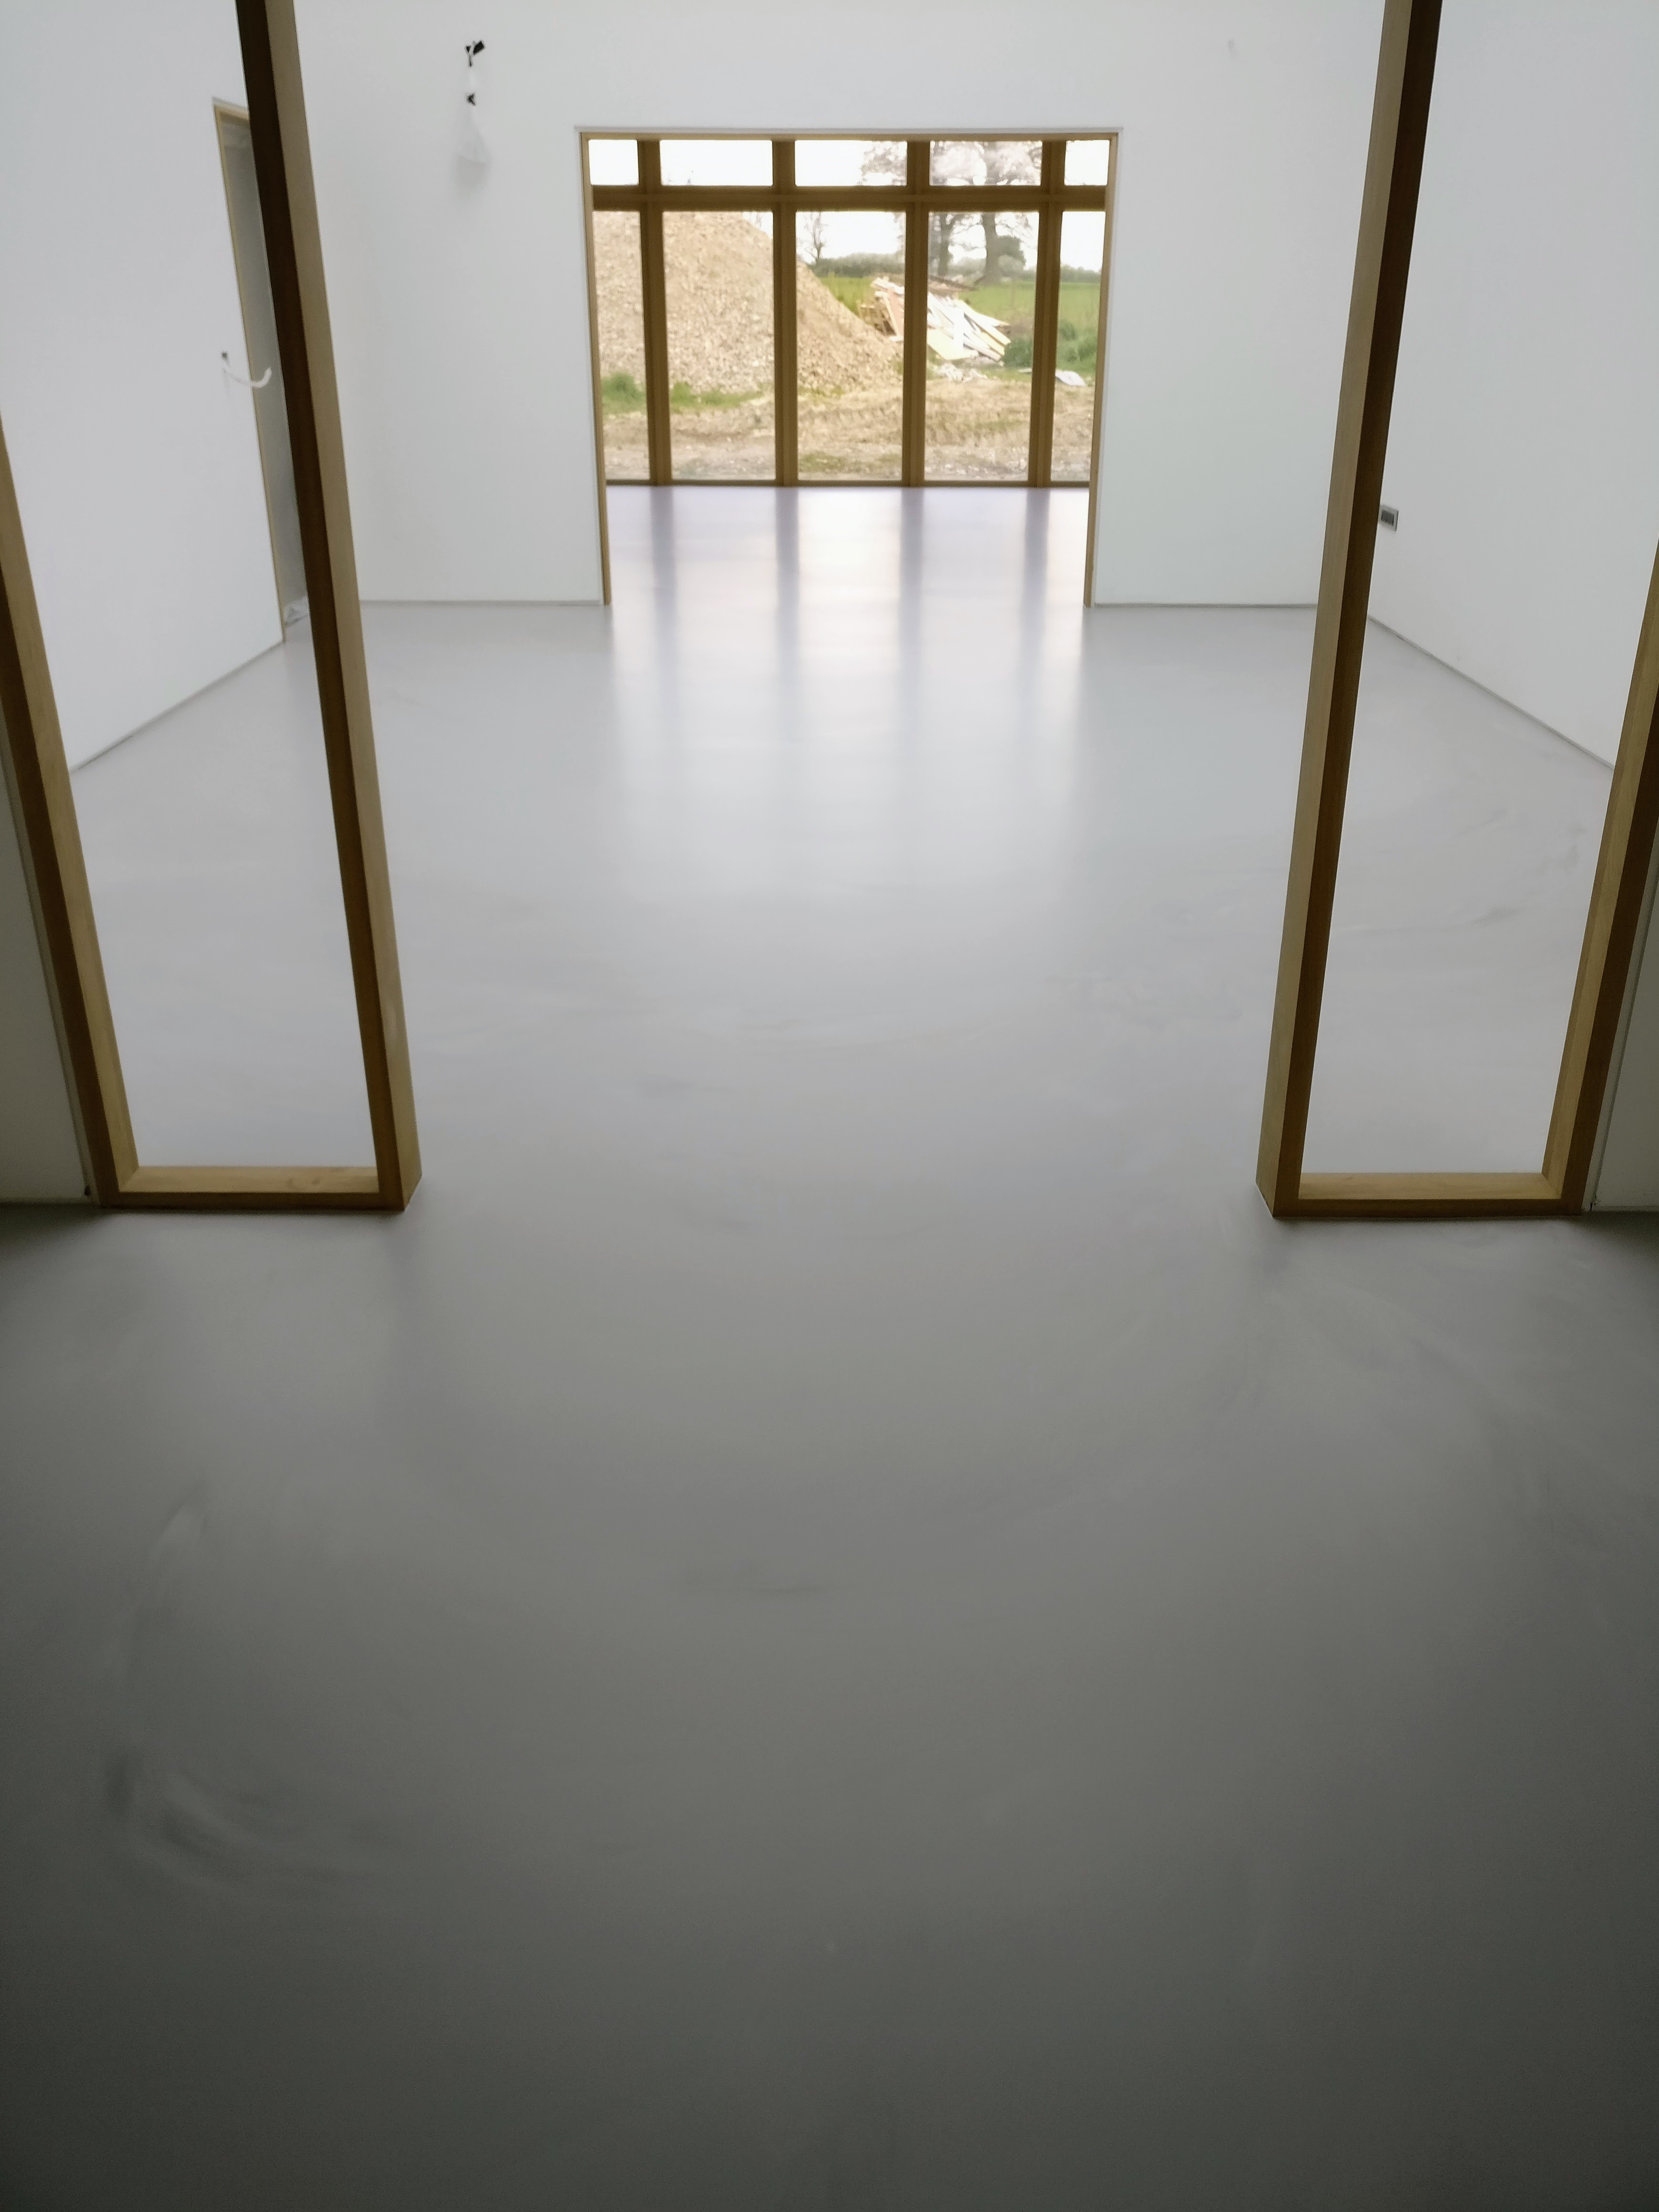
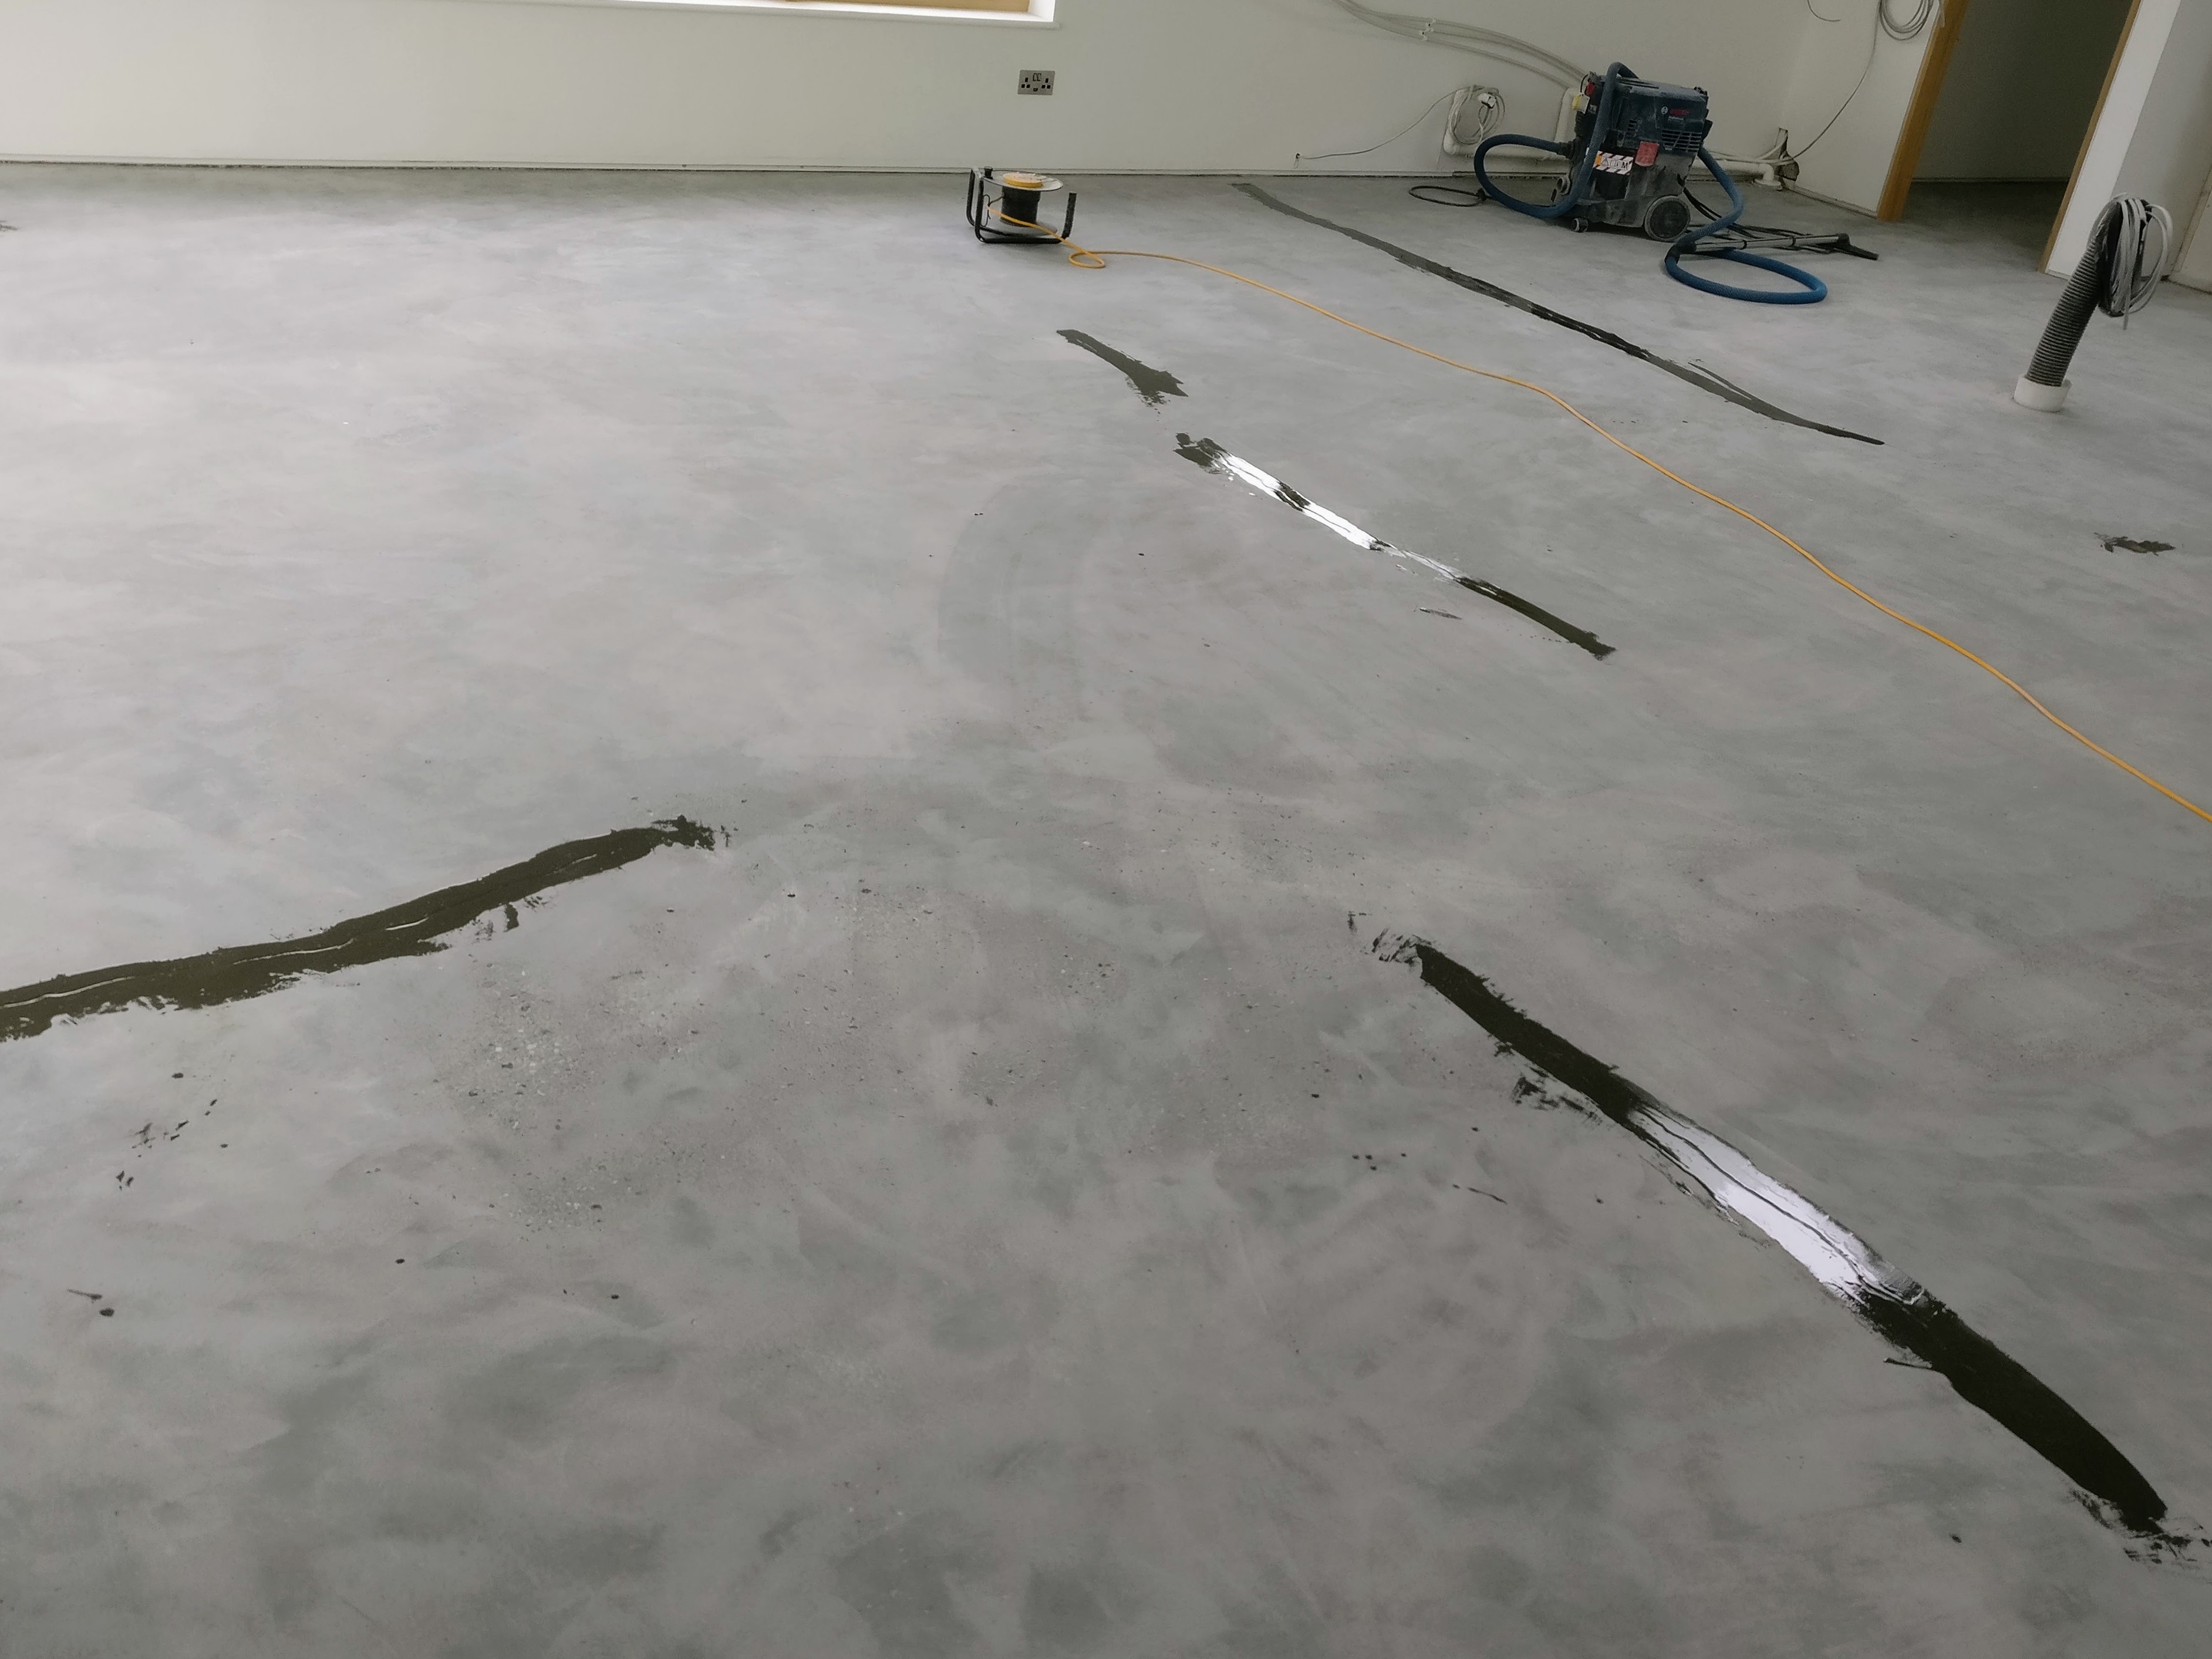
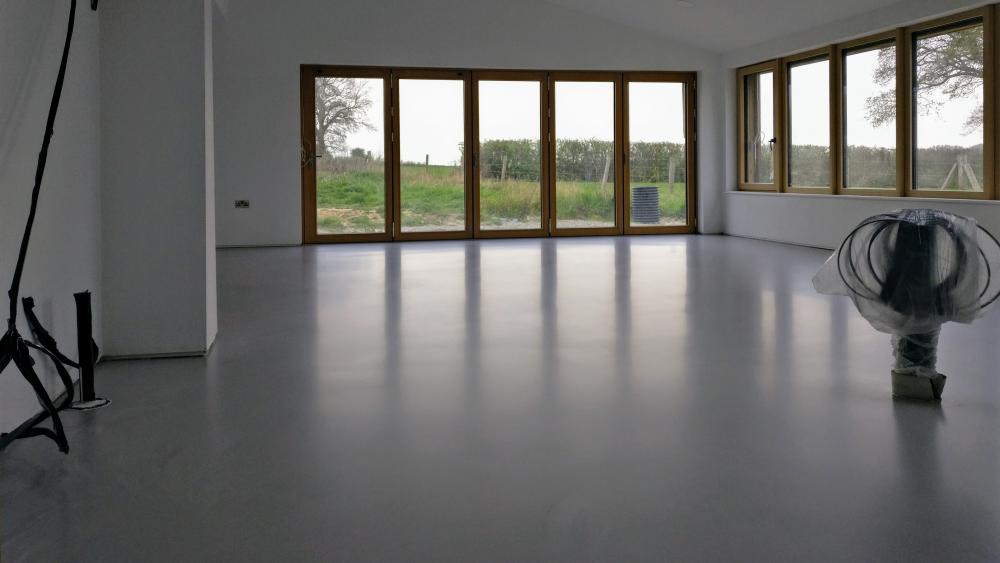
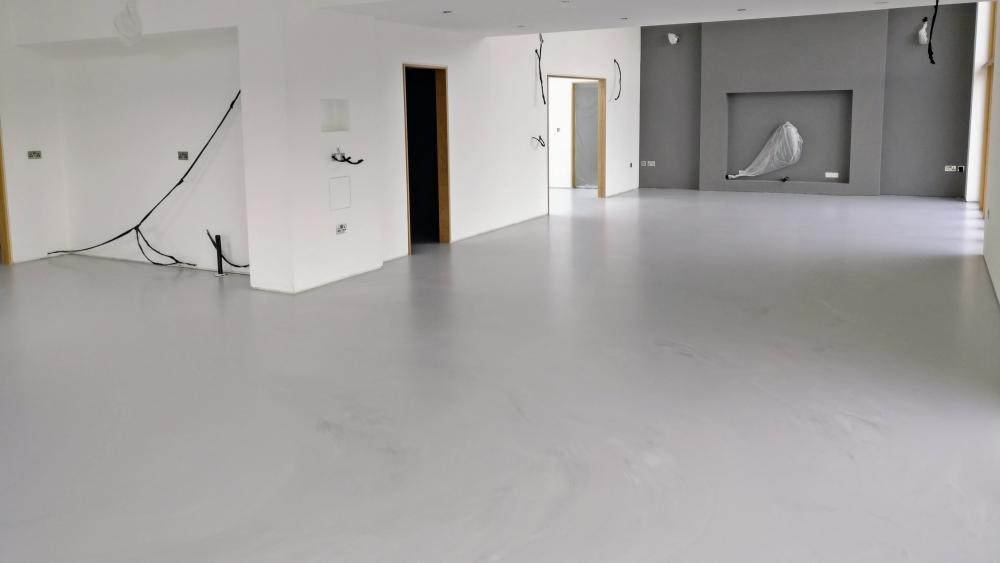
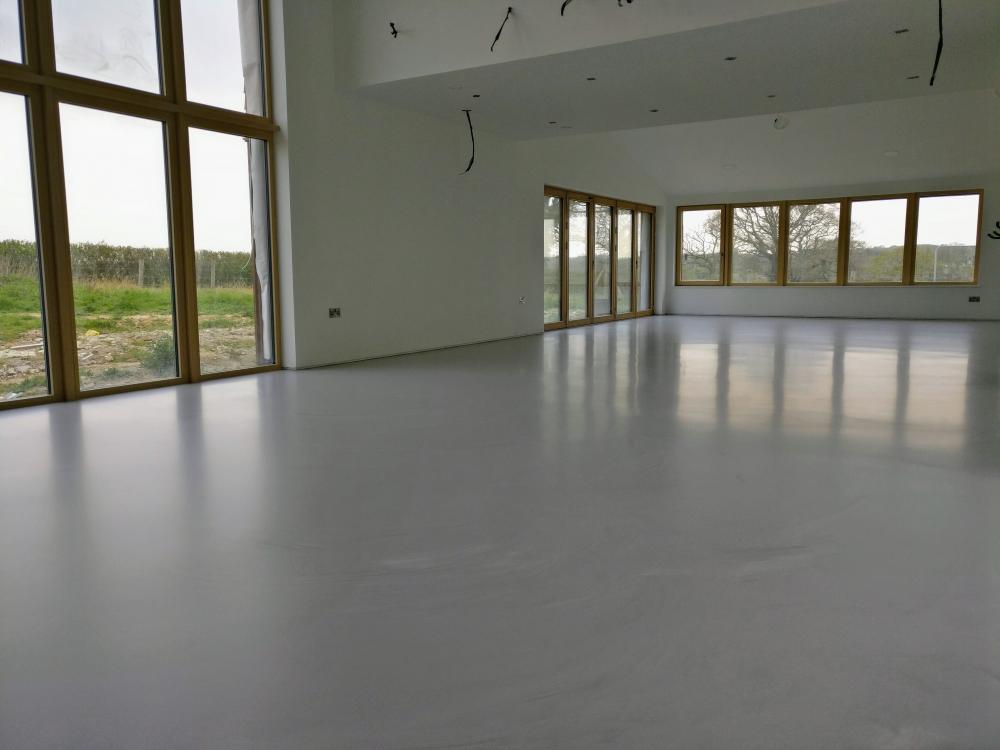
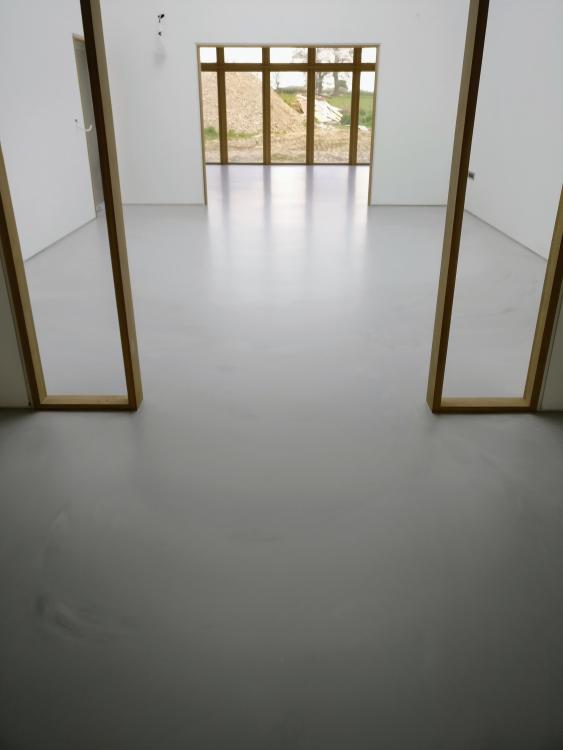
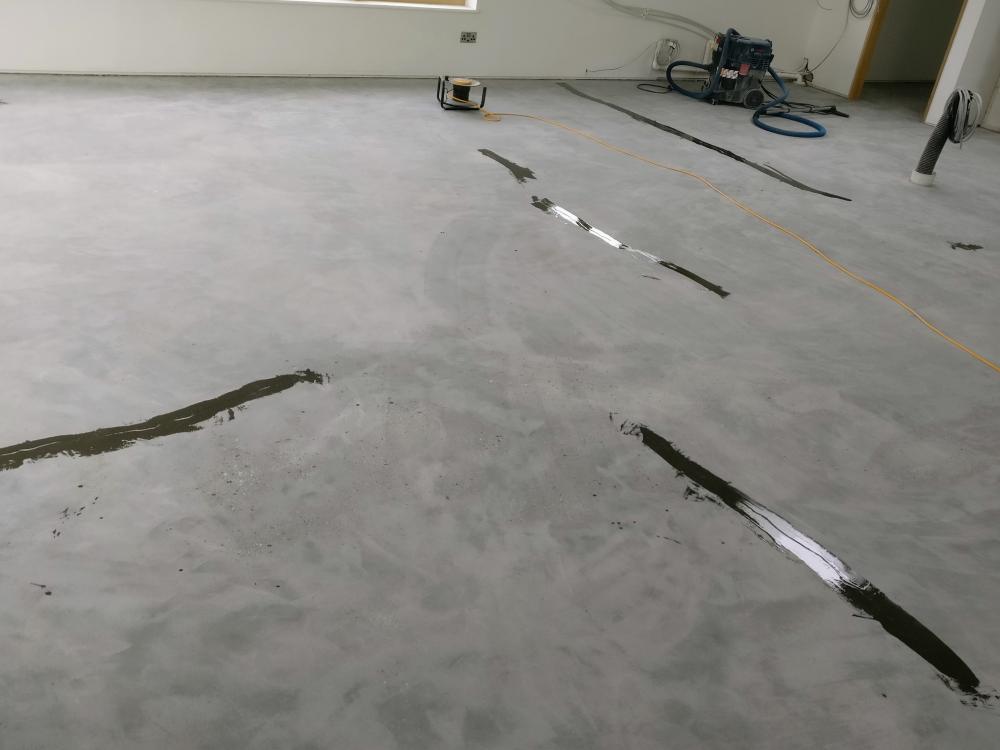
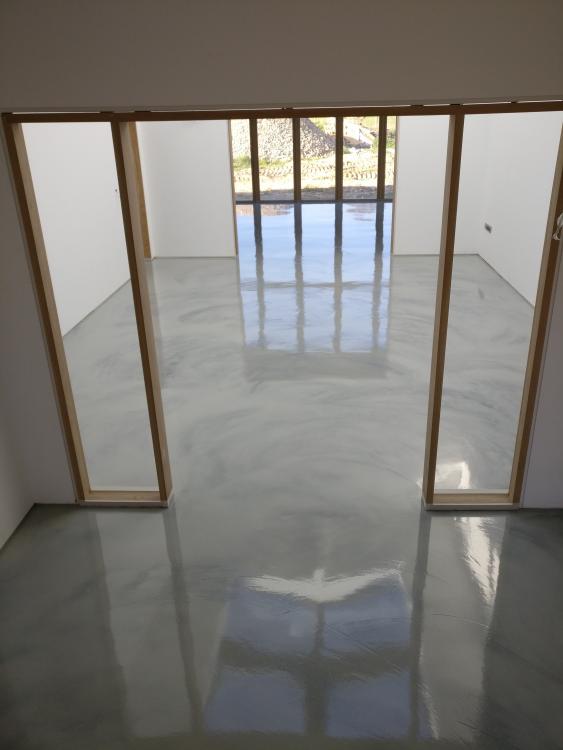
Poured Resin Floors have been discussed here a couple of times and over at eBuild. For our living areas we looked at tiles, micro screed, polished concrete, wood and poured resin options - finally making a tentative decision to go with Poured Resin. We feel we took a bit of a risk with limited options to view the product installed, and only got to view it in a commercial/retail situation. We got quotes from about 6 companies, but only had confidence in two of them and one of those two has, what were for us, unacceptable payment terms so the decision on the supplier took some time but ultimately made itself. The floor was started last week and finished Monday night. First opportunity to walk on it (in socks) was today. Going to leave it another 5 days before covering. I'm glad we took the risk, the finish is outstanding. And glad we didn't go with our second choice of polished concrete as during the light grinding stage, to key the surface ready for the resin, many more hair-line cracks were exposed than we were aware of when it had the natural power-float finish. Great attitude from the installer too, first time they'd installed on to a C35 power-floated slab and found the grinding much harder going than they expected, so the planned 1 day's prep ran to 4 days, but they just took it on the chin.
 3 points
 -
A good few years back was this then?2 points
-
No... I expect you to tile.....2 points
-
Yes, same process and he's right just bottom two tiles. Its not really necessary to wraparound the tile either side, but your soaker should extend beyond your valley tile and have a welt if you're not wrapping it around.1 point
-
I would think so.1 point
-
Dee, look at the link that Peter gave you. The cross-section of the valley is a shallow V at the centre but near the top are valley walls maybe 25mm height that are vertical. This jutty-out bit is what I meant by a "hip" The concrete tiles overhang this wall.1 point
-
They make them here in Derry 140 x 140 x 440 concrete. Bit far for you though1 point
-
Lead Sheet Association is your friend..!! http://leadsheet.co.uk/home/lsa-pocket-guide/pitched-valleys/1 point
-
Use the laser to set out and a once your happy you then set the laser beam to sit in the grout line ( 3mm grout line and no more, I routinely do 2mm ) and have it on as you tile each area. The laser lights up the spacers to give you a good guide as to how your going. Cracking unit for the money here, and I'd buy the dewalt over the green ( DIY ) Bosch every time. You'll also sell the dewalt on again without taking too much of a hit .1 point
-
Looking at your avatar are we talking dungeon?1 point
-
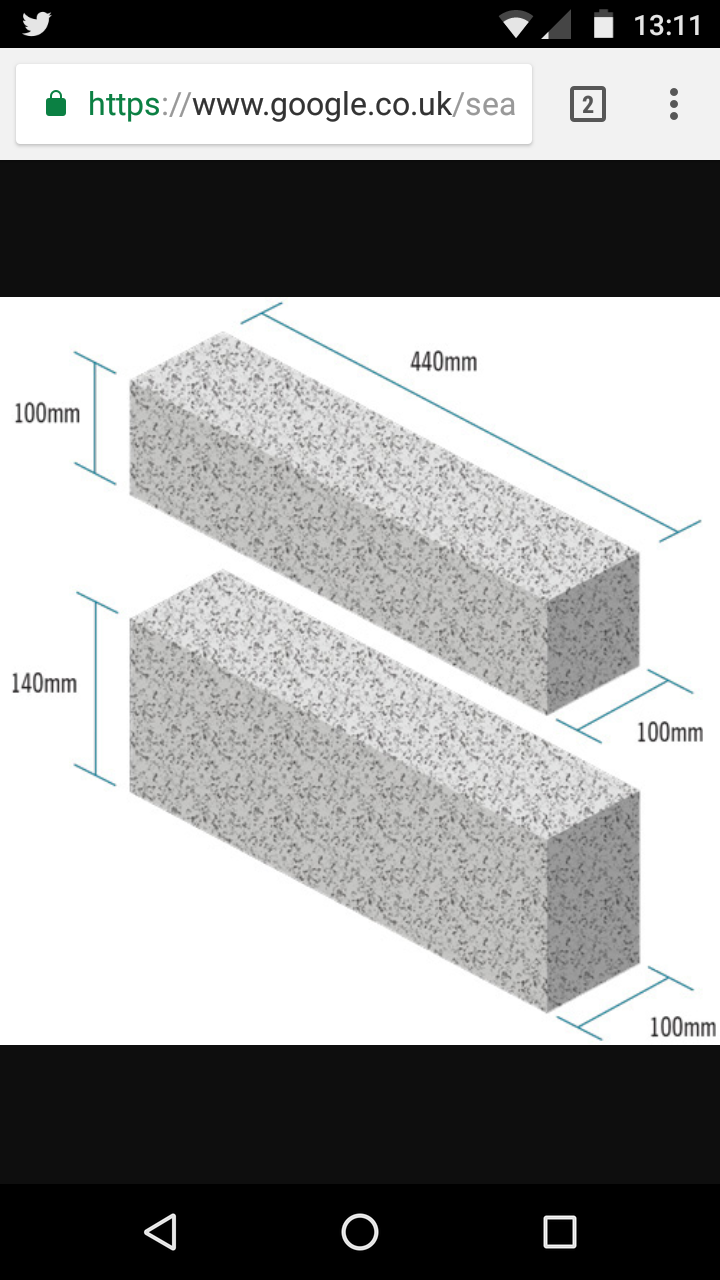
Make sure you state the dimensions above that you want before ordering. You don't want the top block in the pic. Soapbar term might be just an Irish name for them.1 point
-
You don't want to lift full size 6 inch blocks, they are a ton. Called farmers friends as only they use them for pig houses and the like. You are looking for a soap bar block that will be 440mm*100mm*140mm. You want the bottom one in the pic.
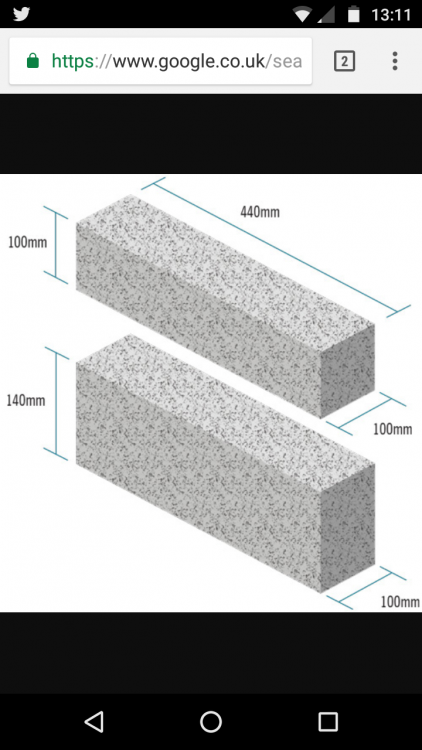 1 point
 -
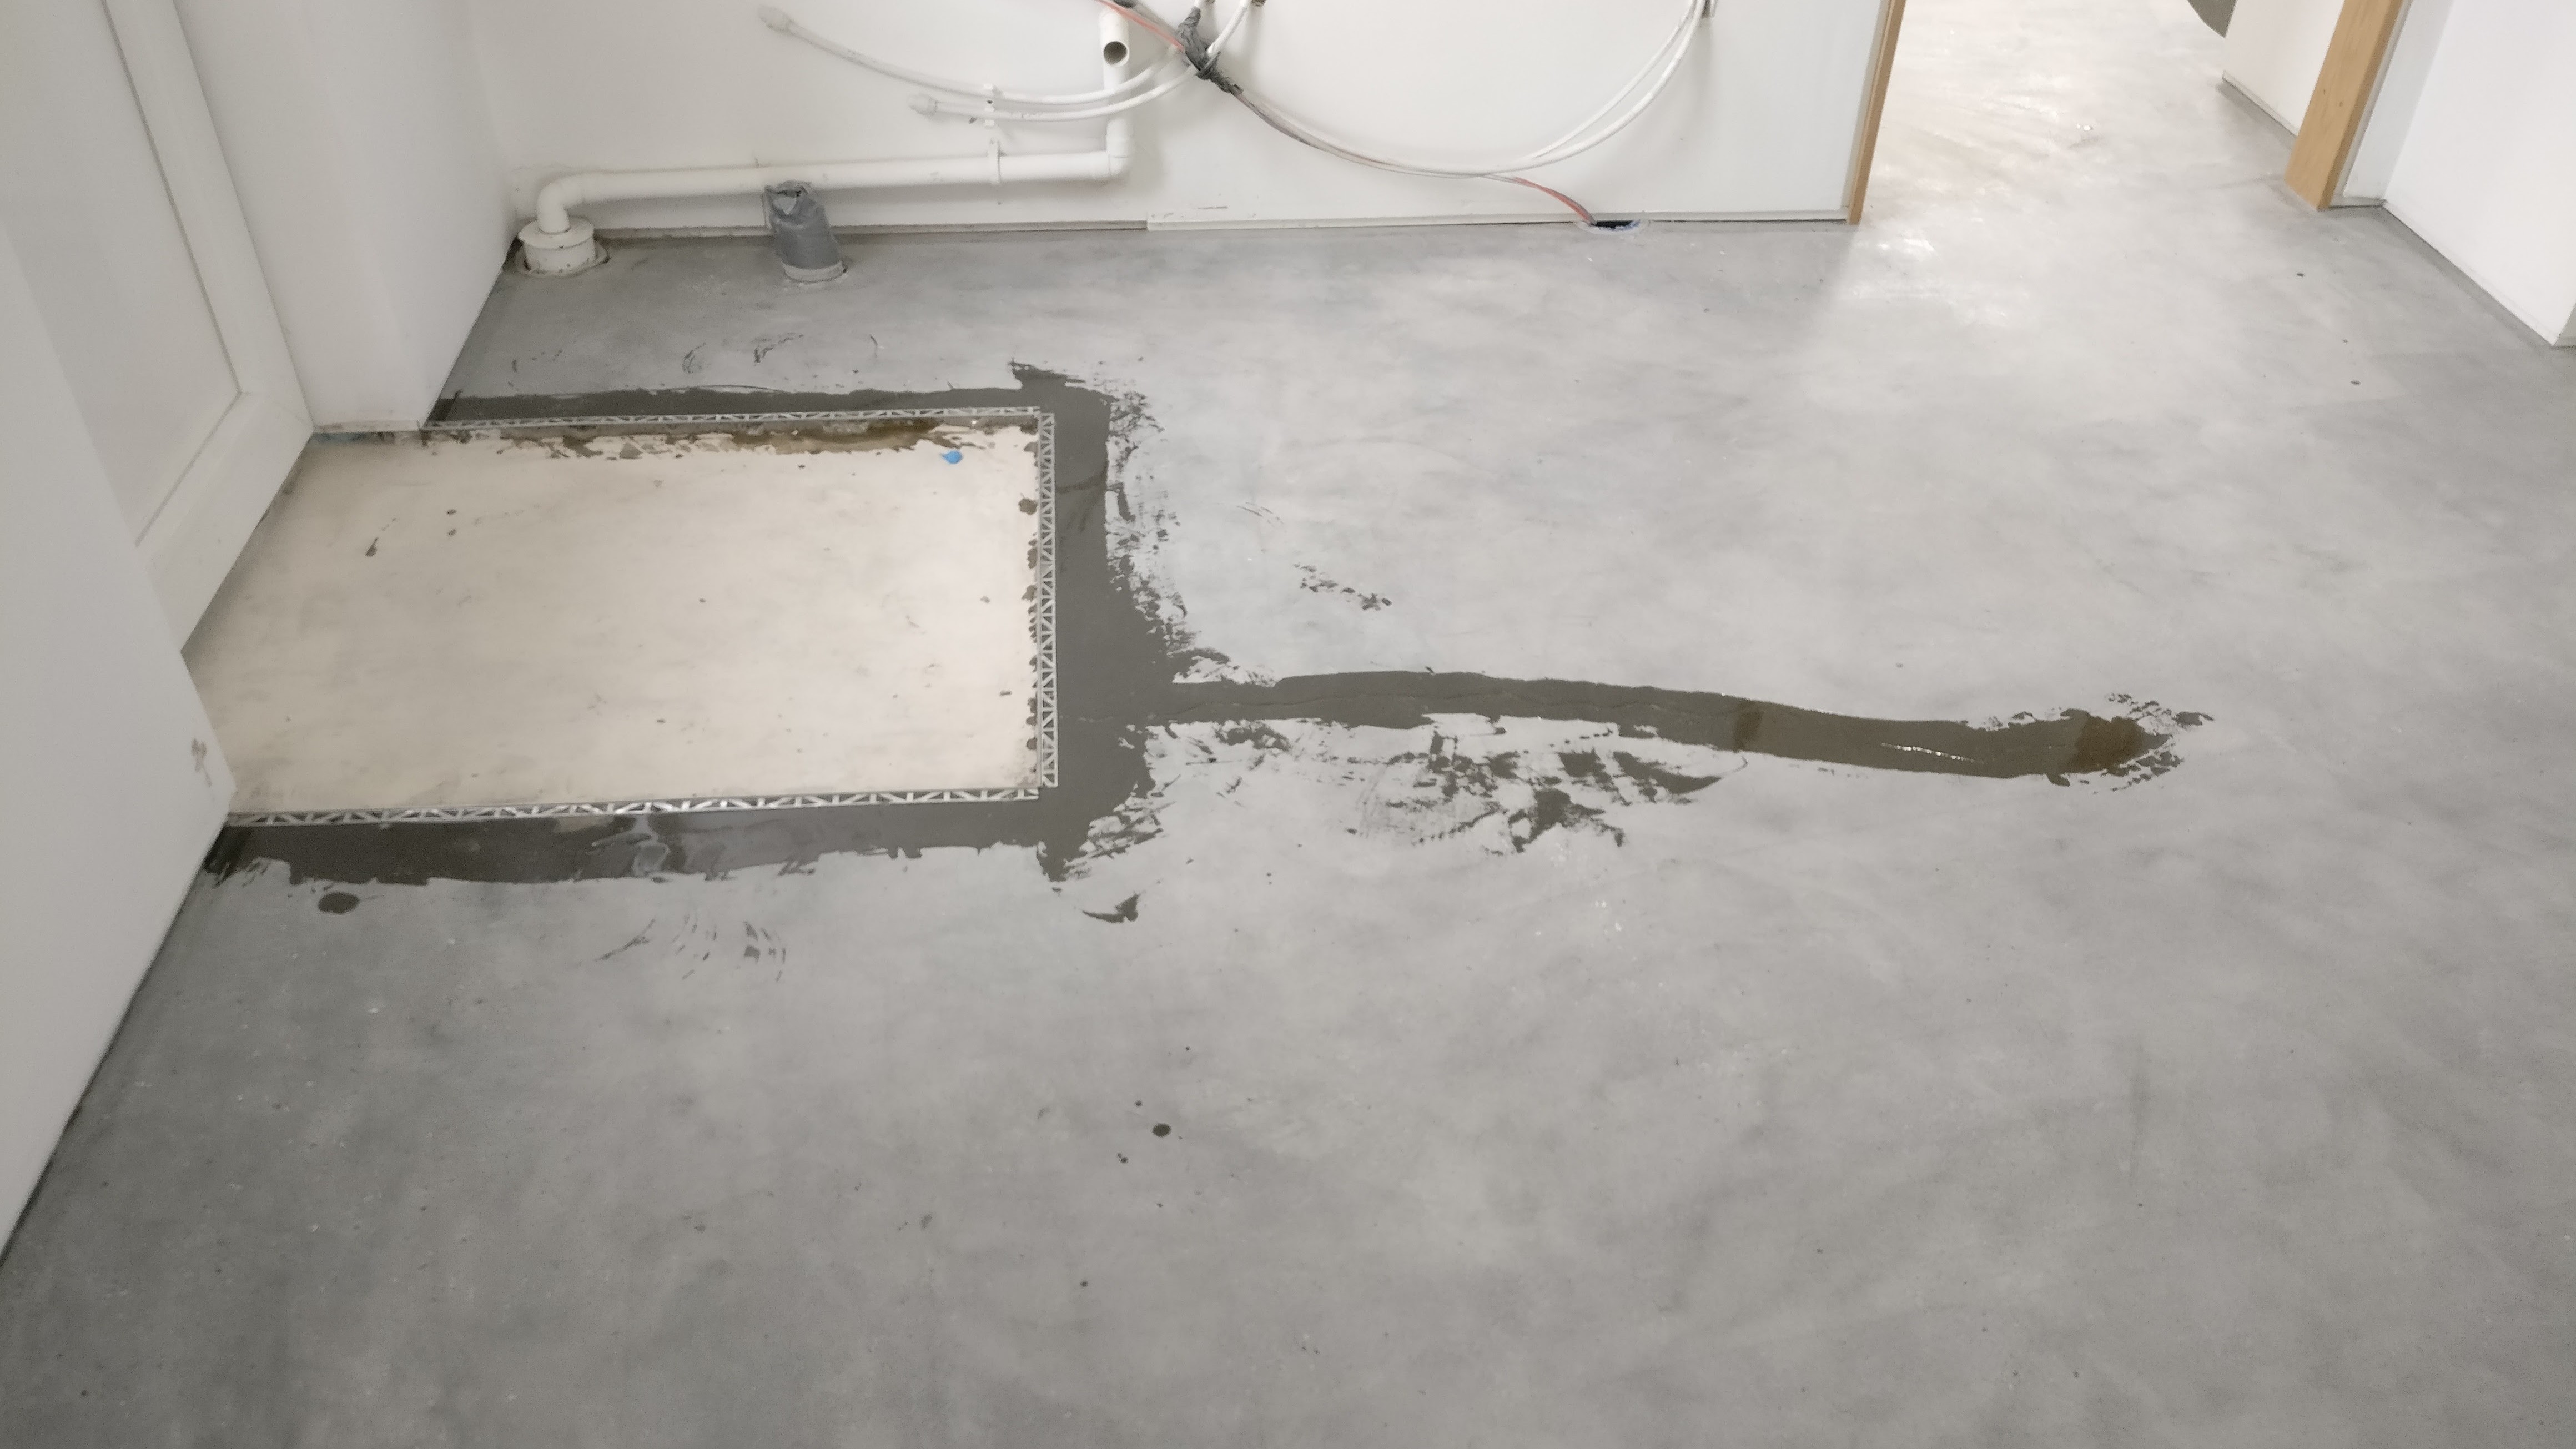
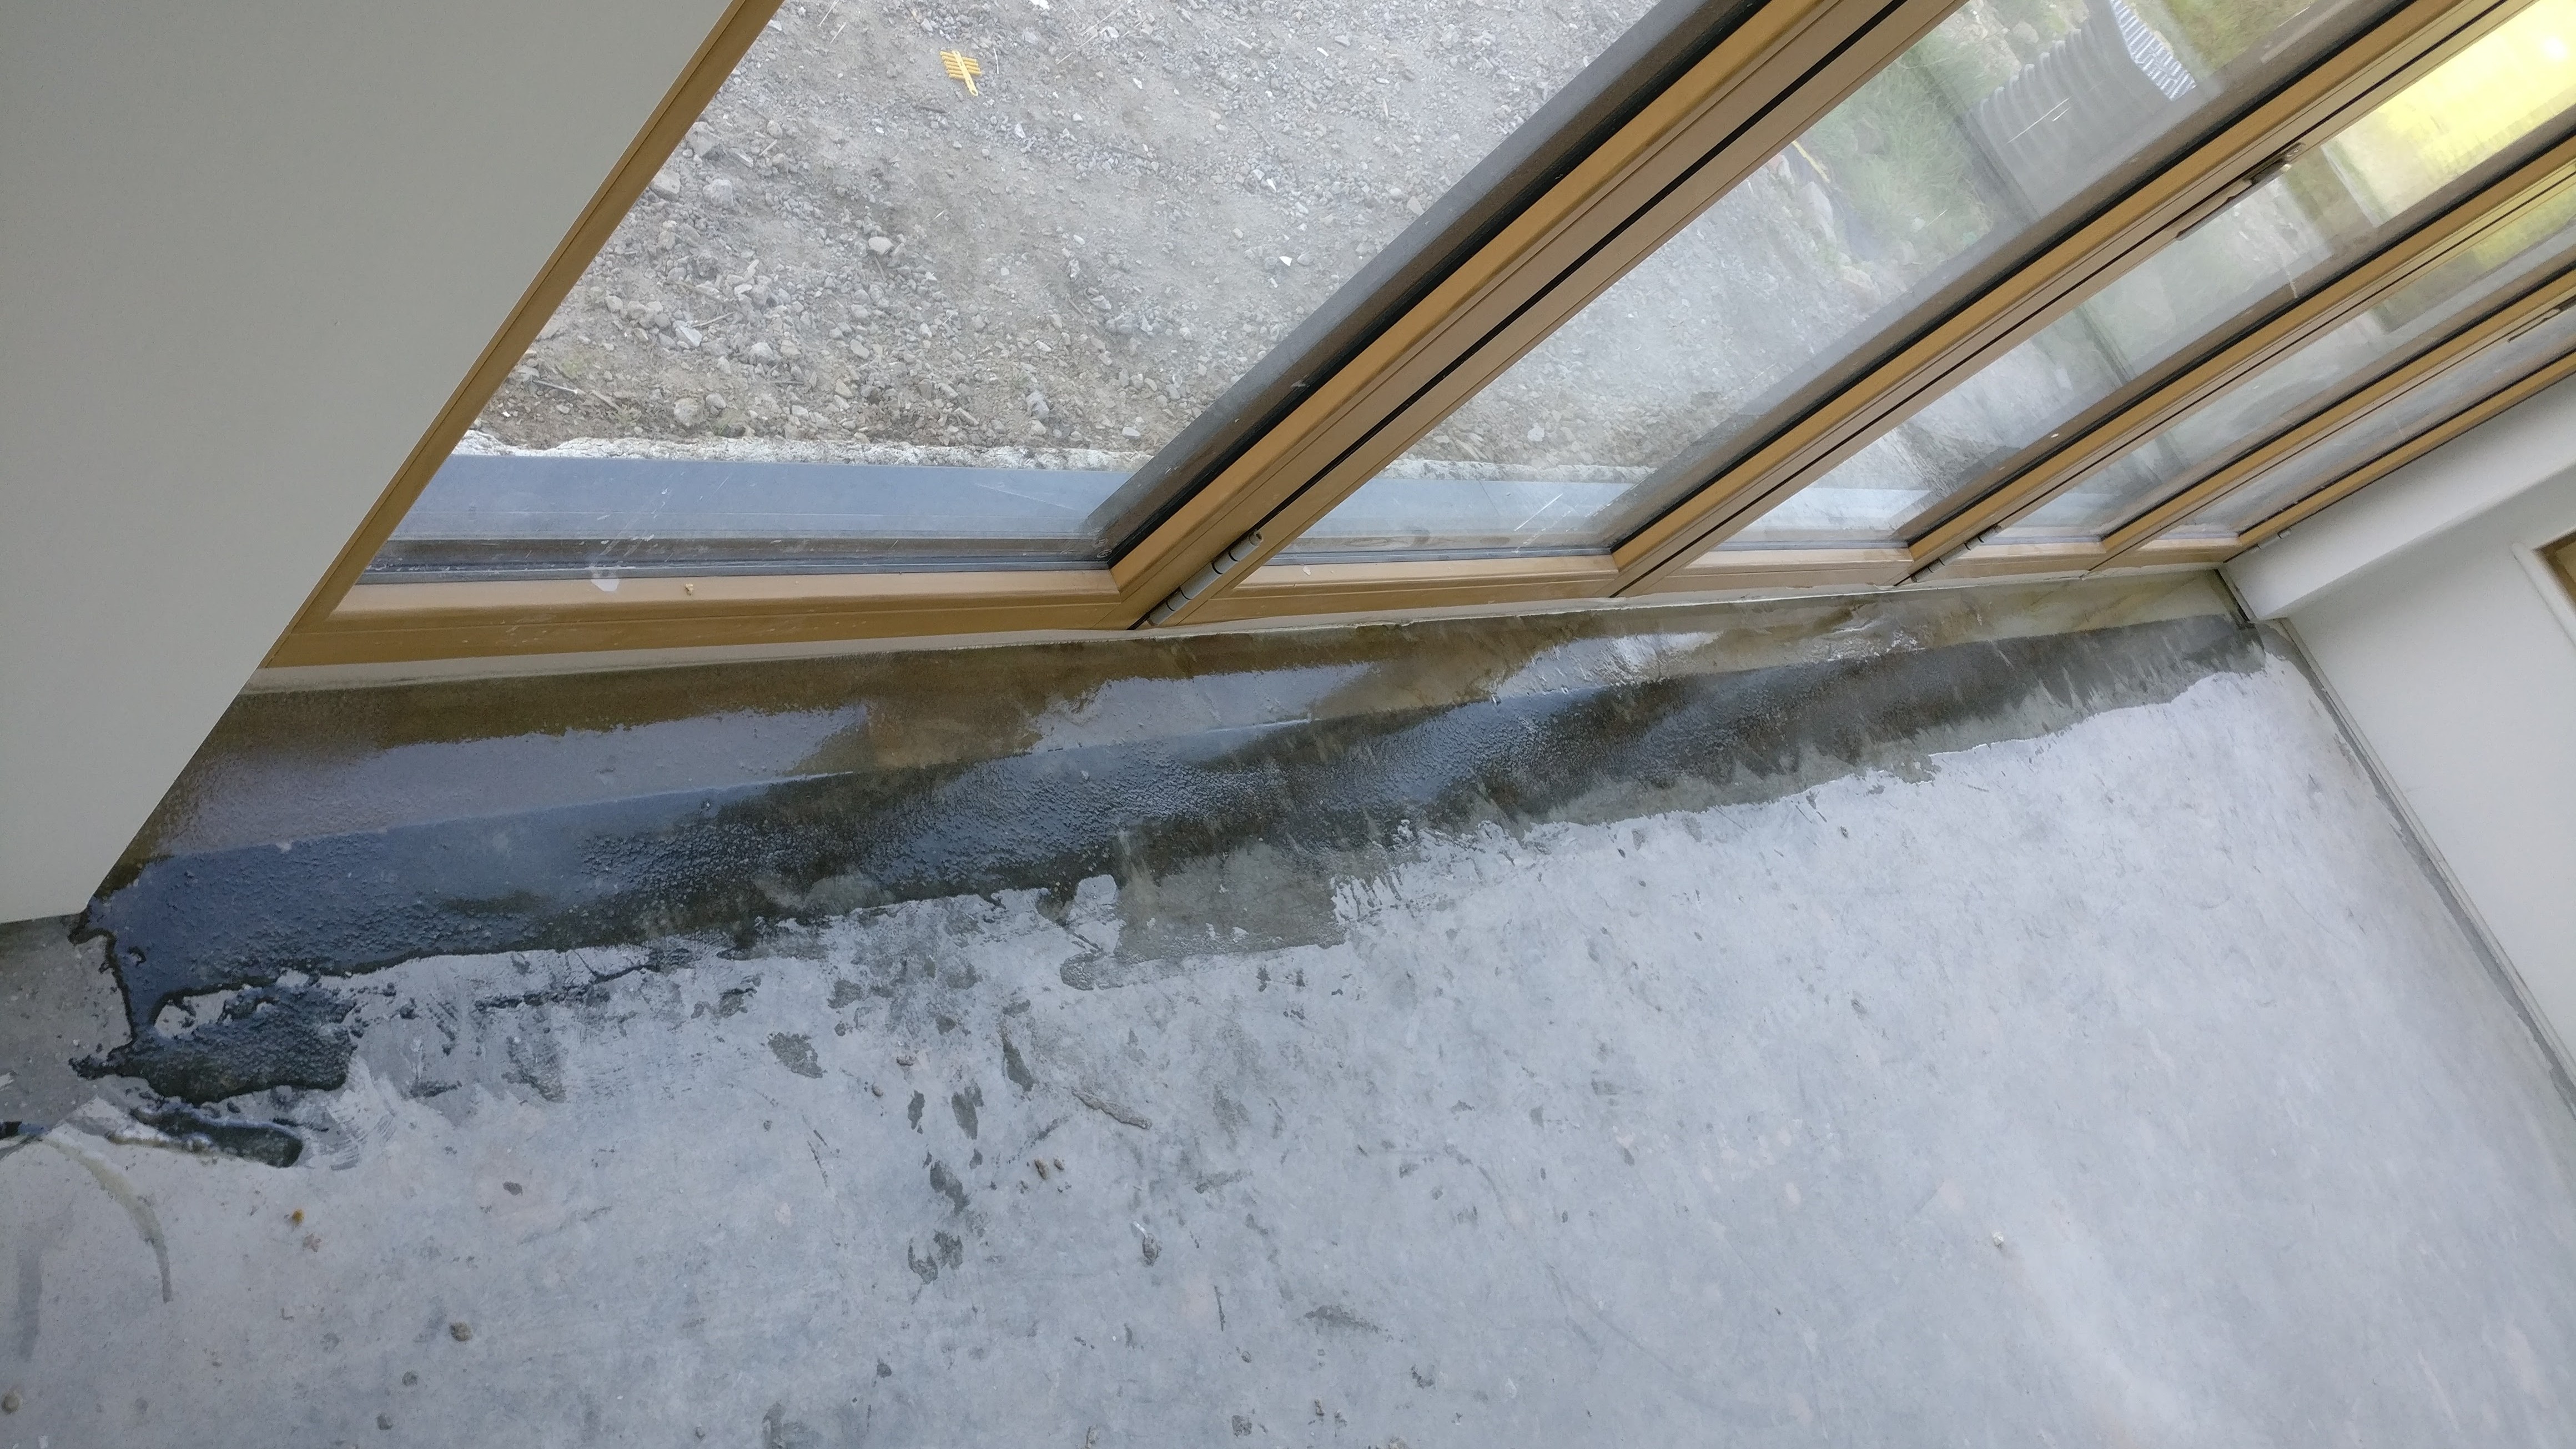
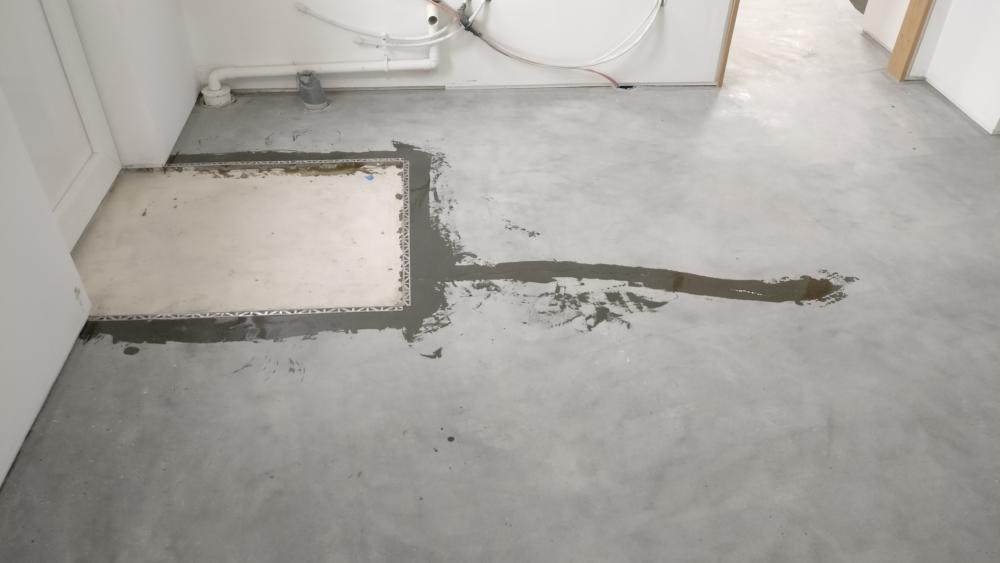
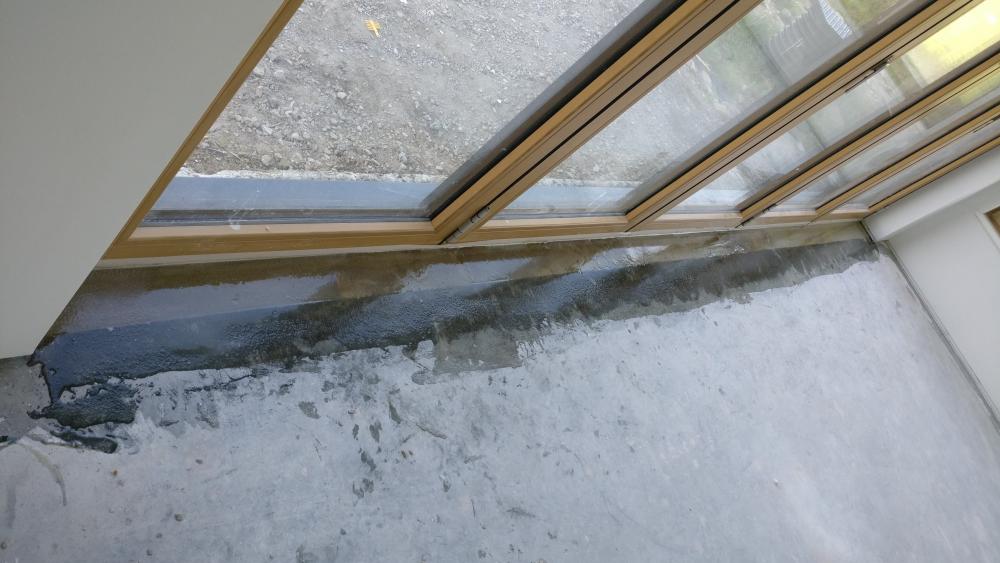
A bit of the process: Recessed thresholds back filled with Epoxy mortar: Slab surface lightly ground and any cracks cut back and filled with epoxy resin Mat wells trimmed with stainless beads which are screwed and stuck (epoxy again) Primer coat (epoxy resin) and then PU resin scratch coat applied Then self smoothing colour coat and two sealer top coats to give the pics in the first post.
 1 point
 -
I used AB Products Multipanel ( https://www.abbuildingproducts.co.uk/multipanel-c-5055.php), a bit more robust than the Mermaid ones, as they use a plywood core, rather than MDF. I can vouch for the fact that they look good for years, as I used them around 8 years ago to refit the bathroom in our old house, and they look as good now as they did when I fitted them. Very easy to keep clean, and no grout to get mouldy. I was so impressed with them that I've used the same stuff in the bathrooms at the new house.1 point
-
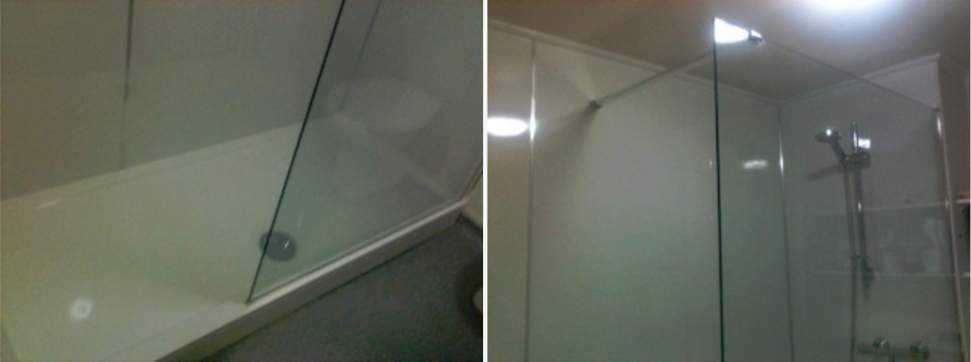
@MAB Are those plastic trays, or stone resin? I have bought my recent showers from sources discovered via ebay. The last ones were from UK manufacturers who maintained an ebay shop. For example, here is a stone resin one with a drying area which is about £250 in your size including raised legs and fastflow waste http://www.ebay.co.uk/itm/Rectangle-Shower-Tray-with-Drying-Area-Low-Profile-Stone-Resin-Acrylic-Capped-/262453435127?var=&hash=item3d1b719af7:m:mjHGTupoOJkD72qT2tt-ckQ (Free delivery E&W :-) ! You need to dig a little for the one you want. There also seem to be antislip ones too. If you are planning a fixed screen (you want the 8mm type with a bracing bar at the top) then they are from around £300. eg Stone Resin 800x1700 bnut not drying area with side panel and flipper panel (which I would leave off) for £250. http://www.ebay.co.uk/itm/Wet-Room-Walk-In-Shower-Enclosure-and-Tray-Glass-Screen-Cubicle-Flipper-Panel-/282194371739?var=&hash=item41b418649b:m:mMClUuukEIRK0pd2nvCOt1g (Buggers to carry upstairs - ours below in a student house took 4 people to move the screens up 2 storeys) Ferdinand 'orrible photos but show what I mean. These have been in a student house since 2013 without a tremor. The screen and tray were about £300 each incl. waste and delivery. That floor is Ployflor Polysafe Hydro (hotel spas, shower areas, swimming pool surrounds etc) at about £300 a pop fitted in 4 bathrooms at once. http://polyflor.com/jh/products.nsf/products!open&family=saf&prodcode=fxsc151
 1 point
 -
Some other good reading, especially the tanking one.1 point
-
Could you put it somewhere that is easier to get to from a ladder or from the window when its open. Or put it on what ever side is rarely seen. Won't be noticed in a few years once it weathers.1 point
-
Thanks for the advice......the only anti slip I have actually seen was on a small sample panel in a local supplier and the texture was like sand as mentioned above. I might go with one of these trays with a ribbed drying area as a compromise.......this Simpsons tray looks the same as the Zamori in links below but cheaper? Simpsons:- https://www.victorianbathrooms4u.com/shower-enclosures/shower-trays/walk-in/simpsons-1700-x-800mm-walk-in-35mm-shower-tray-with-drying-area/ Zamori:- http://www.zamori.co.uk/Products/ProductDetail?prodId=81022&name=Walk-In 1700 x 800 shower tray anti-bacterial %26 anti-slip1 point
-
If you imagine 1-2mm grains of sand glued to the floor of the tray, then that's what the texture is like. Usually you wont see anti slip on display in showrooms etc1 point