Finishing the Shell
Sorry for the delay since the last blog. Things have been very hectic keeping a track of everything that is going on with the build and holding a job down !
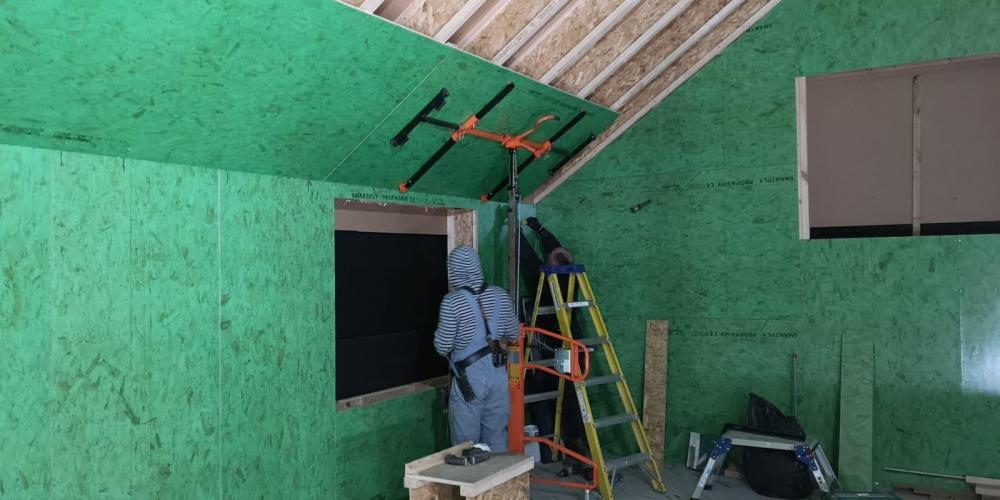
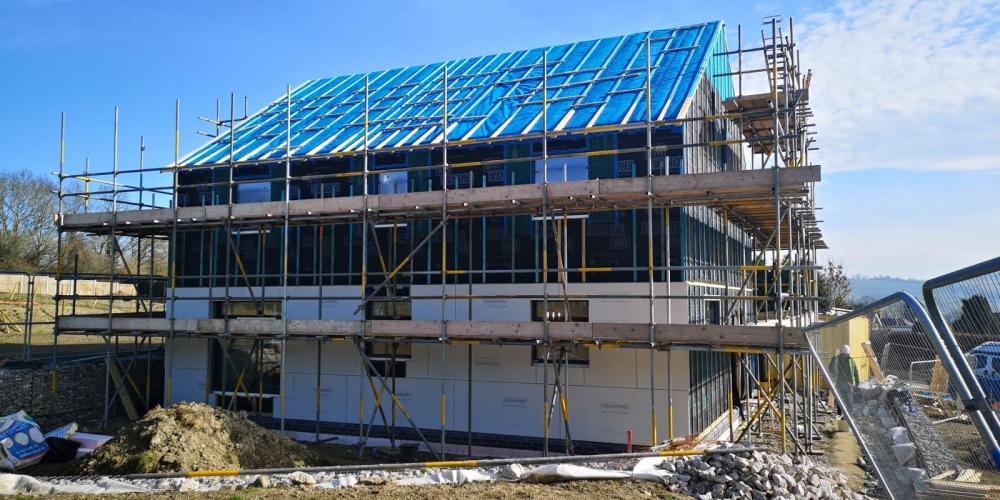
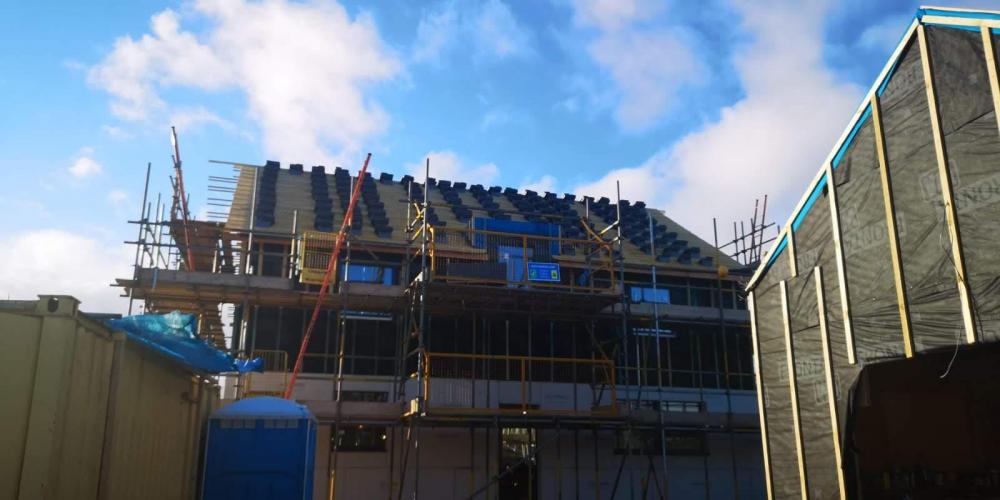
As we approach end of January and move into February there are lots of things going on simultaneously on site including battening the roof in preparation for the roofers, finishing of fitting the smartply in preparation for blowing in the insulation and fitting the windows and doors.
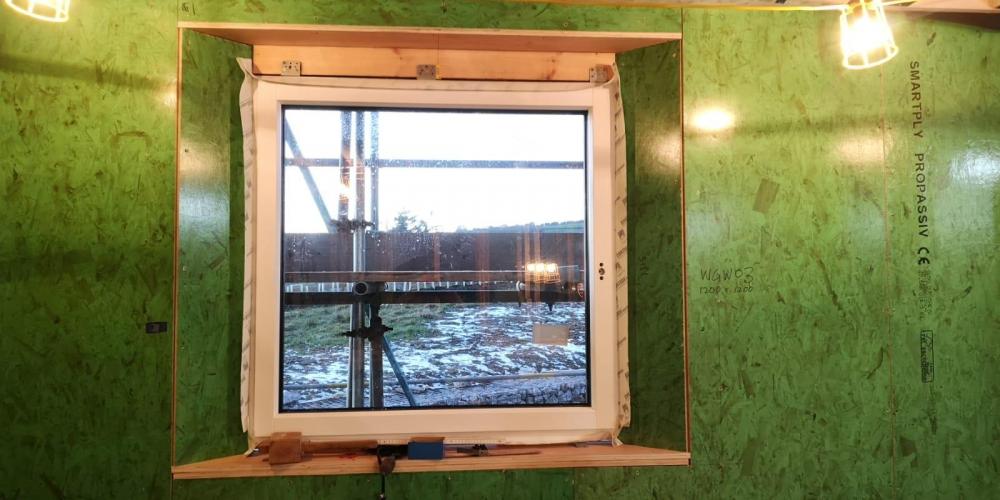
The first window goes in on 30th January. Many of the side reveals to the windows have splays to help spread the light from the window.
We are using Green Building Store Progressions windows and Green Building Store Ultra doors. The Progression windows are expensive, but the narrow sight-lines give a lovely contemporary look and very little of the frame is visible outside, so it should be as maintenance free as you can get and seems like a good investment. The Ultra doors look very similar to the Progression doors and are of a similar thermal performance but are more cost effective to purchase.
From the 12th - 15th February, the Warmcell insulation is blown into the frame. I hadn't realised, but you can do this before all of the windows are fitted, as long as the boarding out is completed inside and out.
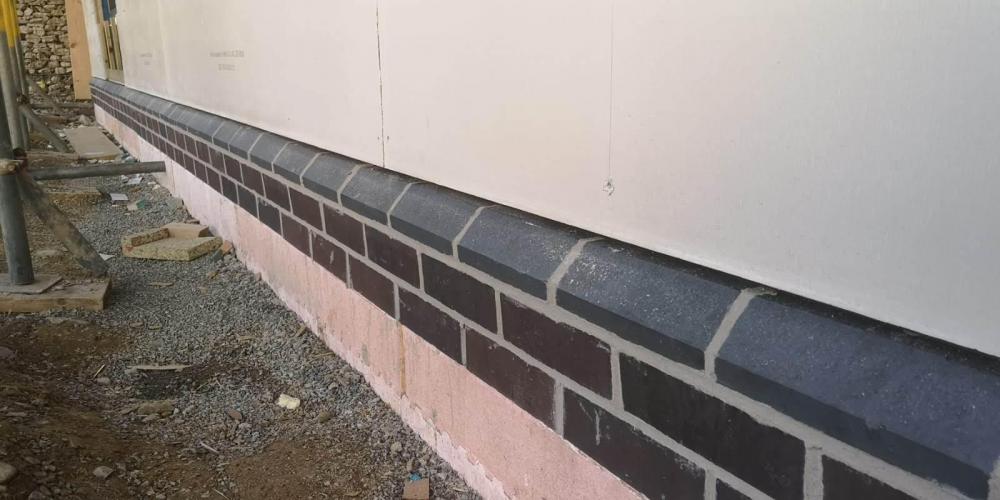
By 21st February all windows and doors are fitted. A lot of time has gone into ensuring the windows are fitted properly and are as airtight as possible. In parallel, the brick plinth is built. Whilst you won't see all of this once the ground levels are built up, I am really pleased with the quality of the job.
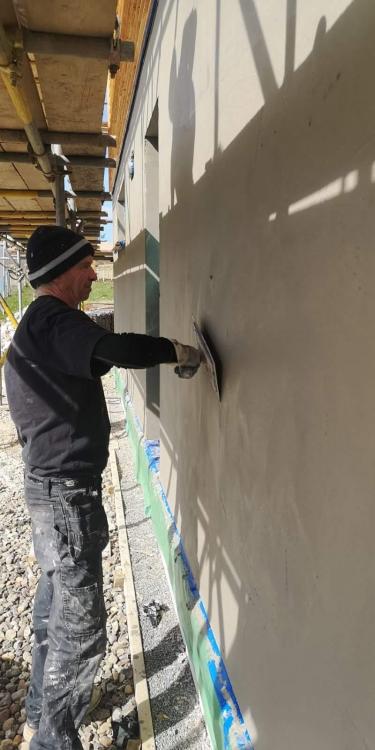
Next job is and fitting the Aquapanel in preparation for the rendering.
The roofer we had lined up pulled out at the last minute, but we are able to get a local firm with a good reputation to take their place at short notice. We took a lot of trouble selecting the roof tiles and we are particularly looking forward to seeing the tiles laid. The roofers are on site beginning of March after a small delay due to rain to do the counter-battening and lay the tiles.
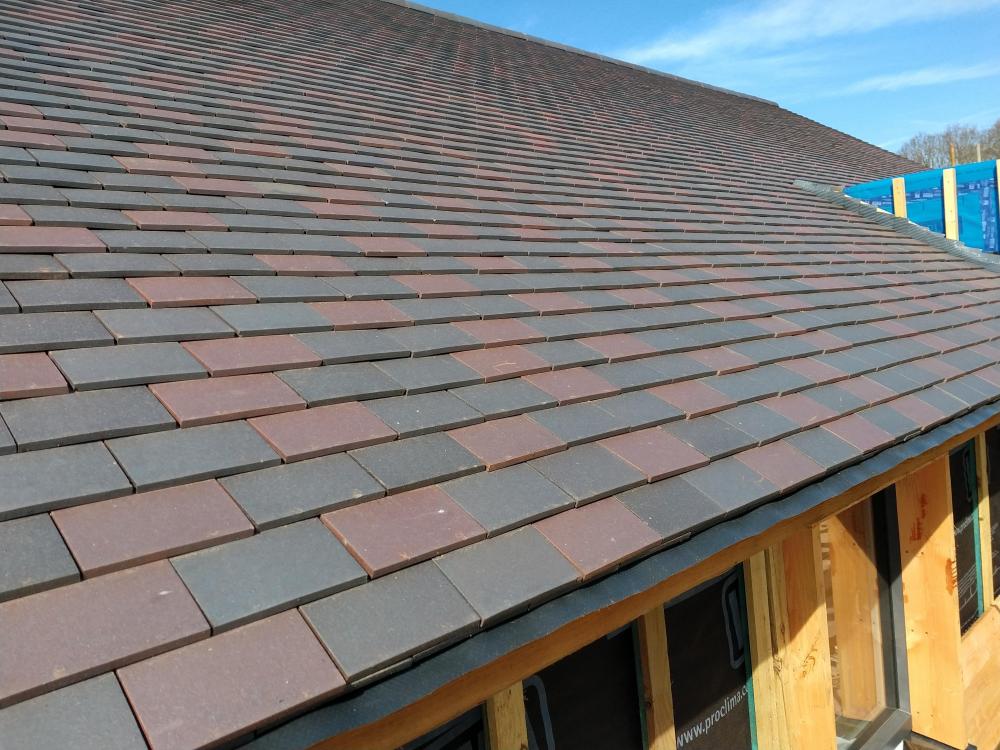
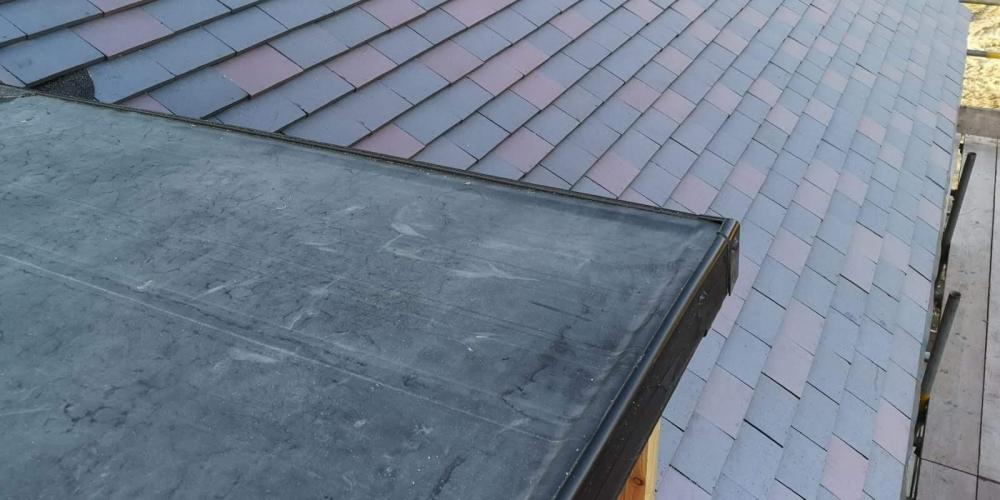
The roof is a pretty simple shape so the roofers make quick progress. We are using plain clay smooth machine-made tiles made by Dreadnought tiles and supplied by Ashbrook Roofing. We found out about them at a self build show we attended and have had great support from both Dreadnought and Ashbrook. We are using two colours - 70% staffordshire blue and 30% blue brindle mixed randomly. Before you know it, the roof is in place.
Big Day on 8th March as it is our first Air Test. We'd put 0.3 air changes per hour (ach) @ 50pa into phpp so we were hoping for something similar or better. Results were:
0.08 ach @ 50 pa
0.11 m3/hr/m2 @50 pa
Absolutely delighted with the results. Given building regs are 10 m3/hr/m2 @50 pa and Passivhaus standard is 0.6 ach @ 50 pa, this is over 90 times better than building regs and over 7 times better than Passivhaus standards and a great testament to the attention to detail shown by the build team.
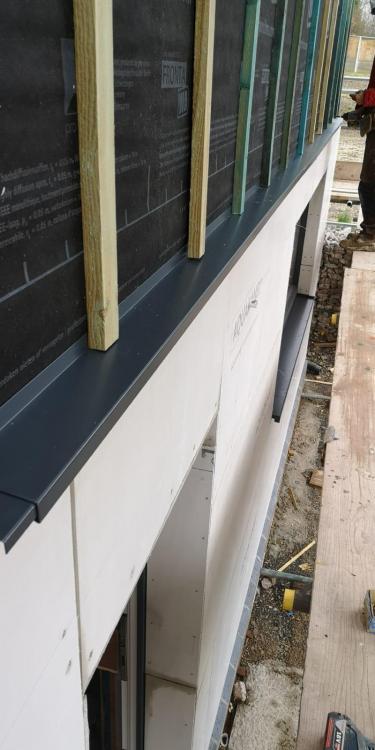
Flashings between the wood cladding and the render are fitted. These were made by a Herefordshire based fabricator.
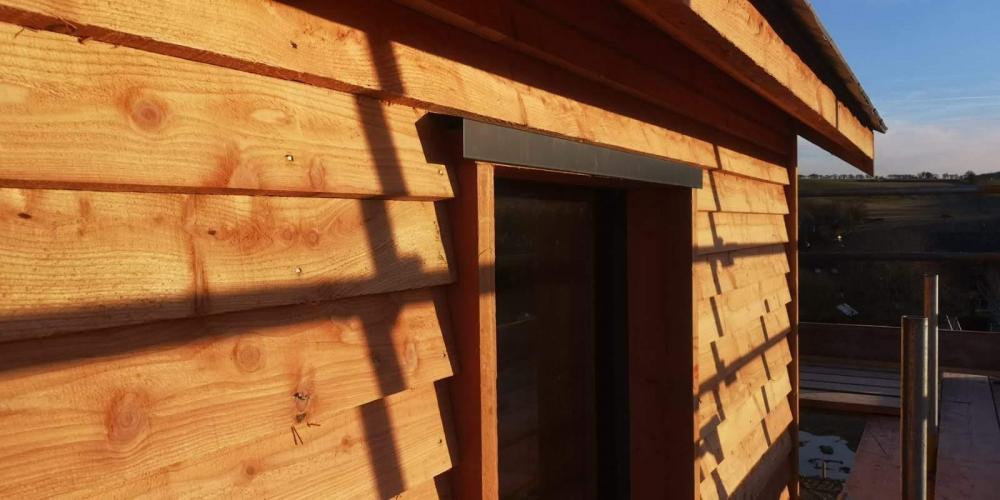
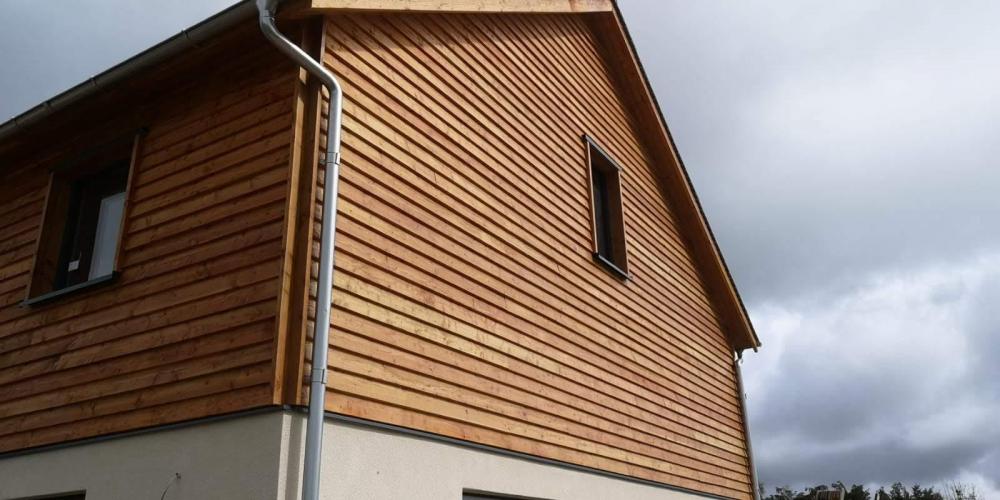
Work continues fitting the cladding. We are using Douglas Fir, supplied by Ransford which is literally 5 minutes down the road.
Once the roof has been laid and the weather allows, the rendering starts. We are using the Weber system, with a base coat applied first followed by a thin silicon based top coat which will be sprayed on.
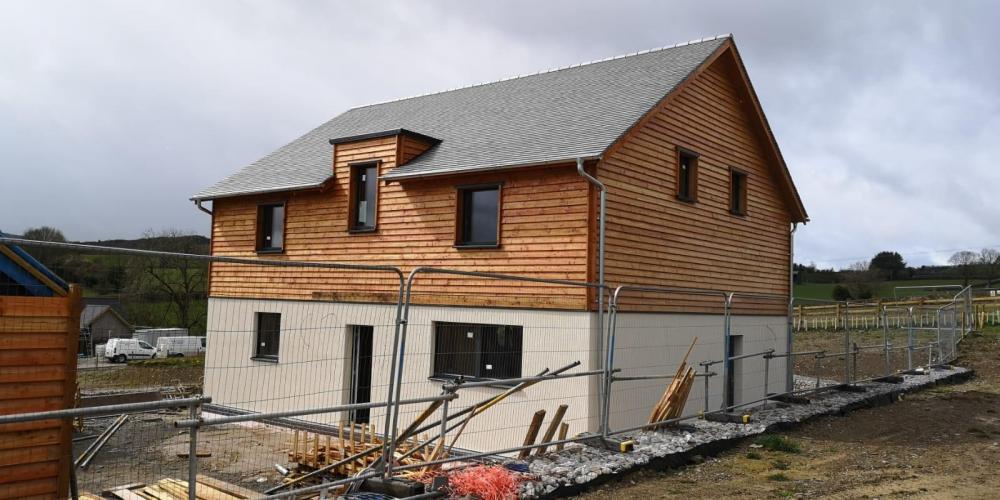
The roof and detailing around the dormer window are completed
Once the cladding is complete and before the scaffolding comes down, we need to treat the cladding. The gable ends need a fireproof coating due the proximity of other houses, so it's one coat of primer, two of Envirograf and two of Osmo. The front and back of the house get one coat primer and two of Osmo. It's one of those jobs that costs more and takes longer than expected. We hadn't planned on having to to apply so many coats of product and in my naiveity I thought it would be a layer or two of fireproof coating on each gable.
The wood looks a little orange at the moment but that is typical when new and it does weather down nicely which is what I plan to allow the wood to do. Hopefully to osmo will help even out the weathering but I have no plans to keep on applying it.
The guttering is attached whilst the scaffolding is still up (Lindab galvanised)
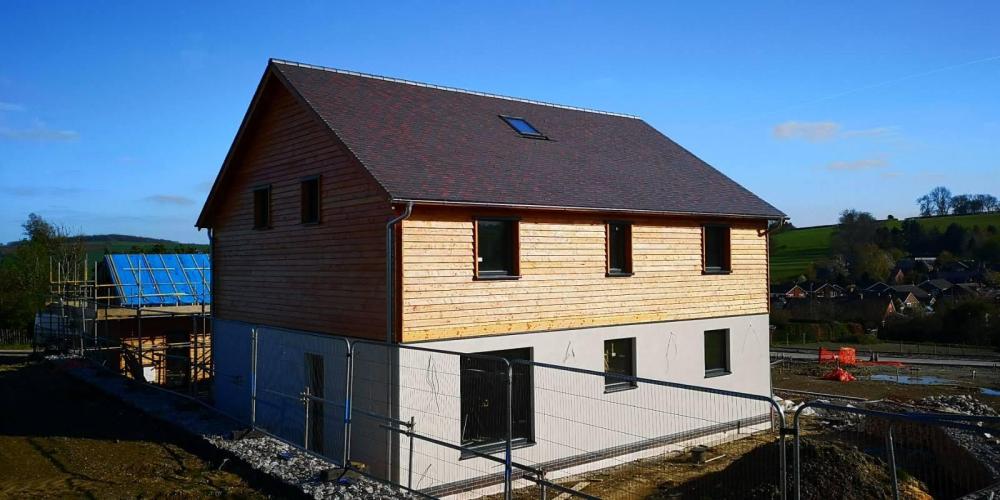
The scaffolding on the house comes down and goes up on the garage to allow the roof to be completed on the garage. The second coat of render is sprayed on and the shell of the house is now complete.
-
 11
11
-
 3
3



18 Comments
Recommended Comments
Create an account or sign in to comment
You need to be a member in order to leave a comment
Create an account
Sign up for a new account in our community. It's easy!
Register a new accountSign in
Already have an account? Sign in here.
Sign In Now