
ProDave
-
Posts
30683 -
Joined
-
Last visited
-
Days Won
424
Everything posted by ProDave
-
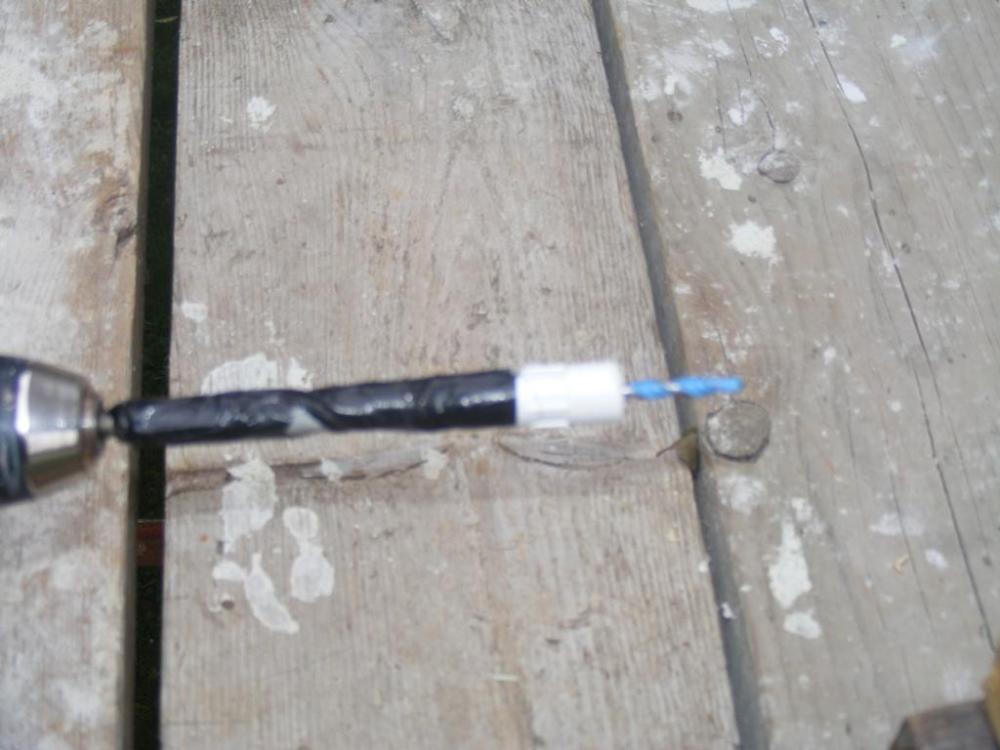
In that case disconnect (both terminals) whatever is charging the battery so you have JUST battery and inverter and let us know if that trips. If it is a transformerless inverter then any earth leakage in the DC side will trip the rcd on the ac side.
-
Post a schematic of how it is wired?
-

Preparing for an air tight test
ProDave replied to Happy Valley's topic in General Self Build & DIY Discussion
If you have mvhr, switch it off and externally tape up the inlet and outlet vents. Seal any cat flap, air inlet for stove (if not room sealed) etc. If no mvhr individually seal each extractor fan. -
Don't connect earth like that, you will probably upset most of the house circuits and they will be tripping RCD's as you will have created another parallel path for the neutral. Try disconnecting the battery input from the inverter, and connect JUST the mains of the inverter. does that still trip the RCD?
-
the windy roost Remote Guest network
ProDave replied to Jenki's topic in Networks, AV, Security & Automation
My understanding is you connect the cable from the static into one of the LAN ports and it just acts as a network switch. If you are not using the 4G router you will need to go into it's settings and turn off most of it's functions e.g DHCP etc. Might be simpler just to buy a cheap 8 port network switch for the amenity block. You will have some long cable lengths (about 100 metres is the limit) so buy GOOD quality CAT6 cable make sure it is COPPER not copper plated aluminium. I doubt you want a wired network port, just give them wifi, the access point can be in a locked cupboard without guest access, and just give them the password, or considering how remote you are (there won't be any passers by within range) make the wifi for the cabins open access without a password? (I would not do that in a built up area) -
Installed channel glass balustrade wobbles
ProDave replied to rhymecheat's topic in Windows & Glazing
When we got a home report done on our old house, everything about the house scored a 1 (good) except the garden that got a 2. I questioned the surveyor what was "wrong" with the garden, and his answer was "the burn" To satisfy him and get a 1 for the garden would require a fence down both sides of the burn to stop anyone getting or falling into it. -
Domus MVHR bubbling noise
ProDave replied to jwpapi's topic in Mechanical Ventilation with Heat Recovery (MVHR)
Condensate drain will pass through a trap if discharging to an internal waste pipe. I am sure I read a post a long time ago about something gone wrong causing a build up pf pressure and bubbles blowing through the trap? -
Decking paint failure, why and what to do about it?
ProDave replied to ProDave's topic in Decorating
This is what I am trying to work out. We have the balcony and an area of decking to do below that. I don't want to jump in now and buy more until I know what I am going to buy and paint it with is going to last. That might mean the balcony does not get a "floor" until next year. I might ask the merchants if I can buy completely untreated decking to be sure that is not the issue with painting it. -
So fill the gap behind the noggin either by notching one of the adjacent thick sheets, or a separate piece of thin insulation.
-
Decking paint failure, why and what to do about it?
ProDave replied to ProDave's topic in Decorating
What treatment was on them, is not something I asked, nobody seems to, "Can I have some decking boards please"? -
Decking paint failure, why and what to do about it?
ProDave replied to ProDave's topic in Decorating
So reading that post above, the point I take from it, is the paint has stuck nicely to my timber cladding because it was rough sawn timber. It has not stuck to my decking because it was very smooth. Is that close to the mark? The bit I have re done as an experiment, I used a wire brush to clean the remains off, about the only thing I could find that would get into the grooves. That will have roughened it up a bit. So what should one do with freshly bought deck planks that you want to paint, to ensure the paint sticks? -
Last year we made a decision we wanted all the exterior wood on the house the same colour. That is the timber wall cladding on the sun room, various areas of timber decking and all the handrails etc. To buy off the shelf paint for walls and decking limits you to a very few colours usually a variation on brown or orange, which we did not want. So we opted to use Valspar, the one that B&Q sell where they mix the colour while you wait from a vast pallet and they do a whole lot of different types of paint. So we bought some "garden exterior paint" for the walls of the sun room and "decking paint" for the decking. the whole lot was painted last year as we did it. The garden exterior paint on the sun room cladding is performing well, just over 1 year and 1 winter it is as good as the day it was applied. Not so the decking paint. Even before the first winter was finished, much of the decking paint has flaked off. Total disaster. So a solution or alternative has to be found before we continue. Now the decking wood was all new, the paint was applied to fresh clean dry decking boards in good warm dry summer weather. Some has done better than others, e.g. the ramp to the front door is the worst, while the deck at the side of the house leading to the back door is a lot better but some areas failing. What is the cause of this? Rubbish paint? Or wrong application? At the time, timber has hard to get, so we have deck planks from 3 different sources, they are not all the same. So could it be the treatment the deck boards came with? They are not just bare plain timber (like the wall cladding boards on the sun room) So could it be this manufacturers treatment is why the deck paint has failed to adhere? I will post pictures later. As a test, to try and find a solution, I have stripped the failed paint from one small section, a 2 plank wide step, and re painted not with decking paint, but the garden exterior paint. This is a test to see if it lasts better or fails in the same way. Any advice please?
-
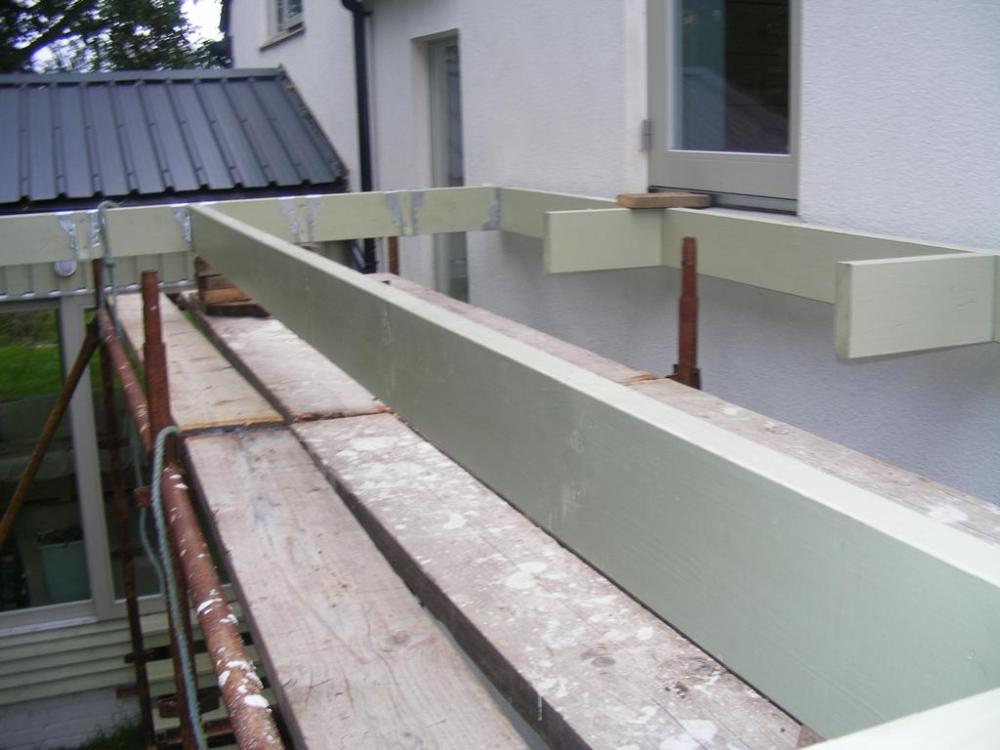
Valspar Garden Exterior paint. The one that the big orange DIY store sells that they mix to your colour while you wait. It was the only way to get paint for the cladding of the sun room in the same colour as decking paint with a wide choice of colours. We have chosen "Willow Green" as you can see a light green colour. HOWEVER. We have problems with the decking paint flaking off. Watch out for a separate thread on that as it goes beyond the balcony topic I will take some pictures and start that thread later today.
-
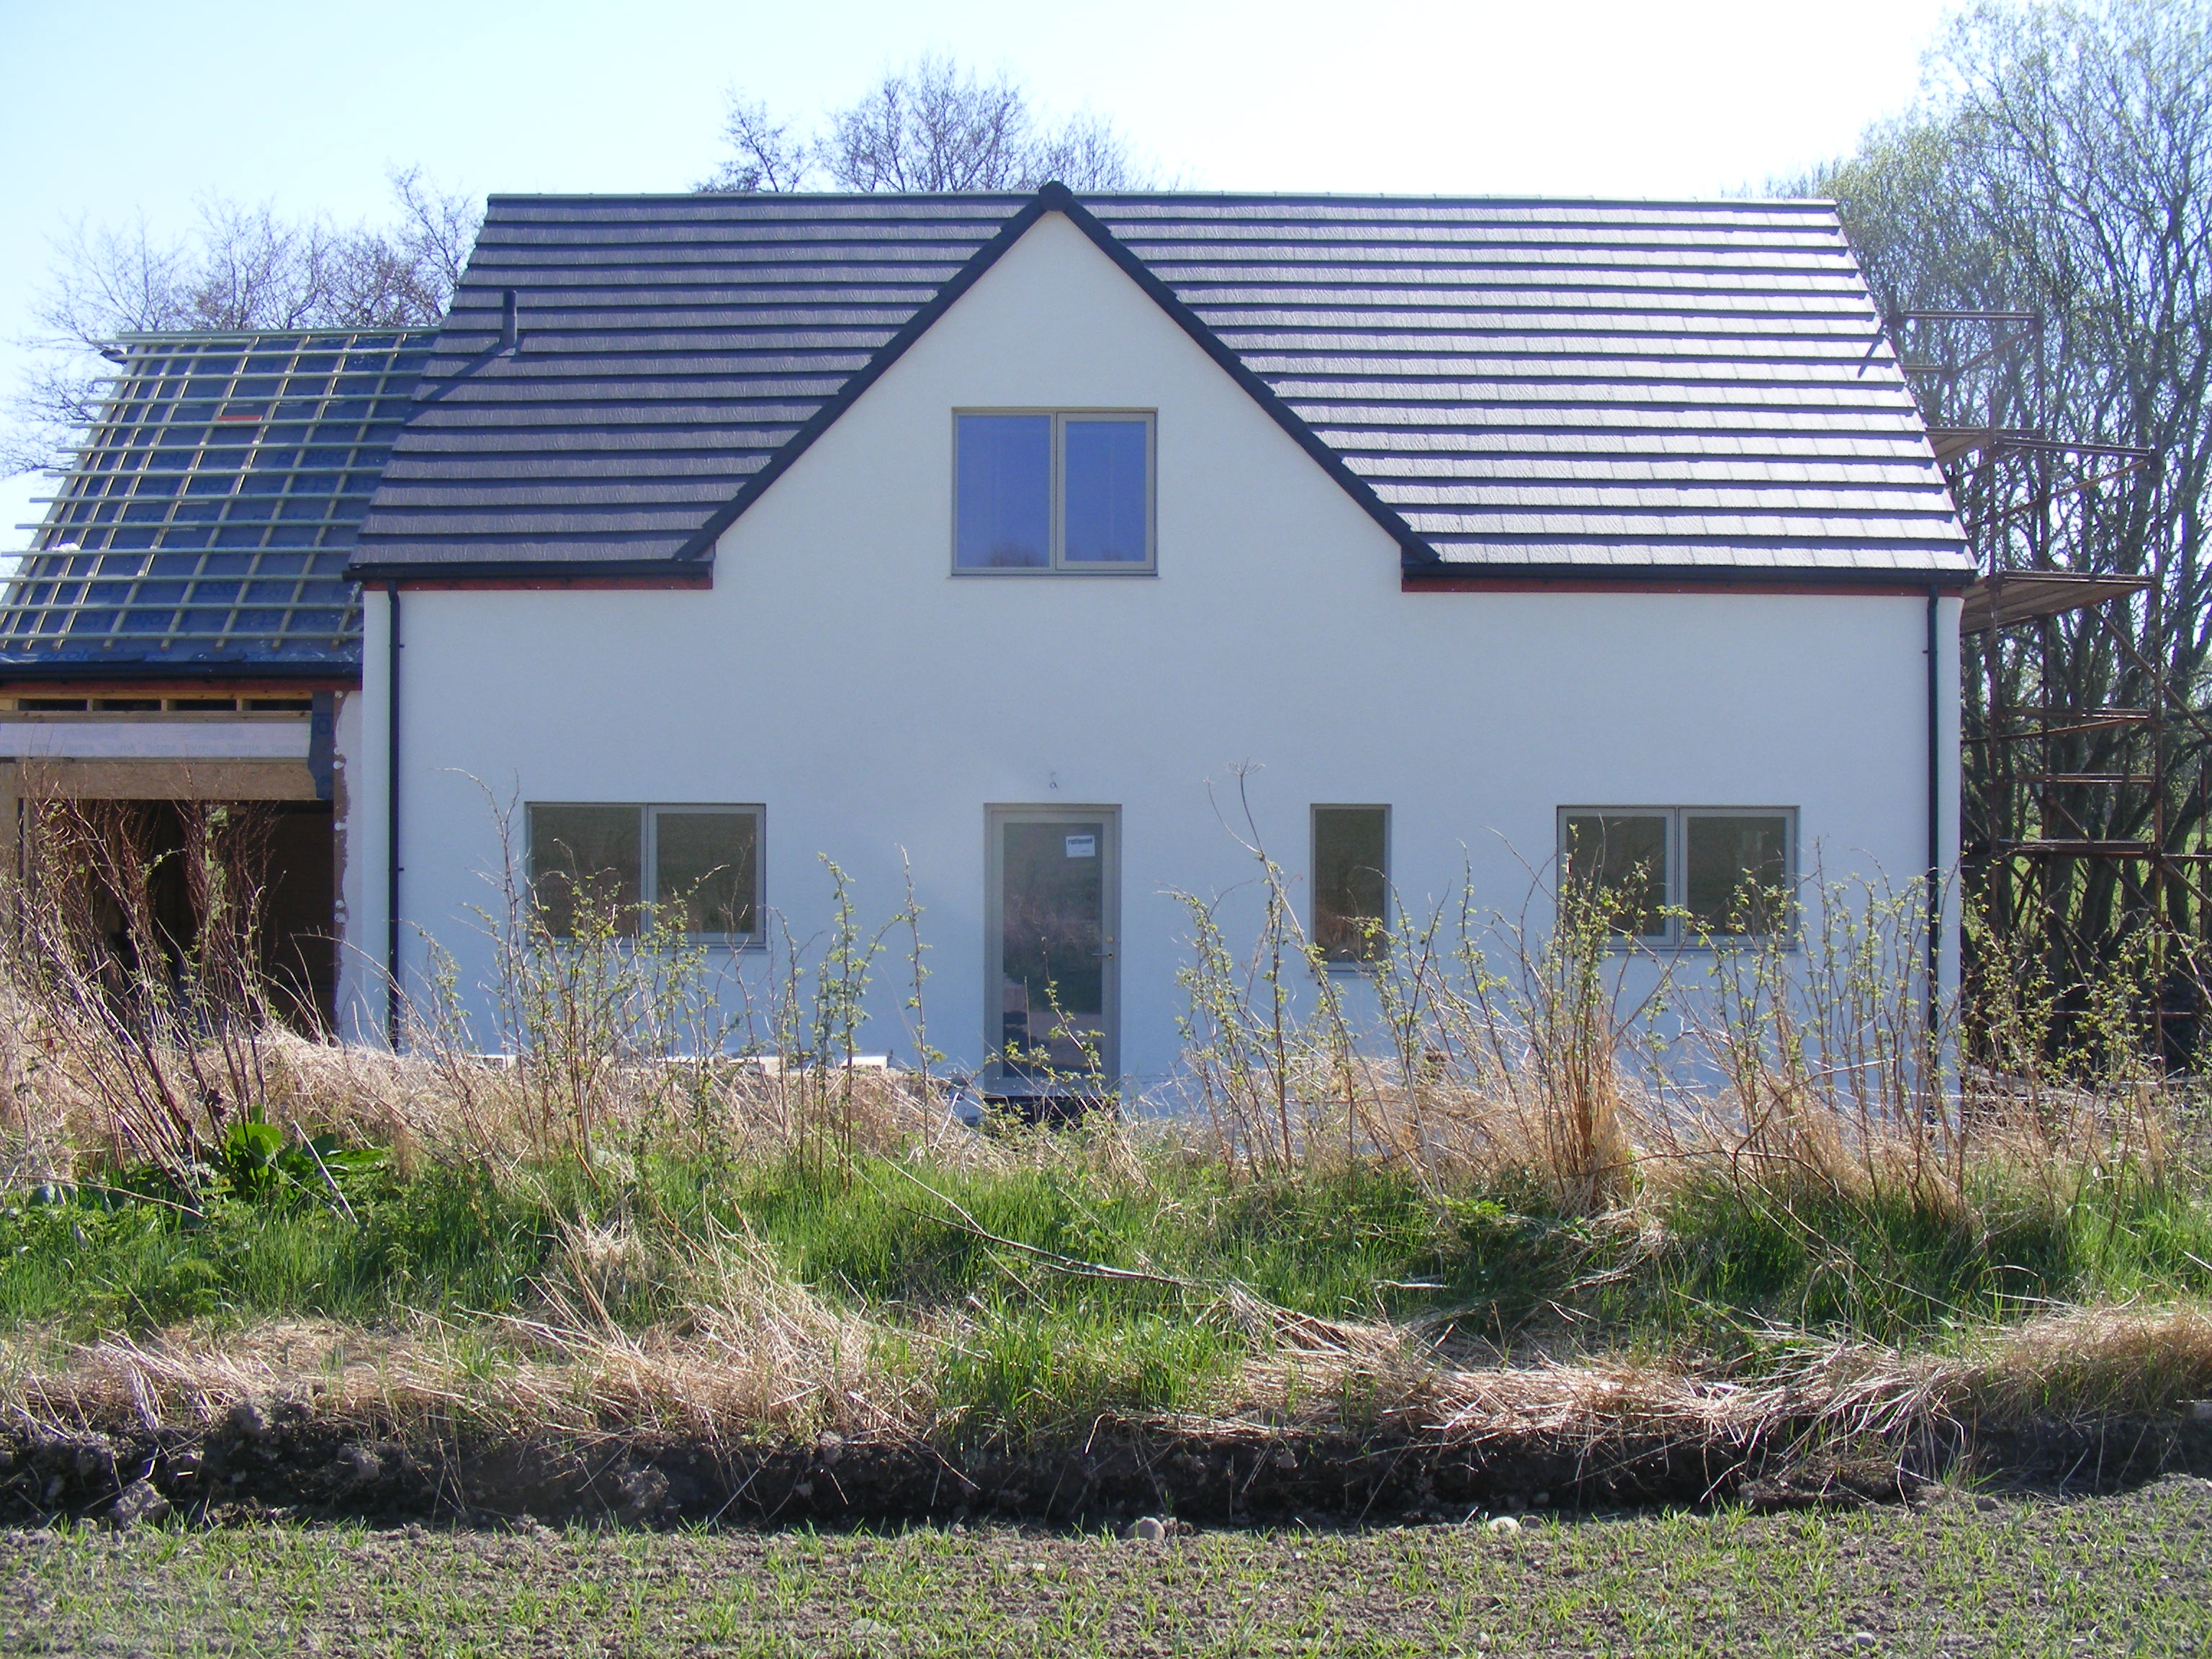
You bought an old stone cottage that will have no damp proof course and was built to standards of the era. I could have told you it would likely be a cold and damp building to live in. Unless you hermetically sealed the extension from the rest of the house then the damp air will circulate. I very much doubt it is your location. Put a modern house like the ones many on here have built in that location and I bet you would not have any problem.
-
So your architect got it wrong? The plans show the inside of the garage wall lining up with the outside of the continuation of that wall. The reality shows the last bit of the garage wall offsets to the right compared to the rest of the wall. And nobody noticed that detail was wrong until now?
-
So you WANT the new wall to join offset from the existing? Why?
-
If it says suitable for direct burying it will be. What ducting will do for you, is enable you to replace it for a different type of cable when the "next thing" comes along.
-
Sorry I am still confused. Can you post a picture zoomed out showing a lot more of the building? All I am seeing is the corner of an existing wall, forming an external corner, and the way you have the bricks set out that will NOT line up with the existing outer edge of the existing wall. So I must be miss understanding the picture. also I don't on the drawing see an external corner with a new wall joining on in the same direction? All I see is you want to join an extension on so it is NOT in line with the existing?
-
Simple answer. No it makes no difference whatsoever what your neighbour is doing with his electricity.
-
You diverter has no knowledge of the world beyond your meter, which is the point it monitors. It know how much is going in or out of your house and that is what it makes it's decisions on, to try and ensure if possible non exits your property. Nothing to do with how fat or thin wires are, just that it can only monitor what is going on in your house. Re the timer thing. I do that with my ASHP for DHW heating. It is timed to come on at 11AM. I can't guarantee the sun will be out then. If you were doing "whole house" intelligence in one device then it would be possible to control a relay to only start the ASHP if there was sunshine, but then the what to do if there is not becomes complicated. Download the local weather forecast and hope it is right? I remember as an experiment cooking at the same time as the TD was on. Whenever the oven thermostat clicked on, I would pause the TD until the oven thermostat clicked off again. It would be a fun project to have total control over all appliances to program things like that to happen automatically.
-
In what way are they wrong? Too close together or too far apart? You might be able to nudge that by building to the edge of the foundation rather than the centre. Or a compromise and offset the build as much as possible and accept the building might be slightly too big or too small and adjust. Wrong position? i.e. the whole building is 150mm offset in one direction? Who would notice? is it going to breach a planning condition? will anybody bother to measure?
-
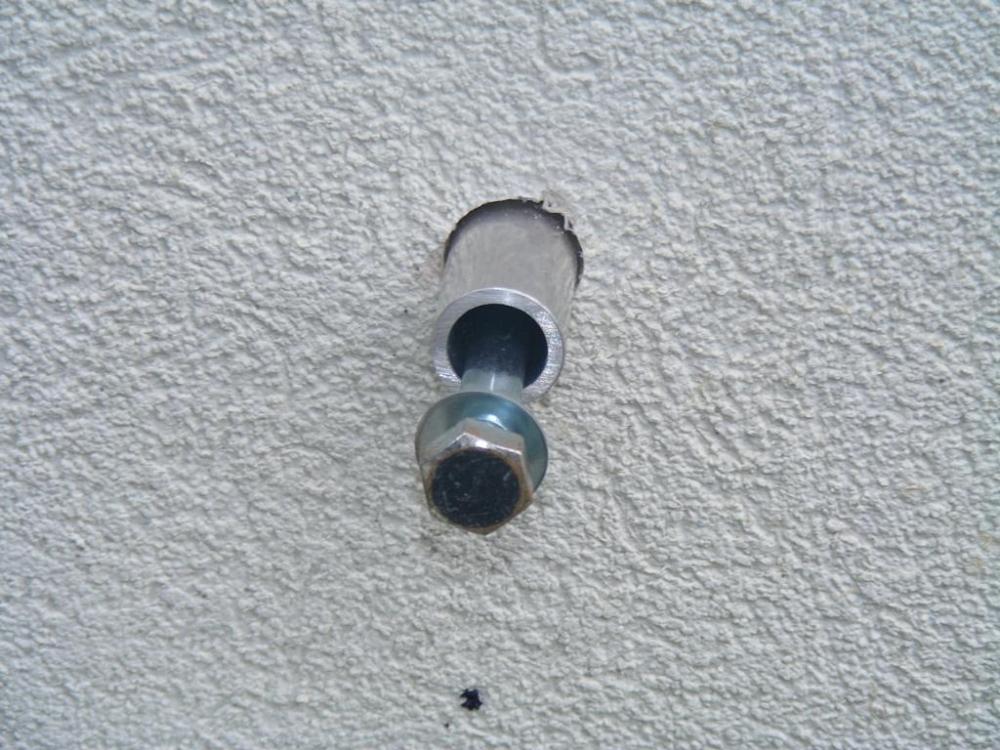
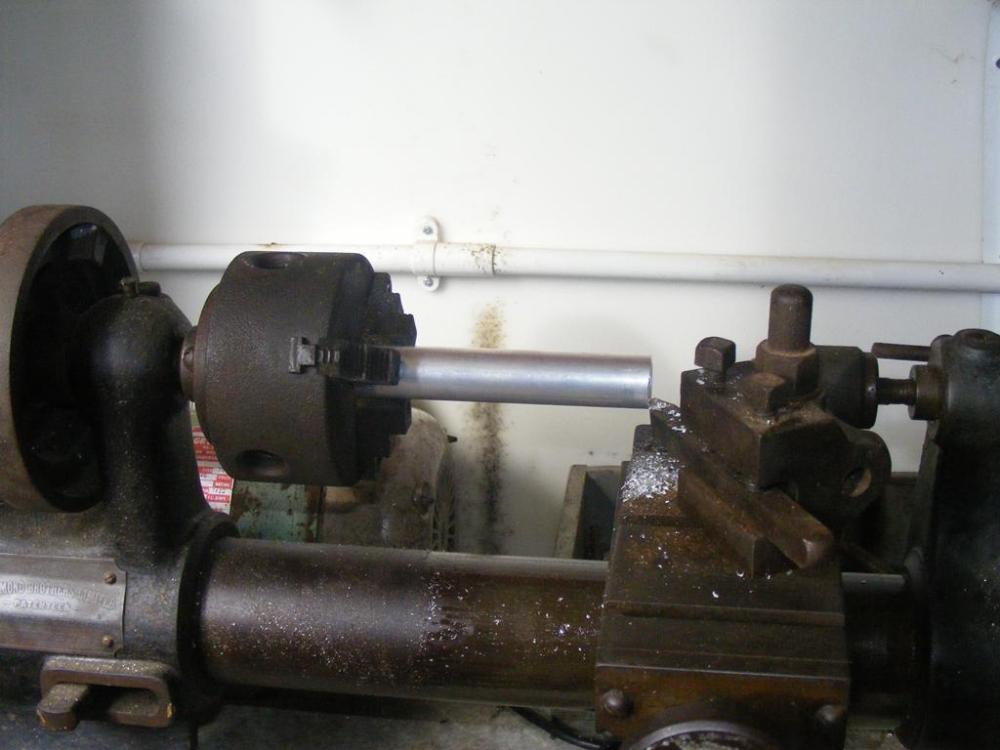
More progress today. Attaching the frame to the wall. Drill a hole in the wall, drilling through the wood fibre EWI until the solid ring beam is reached. Insert an aluminium spacer and a long coach screw will then fix the timber to the wall. On final assembly that gets lots and lots and lots of sealant in and around that hole. The very good news is the wood fibre I was drilling into is completely bone dry. First time I have done such an exploration since it was put up something like 5 years ago. The spacers were made from aluminium tube, cut to length roughly with a hacksaw and then faced off on my vintage lathe. I needed to drill a pilot hole for the coach screws into the solid wood. The drill bit is a lot smaller than the bore of the spacers and I wanted the hole somewhere close to the middle. Time to improvise, a "jig" made from a spare sealant tube nozzle and duck tape. And here is the basic start of the frame now attached to the wall, the outer edge is supported on packing blocks from the scaffold at the moment. Next thing needed is the posts, and for that I am awaiting post feet. I think my neighbour who runs a steel cladding business is going to make them for me. Meanwhile back to painting the last bits of the frame.......

-
When we did ours, we did not dig "strips" we dug a rectangle area of the calculated size, covered the whole area with stones, laid the pipe in "strips" on the stones, covered the whole lot with more stones, then membrane and soil back on top.
-
As @PeterW says it should not smell. As it is new, it may not have "started" yet? The local advice here is drop a dead rabbit in the tank to get it going. You can buy some stuff to put in to provide it all it needs to get going and start digesting, someone on another thread posted a link. Our treatment plant does not smell at all, even if you lift a drain cover for any reason, no smell, and if you are in the garden right by the discharge point into the burn, no smell. On the other hand our neigbour still has an old septic tank discharging to the burn and that smells a lot at times.
-
First warm up from cold takes a long time. I suspect most people used to radiators, turn on the UFH for the first time and think it is not working. Leave it and come back in a few hours.


