


MikeGrahamT21
-
Posts
1919 -
Joined
-
Last visited
-
Days Won
2
Everything posted by MikeGrahamT21
-
Do you have a chimney breast in the house? I found that although in my semi-bungalow that there is a cavity between the houses (which was empty, now filled with party wall insulation which I had blown in), the chimney breast was solid between the two properties, and i find this is where the most of the sound comes through, but obviously depends on how your house is built. I plan on using 50mm rockwool between battens, and then soundblock plasterboard on top when i eventually get round to doing it, only this one room tho and not a massive area so shouldn't cost me too much, and i'll be doing the labour myself. Yeah floor joists is the other, they are often pushed into the walls too far, and touch the other houses blockwork, as I've been replacing mine i've ensure they are in just over 100mm into the wall, but not touching the other house, and that seems to have helped too.
-
Using Blauberg Bathroom extractor fan - PIR or Humidity sensor?
MikeGrahamT21 replied to MikeSmyth's topic in Ventilation
? This is when you employ a fan which is continuous trickle extract with humidty boost! -
Using Blauberg Bathroom extractor fan - PIR or Humidity sensor?
MikeGrahamT21 replied to MikeSmyth's topic in Ventilation
+1 for humidity sensor, work so much better. -
Coping with imperfections...
MikeGrahamT21 replied to MJNewton's topic in General Self Build & DIY Discussion
Yeah this is definitely normal, i get it every time i do something! Perhaps i'm just a disappointment lol! It wears off after a few weeks, hang on in there. I always say DIY isn't how good you can do something, but how good you can cover your mistakes up so it appears to look good to the untrained eye...now your all going to think my house is falling apart lol! -
On to the dining room (Part 1)
MikeGrahamT21 commented on MikeGrahamT21's blog entry in Back on the self-build waggon...
Forgot to add this one, not plumbed in yet, but this will be done tomorrow afternoon.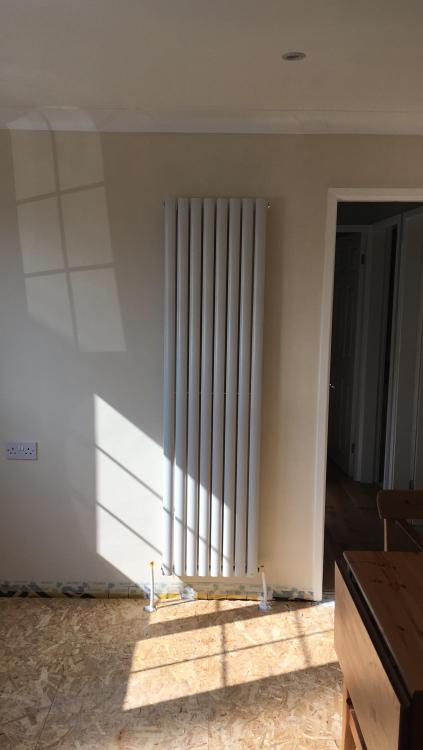
-
If you paid a plasterer to do the original job, then it should be well in the remit to have them back to sort this bit out.
-
Building regulation drawing / submission examples
MikeGrahamT21 replied to Moonshine's topic in Building Regulations
I'm in the middle of drawing my plans for an extension for building control, which I will post on here in my blog when they are done, but may not be done until November time. Not for a full house, but will give you some ideas of whats required. Its masonry cavity wall too. -
On to the dining room (Part 1)
MikeGrahamT21 commented on MikeGrahamT21's blog entry in Back on the self-build waggon...
Cheers mate. This has definitely been the hardest room so far, i always knew it was going to be though! Glad its done now. Few weeks off, and then the master bedroom floor is getting ripped up! But that should be a straight forward, everything out and everything in job...he says lol -
On to the dining room (Part 1)
MikeGrahamT21 commented on MikeGrahamT21's blog entry in Back on the self-build waggon...
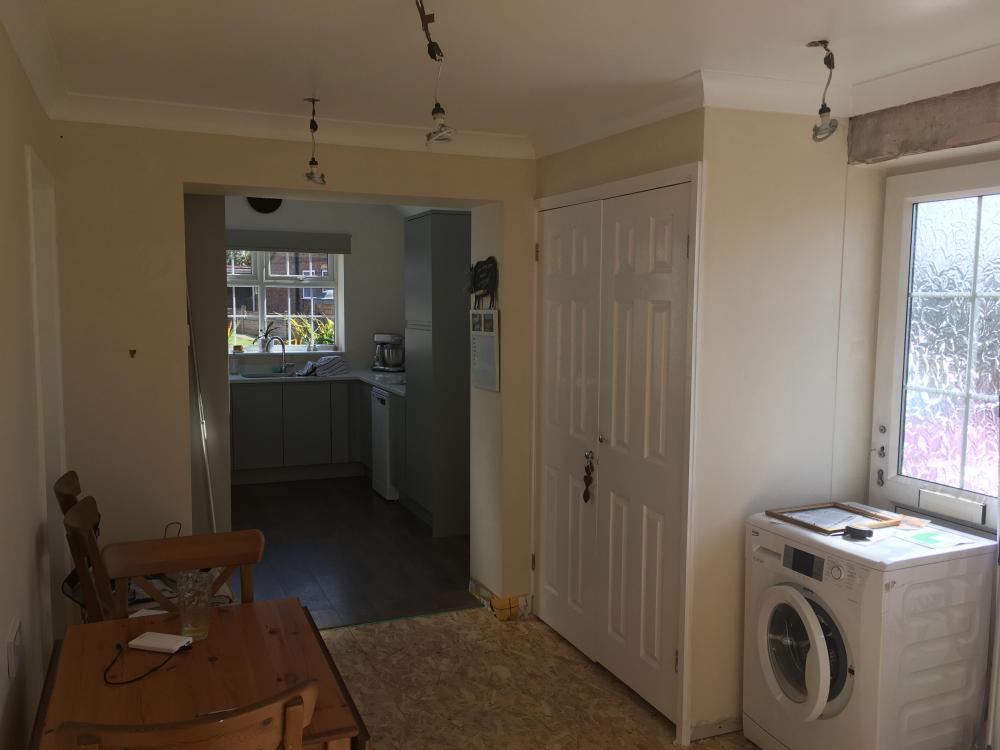
no your right it is a narrow one, it used to be a cupboard there, so its a 610 wide door. In an ideal world i would have put a normal size door in, but its a supporting wall, and I couldn't be doing with ripping out the lintel and putting a new one in for the sake of a few cm's ? its fine to walk through, it'll have to do anyway. -
On to the dining room (Part 1)
MikeGrahamT21 commented on MikeGrahamT21's blog entry in Back on the self-build waggon...
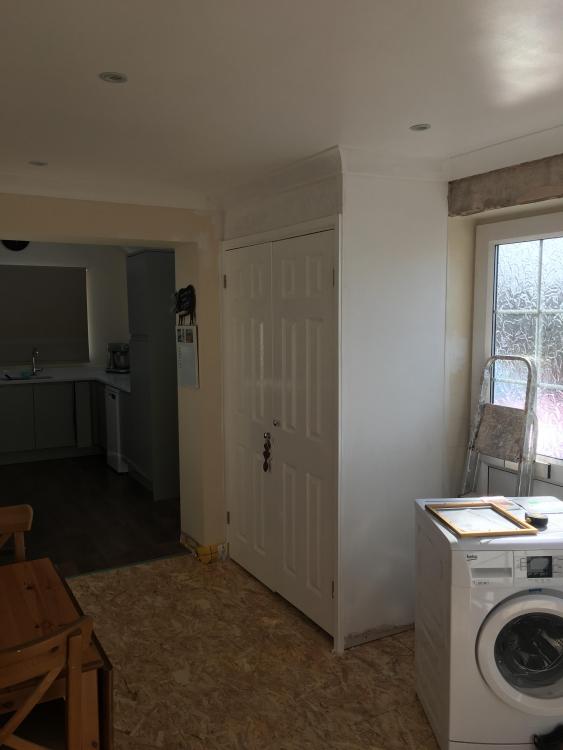
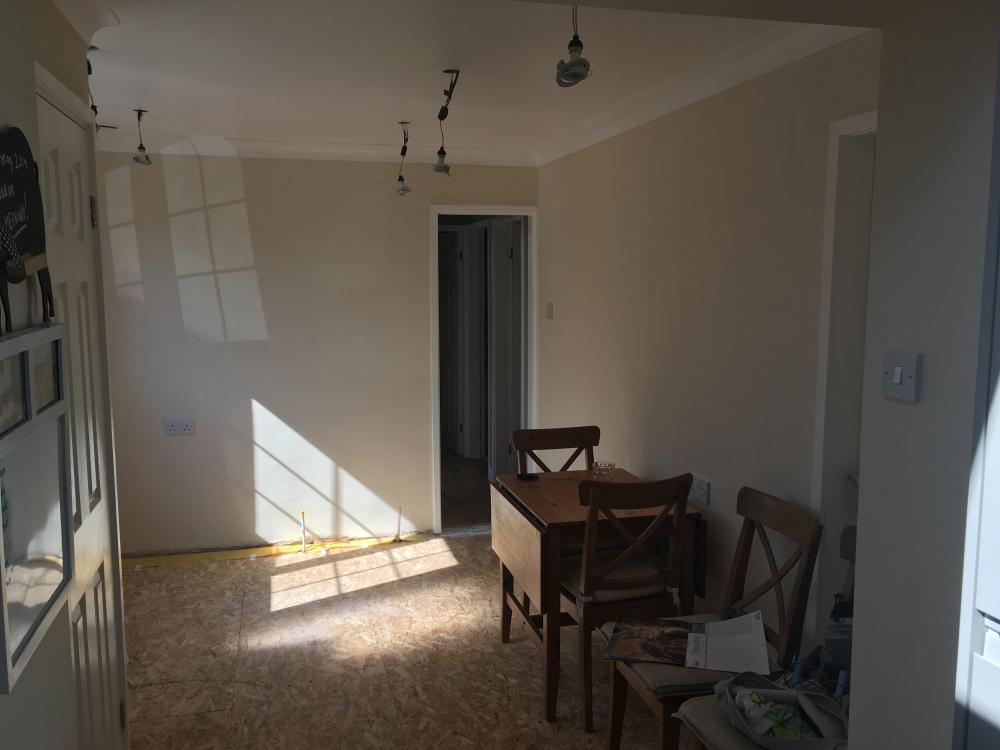
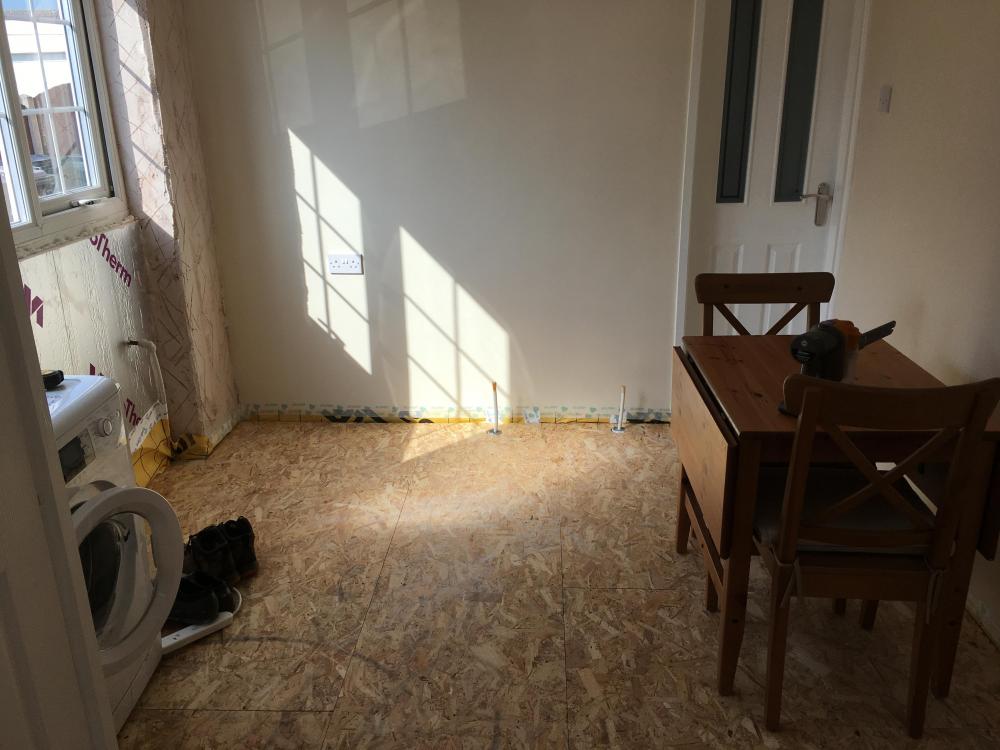
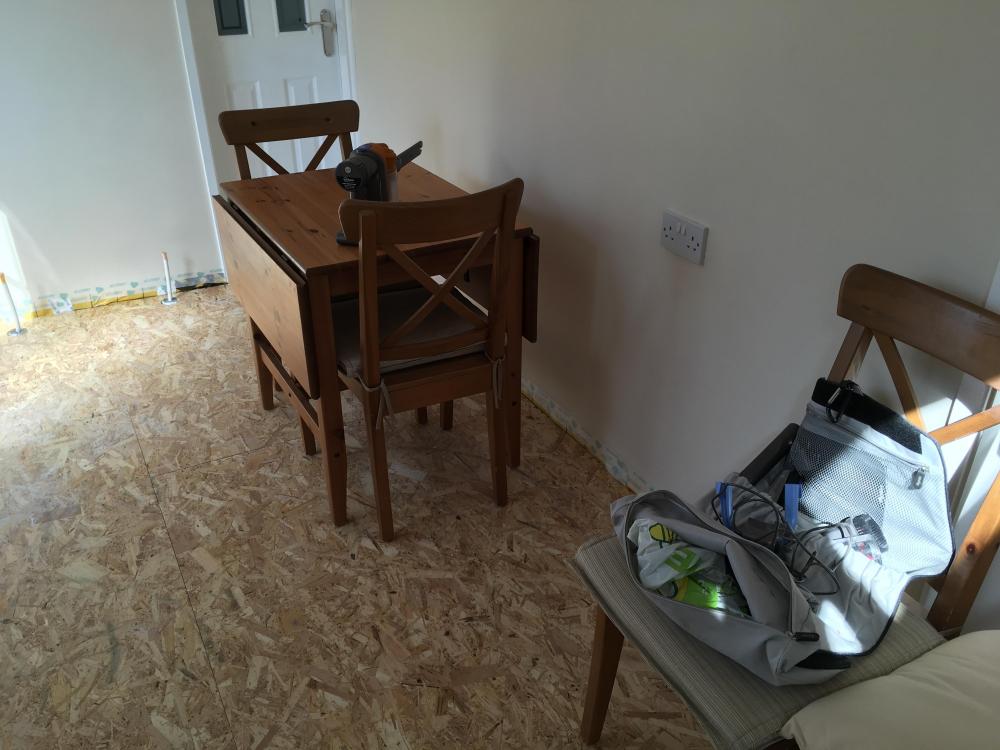
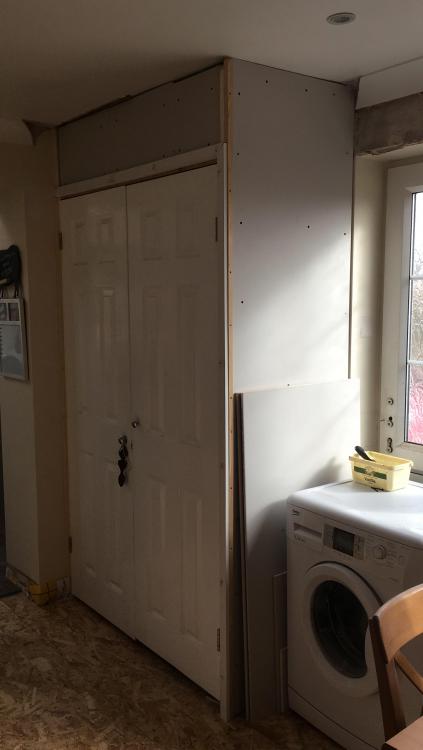
Well finally got another room done, or at least phase 1 before the extension... Cupboard boarded... Plastered... Coved and undercoated... All decorated and the airtight membrane taped to the wall. Just the radiator to go, which gets delivered Friday, will stick a photo up when its done. Been a huge job this one, not helped by lockdown, but got there in the end!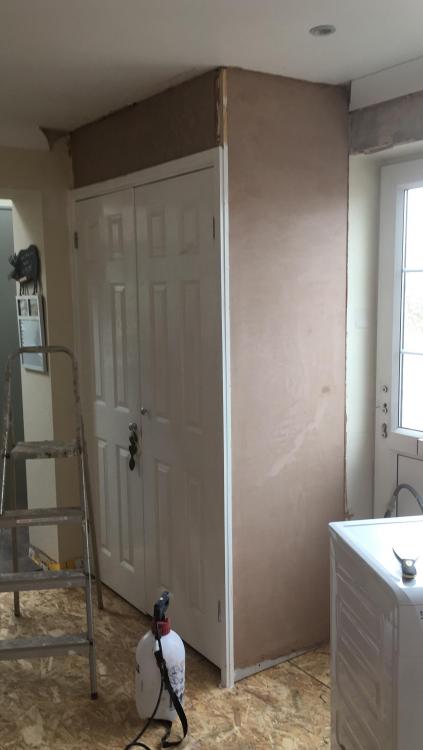
-
IG do a free design service if you send them specs of your building, they'll run calculations and specify a lintel for the job, i've used it before, and it was pretty quick
-
To cut your ceiling holes you need one of these: https://www.screwfix.com/p/erbauer-adjustable-holesaw-with-cowl-29cm-9-piece-set/2571V?tc=TT6&ds_kid=92700055262507123&ds_rl=1244066&gclid=EAIaIQobChMIrIjYzoTP6wIVluvtCh3FiwRWEAQYASABEgJg1fD_BwE&gclsrc=aw.ds Saves getting an eye and gob full of plaster too
-
On to the dining room (Part 1)
MikeGrahamT21 commented on MikeGrahamT21's blog entry in Back on the self-build waggon...
Thanks! Was my first attempt at undercoat plaster, and only my second time plastering, really enjoyed the first time I did it. Managed to get a lovely smooth surface to paint on, few little bits I missed but nothing a bit of easifill and a quick sand won’t cure -
On to the dining room (Part 1)
MikeGrahamT21 commented on MikeGrahamT21's blog entry in Back on the self-build waggon...
Just done this during my lunch hour, squared off the plaster ready for joinery to go on, and put a piece of plasterboard up on the ceiling to fill the gap, lines up bang on to the other second layer which is on rest of ceiling, so even though I thought it was 9.5mm board, it must have been 12.5mm.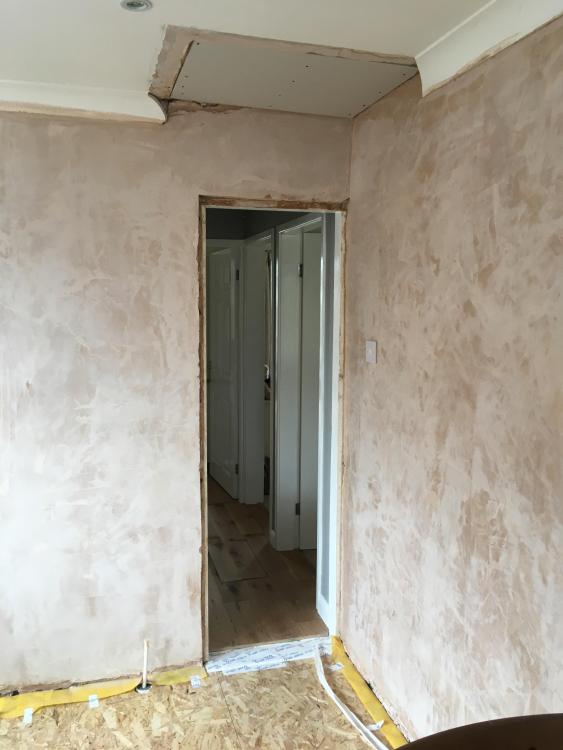
-
Undermount sink mounting options
MikeGrahamT21 replied to MJNewton's topic in Kitchen Units & Worktops
Just remember to clean it regularly and this won't be an issue -
On to the dining room (Part 1)
MikeGrahamT21 commented on MikeGrahamT21's blog entry in Back on the self-build waggon...
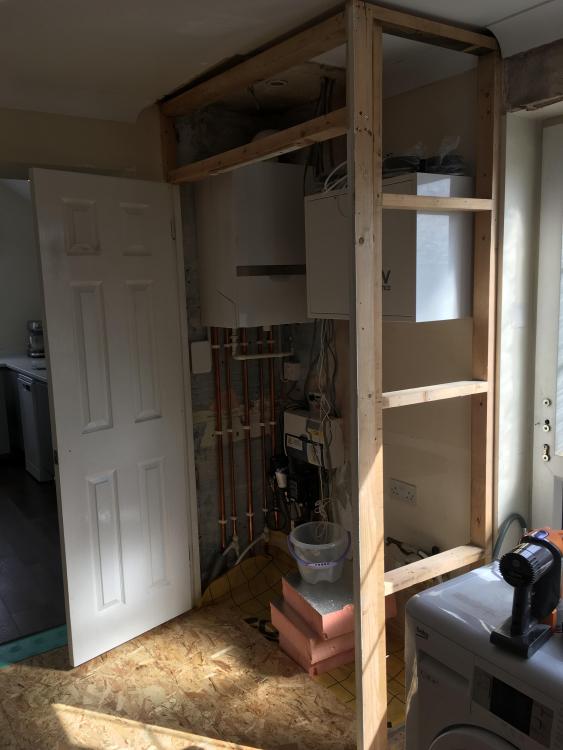
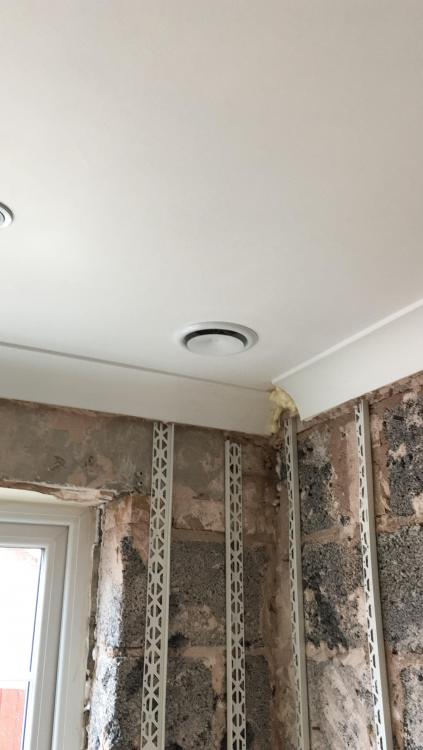
Been a while since i've updated this, but I have been slowly getting on with it. Yorkshire Water came out and inspected the meter and signed it off, so was able to finally get the floor finished and move on. Floor done, and got some stop beads 15mm in depth to ensure my background coat was the correct depth to marry up the existing coving (bit of an amateur cheat i found online), to save any mess putting new coving up. Extended the cupboard and mounted the MVHR unit MVHR vent for the dining room Background plaster done on right hand wall, half done on left/front wall, but couldn't move at this point! Finally got some bags of multi finish, and this weekend got that on the walls. Next weekend going to get plasterboard on the missing bit in the ceiling where the cupboard used to be, plasterboard the cupboard walls, and then do all the joinery bits around the doorway, and hang the new door.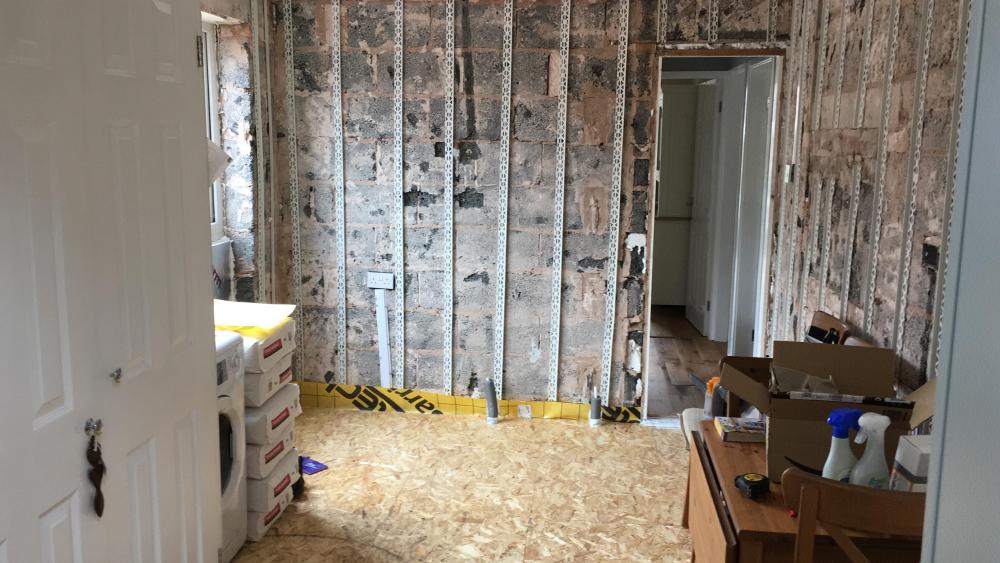
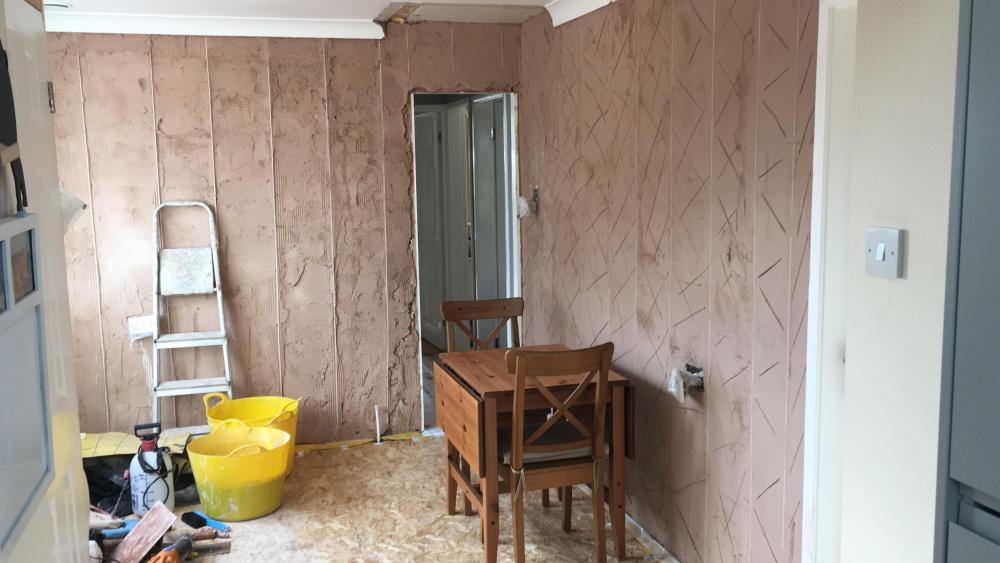
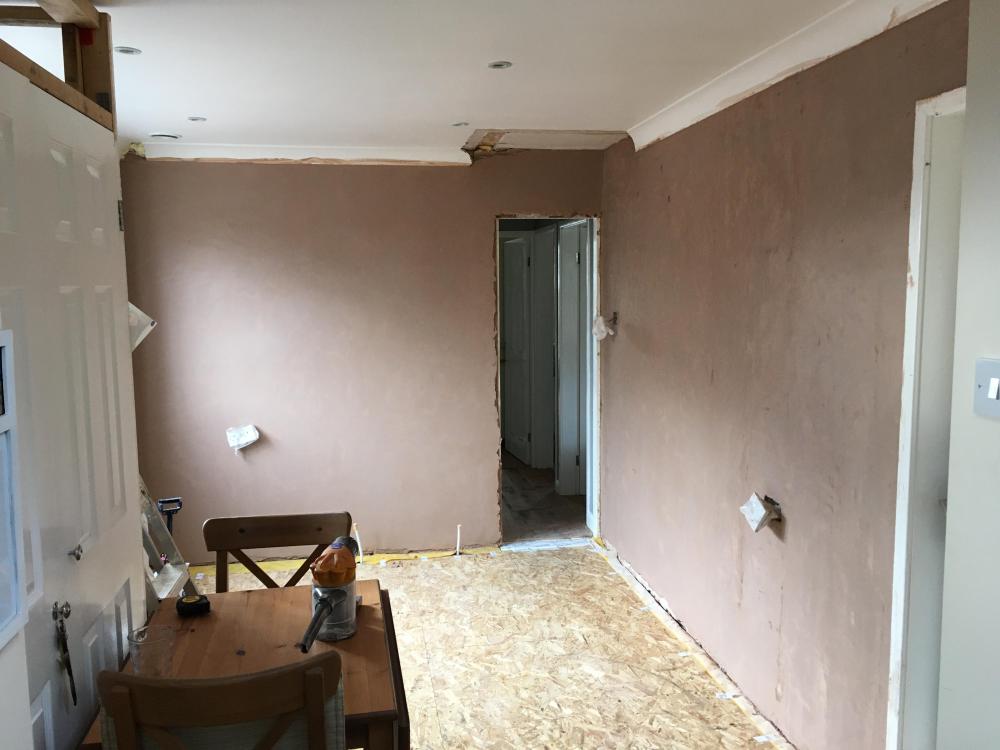
-
The unit that i had damaged, the chap who picked it up said he was collecting all the damaged bits for a new kitchen in his council house, so fair play to them really, it was usable, but not worth paying for.
-
40mm Gap between blockwork
MikeGrahamT21 replied to Bri44's topic in Bricklaying, Blockwork & Mortar
Just a thought, but assuming you have a mortgage, have you spoken to them about it? Technically the property belongs to them if you do have one, and they will have a lot more leverage and internal legal teams to apply some serious pressure to the builder. -
They're white, perhaps just a slight off white (warm white). Can take some photos if you want? I've not got them mounted yet, but plan on making a start on a couple today. If you wanted them a different colour, you could spray paint them yourself. I bought all my components seperately from BPC rather than relying on their kits, as the kits included bits I didn't need for my install. I got the premium pipe (antibac,antistatic) which seems good quality, quietvent manifolds and domus plenums.
-
I spent ages looking around, and found BPC are massively cheaper than anywhere else, just taken delivery of all of my components. The airy valves are incredibly expensive, i've just gone for the normal metal ones, but depends what you are after. BPC stuff is all branded, I did find their PVC 125mm pipe quite thin though, bends a fair bit.
-
Yeah I massively over think things too. For me it would be far easier to go with the 200mm from wall, as it'll be easier to get to in the loft. Rooms aren't huge, only a 2 bed bungalow i live in. Just taken delivery of all the ventilation gear from BPC, its amazing how compact it is, had in my mind it was going to be huge.
-
Yeah i was thinking they'd look nicer a little further away. In my mind I was going to locate them in the second ceiling joist gap, which would put them about 500mm away from both walls to make it even...
-
Morning all, So I know already that the vents need to be located for maximum cross ventilation of the rooms, but is there a set minimum distance which they should be from the walls and corners? I'm thinking having them too close to a wall could be a bad thing? I've not come across any set minimum, but want to get it in my mind before i start cutting holes in ceilings! Regards Mike
-
They have changed their delivery price structure now, used to be Gold minimum to get them to bring it inside the house, which I originally paid for at £150, they then changed this so that all of their delivery prices had them bring in the house, so you can get them to refund the difference down to the new £99, only difference is you won't know what day of the week they are coming until they ring to say they're an hour away, which wasn't an issue for me as i'd booked the week off work.
-
ok cool, i'll get cracking then, cheers







