Carrerahill
-
Posts
2132 -
Joined
-
Last visited
-
Days Won
10
Everything posted by Carrerahill
-
I think you are quite right... Resilient bars... I know what these are and how they work but have no knowledge of "systems" or who/where etc. A quick google suggests I could basically buy some, fix them across the old ceiling and board away. Hmm.
-
As part of my ongoing works I have started to sort out some of the original house rooms that tie into the extension, I have a small room, 6m sq. which I tore down the old ceiling for many practical reasons and just to renew it as it was a bit cracked. Above this room is a bathroom, the room will be repurposed as a little office/den. I have been thinking about lining the ceiling in 11mm OSB, then 12.5mm PB. I did think about twin PB sheeting the ceiling, but I have something in my mind about the OSB being a good idea. There are some thoughts to my OSB lining plan, it will create a good solid ceiling and help to stop some noise, I have about 15 sheets left over from the build, it will mean when the bathroom is being done up and the floor is up there is a slightly more solid covering so when things are being bashed about it is less likely to damage the PB etc. Has anyone done this? I know lining walls first is commonly done but ceilings? Does anyone think the 11mm OSB would sag overtime, the joists are on 20" centres - I had thought about cutting a load of 4x2 blocks and adding some additional support that I can fix to. Basically the theory is a rock solid ceiling with slightly better acoustic properties than a single sheet of PB. I would appreciate thoughts here, I am sure someone may suggest going for soundbloc or something but ideally I would like to use materials I have here as waiting for delivery (about 3 weeks from my friendly merchant just now) is just not happening.
-
I'd suggest getting a 6' piece of 1 1/2 x 1/4 steel bar, place one end against something solid and give it a good push at the other, report back.
-
Architect Technician - Required During Build?
Carrerahill replied to soapstar's topic in Surveyors & Architects
Have you got them in PDF? If so they can be converted (and dimensioned correctly). I do it all the time. Occasionally, it fails, but that is more to do with a wonky printed PDF. -
If you can't find what you need, then you can get a pack of 2 15mm fullbore isolation valves from SF, then you a plain 1/2 -1/2 tail or 1/2-3/4 whatever you have on your taps.
-
Moving loads of plumbing and plumbing in plastic...
Carrerahill replied to Carrerahill's topic in General Plumbing
It is all OK now. I went out and bought all new stuff from Screwfix on the Saturday and used the superseal inserts too. The stuff I was talking about came from the merchant and was all a bit doubtful. I have used JG before plenty of times on non-critical installs - taps in garages etc. So I guess I have already taken a bit of a jump the fact I now have some 3.6m, over two runs, of plastic pipe and 4 x JG fittings in and installed and working. -
Moving loads of plumbing and plumbing in plastic...
Carrerahill replied to Carrerahill's topic in General Plumbing
They only seem to recommend these clips for hard pipes. -
Moving loads of plumbing and plumbing in plastic...
Carrerahill replied to Carrerahill's topic in General Plumbing
They only stock one "system" and the inserts were given to me after I said, "and some inserts to suit". Not pleased as I now have fittings, pipe and inserts I do not trust and will just let sit for a decade or more! -
Moving loads of plumbing and plumbing in plastic...
Carrerahill replied to Carrerahill's topic in General Plumbing
Clearly marked 15mm. -
Moving loads of plumbing and plumbing in plastic...
Carrerahill replied to Carrerahill's topic in General Plumbing
Exactly what I have always found and also expected (they must fit tight or they cannot work). I checked the pipe 15mm - inserts for this pipe were supplied. I have chucked it into the garage where it can stay for 10 years till I bin it. I am, like you, in the earlier stages of my copper affinity, I do now have 2 sections of JG installed for the very reason you give above, great for pulling in. -
Moving loads of plumbing and plumbing in plastic...
Carrerahill replied to Carrerahill's topic in General Plumbing
I'm going to say no, but always the chance, I will check. I had this issue about a year ago with the same stuff - not even sure the make, just the stuff they stock - not happy about that now as I don't know who's it is therefore is it cheap tat! I have been reading since I posted, was going to go for Hep but local SF only have 1 3m length in stock, plenty JG - tempted to do two JG runs across the ceiling. £9 in pipe, some susperseal inserts and some 90's (which I have in stock as I plumbed a sink with it in a garage area). -
Quick background story. I ripped apart my old kitchen yesterday now that the extension kitchen is more or less complete, ceiling came down, floor is coming up today and the first task is to move water services to their permanent location. I'll be removing 100% of the old waste pipes and relocating the stop cock later today too. Until now the old kitchen has back-fed the extension via the bathroom supplies, as of today I ought to be feeding the whole house from the new kitchen and the pipework removed that used to head from the old kitchen. The easiest and safest way for me was to remove much of the old pipework. However it has turned into a heck of a job because I ended up ended up needing to remove all the bathroom plumbing and discovered a few little surprises along the way. I had bought copper to do it all but realistically this is going to take a long time as I have to make up about 9 feeds to things, I have to come across the ceiling of the old kitchen and with copper and soldering, my preferred method it will take me probably all day. To run the pipes across the ceiling I am going to need to notch the bottom of each joist and chisel out a protective plate gap, fit 2 15mm pipes, install the plates, solder it all up, which means pretty much spot on alignment to ensure the joints sit unstressed and the whole think just sounds bad. So I am looking at the plastic pipe I also have here (I bought 3m as I suspected I may need to snake a 1m section in behind a toilet) and I see how bendy it is, I could literally drill each joist, feed the pipe in as it bends so freely, and be across the ceiling, much higher up the joist so in the safe zone in about 25minutes, but I cannot bring myself to use plastic. I just don't trust it and I don't know why not. Here is the other thing, the pipe and inserts I have here as sold to me by my merchant don't seem right. JG fittings you have the push the insert in, the insert mechanically supporting the pipe so it cannot just deform or crush when in a fitting, these inserts are a rattle fit. How can they possibly work? I questioned this and a plumber and they thought it was OK. Well sorry, that just doesn't make sense, I may as well not fit them if they offer no internal support? So here I am, deliberating what could be a hard days work, or a very hard days work. Did I also mention I need to do all this and re-board the ceiling and walls today.
-
Correct. I have just done some very rough maths, my garage was just short of 500 blocks, call it 500, so labour worked out at 70p a block labour only, which if I simply add the cost of the materials order worked out at £1.70 a block - however, I had about 75 blocks left and maybe 75Kg of sand and some cement left too so really the cost was probably sub £1.60. I'd always have brickies price for labour only as ordering block/sand/cement is something I'd always do. Extension worked out at £1.50 labour - but to be honest the actual job price was fantastic, lots of windows/door so actually not a lot of block but many cuts (although I did most of them in the end) and lots of lintels etc. to bed in. Therefore I didn't care the cost was higher. As a job price it was very fair for the guys time on site. If someone said to me, they'd take £25 to core a 4" hole through a wall I'd say fine as that is worth it to me if I need that job done, but I can get a labourer to core holes all day for £150 and in a day I reckon could make a wall resemble Swiss cheese but at £25 for 1 I'd be happy. So there is always the balance of what is a job worth to you vs breaking it down to per unit cost. You also have to take into consideration the "turn up" price. Realistically some jobs might only take an hour, but that is on site, the guys got to get here. If I wanted a single panel wall built for the garden and it was 80 blocks and someone said they would take £150.00 I'd think that was probably OK - but that is £1.88 a block - I would not be happy to pay £940 for my garage to be built.
-
Not sure what size pipe you use, but as a very quick search: https://www.bes.co.uk/25-mm-end-cap-yellow-mdpe-philmac-16074/?gclid=Cj0KCQjwiYL3BRDVARIsAF9E4Gd8ja3UKQHm0s4h9UrGSCJTPVOQZlx-Ne9dG78OiTNqkiKX1cJLgIcaAnT1EALw_wcB
-
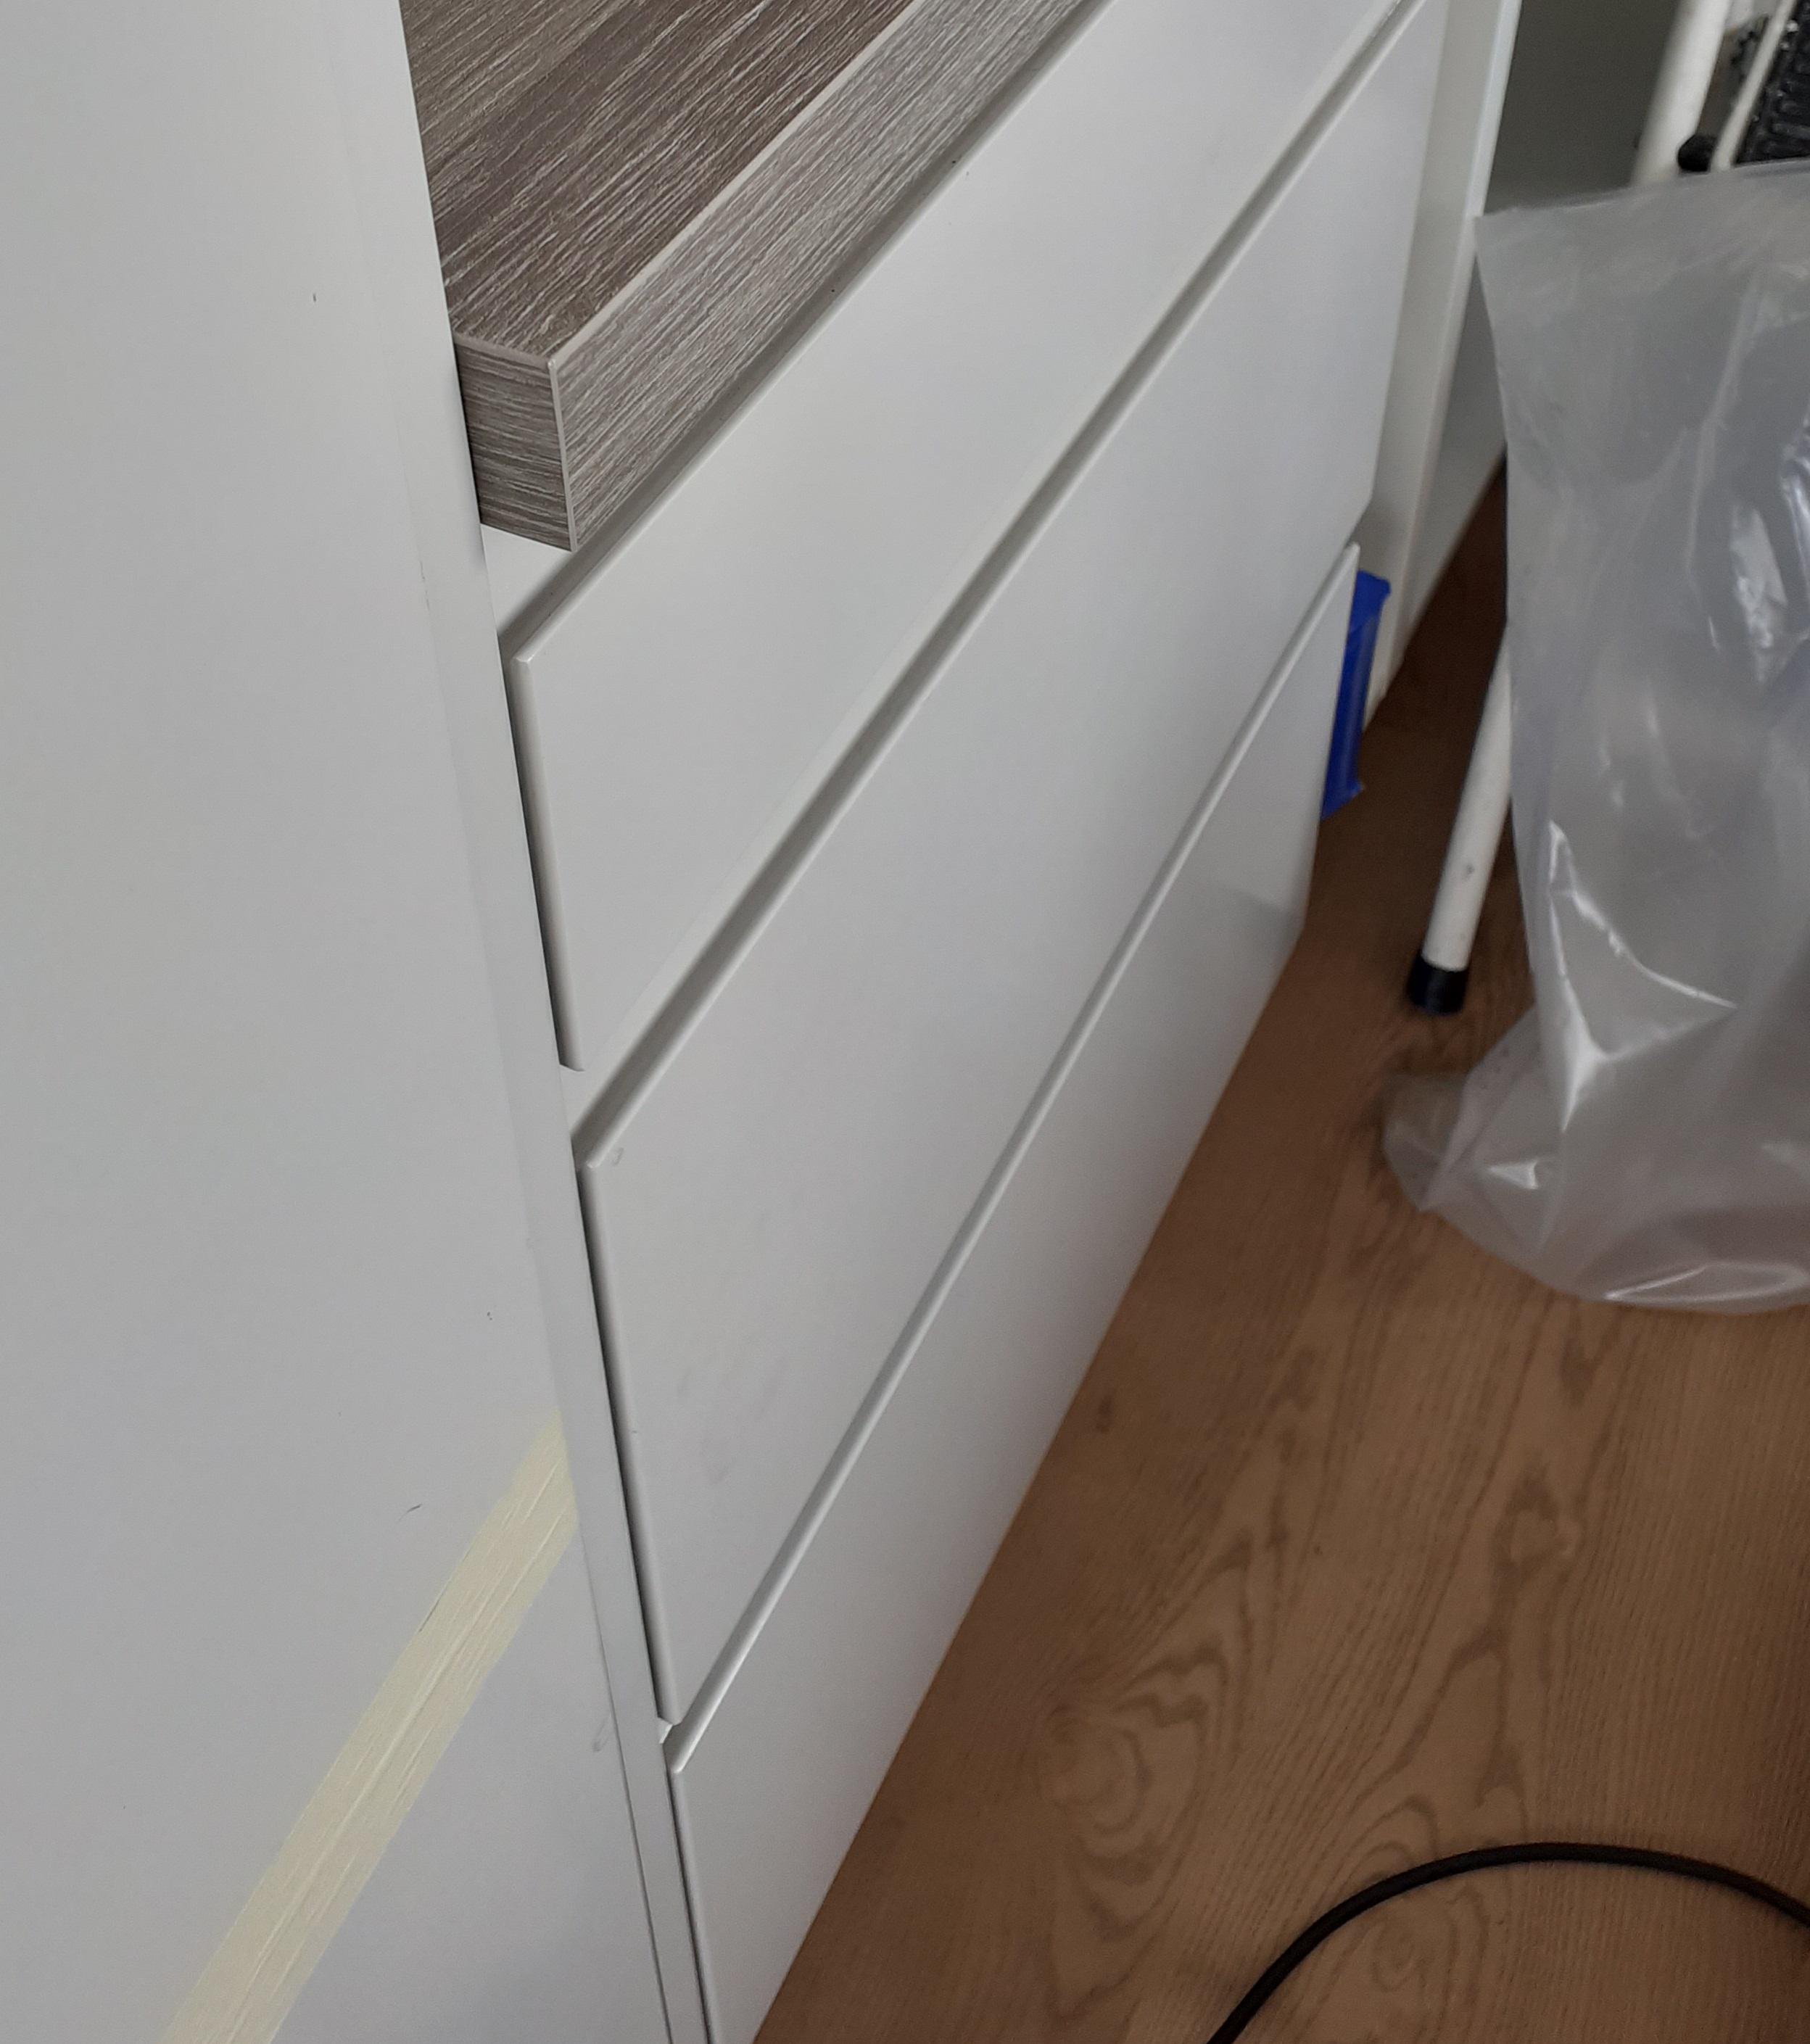
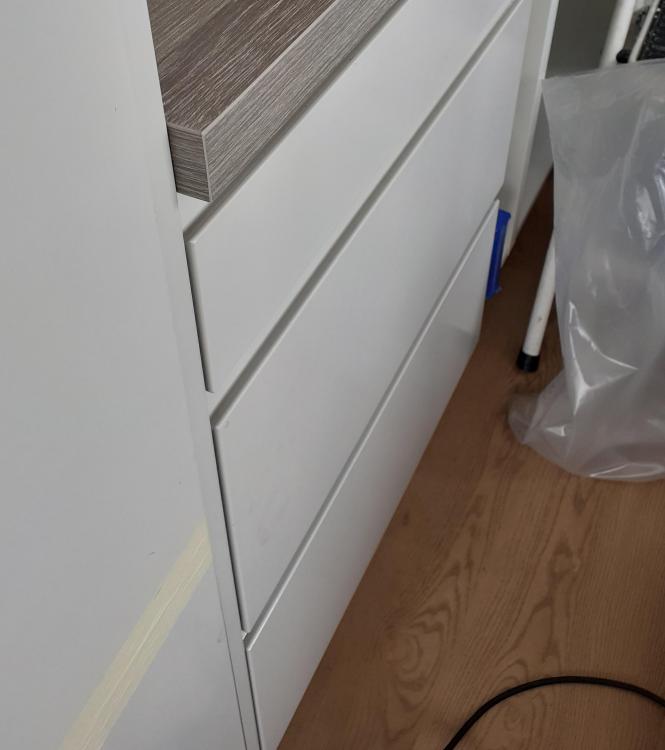
That Wren J-pull? Looks the same as ours, we have Pebble Gray - yours looks like it could be the same or similar at least.
-
How it should be!
- 49 replies
-
- 1
-

-
- worktop
- end panels
- (and 2 more)
-
Skewered with a great big pointy stick.
-
THIS POST REMOVED: Duplicate, multi reply window open error type thing.
-
Your not comparing apples to apples though. If I did Joe90's version in that single location it would look stupid - his version bookends in some full height cabinets and I have said it works, I only have a decor panel there to finish off the side of the fridge freezer cabinet which abuts a worktop, further round I have 2 under-cabinet sections which bookend in the oven unit because the kitchen designer needed to find about 40mm so that I could have symmetry, so we opted to put a decor panel (you only see the front) either side of the oven cabinet which gave us 38mm - near enough. If I had these sticking out that would look stupid - so go and ask your missus if she would like two pieces of decor panel randomly sticking out next to an oven where it would end up a mess, and then ask her would she not want to see a matching detail throughout. I also have some wall cabinets which come to a finish so the hob area could be created, then restart after the hob, I wanted a gap for a glazed cooker-hood, so there are decor panels to the end of those, if I randomly had them sticking out 20mm longer than the cabinets, again, that would look odd and would have wreaked havoc with the pelmets. At the end of the day, I suggested our OP could edge that tiny little bit of worktop like I had done, and that would solve his issue and look smart. yet everyone has jumped on my back like the bloody sky fell down. You better let Wren and Magnet know they are wrong too. I'll just quietly observe from now on.
-
I am sure you did plan it, but think of it this way, you need to cut the decor panel to fit it regardless, I wanted mine flush with the doors/drawers (as per all the display kitchens I looked at) and that then required that the worktop be edged in this position, so this created work for my joiner. Onoff suggests that is a cheating bodge, I don't see how that is, that is what I take issue with. So is this method a cheat? If it is then it's a long route for a shortcut. Regarding the term "bodge" I am just using OnOff's words, I was reversing what he said really, I cannot see how more work is a bodge. Your isolated cabinets within the decor panels looks fine, I don't really have any comment one way or another, I am really replying to OnOff and have no issue with your method or workmanship - in my kitchen I think it would be fair to say this method suit better. I understand that the panel is fixed, but it has been "floated out" is what I am saying and assuming you cut it to allow the plinth to run through cleanly then it leaves it "floating out".
-
Also, the chap who did our worktops is a cabinet maker, so well beyond kitchen fitting, he perfectly scribed and fitted our worktops to, I'd say, about 0.5mm accuracy (yet on this forum I was told that 5-10mm on worktops was fine, so much for anal perfectionists of BH) and with the masons mitre joints that I can hardly see. So stand in my kitchen and tell me that my "professional" just wanted to get onto the next job.
-
Yes...
-
Utter nonsense. Joe90's detail is an option, but does it look much nicer? In isolated section of cabinetry, like this, possibly it might work but it would not be my preference. In the photo shown it works if that is what you like, because it acts as bookends to the full height cabinets, but in my kitchen for example it would look like I wasn't able to measure properly, my method actually takes more skill and time therefore I cannot see how it is a bodge! I don't want decor panels floating out into my kitchen, that in my eyes is wrong and given it is not commonly done I am going to make the statement that it is therefore not, "the way it is done". You know what is going to happen there, as they are proud they are just going to take more knocks and scratches. Using factory supplied edging and putting it on properly and trimming it (he used a small router with a laminate trimmer) you would never know it was not factory, so tell me that is a bodge and tell me that takes less time than floating a decor panel forward? Frankly leaving a cut edge and leaving a decor panel big or floating out out is the bodge.
-
I think this is common. We wad this situation twice on our new kitchen (worktops were installed last week) the worktops came with edging strip and he just used some Colorfill and stuck a bit on and trimmed it and edged and what not. We were even warned in the Wren showroom this would need done on site after cutting. I can only assume you don't have edging tape...
-
downlights and flower pots
Carrerahill replied to bluebirdnick's topic in Mechanical Ventilation with Heat Recovery (MVHR)
That isn't a panel and never has been though, that is a low profile down-light. That is a case of someone calling it a panel because it is thin but it is not more a panel than a search-light. If you want diffused light there are far better ways of achieving it while keeping a smart domestic look, multifaceted reflectors or etched diffusers etc. even some GU10 lamps now come with an optic system which will give uniform distribution without the tight beam angles and sharp cut-offs.