Gone West
-
Posts
4631 -
Joined
-
Last visited
-
Days Won
20
Everything posted by Gone West
-

Plant room layout / utilities / ducts etc
Gone West replied to JackOrion's topic in New House & Self Build Design
We had 185L heated by EASHP to 45C and the 'two of us' never ran out of DHW in the three years we lived there. -
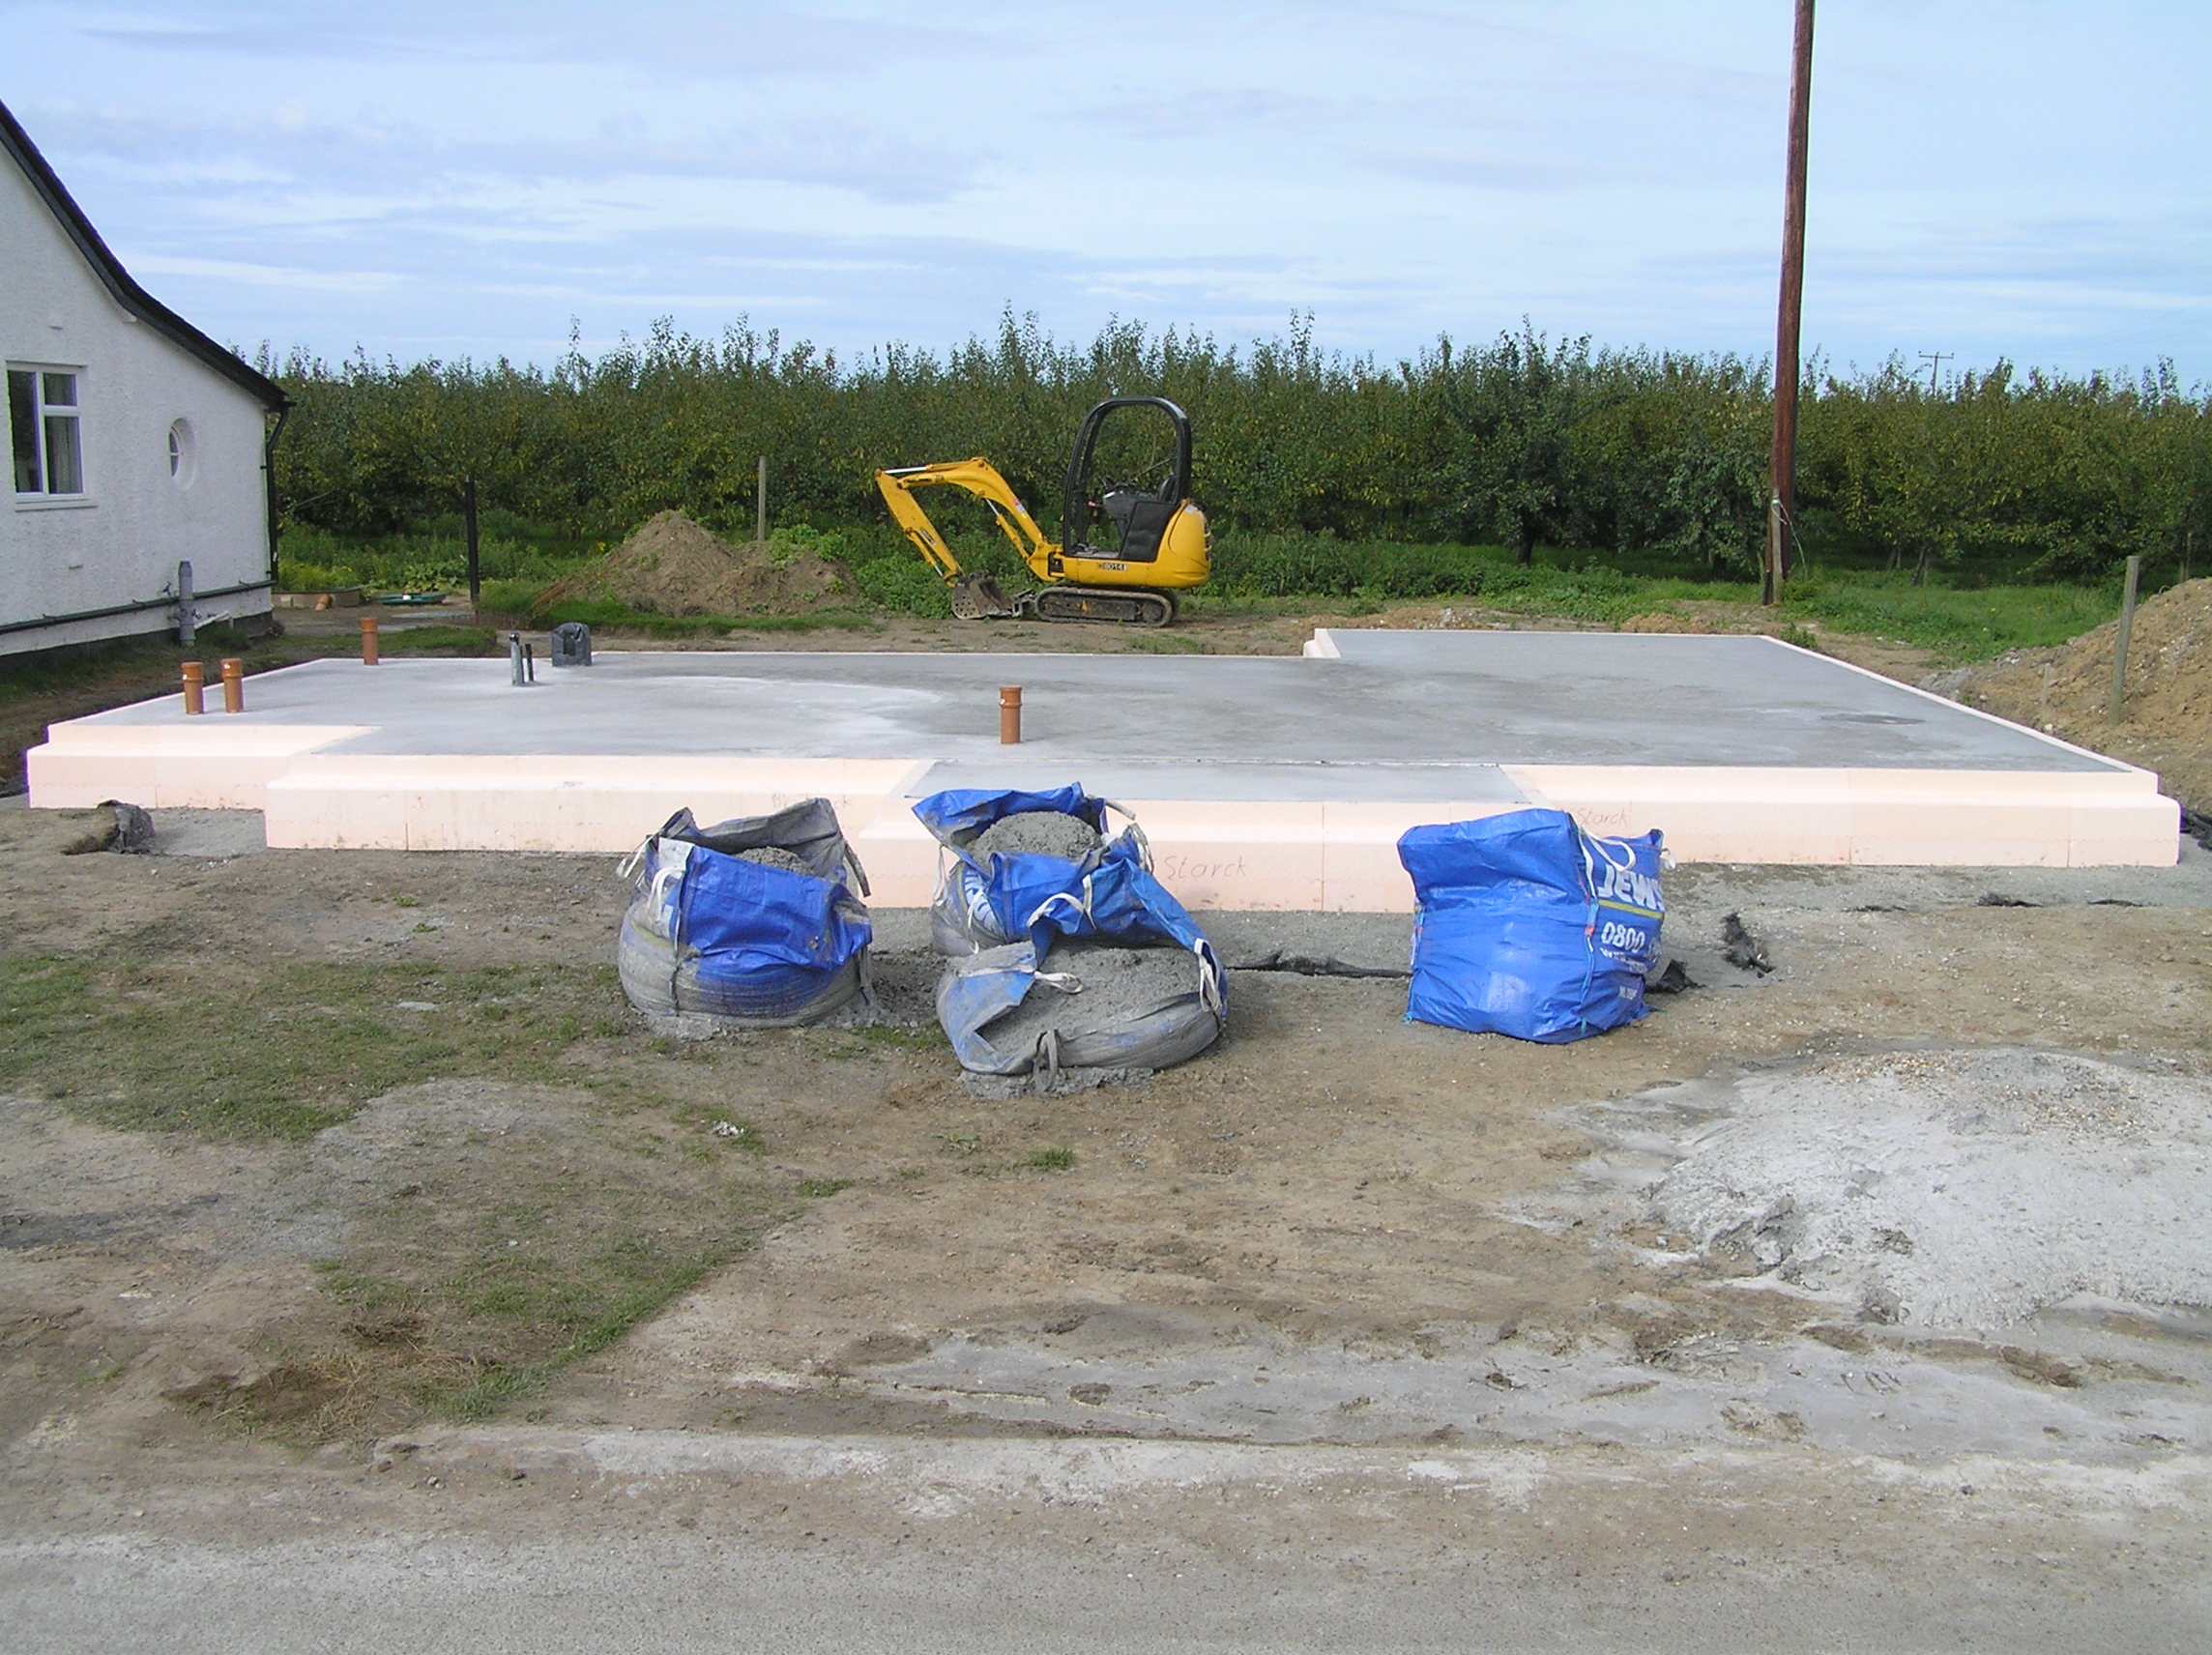
Concrete washout facilities
Gone West replied to flanagaj's topic in General Self Build & DIY Discussion
No, the team laying the concrete asked where they could put the excess and washout, and we had bulk bags lying around. There wasn't that much really.
-
Concrete washout facilities
Gone West replied to flanagaj's topic in General Self Build & DIY Discussion
We just used bulk bags, which all the excess concrete and washout went into. Excess water drained out of the bottom. -
Fire Alarm smoke detectors on walls not ceiling
Gone West replied to Great_scot_selfbuild's topic in Electrics - Other
We fitted Kidde wireless alarms and because of the vaulted ceiling on the landing we wall mounted the alarm. It was nine years ago now but there were no problems with sign off. -
You know I've always trusted you 🙄.
-
I wouldn't argue with Claude!!
-
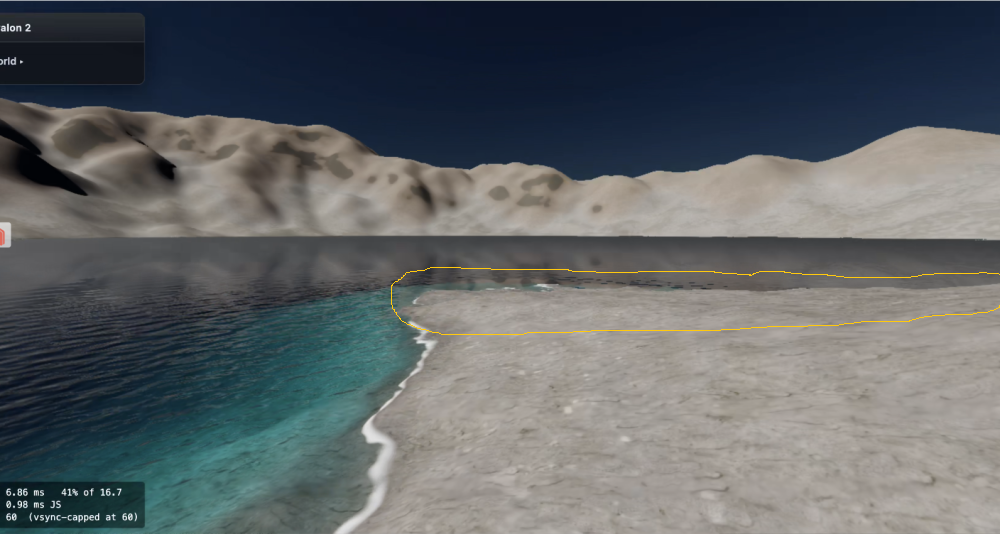
Looking at it more, I think it looks odd because the blue water travels around the edge of the beach, but only for a short distance, before turning dark by the beach. Why in reality wouldn't the blue continue all the way along the beach? There is nothing to indicate that there should be shadow in that area.
-
If only I knew what you were talking about. The last picture looks great by the way.
-
Oh dear, perhaps I shouldn't have gone there.
-
The second picture is good except for the regularity of the wavelets. There is something odd about the first picture, but I can't really put my finger on it. Maybe the dark area in the distance shouldn't go right up to the beach, perhaps there should be a thin strip of blue by the sand.
-
Garden Wall / Fence Height question
Gone West replied to HandyAndyTheAmateur's topic in Party Wall & Property Legal Issues
She sounds like a formidable lady, or maybe it was Griselinia. 😁 -
Wot he said ^. It requires a skilled fitter, it's definitely not something I would try, nor would I want the assistant doing the job.
-
Couldn't the Scottish government have banned them, in the same way as the English government did?
-
This site should give you the information you need. https://octopus.energy/tariffs/
-
Lenleys, Roper Road, Canterbury.
-
In our last self build in East Kent, we had Amtico LVT tiles laid in the bathroom and ensuite. The supplier in Canterbury used an Amtico recommended installer and the result was superb. This was several years ago now.
-
chatGPT and the like for landscape inspiration
Gone West replied to Post and beam's topic in Boffin's Corner
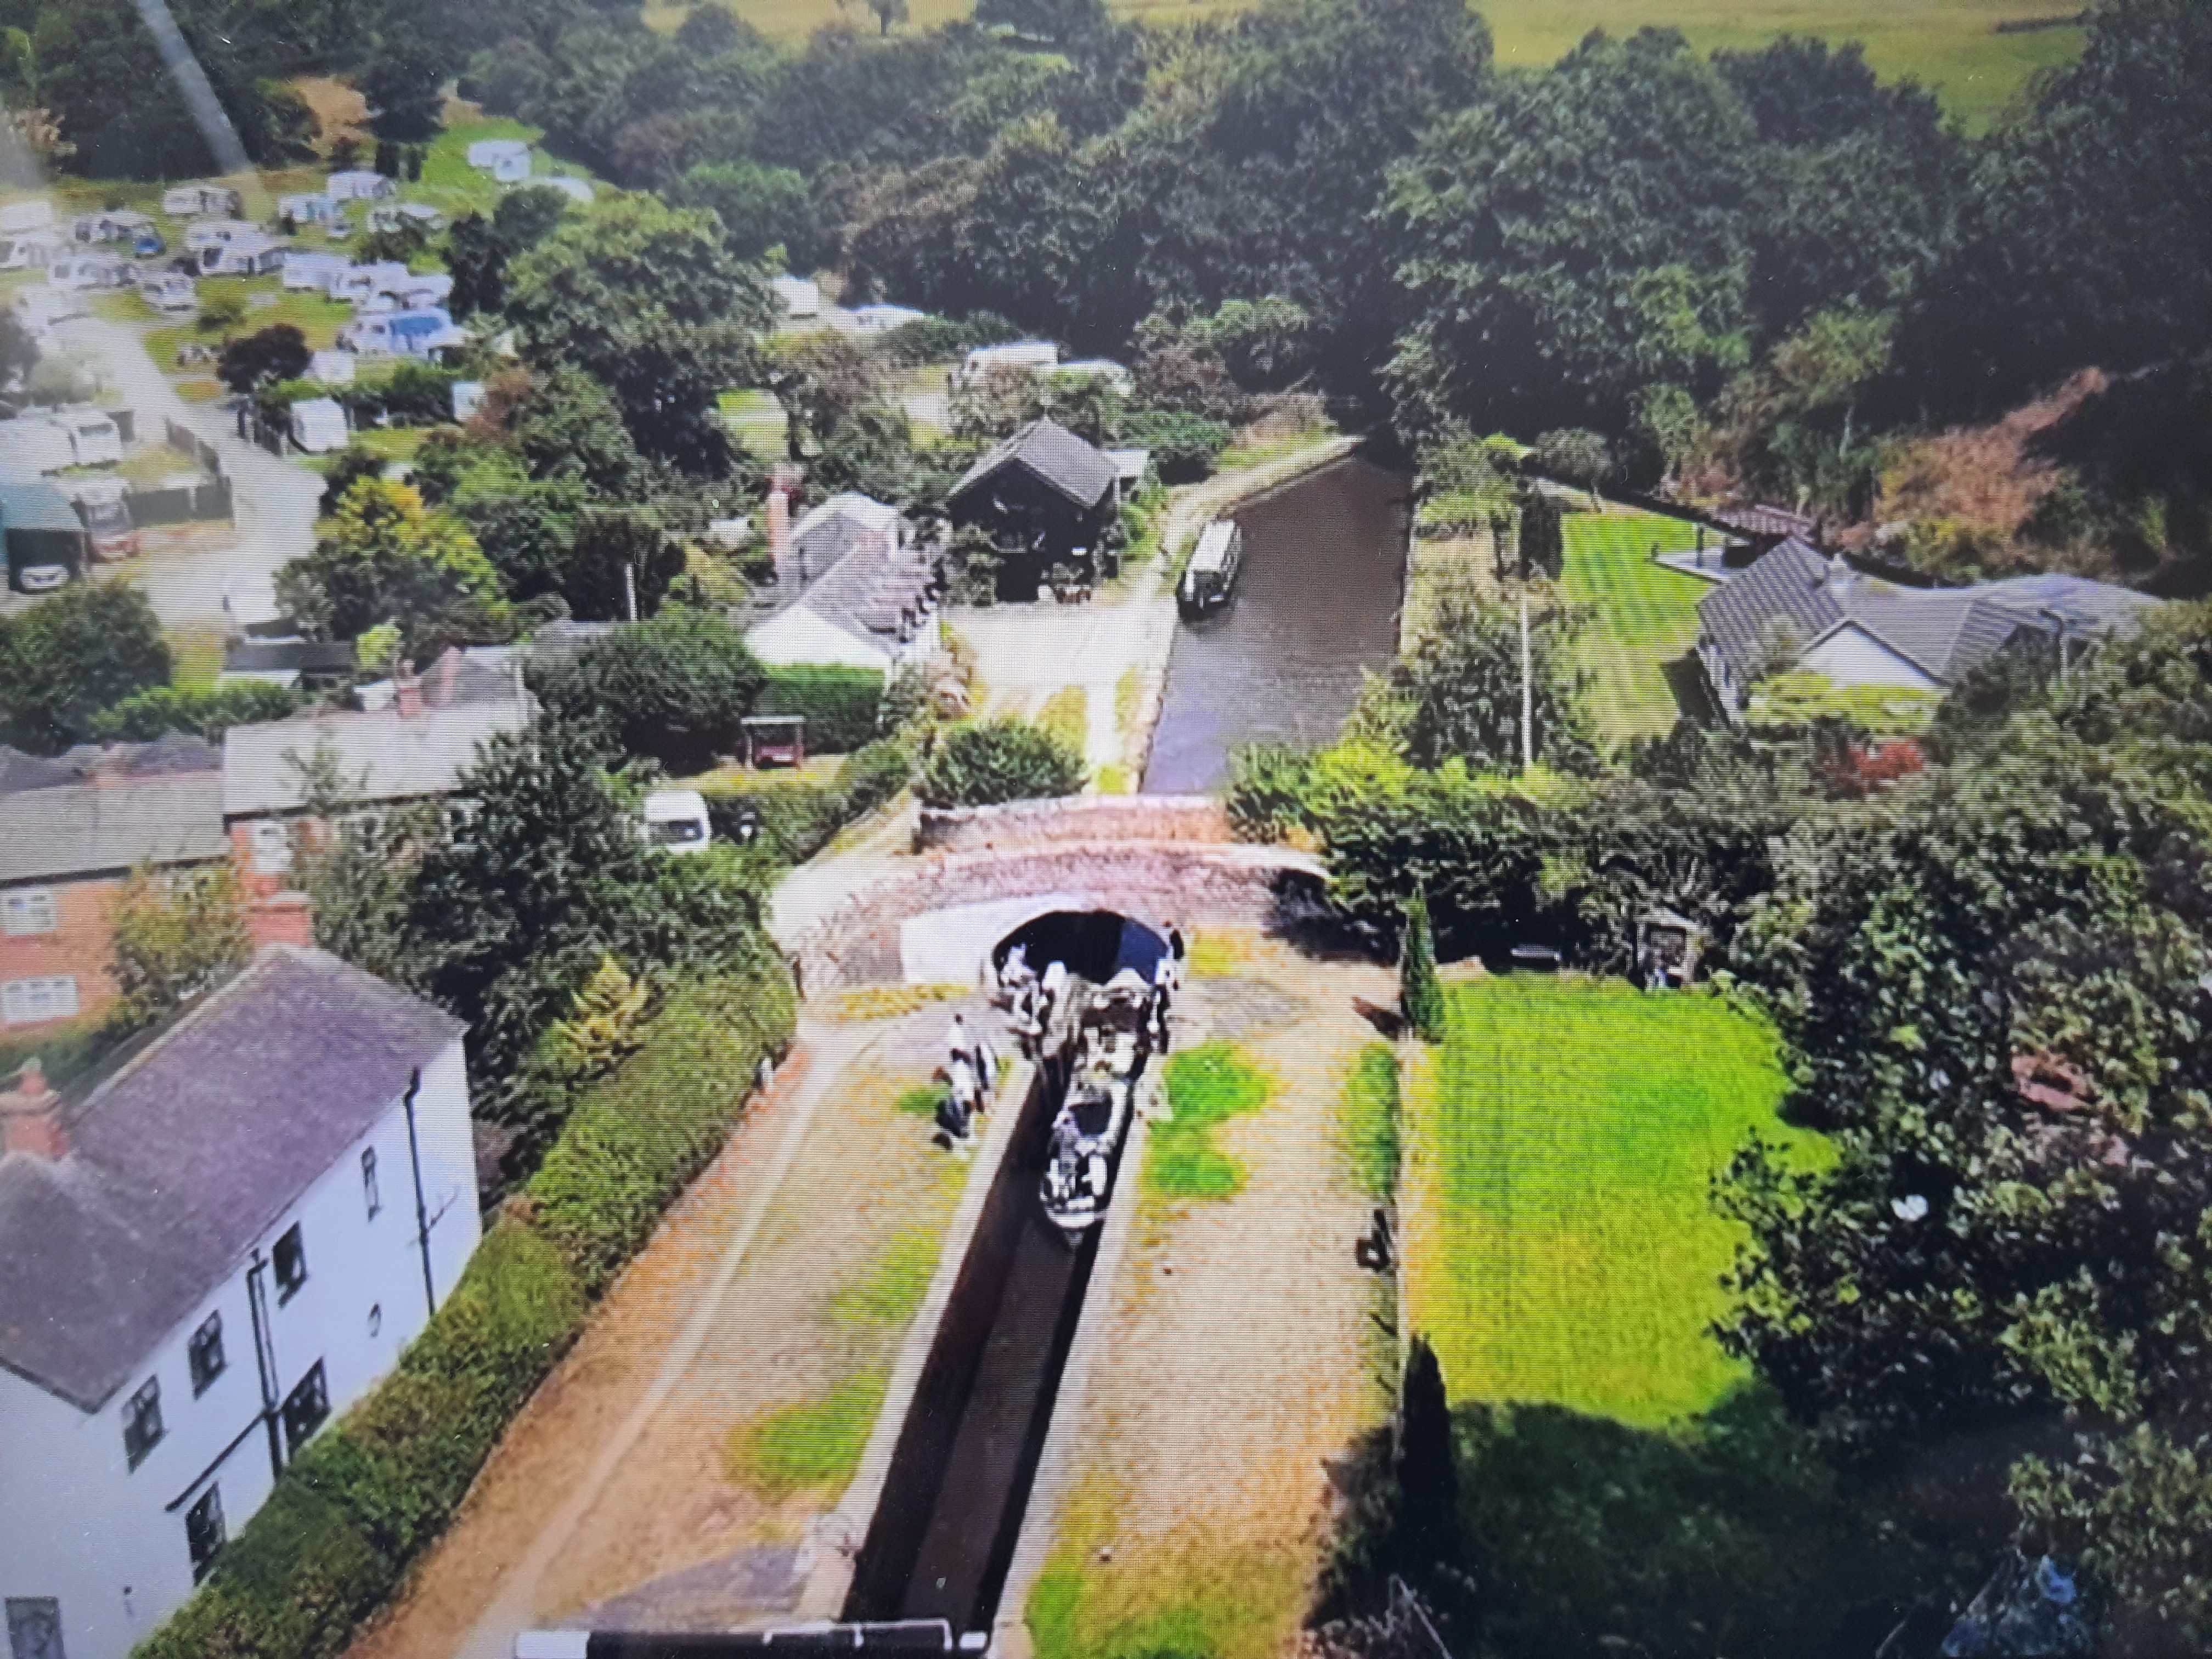
Very attractive house and plot. We saw your property on 'Canal Boat Diaries' on channel U the other day. We recognised it from the pictures you've previously posted and said you were on the Llangollen Canal.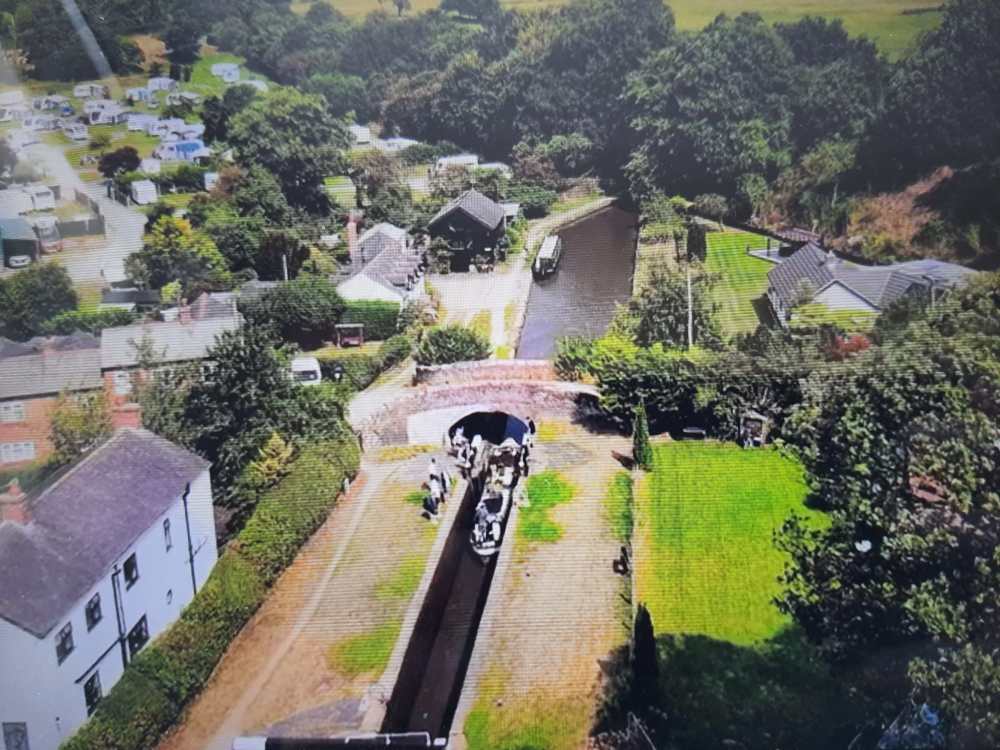
-
I find talking to 'people' and doing things 'myself' a lot less stressful. The limit of my use of 'intelligent machines' is a robotic vacuum cleaner and a robotic lawn mower, neither of which is perfect. Maybe the software was written by ChatGPT.
-
I expect you know the answer, as ChatGPT is the only thing, of the four, I have ever used.
-
Wish I understood what all this is for.
-
Valuing/re-valuing your new build for Council Tax purposes
Gone West replied to Bancroft's topic in Housing Politics
Yes, we've moved house several times and most times the band had gone up one step. The Council recommends a band to the Valuation Office, who generally accept it in my experience. We have challenged these increases with the Valuation Office and been successful. The Valuation Office have backed down when the appeal hearing date is close. -
Valuing/re-valuing your new build for Council Tax purposes
Gone West replied to Bancroft's topic in Housing Politics
We were in a very similar situation to you. In our case I think the District Council suggested a banding to the Valuation Office. We disagreed with the valuation and suggested a band two lower than they wanted. We ended up at the band halfway between the two. -
That is all we used to keep the house cool recently. It was 32.8C outside at the hottest and we closed the curtains on the west facing windows. The walls are mostly shale cob 650mm thick and the temperature inside was 25C. Opening the windows in the evening when the outside temperature was below the inside temperature, cooled it down. It has taken a while for the fabric of the building to return to normal, that's good old 'thermalmass' for you.
-
Found it. I was actually thinking of your pergola, which I think is excellent.
-
I've got a vague recollection that @JohnMo built a freestanding covered area with timber louvres.