Onoff
-
Posts
21127 -
Joined
-
Last visited
-
Days Won
206
Everything posted by Onoff
-

Bath Surround / Boxing In, and concealed pipework
Onoff replied to Onoff's topic in Bathrooms, Ensuites & Wetrooms
When I get to the opposite corner of the room I need to build a stud wall to create a cupboard for the linen basket etc. It'll give a wall alongside the wc. An ideal place for the loo roll holder but it got me thinking... I don't like the ones where the loo rolls are stacked with their axis vertical. Need to come up with something on these lines: -
Aka "Nun's Delight" as a mate's uncle refers to it!
-
I've seen Faye labouring in those videos you should be bringing HER the beer! Seriously though, you both appear to share a passion / vision for the build which is a fantastic thing and a great basis for any relationship IMO.
-
Ah bless him, still in the infatuation phase.
-
Going by your review I'll give it a miss I think.
-
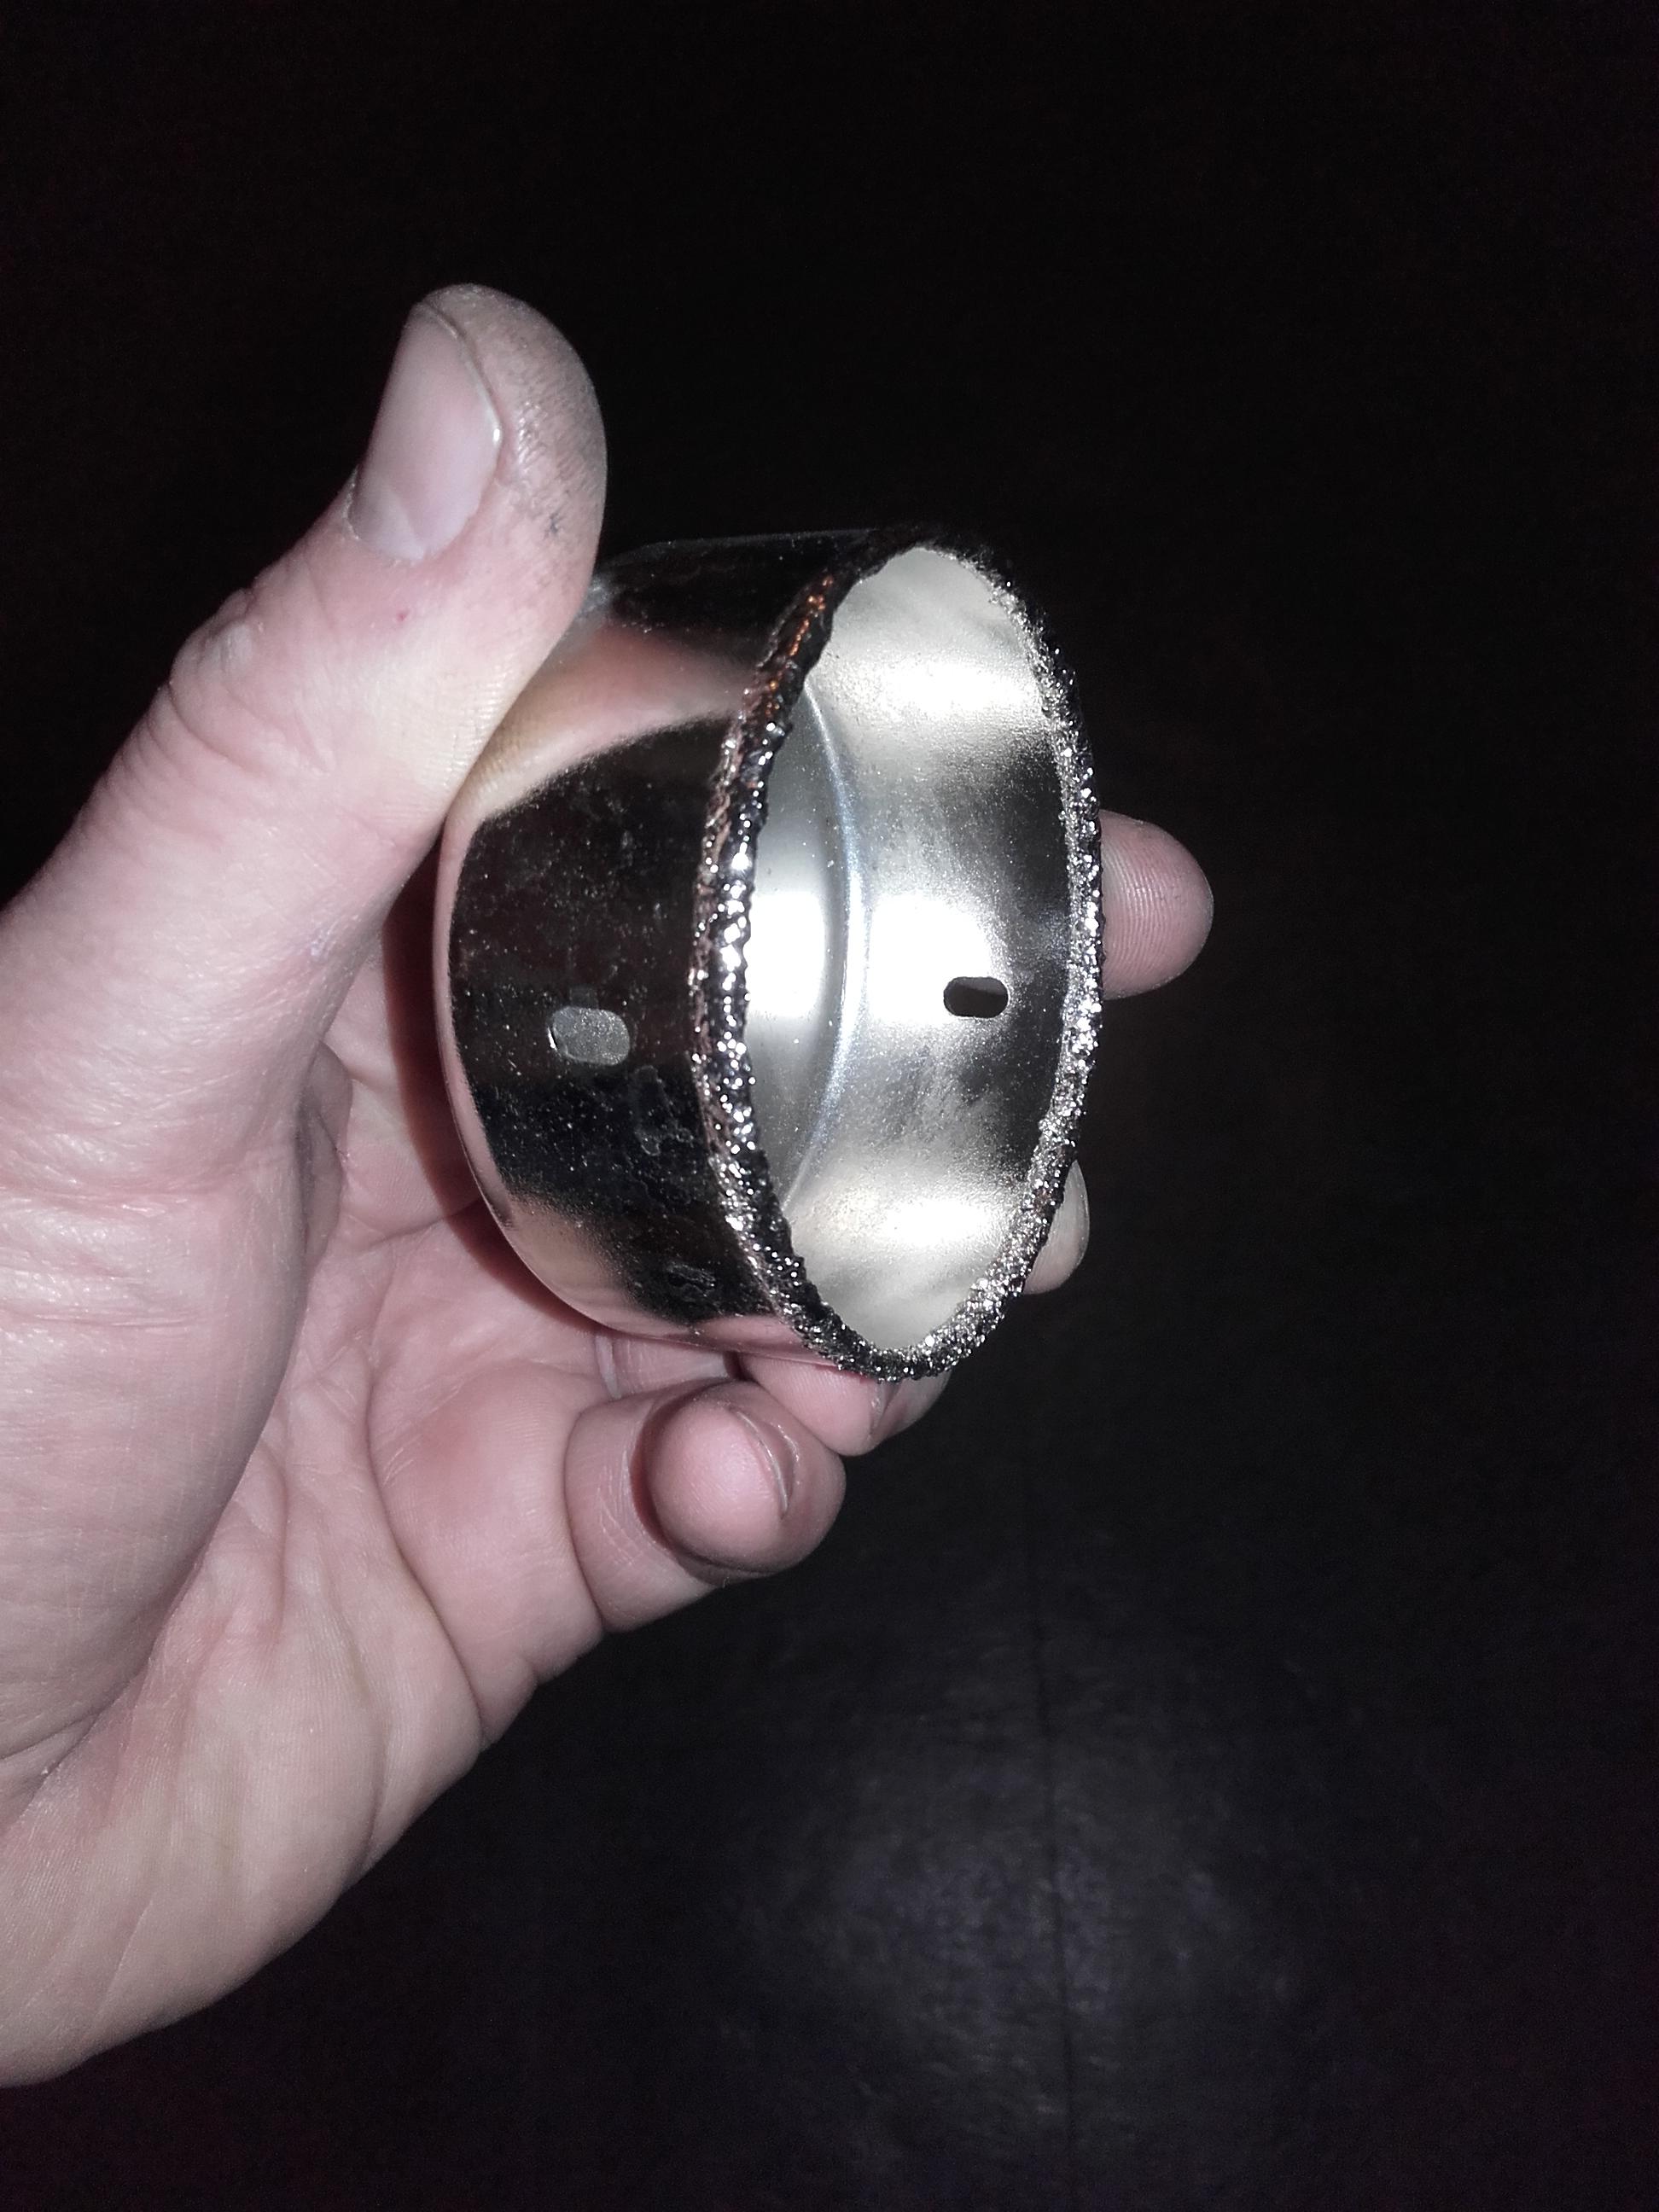
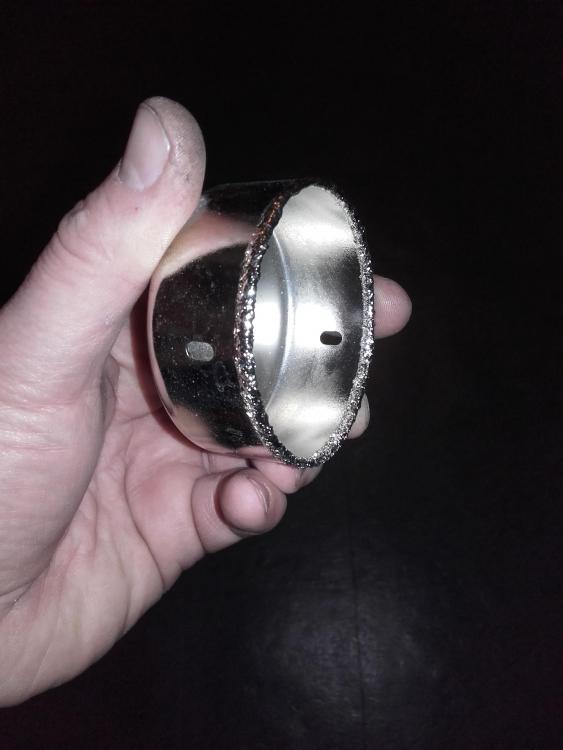
Not really a Black Friday deal but I've just bought a set of carbide edged hole saws in LIDL for £9.99: Time will tell! AND.....Bishops Finger is £1.25 a bottle.....

-
Ta. No chance of it freezing all inside. The unconnected UFH tails come up out of the bathroom, across the floor of the stairs room and into the study area! The wife / kids don't trip over them any more. To get where they're eventually going I need to dig the stairs room floor up. More chance of Hell freezing over than me doing it quickly.
-
It was a couple of years ago or so I thought.....Xmas 2012 FFS! And it's only an I5 but they're still about. Outstanding customer service. I've had a quick look about and that Argos price seems pretty good tbh. Check it's got a man enough psu to run a proper graphics card. Easy and cheap to change of course. Arbico btw: http://www.arbico.co.uk
-
I can't believe it's 9 months since I cast my bathroom floor slab! Since then the UFH loop has been filled with tap water and holding steady at 3 bar. It's Pex-Al -Pex btw. Is it detrimental to leave the water in there for so long without connecting it (other then to my marriage)? Cheers
-
Looks pretty good at first glance that. I had my boys gaming pc built by Arbico btw.
-
Bath Surround / Boxing In, and concealed pipework
Onoff replied to Onoff's topic in Bathrooms, Ensuites & Wetrooms
Hmm.....lining the soffit of the reveal..... From the top it goes: - dodgy rendered soffit, solid both ends but a bit hollow to tap in the centre. A bit convex truth be told. - blue DPM (non scuffed up) glued on with No Nonsense contact adhesive. Cleaned wuth Multi Solve first. - Soudal low expansion foam on the scuffed underside of the DPM again cleaned with Multi Solve - 27mm insulated Gyproc slid in so it will have "smeared" the foam at the ends. Front edge has a line of Sikaflex and will be screwed to the timber when everything's gone off. The side gaps have Sika too but not doing much as supported by the vertical panels. Back edge gap where the board meets the UPVC frame is foam filled. See what it looks like when the wedges come out! -
Get a Plumb brand hammer. American make. My fave is my weight forward one. Far better than straight handled ones.
-
My elder brother is a barrister (who was locum barrister for a local LA) and with his guidance I successfully fought and won a nasty parking ticket issue with another LA. Basically I had provided all the necessary documentation to contest a fine (I broke down) but they came back saying as I hadn't provided the supporting evidence (AA report) they were doubling the fine and it went on to the point of them threatening debt collectors. I started a Stage 1 Complaint with them that basically pointed out they hadn't followed their own rules. Even after I'd started the complaint they kept doubling the fine. I also took them to the Ombudsmen and they dropped the case sending a grovelling letter etc. Have they in your case "failed" on promises etc at any time or have you been given conflicting information? They really change their tune if you can show up their systems. A concise record of times and dates is needed to go at then like this ideally. I'll happily run it by my brother if you think you have a case.
-
Bath Surround / Boxing In, and concealed pipework
Onoff replied to Onoff's topic in Bathrooms, Ensuites & Wetrooms
Put bluntly, no! EDIT: Measured with bleary eyes this morning and it's 9-10mm from the face of the plaster board to the glazing bead line. All I can do I guess is set the trims round the reveal so I get a tapered bed of adhesive down to "nothing" at the back with 8mm tiles. You know how you learnt (learning?) me plumbing.....well wait for the numpty tiling questions! BUT...no draughts! So worth the hassle. -
Bath Surround / Boxing In, and concealed pipework
Onoff replied to Onoff's topic in Bathrooms, Ensuites & Wetrooms
Tiled..... -
Vermifiltration - Sewage Treatment By Worms
Onoff replied to readiescards's topic in Waste & Sewerage
With this you'd be opening a whole can of wo... I'll get me coat! -
Bath Surround / Boxing In, and concealed pipework
Onoff replied to Onoff's topic in Bathrooms, Ensuites & Wetrooms
Went with my gut! Scuffed the DPM with 60 grit paper then cleaned with Multi Solve. Sikaflex round the edges then Soudal low exp. foam in the middle and a few packs. (Second side was neater). Held the board on with a few strategically placed bricks and wedges. Happy with the "panel gaps", i.e the board line in relation to the UPVC lines: -
Bath Surround / Boxing In, and concealed pipework
Onoff replied to Onoff's topic in Bathrooms, Ensuites & Wetrooms
Hmm...to go square or not? Got the insulated plasterboard on the sill. Sikaflex round all 4 edges then a good zig zag of low expansion foam in the middle. All level and weighted down: BUT...doing the sides of the reveal and the piece on the rhs kicks in by about 8mm at the back. Tbh it's nice and in line with the upvc frame. I can't see it'll mean anything else other than cutting a tile stop the sill. If I try and bring it out to the line I'll have a big hollow at the back of the insulated plasterboard. I'm looking for a good contact area as I'm foaming it to the blue DPM that lines the reveal. Any thoughts? -
Thanks very much. AutoCAD .dwg file OK?
-
After a trawl through what's left of eBuild I see the guy I was talking to went by the username "structuraldesigner". I can't access any PMs over there so can't even see if I had contact details for him. Anyone know the chap? Cheers
-
Good chance: https://www.eielectronics.com/downloads/accessories-manuals.html?download=179:accessories-manuals
-
piling Piling: Preparing for the Quotes 1 -piling method
Onoff commented on ToughButterCup's blog entry in Salamander Cottage
Is piling ever combined with GSHP on domestic builds? Would seem a pity not to make use of a "hole(s)" if you could..... -
Have you seen their nests up close? Works of art. The ultimate self build? Goes against my Buddhist leanings to kill them tbh I'm off to chew up some newspapers and build walls.....
-
Bath Surround / Boxing In, and concealed pipework
Onoff replied to Onoff's topic in Bathrooms, Ensuites & Wetrooms
Ta. Losing it a bit with the plasterboard and warped timbers. I reckon I'm at about +/-2mm tolerance wise to the CAD drawing it's all based on.