


Onoff
-
Posts
21127 -
Joined
-
Last visited
-
Days Won
206
Everything posted by Onoff
-
Cheers all. Sounds good NOT concreting as later I might take the cloak stack vertically through the floor, out under the footings and join into a branch underground. I could lose that ugly diagonal (black) branch then (Still wishing I'd hidden the main stack inside the bathroom stud work ). It's a pain trying to pack the shingle as there's no trench per se, the ground around having been dug out. Next to figure, move the 3" down pipe, add a rainwater gully and pipe to the soakaway. Not forgetting the bath and shower waste.....
-
To get the collar in the fittings in necessitated some "enlarging" with the chisel leaving a ragged hole. In the past I've just gone mad with the expanding foam, cut it flush and painted it later. BUT, obsessed as I am now about draughts, what's best? Foam first then cement via the mortar gun and a bit of clear silicon to finish off?
-
Made some headway yesterday in sorting the mess of outside soil stacks and down pipes: From this: To this: It's actually tidier than it looks! The black 110mm is new and takes the upstairs, cloak and new bathroom wc wastes. Then goes through the pea shingle in 110mm (faded) brown soil to the rubber clay coupling. The 3" downpipe from the gutter just went "into the ground" and was blocked solid about 2' at the bottom. Currently just diverting thru a bit of balanced brown soil. Its getting relocated the other side of the window. The other brown soil disappearing into the manhole is now redundant as the cloak wc is into the black stack now via the short, diagonal length. My mate reckons I should cover the soil pipe in some more pea shingle and "concrete over the top". Is that the norm? Cheers
-

Bath Surround / Boxing In, and concealed pipework
Onoff replied to Onoff's topic in Bathrooms, Ensuites & Wetrooms
Got the soil in for the wall hung wc. Shortened the stud wall too. Don't know whether just to flood it with expanding foam where the soil comes thru the inner leaf of the cavity and then the DPM I've put on the first 3' of the wall? That ragged hole in the DPM was when I punched through the wall. A bitch to get to now to seal around. I was thinking to neatly cut a 110mm hole in a patch of DPM then take the pipe out. Then slip the patch over the pipe and put it back in etc. Almost wants a BUCKET OF SILICON around it all! -
Like stills from a Construction Channel video! Didn't he do "Ladder Between Digger Bucket And Gable End"?
-
FFS it's only been 3 months since the last update! Well it fits: Needs drilling thru and bolting. Then sanding and painting. Might put a groove in for his tablet at the front if the MDFs thick enough. Hands free viewing and all that.....
-
The only apples allowed in our house are Braeburn & Bramley.

-
"£259 for a bloody iPad! I don't bel..."

-
Gave up with the bastardised seat mount. Managed to source some 28mm OD x 2mm wall steel tube. Here it is TIG welded through a piece of 6mm plate:
-
Yes that's the one. I have an email off of them with that same discount code put up. 'Effin typical that I've not long bought my ducting from them!
-
Good point. I was just mulling over whether SBR would make a mix that would "give" and flex whilst being strong. Might be too strong to finish! So you reckon: 5 sharp 2 soft washed (sand is that?) 1 1/2 lime 1 1/2 white cement 1 building sand I was hoping to come up with something pourable almost that would negate too much finishing.
-
I was thinking more of a resinous mix maybe substituting SBR instead of water!
-
Attic cold water tank - anti-freeze measures?
Onoff replied to readiescards's topic in General Plumbing
Especially when @Nickfromwaleshas our backs! -
Great idea that face down in the sand thing! What mix would be best? Sharp sand maybe? Sure there was a discussion on eBuild about using a lime mortar as normal mortar would shrink leaving the flints loose.
-
I'm looking to make separate, vertical "clip on" flint panels that will inset into our gate pillars, akin to how stone panels are done on commercial buildings. It'll be a tray affair with the flints laid into a bed of "mortar". Stainless brackets on the back and possibly with knurled, internally threaded inserts cast in. Generally though if the bottom one breaks you need to take them ALL out from the top!
-
What needs done to add an elec shower?
Onoff replied to Crofter's topic in Consumer Units, RCDs, MCBOs
I have a pumped shower and it runs off a 25gal cws tank. Says so in the instructions that this is the minimum size. Seems to work alright. -
What needs done to add an elec shower?
Onoff replied to Crofter's topic in Consumer Units, RCDs, MCBOs
Sorry, we're interested in your earthing system as it can impact on the new circuit. Likely to be one of 3 types. Rather than go in to chapter and verse and on the basis a picture says a thousand words you have a pm -
What needs done to add an elec shower?
Onoff replied to Crofter's topic in Consumer Units, RCDs, MCBOs
If he's on TT wouldn't DP protection be better? -
What needs done to add an elec shower?
Onoff replied to Crofter's topic in Consumer Units, RCDs, MCBOs
Parts won't be much if you fit something like this. I'm not saying this but it'll give you an idea: http://www.toolstation.com/shop/Electrical/d190/MK+Consumer+Units/sd3134/MK+Shower+Consumer+Unit+IP65/p80581 You need to consider the chosen shower's load, cable length and how it's routed to gauge the cable size required, isolation switch position etc. BUT this really is one where you don't want to be doing it yourself. Leccy + water + kids etc. One of the biggest loads in a house. -
Found that pc a bit cheaper here: http://www.viking-direct.co.uk/a/pb/Zoostorm-Desktop-PC-Evolve-16GB-RAM-On-board-integrated-Intel-HD-530-graphics-3TB-HDD-Windows-10-Home/id=2099701/ Have had stuff off Viking before. No issues. IMHO this pc is pretty good for the money. The psu if 250W should be easy to change as a DIY job if you want to run a bigger graphics card. As it stands the onboard card will run some high end games at low to medium res. At the end of the day you are in budget territory in terms of gaming pcs. It comes down to will your boy be happy with it which I suspect he will. I've upgraded graphics and psus with my lad more times than I can remember! Sadly there'll always be something "better" out there and guaranteed after you buy it you'll see a better deal! Add the Argos / Viking price to the graphics card price plus say £50 for a decent, quiet psu and look at what you could get elsewhere e.g Arbico if you don't want the hassle. You'll be around the £900 mark upgrading the Argos one.
-
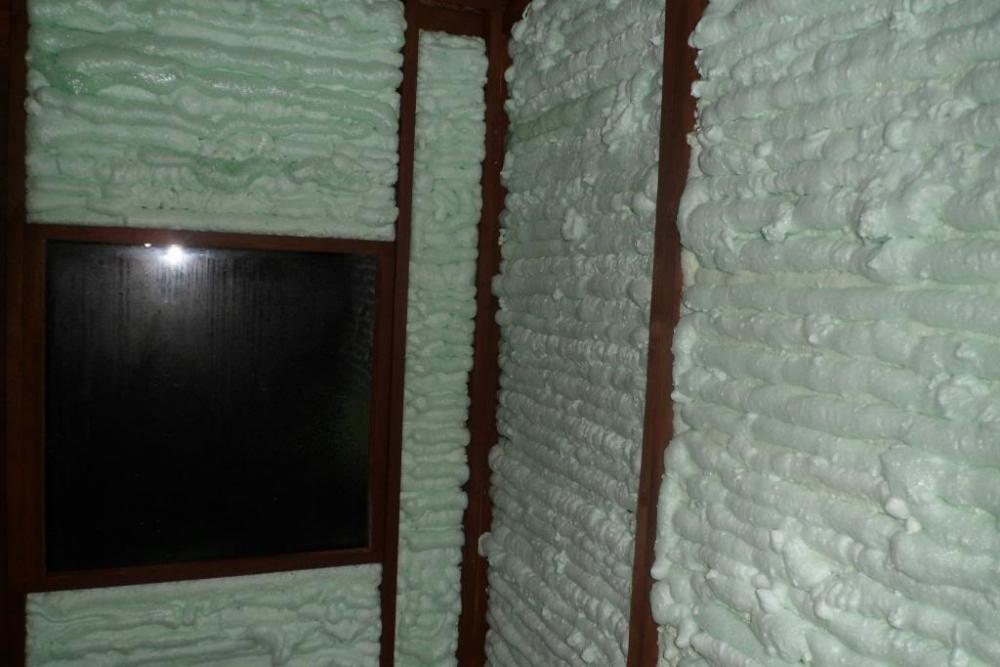
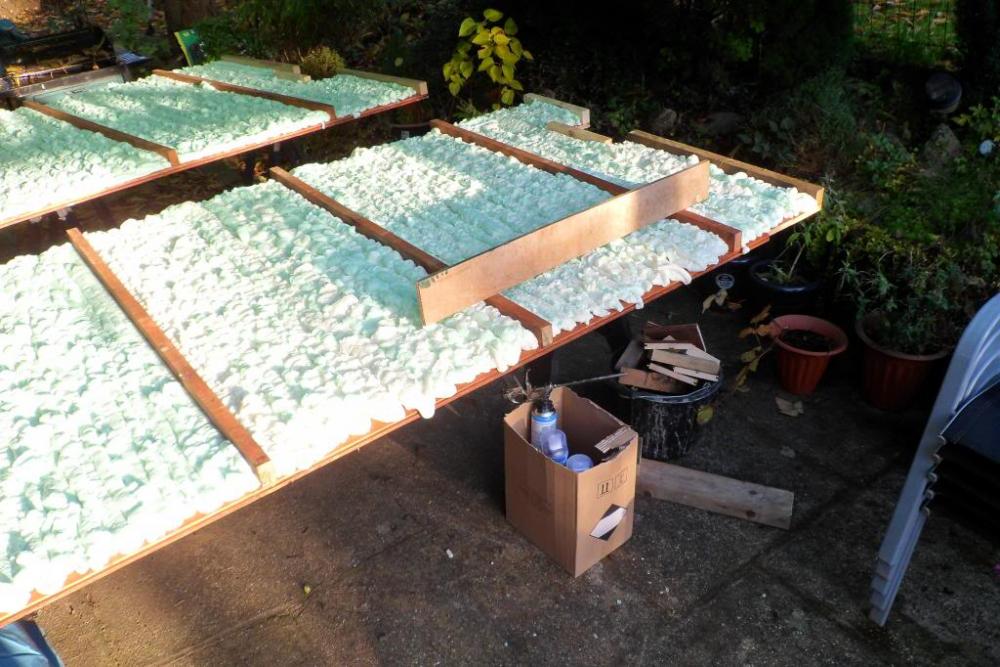
Spray foam under room in roof floorboards - expensive option?
Onoff replied to readiescards's topic in Heat Insulation
I had a crack at something like this on an old shed.....with CANS. Did the walls and floor: The floor: One of the STUPIDEST things I've ever done by far.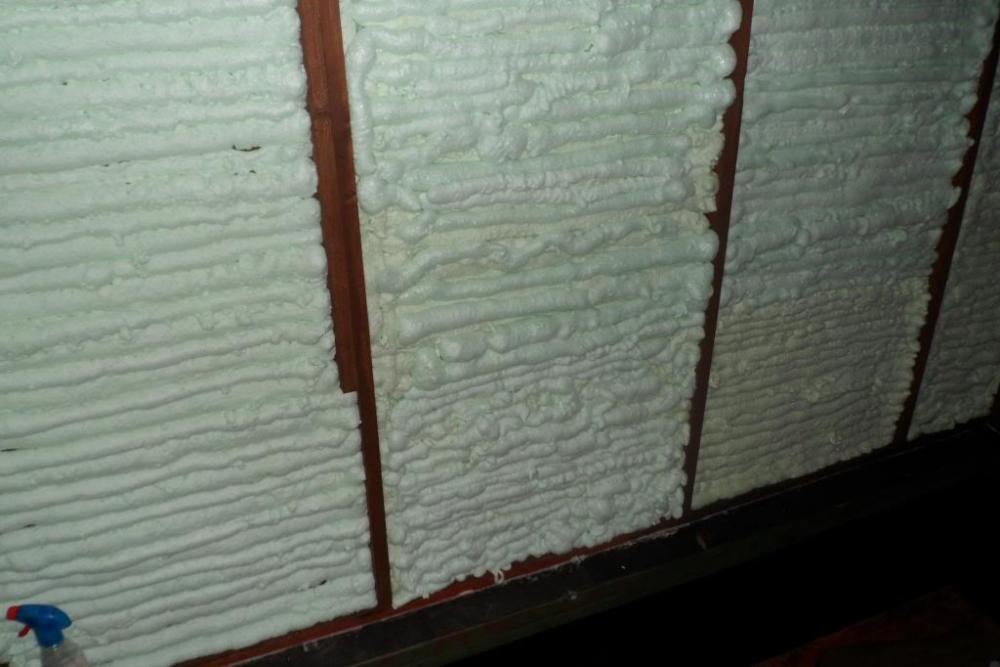
-
Read more into that Argos pc and it apparently has a 250W psu (Questions & Reviews). I'm amazed if it really is that small? That graphics card you also put up needs a 450W min. FYI the mobo on the Argos one, it's an ASUS H110M-R: Chipset Intel H110 CPU Interface Socket 1151 RAM Technology Dual-channel DDR4 RAM Slots 2 x 288-pin RAM Speeds 2133Mhz Max. Memory Support 32GB Expansion Slots 1 x PCI Express 3.0 x16 2 x PCI Express x1 2.0 Storage Controller(s) 4 x S-ATA 600 On-Board LAN Realtek® 8111H Gigabit LAN support LANGuard On-Board Audio Realtek® ALC887 8-channel On-Board Video Integrated Intel Graphics Back Panel I/O Ports 1 x PS/2 Keyboard 1 x PS/2 Mouse 1 x VGA 1 x DVI-D 1 x HDMI 4 x USB 2.0 ports 2 x USB 3.0 ports 1 x LAN 3 x Audio jacks Features Supports 6th Generation Intel Core ProcessorDual Channel DDR4, 2 DIMMs8-channel HD Audio with High Quality Audio CapacitorsHDMI 1.4, DVI-D, D-sub ports for multiple display Q-DIMM Even if you work with a smaller case, just push down on the one-sided clip and push or pull RAM modules in or out – couldn't be simpler!AI Suite 3 ASUS AI Suite 3 offers a brand-new user experience through a clearer and more attractive interface with support for larger monitors. It consolidates all exclusive ASUS features into one simple-to-use package, allowing you to supervise overclocking, energy consumption, fan speeds, voltages and more. This all-in-one app offers diverse and easy to use functionality, with no need to switch back and forth between different utilities.Intel® H110 Express Chipset Intel® Express chipset is a single-chipset design that supports 6th-generation Intel LGA1151 Core™ i7/Core i5/Core i3/Pentium®/Celeron® processors. It provides improved performance by utilizing serial point-to-point links, allowing increased bandwidth and stability. It natively supports up to four USB 3.0 ports for up to ten times faster transfer than USB 2.0. Moreover, Intel® H110 Express chipset also supports iGPU functions, letting users enjoy the latest Intel integrated graphics performance.DDR4 Support With DDR4, you'll accelerate memory frequencies up to an incredible to 2133MHz! And ASUS works with almost every DDR4 memory vendor, so you're assured the best compatibility. I'd phone say Arbico and simply say you've been recommended to the, was thinking of the Argos one can they do anything similar. Nothing lost. Btw they were recommended to me. But come back and tell us before you part with cash!
-
According to my resident nerd that card is "pretty good" and there's "two above it" the 1070 & 1080. Other monosyllabic suggestions were "small SSD", "big HDD".
-
She was walking two corgis with Prince Philip... My youngest said "...it's like three normal wasps stuck together!"
-
We had a queen wasp in my lad's bedroom yesterday. The missus caught it and stuck it outside. No doubt it'll find a hole in the building fabric (there are many) in which to spawn next year's crop.


