


Onoff
-
Posts
21125 -
Joined
-
Last visited
-
Days Won
206
Everything posted by Onoff
-
You're widely thought of as an upstanding member on here.
-
PMSL!
-
 Wall drain is the way to go!
 -
It's a Breville isn't it?
-
Less fingers.
-
We could say similar about you! "Ffs ! Dogging lovers 🙄🙄🙄🙄🙄"
-
It needs sorting once and for all. The tree has been cut down and shooted / regrown before. The neighbour at one time was a bit against doing anything as it "was a lovely tree".
-
I like the idea on YouTube. Drill said holes, fill with vegetable oil over the course of a year...keep it dry...then 🔥 I reckon diesel would be better...
-
Something like that is on the cards.
-
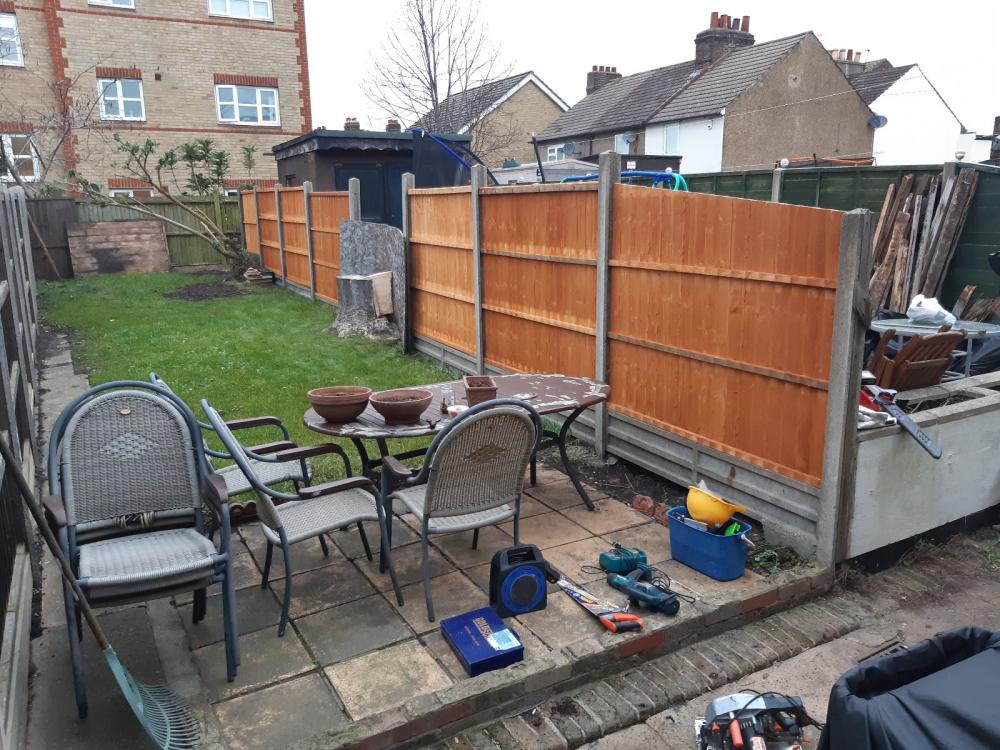
Limited time/capacity with the battery saw. The neighbour took the tree down to that level but it had cracked one gravel board and pushed two posts over. He's offered in writing to pay to put the damage right as it's his tree so fair enough. I just hacked the stump to try and get a panel in as they have a small dog. The fence panel won't actually go in is the posts are pushed over. Reckon it'll be posts out and two new ones.
-
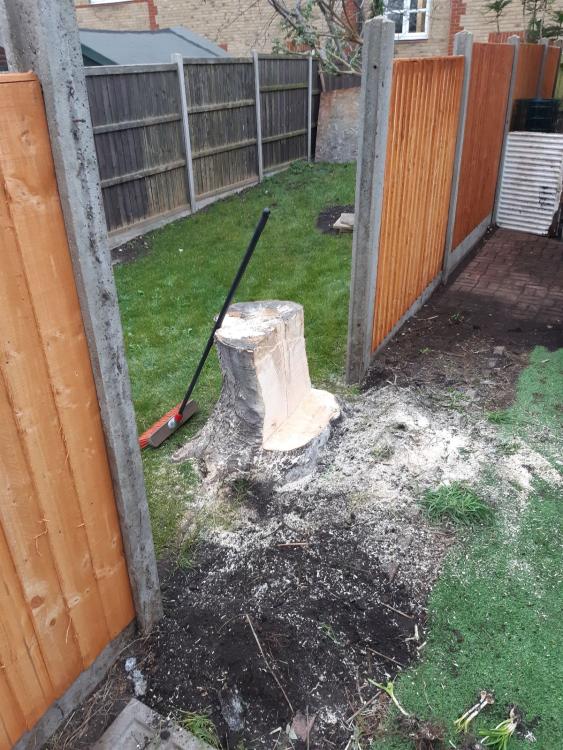
Made a start with the 36V Einhell/Makita Frankenchainsaw! Stump is going to have to come right out I think as it apparently keeps sprouting. It could be getting an oil drum incinerator over it and some barbecue charcoal!
-
Other than "orange" can anyone take a stab at what colour fence treatment might match these panels that came from Selco: Chestnut, light brown?
-
Too tight to buy a label maker?
-
Some makes make connecting a power flush easier:
-
I deadened the concealed cistern noise using acoustic tiles. The poo pipe itself is encased in expanding foam then overboarded with 12.5mm Aquapanel and tiles. Seem to recall @Nickfromwalessaying that's not the best idea (expanding foam), for sound deadening. Works for me. Can't hear a thing going down the pipe.
-
What about having Corten steel on the floor? Nice and thin.
-
cutting 210mm hole in timber frame?
Onoff replied to markharro's topic in General Self Build & DIY Discussion
Surely for the cost of the electricity you'd have used a pad saw? 😂 -
cutting 210mm hole in timber frame?
Onoff replied to markharro's topic in General Self Build & DIY Discussion
Right up to 250mm on that link. -
cutting 210mm hole in timber frame?
Onoff replied to markharro's topic in General Self Build & DIY Discussion
Hole saw? https://www.rennietool.co.uk/products/hss-m35-cobalt-bi-metal-holesaws -
You haven't done that?
-
Just get a cordless hairdryer. Simples!
-
Main thing is to do something and not sit on the fence...
-
When the wall does fall down they'll hit you with pictures taken from said window and say that your plant (digger, dumper, whatever), caused it.


