Onoff
-
Posts
21159 -
Joined
-
Last visited
-
Days Won
206
Everything posted by Onoff
-

Help with kitchen renovation/ 1st house.
Onoff replied to zoothorn's topic in Bathrooms, Ensuites & Wetrooms
Remove the worktops and slide sections of pir down between I suppose? Going to be rather bitty! I'll go back and reread his posts. The danger is leaving loads of gaps which sort of defeats the object of insulating the wall. Not impossible...sort of thing I'd do! -
Help with kitchen renovation/ 1st house.
Onoff replied to zoothorn's topic in Bathrooms, Ensuites & Wetrooms
My room was not square btw, sort of a parallelogram. I wanted to square it off and leave "depth" for the illuminated pockets. You can see the top batten on this wall: In your case you have a ceiling and floor already in place. You want to put the battens on the wall but have the faces flush. If your wall is wildly in and out your plasterboard will follow suit. If that doesn't bother you just whack the battens on. If you want it dead flush maybe put the 1st and last batten on with just 3 screws and string between them? Mark your other verticals on the wall in between and measure to the string. You might have to pick a minimum pack depth (I did 5mm) and put plastic trouser shims or slivers of timber at some fixing points - I used both. -
Help with kitchen renovation/ 1st house.
Onoff replied to zoothorn's topic in Bathrooms, Ensuites & Wetrooms
Yes, in effect I have a top and bottom batten. As I said earlier I made up stud walls consisting of top and bottom battens screwed to the verticals then stood them up. The top batten is screwed to the new ceiling joists - I had the advantage they were new, so I knew where they were plus I had no wires to miss. This left my studded walls floating. I screwed screeding rails to the stud walls and then poured the new concrete wall bringing it up to the underside of the bottom batten. -
Thinking to ditch the softwood door lining I have for the bathroom and go for a hardwood one. What's the going price for one 1981 x 762mm? I'm saying this assuming SWMBO wants a wood finish.....
-
Help with kitchen renovation/ 1st house.
Onoff replied to zoothorn's topic in Bathrooms, Ensuites & Wetrooms
Forgot to mention this. Stops you driving your pb screws in too deep. https://www.toolstation.com/shop/p66573?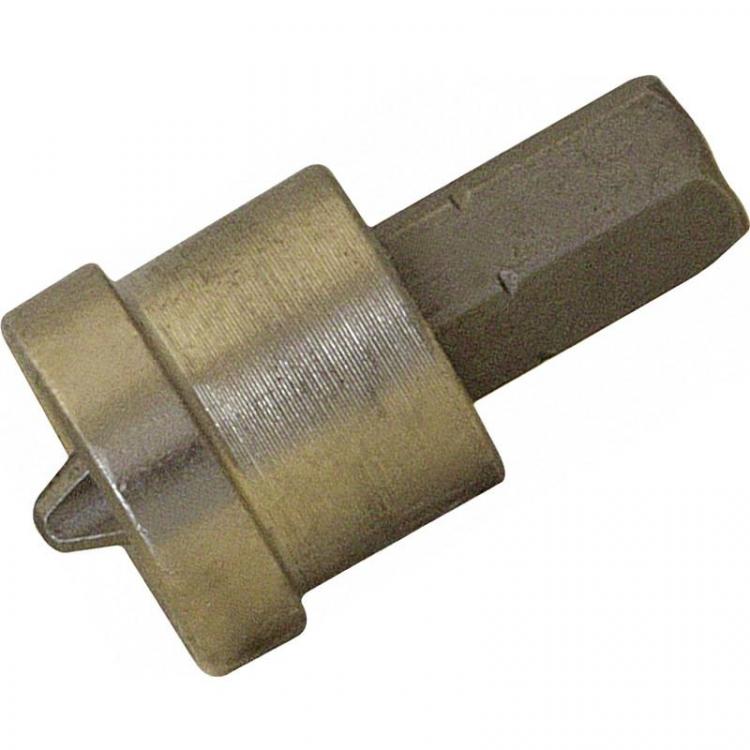
-
Threshold: The tiles at the threshold will obviously get a tad higher with adhesive under them. 8mm tiles so maybe top of tile will end up 15mm above the concrete? (Once down I can can sort the door frame & door). The room next to the bathroom is the "stairs" room. This will be dug up (concrete floor) and built back up much the same as the bathroom. Instead of its own UFH loop it'll just have all the loops to the other rooms running through it as it's central 'ish to the house. As a high traffic area it'll be some sort of engineered wood flooring. So what, if anything can I add in terms of trim to this tile edge? This to protect the edge and to allow future integration with the wood floor? Cheers
-
Search "Yorkshire boarding" for what they do on cow sheds. That has open gaps between boards. I wonder if you could do that combined with a really well applied & taut black membrane behind...or st/st mesh. Or maybe like hit and miss fencing...
-
Home brew screed rails rule OK! Vid:
-
I do that too...
-
Bloody hell thats rough! I used up all the pir off cuts I had but made sure they were all seriously well foamed in. My foam bill will attest to this.
-
I looked at that very valve on toiletspares but discounted it as I couldn't zoom in on the phone!
-
Ta. The intent was a warts 'n all "instructive" thing. I was mulling "how to" lay the tiles on the adhesive bed. I know some favour Tilemate type systems. Gut feel tells me I can do this organically and just "feel" what's right as I lay them as in with a level and a tap-tap here etc.
-
You sound like SWMBO! Dunno, it all has to come up with the cut tiles getting numbered. I've got to fill in a void at the back of the cupboard, cap off/divert the old incoming 15mm main to the Geberit wc, pressure test the towel rad piping. Then tank. Hopefully all within the next 7-10 days...
-
All done (dry) bar the shouting! Now this tile could be a pita: The edge is sitting on just the eps upstand! There'll be the door frame goes on here. Some of that red brick needs to go to let the frame in: So the tile fits on I'm just worried it's not supported: The other side shows how the door frame will sit: Not sure how far I'm going into the doorway or whether that's it?
-
Cheap spanners are ok unless you're really giving them some grunt - nasty if they break! Ditto cheap chrome plating, flakes of that in your fingers are evil! For the use you'll give them that set will probably be fine. For a lot of plumbing stuff you'll need bigger like 24mm and even 32mm. A cheap vernier caliper would be useful to you, something like this: https://www.amazon.co.uk/Silverline-675037-Vernier-Caliper-150/dp/B000LFXQQO/ref=mp_s_a_1_7? I've linked a manual/analogue one. You can get a digital one for the same money - great until it packs up or the watch battery dies. I wouldn't be without my Mauser st/st one. As used by the British Army EOD bods!
-
11/16" in old money!
-
Pizza boxes are ideal for making patterns! Also gun cleaner removes Sharpie ink!
-
11/16" & 13/16" equate to a 17 & 21mm spanner. See then if you have an 18/19 or 20mm spanner or small adjustable.
-
The Build - Insulation ahead of 1st Fix - UPDATE
Onoff commented on Redoctober's blog entry in Our Journey North of the Border
It's a given I assume you have to be bloody careful screwing the boards down! -
Hopefully this'll do the trick! It was easier than looking for one in the garage! :
-
The marine ply I've had from TP was specially ordered in and is superb imo.
-
Lady plumbers...hands in tight spaces... On a serious note I've taken the liberty of firing off a couple of these images to toiletspares.co.uk Does to me look like an early Siamp fill valve. I've waded through every image on the site and Siamp looks the nearest. They may come back of course and say the only way to be sure is to whip it out for a proper look...

-
If you can't find a repair video for this then nobody can! I've been hunting high and low on YouTube.
-
So have you made it worse than when you started?
-
Don't have the Lidl Woodgate cider ffs or you'll cut your tiles wrong...