Onoff
-
Posts
21127 -
Joined
-
Last visited
-
Days Won
206
Everything posted by Onoff
-
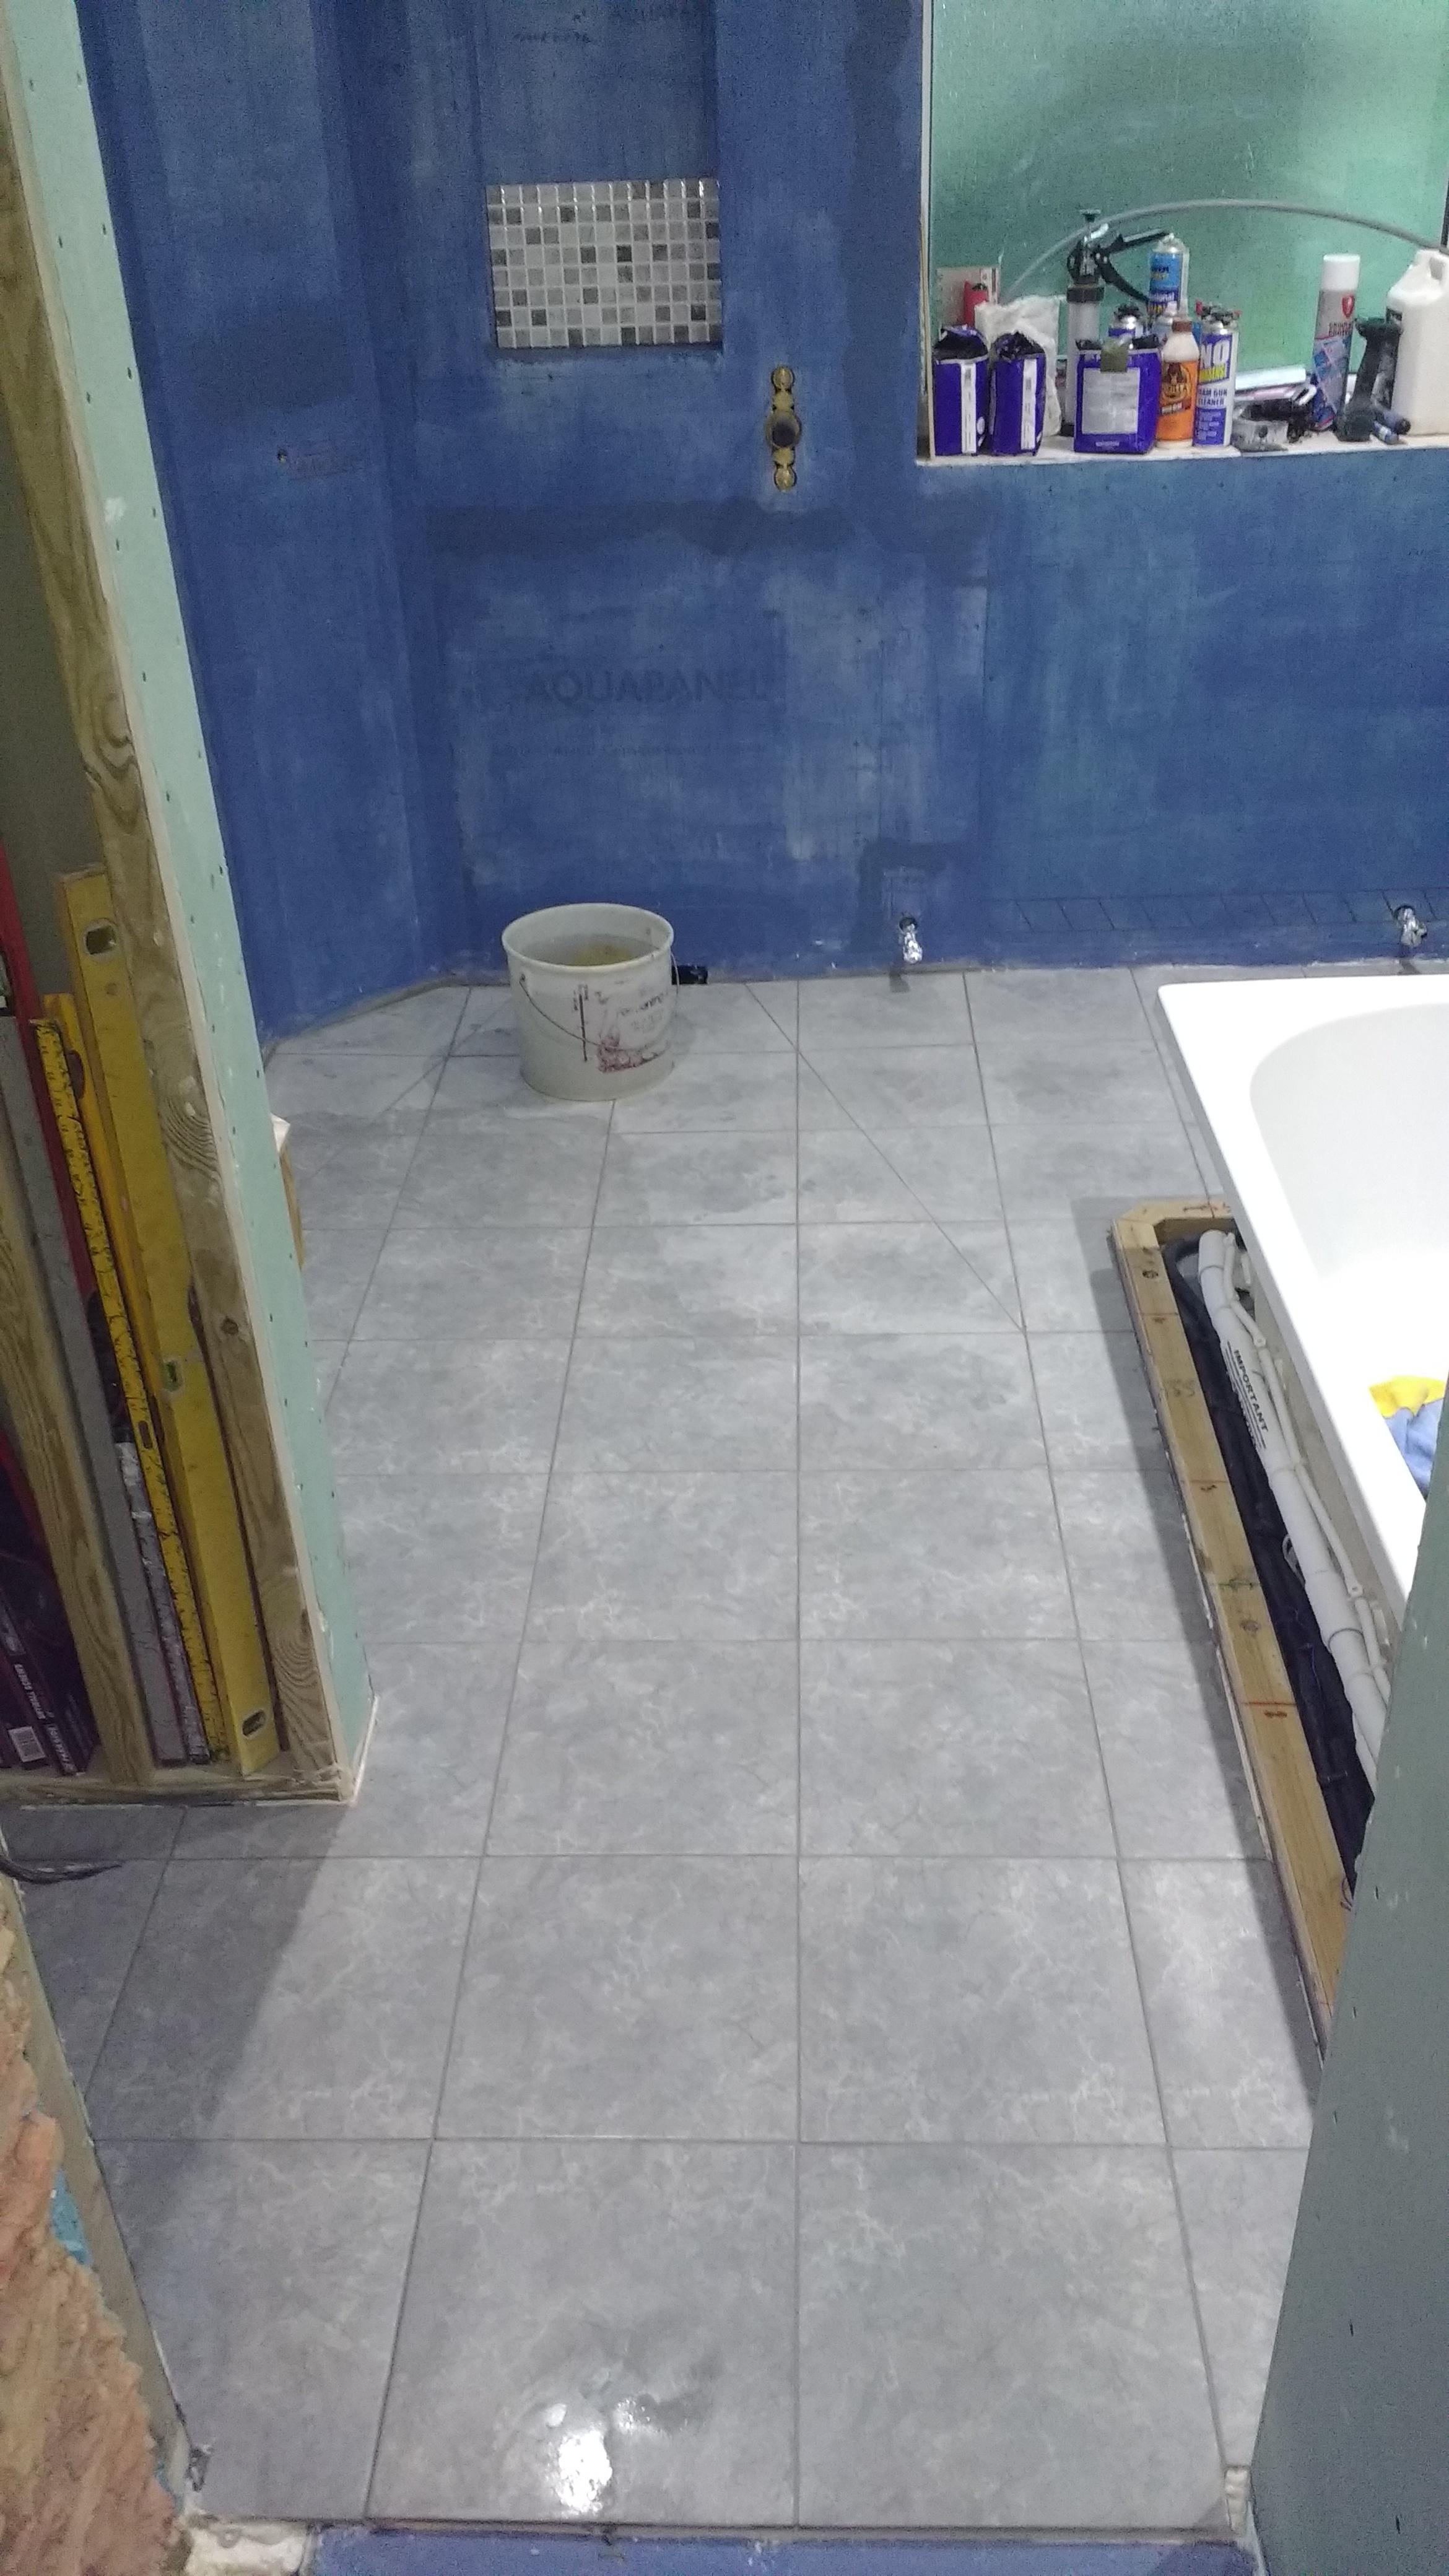
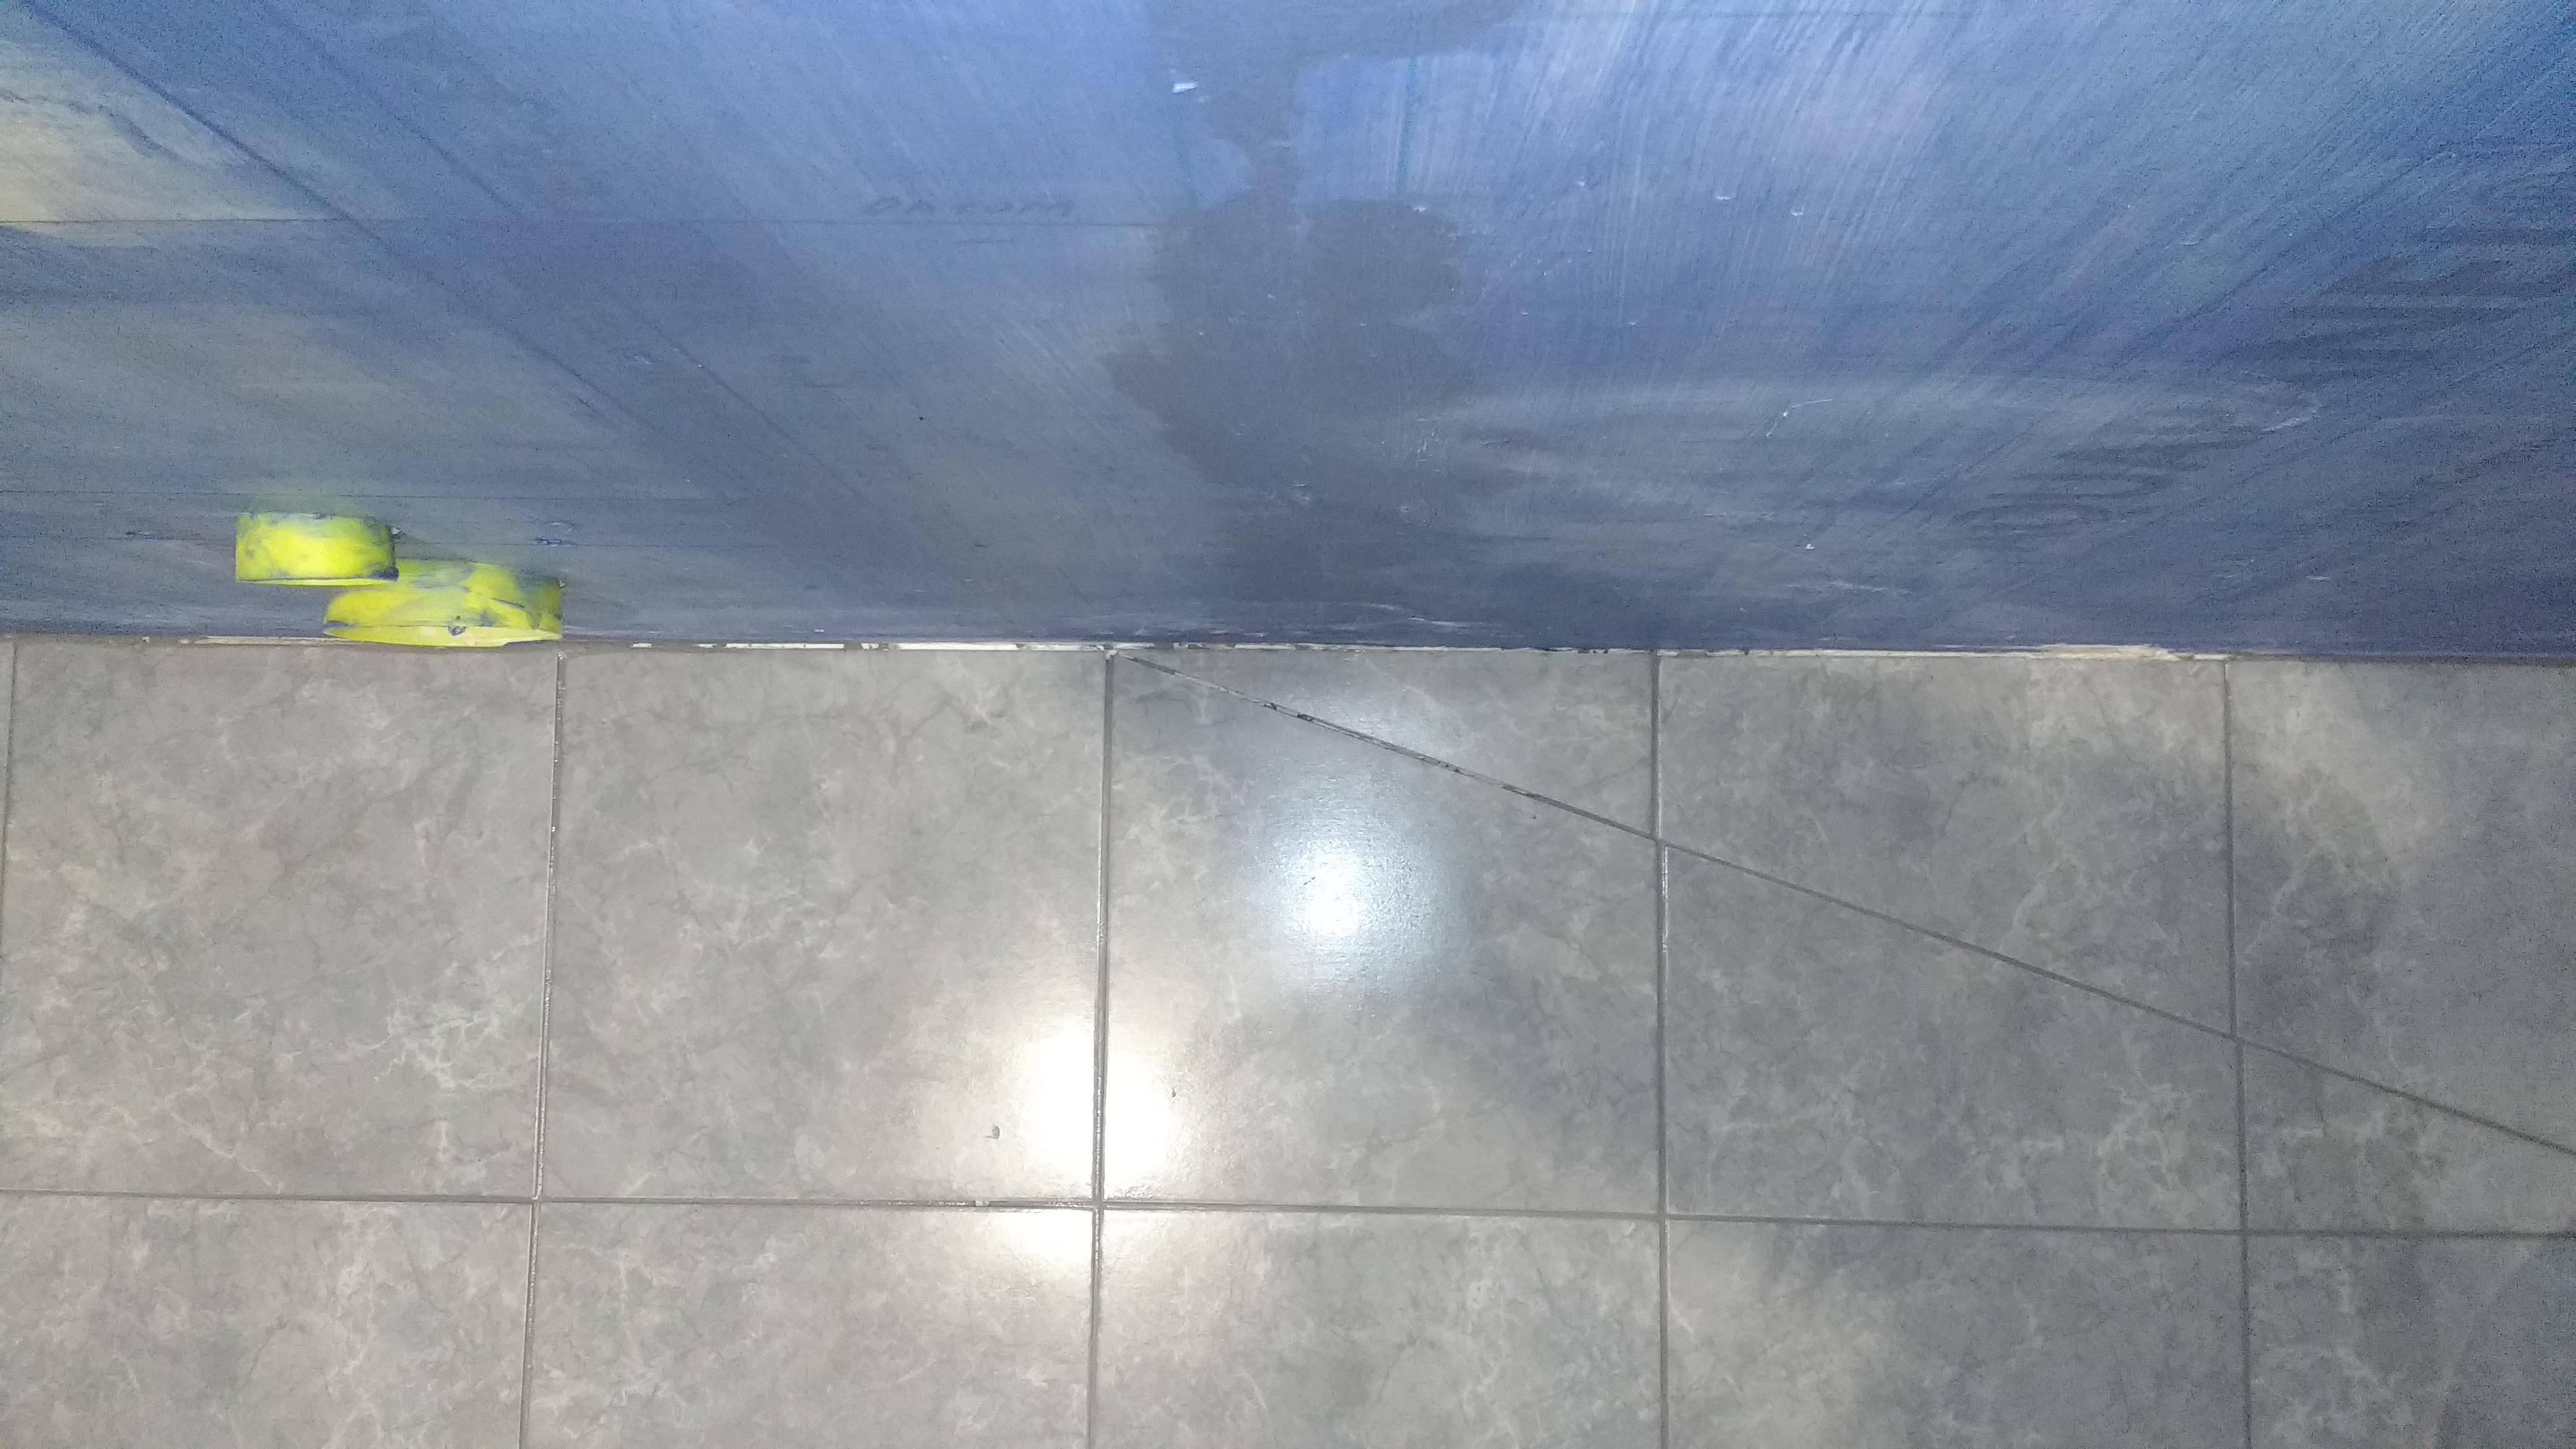
Mid Grey was decided upon. Mid grouting a voice cackled "Actually I don't mind it that dark!" Not being sure if she was referring to the grout colour or the Jason Derulo video on the telly I carried on. Clarification came seconds later with "I suppose it'll dry a bit lighter!" So it's grouted save for a "polish with a soft dry cloth". I think I'm quite happy with it. That fall line looks nicely defined: One faux pas is I missed two bits! One on the diagonal fall line and the other slightly below and left. Tbh I only noticed as I was out the door. (Dehydration I think played a large part. Guessing problems with the cauldron). I figured then it was better to leave these missed bits to dry fully before infilling rather than overly disturb the drying grout either side of the voids. Whether I did right...


-

New directory from Passivehouse Plus magazine
Onoff replied to Square Feet's topic in Environmental Products
Oh go on then if only to show to SWMBO what could be done if she'd get on board. I'll PayPal you the postage if you like. PM incoming. Cheers. -
Help with kitchen renovation/ 1st house.
Onoff replied to zoothorn's topic in Bathrooms, Ensuites & Wetrooms
Don't forget the pb on the sink wall will cover most of the gap on the lhs of the board. Unless the battens on the sink wall are seriously bowed! I'd be more worried about making sure the rhs of the board hits the centre of the battens above and below the window. Any gap of 10mm or less on the left of the board could be foam filled. Then the board on the sink wall covers that up. -
Help with kitchen renovation/ 1st house.
Onoff replied to zoothorn's topic in Bathrooms, Ensuites & Wetrooms
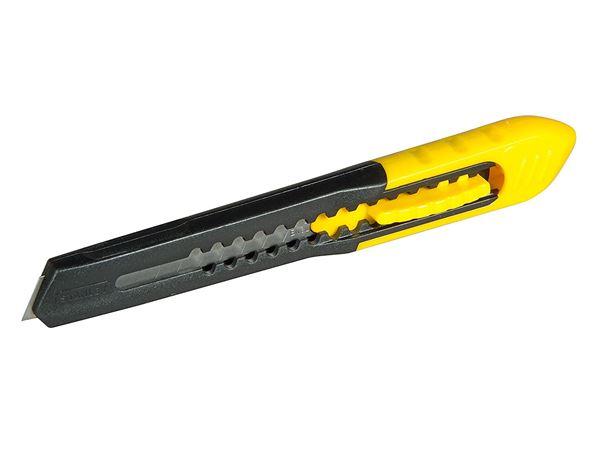
They're all known colloquially as "utility knives" I think. A "Stanley" pretty much means a heavy, metal bodied utility knife of any make as Stanley was I think the original. Generally takes this type of blade that can either be fixed or retractable. Some even allow you to select a new blade from within via a clever little mechanism. Most of the retractable ones let you set the blade only a certain distance out which can be to make cutting safer or to only cut so far in: Craft knives are generally plastic and come in two different blade widths. The blades can be extended to a few inches. They're generally scored along their length so as you blunt a blade you just snap off to a fresh edge: Tbh you can get better quality metal bodied craft knives that take the snap off blades or cheaper plastic ones that take the little blades. Cutting pb then a decent metal bodied Stanley. Cutting 25mm Celotex a craft knife. The permutations of craft knives are endless!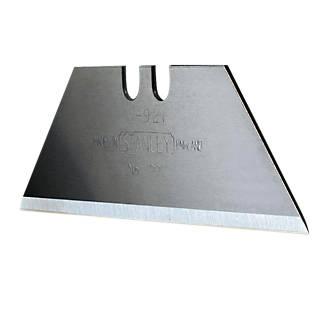
-
She's back and she say "Mid Grey or we'll um & ah forever!". In readiness I've cleared the bathroom. So I'm now going to have a kip on the sofa!
-
Help with kitchen renovation/ 1st house.
Onoff replied to zoothorn's topic in Bathrooms, Ensuites & Wetrooms
Tbh once the board is upright I'd mark the wiggly line and cut it whilst it's standing up. Ordinary Stanley NOT the craft knife. You're close to the edge so be bloody careful as you'll likely be using your free hand to steady the board. Sandpaper to finish off where you can't get the surform in. Quickest & most accurate would be a jigsaw with a blade you don't mind blunting. Or for a specific blade these: https://www.toolstation.com/shop/Power+Tool+Accessories/d80/Sabre+%26+Jigsaw+Blades/sd2581/Tungsten+Carbide+Grit+Jigsaw+Blades/p67688 Dusty though! -
We're back to "I don't know...". She's gone over to her Mums now with the samples.
-
Wasn't it Pat Coombs in the Maxwell House ad said "We Don't Like Excitement!"?
-
Just now: "I suppose the Mid Grey though I don't dislike the Silver Grey!" She's concerned the Mid Grey might come out different again due to the mixing difficulties she had doing the sample. I suppose I mix this up 1kg at a time?
-
Bath Surround / Boxing In, and concealed pipework
Onoff replied to Onoff's topic in Bathrooms, Ensuites & Wetrooms
Whilst we're still dithering over tile grout I'm going to get the bath boxed back in. All my drawcords are in for the plinth lights. I've hoovered out under the bath as much as I can too not that there's anything under there really. Just got to put this whirlpool bath air valve back in. There wasn't any form of sealant on it before under the white plastic rim. Wondering about the tiniest bead of silicon, clear CT1 or even Jet Blue?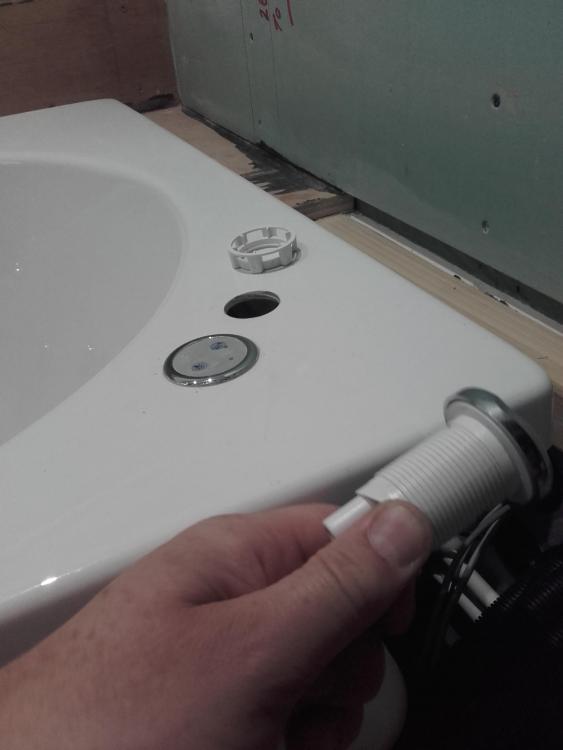
-
Cleaners...we could with one around here! For a laugh I actually write the date on dusty shelves. It's like a time bomb. There's this slow realisation why she's not talking to me...she's bought some new piece of tat to go on the shelf or it's Spring cleaning time and she's found it!
-
God no! Life's short. Looking back I'd have made so much more of missed opportunities.
-
Suits me. Every night I pray for death or six numbers. I'd give SWMBO half mind...
-
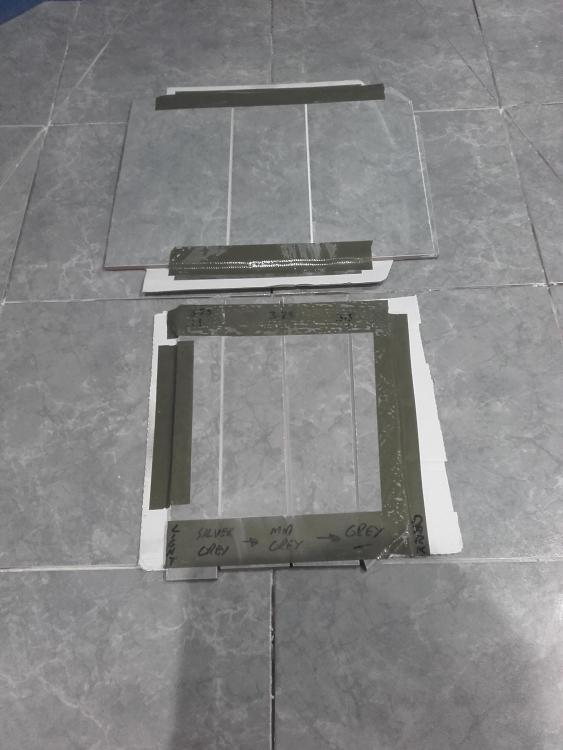
FFS! Out of my league! I got trade on my stuff: Grout £6.60/bag (3kg), primer £10, adhesive £11 (20kg). All dry this morning so awaiting a decision: I have a feeling it might be the Grey! Dried lighter than I thought. I'd be happy enough with it, gives a nice contrast I think.
-
Clearly I must have been a very bad boy in a previous life then.
-
Urinals - anyone ever considered them?
Onoff replied to Vijay's topic in Bathrooms, Ensuites & Wetrooms
Why not go the whole hog and fit a Durex machine? That'd go nice with some polished, exposed copper pipes and maybe some posters advertising upcoming theme nights. Don't forget the blue cubes / pineapple chunks to give you something to aim at. A nice thick marker pen left next to the pan could let visitors leave their own comments on the walls for that really authentic feel. A glory hole might be a step too far but you can borrow my 70mm Starrett if you want... -
Somewhere to store the boat at least!
-
That wall socket's too close to the bath...
-
Bath Surround / Boxing In, and concealed pipework
Onoff replied to Onoff's topic in Bathrooms, Ensuites & Wetrooms
So... Casting our minds back to June 2015... This white plastic 22mm pipe is the diversion of the, single, 3/4" nominal bore pipe that runs the down stairs CH. Shortly I need to "tap into" it to feed the bathroom UFH loop and ideally towel rad. Bathroom is to the right of the photo. -
Urinals - anyone ever considered them?
Onoff replied to Vijay's topic in Bathrooms, Ensuites & Wetrooms
It's supposed to keep the foxes away, "marking your territory"! (It doesn't..... ) -
No worries. Each of the sample lines took a similar time to set. Just odd about that mid grey. Tbh I wasn't at all scientific about mixing the two samples last night. The guy at the tile place reckons getting the ratio right is critical as it will affect the final colour. I never knew that!
-
Urinals - anyone ever considered them?
Onoff replied to Vijay's topic in Bathrooms, Ensuites & Wetrooms
Nobody seen the Full Monty? "Ladies" can use them too! A while back there were some Geberit urinal frames going cheap as on Gumtree up in Scotland. -
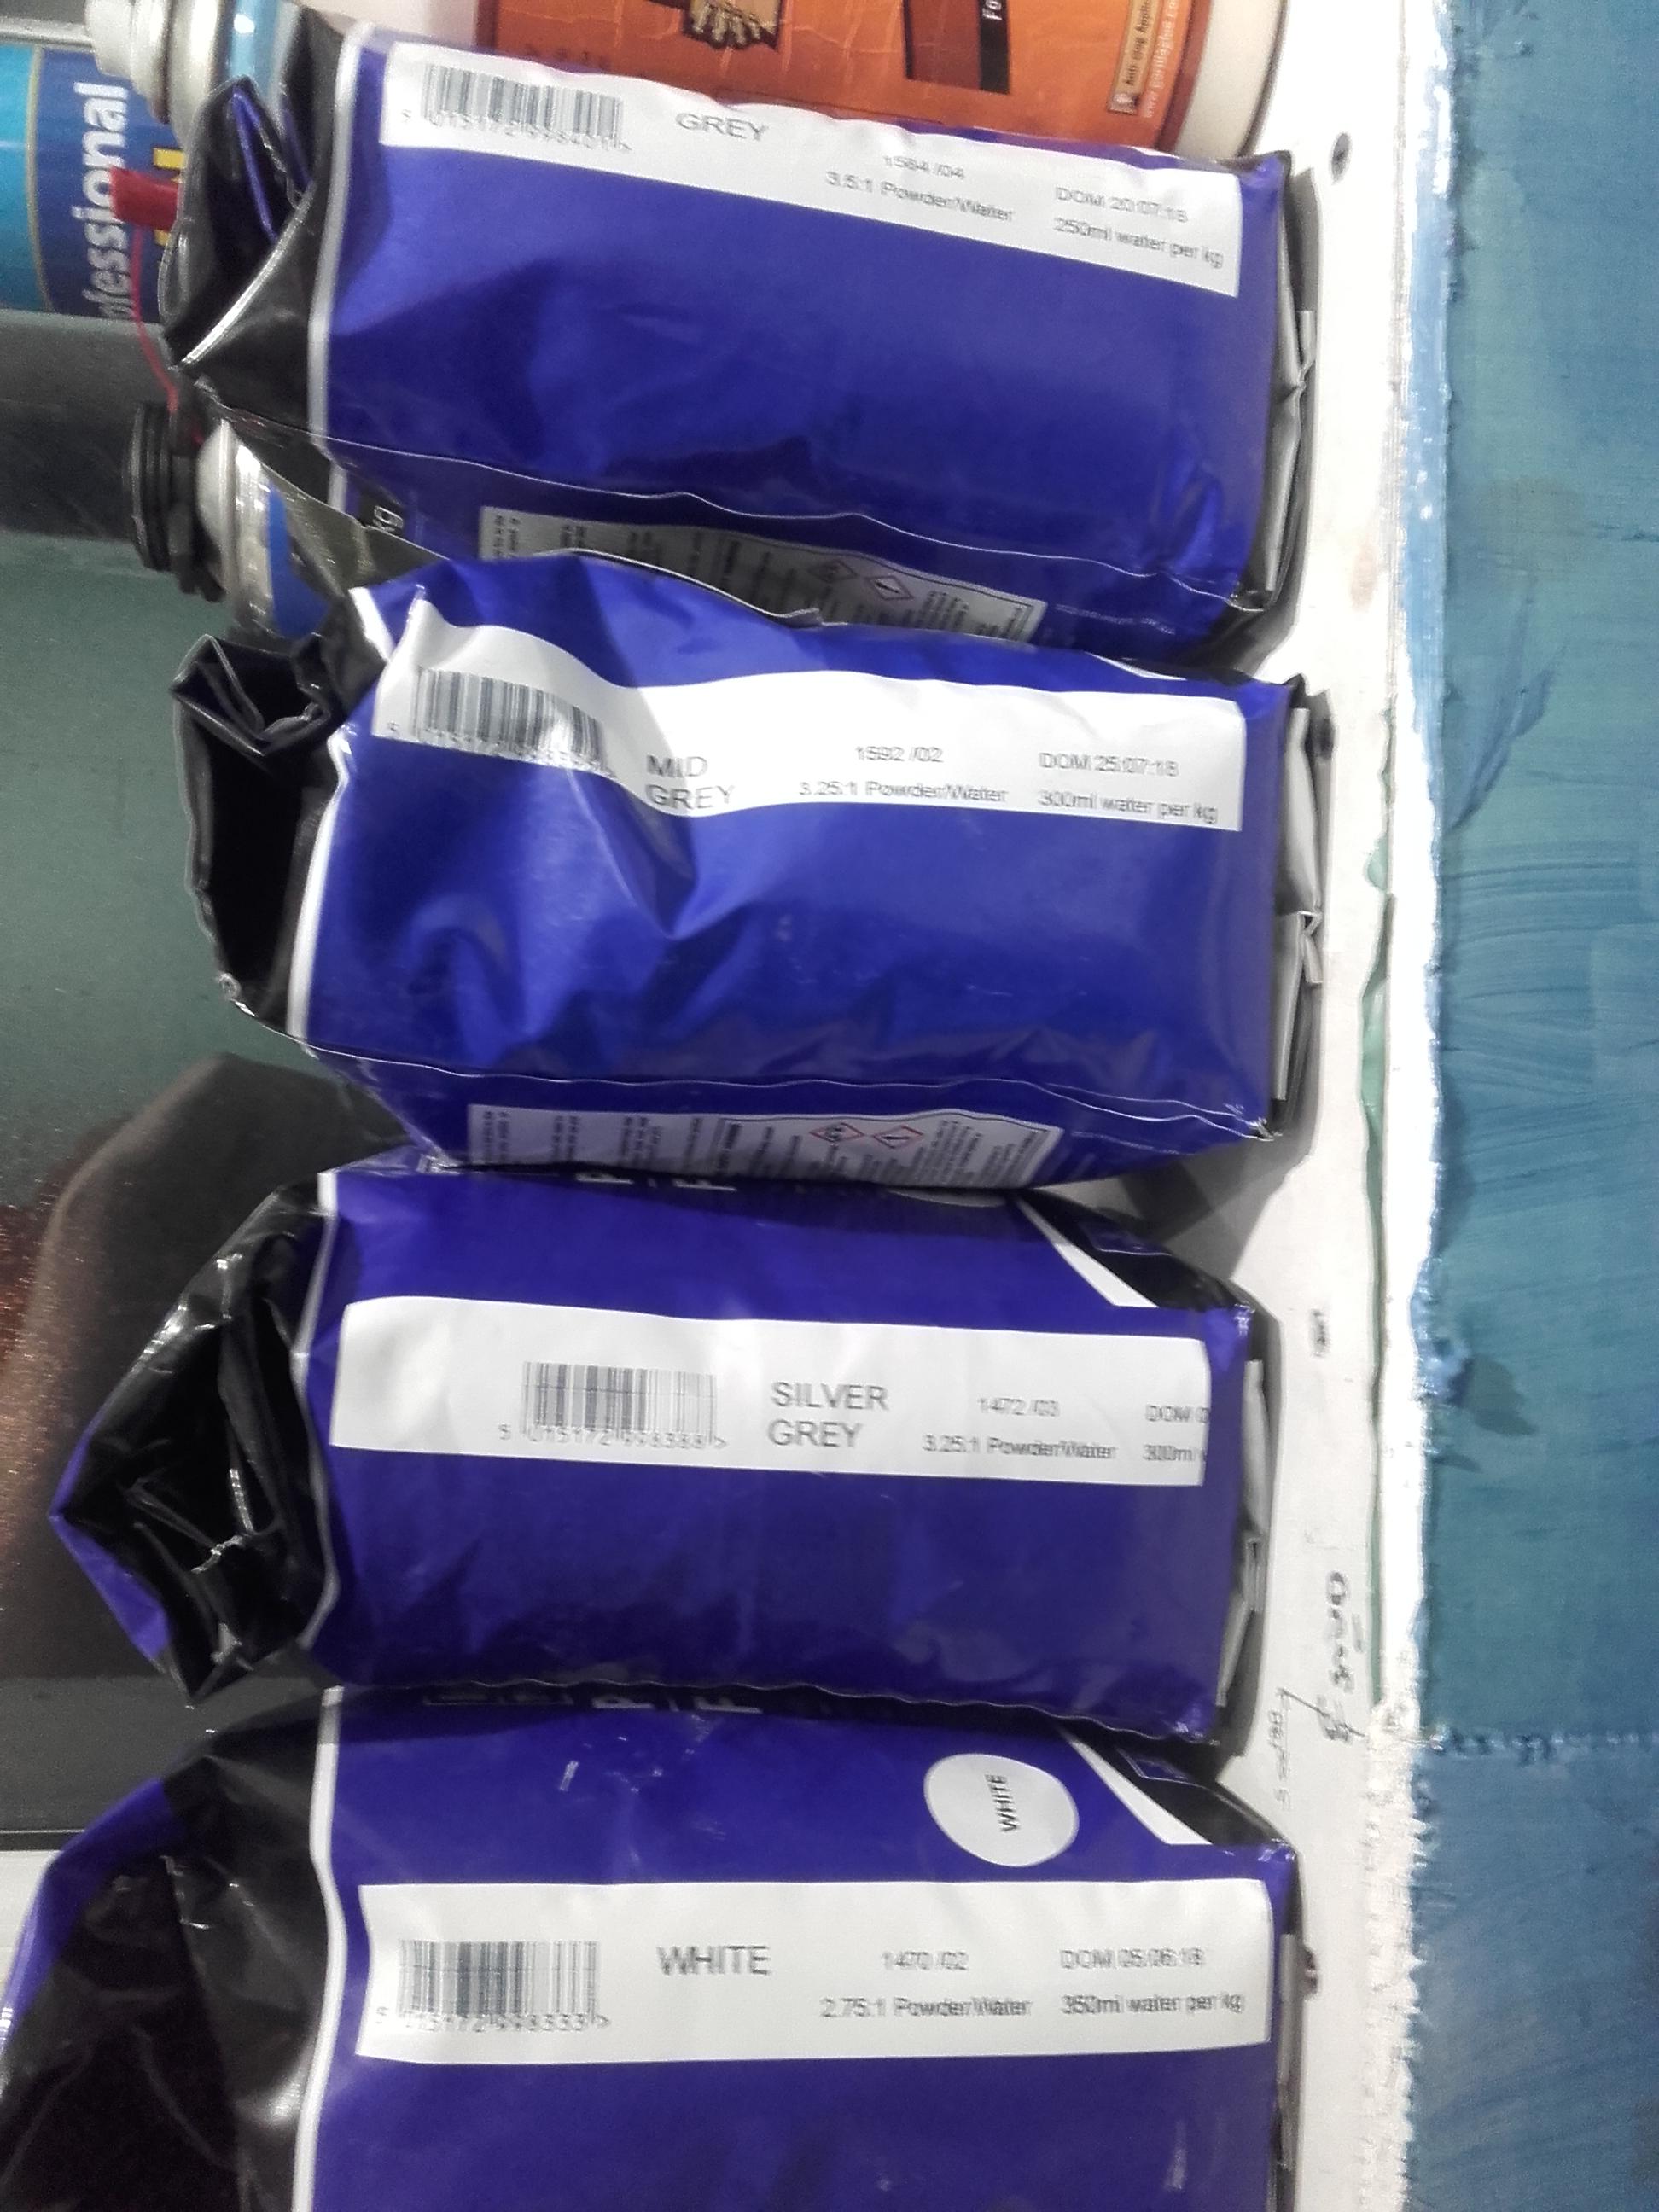
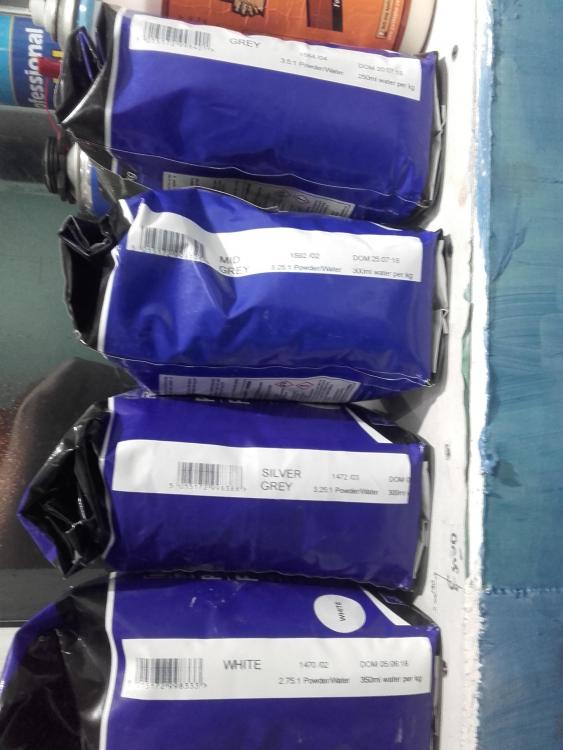
No, the supplier is spot on. All IN date. They're DOM dates, the white is Jun 18 & the rest later:
-
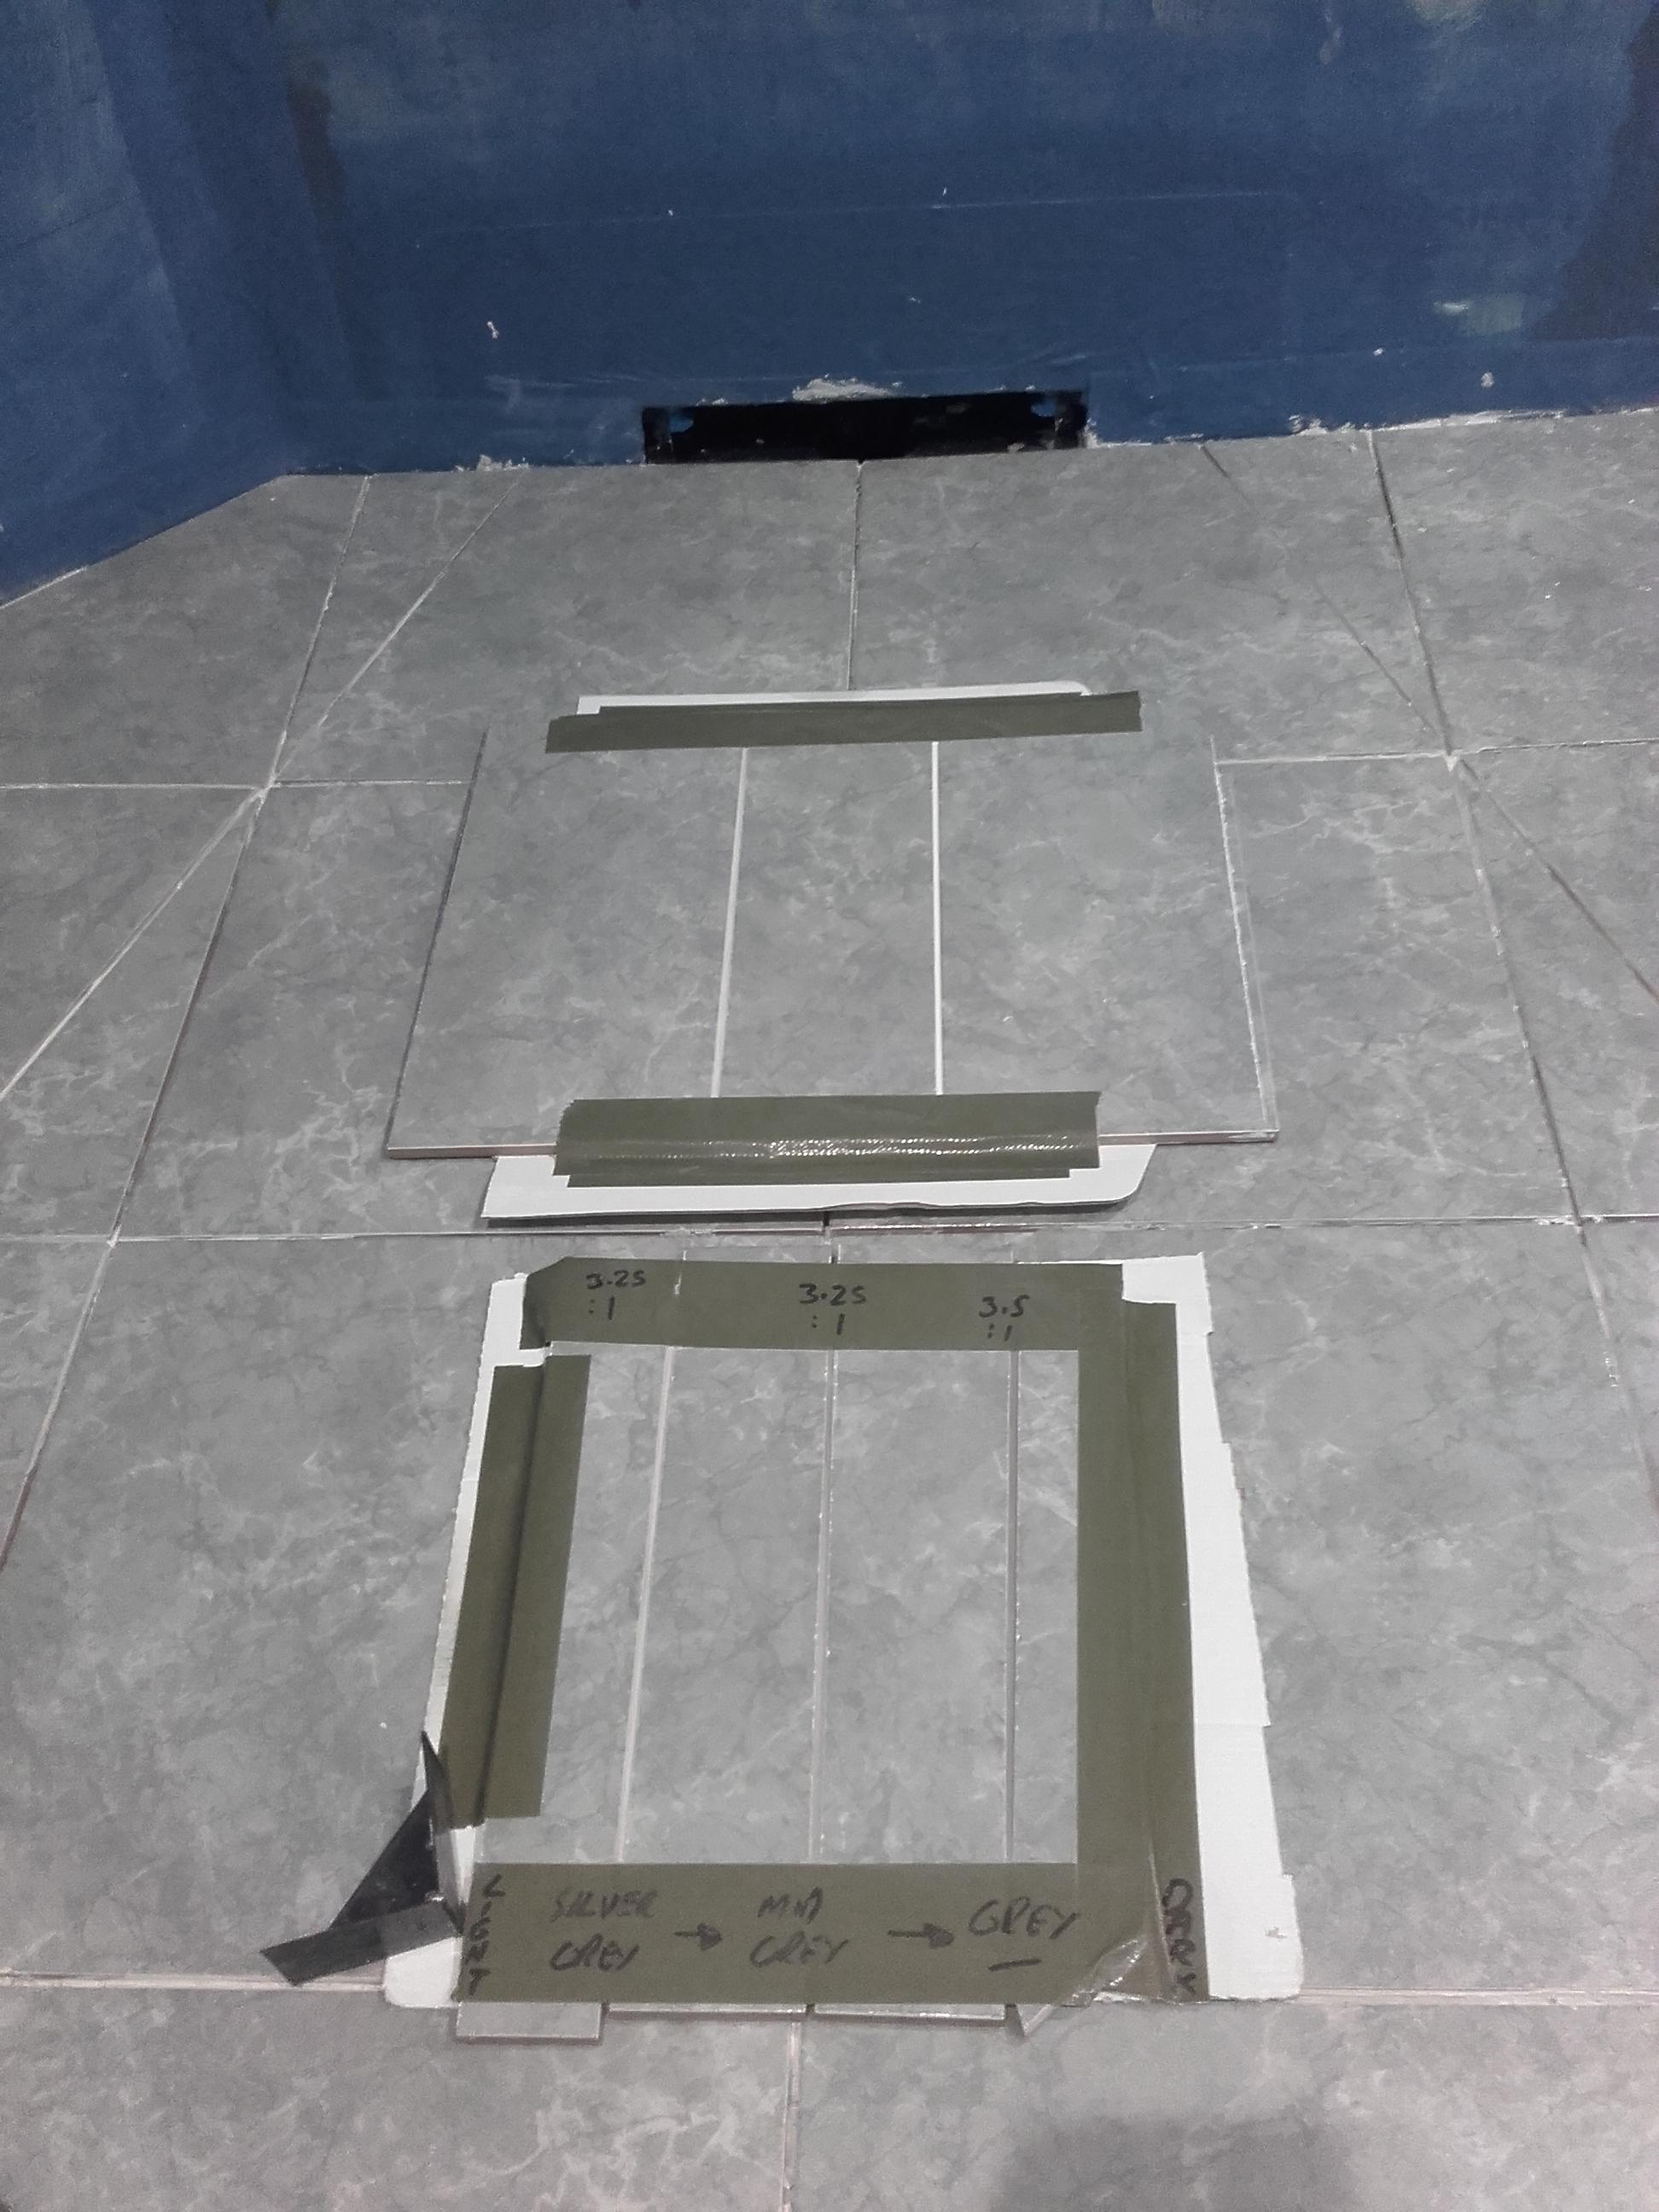
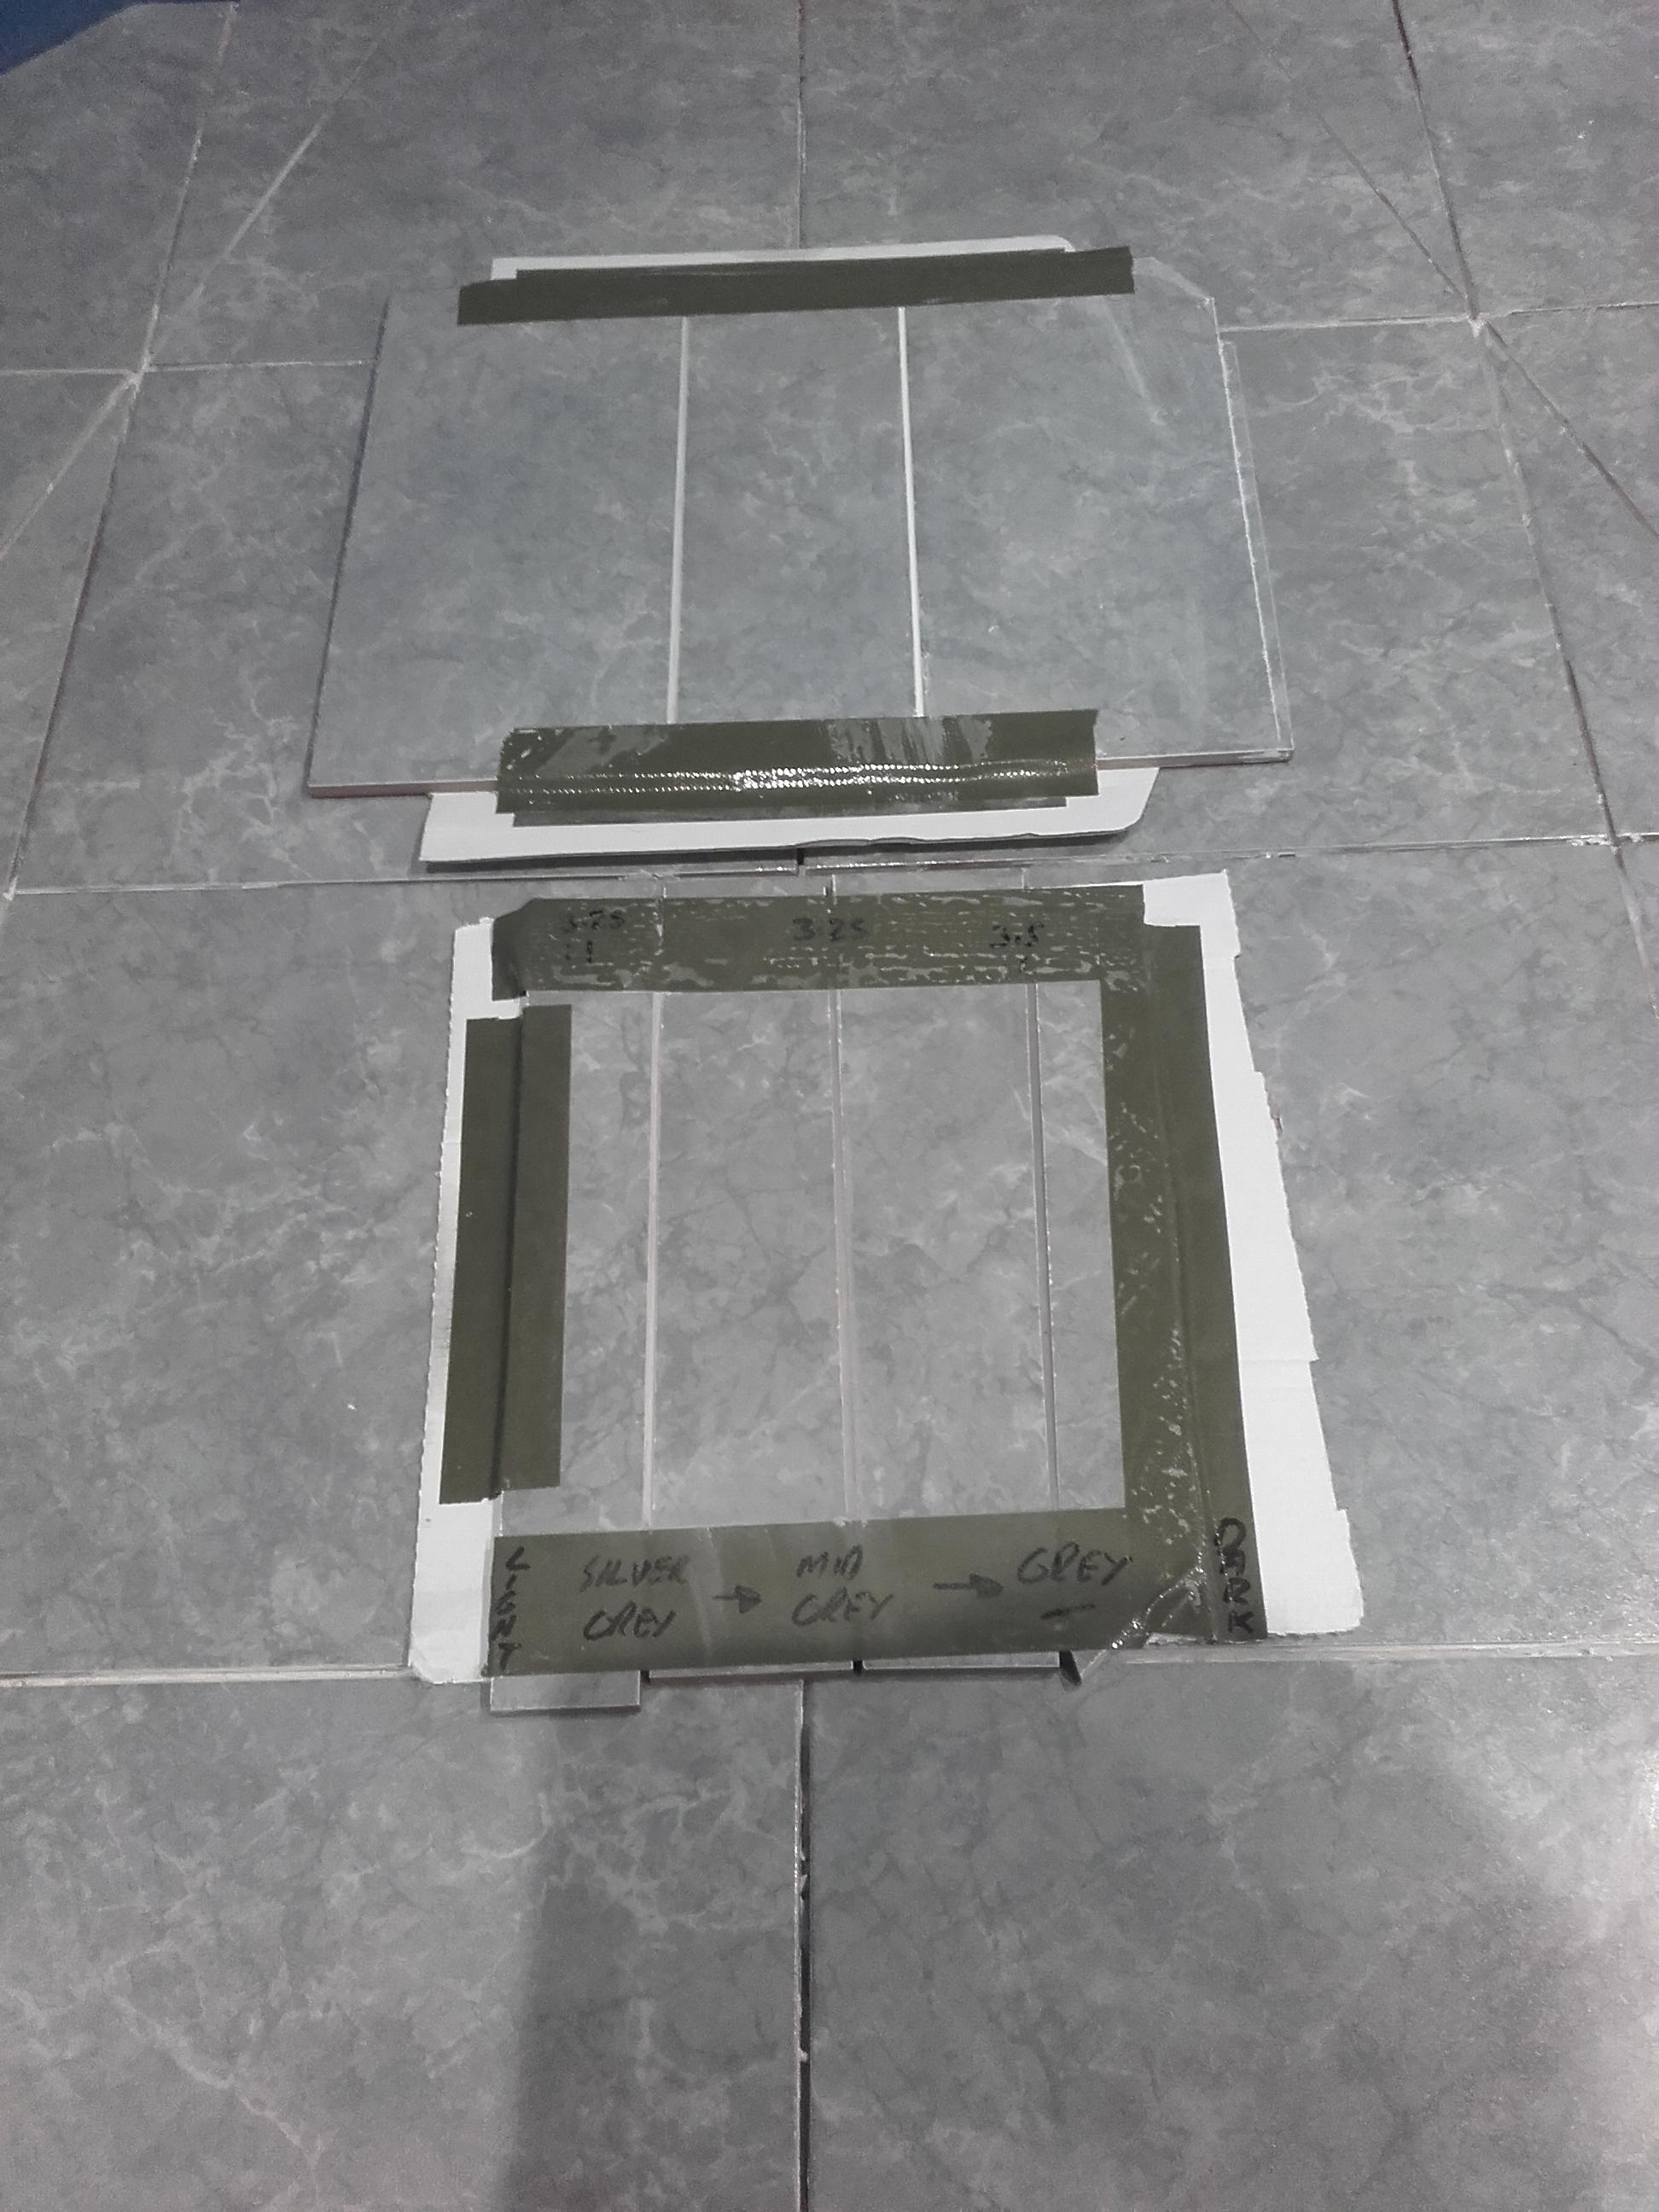
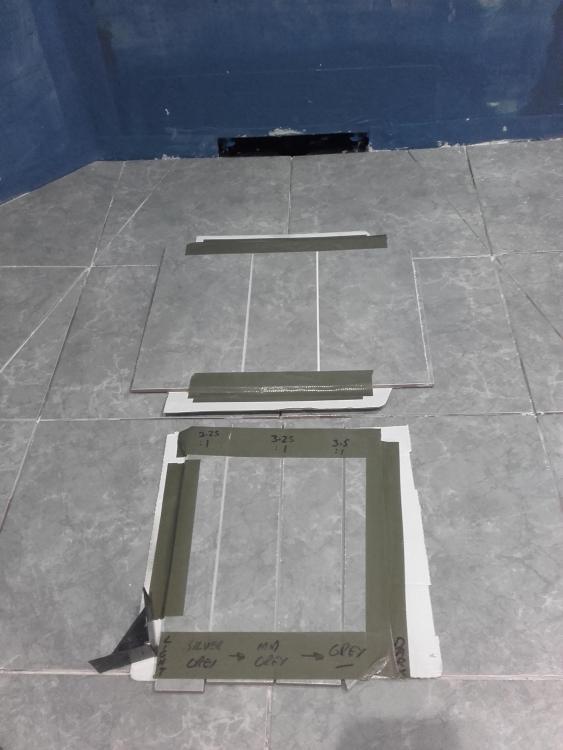
Meanwhile, back on thread: Top sample is Silver Grey then White. Done last night. Lower sample is Silver Grey, Mid Grey, Grey as written. Done earlier today. Mid Grey is looking favourite at the mo depending how it dries overnight. The sample grout was made up religiously following the powder/water mixing ratios. Used one of those 25/50ml Calpol spoons! Silver Grey = 3.25:1 or 300ml/1kg Mid Grey = 3.25:1 or 300ml/1kg Grey = 3.5:1 or 250ml/1kg What was odd was that SWMBO made up the Mid Grey twice following the above ratios and it was far too thick. Third time lucky she added a little more water to get the right consistency. So it was in fact <3.25:1. ??? All grout bags are in date as in Jun/Jul 18. Be interesting when we do the bulk mix.
-
Guilty m'lud,,,