Onoff
-
Posts
21159 -
Joined
-
Last visited
-
Days Won
206
Everything posted by Onoff
-
I think with Option 3 I'd be worried about creating cavities allowing condensation and or insect / vermin ingress.
-

Help with kitchen renovation/ 1st house.
Onoff replied to zoothorn's topic in Bathrooms, Ensuites & Wetrooms
TP? https://www.travisperkins.co.uk/Softwood-Windowboard-Best-Pattern-S207-32mm-x-225mm-Finished-Size-28mm-x-215mm/p/155110 -
Compound cuts? Tbh wishing I could do the corner again but hey ho! Should have probably bedded the mitre tile on a much thicker bed. It's just "wrong" imo And they said it was the plastering I'd cock up!
-
Help with kitchen renovation/ 1st house.
Onoff replied to zoothorn's topic in Bathrooms, Ensuites & Wetrooms
Pretty good but there I would use cheap grab adhesive. -
In the words of Will Smith I decided to get jiggy with it. Anything to put of more tiling. WTF did I pick the most visible, awkward corner when I've never tiled a wall in my life? Main bits o/of scrap MDF plus some softwood edging, not sure how long that'll last! 40 & 65mm diamond grit hole saws from eBay. Was going to varnish it but me and my impulsive side... Tile dropped into the holder, jig plate dropped in. I can add holes to this piece for the hose outlet, basin feeds etc or just cut another MDF "tile": One of the smaller ones: For the 65mm dia one found it easier to fill the hole with water rather than pi$$ about trying to squirt it in: Jig plate removed: A quick rinse: The backside: I can do these to order, might take a while : I'll get away with this I reckon. @ProDave, I need to drill more holes in this tile don't I, between the big and small ones? Has anyone seen my cheapo Parkside set of diamond grit edged hole saws? Need a smaller size for the hose outlet!
-
Option 2 and his wife's recipe for lemon ice cream!
-
The "getting much worse" is I assume the brown stuff coming back up the sink?
-
Help with kitchen renovation/ 1st house.
Onoff replied to zoothorn's topic in Bathrooms, Ensuites & Wetrooms
You can get woodgrain effect trims and cills though a bit pricier than white. You can get golden oak, rosewood, mahogany effect etc. Random link. Remind me what your worktop finish is. https://www.trulypvc.com/window-door-parts/board-sill-trims/window-board-cill-capping-cover-1.25m? -
Which is why I'll be running a separate 50mm waste with AAV!
-
Kleenex?
-
Post a picture? Knock the tabs back over?
-
No. Bodger!
-
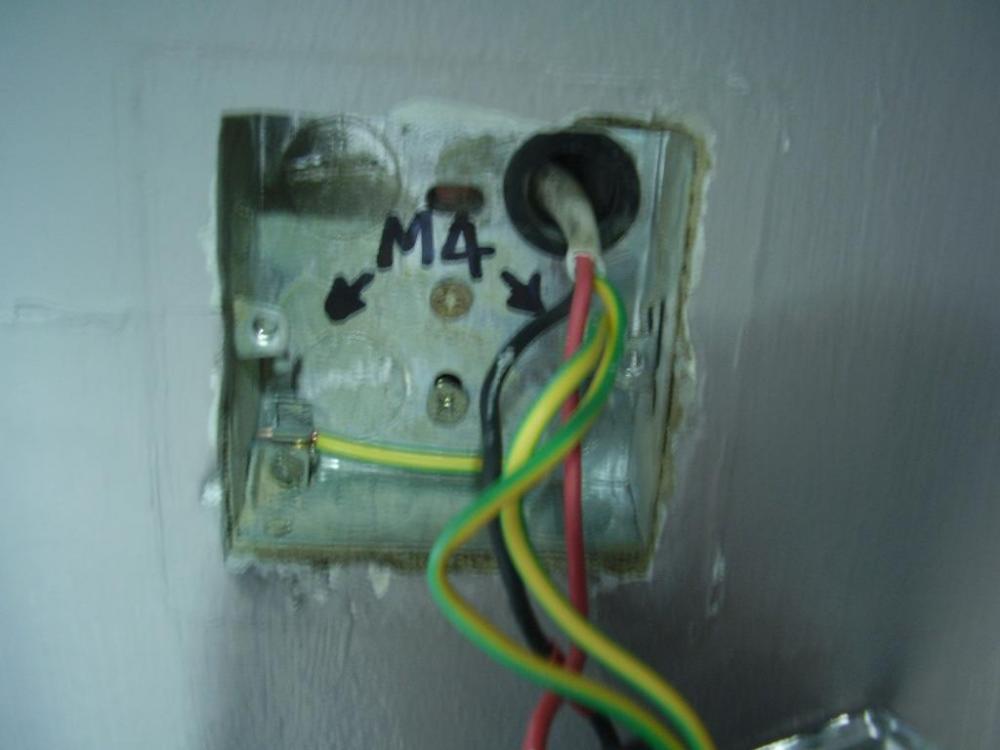
You might have to drill out slightly the face plate / countersink a bit deeper if using M4 screws as the heads can be bigger than M3.5 electrical screws. Otherading tools are available: https://cpc.farnell.com/draper-tools/37924/rethreading-tool-m4-0-x-0-7/dp/TL04580 Crap pic but I Sharpie the back of the box if I do it so the next person is aware:
-
Yes, white grout. Nothing happening tonight, so knackered I'll screw up something...else!
-
First thing I thought of tbh! Easier when you're younger...
-
Only come across 75mm here so far...will stop looking!
-
The time approaches when I'm going to tile over this shower valve (not the best pic): I didn't use the tanking membrane tape over it but had planned on just keeping the adhesive bed say 1" away all around and leaving the bottom open as per @Nickfromwales instruction. Seeing though, where I've drawn on the rough tile position and where the top of that tile is makes me think I perhaps should have membraned over it? If nothing else it should stop the adhesive encroaching on the valve gubbins.
-
Go back far enough and I think some were wired almost like a spider's web so every light had its own radial. There's specific regs in what you might term "spurs" off lighting circuit's. You musn't for instance take two outgoing cables from a rose meant to only have one.
-
These aren't the ones I linked you are they? Seem more expensive than I paid. Thinking to get a few to help figure my "valve"issues. The point and shoot, cheapo, laser thermometer, I don't really rate tbh. Temp varies wildly according to how close you are to the object.
-
OK
-
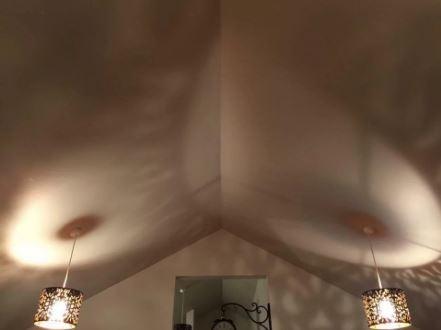
Could have been worse:
-
I remember the that! The giant Hampton shadow looming as you showered!
-
Lighting is usually referred to as a radial circuit not a spur. That is just fed one end that radiates out from the cu.
-
A blank grommet with a carefully cut split, backed up by some silicon as above should suffice imo.
-
And it's goodnight from him! Must get new glasses, the full tile 2nd in from the right, 3 up is slightly to the left at the mitre. Think I went wrong at the mosaic on the right. Didn't see it until too late! Reckon the bed is between 6 - 8mm on these tiles.