Onoff
-
Posts
21126 -
Joined
-
Last visited
-
Days Won
206
Everything posted by Onoff
-
If blending in is the major concern.. Varilight Freestyle? Hide the switches and sockets within the wallpaper: https://www.tlc-direct.co.uk/Products/VLTIFP401C.html?
-
Paslode IM350+ Li-ion or similar. BiL has one. Not that I'm jealous!
-
Be sure to fit deep enough back boxes. Some flat plate stuff needs them. For a good range with lots of pretty pictures the missus can look at, get yourself a TLC catalogue: https://www.tlc-direct.co.uk/tcl/catalogue-requests/new
-
@Ed Davies, random search for the aftermarket battery pcbs suggests discharge protection is in the batteries? Whether it needs to "talk" to the tool though??? https://m.ebay.co.uk/itm/18V-Battery-PCM-PCB-Li-ion-Protect-Circuit-Board-DIY-for-Makita-Drill-Green-T3J9/123317535564?ul_ref=http://rover.ebay.com/rover/1/710-53481-19255-0/1? "Lithium battery control circuit board Protection chip for electric tools battery Compatible With: For Makita Its main function to battery are: over charge protection, over discharge protection, short circuit protection, over current protection, reverse charge protection, over heat protection Color: Green Material: CCL Voltage: 18V Size: Approx. 4.5x3.3cm/ 1.77x1."
-
Bored with that! Started clearing the adjacent room with a view to digging that floor up. Roughly mid house it'll be where the UFH manifold will site and possibly a UVC/TS, buffer etc. This is just a distraction from a whole lot of other sh!t going on! Off to search "avoiding Makita battery discharge" circuitry.
-
That was the rough plan but in the back of my mind is the fact there's some sort of feedback between tool and battery. I'm not using genuine Makita batteries (BL1830 clones) btw. The circuit board on two different clones I have are both very different from each other and the genuine Makita battery. I wonder if there's a way of adding something to the cheapo tools?
-
The stunts I've pulled on roofs...taking down stacks and sliding the bricks down one at a time to a mate waiting at the eaves. I remember getting up with the intent of fixing a tilted pot to find it came off in my hand and the whole thing was "live".
-
Stripping the grinder and it's battery down tonight: The battery lid: Inserted into the grinder: The stealth mount held against the battery lid: Tbh a rectangle of plastic (or timber?) a few mm thick screwed to the grinder base then the Stealth Mount on that should work. The grinder body plastic is really tough and would pass the "drop test" so would take a couple of self tappers: Hedge trimmer, the + & - reversed for a start: Lid moulding is quite complicated...So we'll ditch that: Stealth Mount balanced precariously: Again probably a rectangle of something to bring the base flush, deeper than for the grinder, then the Stealth Mount is the way forward I think: "Infill blocks" next then figure the battery connections. I think I'll open the tools up and hard wire the new battery connections direct to the switch etc to bypass the remnants of "tangs" that attach to the original battery.
-
Figured carry on this thread: I have a number of perfectly serviceable 18V tools of various, dubious, here today gone tomorrow brands. All bought on a whim, dirt cheap or got as a present: Champion circular saw Rolson 4 1/2" grinder Performance Power hedge trimmer Jigsaw, can't remember make. These came with Nicads originally. There is some interchangeability between batteries though I think with the hedge trimmer the + & - are reversed. The grinder batteries fit but the wrong way round and with the aid of some tape. Some batteries fit and work but the holding clips are in the wrong place. Tbh I'd use them more if they had good batteries that lasted and the charge times weren't "3-5 hours" and you didn't need multiple chargers. (OK, the grinder is 1 hour). So here's the plan: I had considered 3D printing but found these Makita battery Stealth Mounts moulded from tough ABS at £15 for 4. Aim is to graft these onto the top of the various tool batteries, the section that slots in. Then a couple of down pointing tags to line up with the Makita batteries + & -: These are injection moulded rather than 3D printed btw. Watch this space but don't wait up!
-
Putting a ladder against the gable end then shuffling along the ridge? Access from the top of the ladder will be precarious. Load wise not a problem but you might damage your ridge tiles. Presumably your two tier ladder is a double extension type? Like this: Sometimes you can separate the sections. If long enough you could use one section to access from the side and buy a set of wheeled hooks that attach to a normal ladder. Cheapest I could find from a cursory search: https://www.amazon.co.uk/Silverline-Tools-336094-Ladder-1015mm/dp/B01MDNGCVK/ref=asc_df_B01MDNGCVK/? You push the ladder up wheel side down then flip over at the top and the hooks go over the ridge and rest on the tiles the other side. (Of course whatever you do one or the other neighbour will nick your access ladder whilst you're up there! )


-
"Throw it in the river..." Joking I hope!
-

Discount Offers of the Week
Onoff replied to Ferdinand's topic in General Self Build & DIY Discussion
Only a couple of hours left on this but 50% off a lot of car parts. I've had quite a bit off of them. Free delivery too if you can wait a bit. Use SALE55 code. My usual factors wanted £60 for front discs and pads. This lot £45 with the code. https://www.eurocarparts.com -
Is he going to want anti siphon traps on the kitchen & wc sinks?
-
Bath Surround / Boxing In, and concealed pipework
Onoff replied to Onoff's topic in Bathrooms, Ensuites & Wetrooms
Takes the eye off of my tiling is it's only saving grace! -
Bath Surround / Boxing In, and concealed pipework
Onoff replied to Onoff's topic in Bathrooms, Ensuites & Wetrooms
Got to love women! ? A weekend I won't forget in a hurry. Friday night I get home and SWMBO decides "the sink would look better where the shower is"! Just the small matter of moving the window and a bit of re-tiling...Just glad I used screws not nails! -
A chippie's advice please ... tear - out?
Onoff replied to ToughButterCup's topic in General Construction Issues
I wouldn't even contemplate cutting timber for stud walls with a hand held saw. Too rough. Maybe against a fence to keep it square... Nails no problem with my 185mm Evolution saw though! -
Looking good. Can I ask how much to desludge the old septic tank and maybe the volume removed?
-
That picture with the ladder against the wall... Is it rendered up so far then some sort of textured paint above? What's the plan for the exposed brick areas, just repaint?
-
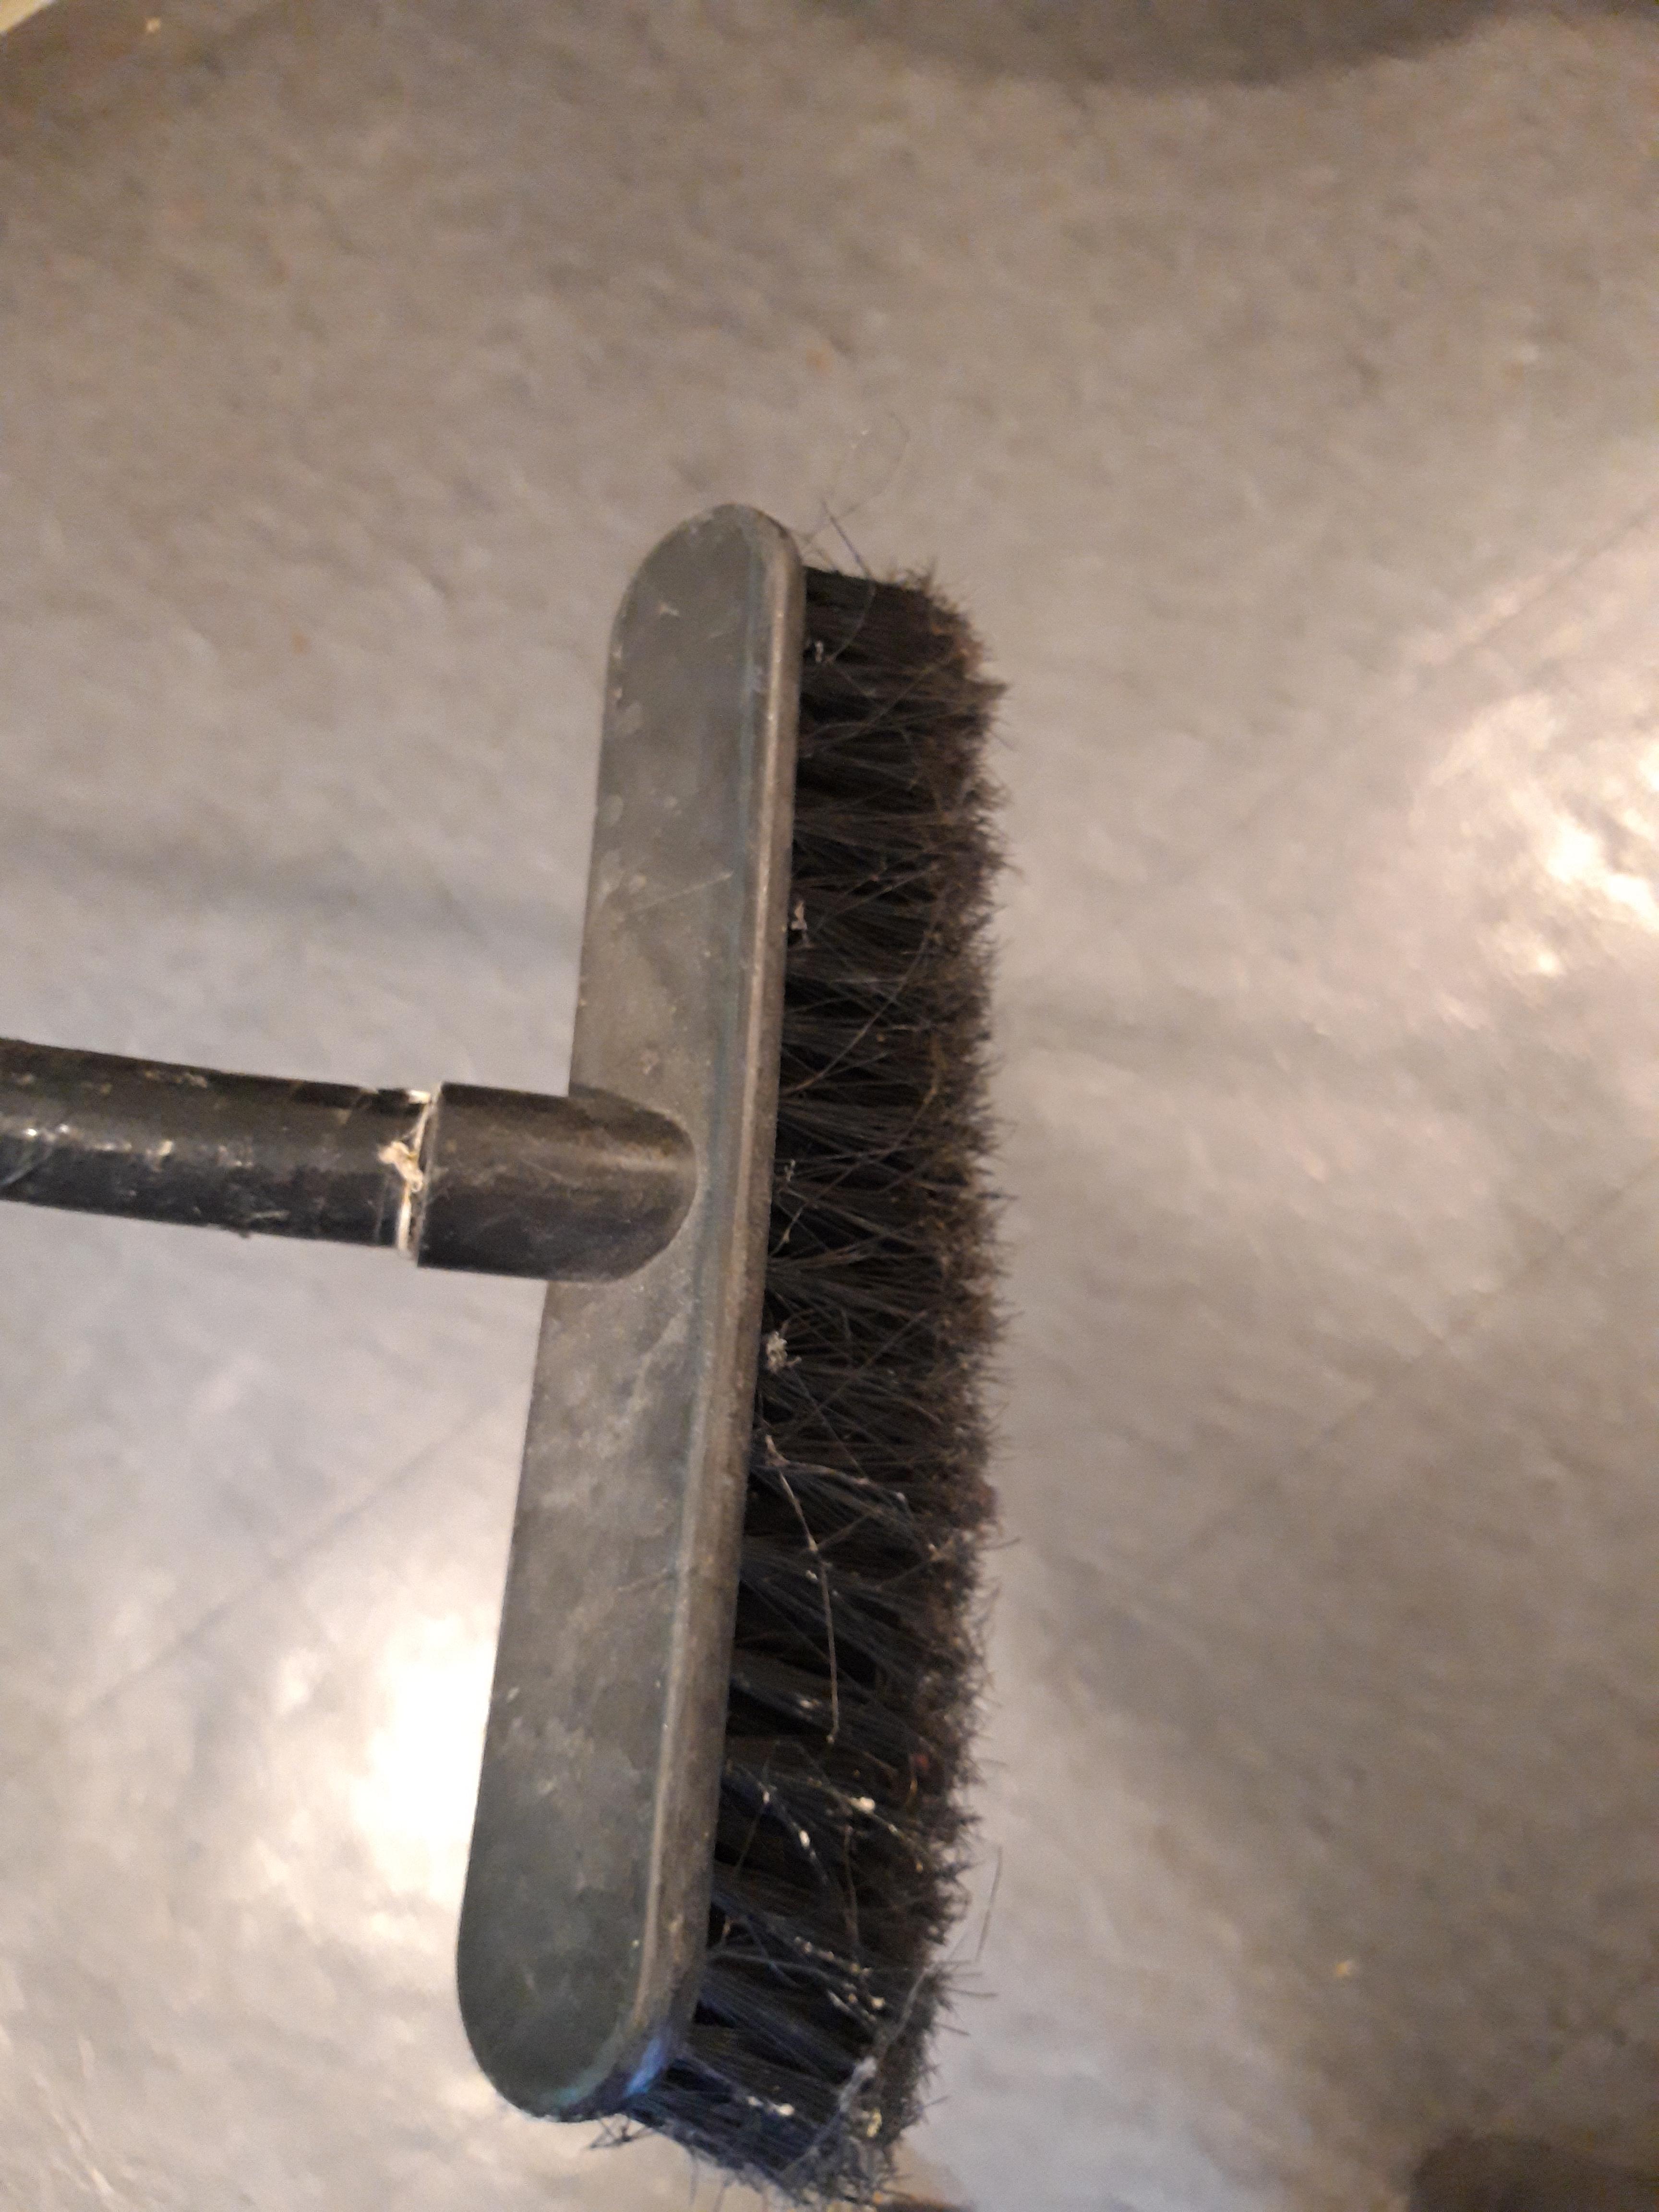
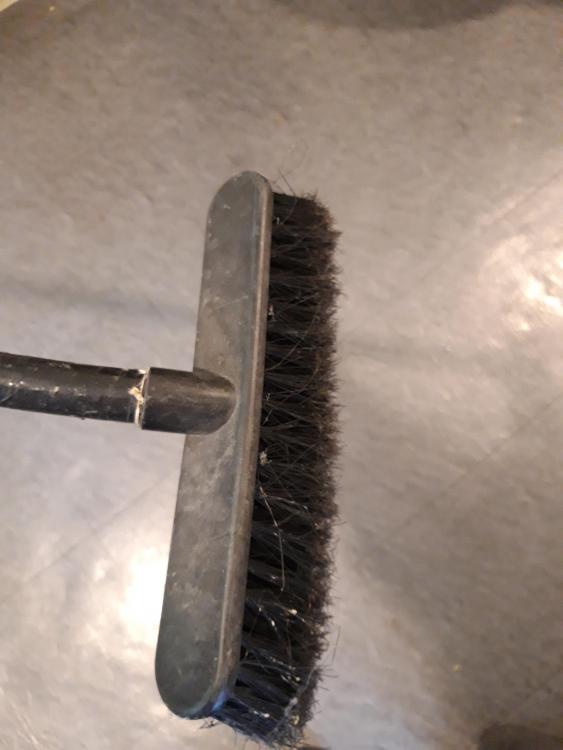
Totally the wrong trowel I'm afraid! This sort, the type you use for plaster is what you what. The action of using it to apply also pushes the render into the bricks and helps it stay there. A cheap 11" long one would do you. Fwiw your attempt looks the right colour and that it's staying there at least. You can use a small offcut of timber just big enough that you can hold with outstretched fingers...say square beer mat size to gently rub over the surface of the patch of render once it's gone off. If the wood takes the render off then its not yet dry enough to "buff". I've even used a bit of tile batten on occasion. Another trick as above is to unscrew the head off a cheap plastic broom and sort of brush it all in when slightly gone off.

-
Lime I believe is also referred to as "hydraulic lime"? Something to do with the particle sizes being really small and it gets "sucked" into the face of the bricks by hydraulic action. Given the age of your place is it possible the rest of the face is lime rendered and that's why the builder said to you about using lime? Why not jfdi and have a go? Worst it'll do is fall out and you'll have gained some experience. I've generally done this for patching: 1 trowel full of cement 1 trowel of sharp sand 3 trowels of building sand Or if no sharp then 4 of building sand. Mix 5:1 pva or sbr. Clean the test patch area with a stiff brush. Prime with the mix. Let it go tacky. Dry mix the sand and cement. Add the same 5:1 water/pva (or sbr) mix to wet it a little at a time. (I sometimes mix in a bucket with a stick if small quantities). You want it creamy but not to the point it slides off a clean, pointy trowel too easy if you turn the trowel from flat, to 45deg, to vertical. Starting to slide at 45deg then falling off at 90deg. You want it like say a bit thicker than cake mix where as you mix it up and it leaves little troughs and waves, the waves don't "slump" but stay where they are. Apply with a hawk and trowel - pointy trowel not the thing to use. Slightly over fill the area. When gone off but not dry use a straight piece of timber longer than the patch is wide. Don't scrape but hold either end starting from the bottom and jiggle left and right as you work your way up to cut off the excess.
-
Johnny Cash moment?

-
Zoot needs it spelling out!
-
@nod says SBR or Unibond (pva)
-
Just buy any SBR and have a read of these instructions: https://www.sovchem.co.uk/media/media/PDF/Tech_Datasheets/SBR_Bonding_Agent_TDS_29_V2.pdf&ved=2ahUKEwij0qyw-qnhAhUWUBUIHcuIAw4QFjABegQIDhAE&usg=AOvVaw0BYWwdyUnH-WtrJj2kMEQF
-
Changing electricity supplier
Onoff replied to Crofter's topic in General Self Build & DIY Discussion
I remember running from the bathroom to the lounge where Mum would be warming a towel in front of a 3 bar electric fire. Same getting up in the morning, getting ready for school where she'd be warming my school clothes. And that was with coal fired central heating. To be fair the boiler would have gone out overnight. No insulation in the house, single glazed wooden windows. In heavy snow we'd have to dig our way to the coal bunkers then break up the first bit of coal that'd be all frozen and stuck together. Baked spuds in the ash pan was about the only good bit!