Onoff
-
Posts
21058 -
Joined
-
Last visited
-
Days Won
206
Everything posted by Onoff
-
Find out the bloke's name and check him out on Companies House / Endole etc. Might even find he has associations with the crowd that went bust.
-
Ta. They are v.slightly off, laterally to one another. With hindsight etc! Drilling with the flat wood bit for the top one and there was a 30mm st/st pin fixing the architrave on in the way. I had to use the 25mm Morse holesaw then carry on with the flat bit.
-
He's going to re-look at it. Seems there was anyway a bit missing from the fixed screen kit.
-
Read your utilities companies guidance on this if possible. Some electricity companies insist on red duct at whatever voltage. Some general guidance: http://www.pavingexpert.com/ducting.htm https://www.jdpipes.co.uk/knowledge/ducting/ducting-different-colours.html https://www.drainagesuperstore.co.uk/blog/underground-ducting-colour-codes-explained/
-
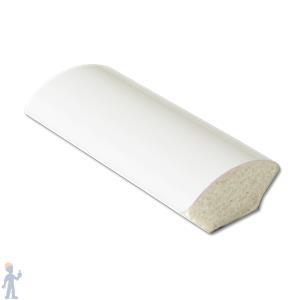
Cheers. And that'll bend the "wrong" way? With a couple of small clamps whilst it sets I suppose! I was thinking this:
-
St/st washers would be alright. Just duct tape between the last washer and the ali. Do you mean quadrant? Where do you get it?
-
I wish he'd given me a dimensioned drawing instead of these 4 video clips, can't really gauge the gap on my phone:
-
Silk purse, sow's ear really. Magnetic catch, privacy and handle cost more than the door. I'll let my chippy mate come down and take the pi$$ before painting, he might take it upon himself to tweak the jams and stops etc. I was longing for hardwood! The smell, the clean cutting etc.
-
I'd use a 24mm flat bit rather than 25mm next time: The Screwfix handle came with a couple of through fixings that I fitted top and bottom and cleared the magnetic latch. The other two fixings to the L & R are just nasty little wood screws into the paper mache that is this cheapo door. For the, again Screwfix, privacy latch though there's no through bolts just 4 naff wood screws either side.
-
I did debate making my own doors. Still might. I made a hinge jig...
-
Yes exactly that.
-

Discount Offers of the Week
Onoff replied to Ferdinand's topic in General Self Build & DIY Discussion
Love the sofa...SWMBO doesn't. I can see that in a man cave... -
Do you refer to the West Wing etc?
-
I might go for 1mm as hoping they won't be on there for too long before I "go oak". I've that RD book and the Collins one of the same era. Still very valid stuff.
-
I did wonder about say a 1mm packer between the stop and door stile but didn't want things "loose".
-
Figured these various questions I've been raising on doors, hinges etc stand alone... I'm aware there's a correct method for painting a panelled door. I'll be delving into my 30 year old Readers Digest DIY book for that. When painting door and frame, do you fit the side and top stop pieces to the jams first or after painting the door? Bit different for the majority here with oiled doors but I'm thinking thickness of primer and paint. Cheers
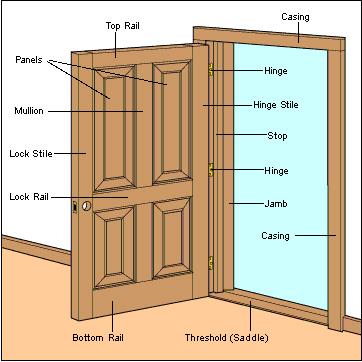
-
Why me??? ? Not got a clue ref the wall. When/if I come to do my garden room I'll be on here asking questions galore. What I do know... I "recently" refurbed my bathroom. Two existing brick cavity walls and two solid brick walls. I lined it with timber stud walls much as you have in your kitchen. I filled in between the battens with pir. Vcl over that then plasterboard and tiles. I really paid attention to gaps, foaming and taping etc. Everybody remarks how super quiet it is in the bathroom now. In effect this is a TF construction with a "block" outer. I'm guessing here but just maybe you could build the TF to full height, get the roof on to get it watertight and do the outer skin afterwards? If you are intent on working from home like this then doing it outside you'll likely get continued complaints. Why can't you rig the circular and chop saw to a vac btw? I have loads of times.
-
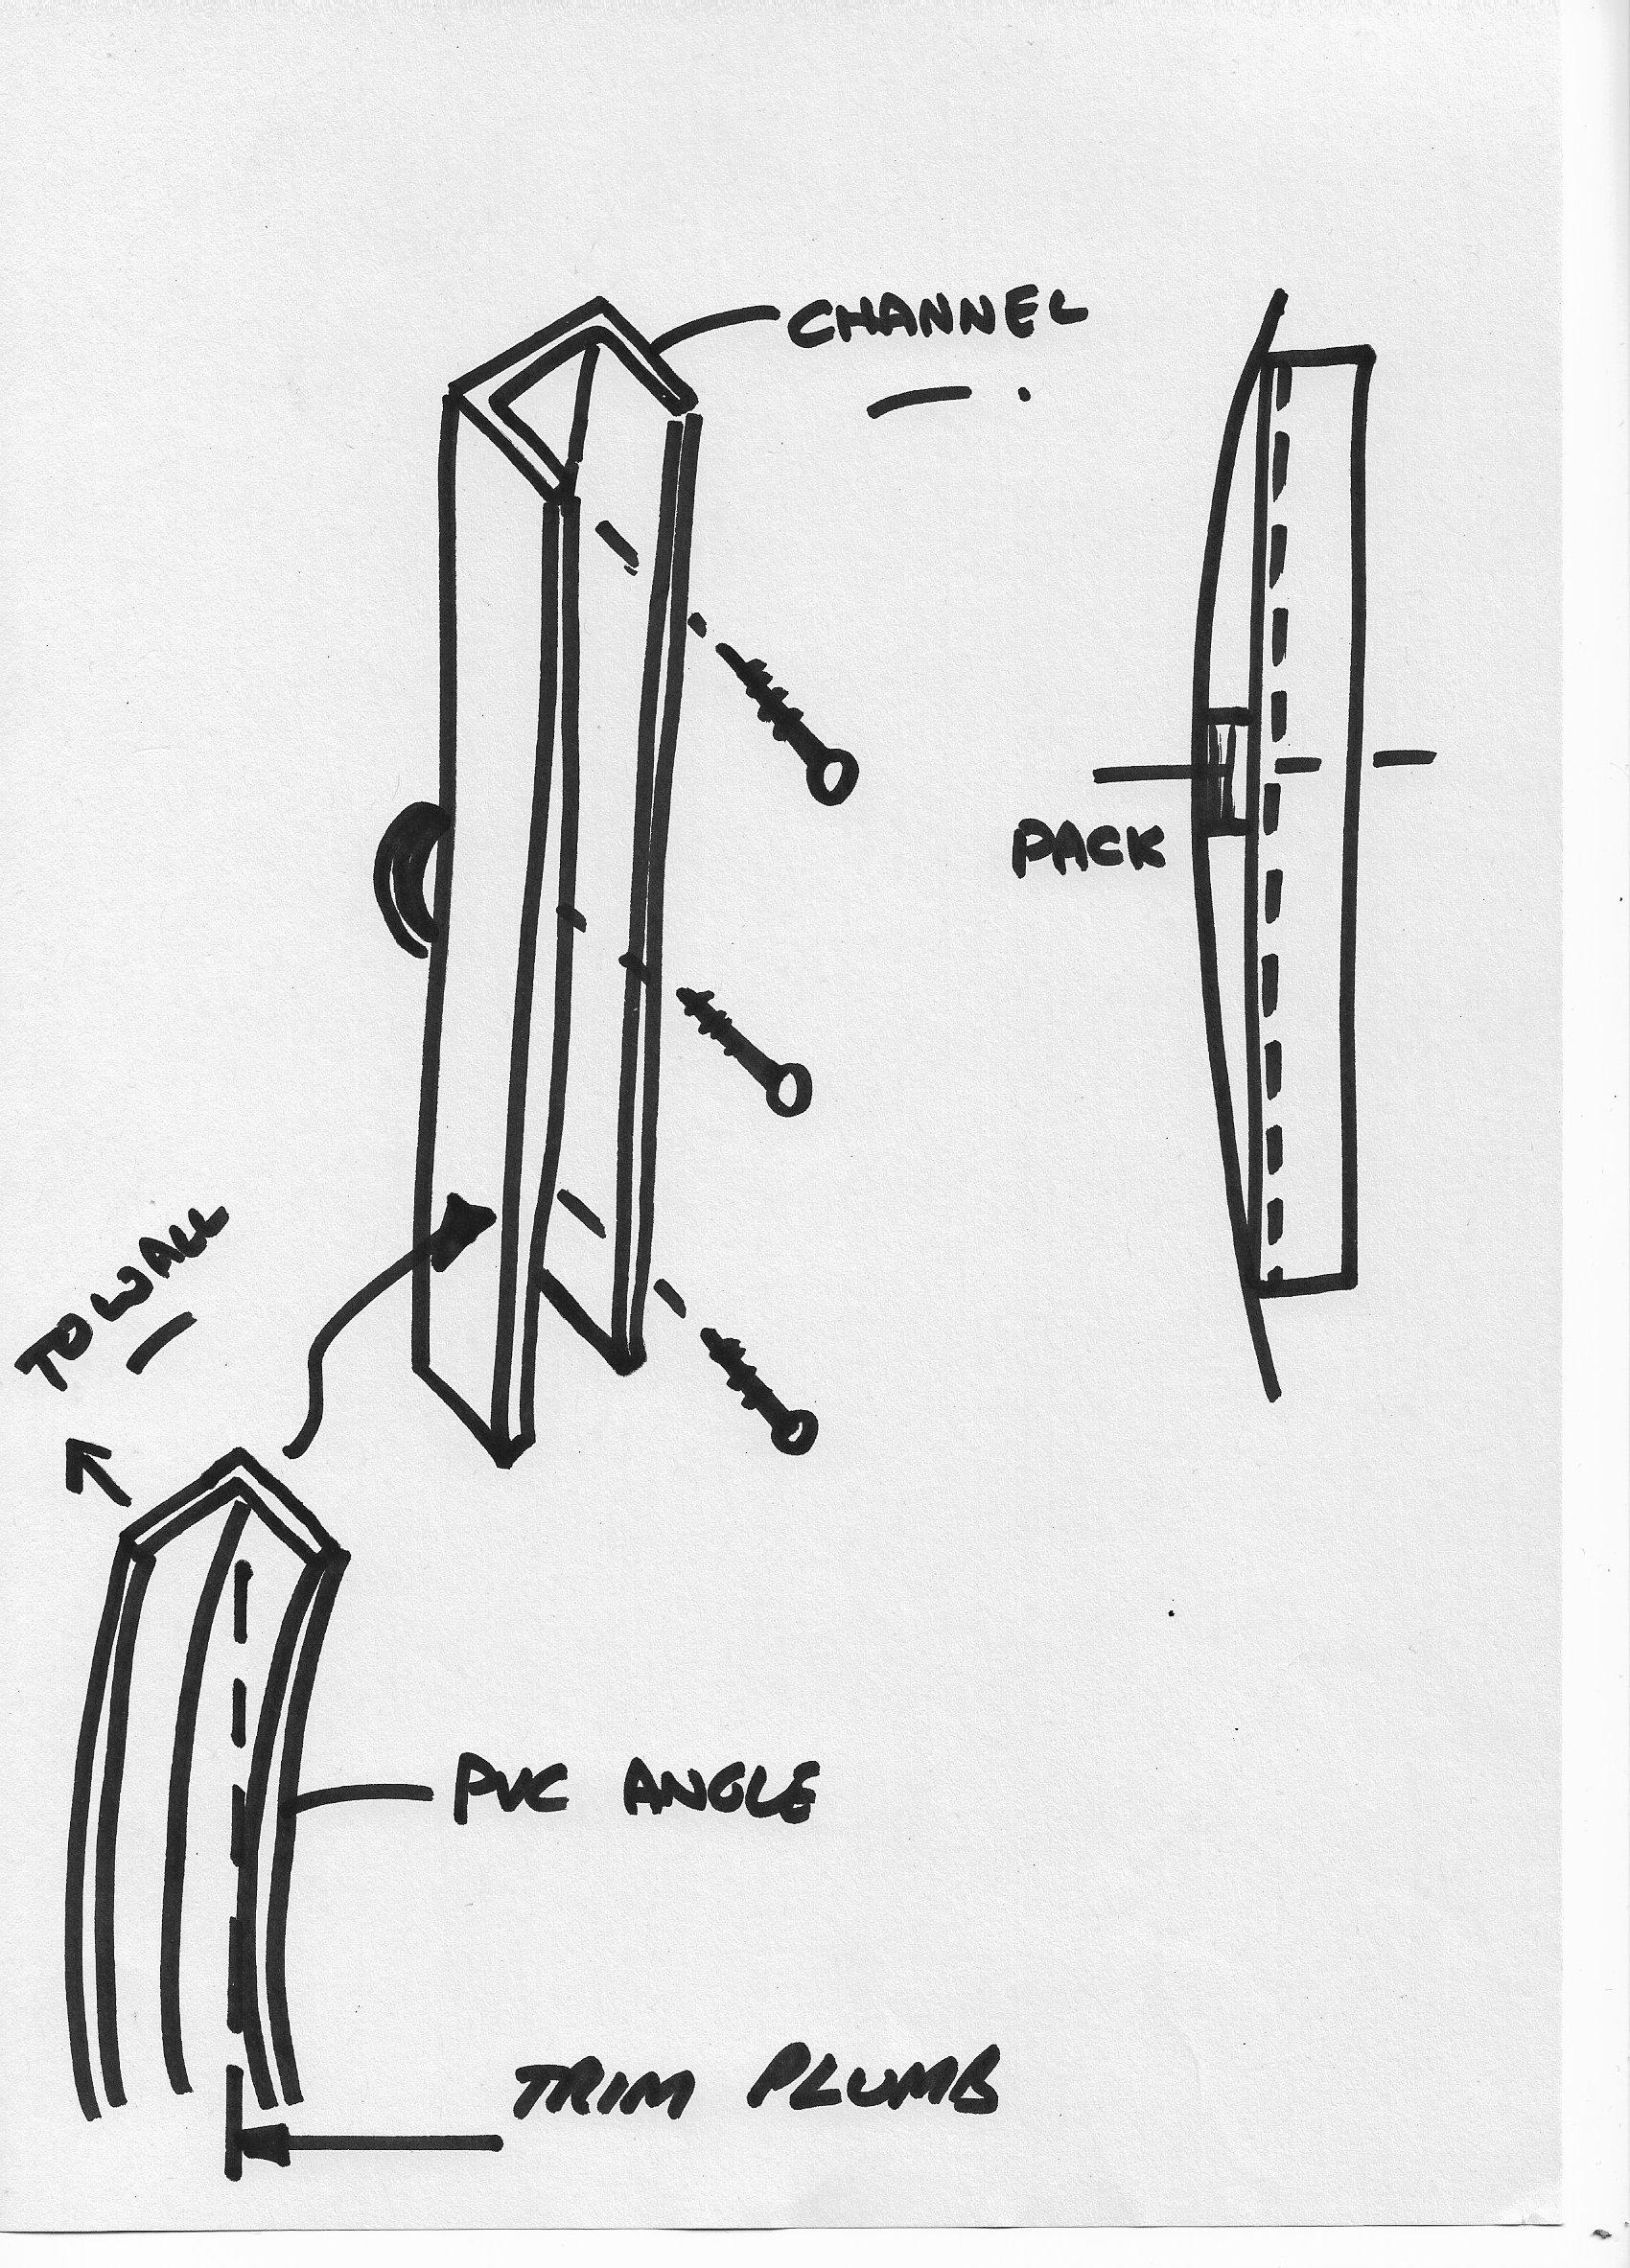
What he's saying is putting channel against the wall and it's 1/2" out in the centre. Almost needs a bow shaped, v.long packer. I'm thinking on the lines of screw the channel to the wall with the gap, packed out at the fixing points with st/st penny washers. Then affix some white pvc anlge either side stuck on with CT1. Trim the angle plumb to the channel.

-
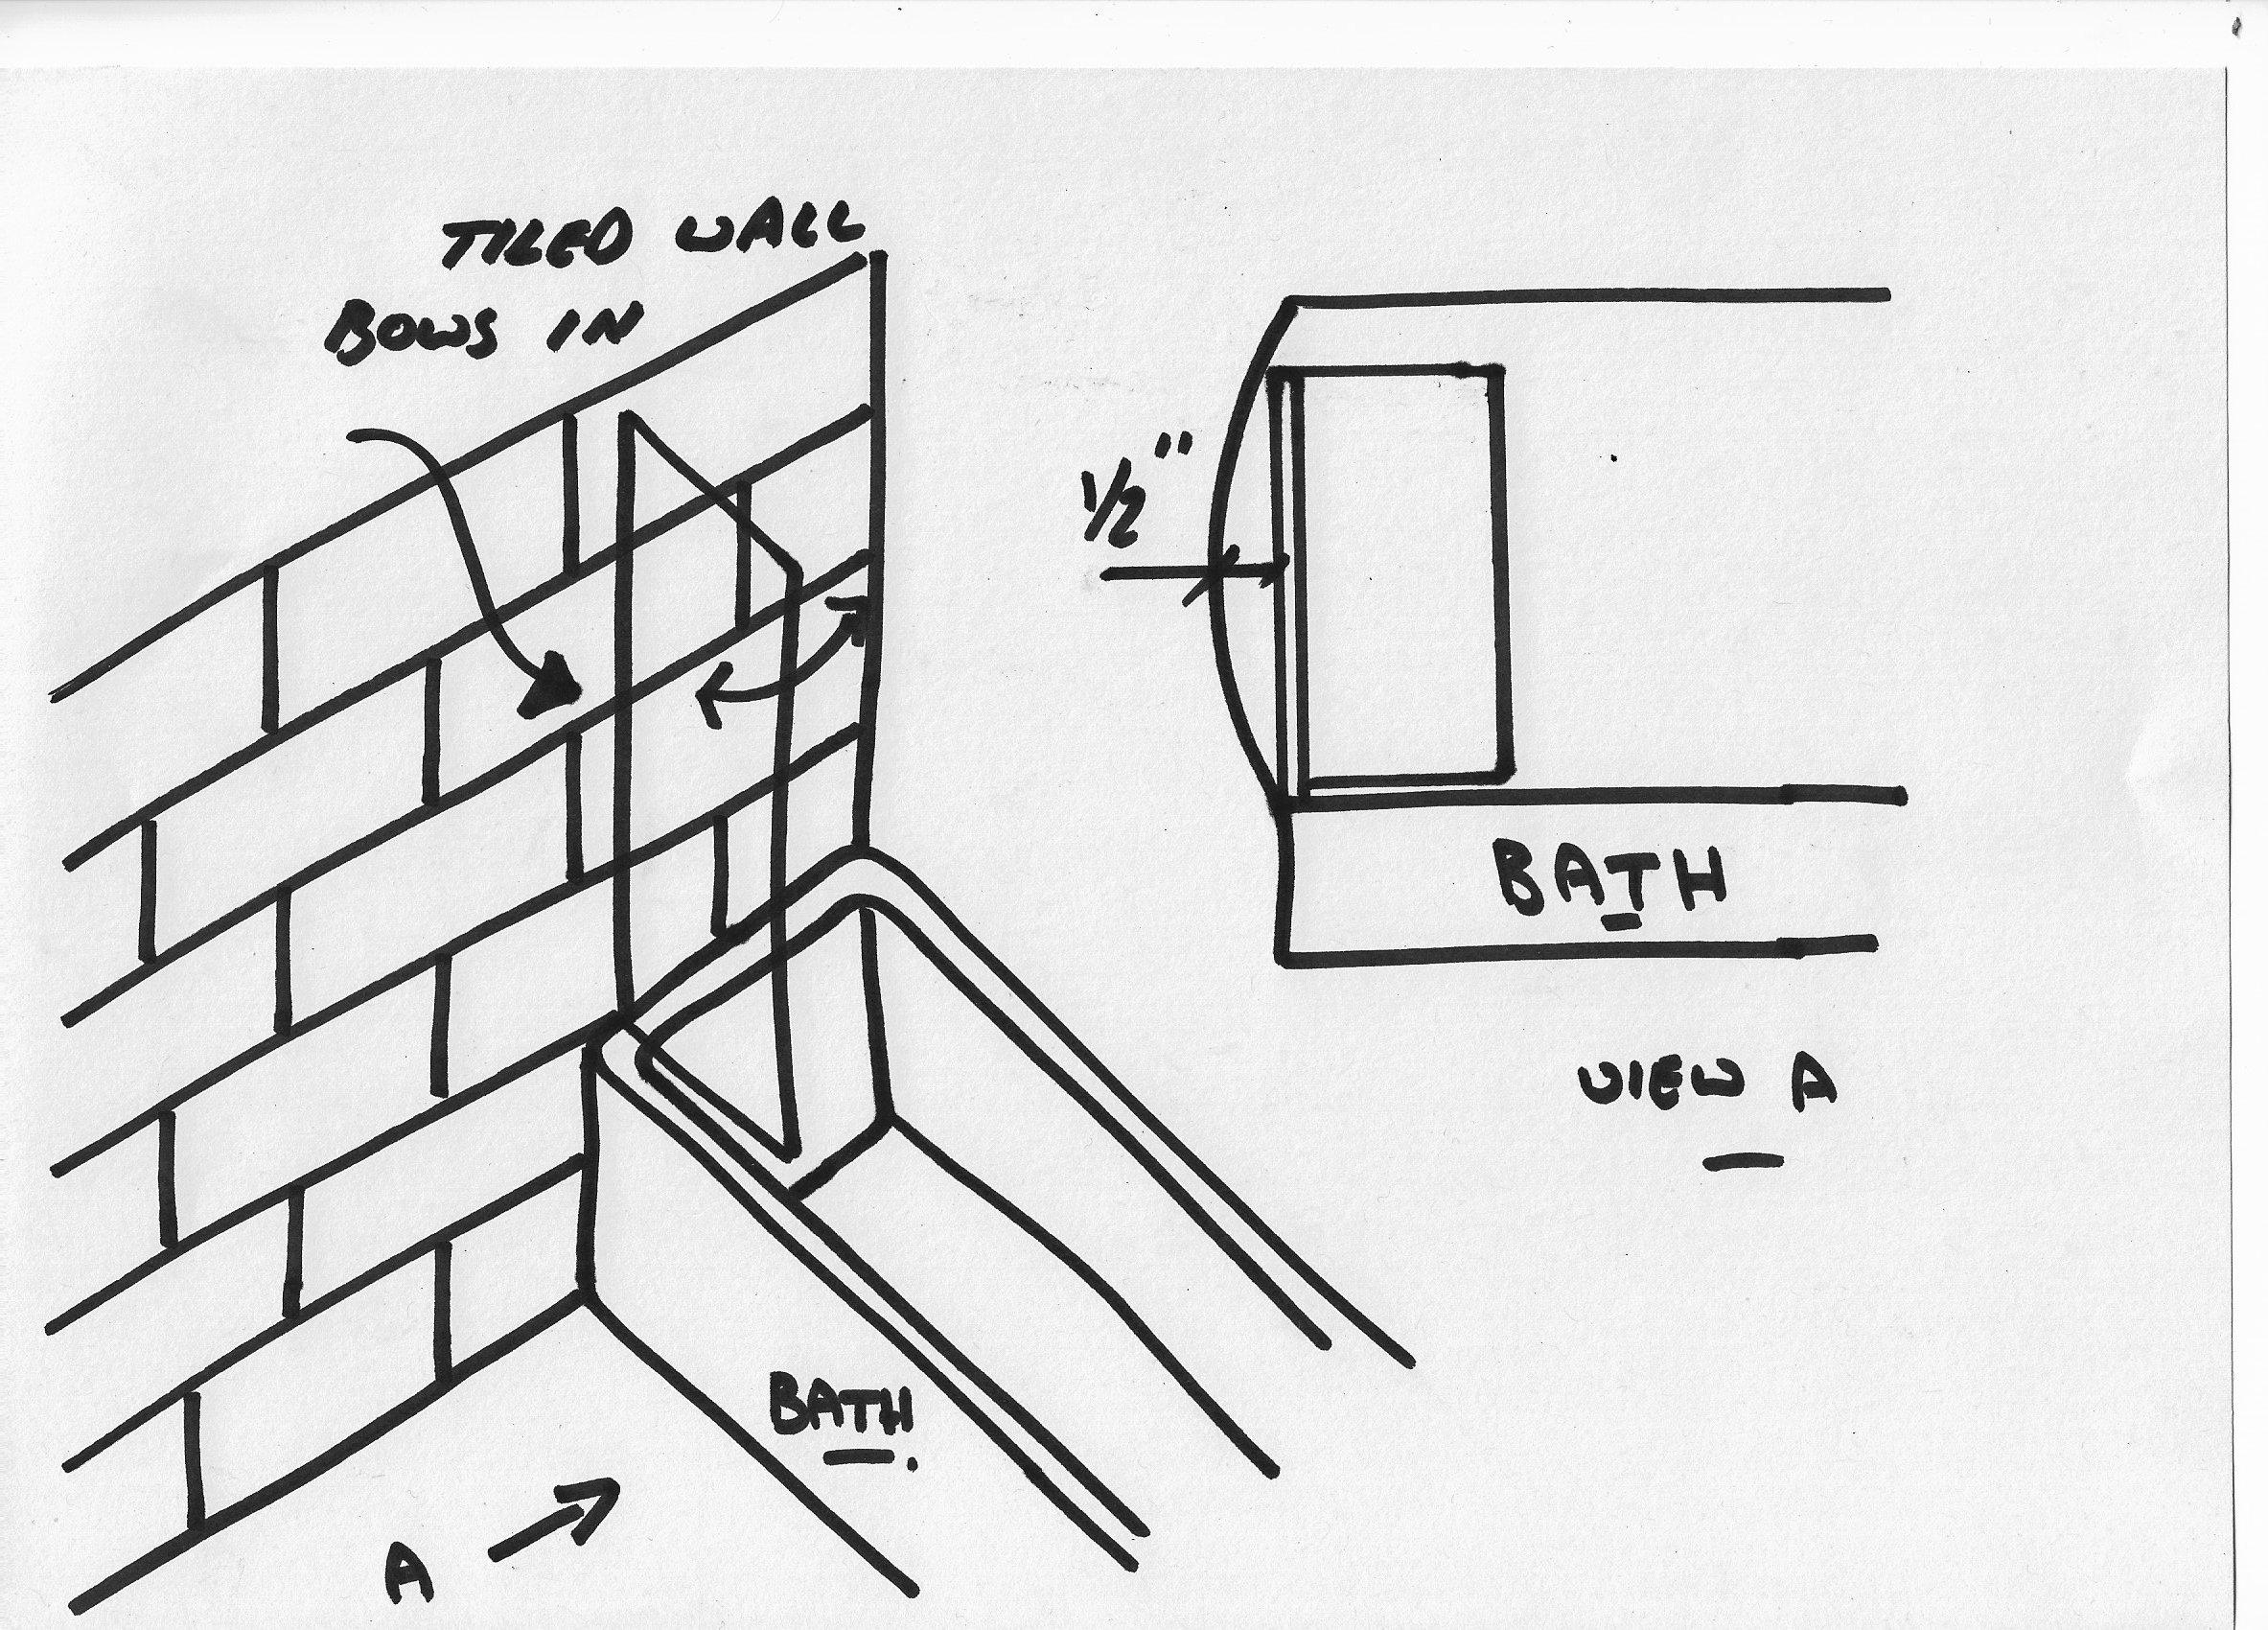
Right, mate's made a faux pas. (Yes, my mate, not me! ) When he's come to fit his shower screen he's tiled the wall and it bows inward roughly like the sketch below. He reckons it touches at the top and bottom but there's "a gap he can put his finger in" so guess about 1/2". Searched solutions suggest ripping tiles off and starting again or cutting a groove in the tiles for the shower screen channel to sit in neither of which he fancies doing. The frame I think allows for the wall to be 6mm out...he's way off! Any other suggestions? @Nickfromwales? Cheers

-
ALL different. Trying as I remodel each room to try and standardise things like this along with raising/lowering socket & switch heights. Not helped by 4, was 5 different floor heights throughout.
-
But that's a curry, KFC AND McD's! Everytime I mention her penchant for such or mention how much we could save, I get: "We only have it once a week!" "It's my one treat!" "It's not often!" etc Just gone we had curry Friday, fish & chips Sat and KFC Sunday. Getting a bit off track here with my marital woes!
-
@zoothorn, what do you do for dust extraction? I route outside and that makes enough mess! Also if you route MDF doesn't that have health implications worse than if you're routing real wood? One day when I've a decent internal workspace I'll rig up the giant, 110V shop extractor I've got. (I've only ever used it for wall chasing up until now).
-
Especially when SWMBO here will happily spend that on takeaways per week Let's not forget I've to paint the effing things yet. I wanted this style:

-
Thanks. Your 2nd picture gives centre to centre at about 3.5". Oddly enough mine will come out the same. Decided to move the handle centre to the top of the lock bar (970mm from floor) and the privacy to dead centre of the lock bar.
-
Stage 1 Is Very Nearly Complete :)
Onoff replied to Construction Channel's topic in General Self Build & DIY Discussion
Deejay Maverick as a name?