Onoff
-
Posts
21126 -
Joined
-
Last visited
-
Days Won
206
Everything posted by Onoff
-
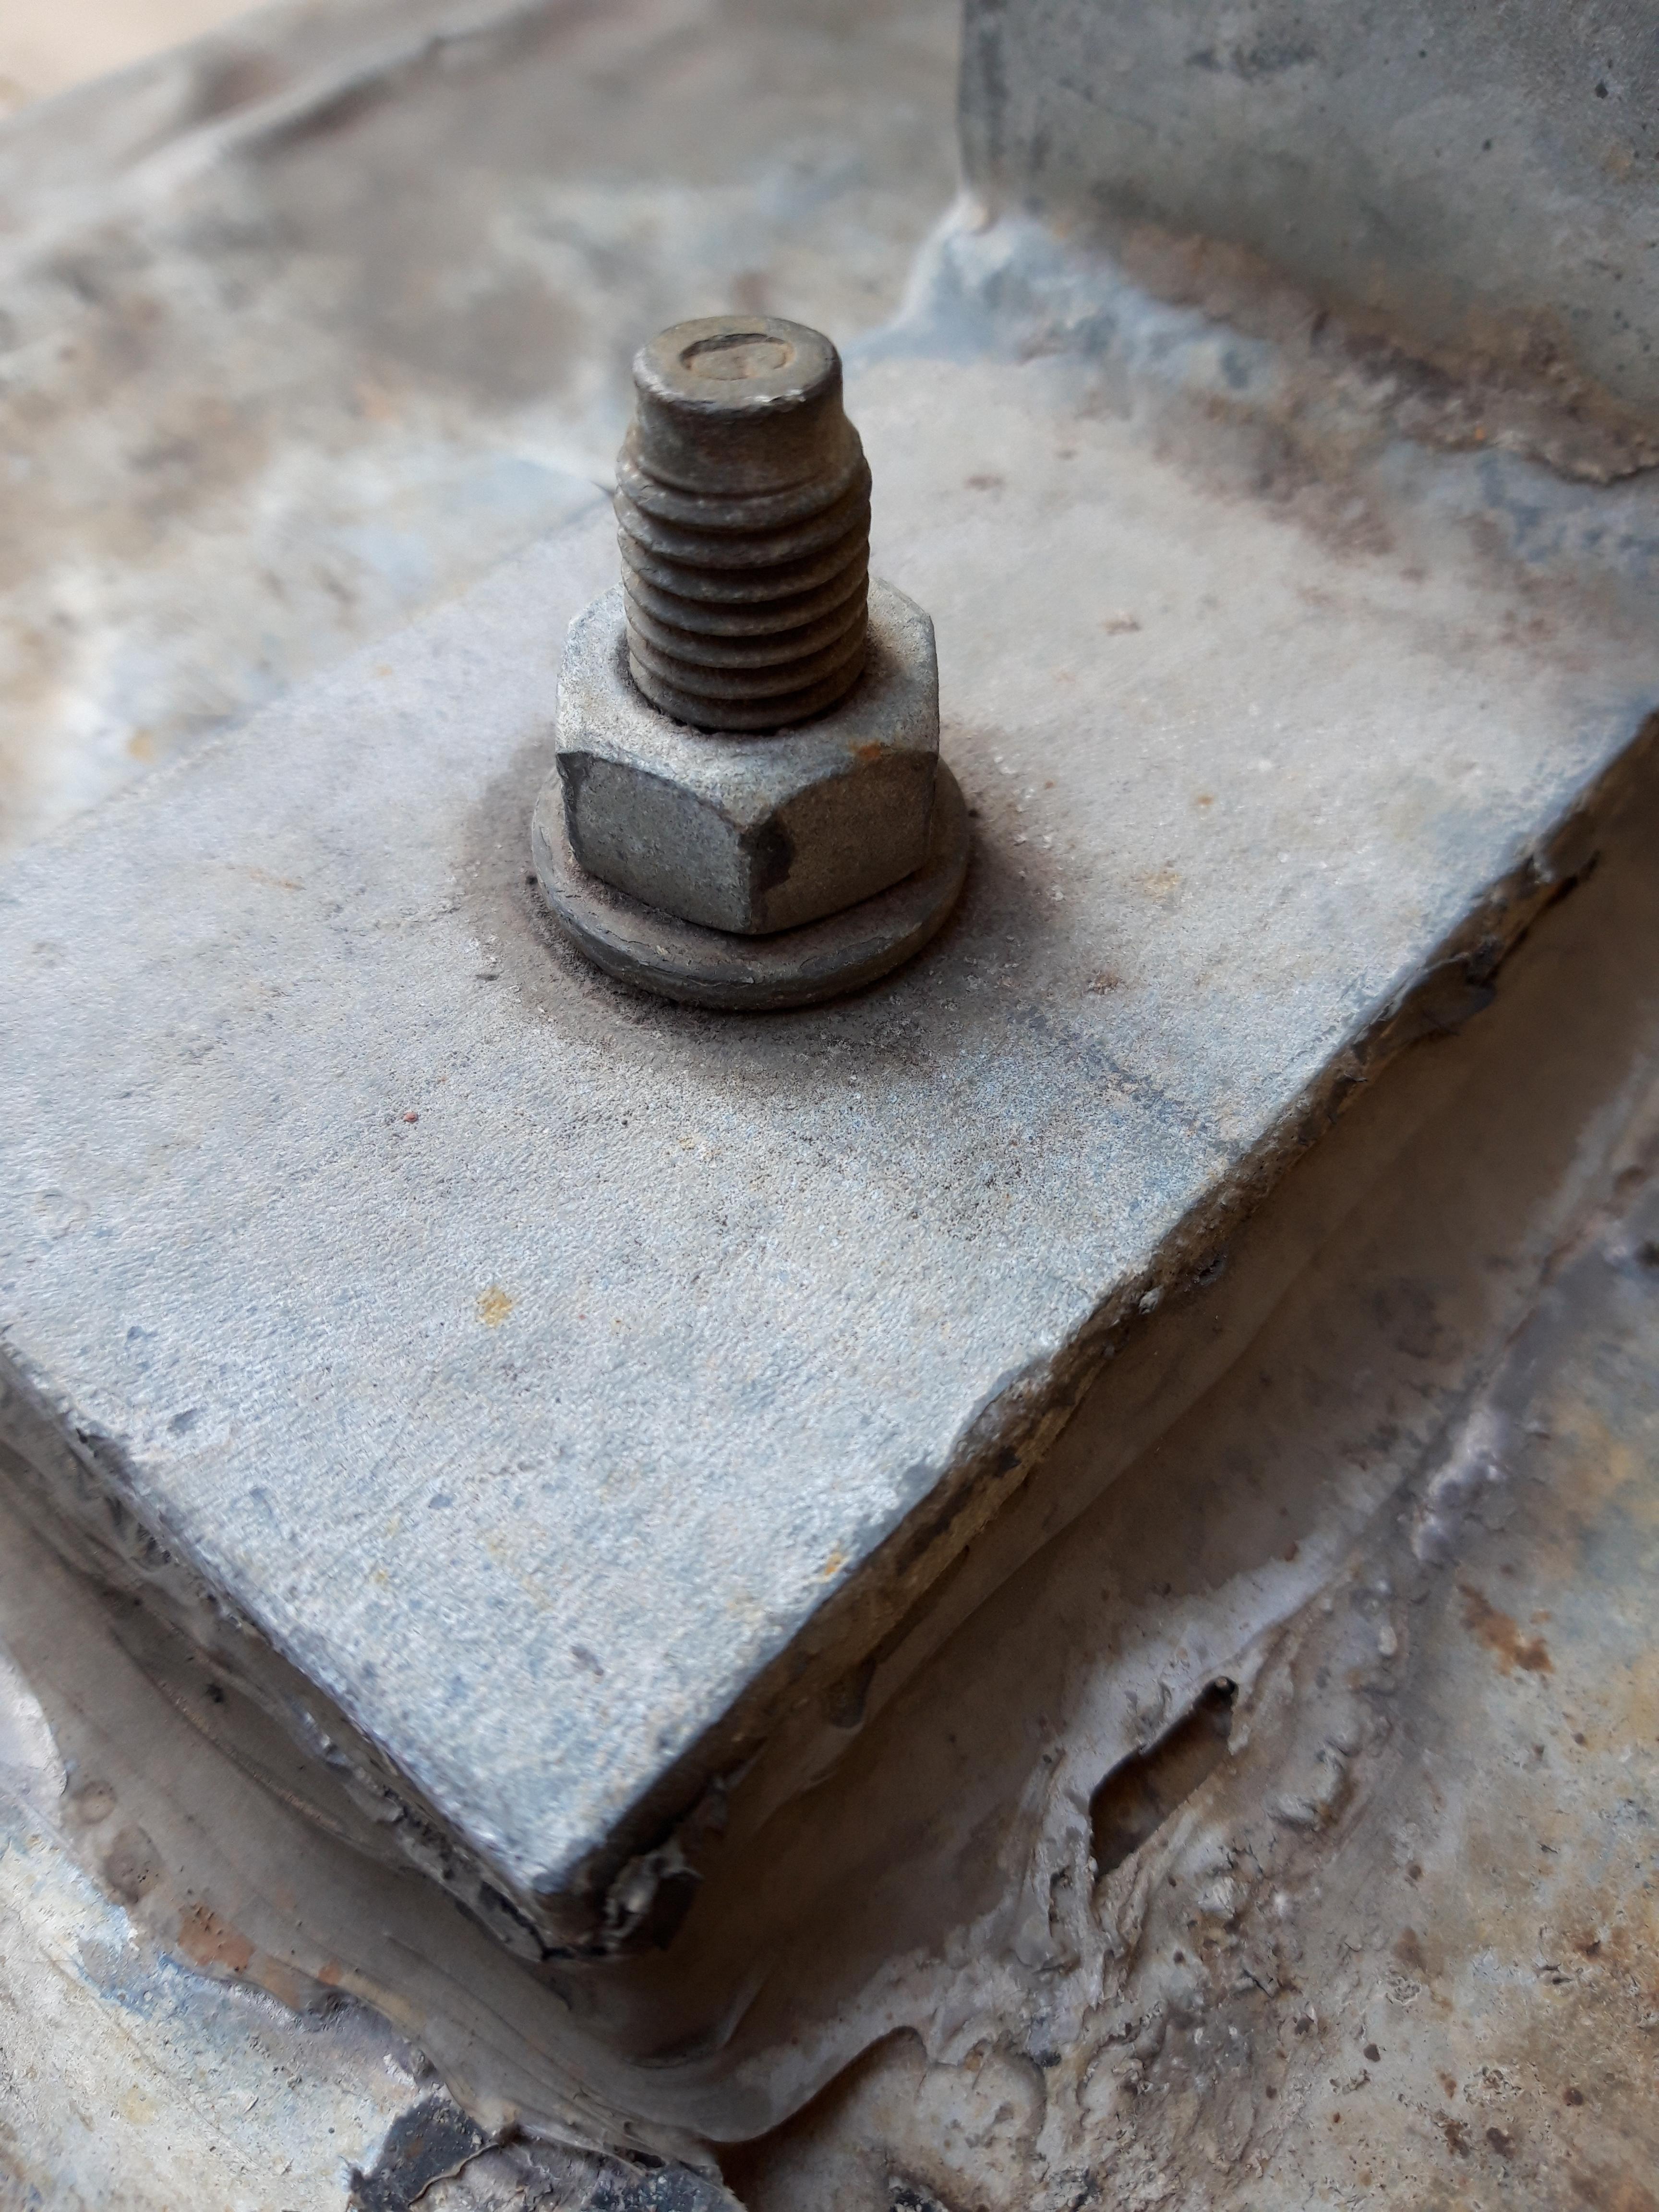
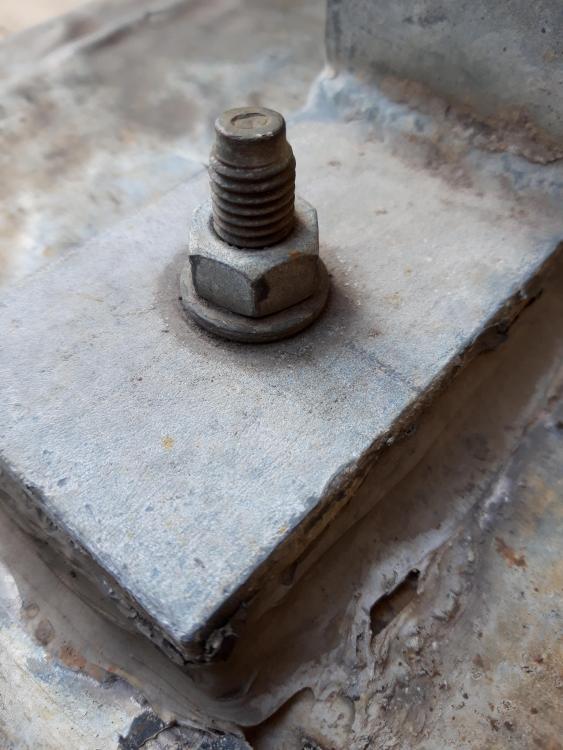
How does the shoe prevent use of a spanner? It'd be slow, better to use a socket on a ratchet. If using stainless studding, stainless washers and stainless nuts they won't rust, you cut the studding off low and use a spanner or ratchet. Something like this:
-
The 15mm copper to 16mm pex al pex elbows I've used: My diy UFH loop test kit. Mains onto the short bit of copper. Let it run up to 3bar and bleed into a bucket via the clear tube. You're welcome to borrow it. Runs off mains pressure.
-
Bugger! So you actually had ALL bits I needed! Would have been worth the trip. No doubt SWMBO and the youngest would have insisted on another trip to Wingham!
-
Those little off cuts on the back look s**t. ?
-

Dealing with the DPM on the outside of timber frame on passive slab
Onoff replied to MikeSharp01's topic in Timber Frame
Sorry, read it as 140mm (small screen, bad eyes ? ). -
Dealing with the DPM on the outside of timber frame on passive slab
Onoff replied to MikeSharp01's topic in Timber Frame
Just out of interest, that 316 st/st trim...does it not form a cold bridge where it tucks up on the warm side of the 140mm insulation? Could that affect the bottom edge of the 15mm OSB? -
The ad for those brackets I linked says: "4 x 8mmx75mm Multi Fix Thunder Bolts" You could likely use this cut to size: https://www.toolstation.com/stainless-steel-threaded-bar/p45452
-
Tbh I'd use stainless steel studs and resin instead of Thunderbolts.
-
Last grid switch I had collapse on me was Varilight.
-
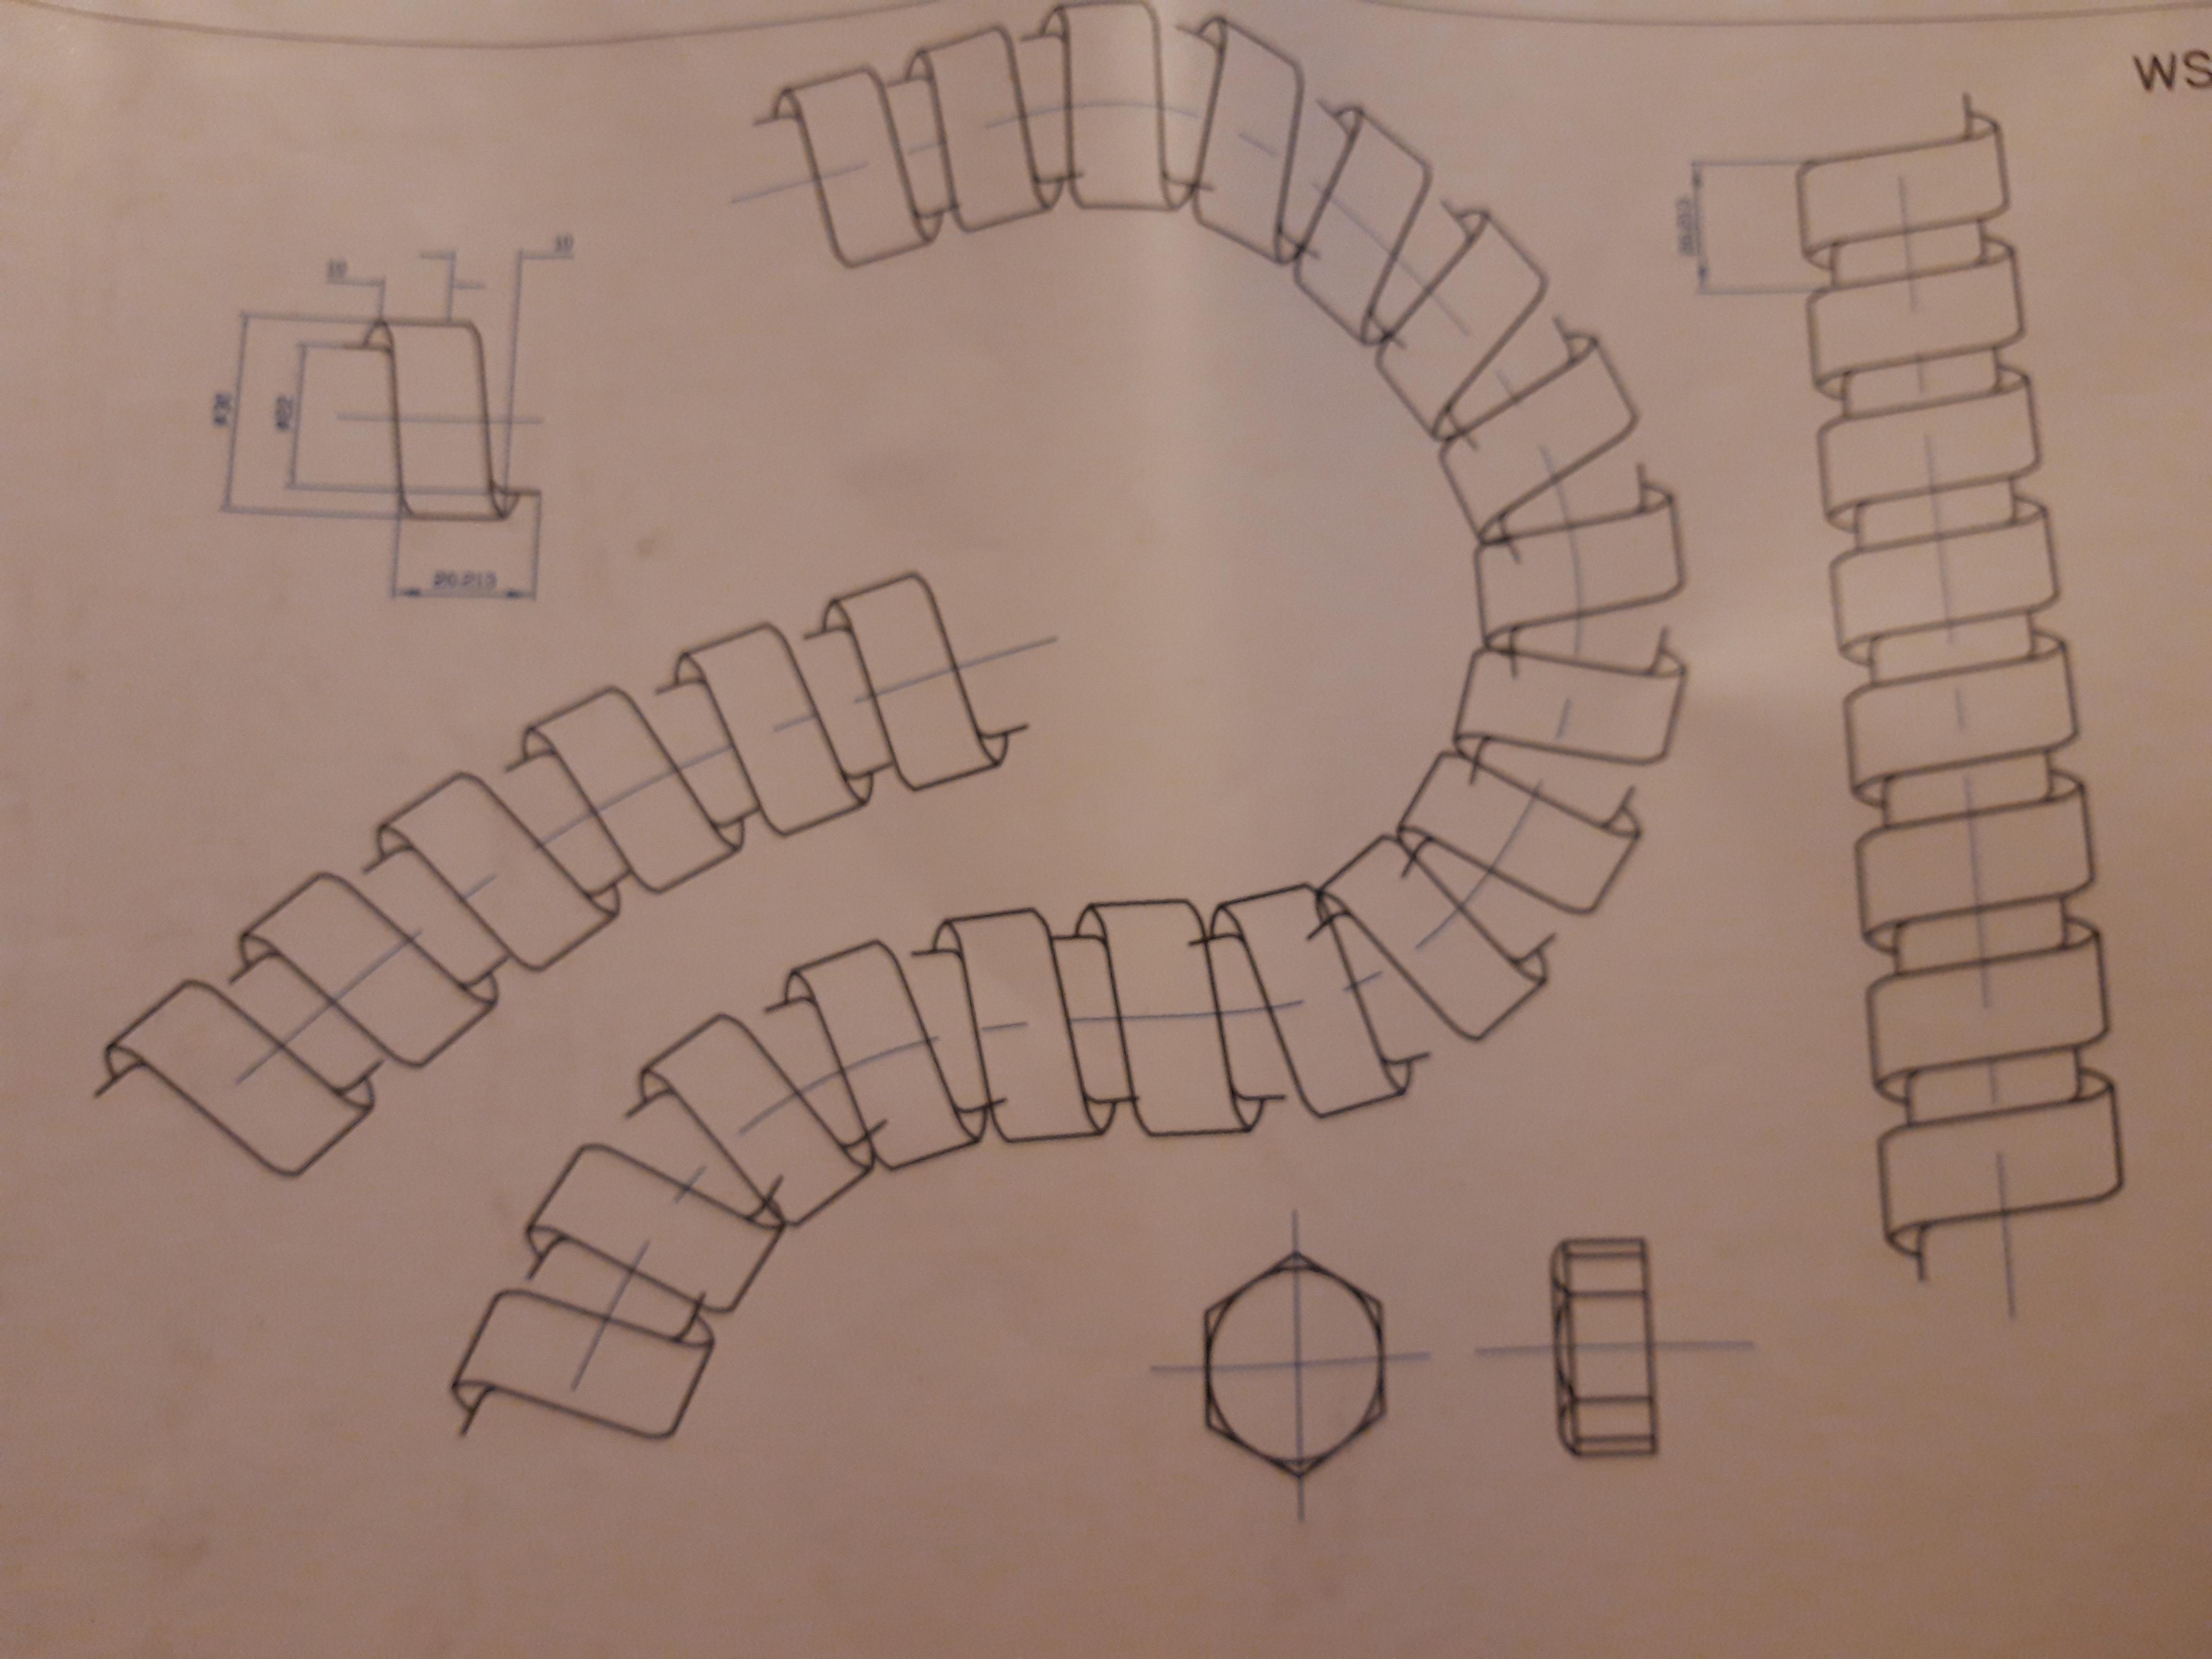
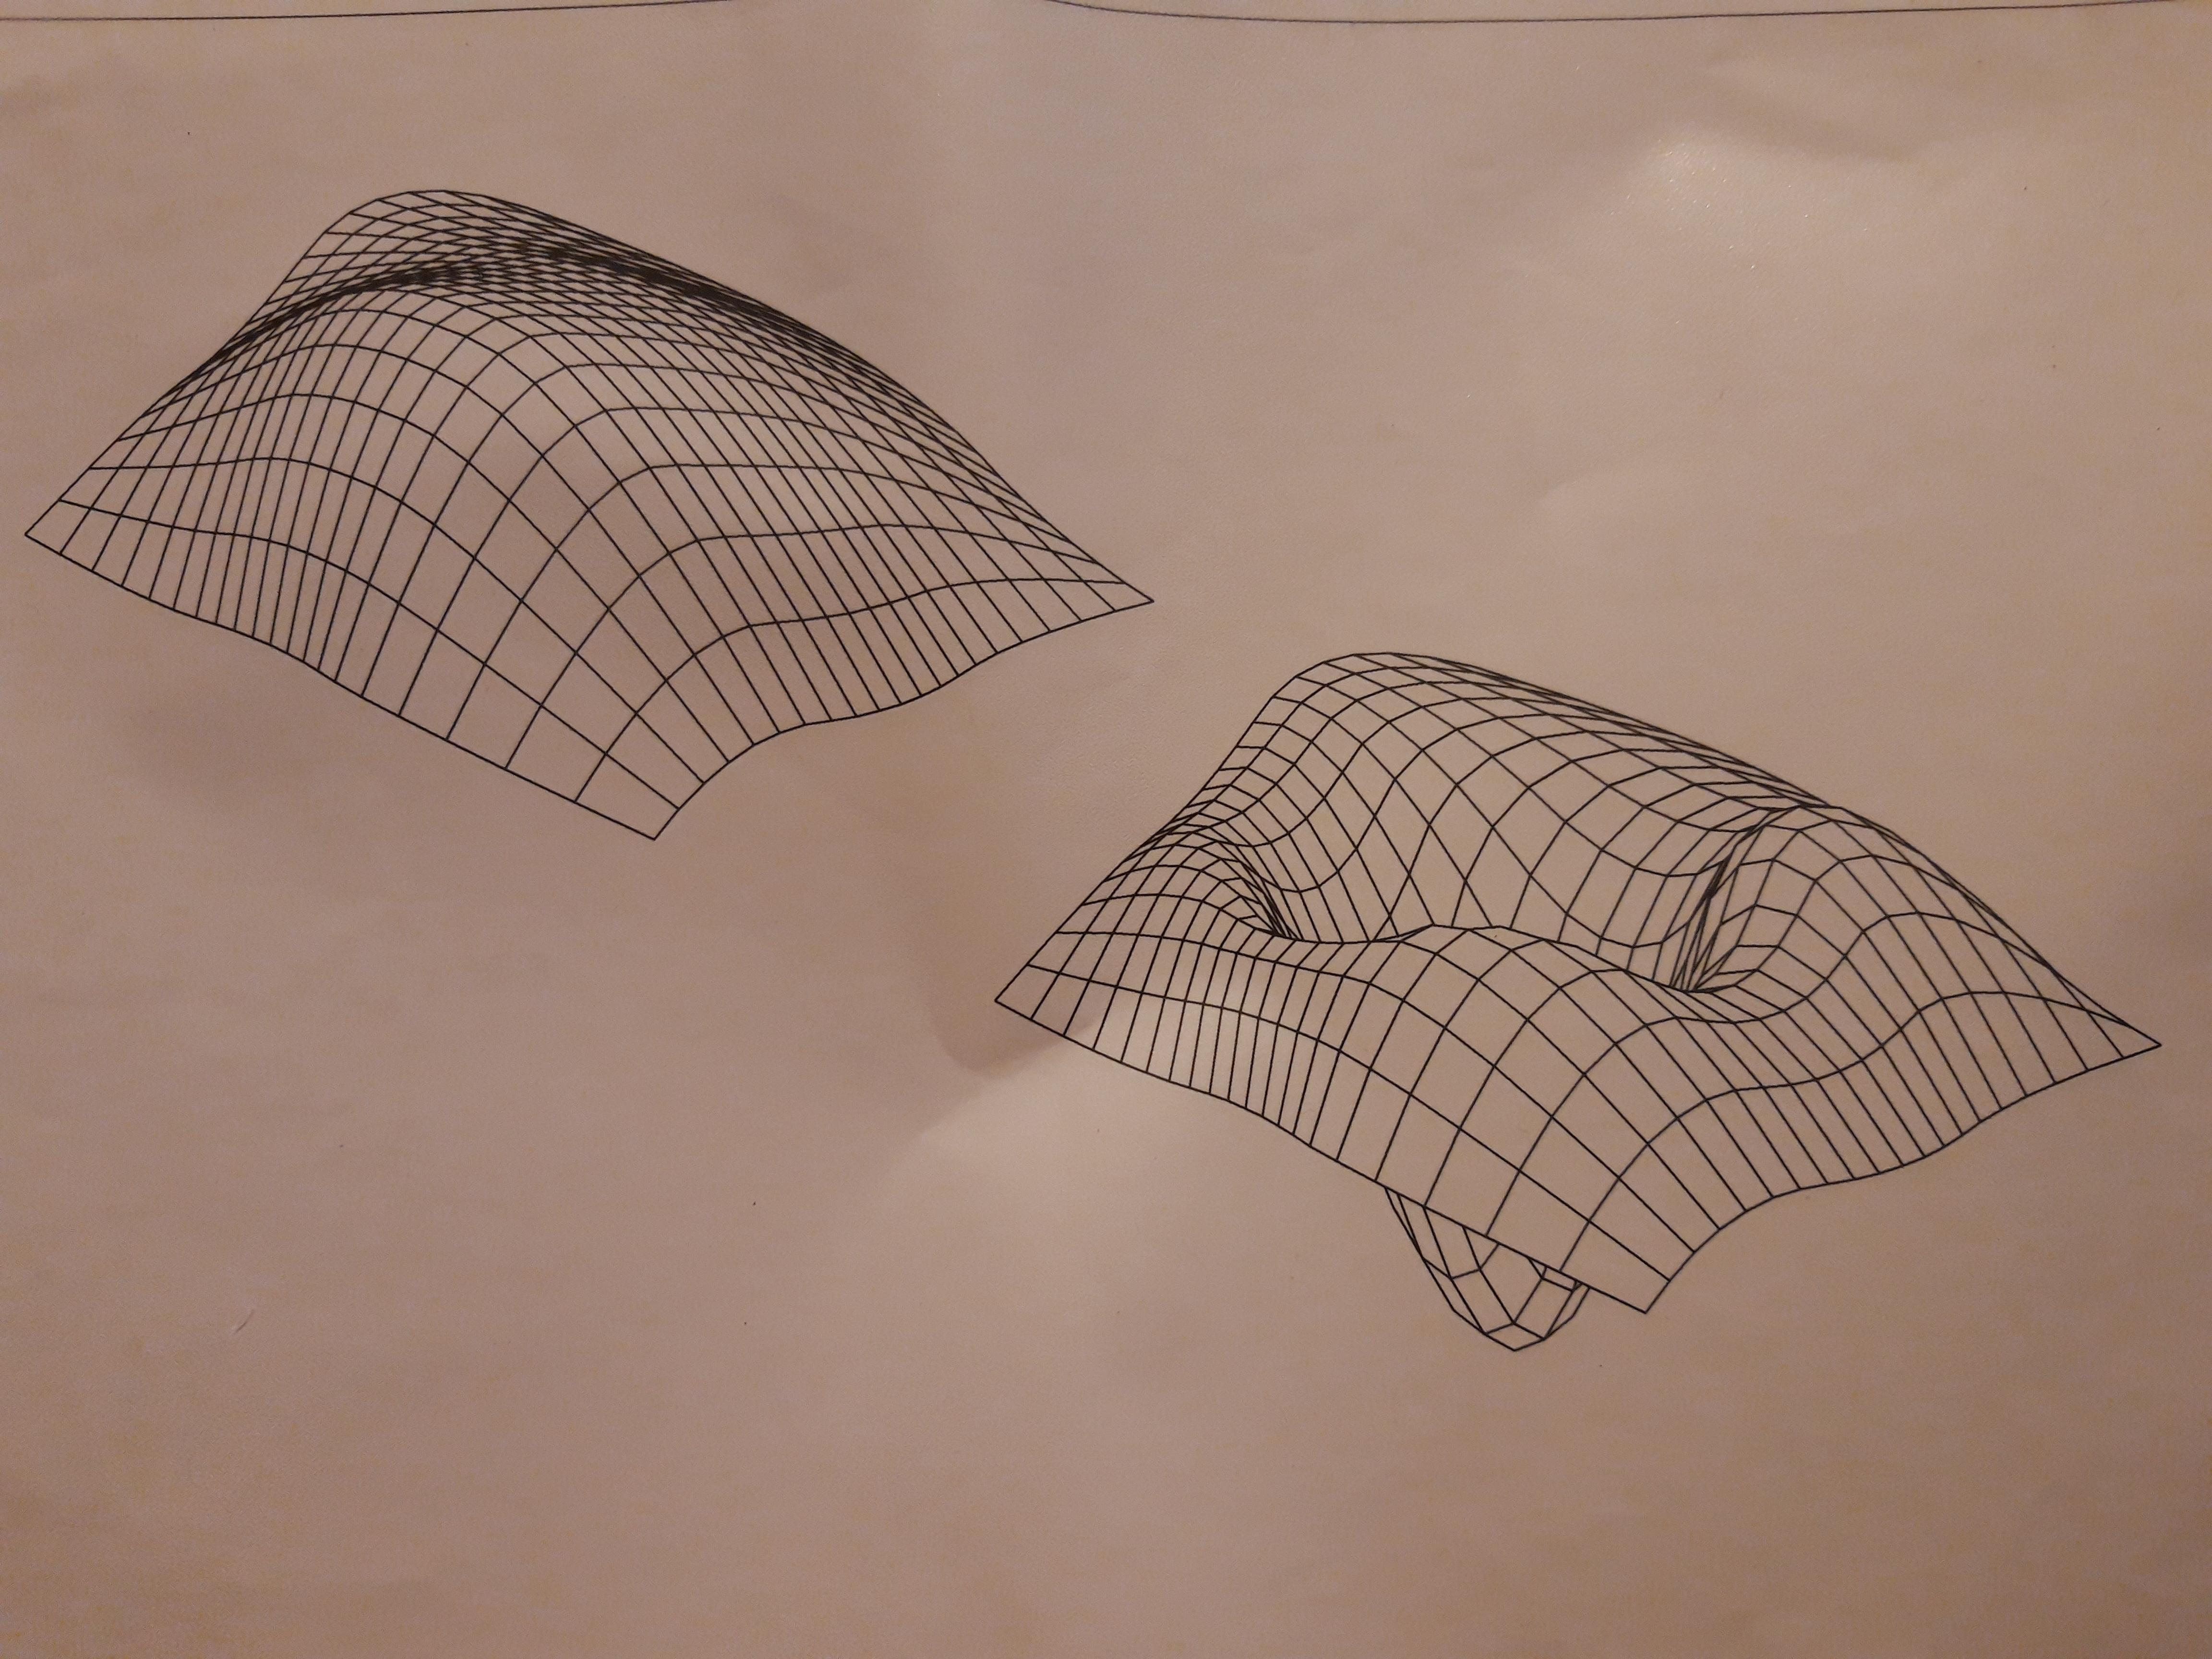
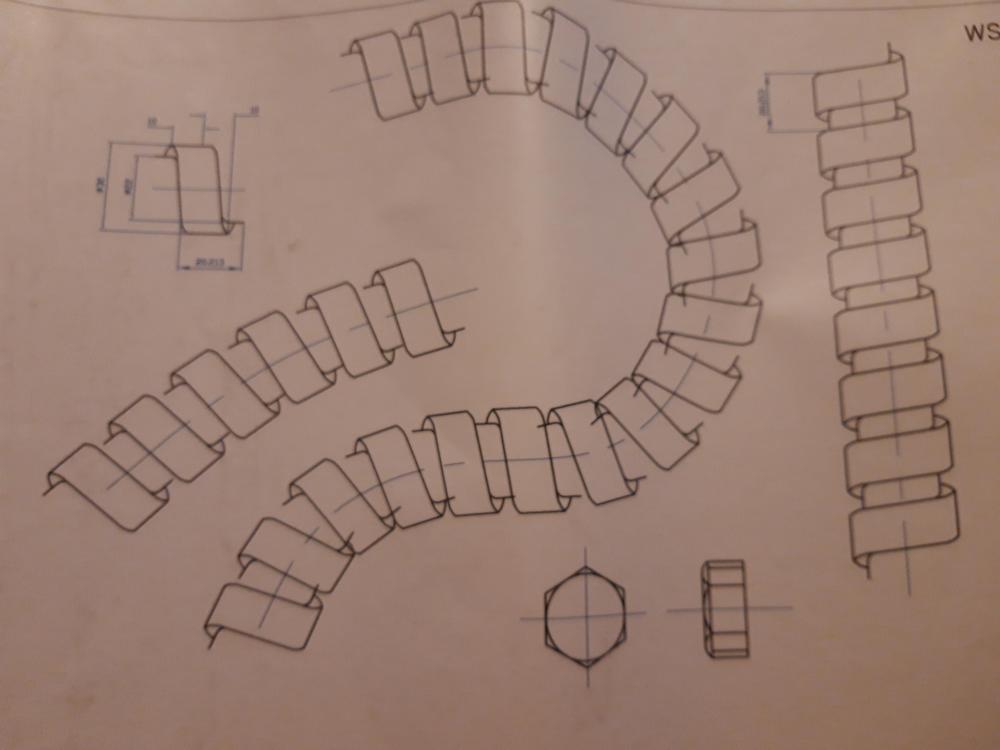
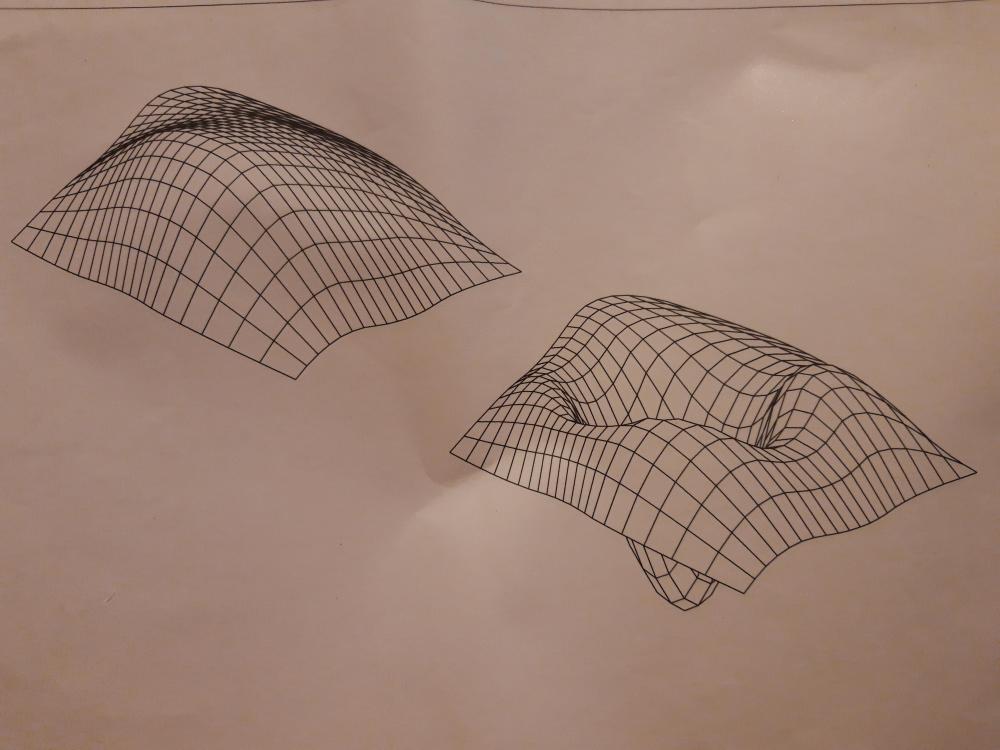
Maybe once! SWMBOs been tidying the loft and found my old CAD portfolio! Surface mesh? Looks like my garden after the badgers have turned it over!
-
Haven't you got a sign downstairs saying No1's only?
-
I haven't got it as yet but have ordered the one @dpmiller linked. It'd be nice to see you again but I'd probably do the cost of a panel off eBay in petrol! If the car makes it...
-
Just the thing. Just been looking at DC to DC converters on ESR Electronics but this fits the bill much better.
-
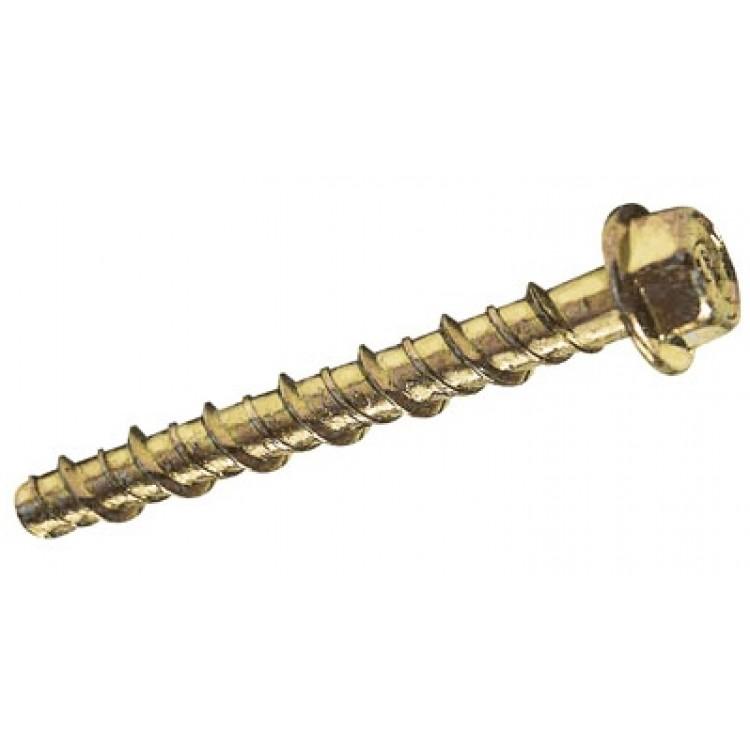
Thunderbolts are a concrete fixing screw like this: You drill a hole then wind this in where it cuts it's own thread. Supposed to produce a stress free fixing that can be used close to the edge of concrete structures. I think you're pro guy suggested resin anchors? These really do produce a stress free fixing. You: - Drill a hole - Blow out the dust - Pump in resin, a bit like 2 pack epoxy glue but grittier (goes in a standard mastic gun) - Push in a threaded stud - Let it set - Bolt down your bracket
-
Bath Surround / Boxing In, and concealed pipework
Onoff replied to Onoff's topic in Bathrooms, Ensuites & Wetrooms
I need a mirror, 700mm wide by Xmm high. Suitable to attach a demister pad to the back. Anything to consider/avoid? Cheers -
This side walkway is a bit of a late entry isn't it? Think everyone here was assuming you entered from the rear of the cabin at the top of the slope then walked straight through, out another door overlooking the stream where the balcony was.
-
+1. I thought that was his plan until this latest round of make it difficult.
-
Thanks for the offer.....wouldn't be any good though would it to run the 12V pump direct?
-
Extraction is constant if connected to your MVHR. Even with mine (no MVHR), pan extraction starts as soon as the main extract fan starts, then carries on whilst you're "sitting", flushing and for 15 mins from the moment you start the fan. It's constant if the room humidity is above 65%. Get your bco to come sniff mine, with and without the pan fan going!
-
Can you do a plan?
-
No the panel inlet & outlet (same heights) were well above the tub water level.
-
That looks like it'll do the job! What 12V panel do you use as in wattage? Cheers
-
Anyone know where I can get a solar powered in-line pump with a small pv panel? All the ones I'm looking at seem to be submersible types?
-
Ta. My small, home made one worked an absolute treat by thermosyphoning a couple of years back. Cold in bottom left, out top right. It DIDN'T initially work in the pic below trying to suck up from the washing up bowl: It DID work as a closed loop below. You can just see the panel bottom right. Cold out from the original tap now on the "bottom" of the tank (by the brick pillar) to the bottom left of the panel: To say it worked is a bit of an understatement tbh and that's about 50degC above ambient in the UK: Meant to scale it up but got bored...
-
As can birds and bees/wasps. Lent my mate my foam gun to do gaps around his windows and he did some holes in the outer block wall too. Birds pecked it out to get in and bees/wasps too. Maybe previous/existing nests in the cavity they wanted to get to?