Onoff
-
Posts
21157 -
Joined
-
Last visited
-
Days Won
206
Everything posted by Onoff
-
If it's not stainless it'll rust. M8 stud 10mm masonry bit M10 stud 12mm masonry bit Stop whinging.
-
It used to be specialist stuff with a special applicator gun but now you can get it in tubes that fit in a standard mastic gun. https://www.screwfix.com/p/fischer-fis-vl-300-t-vinylester-resin-300ml/3613x#product_additional_details_container You drill your hole then puff out the debris (with a puffer). Half fill the hole with resin and push your stud in with a little twist. Wipe any excess off (bit of wood) if it oozes out of the hole. To protect the end of the stud from getting resin on you can wrap insulating tape around. Note though that the resin is a 2 part system contained within the tube. Only when it gets pushed up the special nozzle does it get mixed by a plastic screw. If you leave in the nozzle it will set rock solid. So you drill all your holes first and have your studs ready to go. You fill a hole, put a stud in, fill the next hole and put the stud in. Keep going until done. Unscrew the nozzle, its going to set inside and be useless. Screw the resin cap on if any left. Next time you go to use you need a new nozzle. Though you aim to keep yhd studs vertical as you put them in, if a bit pi$$ed, just wind two nuts on and tap into line with a hammer.
-
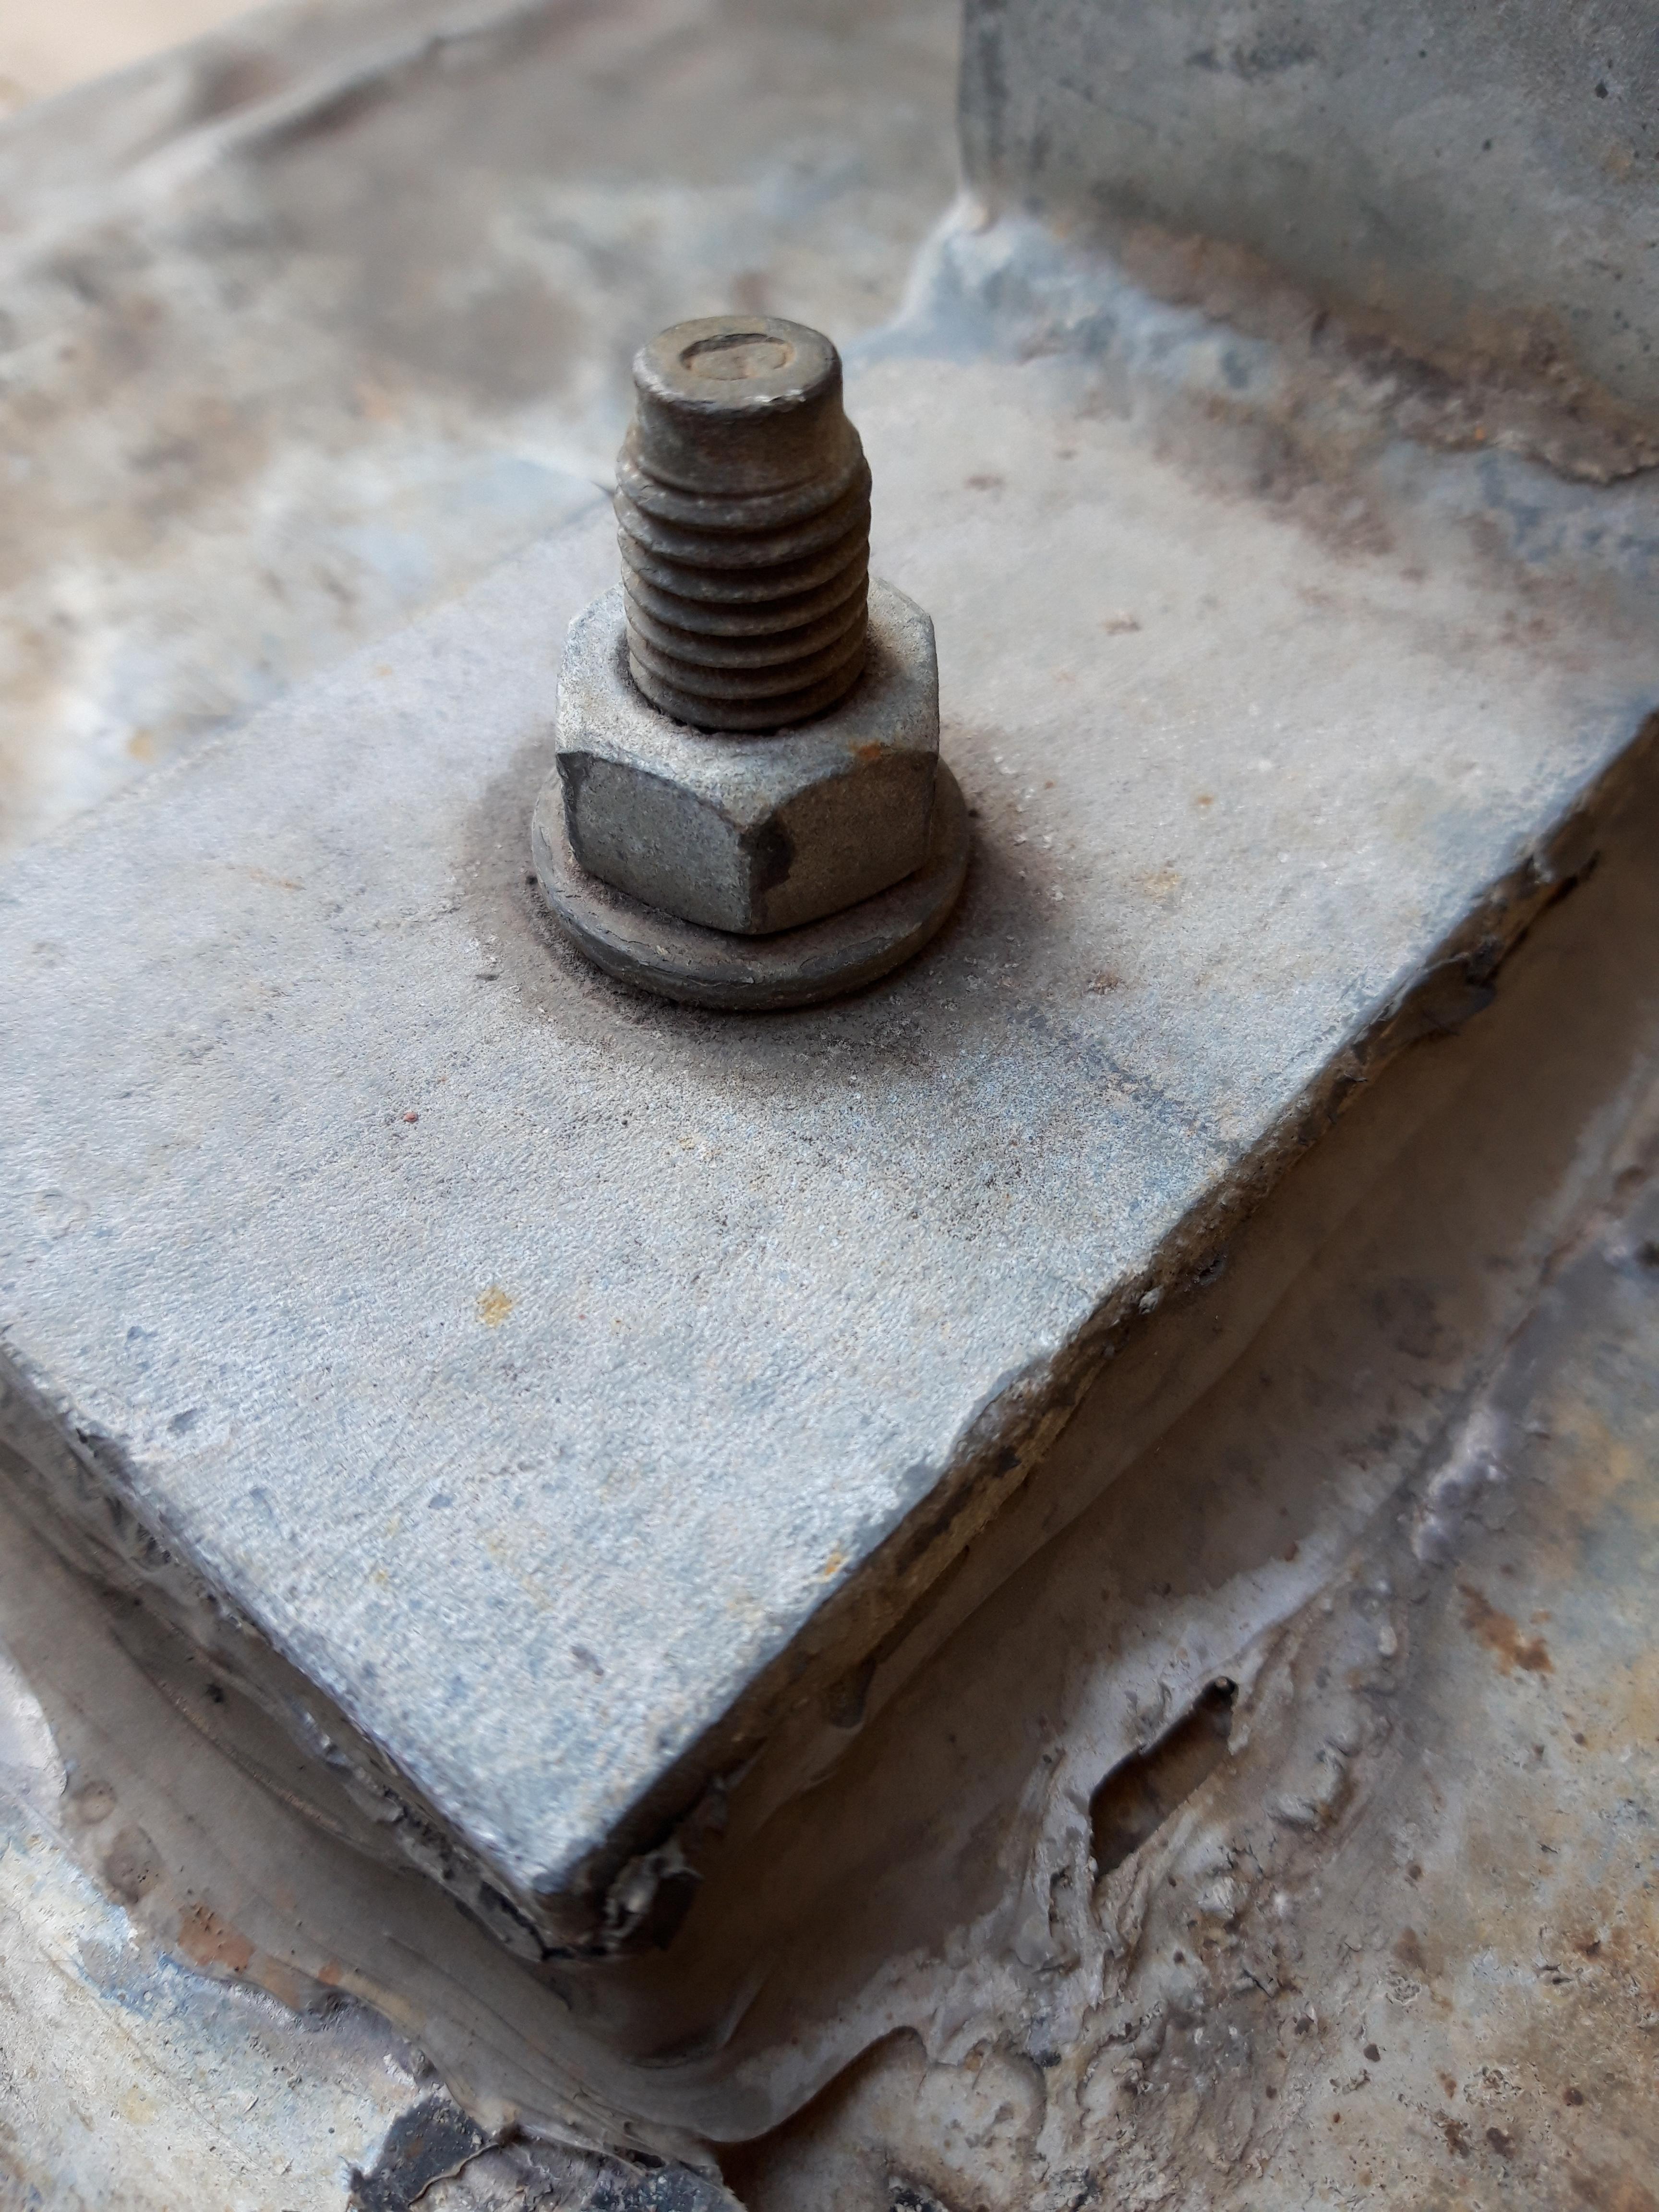
If you look at the pic of the galvanised Taurus shoe there's a hole drilled thru one face. I'd project the hole centre line around with a square and Sharpie pen. Drill thru the shoe and the wood so you've a through hole. Whack a bit of grease or zinc spray around the drilled hole in the shoe and fit a cross bolt/stud. Might be worth getting the shoes first as you might be able to get M10 studding in there. Stainless steel stud is easy enough to cut with a decent full size hacksaw + decent blade. Best is 115mm grinder and 1mm slitting disc. Finish off with a file or flap disc in the grinder.
-
How does the shoe prevent use of a spanner? It'd be slow, better to use a socket on a ratchet. If using stainless studding, stainless washers and stainless nuts they won't rust, you cut the studding off low and use a spanner or ratchet. Something like this:
-
The 15mm copper to 16mm pex al pex elbows I've used: My diy UFH loop test kit. Mains onto the short bit of copper. Let it run up to 3bar and bleed into a bucket via the clear tube. You're welcome to borrow it. Runs off mains pressure.
-
Bugger! So you actually had ALL bits I needed! Would have been worth the trip. No doubt SWMBO and the youngest would have insisted on another trip to Wingham!
-
Those little off cuts on the back look s**t. ?
-

Dealing with the DPM on the outside of timber frame on passive slab
Onoff replied to MikeSharp01's topic in Timber Frame
Sorry, read it as 140mm (small screen, bad eyes ? ). -
Dealing with the DPM on the outside of timber frame on passive slab
Onoff replied to MikeSharp01's topic in Timber Frame
Just out of interest, that 316 st/st trim...does it not form a cold bridge where it tucks up on the warm side of the 140mm insulation? Could that affect the bottom edge of the 15mm OSB? -
The ad for those brackets I linked says: "4 x 8mmx75mm Multi Fix Thunder Bolts" You could likely use this cut to size: https://www.toolstation.com/stainless-steel-threaded-bar/p45452
-
Tbh I'd use stainless steel studs and resin instead of Thunderbolts.
-
Last grid switch I had collapse on me was Varilight.
-
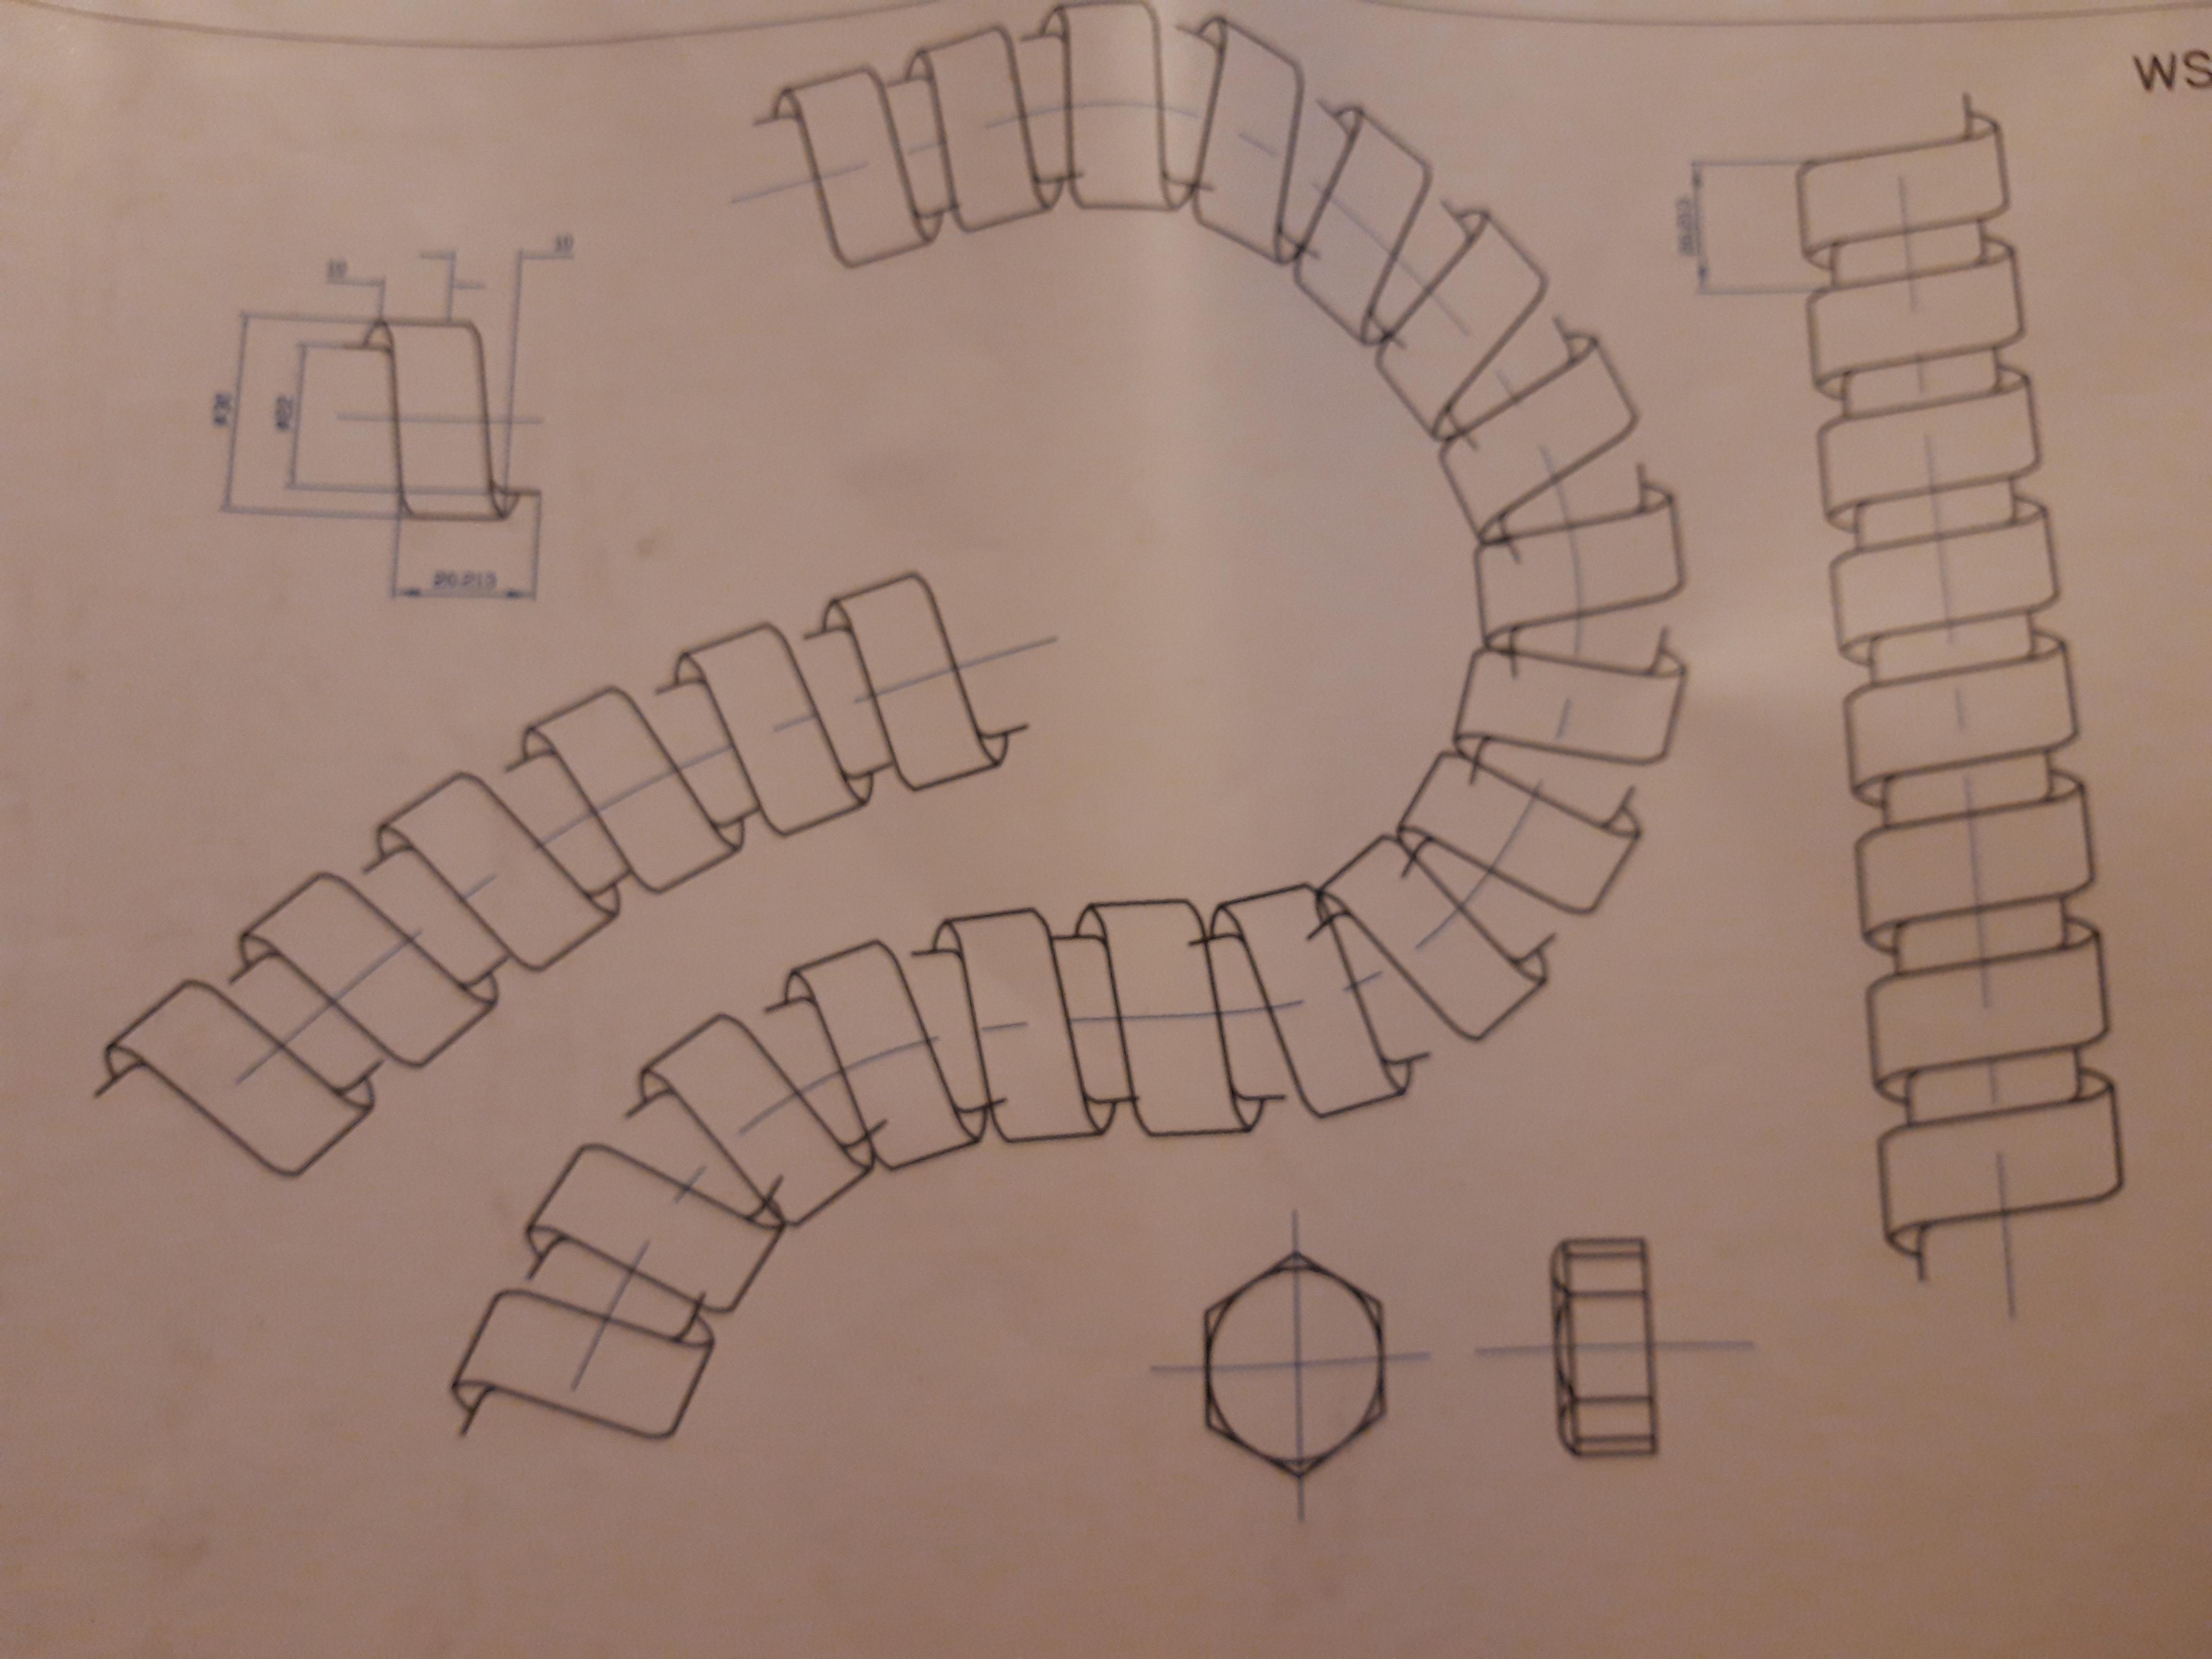
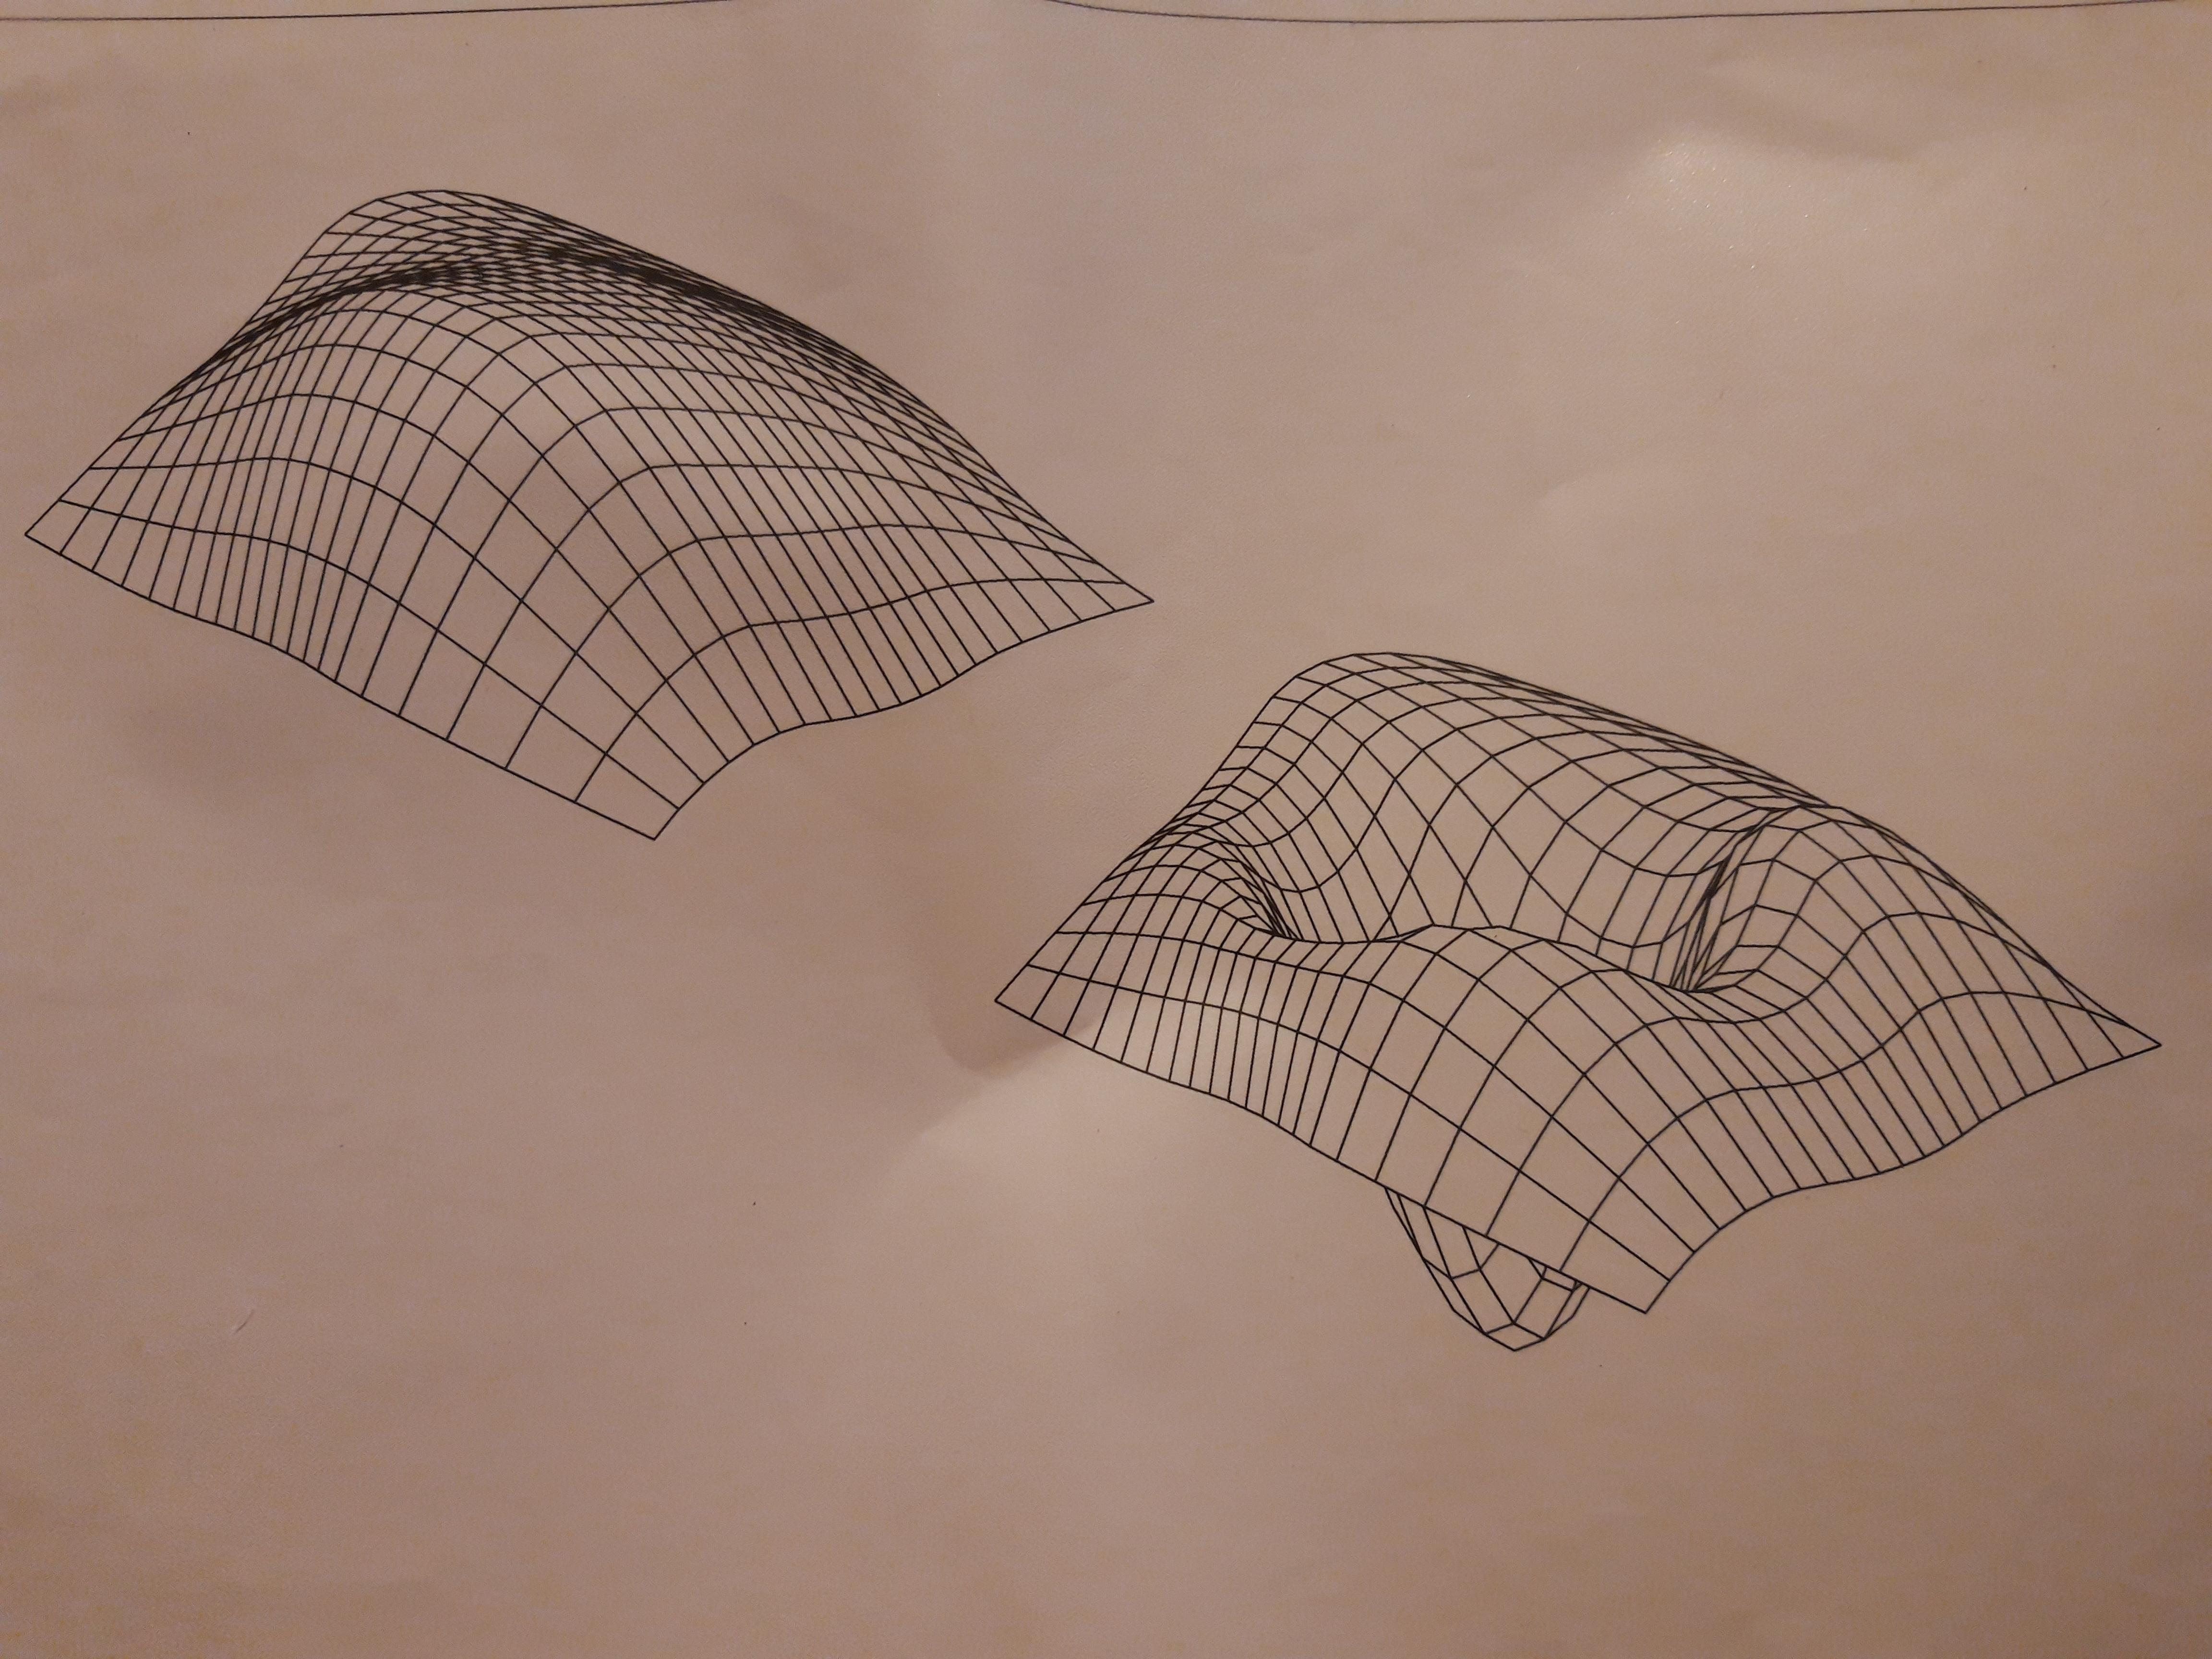
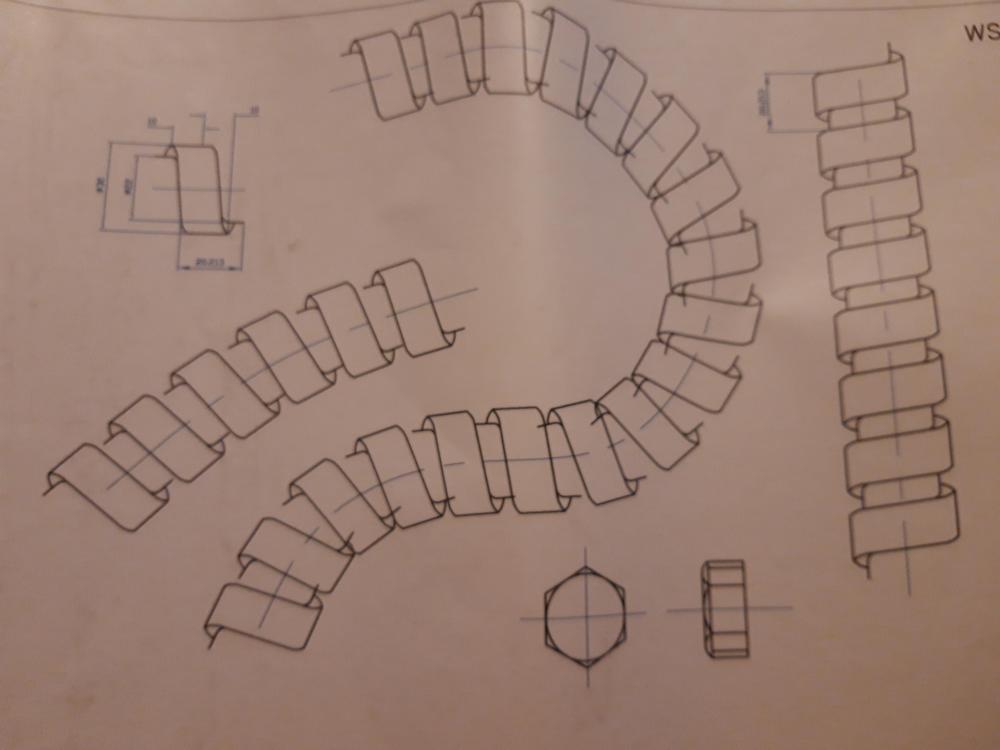
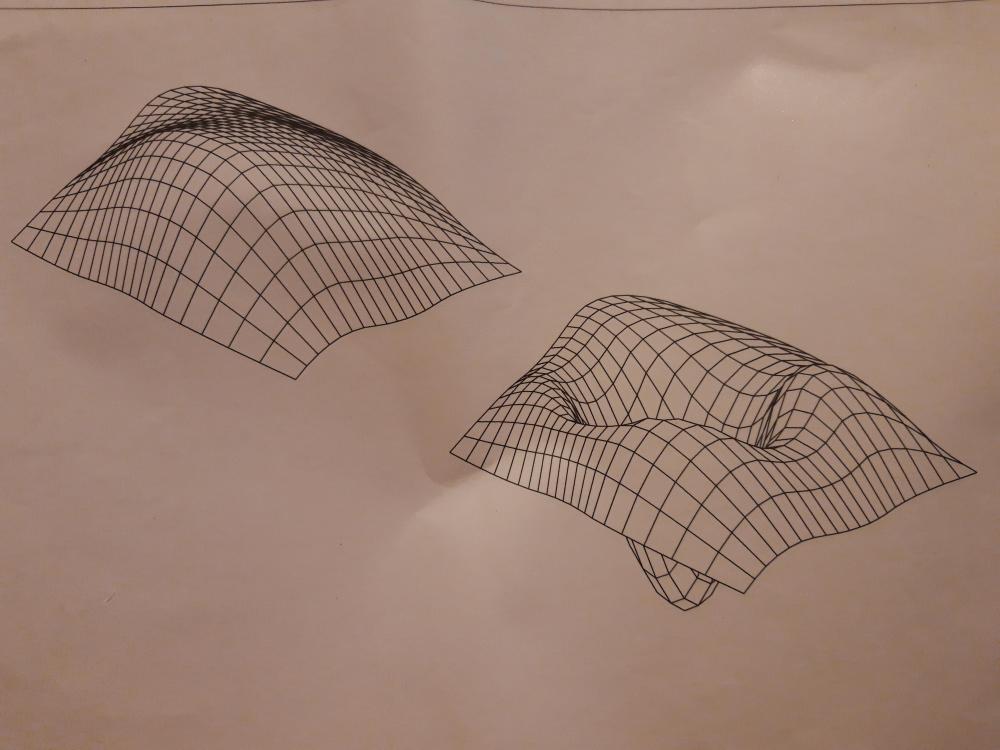
Maybe once! SWMBOs been tidying the loft and found my old CAD portfolio! Surface mesh? Looks like my garden after the badgers have turned it over!
-
Haven't you got a sign downstairs saying No1's only?
-
I haven't got it as yet but have ordered the one @dpmiller linked. It'd be nice to see you again but I'd probably do the cost of a panel off eBay in petrol! If the car makes it...
-
Just the thing. Just been looking at DC to DC converters on ESR Electronics but this fits the bill much better.
-
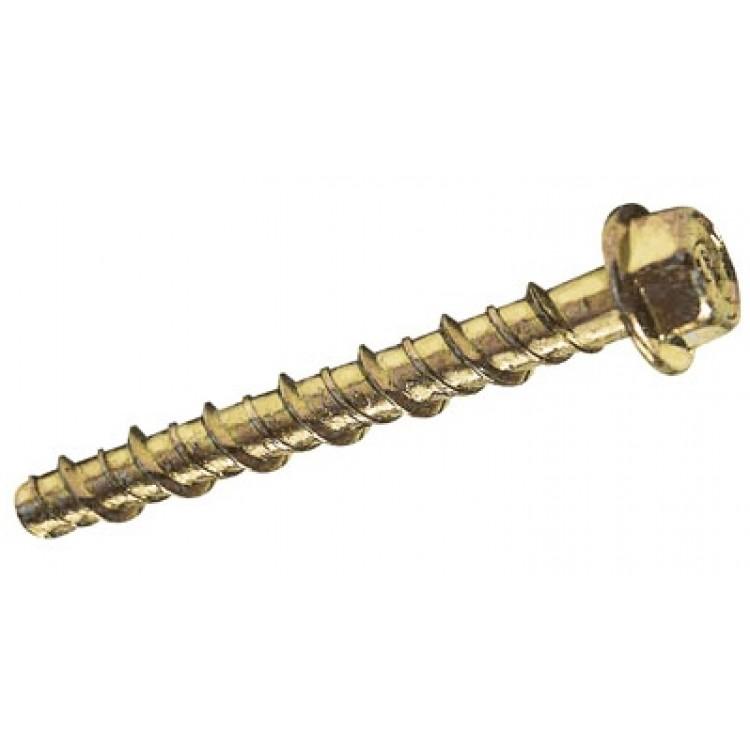
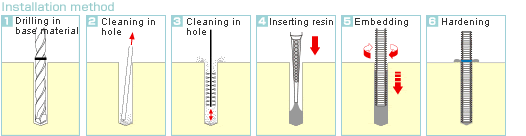
Thunderbolts are a concrete fixing screw like this: You drill a hole then wind this in where it cuts it's own thread. Supposed to produce a stress free fixing that can be used close to the edge of concrete structures. I think you're pro guy suggested resin anchors? These really do produce a stress free fixing. You: - Drill a hole - Blow out the dust - Pump in resin, a bit like 2 pack epoxy glue but grittier (goes in a standard mastic gun) - Push in a threaded stud - Let it set - Bolt down your bracket
-
Bath Surround / Boxing In, and concealed pipework
Onoff replied to Onoff's topic in Bathrooms, Ensuites & Wetrooms
I need a mirror, 700mm wide by Xmm high. Suitable to attach a demister pad to the back. Anything to consider/avoid? Cheers -
This side walkway is a bit of a late entry isn't it? Think everyone here was assuming you entered from the rear of the cabin at the top of the slope then walked straight through, out another door overlooking the stream where the balcony was.
-
+1. I thought that was his plan until this latest round of make it difficult.
-
Thanks for the offer.....wouldn't be any good though would it to run the 12V pump direct?
-
Extraction is constant if connected to your MVHR. Even with mine (no MVHR), pan extraction starts as soon as the main extract fan starts, then carries on whilst you're "sitting", flushing and for 15 mins from the moment you start the fan. It's constant if the room humidity is above 65%. Get your bco to come sniff mine, with and without the pan fan going!
-
Can you do a plan?
-
No the panel inlet & outlet (same heights) were well above the tub water level.
-
That looks like it'll do the job! What 12V panel do you use as in wattage? Cheers