Onoff
-
Posts
21125 -
Joined
-
Last visited
-
Days Won
206
Everything posted by Onoff
-
Floor to ceiling still, unless that looks crap.
-
I've decided to mitre the corner to soften the look. That whole side will be on hinges like one big door.
-
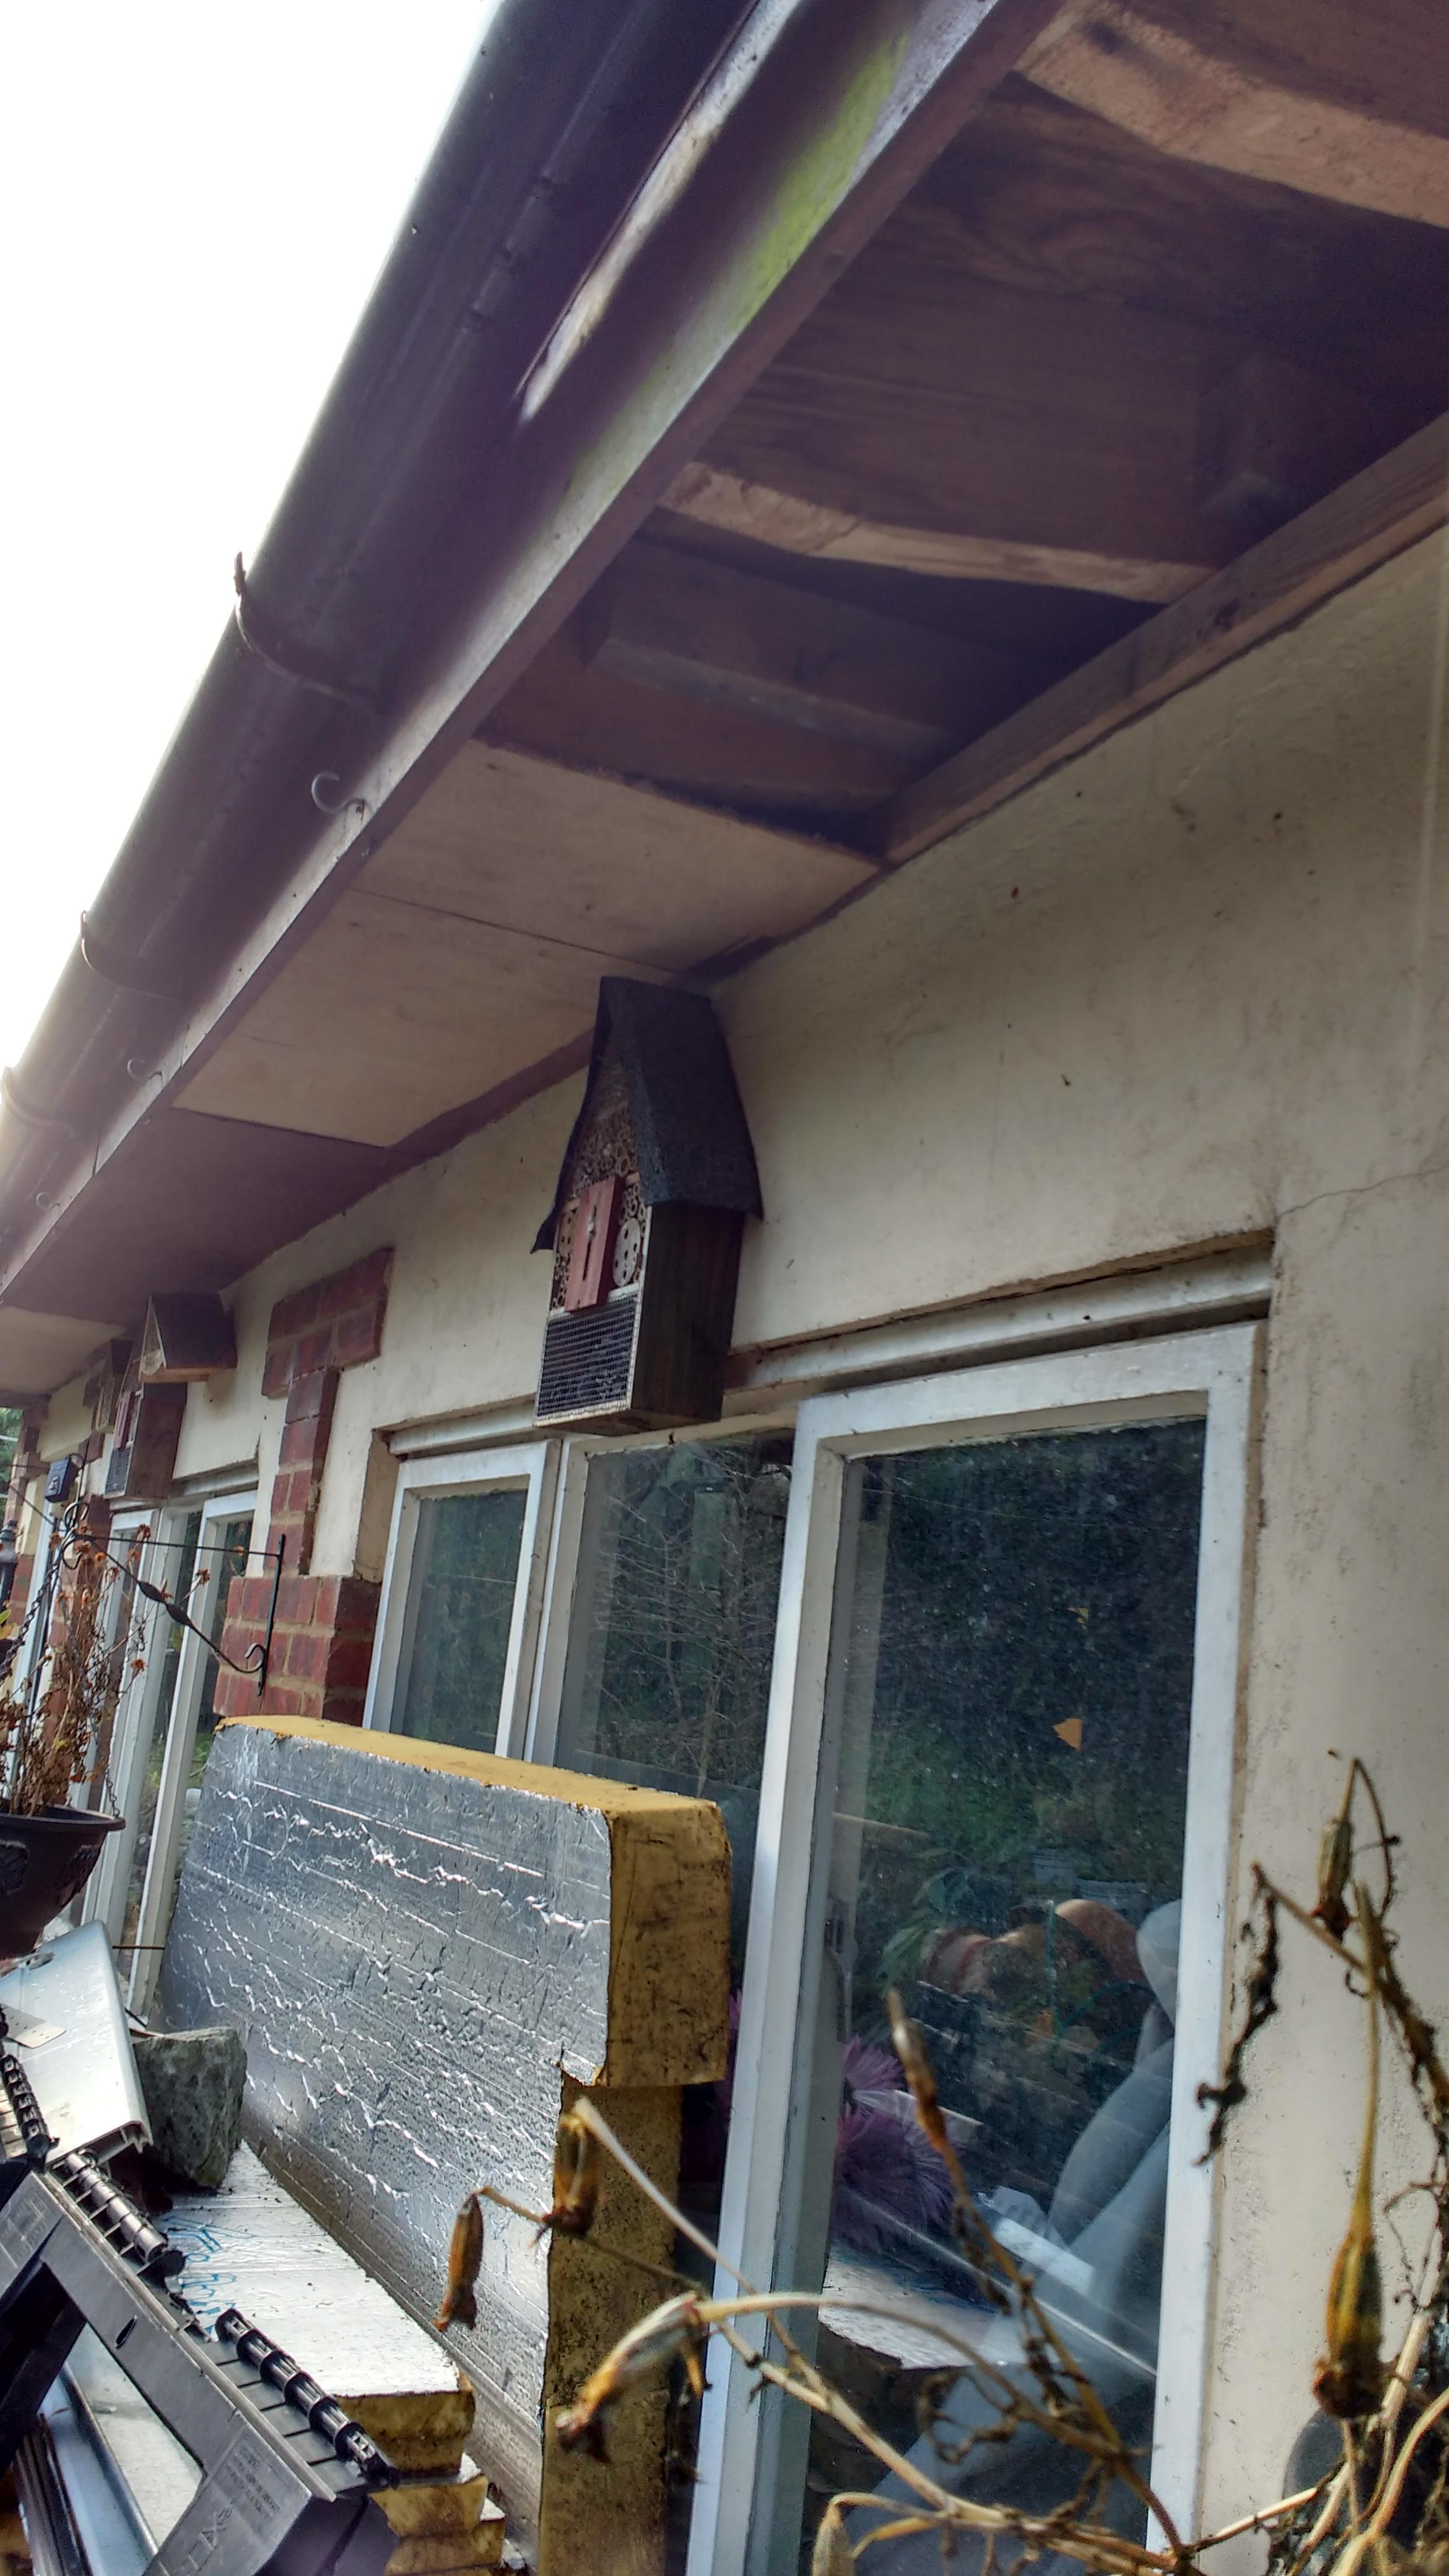
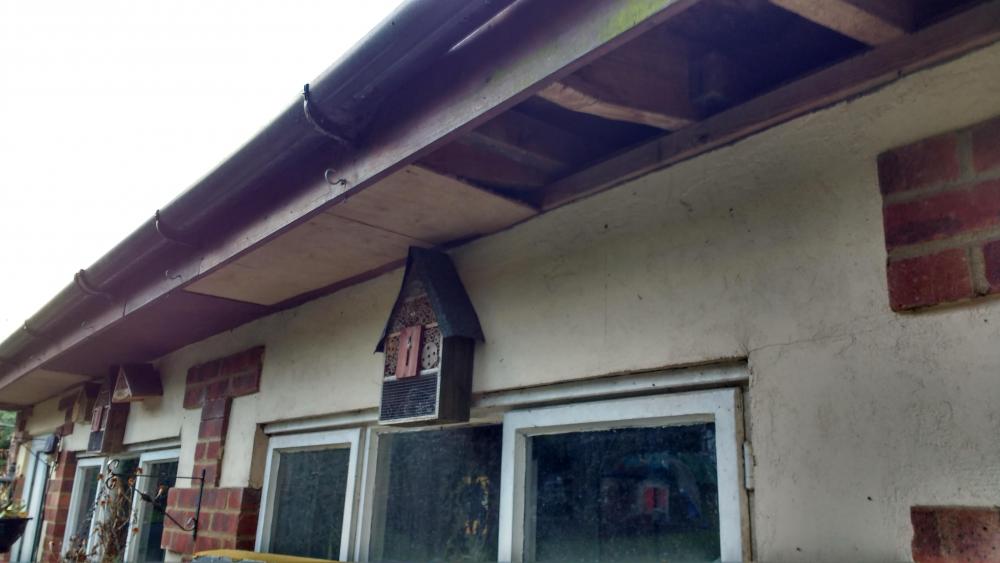
What's the ideal overhang distance for a soffit like this? Shallow, tiled roof above. Thinking to redo in uPVC. If it's say 300mm I'll trim all the roof joist ends down. They're a bit in and out anyway.

-
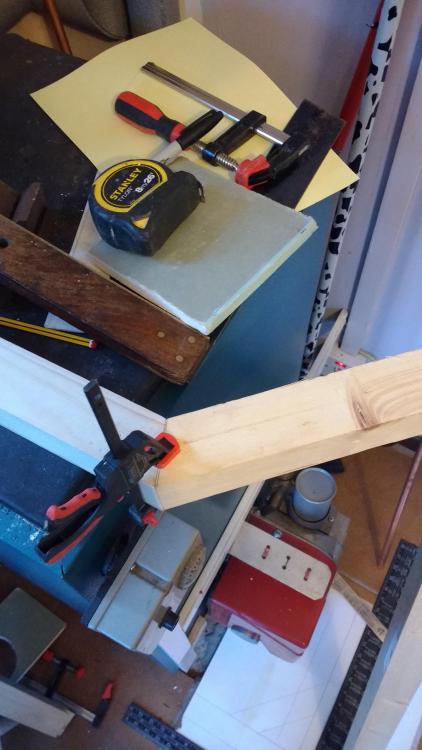
In can't be ar$ed, on a downer, no mojo mood. Made one cut on the saw then put it away. Bored with it now. Can't decide how best to make this angle joint super solid. Probably a lap joint/biscuit/screw/gorilla glue. Tomorrow or the next day...
-
Coming along: (You haven't been here long have you? ?)
-

Electric towel rails
Onoff replied to Russell griffiths's topic in General Self Build & DIY Discussion
I thought you were on about converting an existing "water" one. I know you can get oil filled, ready to go ones and indeed buy thermal oil. -
Electric towel rails
Onoff replied to Russell griffiths's topic in General Self Build & DIY Discussion
Water, inhibitor and leave some room for expansion isn't it? -
Does it get all types of stains off?
-
It must be Christmas! I accepted Banggood's offer of a 25% refund as one of the four solar lanterns doesn't work. I wake up this morning to find a message that they're refunding the whole £22.36 I paid for all four. The cynic in me says the lights probably cost less than a Pound each to make anyway and it's a cunning ploy for some free advertising!
-
South Wales double extension and full gut
Onoff replied to Gareththesparky's topic in Introduce Yourself
Something like this random off the web? I wonder if the slightly setback detail would be a planning requirement.
-
South Wales double extension and full gut
Onoff replied to Gareththesparky's topic in Introduce Yourself
And...FFS make sure the floor levels old/new, are going to match up when building up the new extension floor. A member on here had murders recently where the builder had taken only some cursory checks and it was WAY out when they knocked through. -
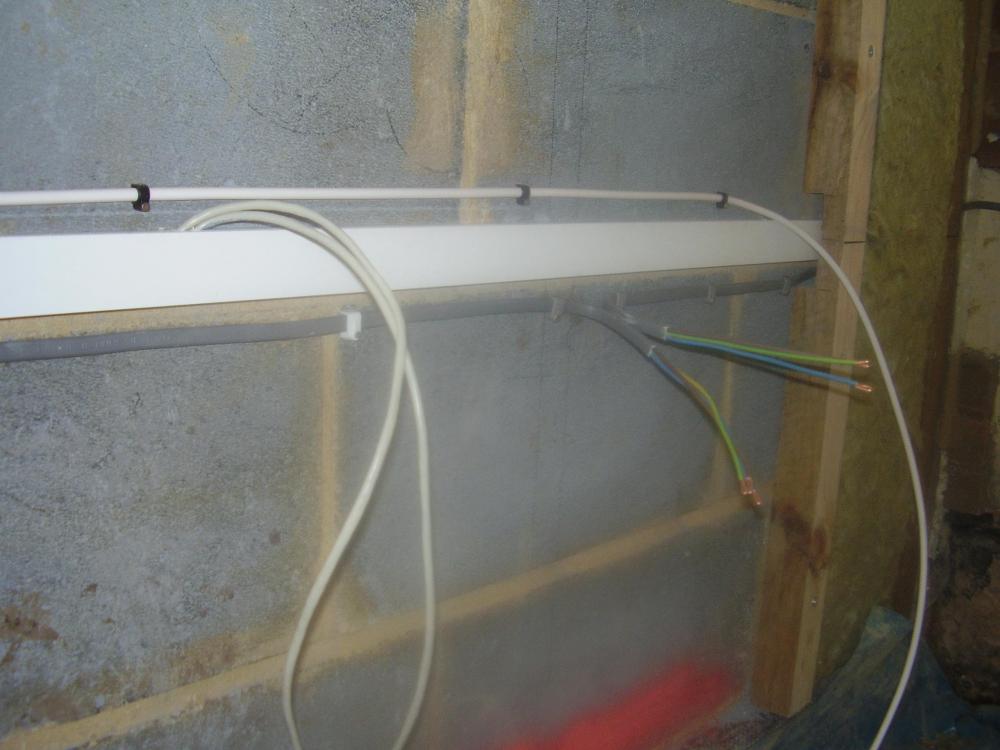
Insulation in studs and insulated plasterboard
Onoff replied to revelation's topic in Heat Insulation
I've run cables horizontally like this since, well forever. Last time was though without the wisdom since learnt on here (& eBuild before) ref air tightness etc. Next time I'll do it all different!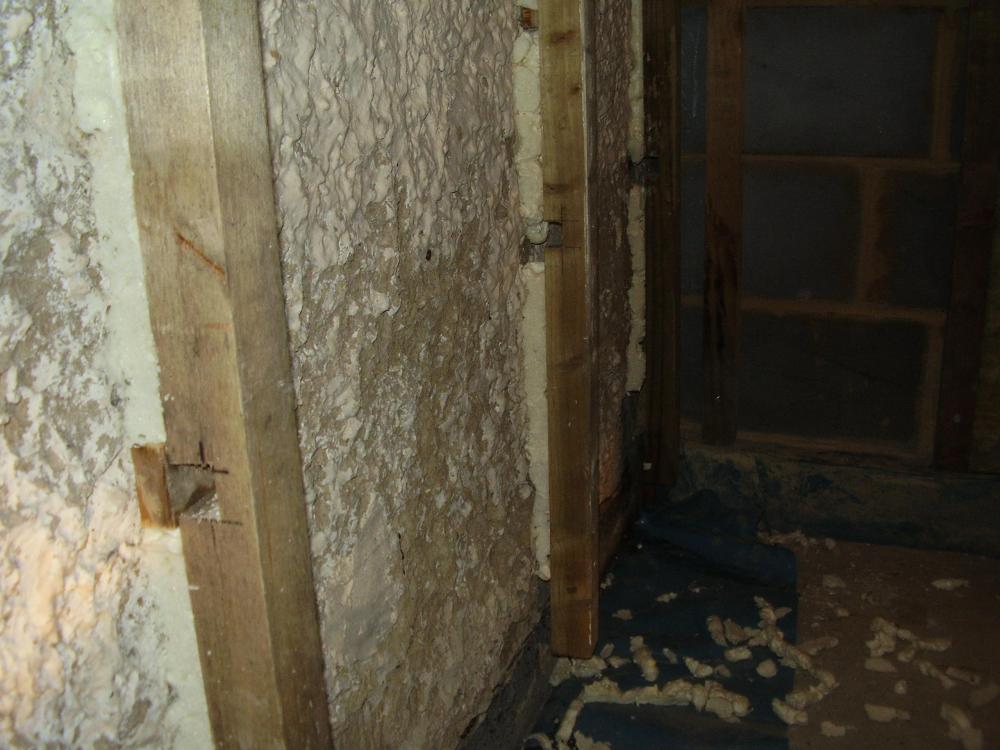
-
South Wales double extension and full gut
Onoff replied to Gareththesparky's topic in Introduce Yourself
Hoping for a straight edge are you? -
South Wales double extension and full gut
Onoff replied to Gareththesparky's topic in Introduce Yourself
One of our members here (English but living in Wales), has just completed an extension on the side of his place like this but that had gable ends before & after. Planning I believe forced him to have the extension ridge line lower rather than continuing the original. You want to avoid that if you can. -
Insulation in studs and insulated plasterboard
Onoff replied to revelation's topic in Heat Insulation
So depending on the plasterboard thickness used, 12.5 / 15 you end up with nom. 37.5 to 40mm from face of new plasterboard to foil face of new PIR in between the joists (plus skim coat if used). You of course lose that 37.5 to 40mm off the room height/width. Plenty for 35mm deep back boxes. Ditto on the ceiling where you can fit low profile LEDs in the same depth cavity. With the sockets, would you take the time to break the vertical battens leaving a well taped gap to allow horizontal wiring between (sockets)? (Planning similar here for the lounge / diner knock through). -
South Wales double extension and full gut
Onoff replied to Gareththesparky's topic in Introduce Yourself
Don't know if you fancy it but a paid for Flickr account is great for storing and sharing unlimited pictures and video. Slick looking but a doddle to use. -
At least if you did dig the floor up the spoil can go straight out the garage door rather than traipsing through the house. Doesn't take too long once you get going. @oranjeboom dug down his whole house in order to properly insulate and build back up with wet UFH.
-
Remember a ratchet is bigger than a mouse turd!
-
Don't over tighten the strap obviously, just nipped up. Make sure you can access the ratchet to release it as you offer it up to the hole and as the ratchet is released that the hooks don't dink the glass!
-
We usually put a ratchet strap round the unit and kombi sucker and take it off at the last minute. The theory being if the vacuum starts to fail and the glass slips, the sucker pads might stop on the frame. Biggest unit I've lifted is 540kg.
-
A pity that striking a deal on walk on glazing isn't so easy.
-
I always giggle when they release the vacuum kombi sucker replacing glass. Someone shouts "Sucker's off!"
-
2020 ends on a high note (surprisingly)
Onoff replied to ProDave's topic in General Self Build & DIY Discussion
I imagine not what you want but there's a number of online sellers offering bespoke, stained glass effect film. If it's Anything like the bomb blast film gets applied at work it's tough stuff. The history of stained glass is fascinating with some real scientific proof that various coloured light combined with gold particles offered healing / sanitising / purifying properties should you "bathe in its light". It's one reason churches have always been seen as places of refuge away from the various threats through the ages. Something to do with energised nano particles killing the germs. The air literally is "cleaner". -
More that Chinese sellers often get a bad rap. I've generally only had positive experiences. Banggood seem alright once you navigate the language barrier.
-