Onoff
-
Posts
21125 -
Joined
-
Last visited
-
Days Won
206
Everything posted by Onoff
-
Wot I said. That Toolstation one I linked makes it "creamy" and "stickier" (though it de-aerates).
-
@SuperJohnG's blog maybe? Pretty sure @LA3222 answered some of John's questions with how he did it previously. Seem to remember he posted up some cracking pics of his super tidy EPS detailing...but I can't find them?
-
Don't know if I'm brave enough to try it!
-
I read it as "chinsaw"... ?
-

I was pleased to find that. Fingers crossed now sorted.
Onoff replied to Big Jimbo's topic in Consumer Units, RCDs, MCBOs
It does highlight the benefit to have an all RCBO cu. Having the "boiler" on it's own circuit would narrow it down very quickly. Even to the point of the person "phoning" can easily convey what circuit is tripping. -
It FINALLY turned up!

-
Well it seems to do its job fine so far. It was someone on here recommended it, @PeterW I think from memory. Mine is the 28mm version.
-
-
Definite hidden meaning there! A comment on your plasterboarding skills I reckon...

-
Almost looks like you know what you're doing! ? Be real careful whacking if you've got the blocks bedded down. It can crack the mortar. Now's a good time to get rid of any off bags of cement, plaster, grout etc along with bits of old crockery, flower pots, glass (if well buried) and that particular ornament of your wife's you secretly hate...
-
It thinks it's a dumpy level
-
You need a mate who works at a water jet cutting place!
-
How to fit F connectors: Do use silicone/dielectric grease. It protects the connections and by dipping the cable ends in, stops moisture getting wicked up inside the cut ends. http://www.satcure.co.uk/tech/fplugs.htm Get yourself a tube of this stuff: https://www.amazon.co.uk/Permatex-22058-Dielectric-Tune-Up-Grease/dp/B000AL8VD2
-
& don't tread on that rake!
-
That's looking good ?
-
What is this spinning bevel edge planer called?
Onoff replied to epsilonGreedy's topic in Tools & Equipment
"Trend is your friend!" Thinking about it that was the slogan for BMS software...I think... -
I'll add it to the list!
-
"If them"? ? I worked as an apprentice with a Greek electrician so picked up, as an innocent, green 16 year old some of his sayings. It was some years later on other sites I used to get questioning looks when I uttered the phrase "F*** my elbows!" The slow realisation that it was in fact "boots". A Russian I work with now is pretty comical when he sings along to that famous Rihanna song "Cameroon Boy"...
-
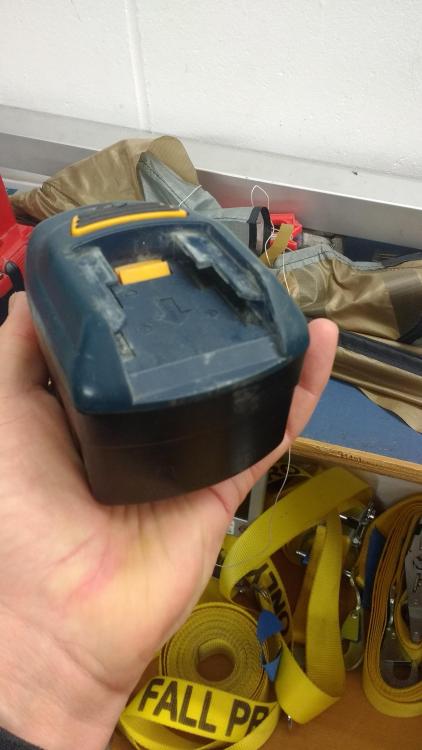
I'm going to CAD up a DeWalt bottom half to 3D print then graft this to the top of the old Ryobi battery as that's got all the battery contacts in.
-
Not with these no:

-
Do some homework here. See what sort of a signal area you're in. I'm in an extreme fringe area so have to have a band specific aerial. https://www.aerialsandtv.com/knowledge/aerialshttps://www.aerialsandtv.com/knowledge/aerials
-
0.98cm. I got one from here and another two from eBay/Gumtree for £100 the pair! They're Geberit Kappa UP200. https://www.pcsclearance.co.uk/geberit-duofix-wc-frame-with-up200-concealed-cistern---model-111292001-562-p.asp
-
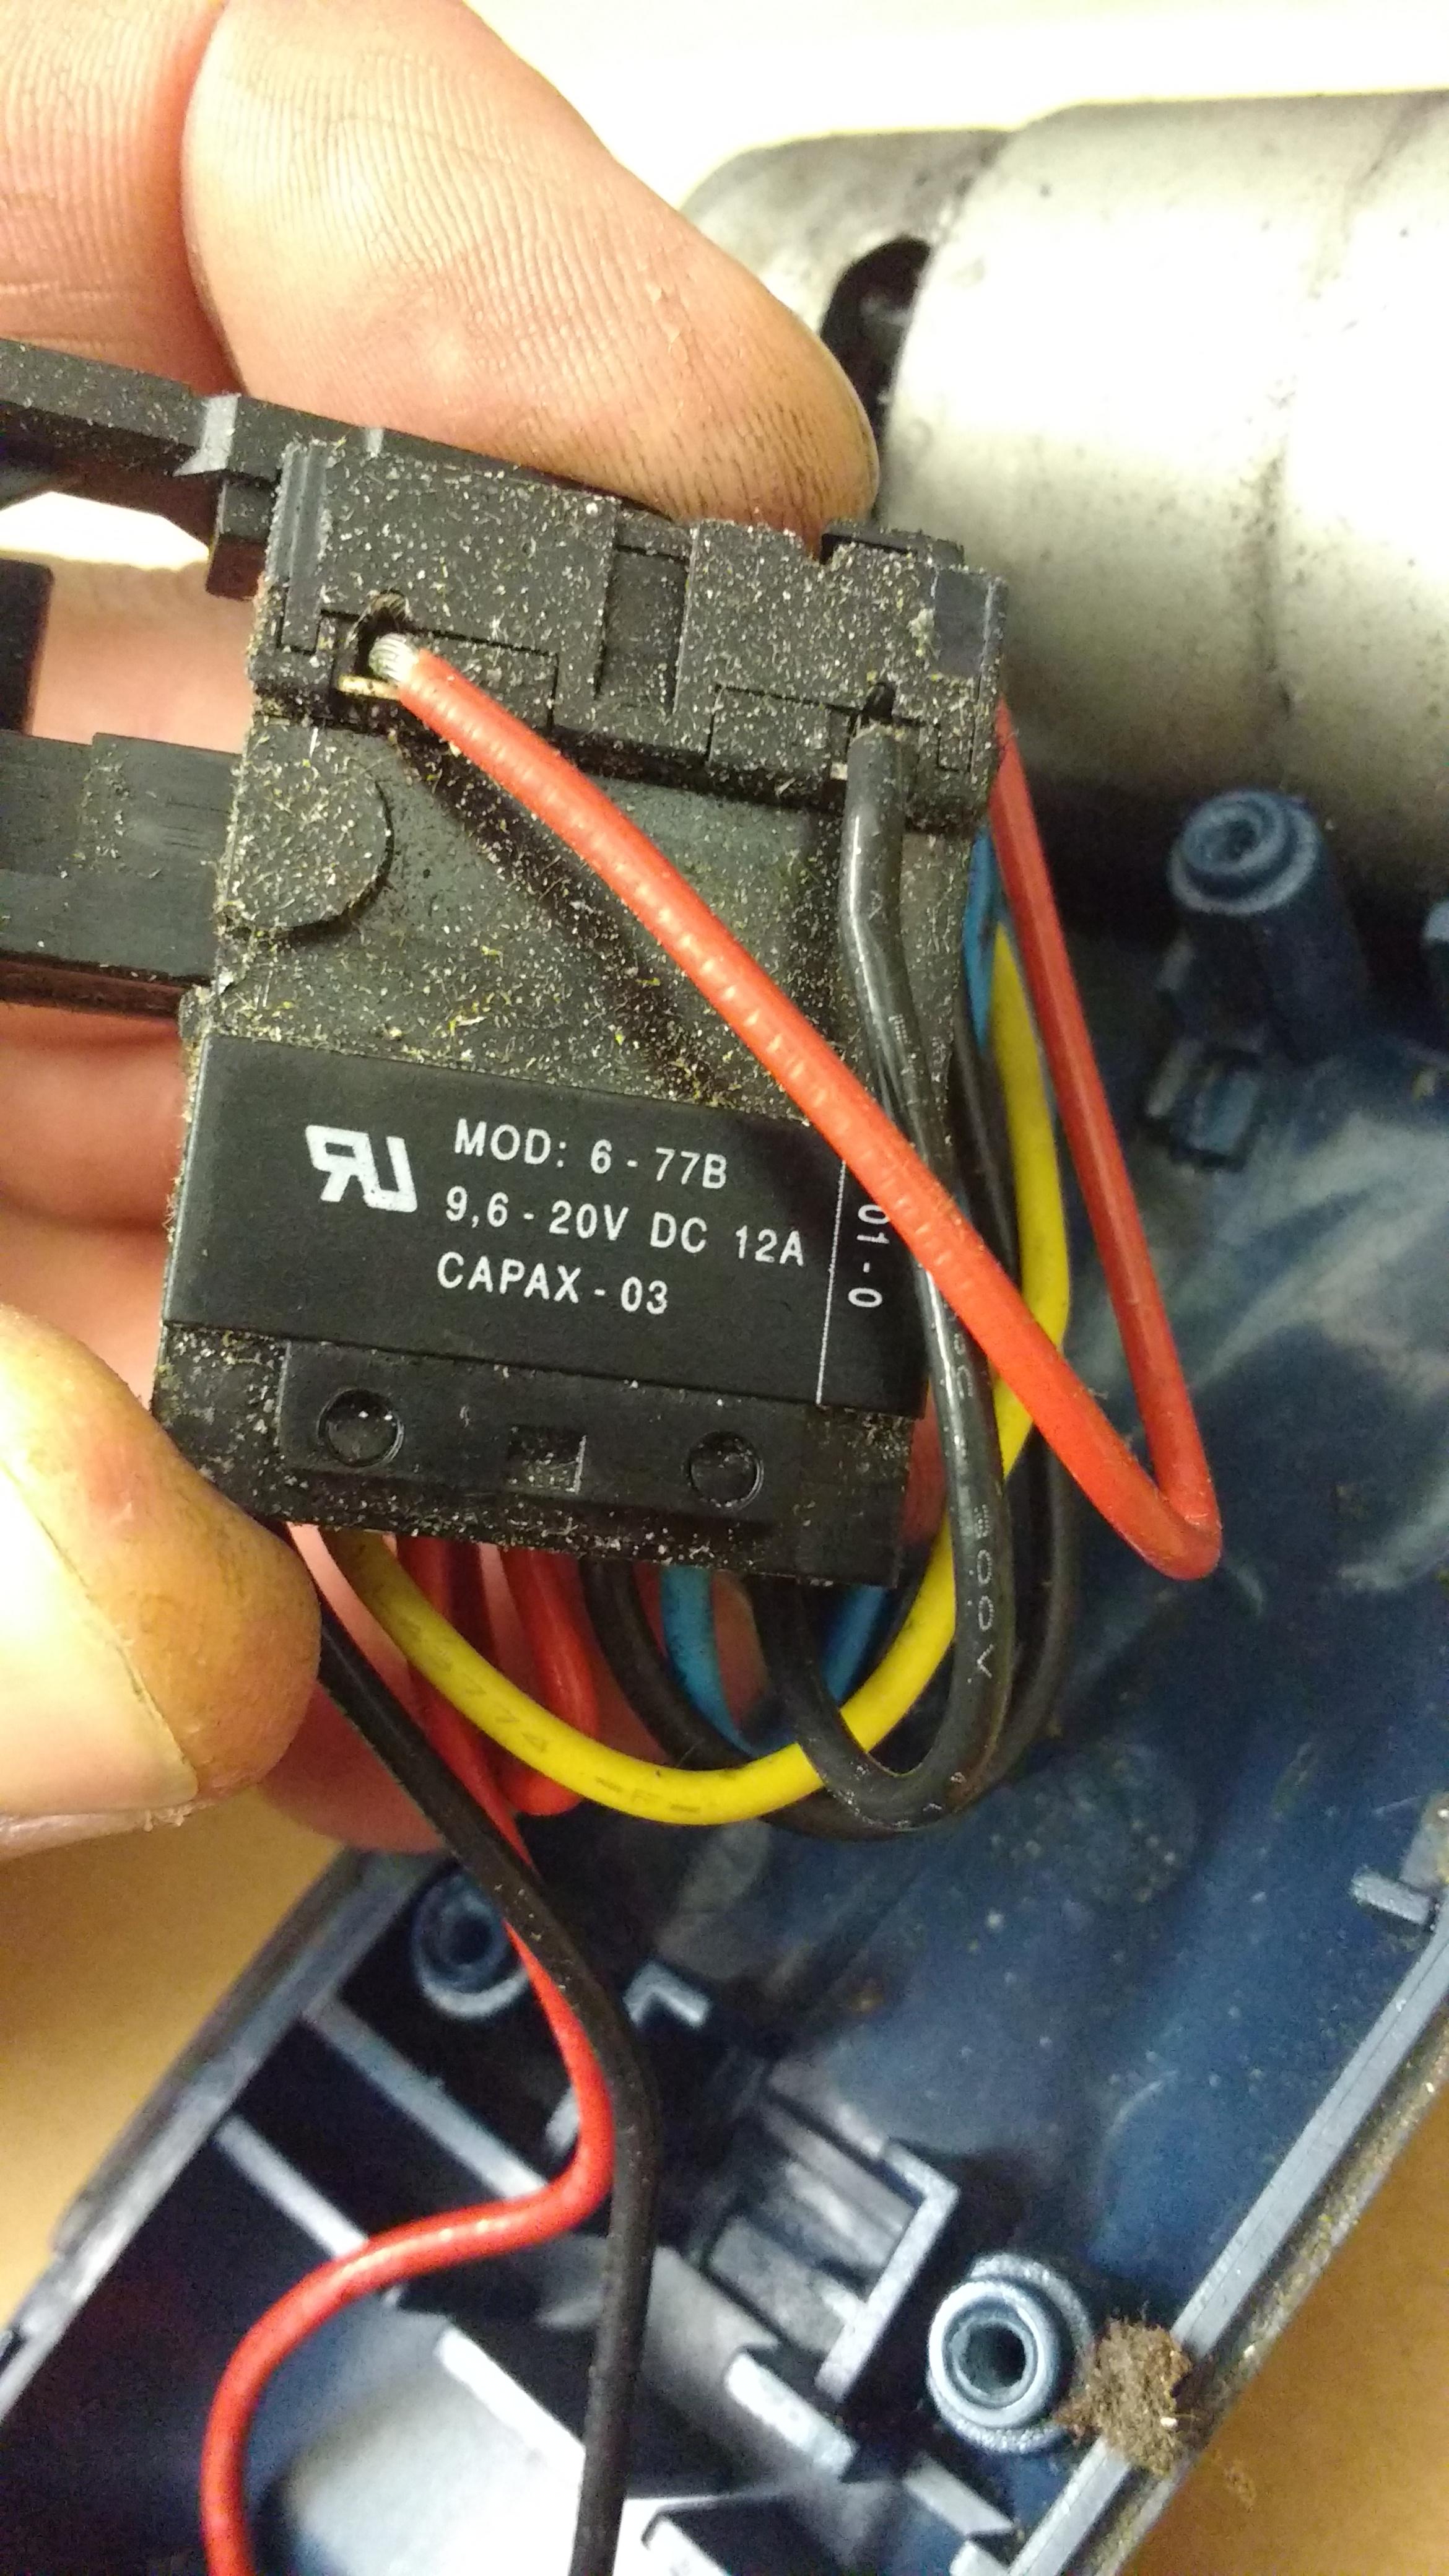
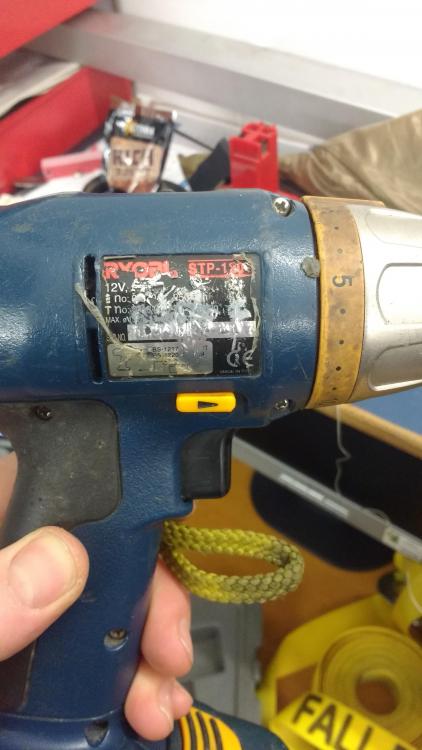
Seems the switch assembly I was worried about is common to the STP 1201, 1401 & 1801 models so 12/14.4 & 18V.
-
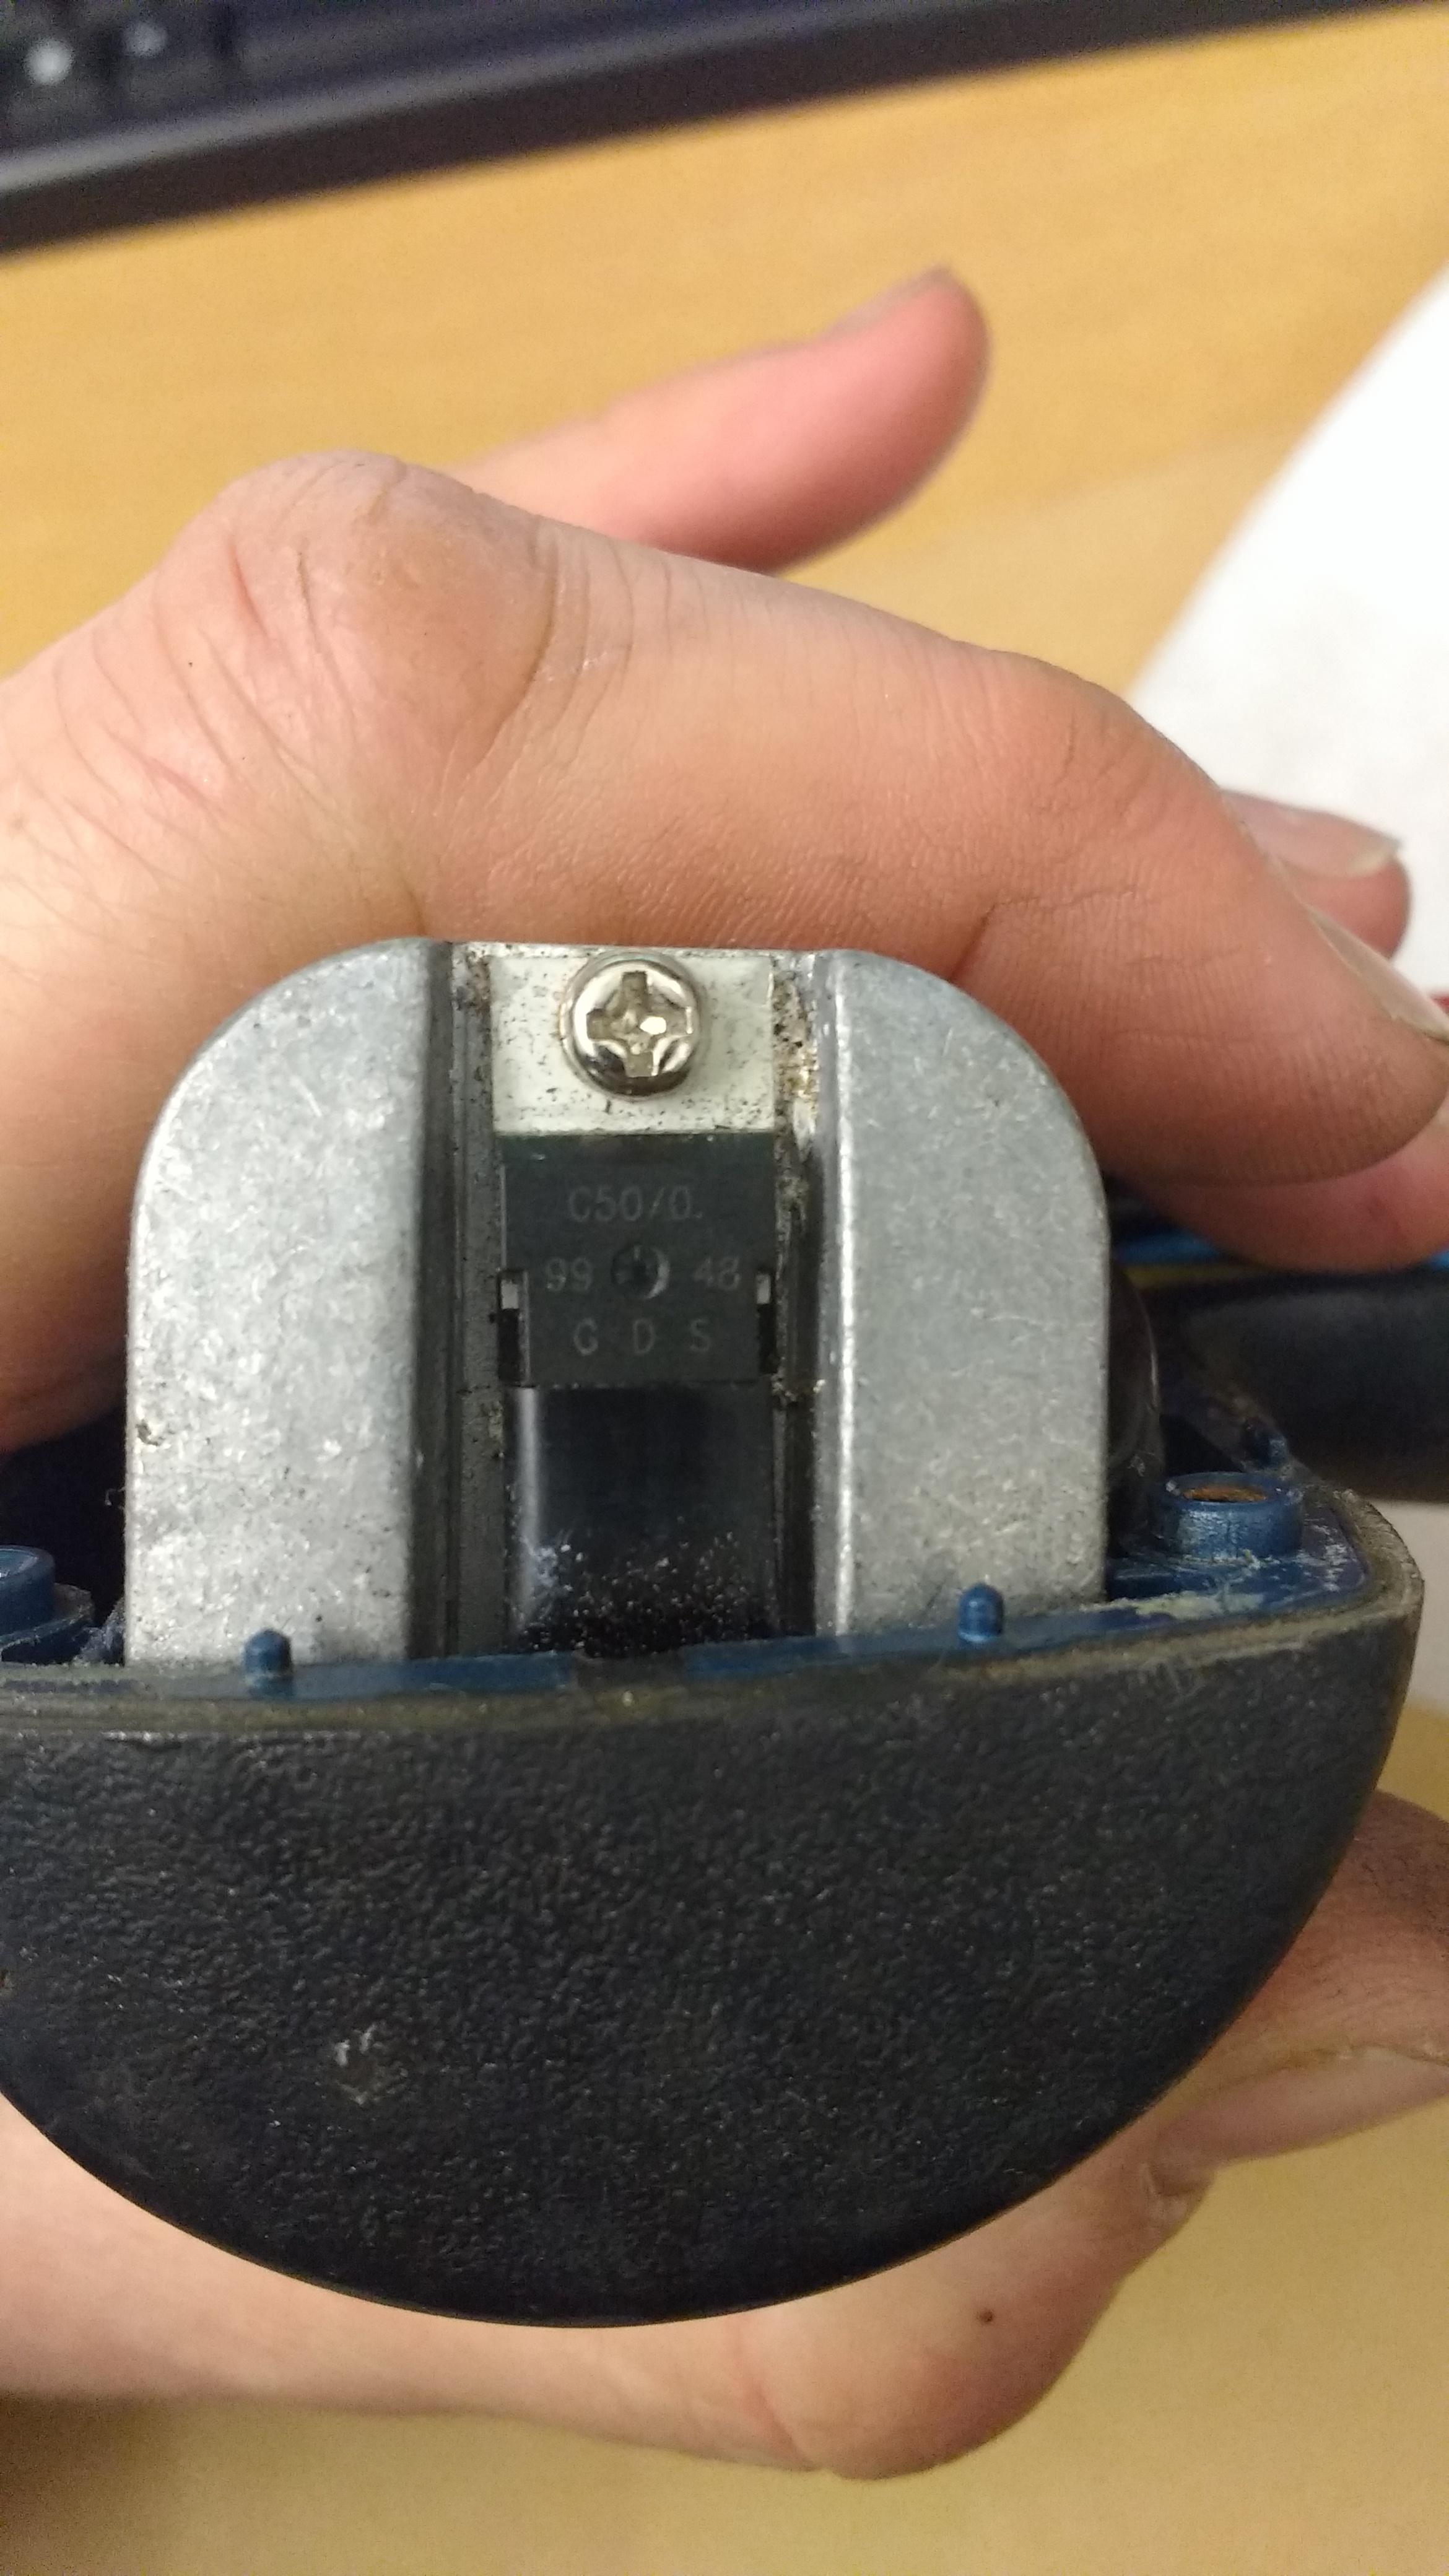
Mate has an old but heavy duty, 12V Ryobi drill. Originally 12V Nicad. I was looking into making it run on his DeWalt 18V Li-ion batteries. The motor is an RS775VF. From what I can make out they have a nominal voltage of 12V but will operate between 6 & 36V. The switch on the drill says it's good for 20VDC. As I understand it an 18V Li-ion will put out something like 21V. Not sure if this will be an issue? Lastly what I assume is a voltage regulator. On it printed it says "C50/0 99 48 GDS": Just tried running it on an 18V Makita battery and it seemed to run quite happily.


-
I worked with a chap on site in London in the late 80s. He was welding lead covers for us on equipment plinths on the roofs. Bloke was mustard. I asked for his contact details and he just said "Ted The Lead, everyone knows me!" By now I'm guessing Ted The Lead...is dead.