Nestor
-
Posts
789 -
Joined
-
Last visited
-
Days Won
6
1 Follower

Recent Profile Visitors
7179 profile views


Nestor's Achievements
Regular Member (4/5)
361
Reputation
-
What battery drill should I buy? The choice is bewildering.
Nestor replied to jimseng's topic in Tools & Equipment
Cannot fault the Makita range, stay with the same battery system if possible. Have 30 + Makita tools and batteries, recently purchased the 100mm pruner, again excellent. -
Nonsense, Mr Tank it, Tank it. How many shower cubicles / wet rooms have you tiled onto skimmed plasterboard in the last 10 years?
-
Are you tiling past the shower door or flush with shower door frame? You could keep the tile backer board and tiles inside of the door frame which is then fixed back to plasterboard depending on the width of door. Would need a very good seal. You want a T shape trim to cover both the board and tile or a straight edge trim to cover just the backer board. Have a look at: https://www.protilertools.co.uk/categories/tile-trim https://pureadhesion.co.uk/trims/
-
Personally I would not tile onto a skimmed plasterboard wall, they will become loose. I would fit 6mm Hardie backer board on all 3 sides and space accordingly with packers for even dimensions.
-
This from the planners is fair. Wait for the appeal then proceed again. All the information is in your previous topics.
-
Back again. Revisit this thread, from December 2025, you had plenty of good advice and even drawings.
-
These have a PVC or EPDM inner tube usually. Is the hose failing or the fitting? Is the supply in copper or plastic? Look as though they have been inside the cistern.
-
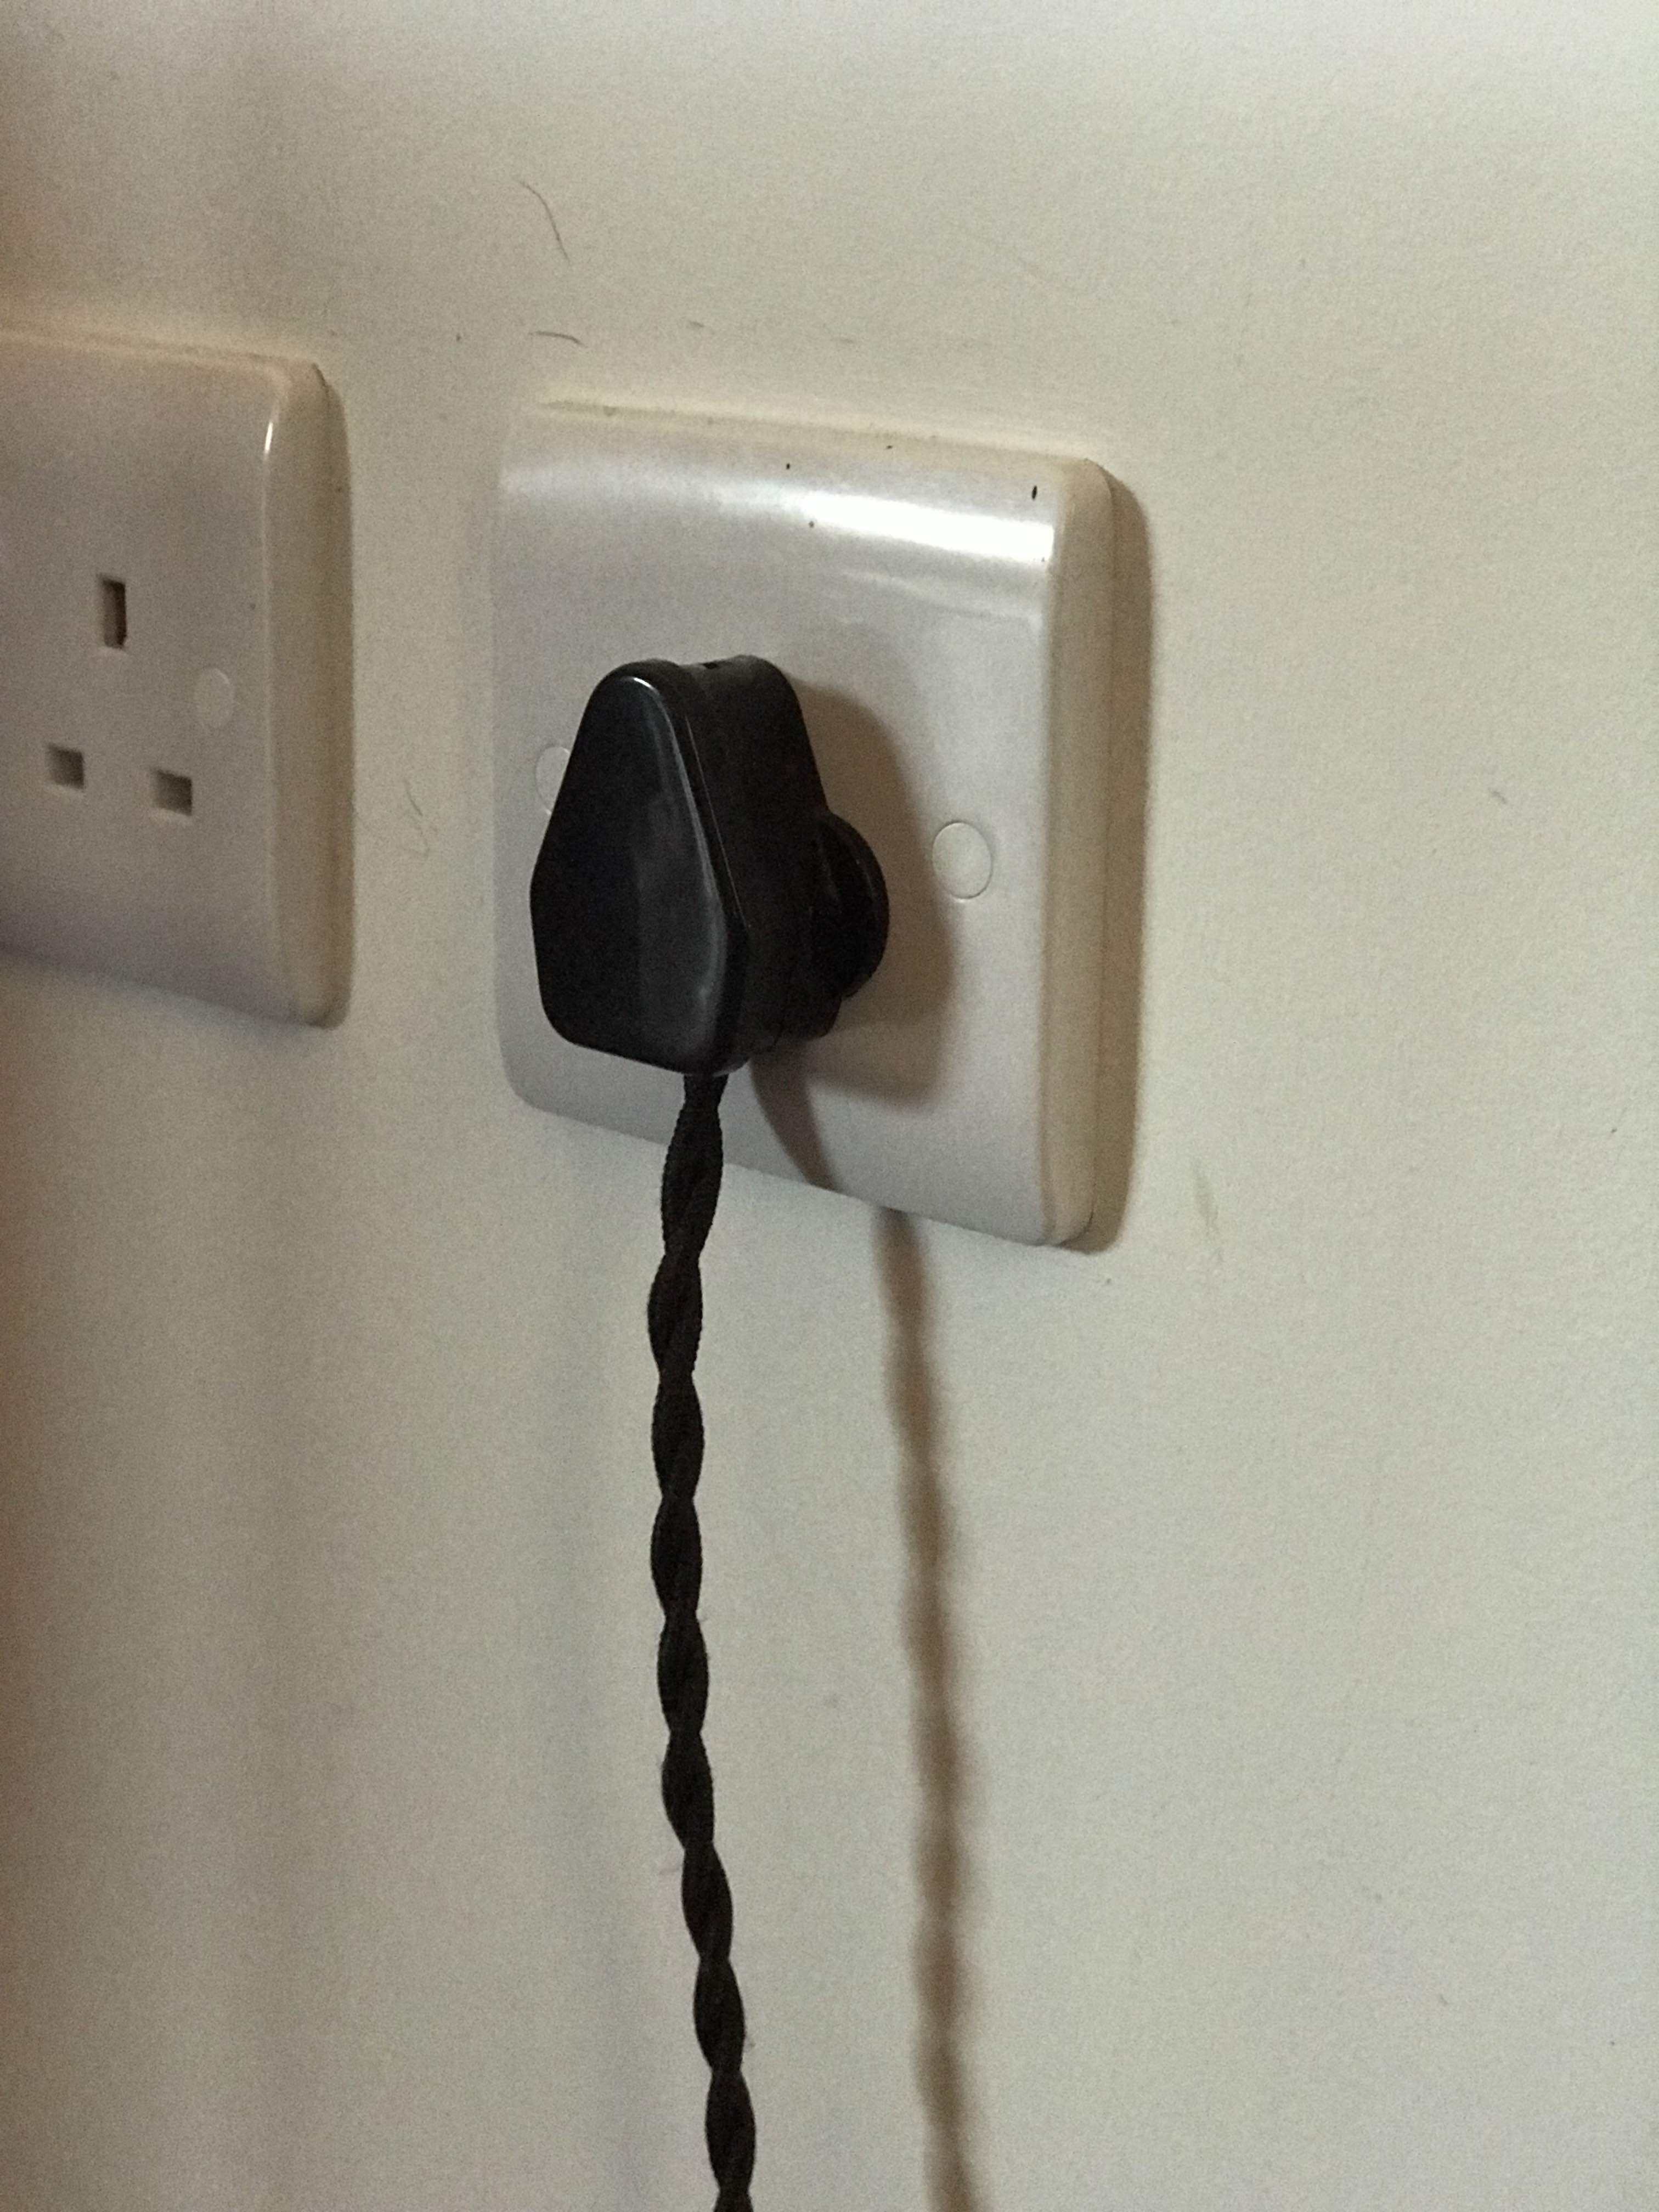
We have them in all rooms and use them most of the time instead of the overhead pendant lighting. Not another socket!

-
You need a 90' wall plate elbow fitting. Have a look here https://www.screwfix.com/search?search=wall+plate+elbow
-
MVHR vs Air Con - if you had to pick one?
Nestor replied to Indy's topic in Mechanical Ventilation with Heat Recovery (MVHR)
I did try cooling the slab with the ASHP but the family discipline closing windows and doors during the hot periods was iffy so gave up. On sunny days the UVC is 67c with the immersion / PV diverter by 10am. The lower ground floor bedrooms are north and east facing with smaller windows so not an issue. The first floor bedrooms with vaulted ceilings are the warmest and AC is just so effective and the running cost offset by PV (+FIT). -
MVHR vs Air Con - if you had to pick one?
Nestor replied to Indy's topic in Mechanical Ventilation with Heat Recovery (MVHR)
Ideally both. Airtight here. I fitted MVHR and plumbed for AC in 1st floor bedrooms and main kitchen / dining during the build. -
@Tetrarch Look at anti vibration mounts, neoprene dampers. A Yoga mat might be enough to fit between the unit and the mounting board.
-
I would recommend a professional and agree 2 person half a day. One will climb and cut, the other clearing and chipping.
-
Free Reolink Go PT Ultra solar power 4G camera
Nestor replied to Benpointer's topic in Networks, AV, Security & Automation
Morning Ben, This thread last week. Congratulations on your build. It was @Oz07 asking. -
Free Reolink Go PT Ultra solar power 4G camera
Nestor replied to Benpointer's topic in Networks, AV, Security & Automation
@Indy