Iceverge
-
Posts
4462 -
Joined
-
Last visited
-
Days Won
32
Everything posted by Iceverge
-
Knock on the door of a few self builds near you and pick their brains. You'll get some pointers. Have a look at local planning permissions online if you can. It may help suss out the lay of the land.
-

The Psychology of Visual Heating
Iceverge replied to ToughButterCup's topic in Other Heating Systems
You could hope for a blizzard -
The Psychology of Visual Heating
Iceverge replied to ToughButterCup's topic in Other Heating Systems
@Kelvin. Might I suggest cancelling Christmas. -
What exactly is this wall plate for? The only thing I've used one for is an outdoor tap and then it's been MDPE.
-
Phase shift or decrement delay for some reason ends up far higher on people's list than it should do. I think a lot of it is because they misappropriate the effects of over glazing and poor ventilation, Airtightness and poor insulation.
-
Ok. I'm going to take a leap here and say that there was no proper Airtightness measures taken with the buildup. The comment about the deliberate weakness in the envelope doesn't bode particularly well for the rest of the gig. Airtighess is vital in ensuring a building remains healthy, comfortable and economical. The thermal bridging demonstrated by the metal studs isn't particularly good either. External insulation I think is a good idea. I'm assuming you don't live in an area of much driven rain. Rockwool gets my vote as it's fire resistant, flexible and can conform to wall imperfections, resistance to rot and insect damage and knits together with a joining boards on install.
-
As a general rule anyone who says "thermal mass" doesn't know what they are talking about.
-
The Psychology of Visual Heating
Iceverge replied to ToughButterCup's topic in Other Heating Systems
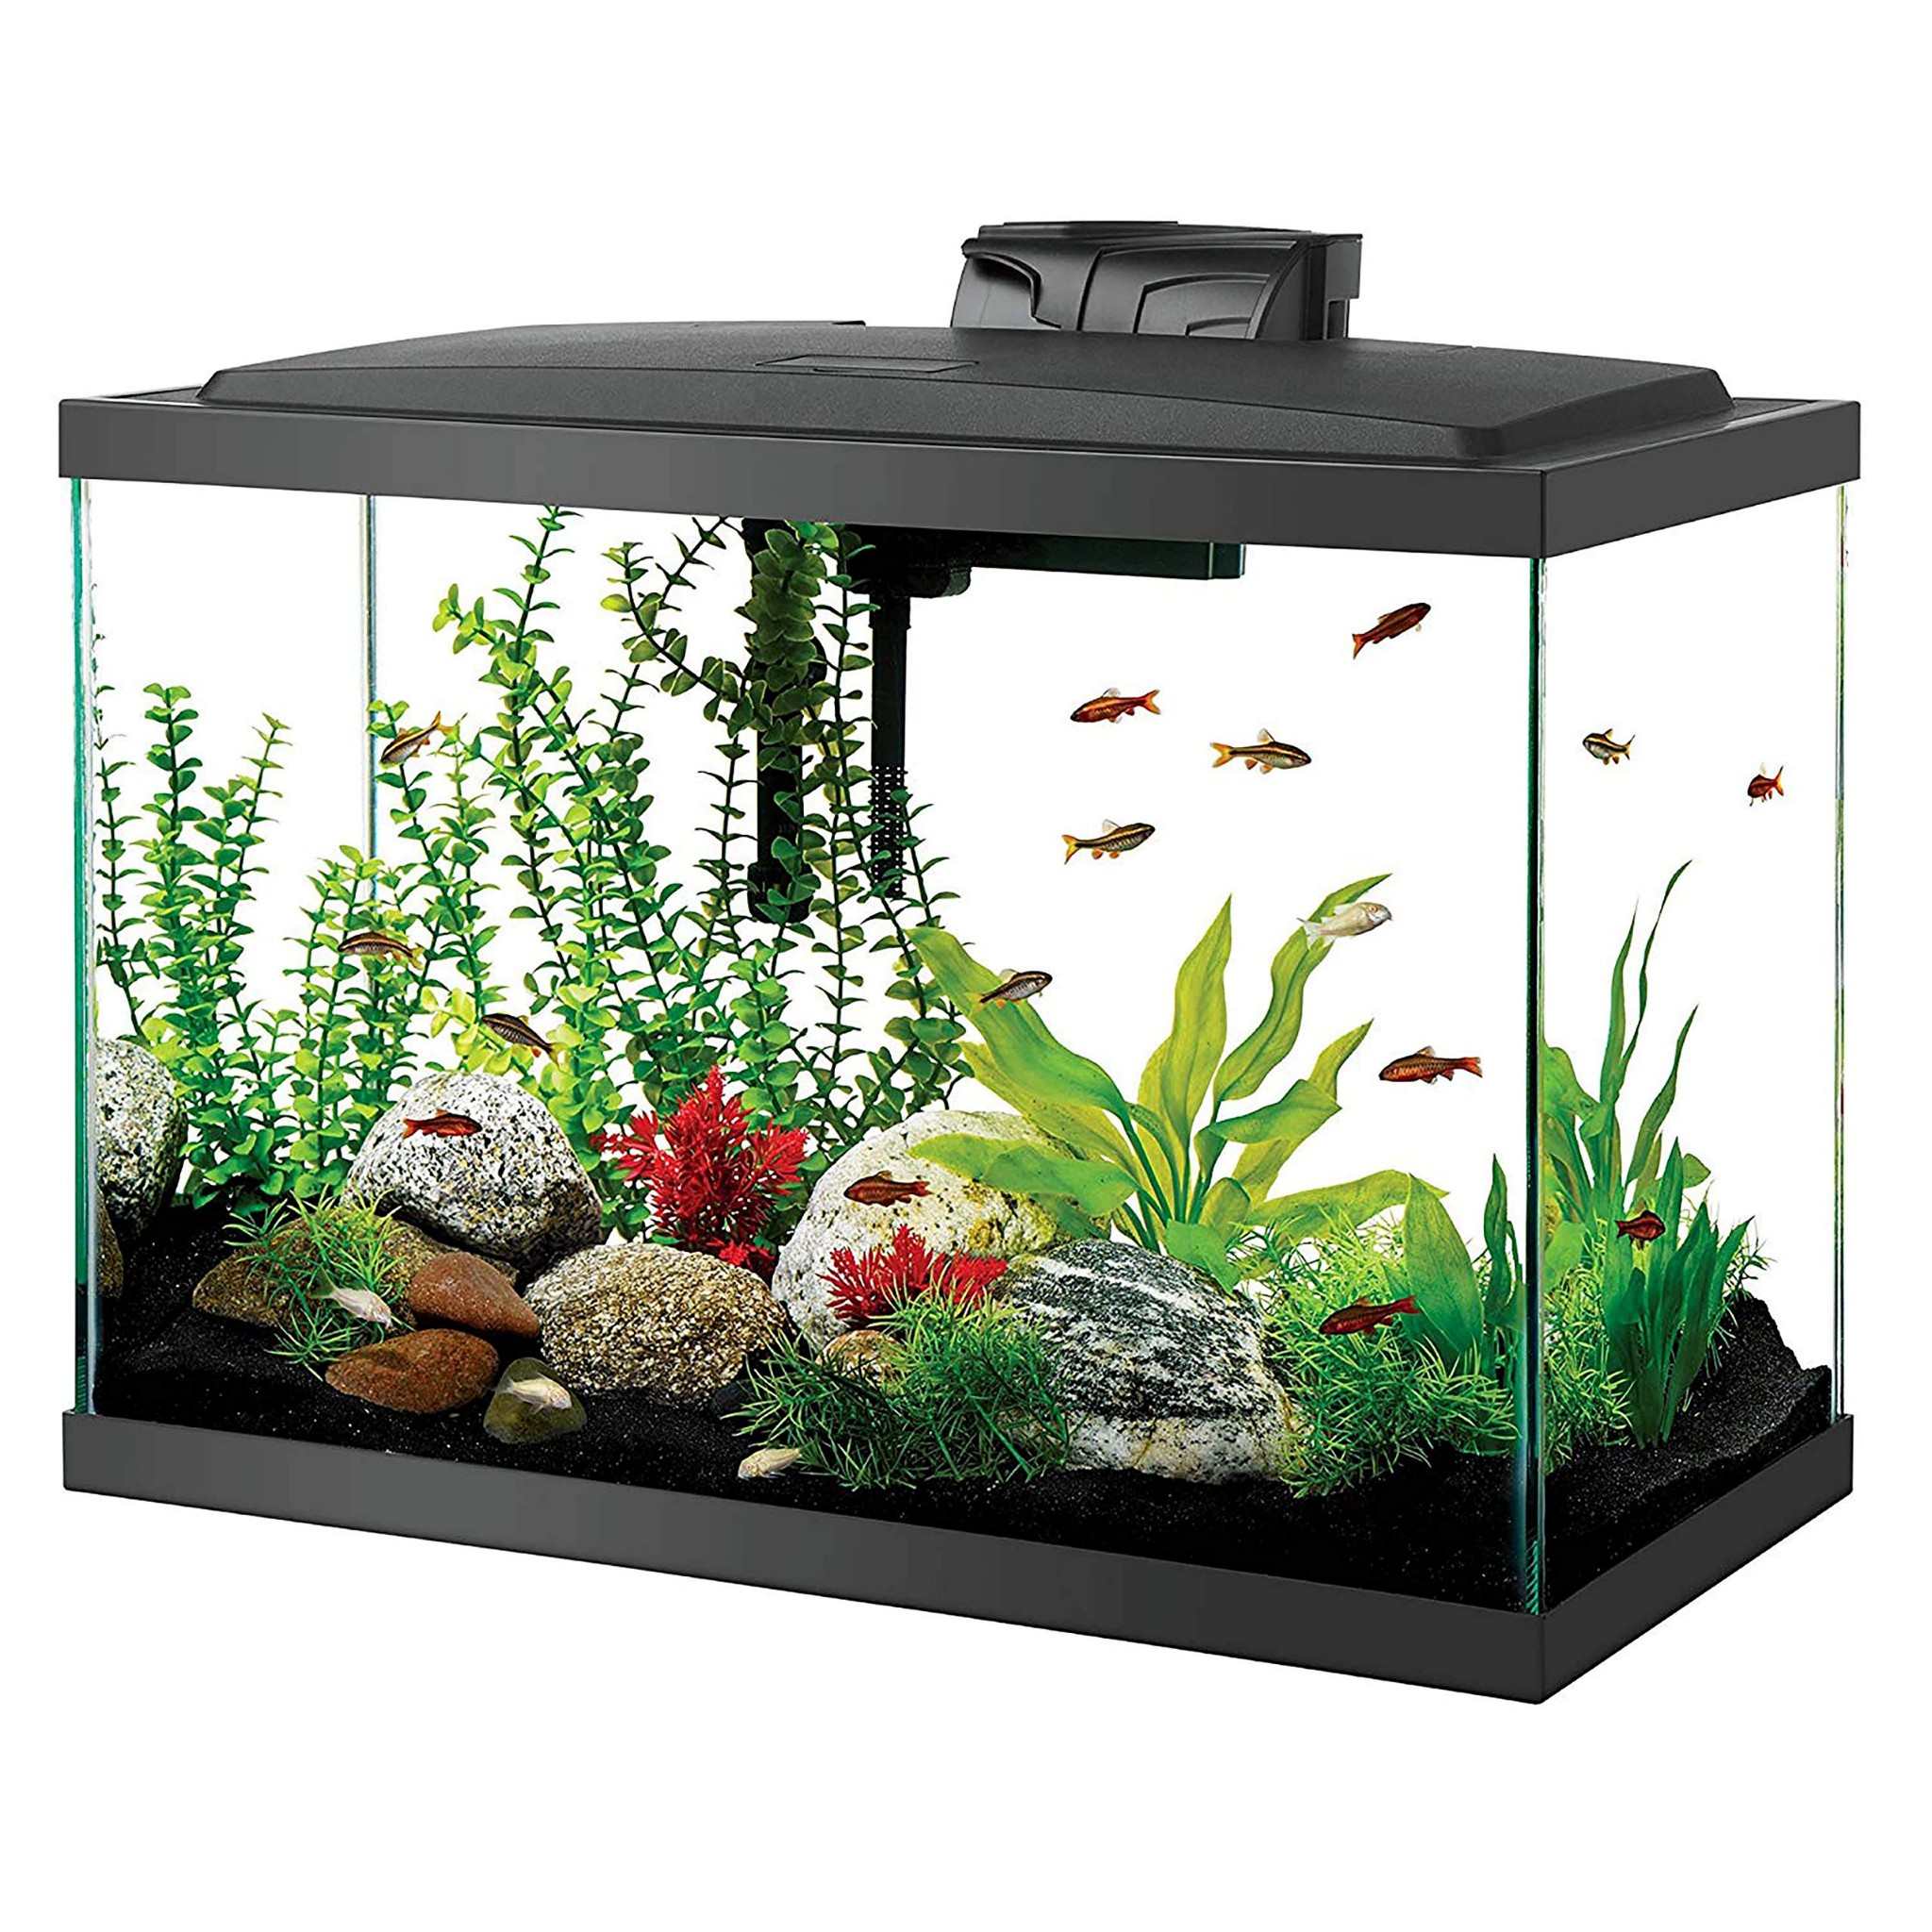
Put the electric fire into the fish tank. That'll both warm the cockles and be entertaining to look at. -
What an experience with your designer. I hope it gets resolved. I assume you didn't tackle the airtighess yourself and didn't blowerdoor test it or fastidiously supervise the workmanship? The reason I ask is that that multi foil layers depend very highly on stationary air to give meaning insulative value. Try playing with Ubakus to see what happens if you put ventilated air in there instead. It'll collapse the U Value. What you've effectively ended up with is 50mm of Hemp insulation between battens,decoupled from the solid wall, giving I would estimate a U Value of about 1 W/m²K. It's lightly there's some wind washing behind the insulation too. Could you describe in words the exact build up for clarity please. EG 300mm solid wall 20mm render
-
Post a snapshot. I'm curious to have a look. More detail again, what product did you use. Any thermal pics would be interesting. It depends..... I believe you are in Paris, near other buildings. I would probably rule out EPS for the fire reasons you mentioned there. Rockwool and woodfiber would both be fine. My preference would be rockwool as it's more flexible and can conform to any imperfections better.
-
The climate change story has been identical for my whole life. 1. The world is heating up. 2. We're the cause of it. 3. We're doing a bit to help. 4. It's nowhere near enough. Repeat.. Am I missing anything or can I just go back to ignoring it so as to not feel guilty about sometimes I can't possibly fix.
-
The Psychology of Visual Heating
Iceverge replied to ToughButterCup's topic in Other Heating Systems
Visual stimulation and inflated heat. One of these And one of these.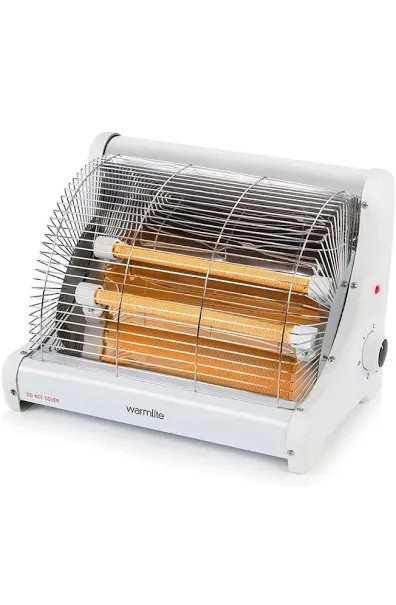

-
The Psychology of Visual Heating
Iceverge replied to ToughButterCup's topic in Other Heating Systems
Can you burn me a copy? -
Not all plastic push fit is equal. Some is utter rubbish. Hep2O however is top quality.
-
Can you just copy and paste a BNG statement from somewhere? I don't disagree with the principle of it. I disagree with paying an arm and a leg to get what must be a pretty genetic plan made out.
-
Boundary retaining wall failure
Iceverge replied to SilverShadow's topic in Party Wall & Property Legal Issues
You aren't next door neighbours by any chance?! https://forum.buildhub.org.uk/topic/40844-retaining-wall-inspection-by-neighbours-structural-engineer-questions/#comment-579797 -
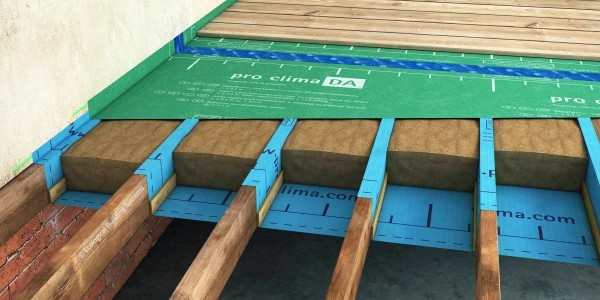
For the amount of work that renovation will take your best option is a demolition and rebuild of a simple compact house. If you must stick with the current design central heating is a good chunk lower down the list than other issues. 1. What is you ventilation plan? 2. What is your airtighess strategy? 3. How much insulation can you fit? If you do a top job on all three of these you can really really cheap out on the central heating. Maybe an A2A split unit with 2 fan coils, electric UFH in the bathrooms and an ESHP for DHW. Assuming you just want advice on the heating. 1. Dig out all floors, install a good chunk of insulation 150mm PIR or 200mm EPS minimum and do UFH with closely spaced pipes in a shallow screed for high power output to suit a high heat demand house. 2. Insulated the suspended floor with this method. If the joists are shallow you can allow the blue membrane to droop below them for more insulation. Then install high output radiator's and large diameter piping throughout. Beware UFH over poorly insulated floors will be very expensive to run.
-
So long as you don't damage the seal or pipe Hep2O fittings are bullet proof. If it's not leaking after pressurising the system then it'll last for decades.
-
Airtighess tape need not be too dear. You don't need the preformed corners, just a sharp knife and some practice it's not to hard to seal them up satisfactorily. Regarding sealants, something that remains permanently flexible is the aim of the game. The sausages are typically cheaper than the tubes too. Most generic acoustic sealants should be ok too but I've never used them personally.
-
Good luck. Humans fickle species better, more lightly to be won over by charm than logic. People often object not because they have any particular gripe against the architecture, but rather that they are afraid of being irrelevant and ignored. You might have every bit as much success if you have a chat and take a genuine interest in your neighbours and their lives, jobs kids hobbies etc rather than the QR code. Let us know how it goes anyway. PS. please share your (de-identified) drawing etc. We're a helpful lot here but need payment in voyeuristic house pics!!
-
To PIR, or not to PIR, that is the question.....
Iceverge replied to G and J's topic in Heat Insulation
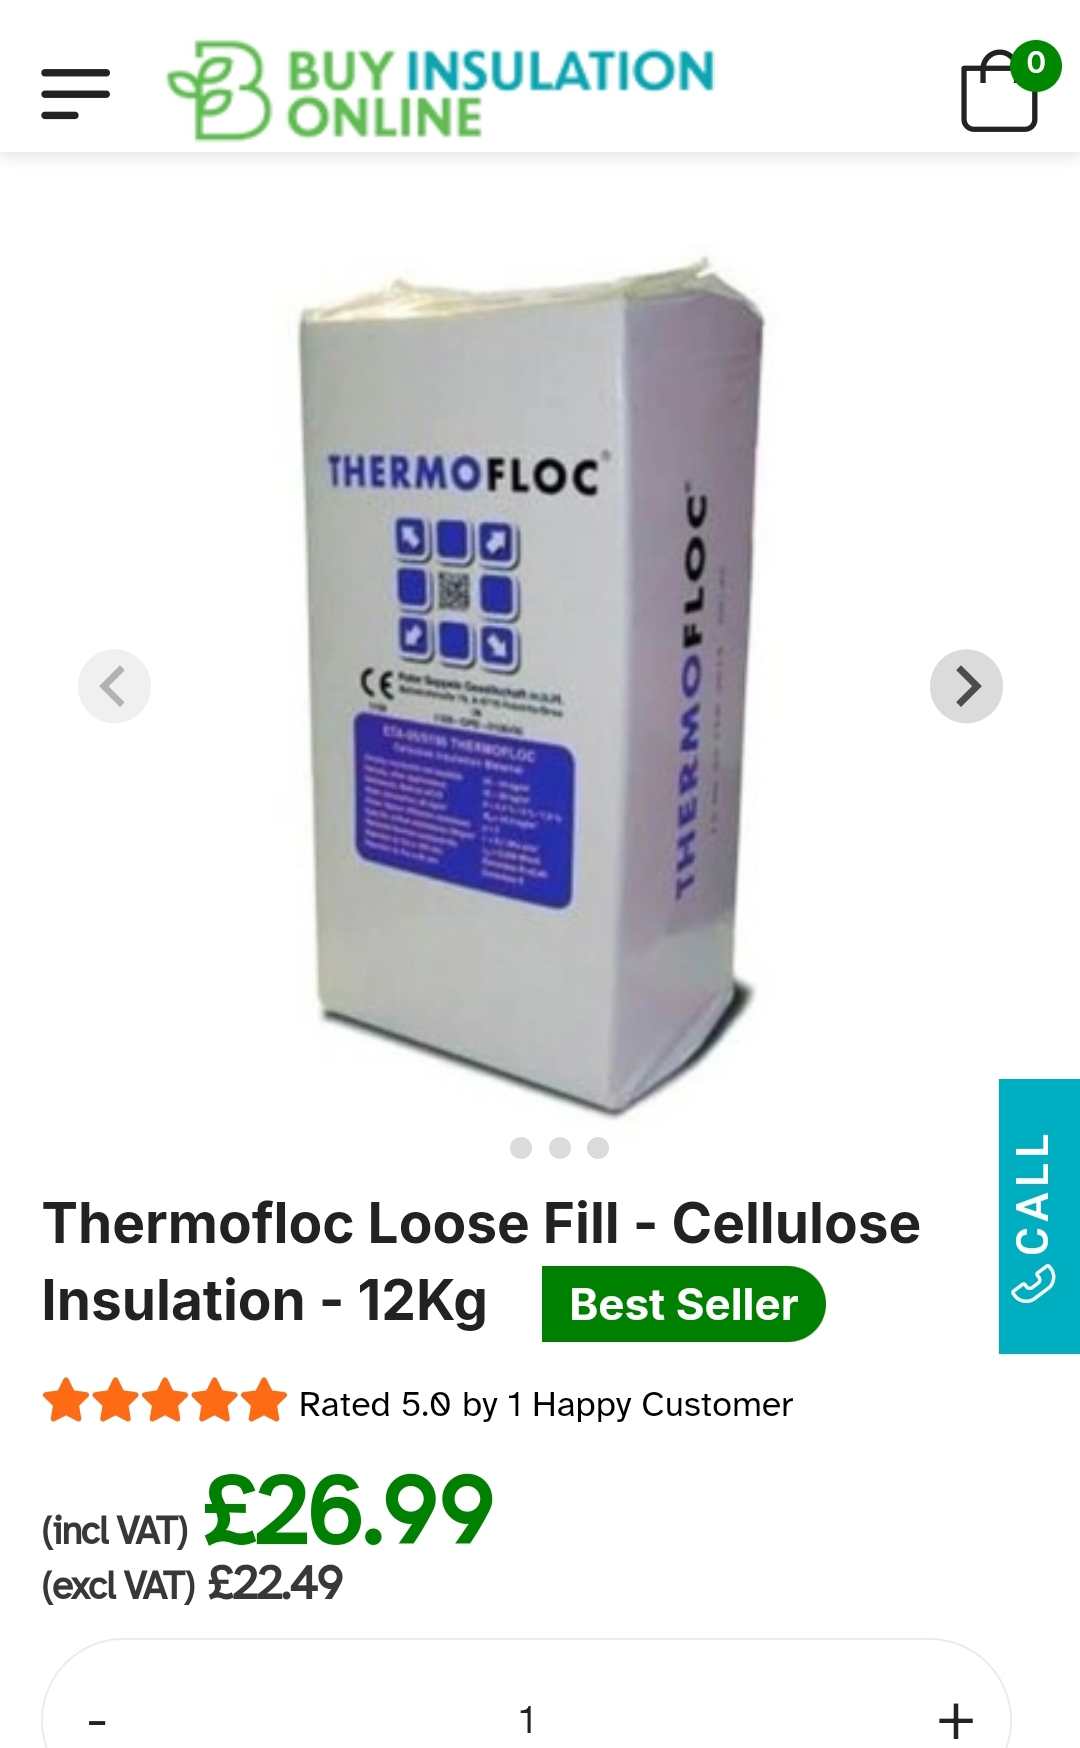
As the living ghost of @SteamyTea would say ....... "Beware the units, BEWARE!!!" m³ Vs m² Cellulose is about £19/m² plus install. I have a feeling an installed price from a supplier would be much the same as they buy in bulk. Don't forget the airtighess benefits it offers too. -
To PIR, or not to PIR, that is the question.....
Iceverge replied to G and J's topic in Heat Insulation
Nope. Normal stapled VCL is fine. -
To PIR, or not to PIR, that is the question.....
Iceverge replied to G and J's topic in Heat Insulation
Do the sums on heat loss for the house. believe it or not 0.01W/m²K isn't as consequential as you might imagine. -
To PIR, or not to PIR, that is the question.....
Iceverge replied to G and J's topic in Heat Insulation
@Nickfromwales might have a contact? For walls it needs to be 60kg/M3. So approx £135/m3 plus install inc VAT.
-
Got a ride in a Polestar recently. The finish was on par with anything made in Germany. I wish some manufacturer would make something light <1300kg <4.2m long and <1.8m wide that could fit a whole family in , with good visibility for kids and driver comfy tyres sizes and didn't constantly distract me with Vista levels of nannying. I guess I'll stick with my 2002 Berlingo for now.