Leaderboard


Popular Content
Showing content with the highest reputation on 09/10/17 in all areas
-
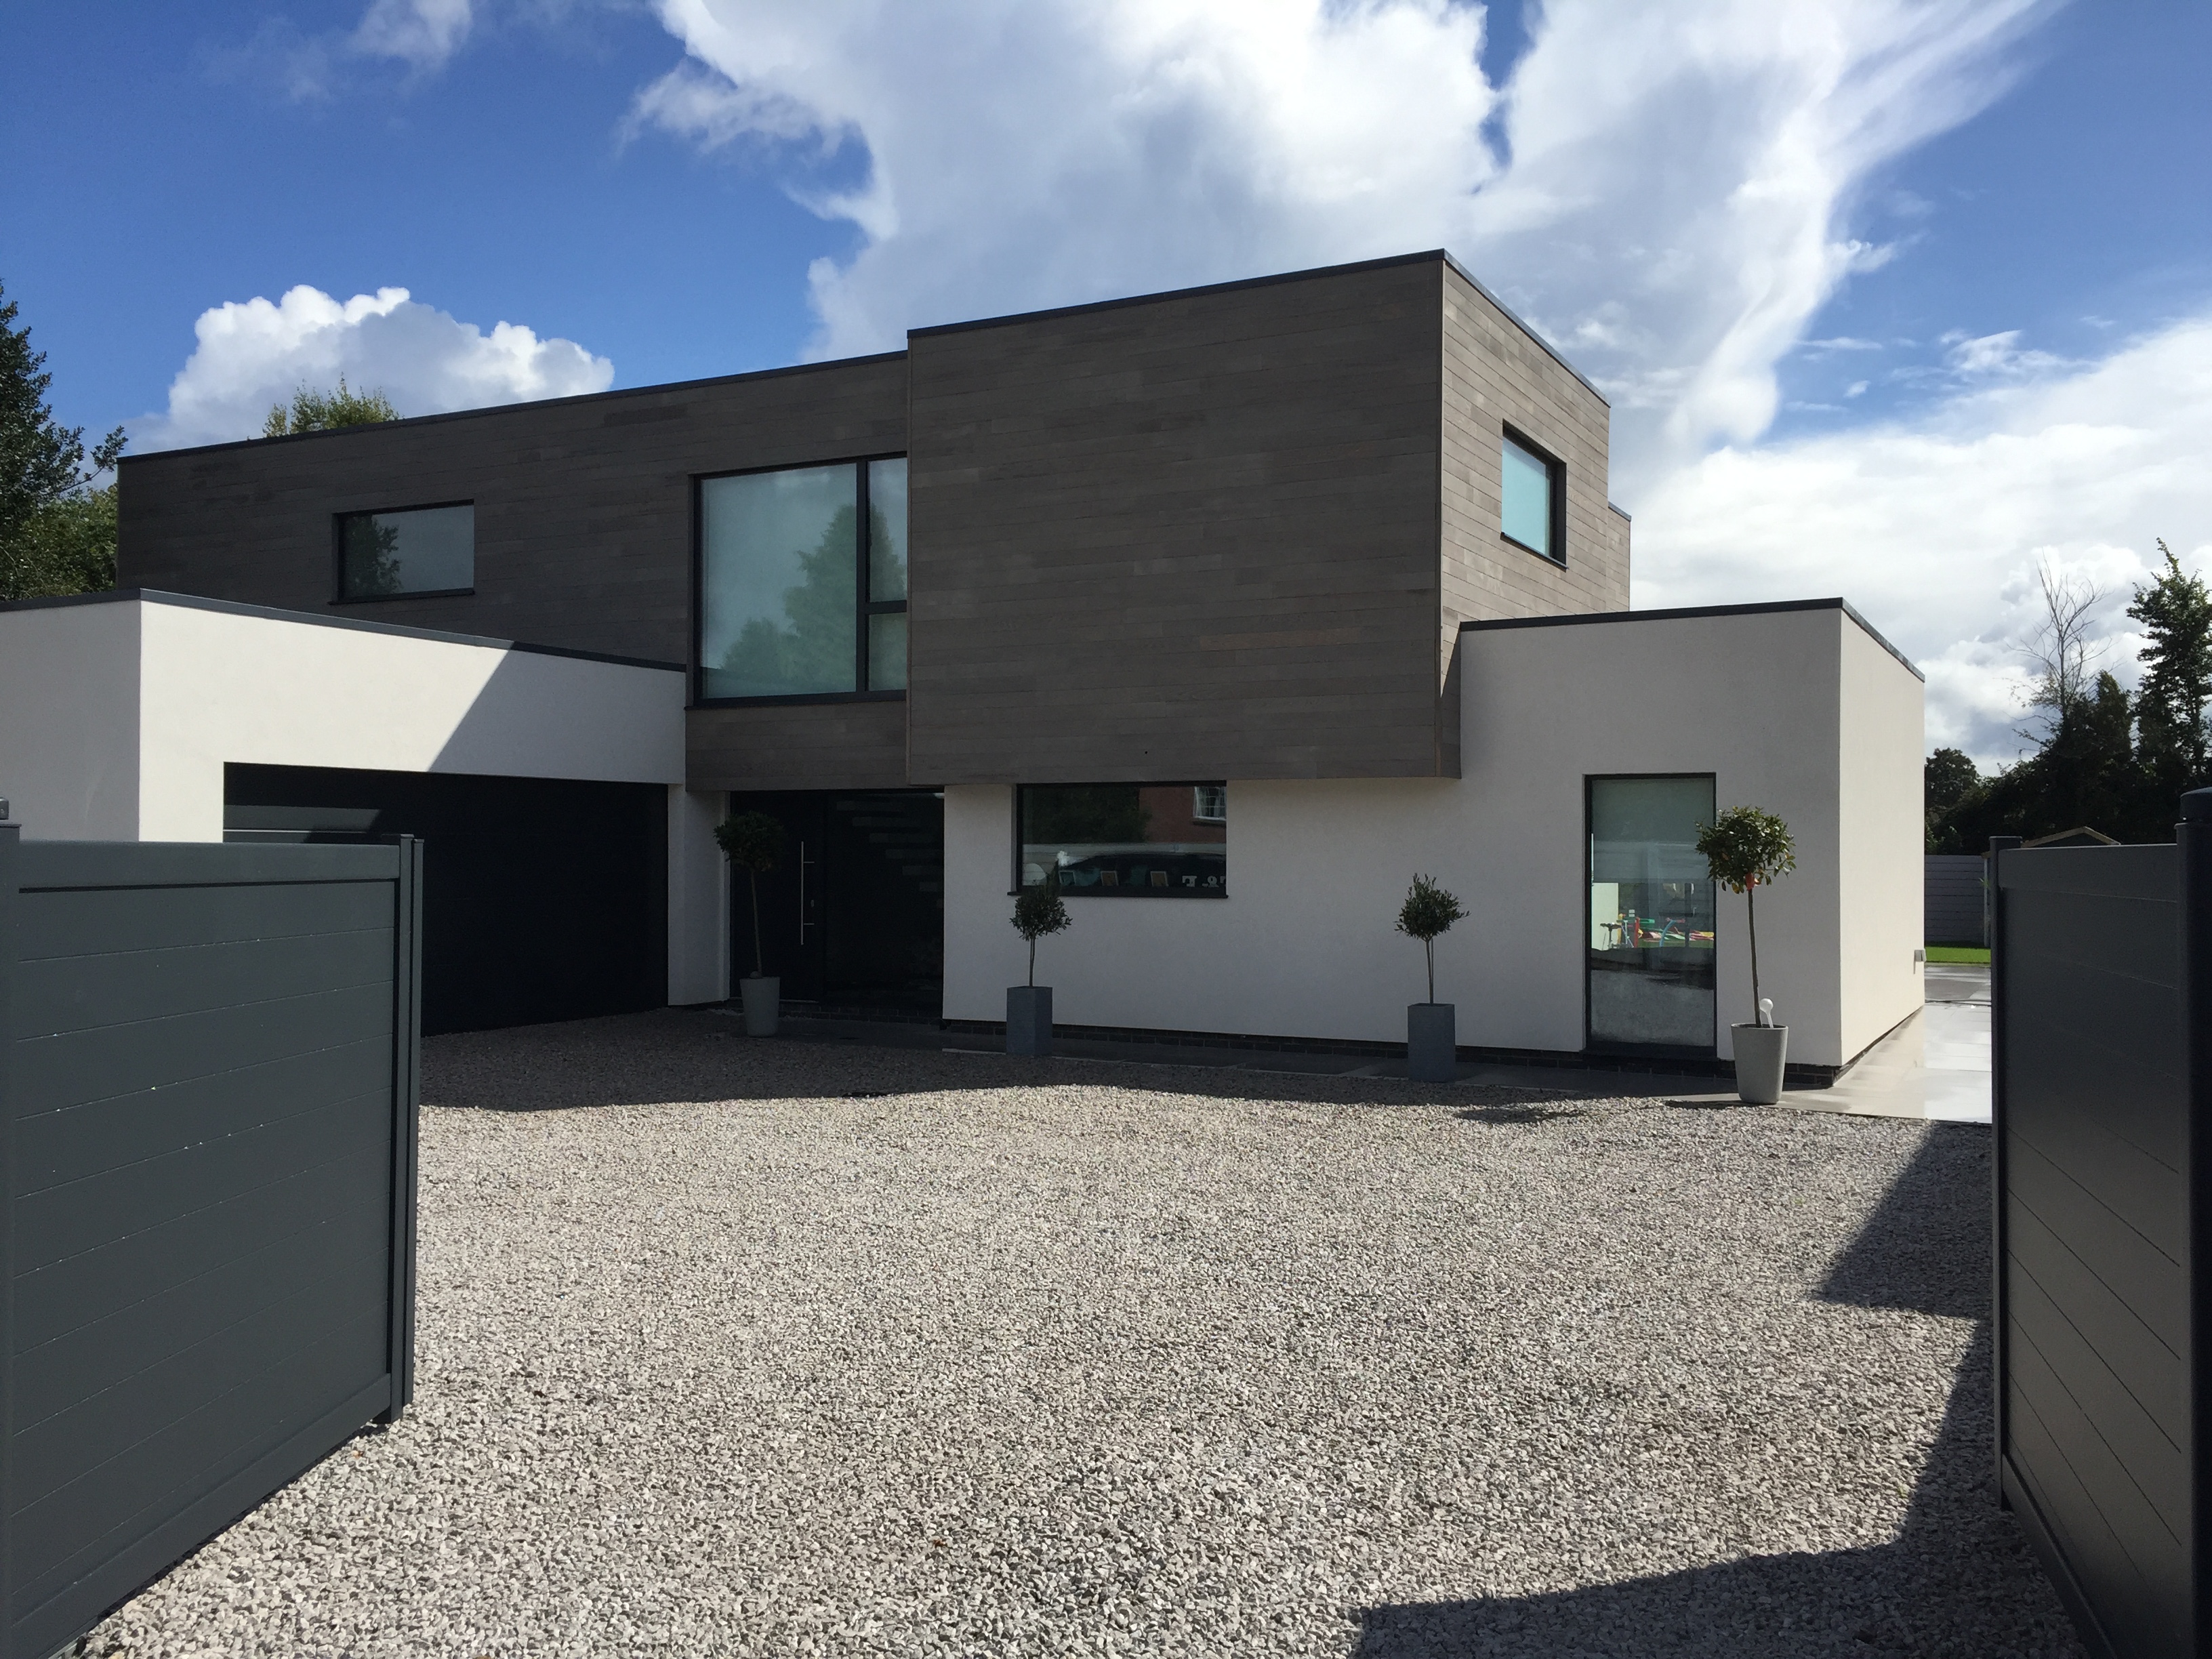
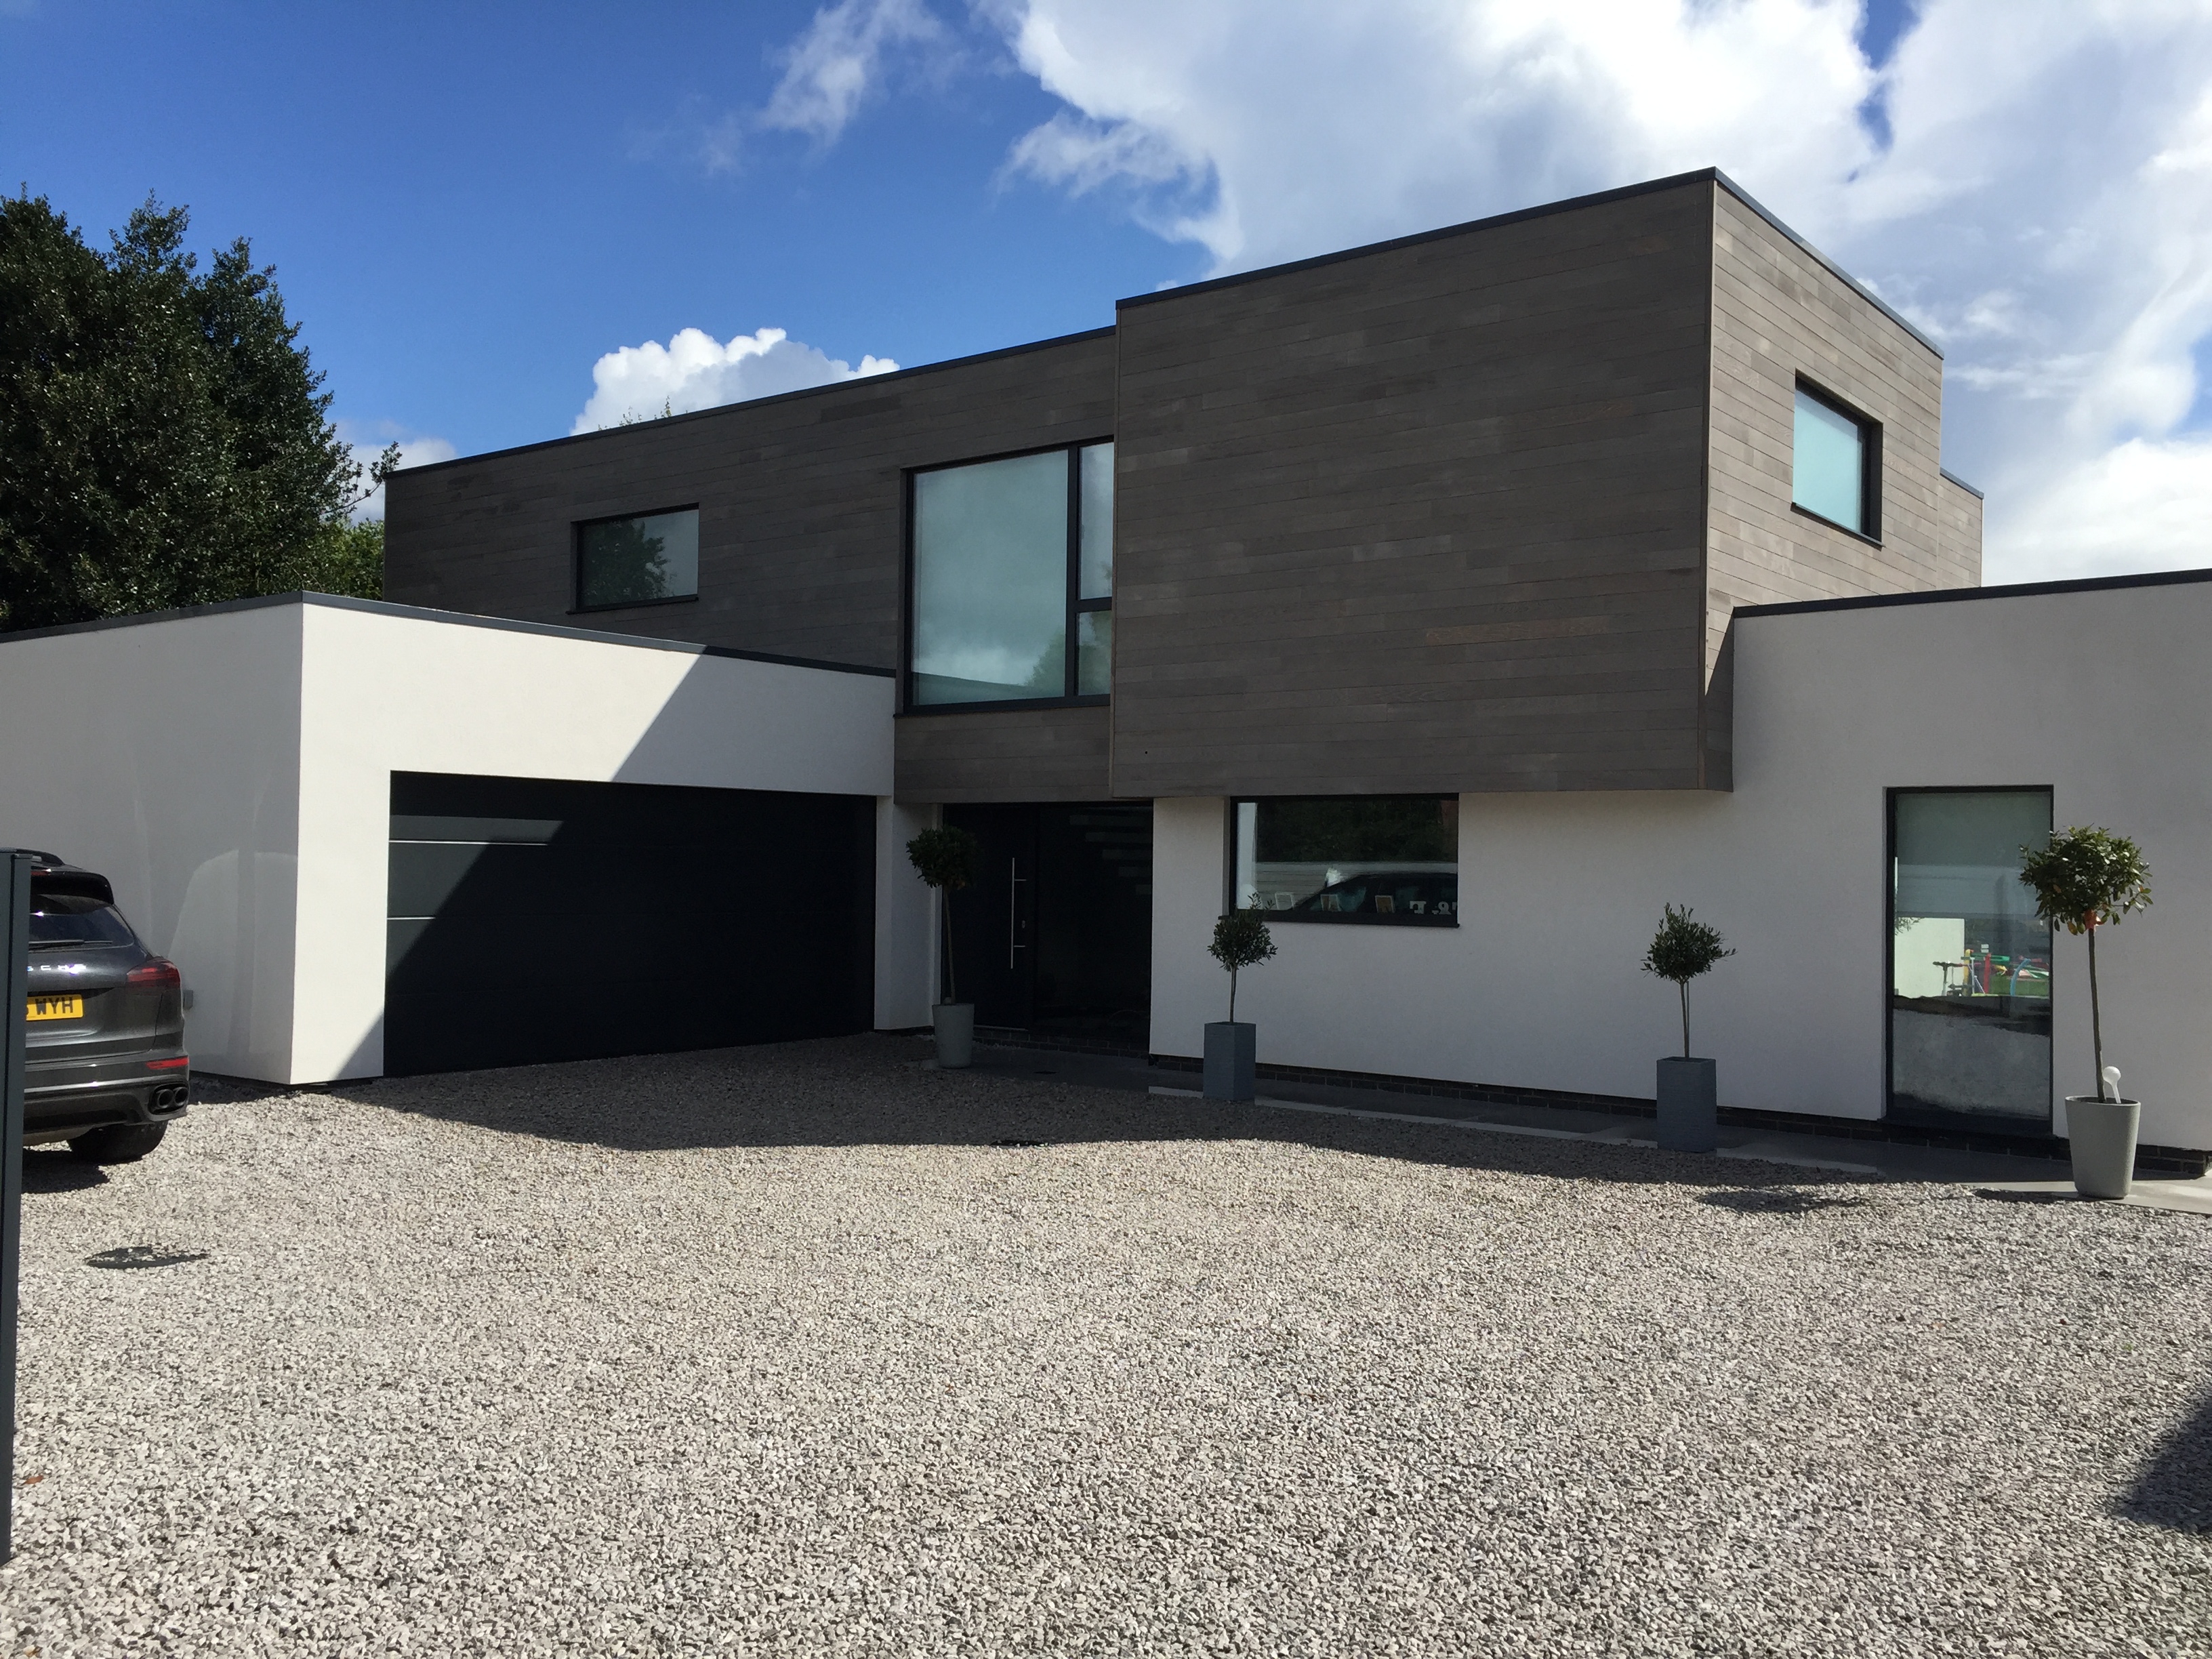
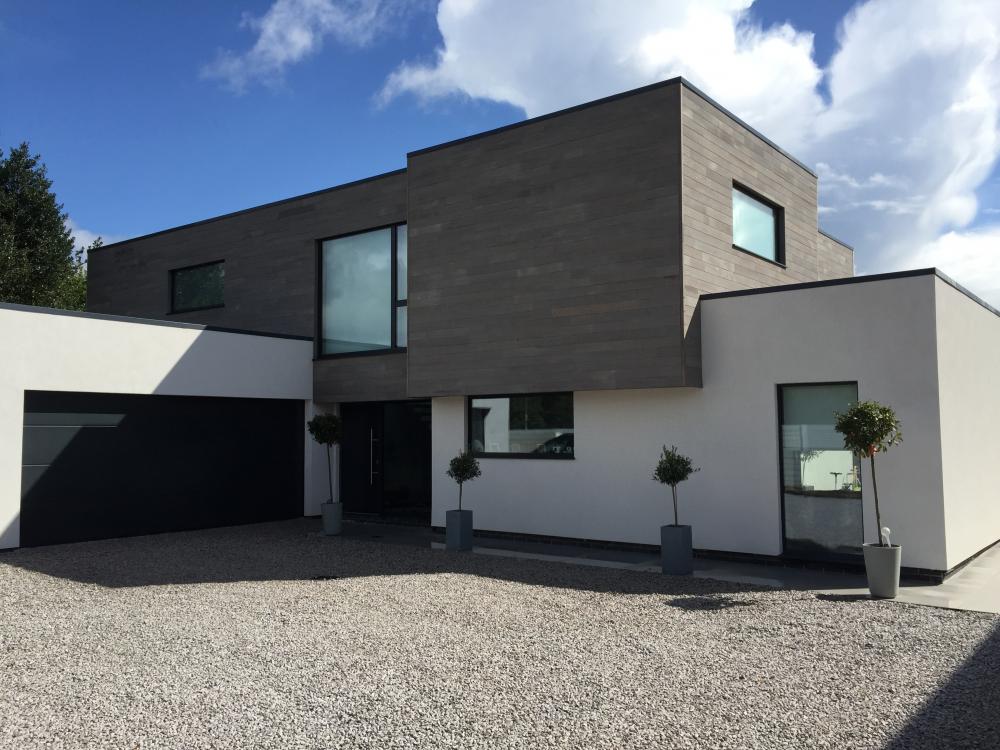
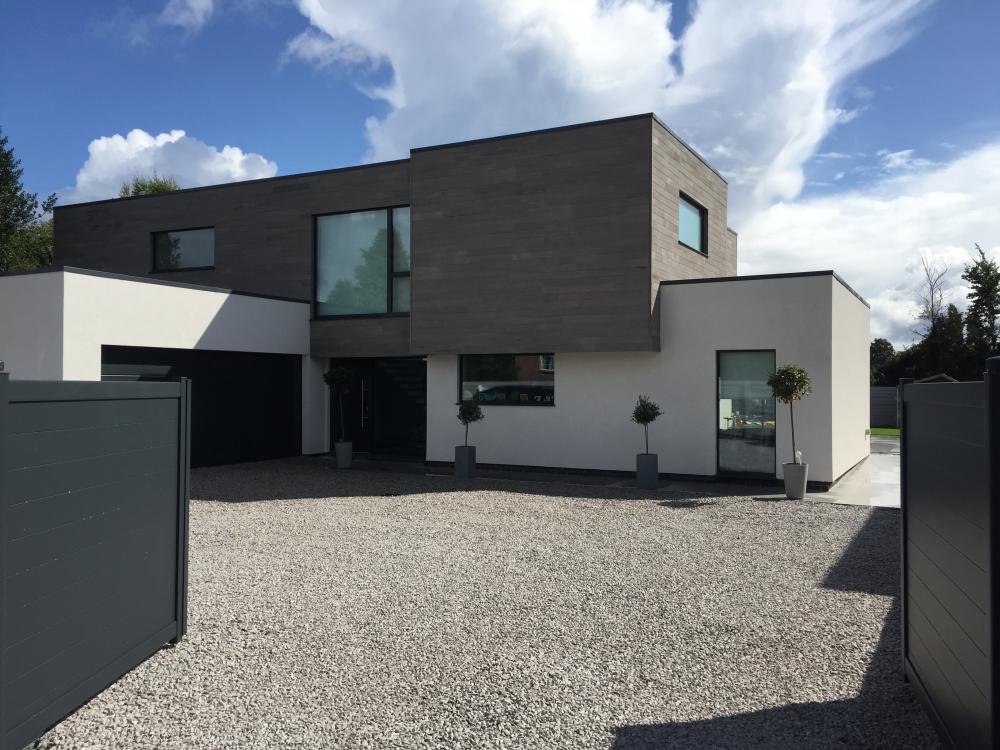
Not the best pictures but eventually got round to taking a photo of the front ....
 6 points
 -
He who dares rodders!1 point
-
I just did ....... and the full kitchens for sale with granite and appliances for £500..!1 point
-
Really shouldn't have looked on eBay at granite. Loads of it on there. We are going to move ours in the veedub ratchet strapped to a couple of scaff planks to make sure it doesn't break1 point
-
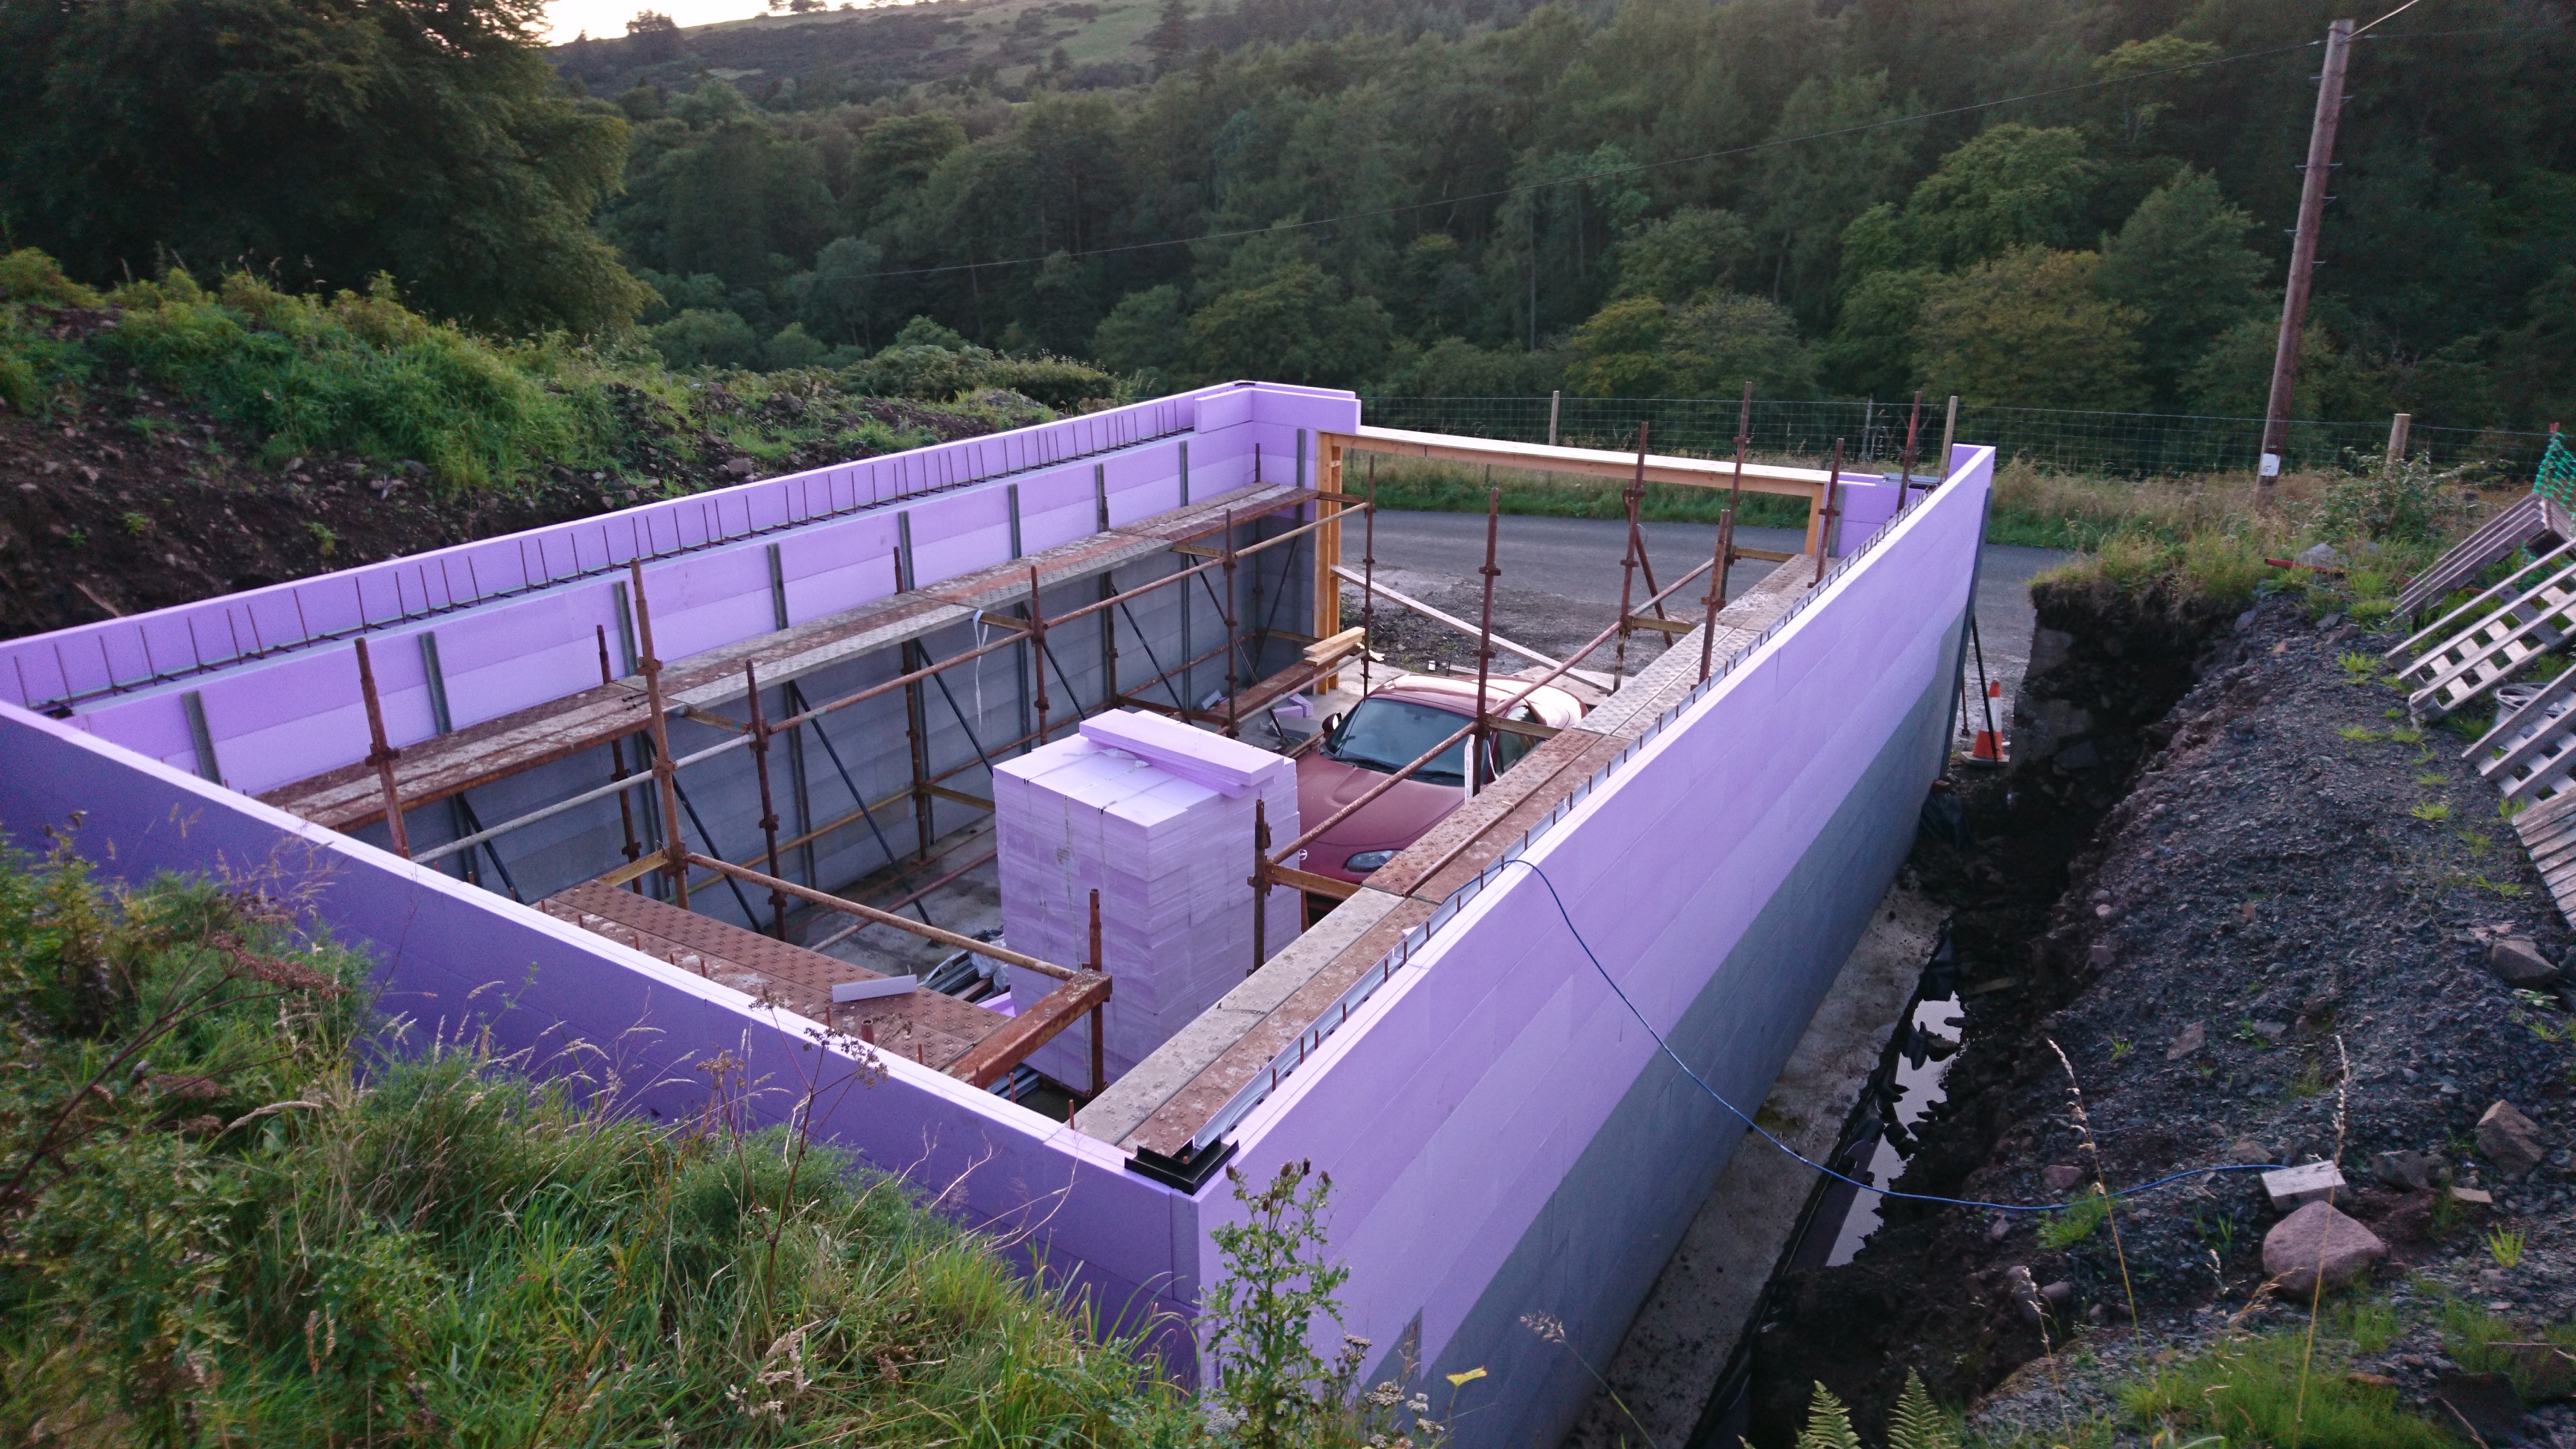
Pretty much. Has the engineer provided the details of the reinforcements? Or just a 200mm core? We've just about finished our garage walls with mesh up inside the 250mm core. Was very straightforward. Rather than try build with mesh itself, we used rebar and tied it as we went up. The slowest part was the tying - lesson for next time is to hire or by a tool for it as it was very slow. Attached pic shows how we did it - braced from inside. We had rebar sticking out the slab 500mm. I put. down three courses of Polarwall before sticking the vertical bars in and tying. Then we laid bars on each course of icf ties as we went up. The ladders slipped over the top of the rebar and down. Financed permitting we will pour in the next few weeks.
 1 point
 -
The most impressive ones I've seen were at a place a friend worked, that made cast concrete staircases, with a highly polished finish. They used strongly reinforced plate glass moulds, with a two-part casting process, where the finish coat was applied to the glass, allowed to partly cure, then the structural layer was cast. The glass moulds were works of art. The place still exists, Cornish Concrete Products, but at the time my friend worked for them most of their business was in the Middle East, so he was based semi-permanently in Dubai.1 point
-
I had this problem, and found that it was difficult to get steady readings with the wind gusting outside. I ended up averaging several readings to try and compensate for the variations due to wind gusts. If you can do this job on a still day it's quicker and easier.1 point
-
Best to start with all vents/ducts about half way open initially, if you can, and see what the readings look like. It's rare that you will want any wide open, and starting from the mid point tends to make things a bit faster to adjust. If you have a system with restrictor rings in the plenum chambers, then you have to start with them all open, and it's one of the things that makes adjusting a system like this a bit of a pain. The flip side is that any terminal noise is lower, as the restrictions are well away from the rooms. In theory, all the doors should be shut, but I found that it didn't make a noticeable difference, and it was a lot easier to just leave them all open as you're running around from room to room!1 point
-
Here is my thoughts. All terminal vents want to be as wide open as possible, the theory being anything that restricts flow, could create noise. Although I have not done mine yet, that will be my starting point, all vents wide open, with perhaps those feeding the small bedroom closed down a bit to start with, and perhaps the second biggest bedroom closed down just a little because it has a very short run. A question that will affect balance no doubt. Do you balance the system with all doors closed, relying on the air gap under the doors, or do you balance it with all doors open?1 point
-
Oh I think it'll get enough time to cure1 point
-
The pressure differentials here would just see mains water squirting out . If air is getting in that way il donate my next donut. The reason it takes forever to get the air out is because most folk foolishly try and fill / bleed all the loops at the same time with the manifolds on . That means the air gets to the manifold, can't be ejected quick enough through a tiny bleed point, so guess where it goes? Back into ALL the loops and round and round we go. To fill / bleed UFH loops you simply connect a hose from the mains to one manifold drain point, and then another hose from the other manifold drain point going to a drain and then purge each loop one at a time. Takes literally seconds that way. Just close the manual actuator caps that comes on each one, ( factory fitted usually ), leaving the first one open. Run the hose into the one loop and go watch the end of the other hose. By the time you get to it you'll have probably already purged 100% of the air out. Repeat closing / opening accordingly. A 10 port manifold should be bled in 15-20 mins max. Shut all the drain taps, replace the blank covers provided and open the automatic air vent that's provided and go get some beer. Bingo bango.1 point
-
I couldn't agree more. Our old house had ceilings that were just taped and filled, no idea why as all the walls were block and plastered. The living room ceiling used to annoy the heck out of me, all the time, as the setting sun would show up every ripple along all the joints. It was the sole reason I opted to skim all the walls and ceilings in the new build.1 point
-
If they're fitted a good 25mm or so past where the architrave ends then how the hell will you see any cracks? Stop beads are designed to be used around existing window reveals and new knock throughs etc so although they do crack and need a bit of after care where it's seen, here they'd be perfect and I'd go for them tbh. They're cheap, you can fit them yourself in minutes, and you'll get a consistent finish all round. Plasteres are good at smooth, but not so good at flat / level imho. When you rest a dead straight bit of arc down each point you'll deffo get undulations without a bead. Plasters always tend to put too much at the bottom and less in the middle as it's easier to trowel up when not bent over. I've lost count of how many plasterer have done this for me and I've had to chip away to get the timber work on plumb / flat. .1 point
-
That's easy. Choose your door sizes, and allow for door liners each side. I think my door openings are 10mm bigger than that theoretical size to allow for packers to get it all square, which will be covered by the architrave.1 point
-
We have similar - council have a duty to maintain it as it's a byway but we have right of access as it's also a private road. They had some money left over last year so resurfaced it with about 75mm of 10 to dust and it's lasted about 4 months before the holes have reappeared. The bit they did over the planings we put down is still solid ..!1 point
-
The plaster skim will tend to taper in thickness at the edges, and may well end up uneven, so you'll probably end up having to fill under the architrave to get it to fit without gaps.1 point
-
We've used Ecology and they have been a dream - money is released without any hoops to jump through and you can have as much or as little as you need at any time - obv. they have lending criteria (passive/SAP A) so not for everyone. In our case, we used the pot of money to get the groundworks done and then drew down the first chunk of money, starting the two year redemption penalty clock ticking. In retrospect, we should have pulled out £50k early on and kicked off the two year timer early. Coming to the end of our time with them and about to remortgage to a conventional provider - will start a thread about that in a bit..1 point
-
At the end of the last episode, we were the proud owners of a landlocked, overlooked, overgrown plot in the centre of a medieval conservation area. Easy to develop, right? The plot was accessed through a narrow close, about 2cm too narrow for a transit (even with the mirrors folded and a brave/careless driver in charge), so completely impractical for the creation of a new house. On either side, the plot is overlooked by 3 storey blocks of flats, tight up against the boundary, and at the rear, by a selection of very attractive 50's, harled, concrete panel lock up garages. There are 8 of these that back onto the plot. So, to cut a long story short, we ended up having to buy 2 of these garages, pay extensive lawyers fees, carefully take them apart and store the bits to allow us proper access to the site. They were not cheap. They were so not cheap that we couldn't afford to knock them down - we're going to put them carefully back together when we're finished and sell them to recoup some cash. The plot, as it stands, consists of two traditional Scottish rigs, covered in a LOT of topsoil, ivy, an old timber shed and a million old paving slabs. Hopefully no Viking longships or bodies. The space itself is very tight, limited in the height we can build to and with lots of overlooking/privacy issues. Our architect came up with an initial plan of an L shaped building, overlooking our own courtyard garden with no windows on either side gable to avoid privacy issues. We liked the design - the planners liked it, our neighbours and various local groups very much didn't. We had numerous objections including "inappropriate use of modern materials" (newfangled wood/glass), "destruction of the rig structure" (it was abandoned waste ground and had been garden or pasture since pretty much the founding of the town) and so many others that I can't even remember them all. We had to go to planning committee, where we were advised that it simply wouldn't be approved with a flat roof design, so back to the drawing board we go. We end up with a quite compromised design, three stories and with all the complexities that brings. No-one was very happy. We passed committee and got our planning. So, to building warrant stage we go - back and forth between various build methods, SIP being the front runner for a long time. Numerous engineers, foundation meetings, quotes and drama, we end up with a building warrant package ready to go. The DAY before submitting the package to building control, we heard the news that we could potentially obtain some land next to our plot boundary, and improve the vehicle access. After tears of frustration and chucking away all the work the architect had done, we realised that actually it was a stroke of luck and we could radically improve the design, the floorplan, the access AND the garden area. Never mind all the work already done and the time spent .... BACK to the drawing board, AND planning, all over again.1 point
-
1 point