Leaderboard
Popular Content
Showing content with the highest reputation on 06/26/17 in all areas
-
Just wanted to say thank to everyone, used the gun today and as Terry said, I'll never now go back to a plastic nozzled can - so much easier with the gun!!!!3 points
-
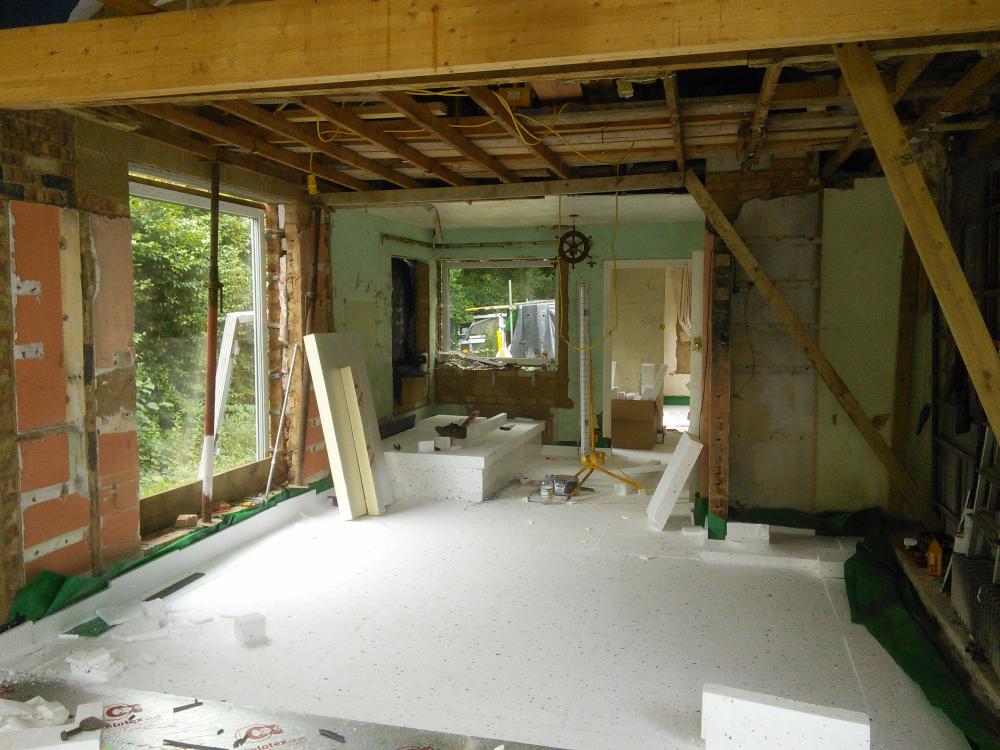
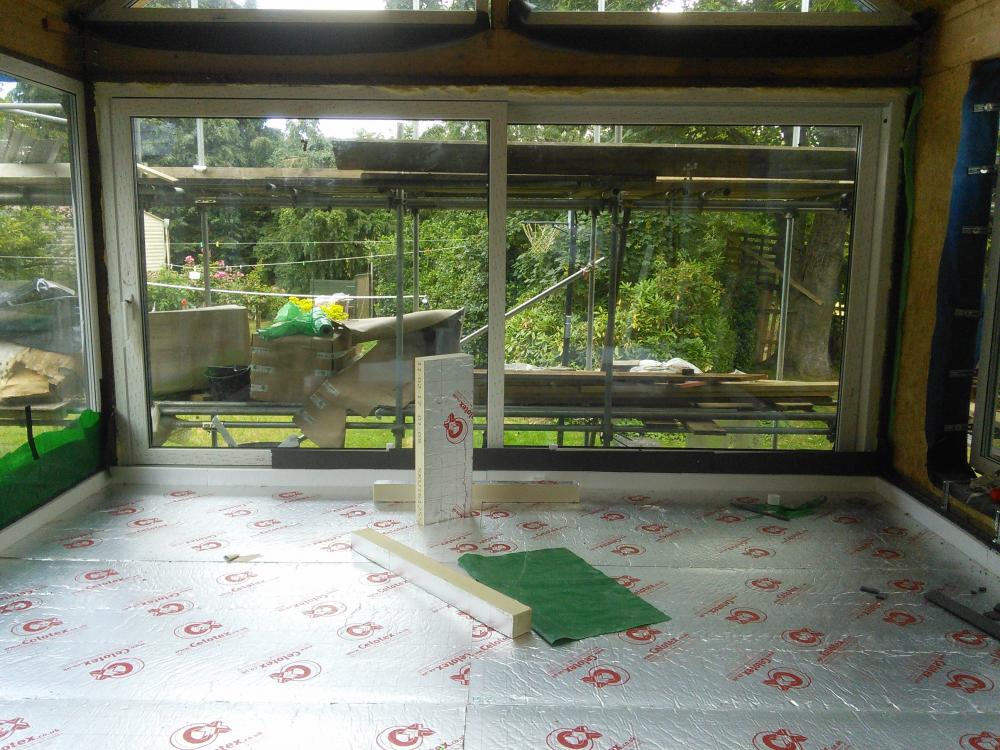
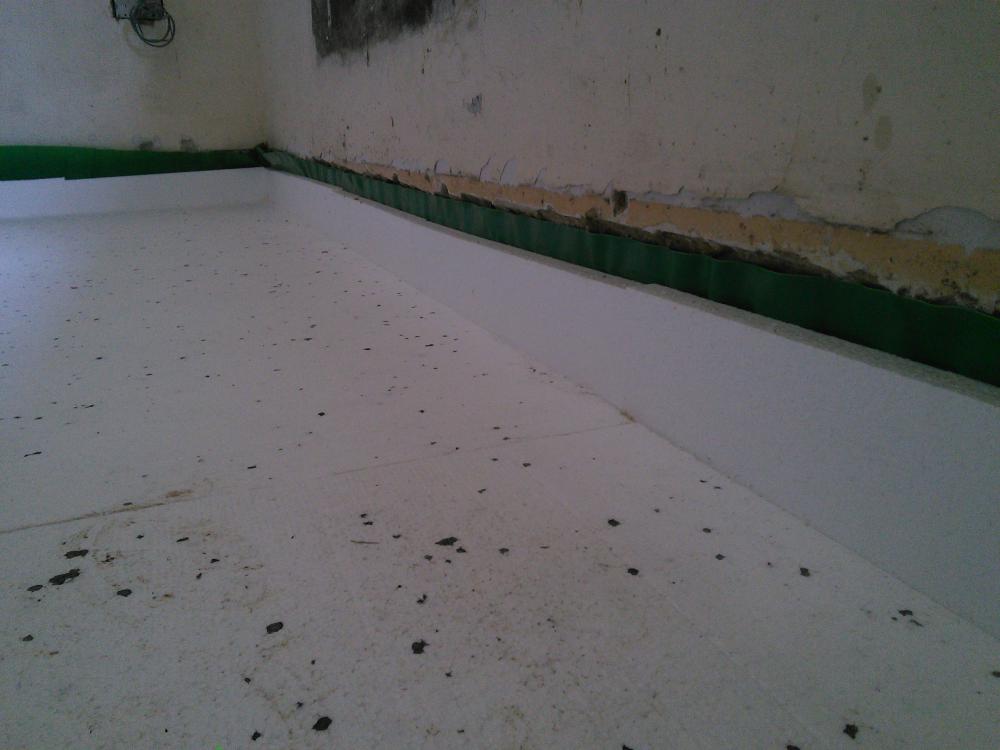
I've just about completed my slab insulation for my extensions (EPS + Celotex) and old bungalow (EPS). I've used 25mm of EPS perimeter insulation and will probably stick on the 8mm roll stuff that I will get from UFH supplier. So I'm just about ready to get my 2.4x4.8m mesh sheets into place (will have to cut most of the buggers in order to get through door ways. Luckily I should at least get them through the larger sliding door at the rear. The plan is to have UFH cable tied to mesh and then have a wet mix concrete pour. No final screed! Before I start cutting and laying them, i have some questions: 1) How much overlap should I have? Is one 'square' overlap enough? The mesh has 200mm squares. 2) How far from the walls should I have the mesh? I know there should be some distance and I think I read somewhere 150mm? 3) Tying wire. As it's just a case of keeping the mesh in situ whilst concrete is being poured, would cheapo galv wired be sufficient rather than defacto tying wire? e.g. https://www.toolstation.com/shop/Landscaping/d130/Wire+Fencing+%26+Tools/sd3333/Galvanised+Straining+Wire/p40640 4) Should I continue the mesh through doorways? 5) Not mesh related, but if I am supposed to cover the celotex top layer (in the extensions only) with a poly sheet (vapour barrier) or should I use something more heavy duty like a DPM? (I have the DPM/radon barrier in already but further down the layers. My only concern with the lighter vapour sheets is that it is more prone to being punctured / ripped with the mesh (I will be using chairs) and people (i.e. me!) repeatedly tripping over the mesh. 6) I intend to tape up the celotex joins (not the EPS sheets). Can I use any tape to do this or need the foil type tape? Thanks in advance.2 points
-
I had intended this entry to be about our heating system and DHW, but due to the interest and debate on MVHR silencers, have brought this entry forward. As reported in a previous blog entry, I’ve been aware of fan noise being emitted from the individual room supply and extract terminals. The valves themselves do go some way of dampening down the noise, so acoustic valves may well be a good solution, but I decided to go down the route of building my own silencer following some discussion on the main board. A check of the various offcuts in the garage revealed some sheet MDF, plenty of CLS, various pieces of 150mm plastic ducting (supplied by BPC but not required during installation), half a box of screws, and three opened tubes of different types of sealant. Whilst it may well have been simpler to buy a ready made silencer for circa £50, I fancied a small project, and felt I would be able to produce something more effective (i.e. a larger silencer) for less cost. So, having assembled all the constructional materials, I ordered a sheet of egg box self adhesive acoustic foam from ebay. With an audience watching proceedings I set about constructing the box itself. I decided on a rectangular shape, 900mm x 600mm x 300mm as this was about as big as I could make it without causing myself problems getting it into the loft next to the MVHR unit. As you can see from the pictures, I constructed a fairly simple timber frame and clad it with MDF sheet. Acoustic foam was stuck to the internal surfaces of the MDF, with additional strips of foam being added if any of the timber framing remained visible. A generous bead of sealant seals the perimeter of every piece of MDF to the frame, and to all external MDF joints. I then taped up all external joints as a belt and braces approach. The end panel remains removable, as I used some foam tape as the sealing gasket rather than sealant. Using a jigsaw, I cut out 150mm holes in the top and end of the box and sealed in place short lengths of 150mm plastic duct, the idea being that these permanent connection points could then be fitted with whatever additional rigid or flexible ducting was required to make the final connections to the MVHR unit. Cutting the plastic duct was a bit of a challenge due to the inherent flex in the pipe - it simply isn't as thick walled / strong as drain pipe. After a couple of failed attempts at getting a straight cut, I switched to using my mitre saw. Holding the duct against the back upright guide on the saw, I simply brought the blade down for the first cut, then rotated the duct against the back plate until the blade had cut all the way round the duct. This produced nice, clean straight cuts. To finish, I wrapped the whole box in foil backed insulation and taped it all up. Up into the loft, I fitted a couple of pieces of timber as a supporting platform for the silencer and positioned it next to the MVHR unit. Using a mix of flexible and rigid ducting, I made the final connections to the MVHR unit and supply manifold. Having switched the unit back on, the difference was immediately noticeable. Even in the dead of night I cannot hear fan noise from any of the supply terminals, so it appears as if my home made silencer is doing its job, and doing it well. We still have fan noise being emitted from extraction terminals so I’ll be fitting a silencer on the extract duct as well. The plan is to use the silencer BPC are sending me. Whether it will be as effective given it’s far smaller size and therefore has a smaller sound absorption surface, remains to be seen. I hope so, but if not, I do have enough material left to make another DIY (albeit smaller) silencer. Next entry will be – Heating system and DHW1 point
-
You can get self etching polyester resins and there is a paint on liquid to help bonding to PVC (can't remember the name, it was a white coloured liquid, possibly a silane). If you try and bond to the internal surface of a pipe you will almost certainly have problems as the GRP will shrink while it cures. This may not be obvious at first, but it will in time. Also worth applying a gelcoat to the PVC first as this can allow for a better mechanical lock if the surfaces is scored (roughed up). It also allows the base resin to adhere better. Or you could apply a release agent to the inside of the PVC, then a gelcoat and a 'fast mix' for the layup. This will shrink away. Then you can release the pipe from the GRP, smear it with silicone sealant and reassemble.1 point
-
@Nickfromwales Yes, purely a personal preference. If we do need to remove the tile, it is siliconed rather than grouted in place (silicone colour matched to grout) so shouldn't be an issue. I can't image SWMBO would have been very impressed if I had used that chair for decorating...1 point
-
Hi Erwin, 1. mine was overlapped one square 2. no closer than 40mm to the edge to prevent rusting, mine was around 50mm 3. don't see why not 4. I would to prevent cracking1 point
-
I believe the TPE ones can be bonded to GRP OK: https://www.roofinglines.co.uk/product/roof-drain-tpe-63mm Here's confirmation that TPE is OK with GRP: https://www.roofingsuperstore.co.uk/product/roofdrain-outlet-tpe-60mm.html1 point
-
I see John McDonnell made a helpful pronouncement from Glastonbury that the deaths were murder. For a variety of reasons that man is a moron.1 point
-
1 point
-
Pilot drill and then fire these straight in, being careful not to catch the web.1 point
-
1 point


