Search the Community
Showing results for tags 'leak'.
-
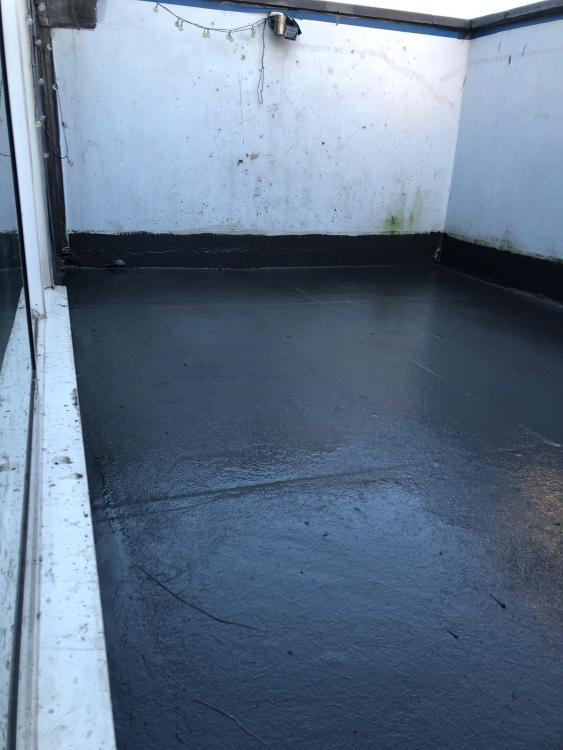
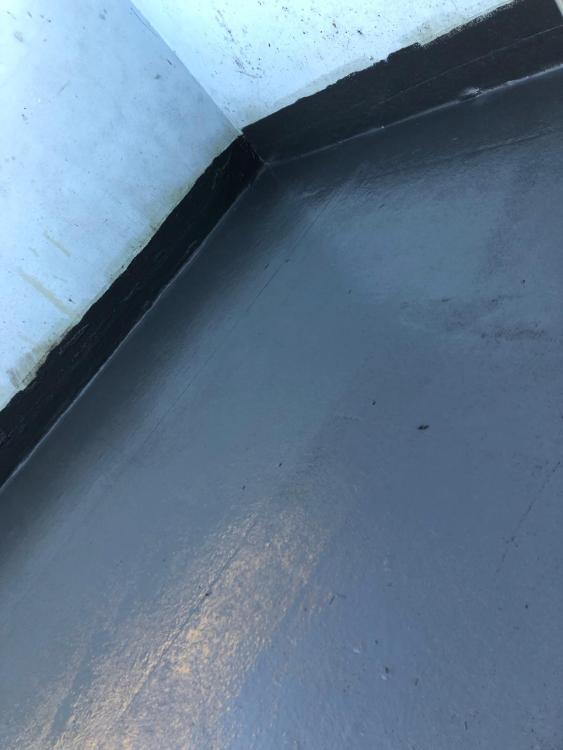
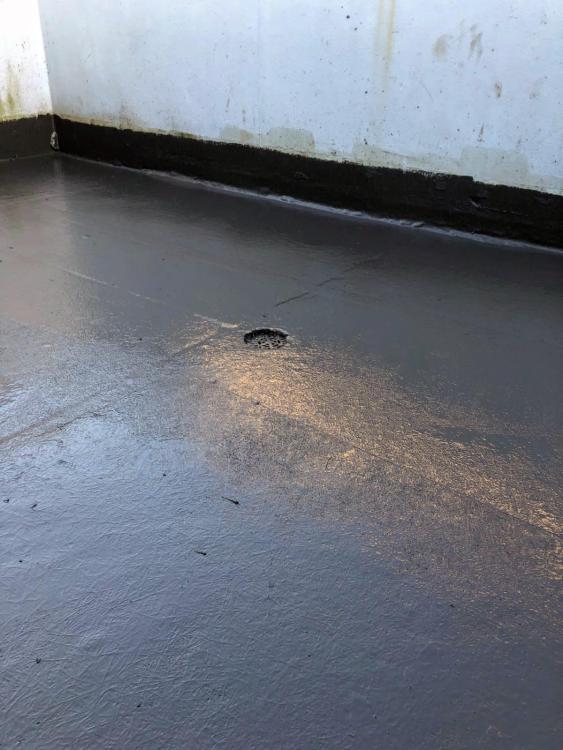
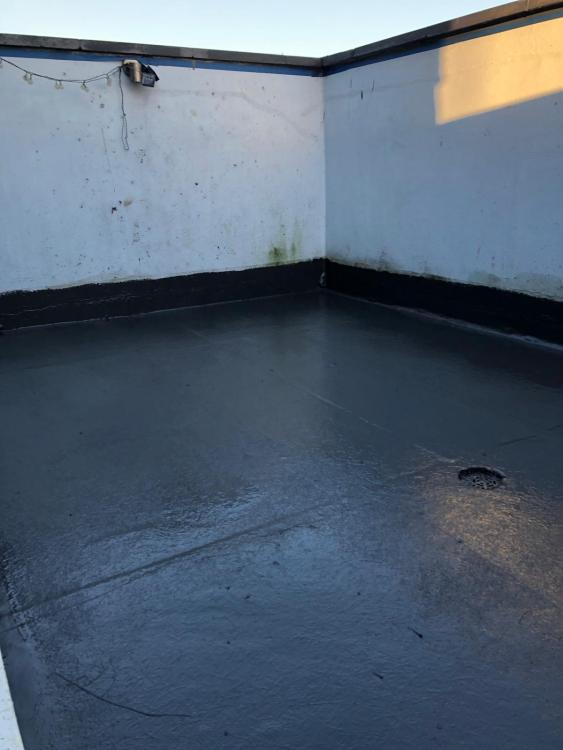
Which waterproofing system would be best for a terrace floor above two bedrooms. The terrace floor is chipboard I believe sitting across the underlying beams. There is a drain to the centre of the terrace so any system needs to be sloped to the centre. There will be people walking around on this terrace so the system needs to be flexible and strong and withstand a few knocks. Currently the floor is a failing fibreglass floor. It would be great if I could get some decent advice on this as I've been ripped off a couple of times now for a liquid rubber roof and a fibreglass roof. Both of which have failed. If there is a DIY solution then I will consider that too as it's broken the bank and the cowboys are not refunding the money. Thanks for any advice and replies. Also is there anything I can do to recover my money or is it not worth pursuing?
-
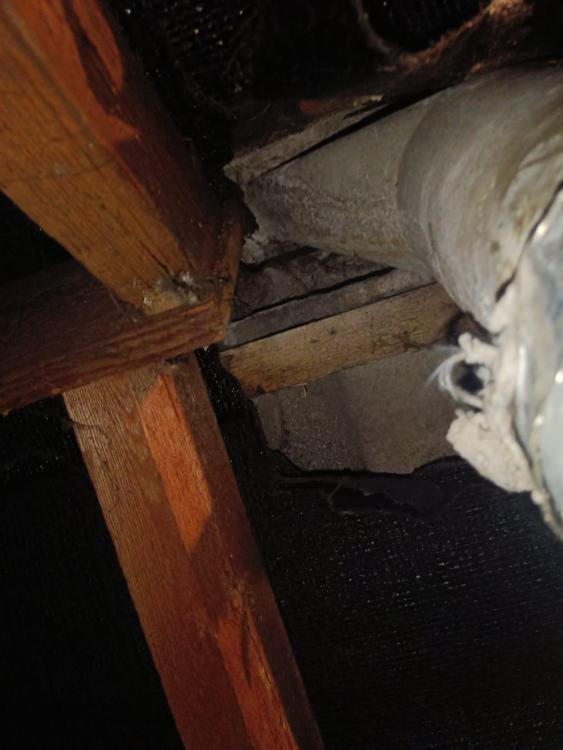
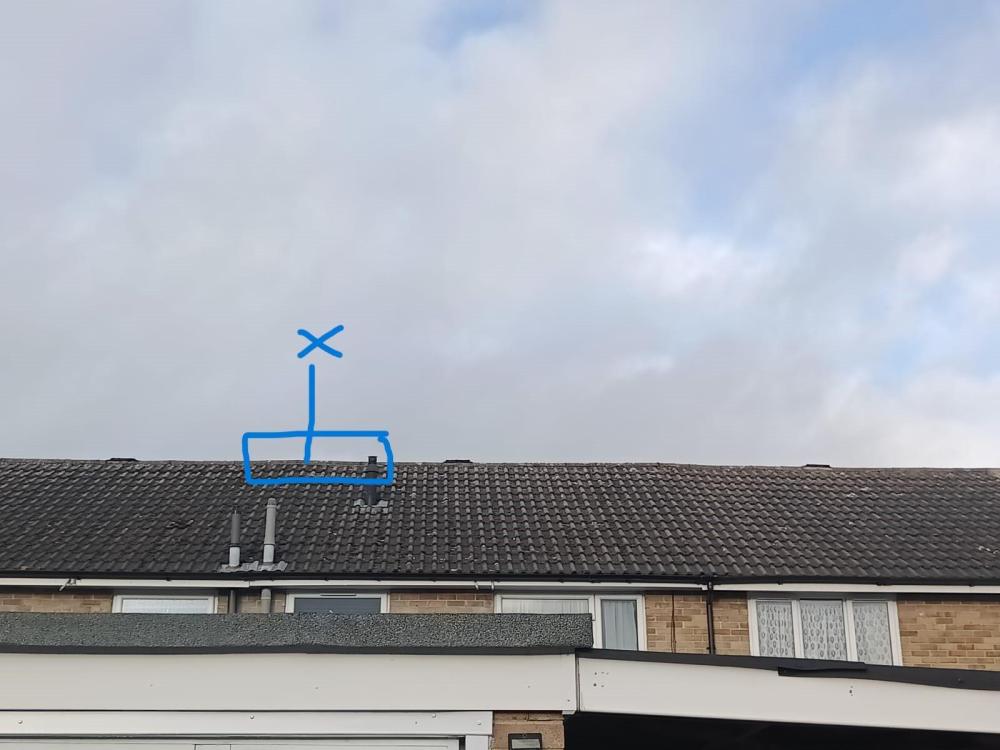
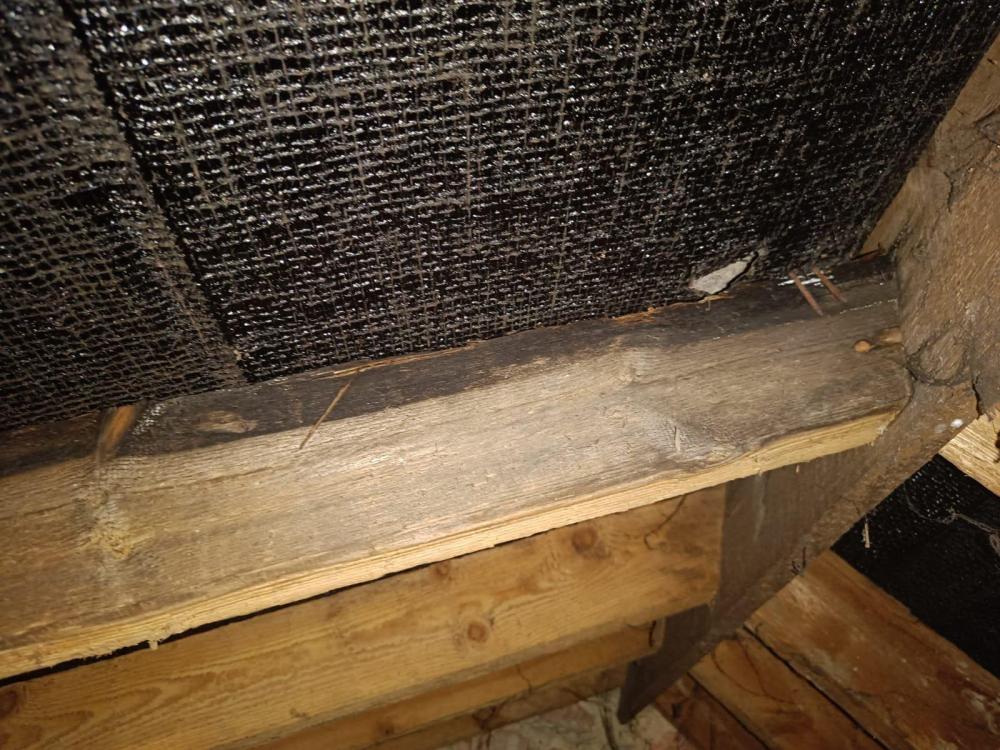
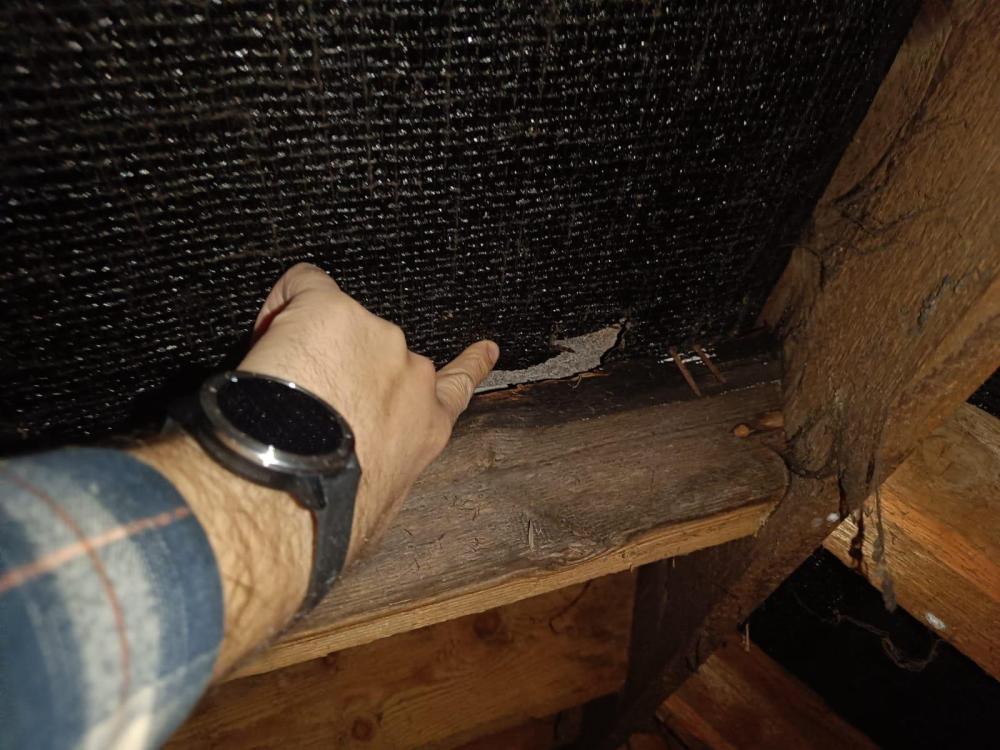
Hi, 1. Roof beams wet, damp, mouldy at the top of the roof. 2. 2 beams in a terrace house of around 20 beams, so isolated to those beams. Two separate areas. One much worse than the other. 3. There is a small hole in the felt. The water is absorbing into the beam, see photo. 4. Had a roofer round, he said could be the ridges. He filled the ridges with a mastik or some kind of sealant. He said there should not be any ingress of water now. 5. The beams is still damp, mouldy when raining. He said the only way to fix it is to remove the ridges, refelt that area, then put ridges back on. 6. Problem is that the ridges are cemented firm against the tiles and if we remove them it will more than likely break the tiles and cause more damage to the tiles that will then need replacing. 7. He said another reason could be that there is condensation between the felt and the tiles when wet. I dont think this is the case as in my separate image where the chimney flue is, there is a big gap in the felt but no water issue. 8. My conclusion, water is ingressing in this area, damaging the beam. Is my only option to rip all the ridges off, refelt the area. Quote is circa £500 +materials. Please see images attached. Appreciate if any builders/roofers could advise on their opinion on this, where is the water coming from, it's not dripping wet but wet enough that it's causing the wood to crumble at the very top in the image. Roof Area with issue- Wet beam with hole in felt. Note tiles are dry here, as there has been no rain. Seperate part of the roof, no damp so i dont think it can be condensation
-
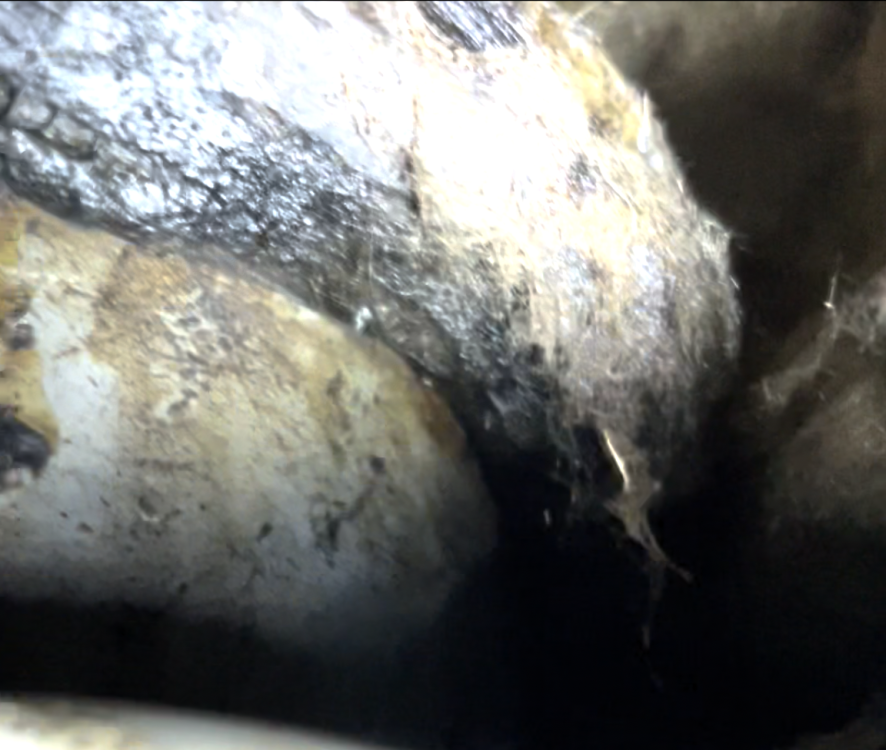
Hi folks, I've been having issues with a leak in my kitchen for some time. Reached out to insurance who were not useful, and several trades have either not resolved the problem or didn't want to get involved. Currently it looks like this: Leak site after insurance investigation Insurance broke through the plasterboard to try and find what's behind, a soil pipe. Have attached an image and video of the exposed soil pipe. This is in a flat roof extension to my kitchen. On the right of the beam is the original house, and directly above is the toilet. Above this, on the roof you can see that the vent pipe leads into a box. The box is directly behind the toilet. The box is sealed, originally with felt, and then the insurance guys covered it with some strange sealant that's now started peeling: The "box" Inside the box: Soil pipe coming out of the toilet, covered in bitumen Inside the box is the soil pipe. It's a strange angle, and it's been suggested that it might be ceramic. It's also covered with something horrible, bitumen perhaps. Close inspection of the pipe showed that it seems to have slipped, there might be as much as an inch gap between the pipes, but the bitumen is hiding it: Signs of slippage What I suspect is happening is the box itself is sealed and weather tight. However, within the box, underneath the pipe, is not sealed. The pipe is leaking straight into the house. I've so far had difficulty getting this fixed because it needs the roofer and the plumber to work together. Given this, I'm thinking that I should crack the box, remove the pipe, and seal the roof underneath the pipe so that I can remove the box. That gives me free access to the plumbing and a plumber can fix it without the pressure of getting a roof weathertight. I have a number of questions I hope people can help with: Is there a reason that the pipes would have been covered in bitumen? Is there a good reason for building the box around the pipe, rather than sealing the roof underneath it? I presume it might be because replacing the roof is going to be difficult with the pipe in the way. Should it be possible to erect a tarp to keep the area dry, or am I going to have to time this around weather? Is felting this sensible given I have no experience with a torch etc? The box is less than 0.5m2, is there another option that would be easier given my lack of experience? I'm considering just cracking the box then sealing the edges with epoxy as that seems to have worked for the insurance roofers... Do I need to give any consideration to the state of things within the box eg sodden wood? Can you make any sense of the soil pipe exposed in the kitchen? There's a strange mass around it and I'm not sure if I should be opening this up further as a possible second leak Thanks all IMG_1170_trim.mp4
-
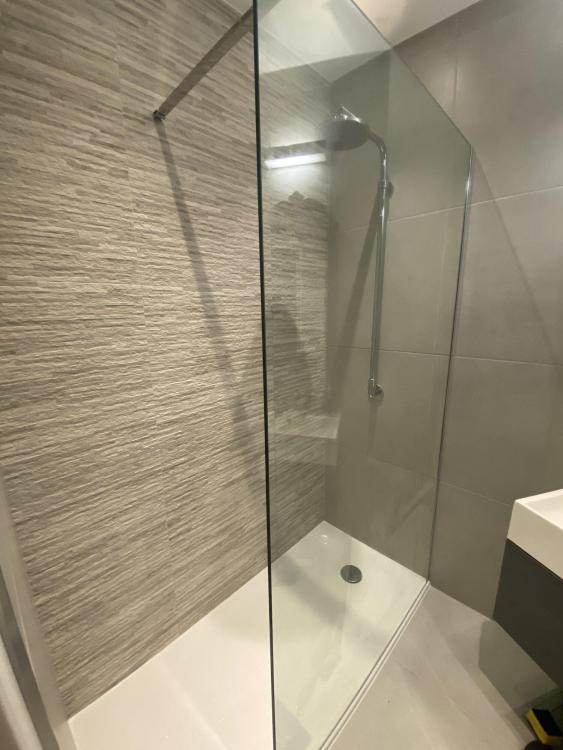
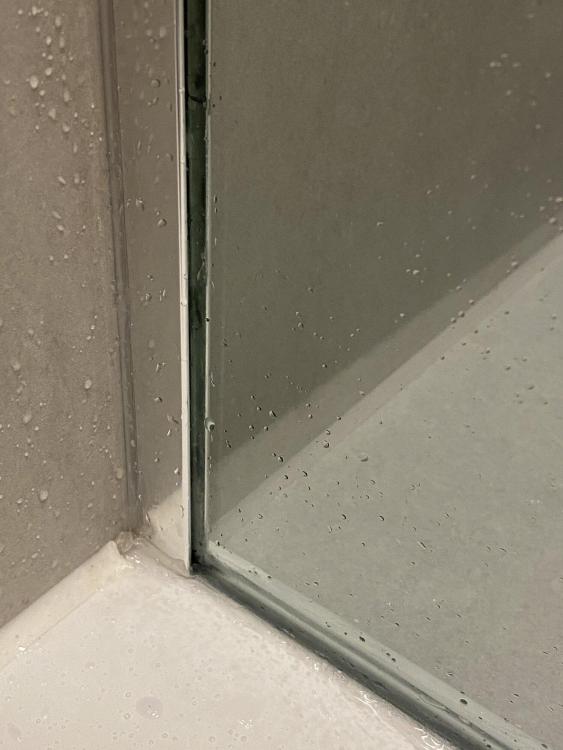
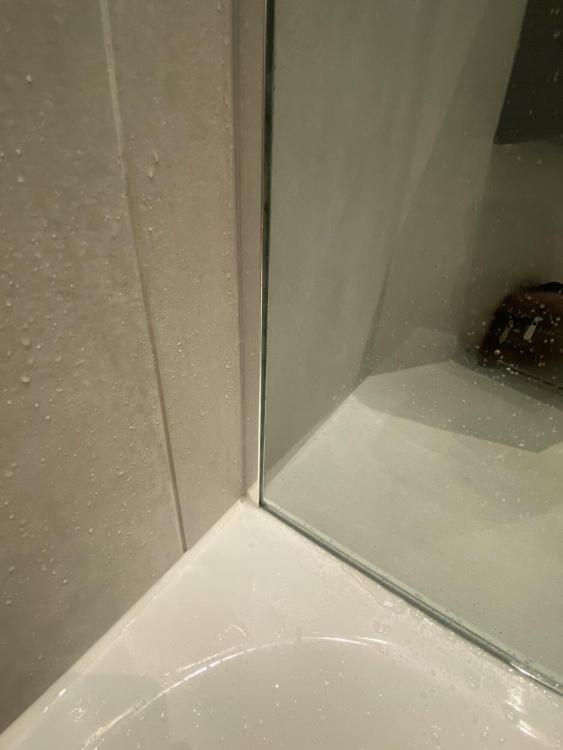
So I have a question here and I’m completely lost, I had a shower screen replaced as it shattered. The fitter came and fit the new wall profile to the wall in the place of the old profile using the same holes, then fitted the glass and then sealed it with silicone. When I first used it it started leaking from the bottom corner as shown in the pictures. He came back and took off the glass and Re fitted glass with new silicone and I allowed it 4 days to set. The same issue has happened again where is it leaking on the outside in the corner by the profile(bottom right in the first image is where the leak is). It looks like the water is entering the profile half way up on the inside then dripping down and coming out the wrong side on the outside of the shower screen in the corner. Any thoughts on why this happens from the images? Much appreciated and help
-
Thought I'd add this to the blog but would be very grateful for some advice. Some construction background: MBC timber frame, flat roof, pumped insulation in roof void. Make up of roof is Sarnafil (hot welded) laid on a felt base, on top of 22mm OSB roof (with a slope), on top of 22mm OSB roof deck (flat - slope provided by battens to create the fall), then 400mm pumped insulation between the roof joists, air tight membrane, battens, 12mm plasterboard and skim. Roof lights on the flat roof (including a lovely round one, subject of another blog post). Yesterday we had some drips coming through the finished ceiling, about 700mm from the edge of our circular rooflight. We cut away some plasterboard to see what is going on. Plasterboard soaking wet, batten soaking wet and looks like the insulation is soaking wet. There is some water damage closer to the rooflight too, visible in the photo, but we started our cut at the plasterboard edge which is where the water started seeping through - the low point I guess. Have contacted roofing supplier and rooflight supplier (both of whom fitted their product). What shall I do next? I can't help feeling that without detecting the source of the leak neither supplier is going to help us. Any thoughts? Cut away our ceiling until we find the edge of the problem? (as we get nearer to the rooflight bit of course we are 7m off the floor ☹️)
- 48 comments
-
- 2
-

-
- roof
- rooflights
-
(and 2 more)
Tagged with:
-
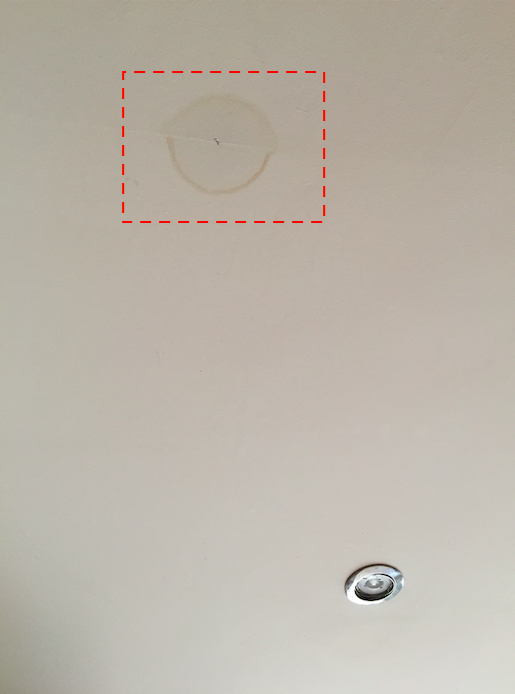
In our current gaff we have a shower pump to boost two feeble showers. The pump has taken to running for a couple of seconds a few times a day for no obvious reason, or maybe there was a good reason because I've just seen this damp/wet patch (I poked the little hole in the centre) : This damp patch is probably in line with the plumbing to one of the showers so I'm guessing that's the culprit. It's tiled above, so I'm about to cut a big hole in the ceiling to try and find out what the problem is. My good lady suggested that I seek your (collective) wise council before I set about it with my multi tool. What's the best way to attack this?
- 21 replies
-
- power shower
- leak
-
(and 2 more)
Tagged with:
-
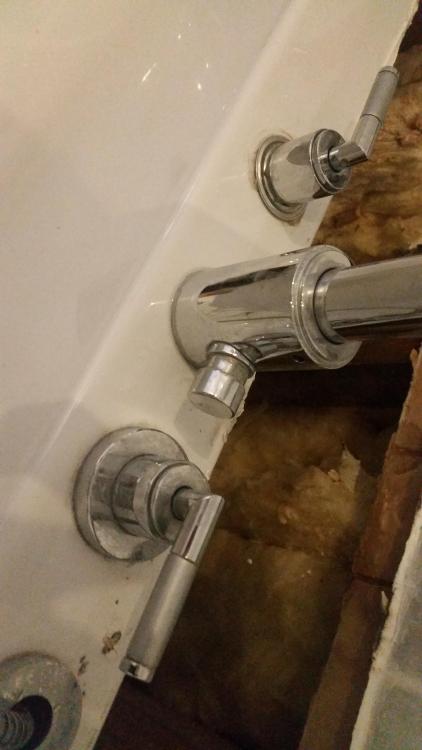
Spotted a leak coming out from under our ensuit bath last evening. Traced it to one of the taps being cracked open and a leak from the diverter valve that had found a hole in the silicone seal. Have got the bath out but before I take the diverter to bits I wonder if any body knows what I will find in there. The diverter button assembly looks to have a couple of flats on it so I assume it unscrews but I thought I would gather the collective wisdom before I tried.
-
.....I thought to myself, as I instructed my man to cut the excess tail off a coil of Wunda UFH pipe. He cut some more, the noise got much worse. What’s going on ?!? We hadn’t hooked it up yet so a leak was impossible.......and then I twigged. The good folk at Wunda now sell the coils of UFH pipe pressurised with compressed air, and when I say pressurised, I mean pressurised. If you cut straight through you’d better be holding both pieces as it’s like stabbing a car tire ( probably ). They must have it close to 6 or more bar guessing by just how much air came out of a 100m coil. I then noticed the pipe ends. They’ve basically got plastic plugs glued / crimped into each end to keep the pressure up and keep any crud out, and I assume this pre-pressurising benefits in a couple of ways. Wunda know the pipe is sound at dispatch, you know it’s sound when you get it, and if dopy gits with long screws or multi tools inadvertently damage the pipe after installation / floors down etc there will be an undeniable “whoosh” of compressed air to let them know. Can’t help thinking that would also be of benefit during Ufh at the slab stage too as the pipe is likely to be a bit less susceptible to compression perhaps. Folly, or first class. ?
- 3 replies
-
- wunda
- underfloor
- (and 5 more)
-
Hi, For weeks we could smell something in the downstairs WC. The builder kept saying that it was probably just that the extractor wasn't connected up. Eventually though water started to leak into the WC along with drain flies appearing. The leak has been fixed, but the flies are still there. The leak was from an in wall cistern. It seems that we have some water logging inside the wall and I now think it needs to be dismantled to get rid of the flies. Has anyone ever seen screed get waterlogged however, noticeably the floor in the WC and the cupboard next to it are constantly way cold than the rest of the house, even in the current weather. I wonder if this is due to constant evaporation of water from somewhere. There is even now a small amount of moulding a corner. As I say it looks like at the very least the wall needs to be dismantled but is there anything else we should be looking for before we put it back together? Thanks
-
Hi all, it's our first time having a bathroom redone. We're excited it's nearly completed, all except a leak in the bath screen hinge. We've asked for this to be looked at, and someone has come back twice to fix this with an excessive amount of sealant, but water still seeps through. I attach a picture below, the blue arrows are the two places where water comes through. What else can be done? I think if we ask for the plumber/joiner to come back, he'll just add even more sealant (at this point the whole perpendicular corner has sealant on already), but it doesn't seem to solve the leaks. I'm sure the contractor just wants the bill at this stage, but we're a little reluctant to pay it with a wet floor after every shower in a brand new bathroom. Any advice is most welcomed on how we can solve the leaks! thanks in advance.
-
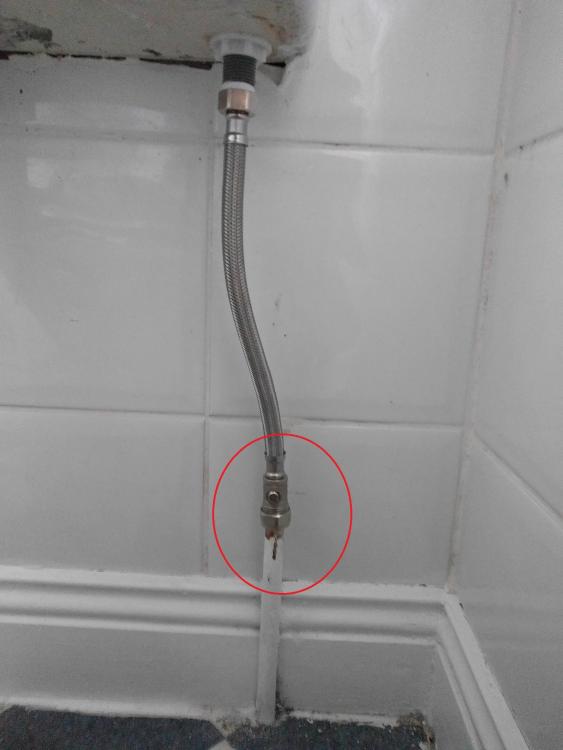
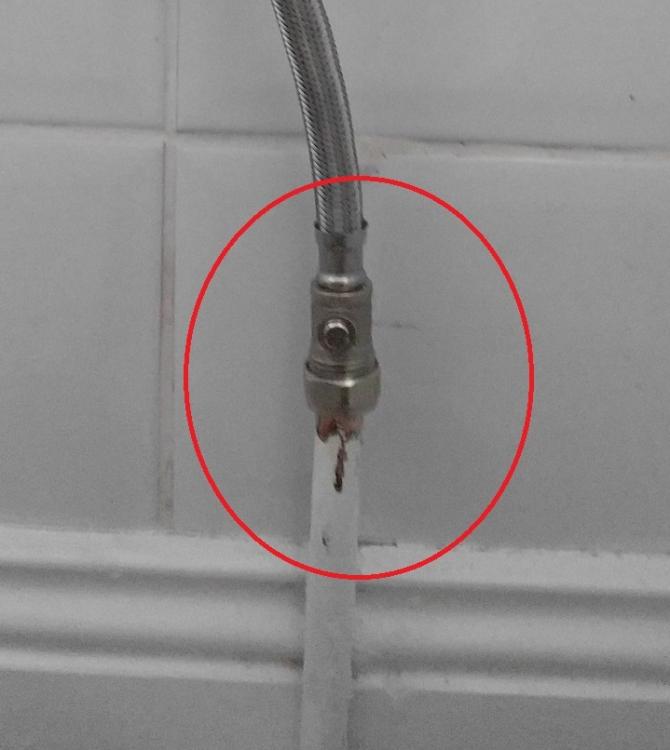
Hi, Very basic question: I've been fitting new innards to my cisterns to replace the old ball & cock valves with a dual flush system that has a built in overflow. Going fine so far but ran into a problem adding a valve to the cold water inlet on one of them. I've decided to add a valve by using the one built into a flexihose. I cut the copper pipe to size and used steel wool to clean off the paint. But....I've gone through 3 olives now and think I've squished the end of the copper pipe a bit at this stage try to get a good seal that doesn't leak. My latest attempt used additional PTFE at the head of the pipe just in front of the Olive but it's still weeping very slightly. Any further tightening just kinks the nut at a wierd angle. What are my options at this point to get a good seal? Replace part of the copper pipe? Last thing I want is for this thing to blow when I'm away for a few days! Thanks!

