Onoff
-
Posts
21125 -
Joined
-
Last visited
-
Days Won
206
Everything posted by Onoff
-

SIP garden room foundations plan - am I on track?
Onoff replied to Hamish's topic in Garages & Workshops
You have cold bridging there I think. -
Made mine under instruction of His Highness the Welsh Wizard: Timber frame: Lined with Aquapanel: Tanked: If you want a really big pocket you likely won't get a former anyway.
-
Best get on with it then, you could have denailed 20 in the time it took to write that! ? Looking really good, keep going. ?
-
DIY wooden sleeper retaining wall advice needed
Onoff replied to Zeffo77's topic in Introduce Yourself
Were your steels galvanised or just painted? -
Duct tape some bits of thick card, old carpet tile cut up etc over any protruding ones and cut off another time when you have the kit etc. You'll know all about it the day you cut your head. Scalps bleed big time!
-
@zoothorn. SERIOUSLY! If your screwing from the outside in then watch your head on screws poking through! If over length you'll want to trim off with an angle grinder and thin disc.
-
I've been one of the men acting as counter weights! We did double up on the scaffold boards though as a nod to H&S! T'was many years ago when we had to fix a bracket over a stairwell and wanted a scaffold. The miniature site agent walked the plank and did it himself.
-
I see the clamp now! ? Those two boards sticking out look like a redneck's diving board!
-
Careful with that short scaffold board you're using for temporary access on the deck area. Inadvertently stand on the end and.....
-
...just thought I haven't drained the compressor for a while...?
-
It was suggested this might happen. One school said gravity would overcome the potential issue. Another predicted it to a tee. Seems all too familiar for some reason... ? VID-20200528-WA0008.mp4
-
Never mind the broken panes. It'll all be worth it when you're sat on that deck with a cold beer(s).
-
Think I'd be looking at filling the edges in at least with pir or eps and filling in the gaps with treated timber. This is the two halves upturned of the FLOOR of my shed: Done in cans. What was I thinking!
-
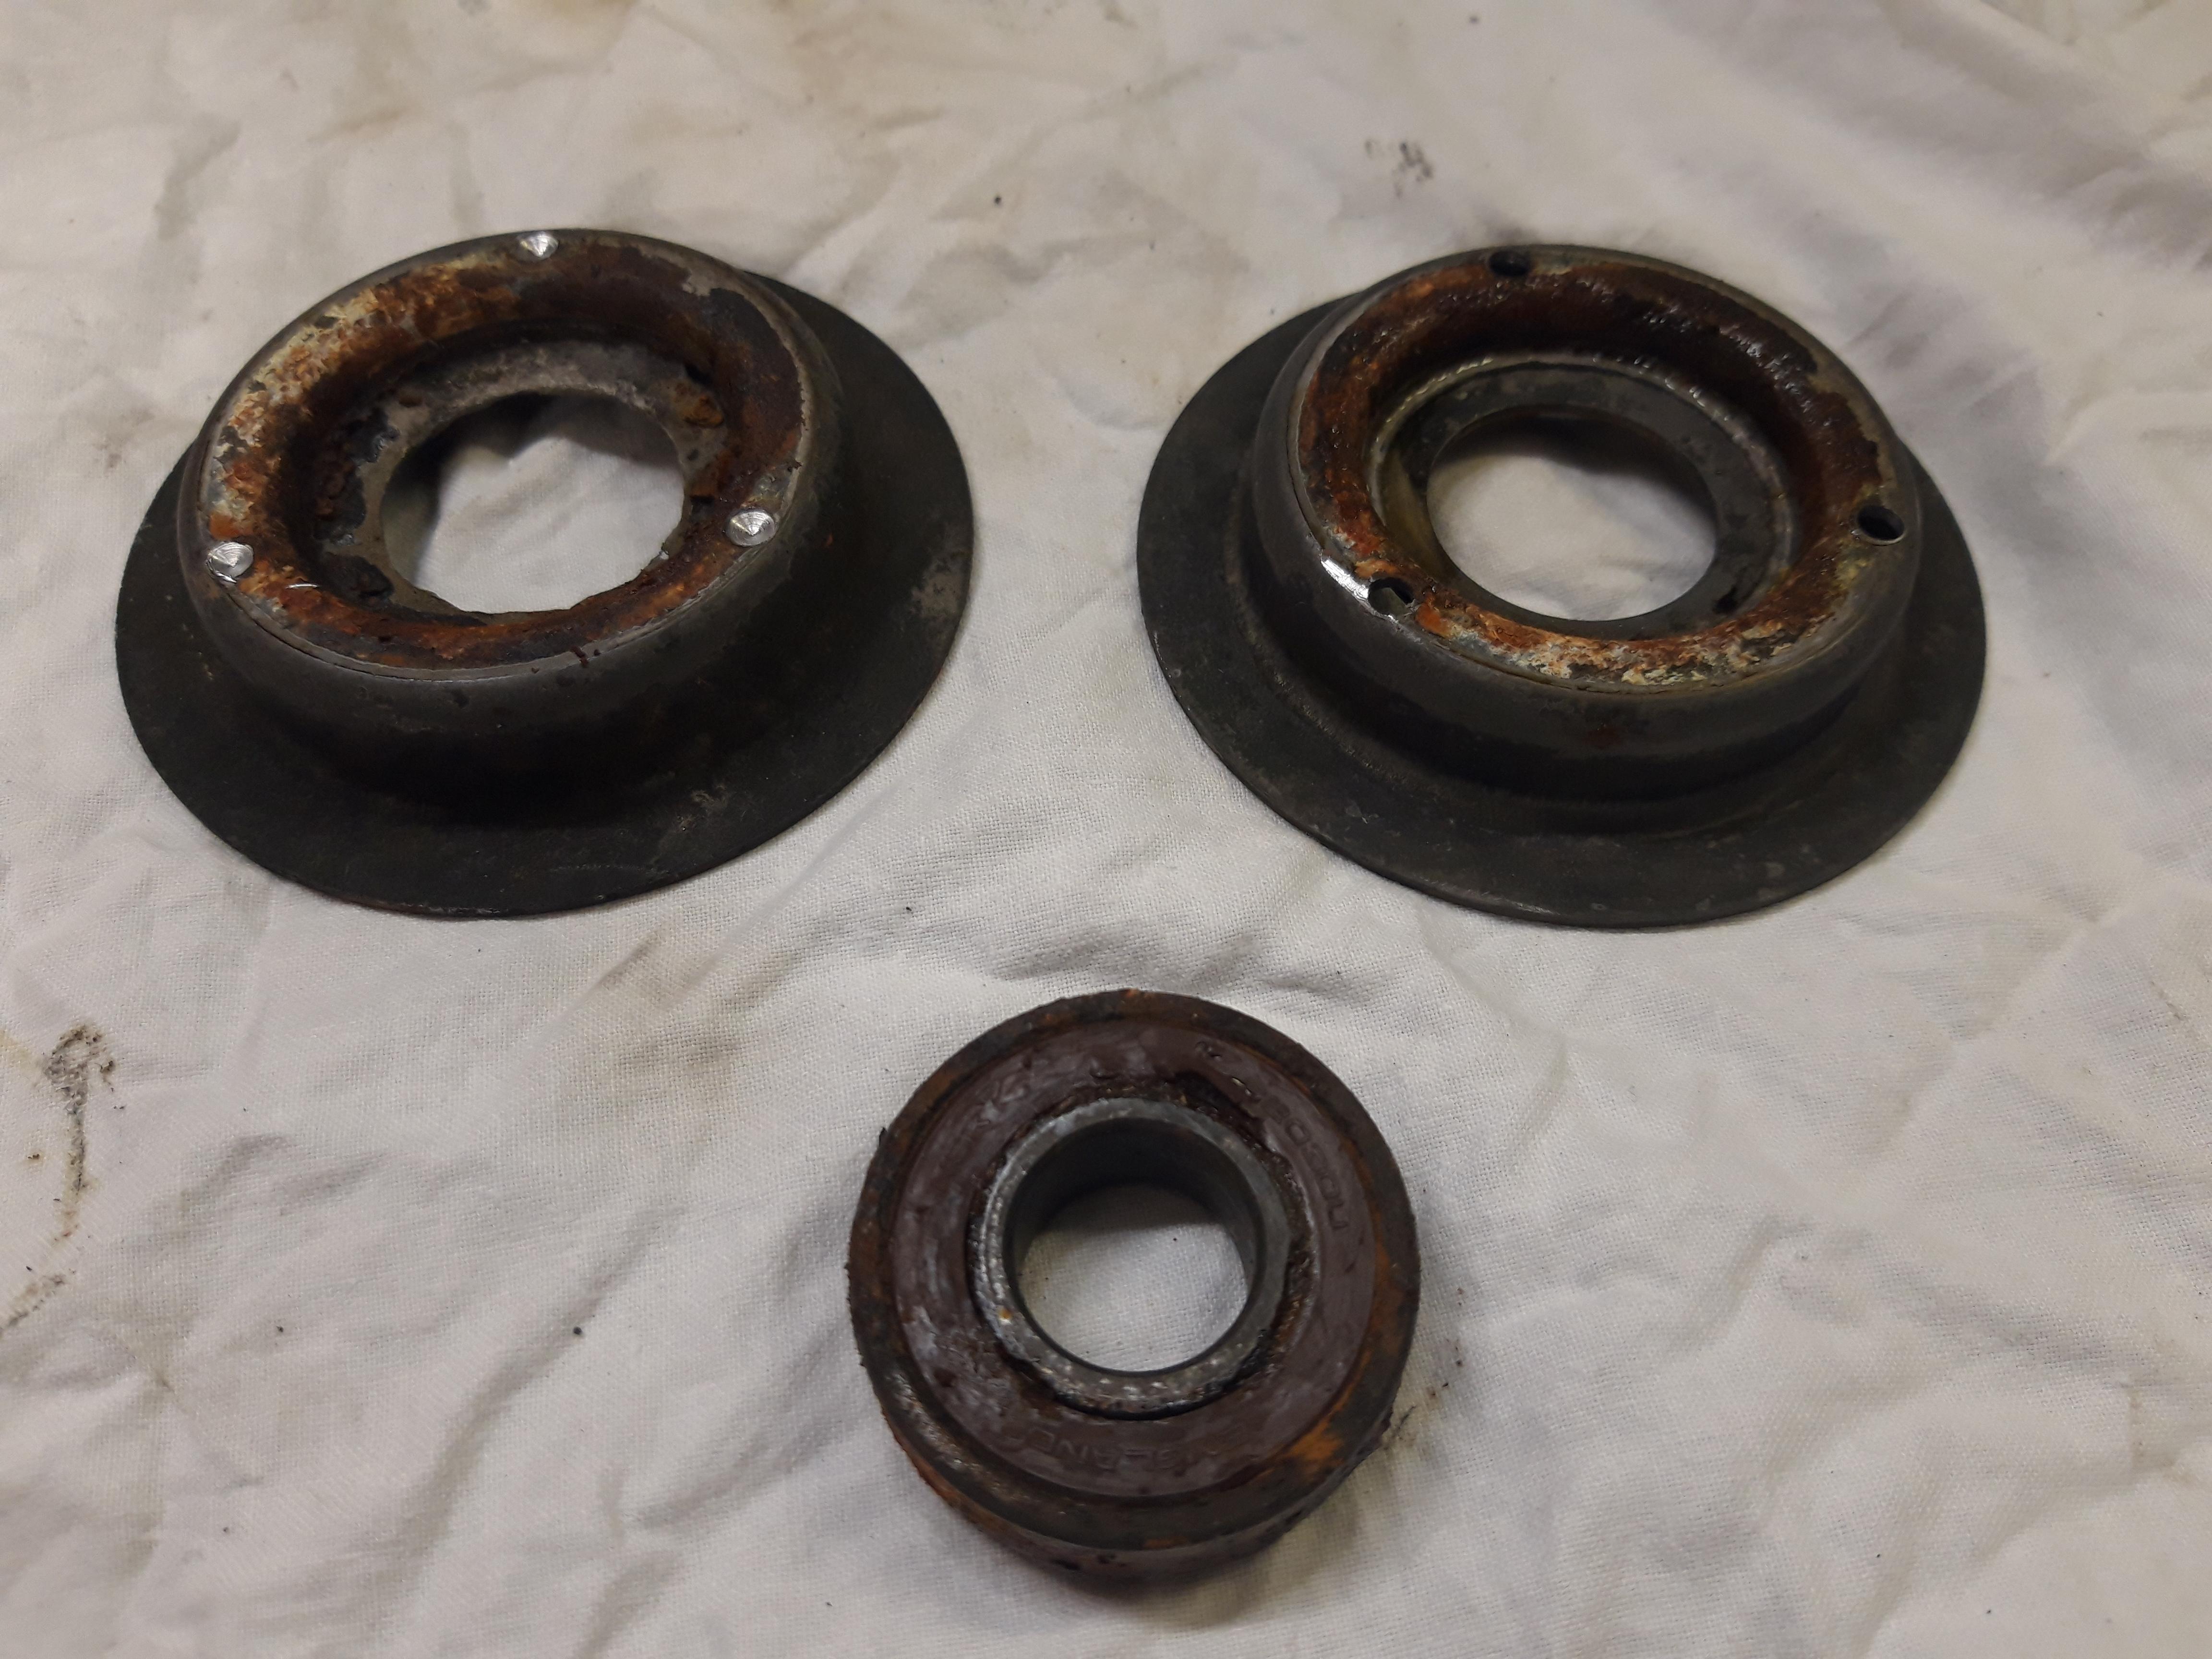
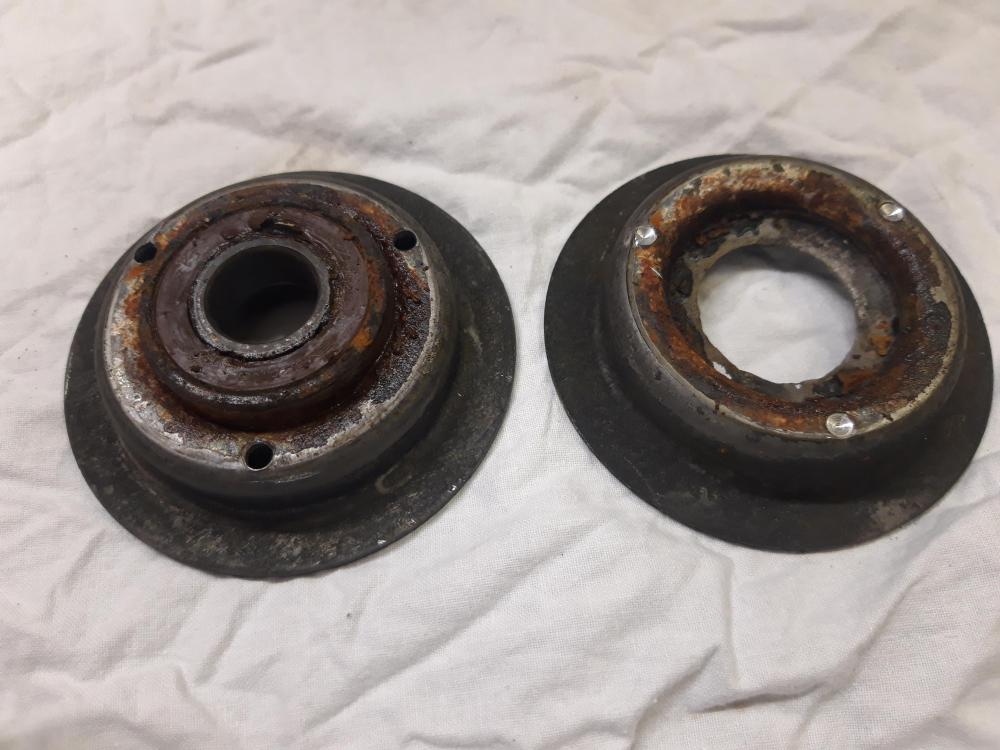
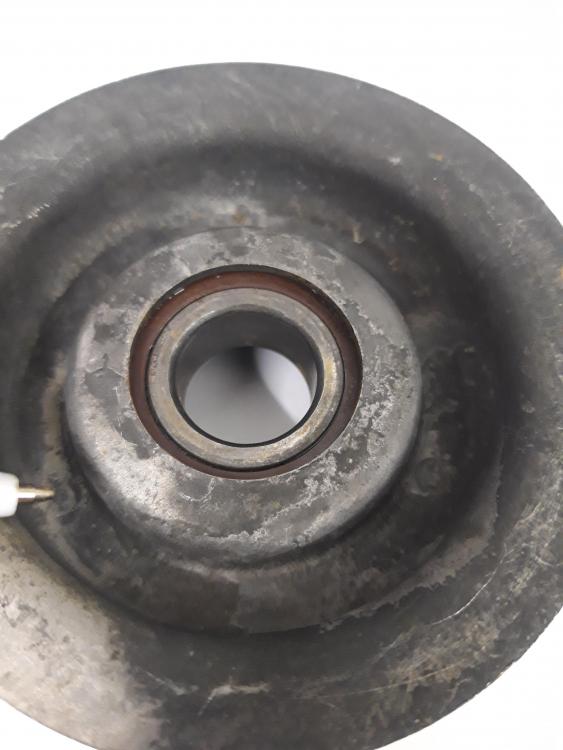
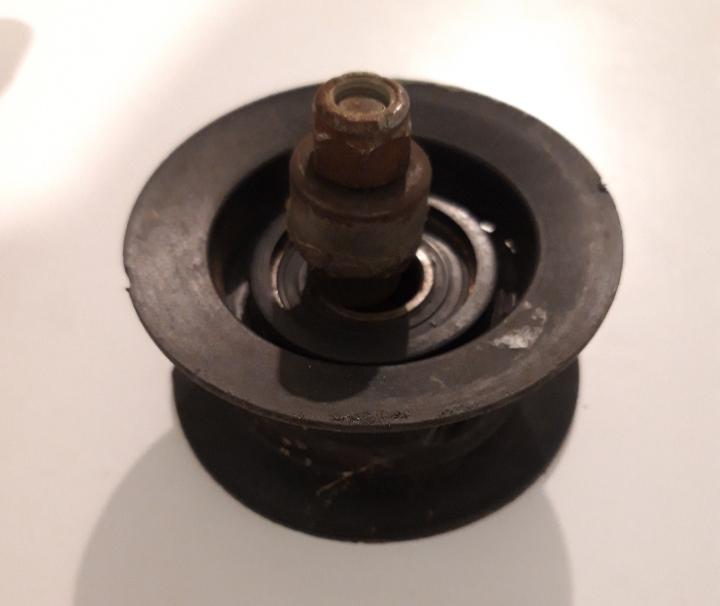
NSK 6203DU so nothing special. The two halves will need another dip before painting. Off to sort through the bearing box...

-
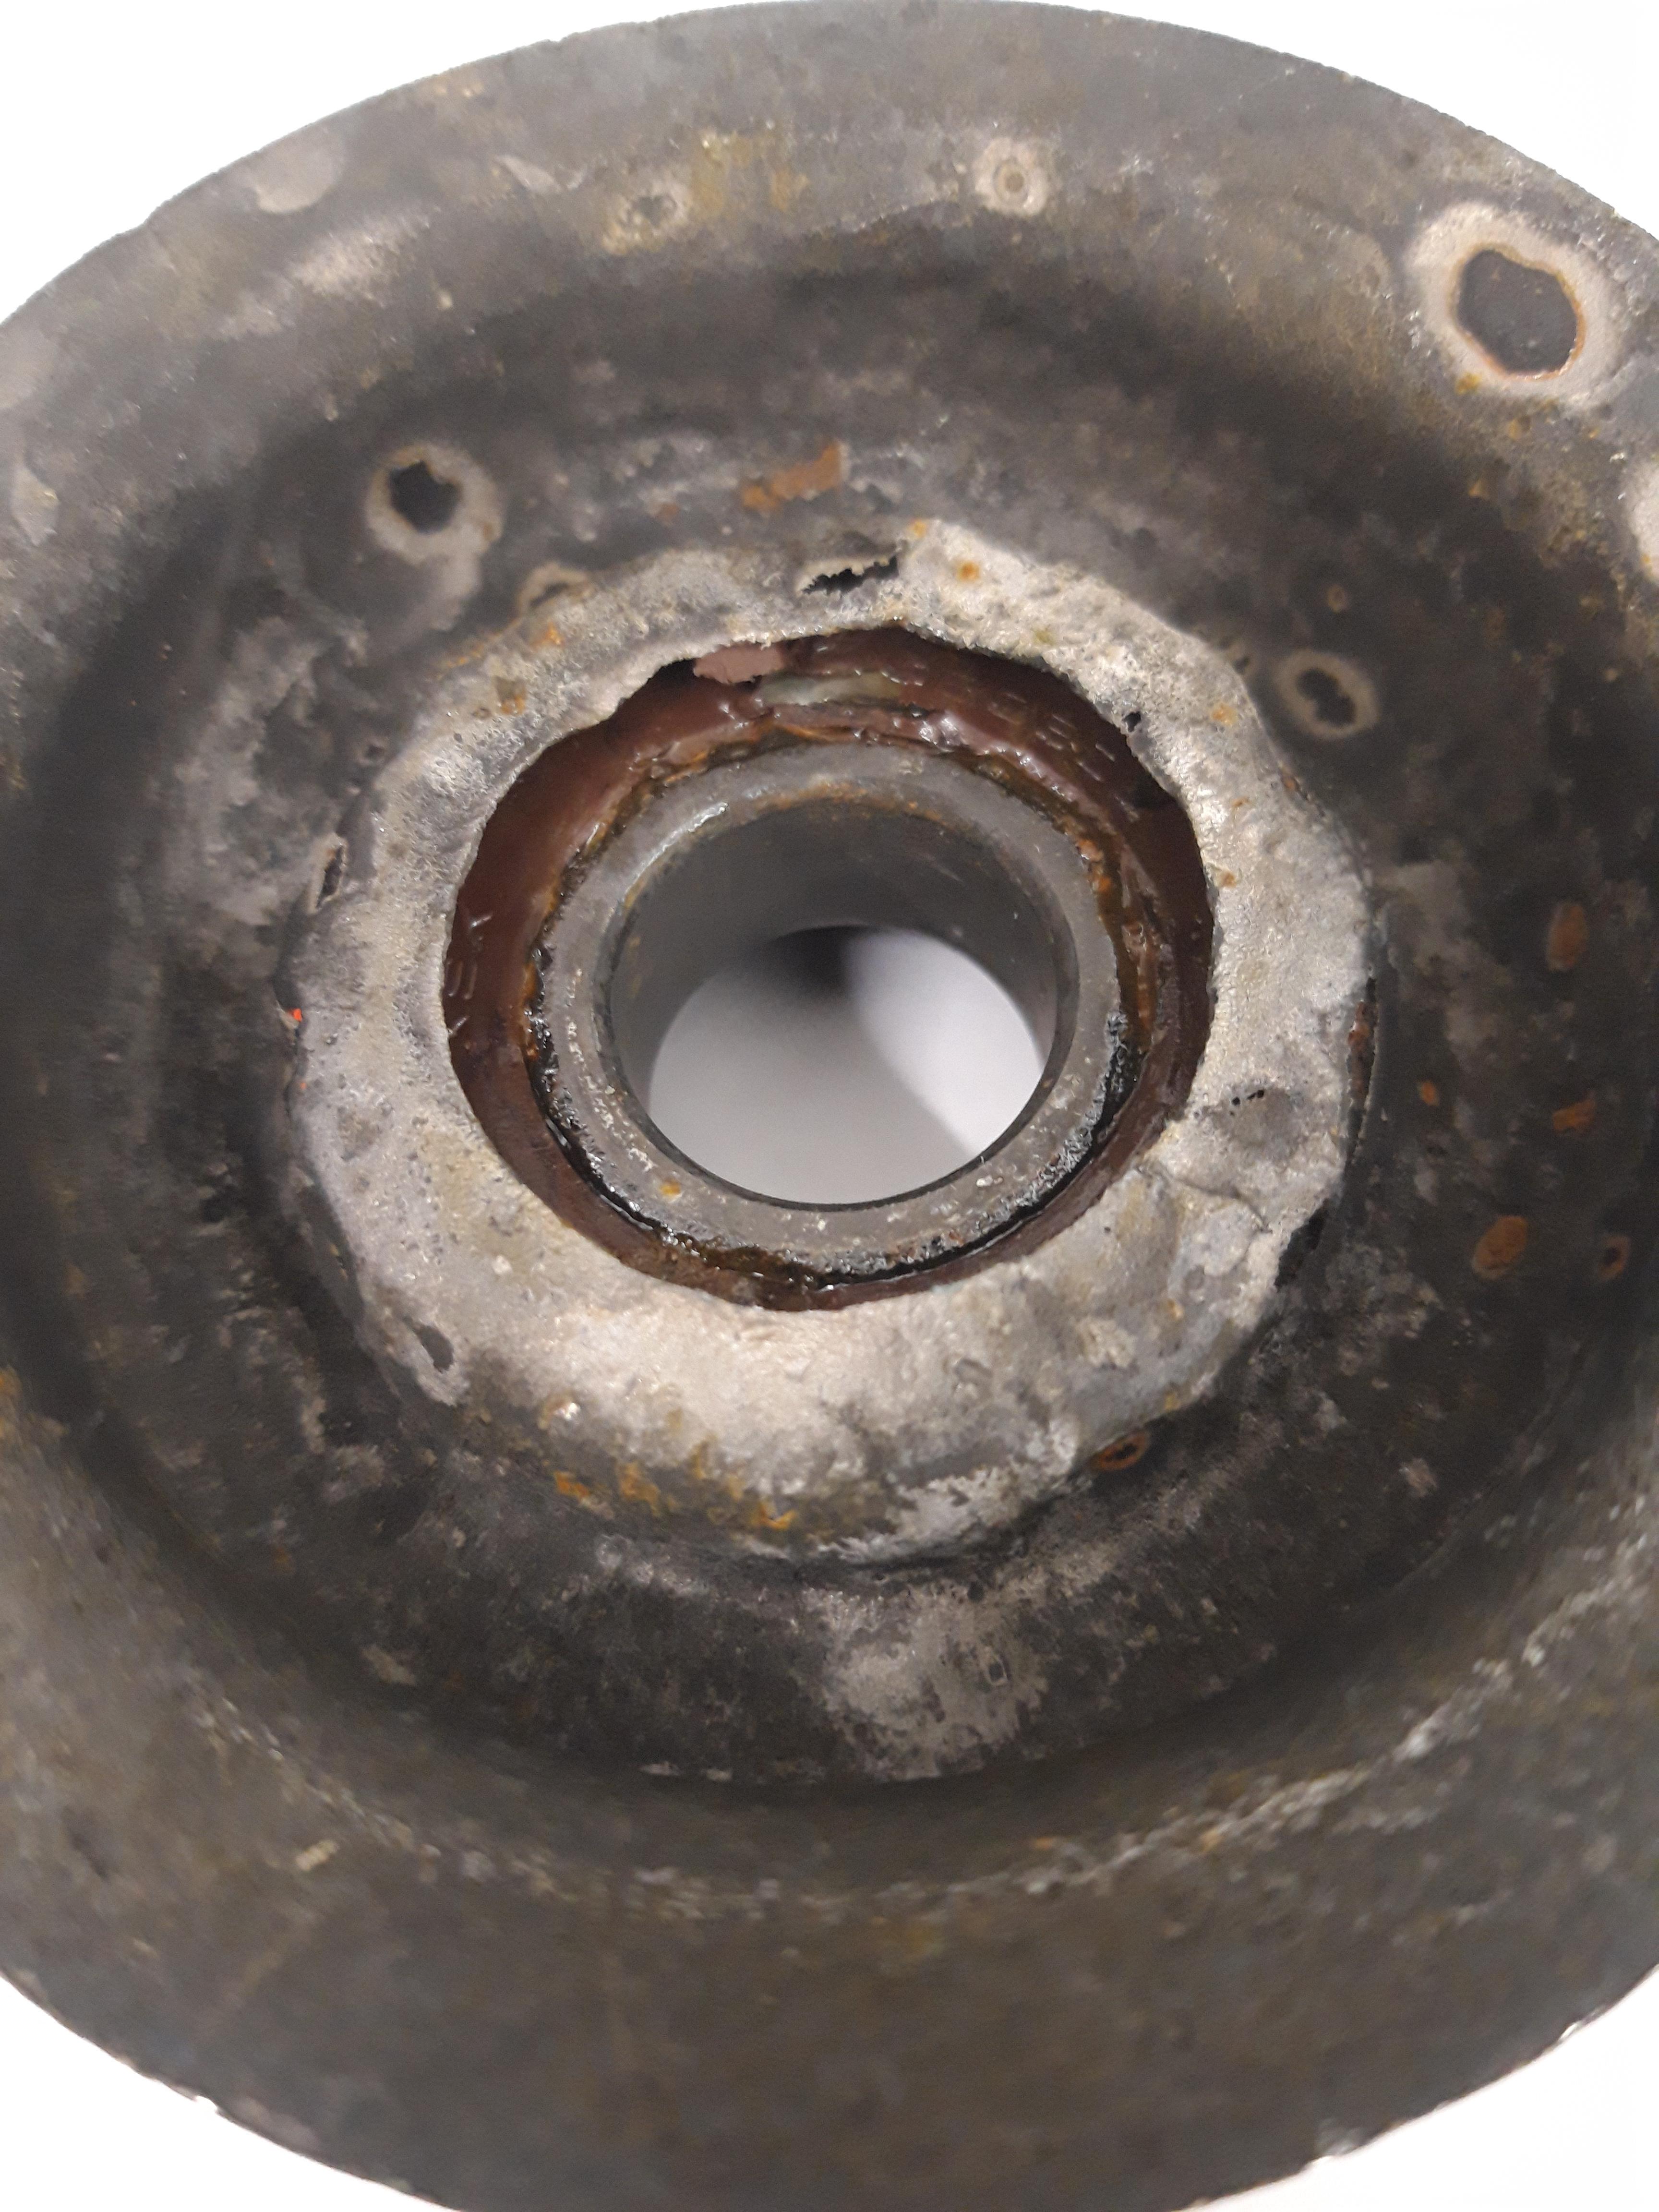
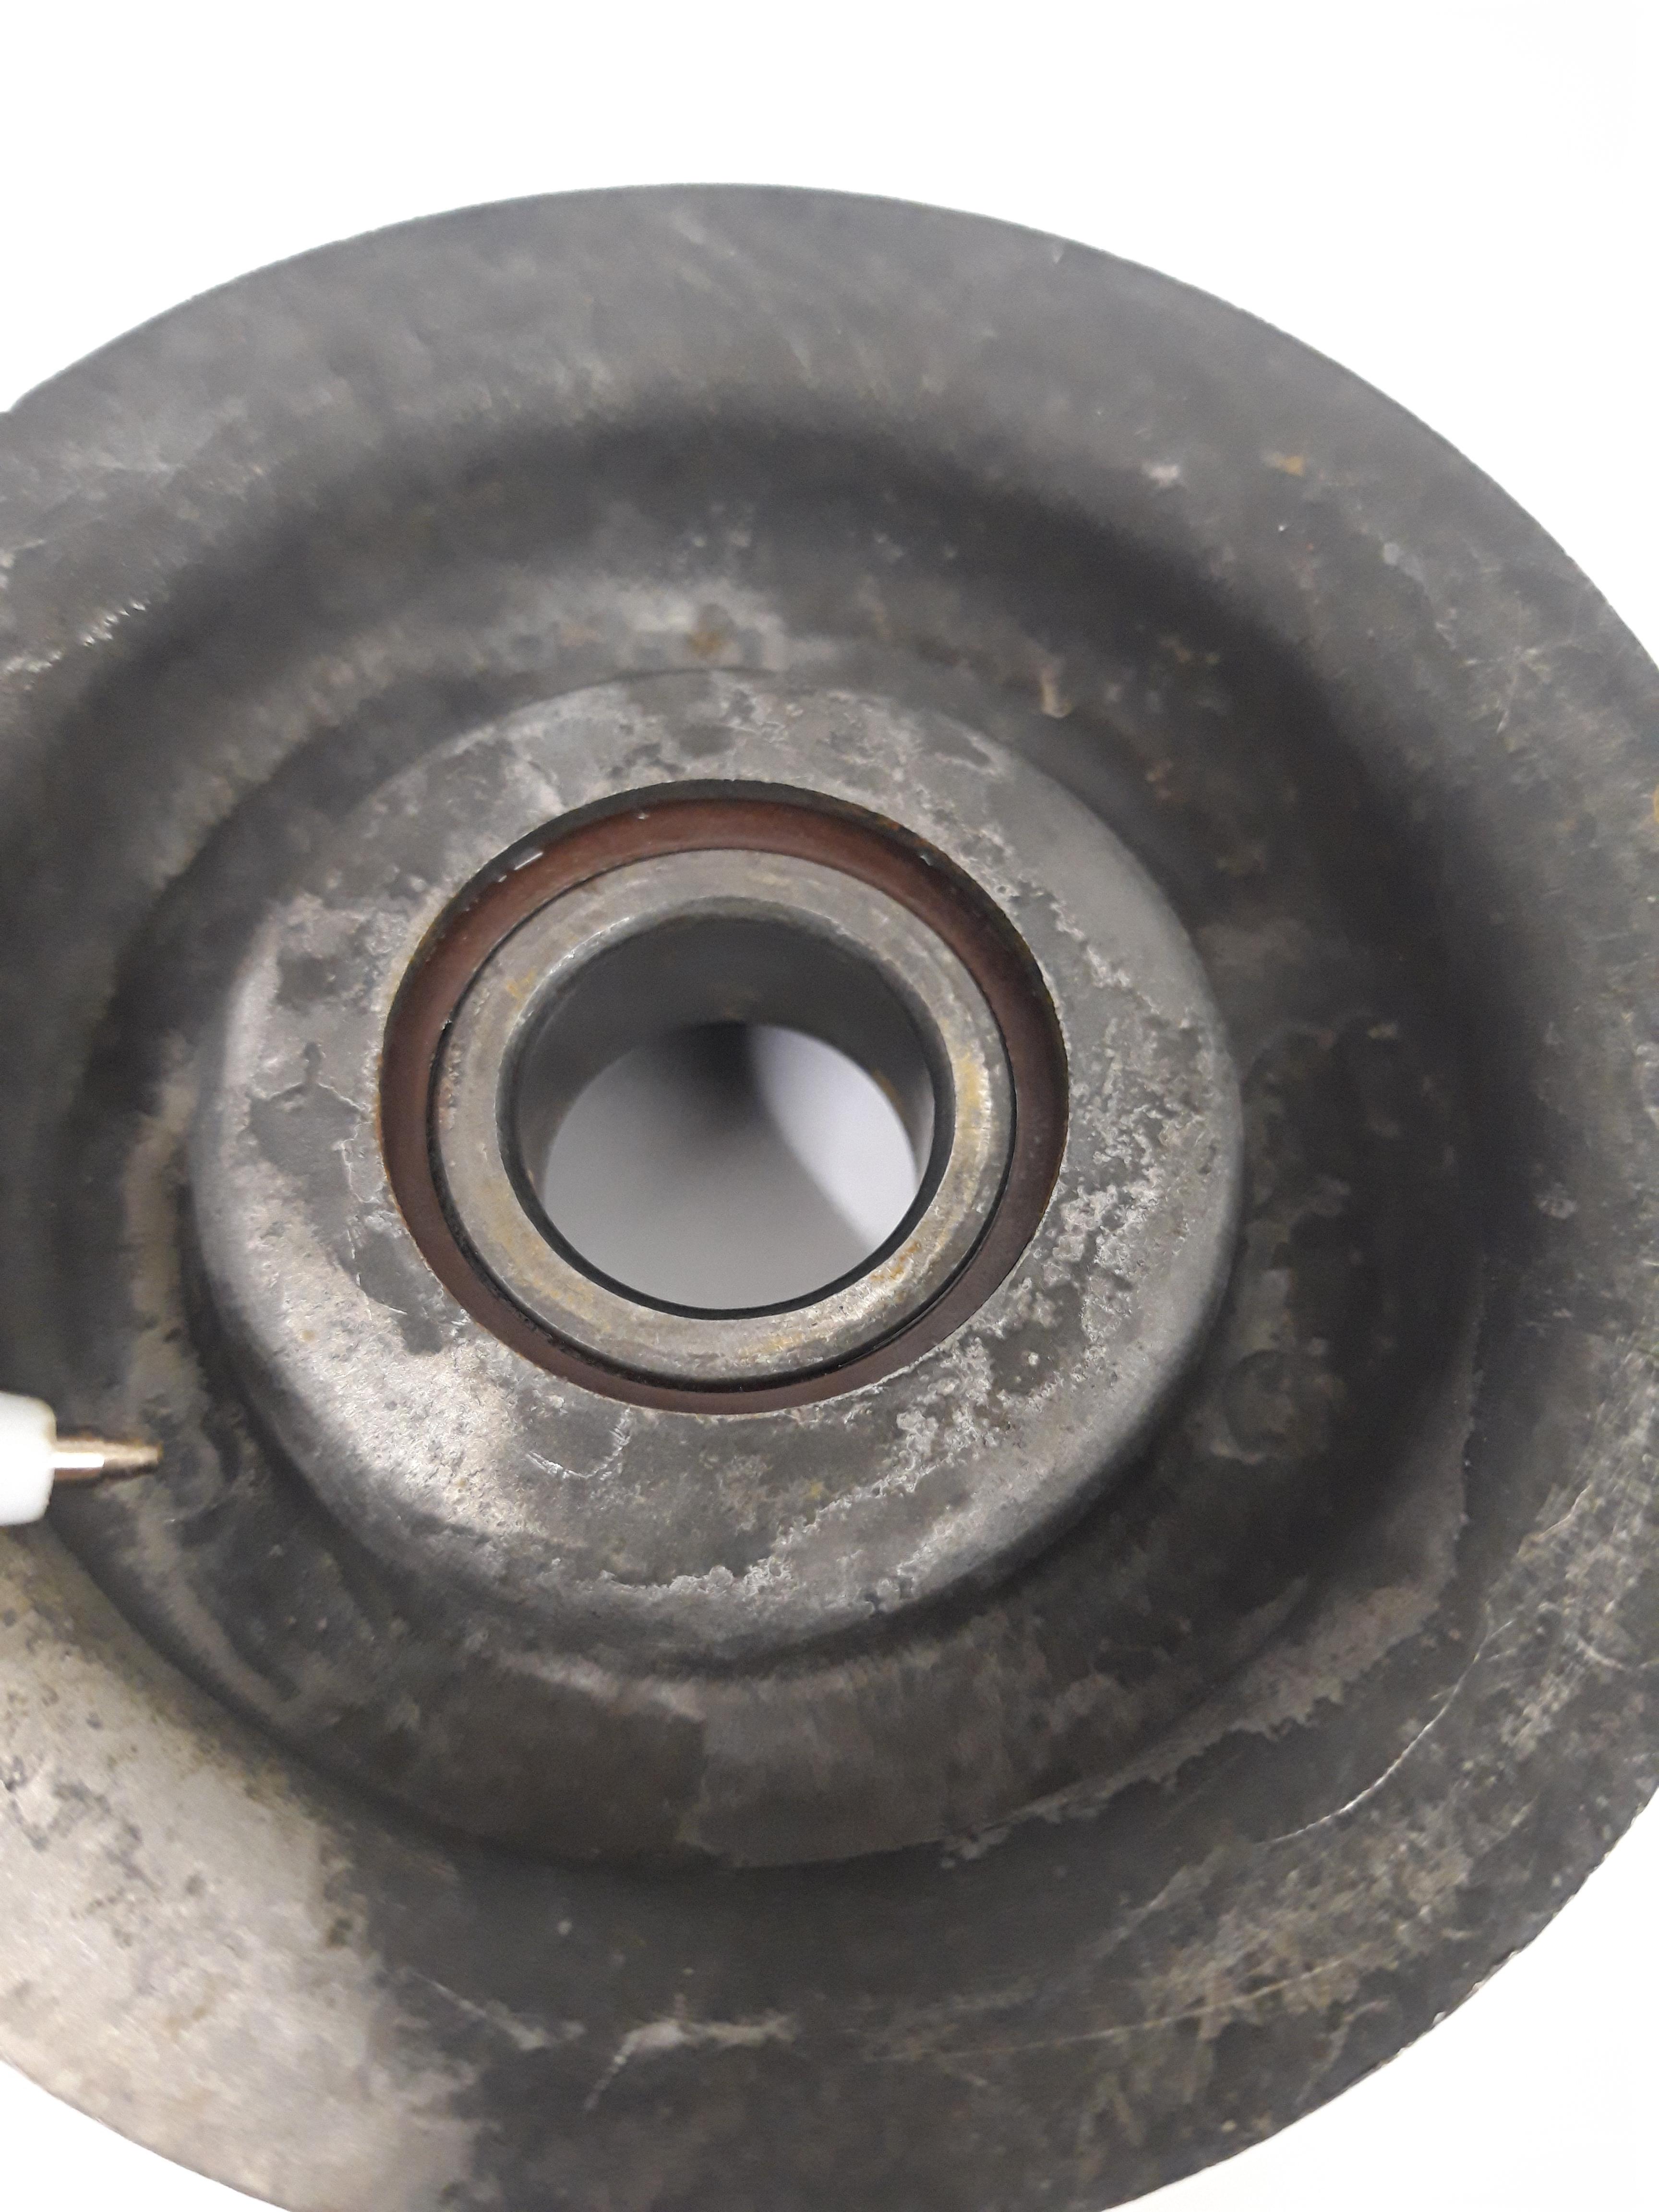
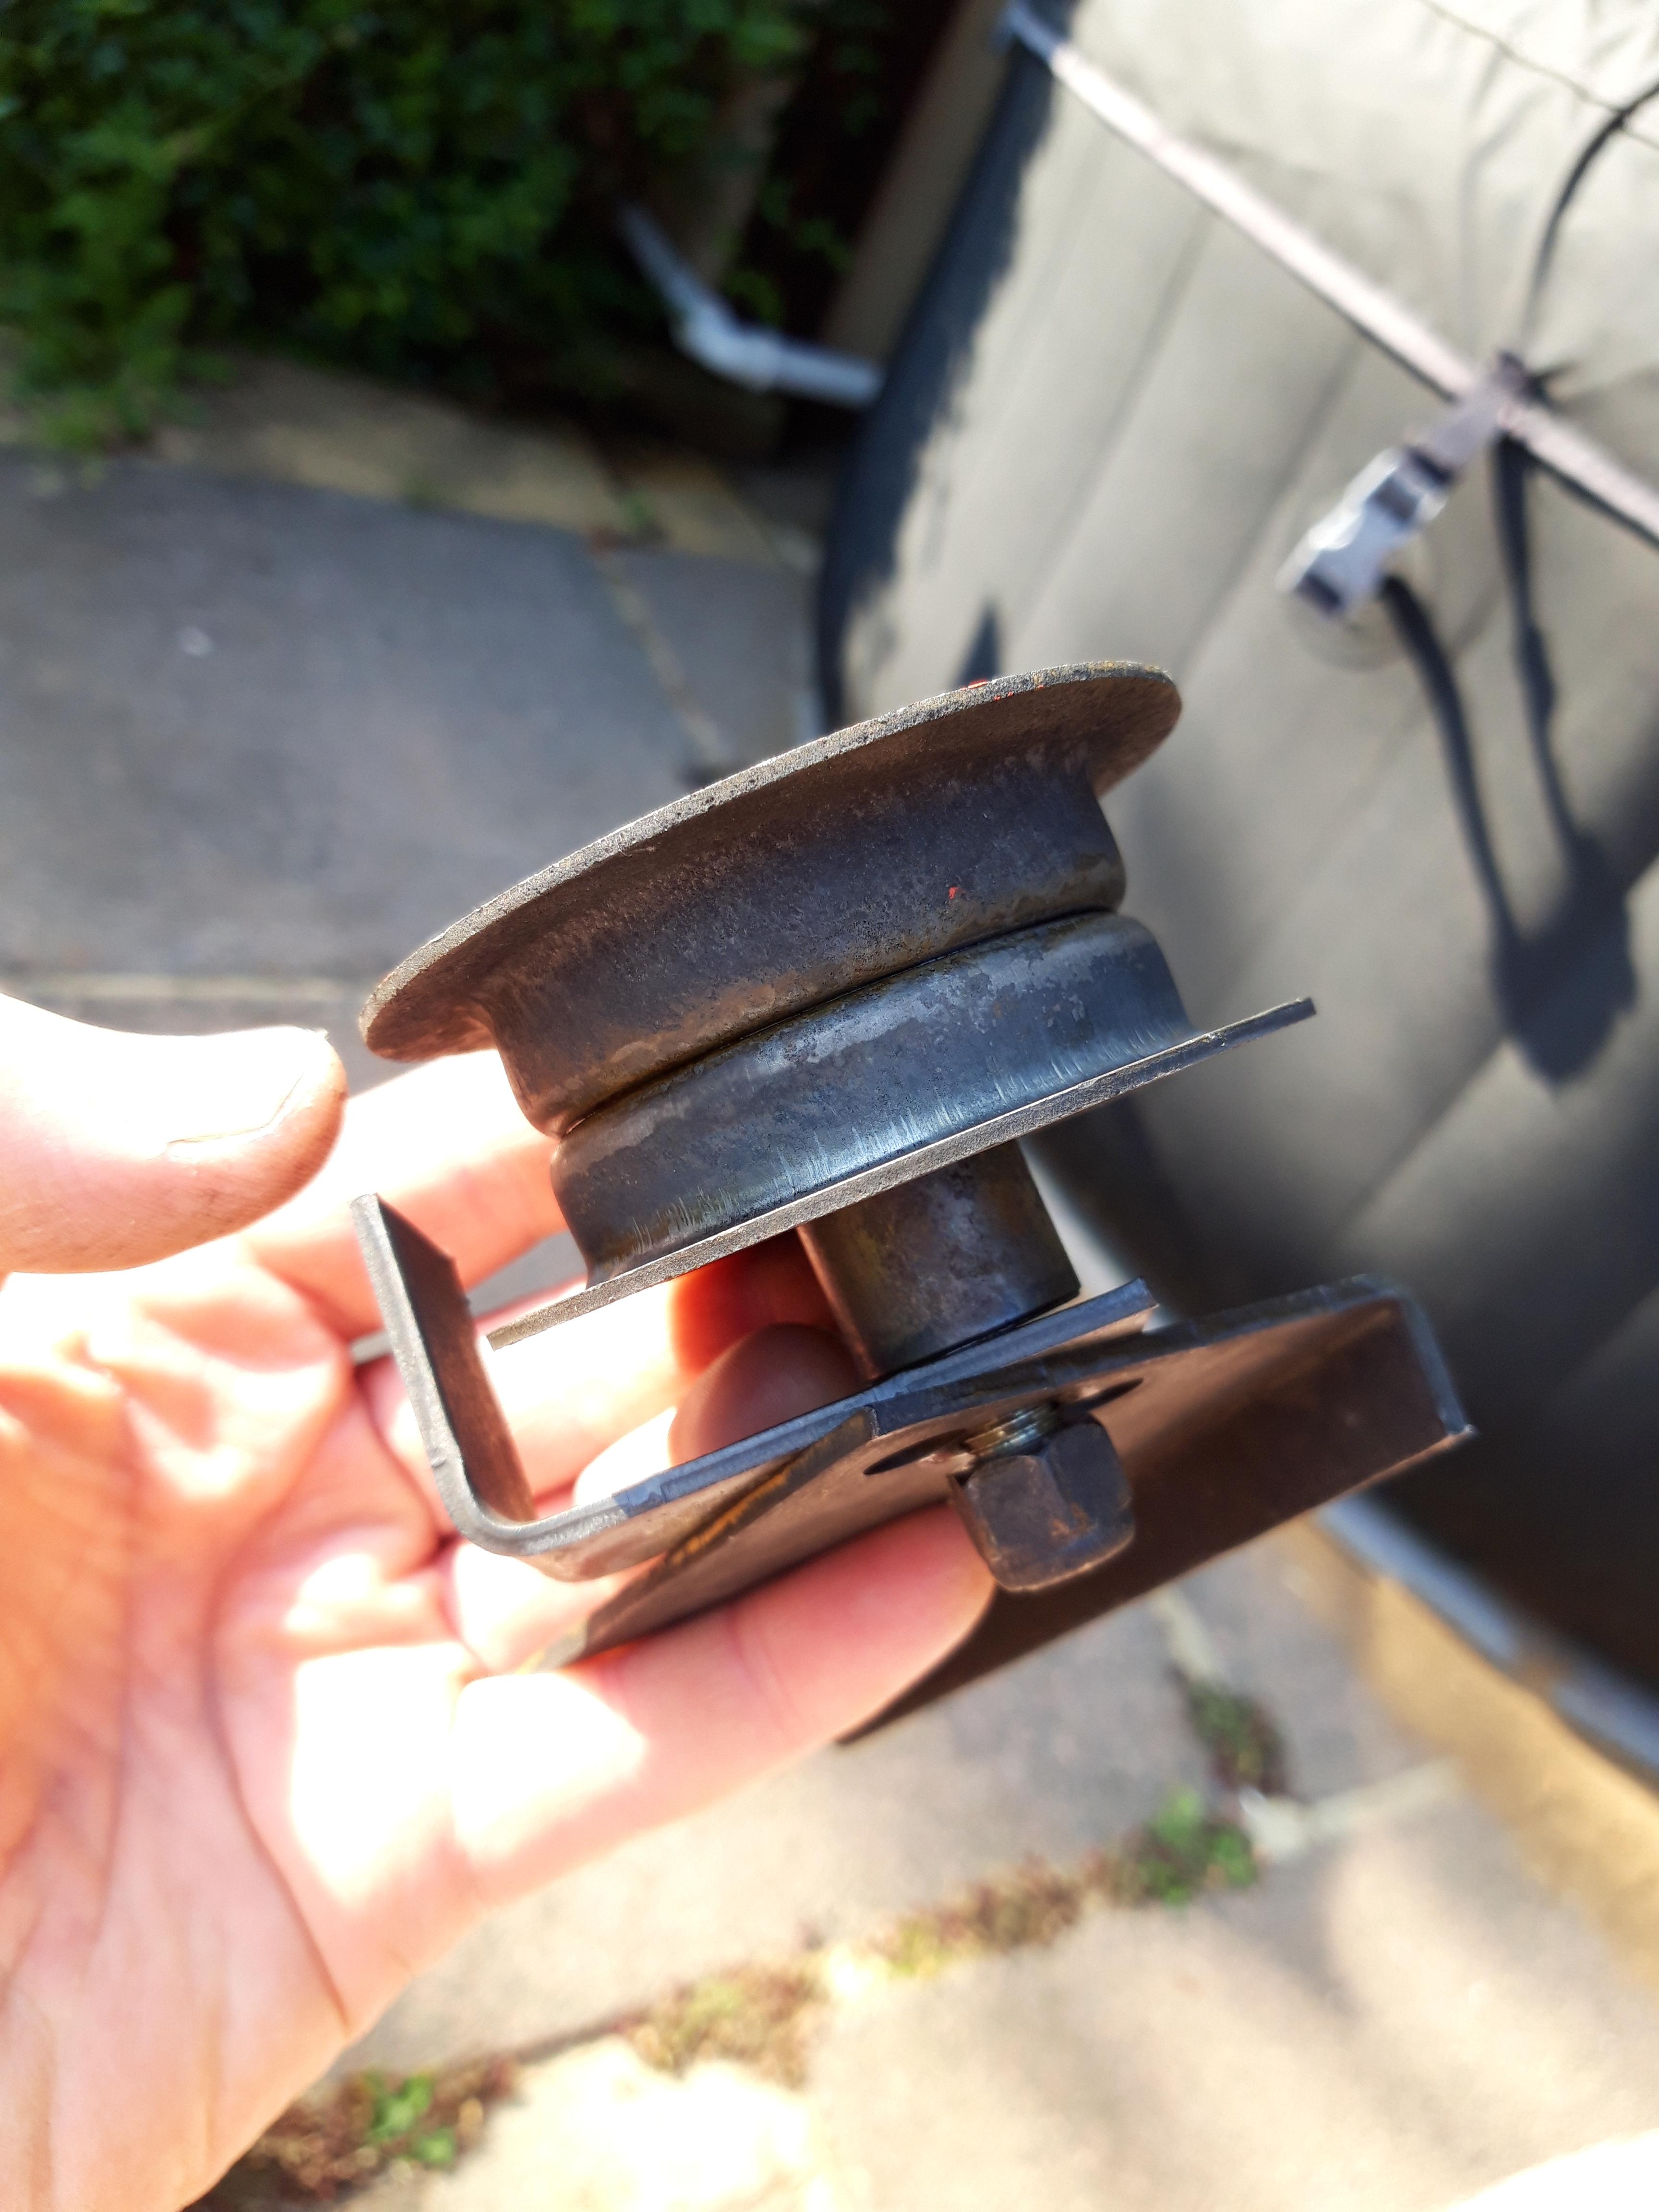
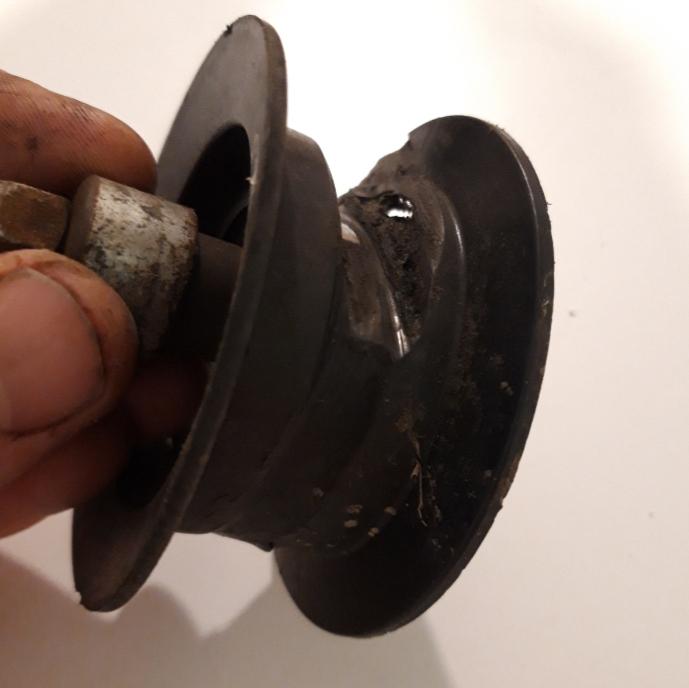
Bugger! It's a bearing not a bush. Just out of the acid and what I thought was resilient material around the bush is in fact the blown seal of the bearing. More obvious the other side where thd seal is more intact. Pulley is two halves spot welded together. You can just see one of the 3 spots under the pen tip.

-
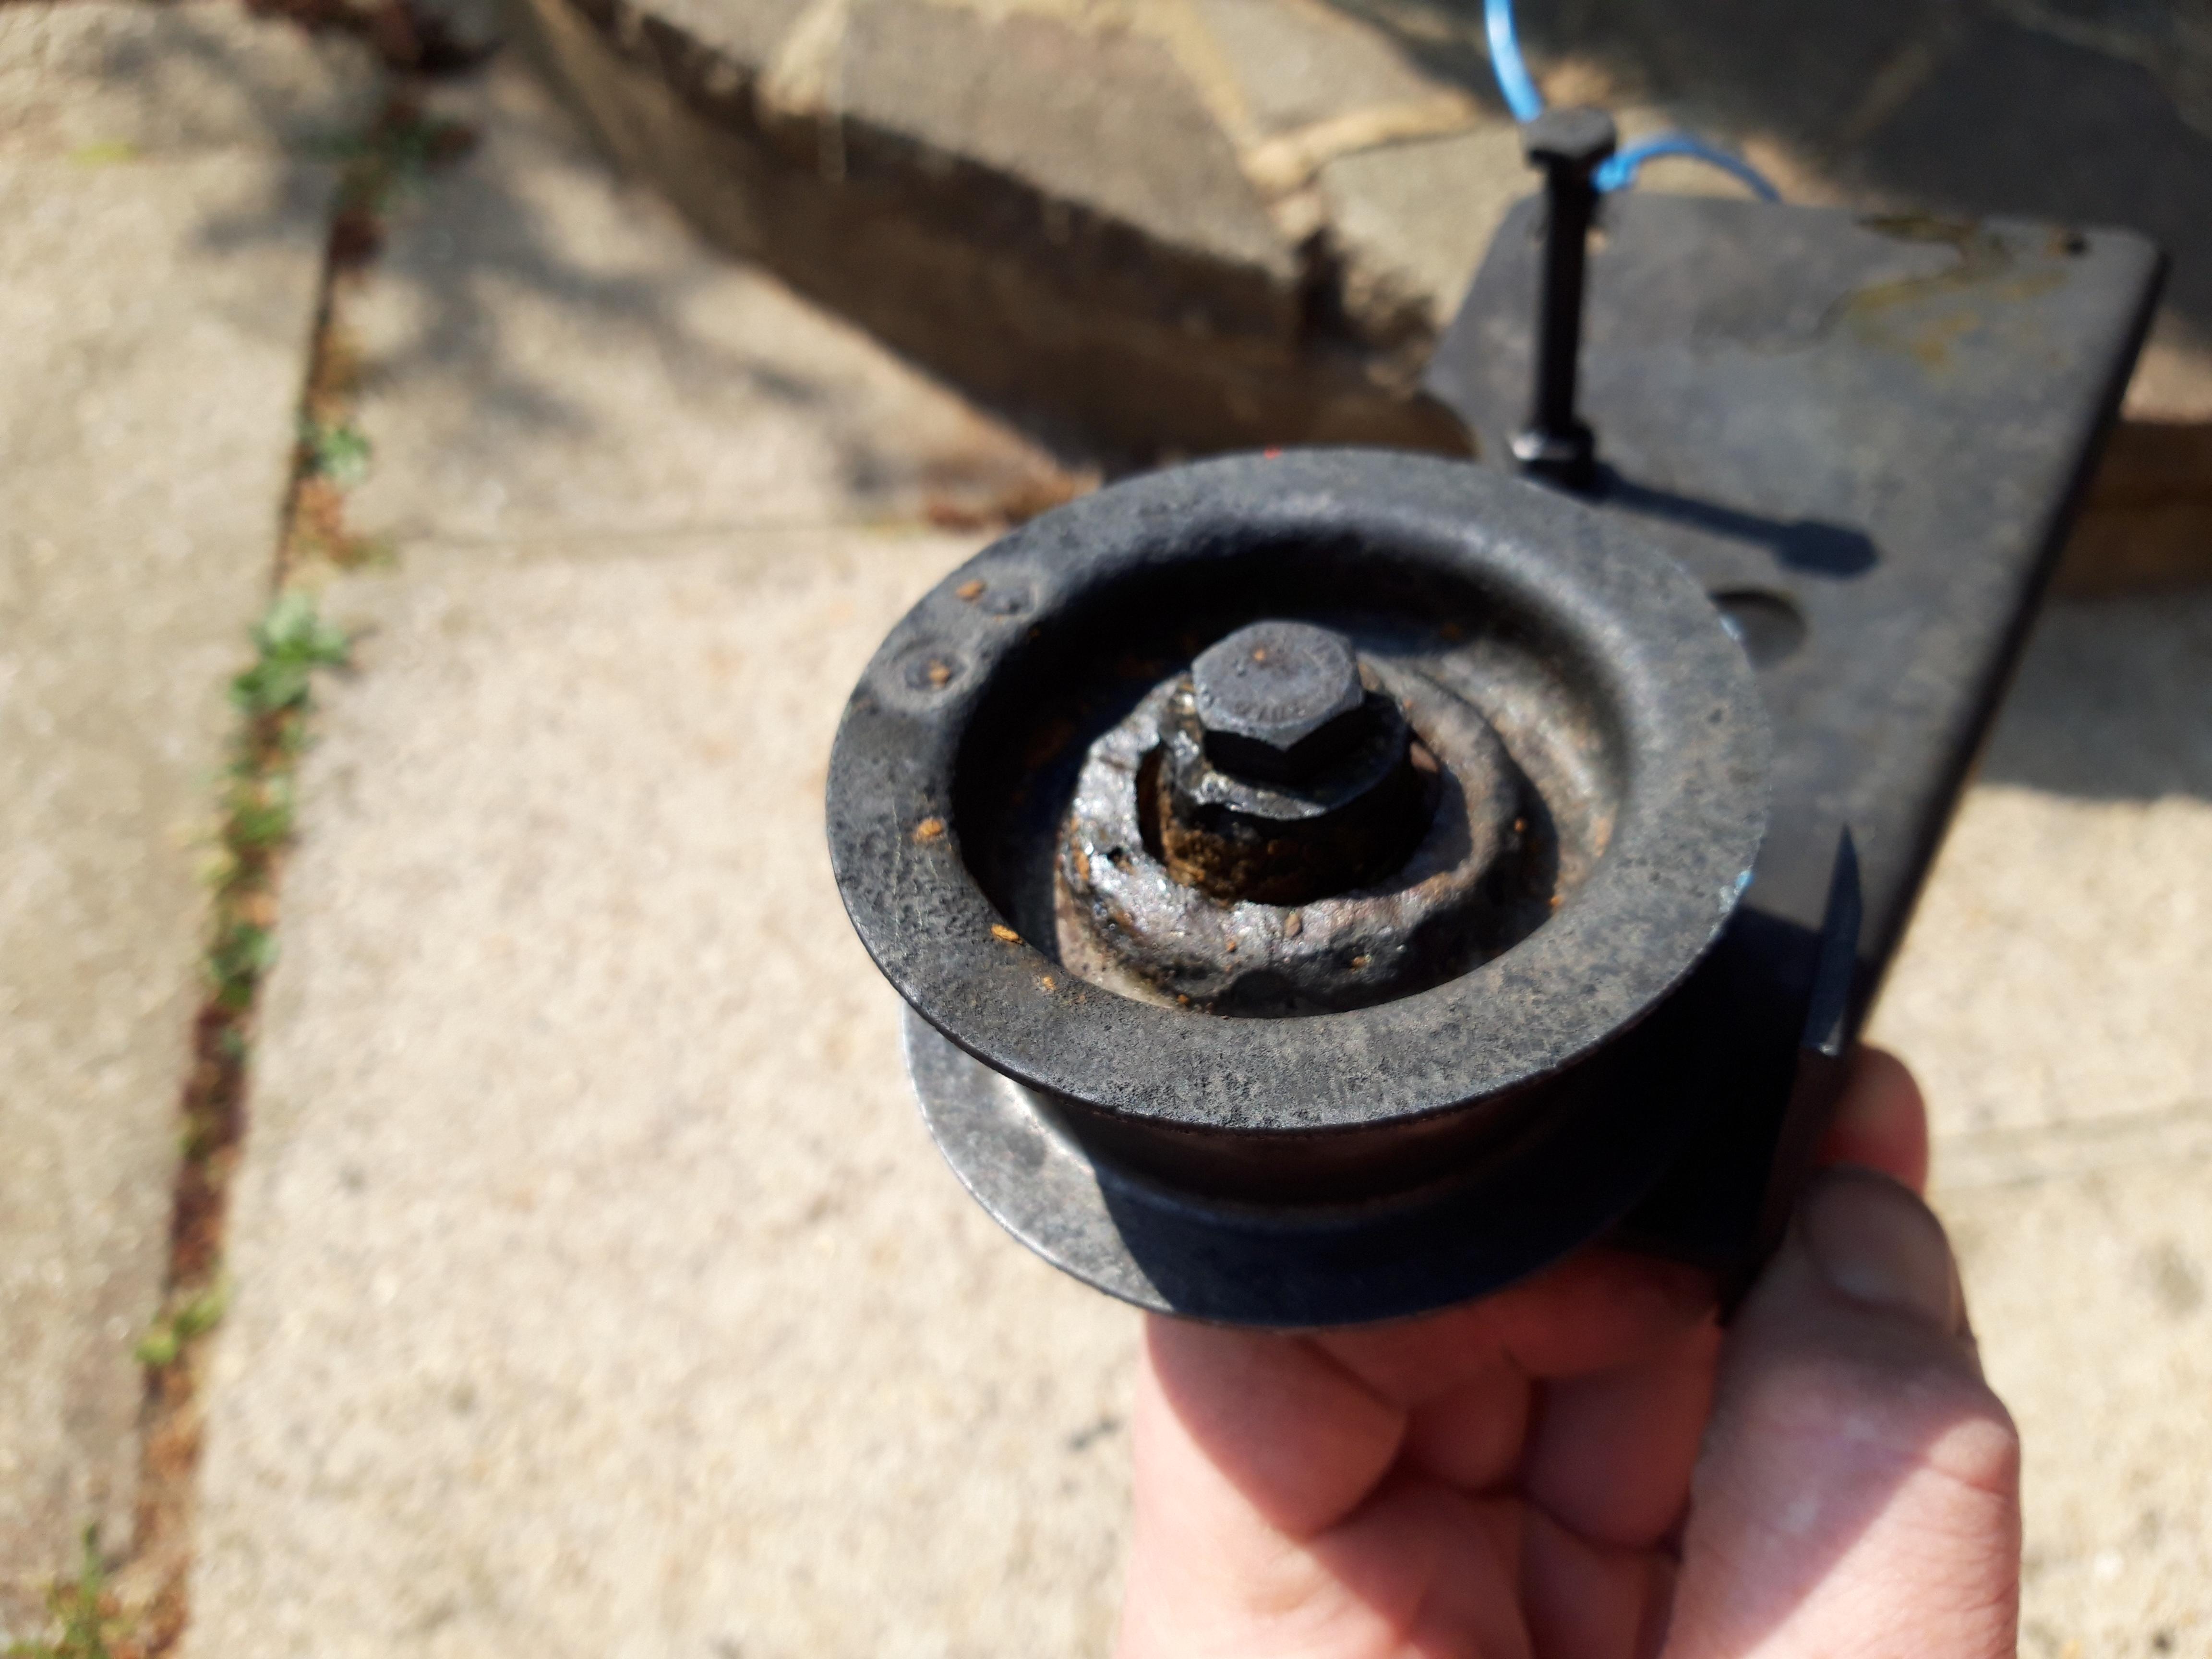
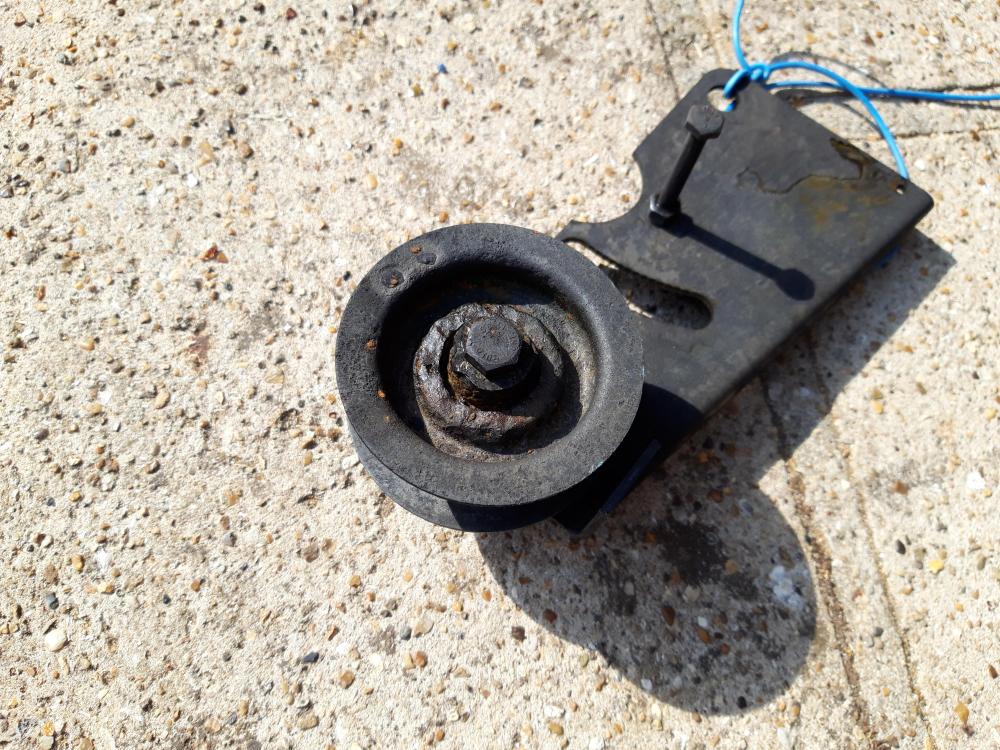
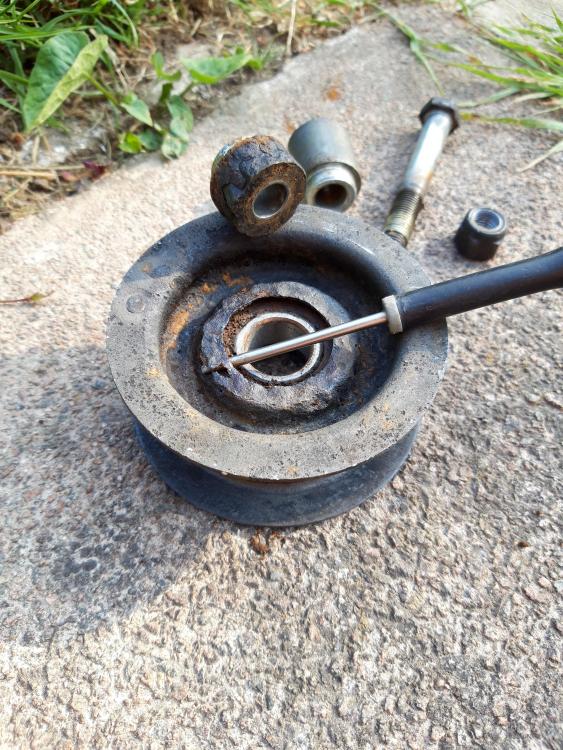
Got the donor gearbox on the mower. She runs. All gears working though took a while to adjust the selector rods/linkage. It even cuts grass. Only to find one of the pto pullies had seized and the belt worn a groove in it. Thus the flails won't turn for the grass collection end. £24+VAT plus postage for a new one. Buy new, I think not! Went back to the scrap mowers and salvaged the same tensioner pulley albeit of all metal construction. Guessing an older variant. Rusted solid and then some. Some chipping off of the large lumps of rust then into the citric acid barrel for two days. Managed to get it all apart just now, some more chipping and scraping and back in the barrel for a final 24hr dip. It's salvageable. Bushed rather than a bearing. A bit of zinc spray and packing with grease and it'll be good to go. You should have seen it before it went in the acid!


-
That's going to feel awfully high when you're doing that roof! ? Especially working over the rushing waters of the Grand Canyon!
-
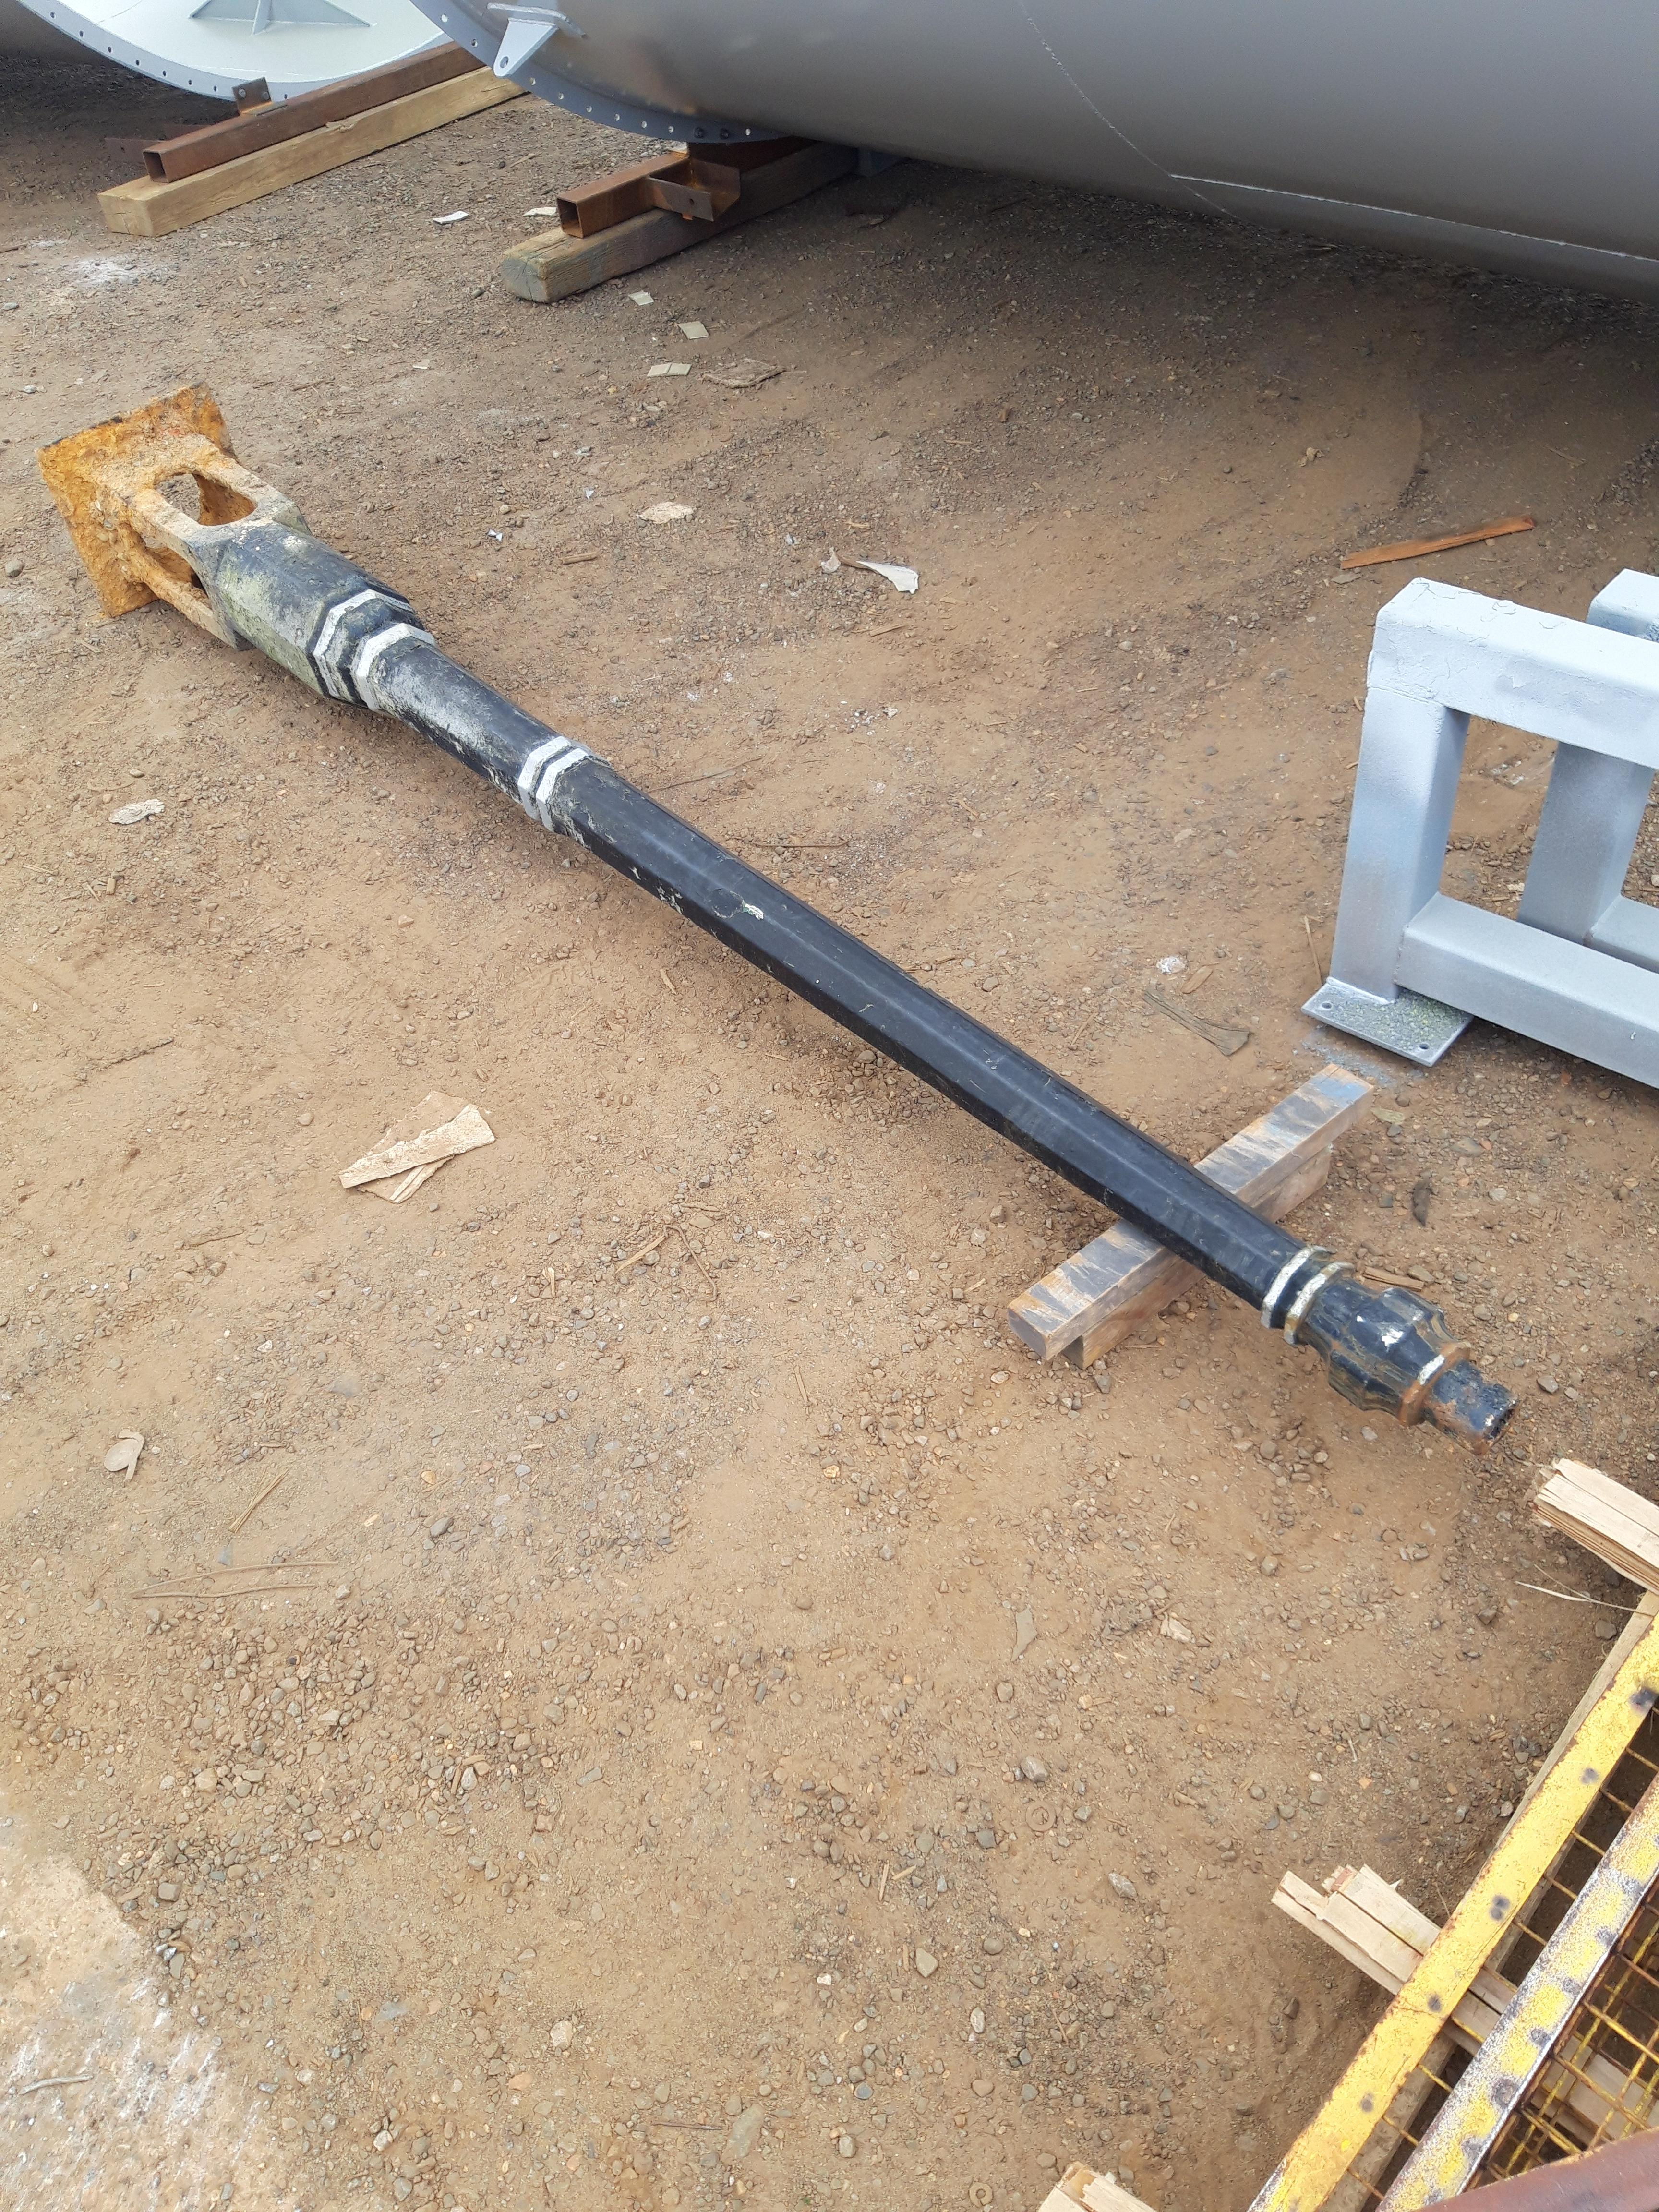
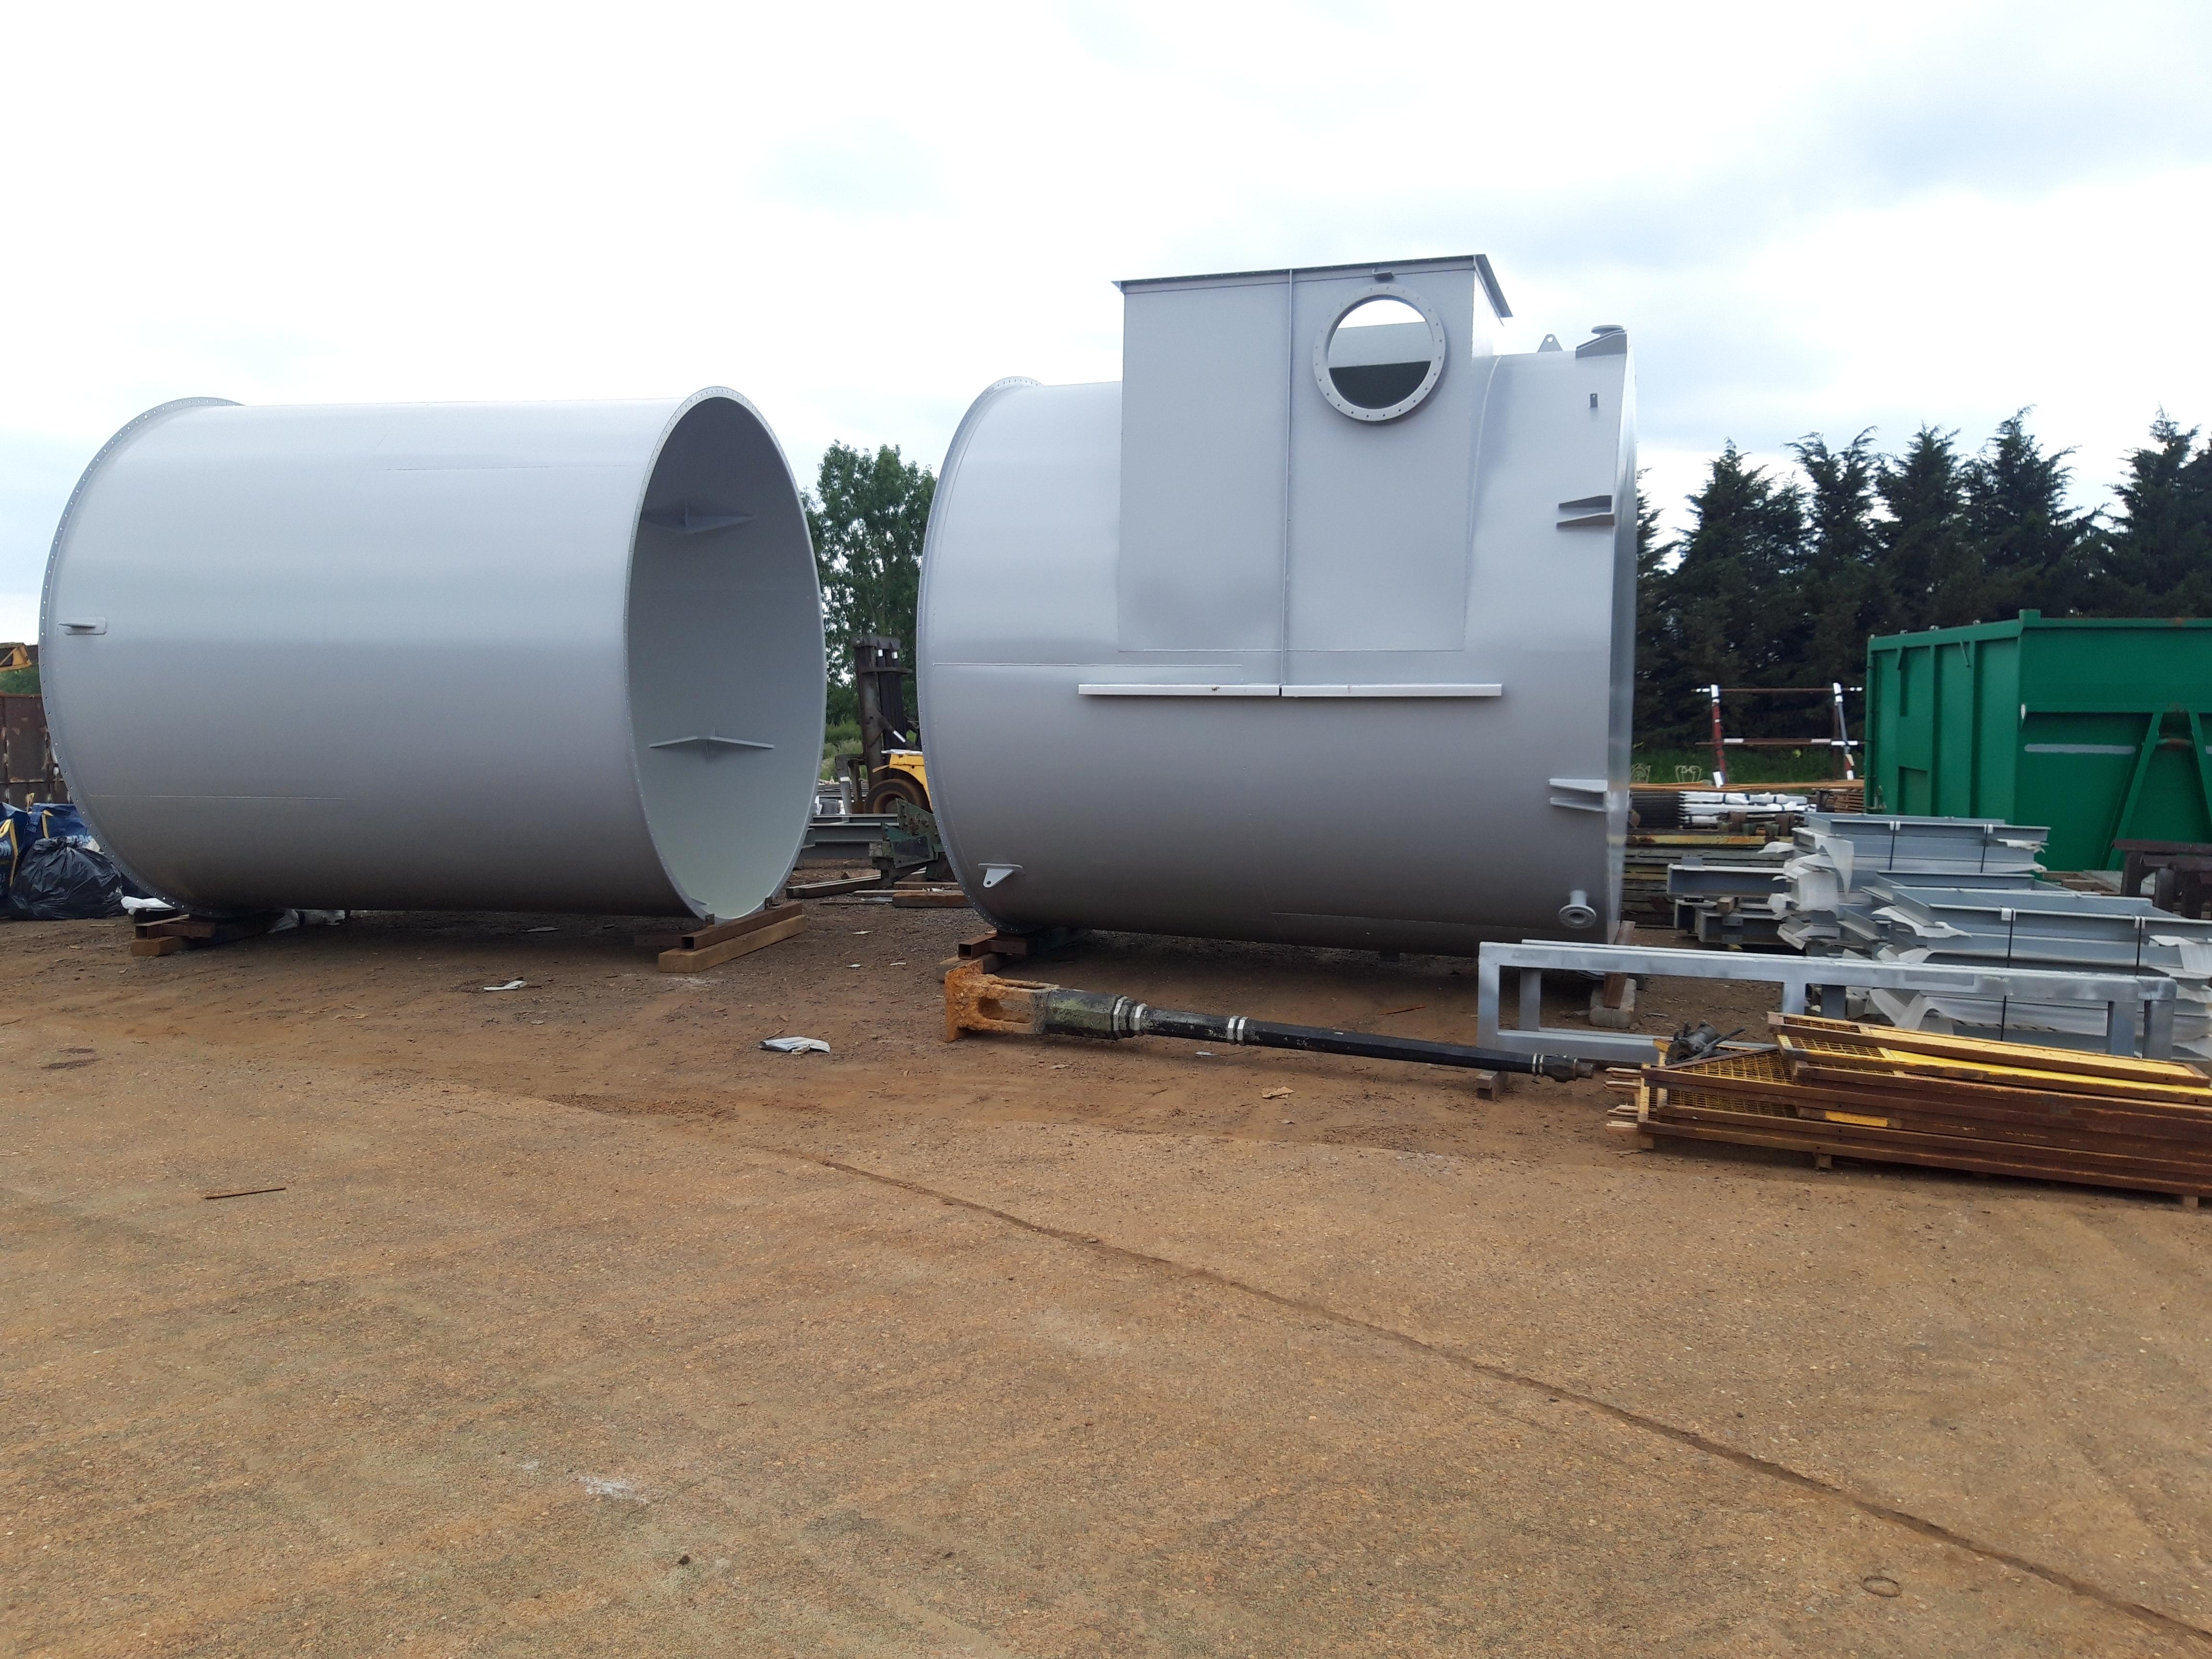
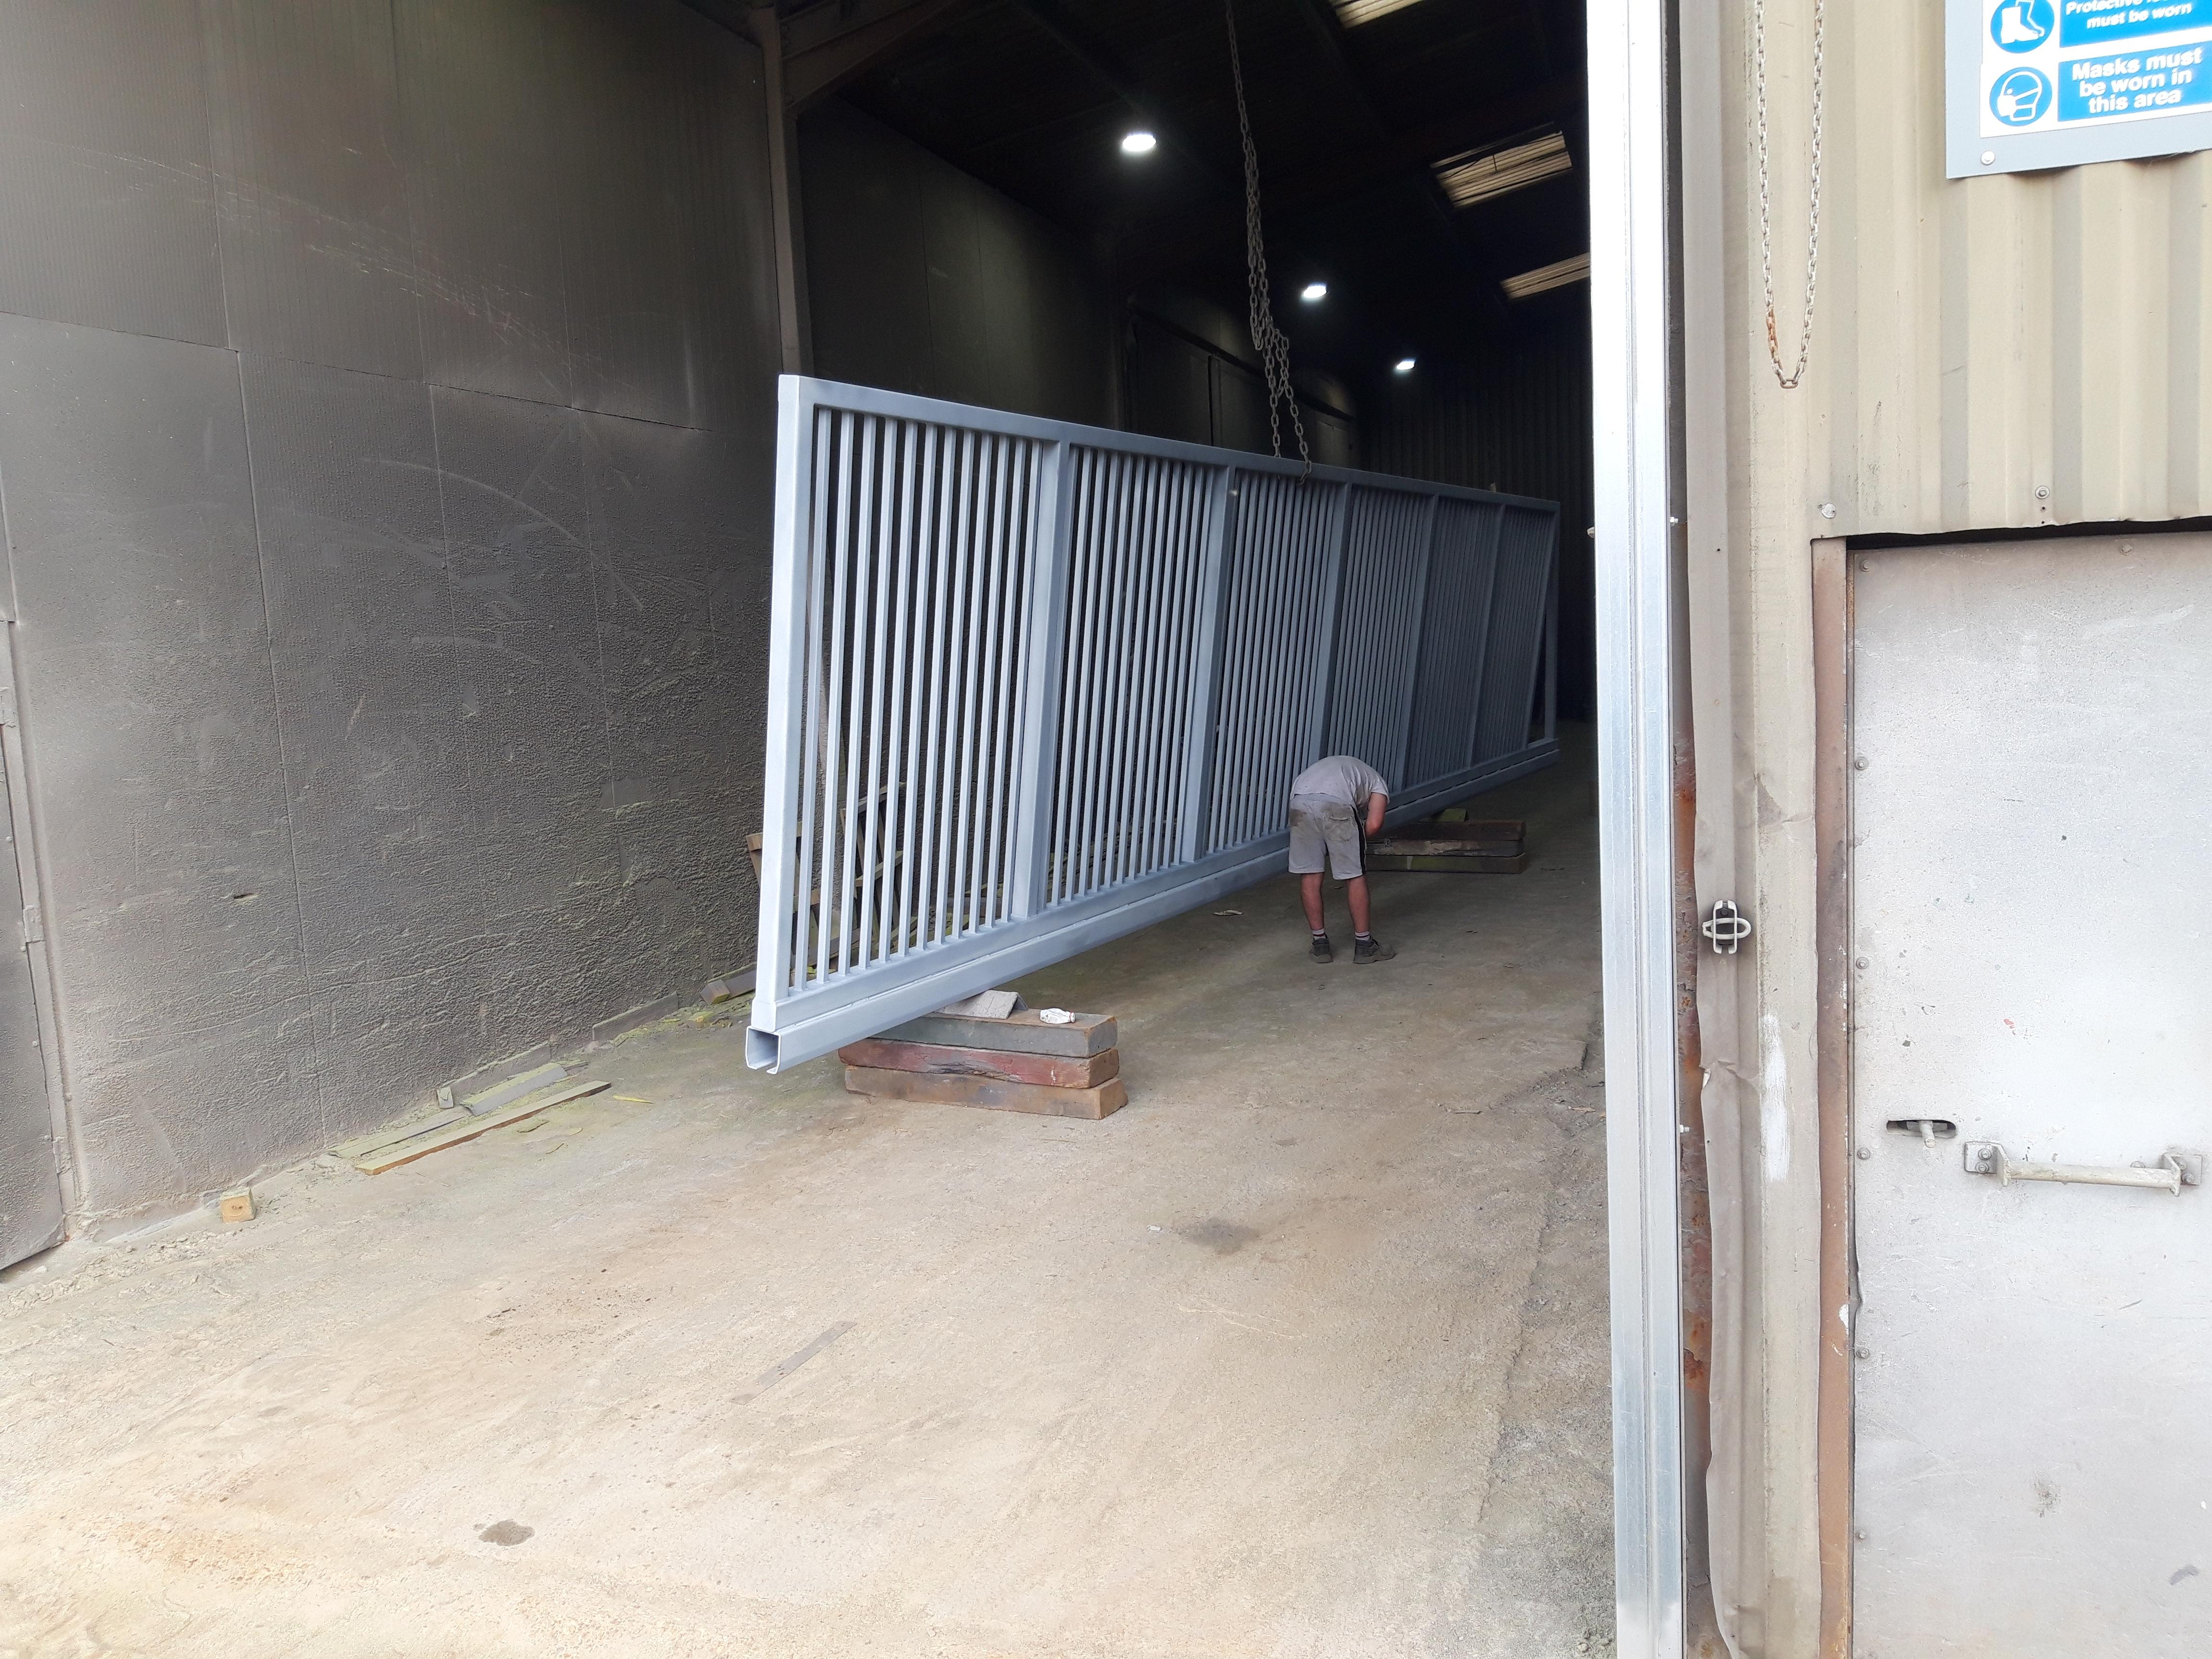
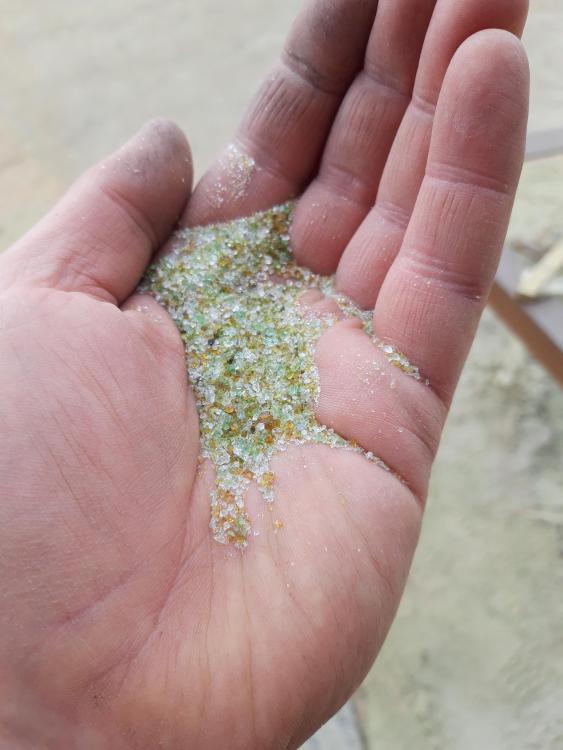
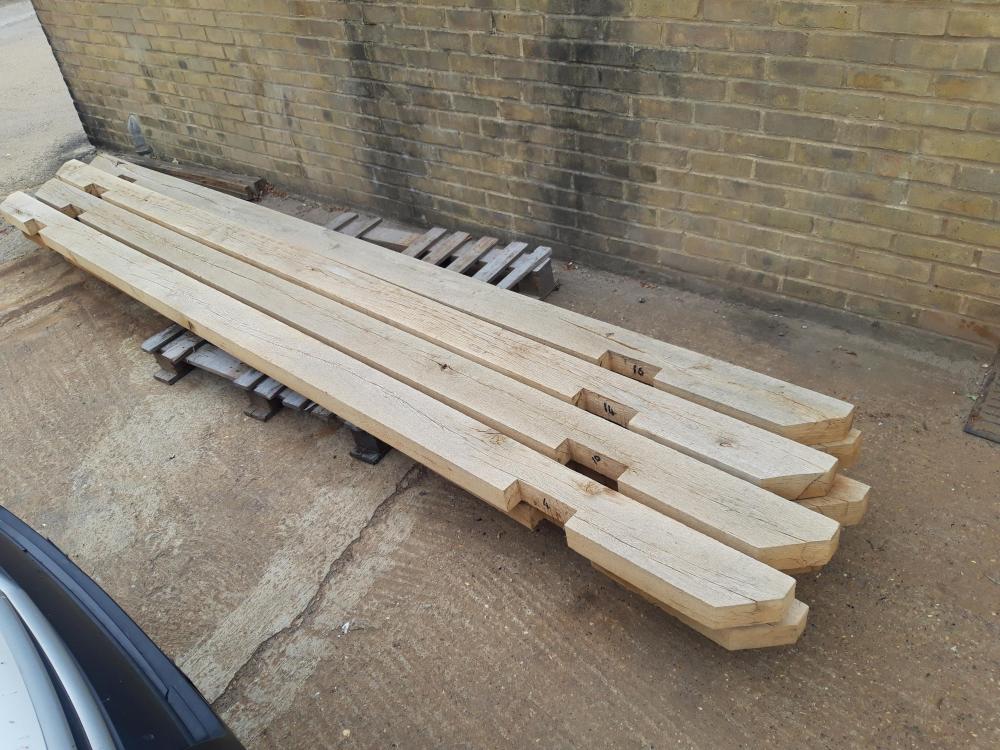
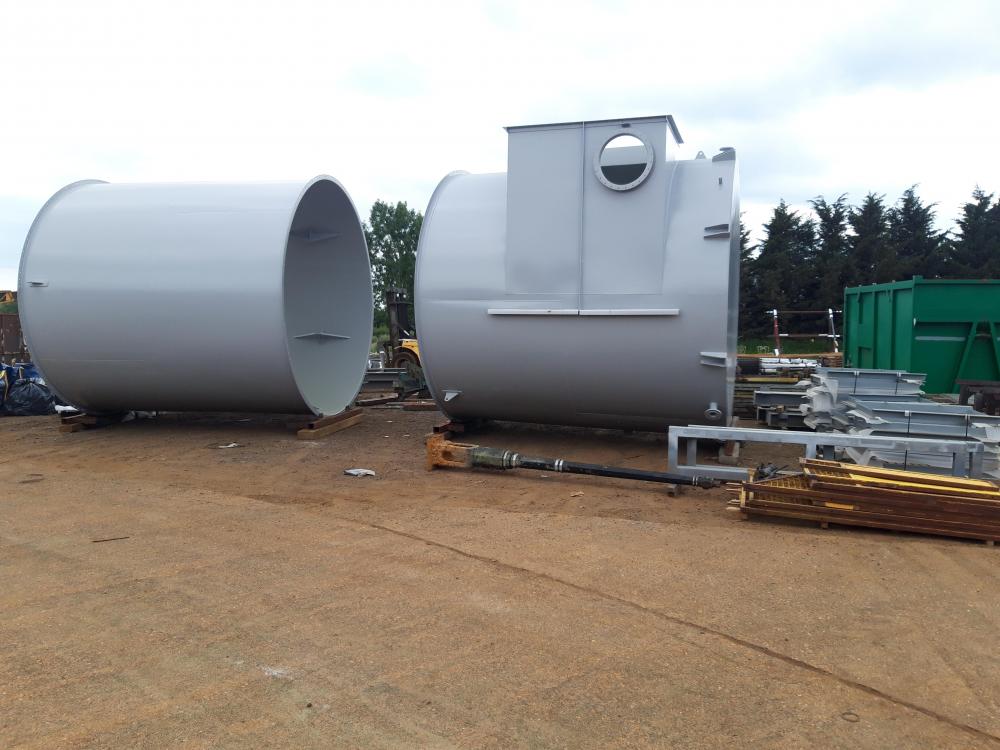
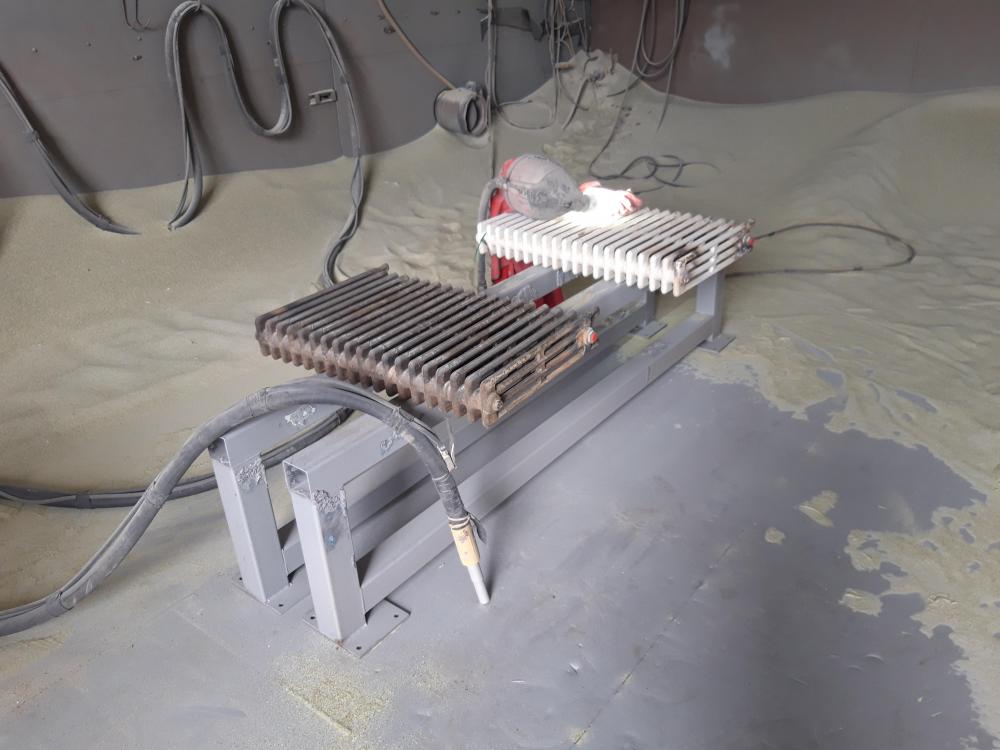
Just collected circa 50kg of crushed glass blasting medium: Had a wander whilst waiting for it to be bagged up. Fascinating (to me anyway): Oak? Something from Narnia: Something from Narnia in front of some really big pipes: And I thought my sliding gate was big: Bet they've lost count of how many of these done over the years:


-
No. Just be told. Buy Makita. This isn't an "Oregon" sort of place. ?
-
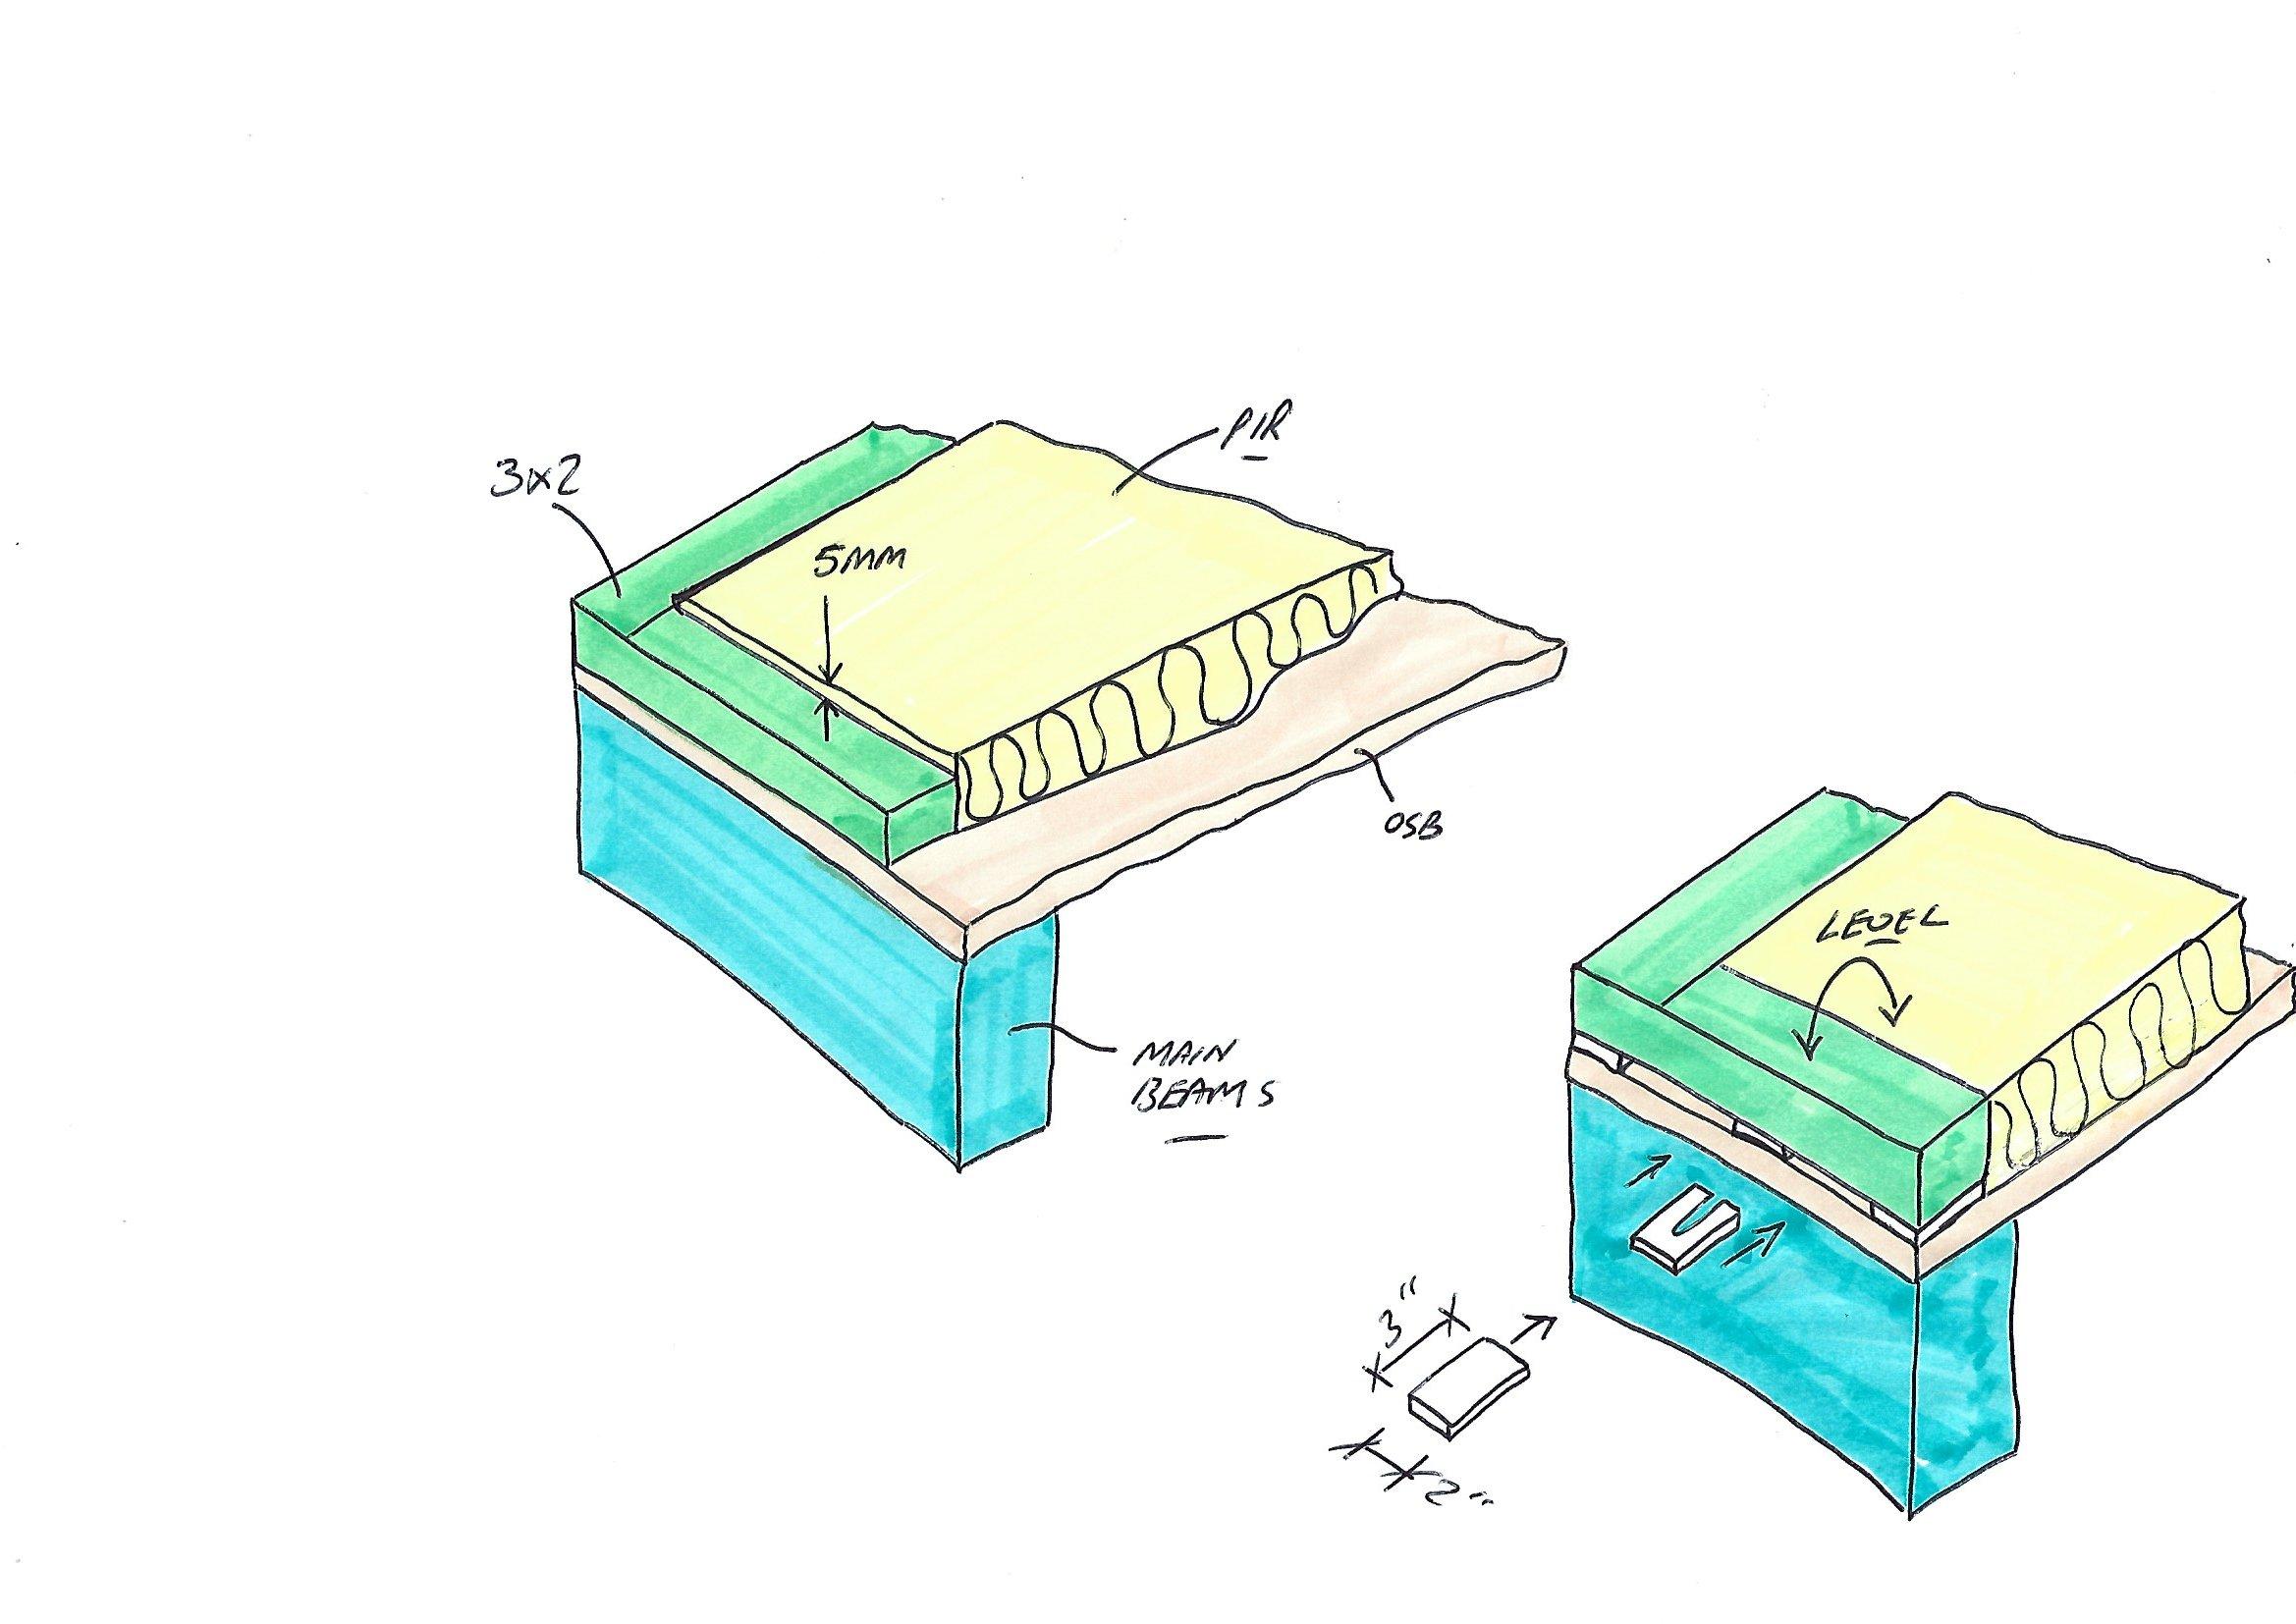
Just lop off 5mm slivers with your chopsaw from 3x2 offcuts. No need to buy anything. Back the screws out of the perimeter 3x2, lift and pack. Fill the gaps between packs with silicon. Moisture won't get in there.
-
That looks the dogs b@llocks imho. ?
-
The majority of my gear is LXT. Can't beat it imo. However I wanted a 36V chainsaw for occasional use but didn't want to pay Makita prices. I bought an Einhell chainsaw for half the price and 3D printed adapters to use Makita batteries. Works like a dream. A couple of videos. If I were you I'd abandon Erbauer if you're going to do lots of stuff over many years and go with a make. If for nothing else the ability to get spares. Use the Erbauer as your second drill. Tbh there might even be a Makita battery to Erbauer tool adapter out there already. I'll have a look in a bit.
-
Late to reading this. @Russell griffiths.....totally random thought.....how about a floating PV array on the lake?
-
1) I've used a lump of steel bar about 2" x 1/2" and a club hammer to beat the pir down in 1/2" strips. or 2) Cut 3" wide strips of 6mm ply. Pin to top of 3x2. 1mm won't make a difference. or 3) You could.....just lop off 5mm slivers of 3x2 on the chop saw and use them. (A bit flimsier instead of ripping with the grain on a table saw). Unscrew, the low, 3×2 timber. Insert the packs perpendicular to and under the 3x2. Once in place fine. or 4) Buy 5mm plastic packs. Unscrew, the low, 3×2 timber. Insert the packs perpendicular to and under the 3x2. https://www.screwfix.com/p/broadfix-plastic-shims-large-101-x-5-x-43mm-200-pack/95031 If you can stretch to it you won't look back from buying an assorted shim kit like this. Invaluable for "shed" building etc. Would be enough in this assortment and then some. https://www.toolstation.com/broadfix-u-shims-kit/p52385 With 3) & 4) place the packs about every 200mm making sure corners are well supported. Fill any gaps later with silicone or whatever's going.