
TheMitchells
-
Posts
908 -
Joined
-
Last visited
-
Days Won
2
Everything posted by TheMitchells
-
Welcome to the forum; you certainly have come to the right place for lots of information on a huge range of subjects. But dont forget that there are quite a lot of lasses here too! ?
-

I built a new house today...
TheMitchells replied to NSS's topic in General Self Build & DIY Discussion
Love the look of the place - have tasked the OH to make me one asap. ? -
this is a good web page for info on the stuff. http://www.wildfibres.co.uk/html/kapok.html this is the seed pod which contains the fibres.

-
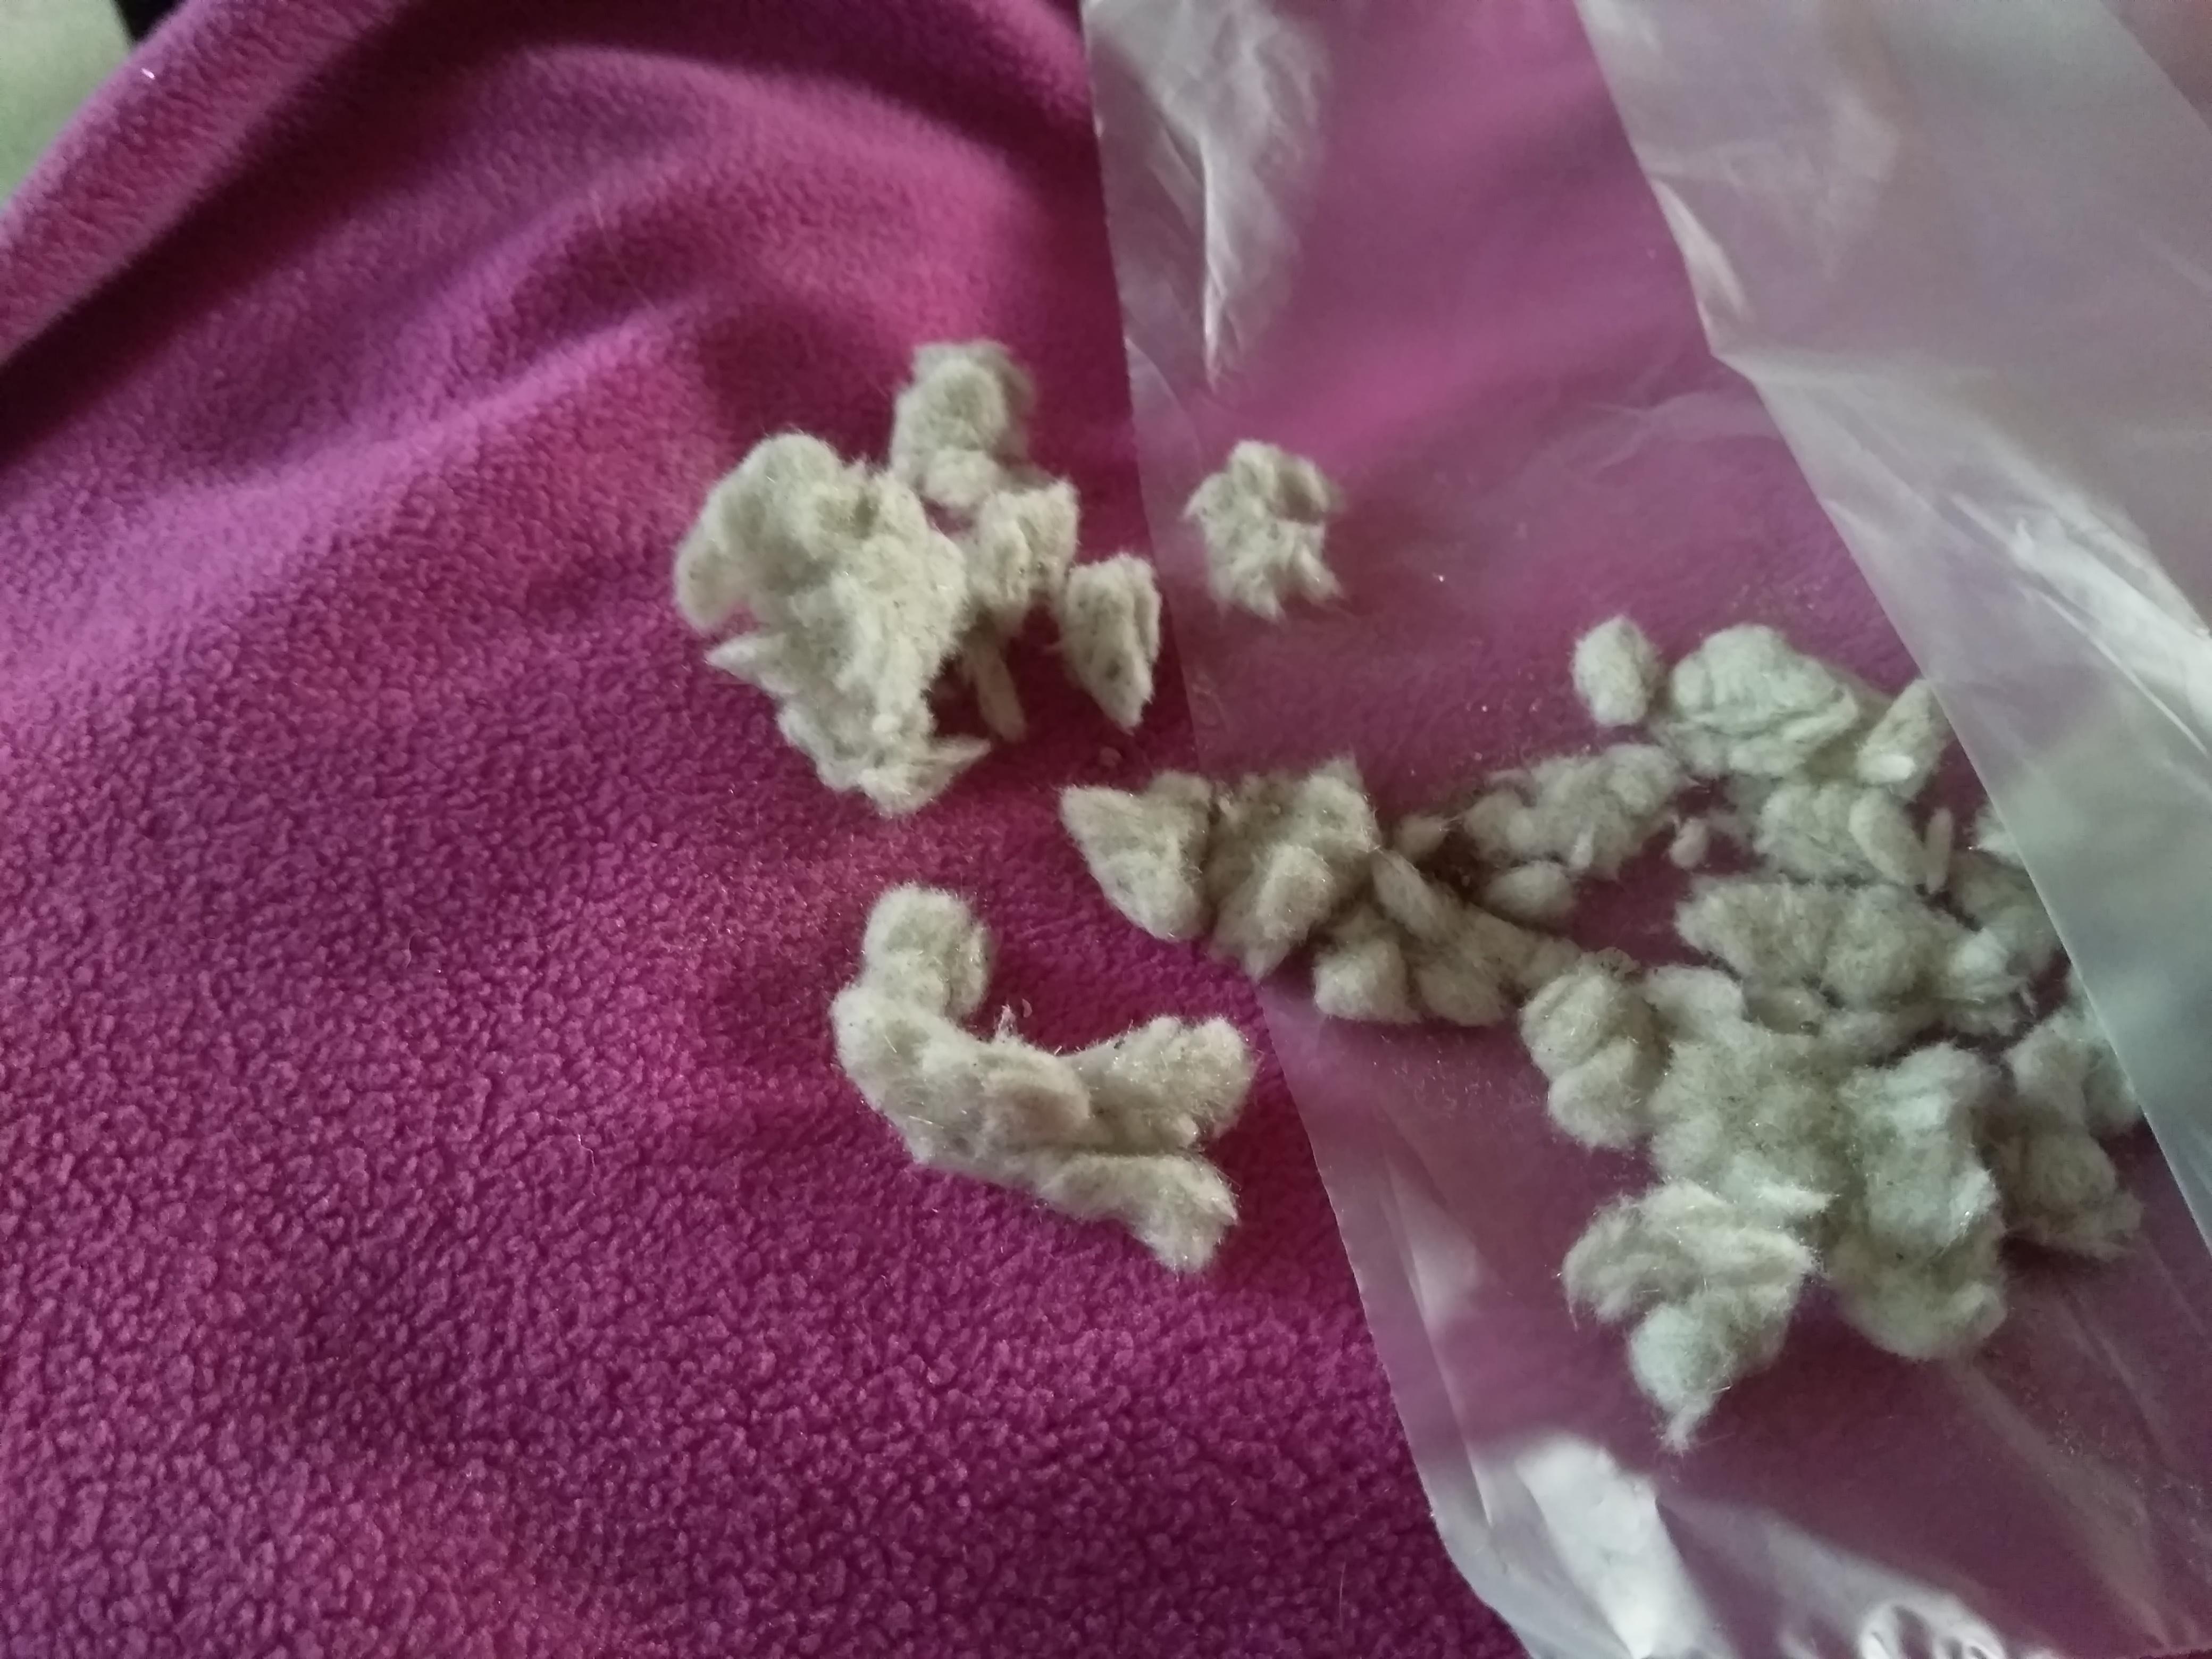
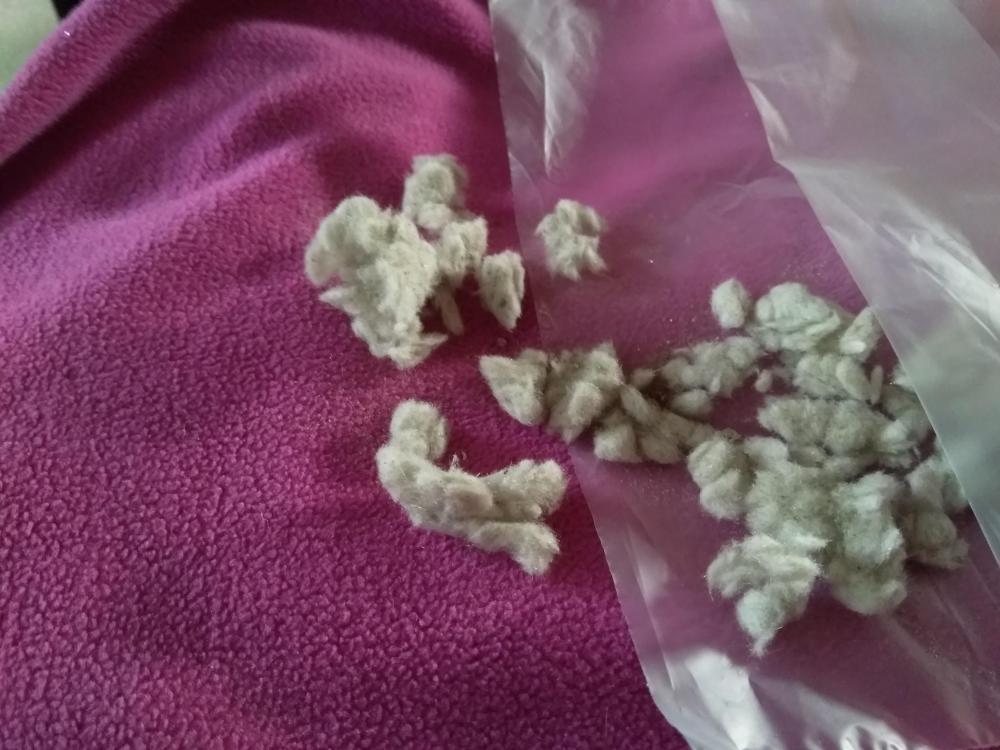
Has anyone come across this type of insulation before? while making the parents extension, we discovered it in the walls and attic. the property was built around 1973 and I wonder if this was a typical insulation to use then. I was working on the new doorway today and the insulation was falling out of the exposed cavity. I was wondering what type it was and elderly mother just said 'Oh, thats kapok!'. she is not a builder and I was amazed she had any idea. is she right? it is very light and fluffy but with a slight roughness to it. Google mentions kapok as an insulation but not for housing.
-
Bathroom extractor Fan
TheMitchells replied to TheMitchells's topic in Bathrooms, Ensuites & Wetrooms
I have ordered the Icon Airflow and will let you know how I get on with it. It has a mechanically opening iris to prevent back draughts which has to be a plus and should be fairly quiet. and I shall ensure it has plenty of ventilation under the door too. -
Bathroom extractor Fan
TheMitchells replied to TheMitchells's topic in Bathrooms, Ensuites & Wetrooms
Total price is £100 for fan, timer module and delivery. Will I be paying too much for a simple bathroom extractor?? any better suggestions?? -
Bathroom extractor Fan
TheMitchells replied to TheMitchells's topic in Bathrooms, Ensuites & Wetrooms
Looking to buy the extractor soon but the reviews of the Vent Axia VASF100T are not that great with lots saying you need to use the higher speed to give adequate extraction and that is not as silent as they claim. so am now looking at the other suggestion from above, https://www.electrical2go.co.uk/lo-carbon-va150p-with-shutter-timer-459124.html But that is £140 which seems rather a lot for a bathroom extractor. The Icon Airflow looks good too and claims the noise level is 33.6 dB(A) . that sounds reasonable. I believe we need to add a module to connect it to the lights. £78 on Trading Depot website. https://www.tradingdepot.co.uk/airflow-icon-30-centrifugal-extractor-fan-suitable-for-bathrooms-utility-rooms?gclid=EAIaIQobChMItZaGuISD5AIVCLDtCh3rwQyEEAYYBiABEgLCs_D_BwE thinking of ordering that one. -
Welcome to BuildHub - I bet you were only expecting build advice! its amazing the advice available on this site. good luck with the build - where will the extension be taking place? in what area? You never know - we may be able to help if nearby.
-
Gravity fed system question.
TheMitchells replied to TheMitchells's topic in Bathrooms, Ensuites & Wetrooms
Thanks for the comments, the pipes are all done now and the pressure was fine. shouldnt have worried! ? -
Renovating and extending 1970s house with warm air heating
TheMitchells replied to Gooman's topic in Introduce Yourself
Our system also heats the hot water although we do have an immersion for the summer when the heating is off. Good luck with the work - it all sounds exciting! Dont forget to do a blog so we can follow the work, especially with lots of photo's too.? -
I promised the builder I would tank the area!. it looks easier to tank pb than the blockwork.?? and we used the multipanels before, usung Jeremy's technique at the base so I will do that again. Thanks Guys! I dont mind a couple of extra pb's but I certainly am glad I dont have to buy Aquaboards. As usual, BuildHub saves me money!
-
If we are tanking then using the Multipanels over, it seems a little over the top to use Aquapanels too. Would I be okay with green moisture resistant pb like the rest of the room. I can then tank the whole shower area before applying the multipanels. Aquapanels are quite a lot more expensive. would rather spend the money on decent multipanels, as per Jeremy's.
-
Renovating and extending 1970s house with warm air heating
TheMitchells replied to Gooman's topic in Introduce Yourself
we have warm air, heated by gas, and I love it. its quick to warm up the house from cold, clothes dry overnight if placed near an outlet and we have not had any problems with dry air. that could be due to the timber frame house as we dont suffer from condensation after showers too. so dont be too quick to bin it.? -
We are installing a shower, toilet and basin into a new extension for the parents and we have a question about the feed for the basin. basically the current system consists of a large hot water tank in a cupboard in the hall, a loft cold water tank with only abouut 500mm between the two. its a bungalow. there is a rising main into the loft tank from which we are taking a cold water feed to the shower. There is a cold feed from the loft tank that we can use for the cold feed to basin and toilet but we have an issue with the hot feed. The hot feeds leave the hot water tank and go straight down into the concrete floor then re-appears in the kitchen and bathroom for the sinks and bath. The hot water vent comes off shortly after leaving the tank as usual. as we need to take a new hot water feed up into the loft and across into the new extension ceiling, we are worried about the lack of pressure to the basin. are there any systems available to help pump the hot water to the extension (its about 5 metres) or do you think the pressure will be okay. The parents are used to the current system and its okay, not brilliant. I'll try to add a diagram but my scanner is playing up!
-
@JSHarris just reviving this thread as I wondered if you tanked the area before using the panels. my builder says I HAVE to tank. I shall be using aquaboards before the multipanels. I dont mind tanking if needed. and the builder has been really good with the build - if it is not 100% done right, he does it again.
-
Our wet room for the parents is coming along. the builders have finished the build and have handed over to myself and the OH to fit the inside. so I have block walls and a screed floor. the builder has told me I MUST tank the shower area. I plan to use Aquaboard for the shower area and green moisture board for the rest of the room. But how long do I have to wait for the screed to dry before I tank? I was told to wait at least a momnth before tiling so am I right in assuming I should wait a month before tanking? we plan to put the toilet and sink in place temporarily while the floor drys as the parents really need the second loo. then after a month, we shall remove them, tile the floor and re-fit everything properly. So I think the plan will be;- 1. get the electrics and pipes in place 2. get the plasterboard and aquapanels in place. 3. skim plaster the walls. the main part will be painted, rather than tiled. 4. after a month, tank and tile the floor 5. fit the multipanel boards in the shower area. doe this sound like the correct order of things?
-
Shower screen needed.
TheMitchells replied to TheMitchells's topic in Bathrooms, Ensuites & Wetrooms
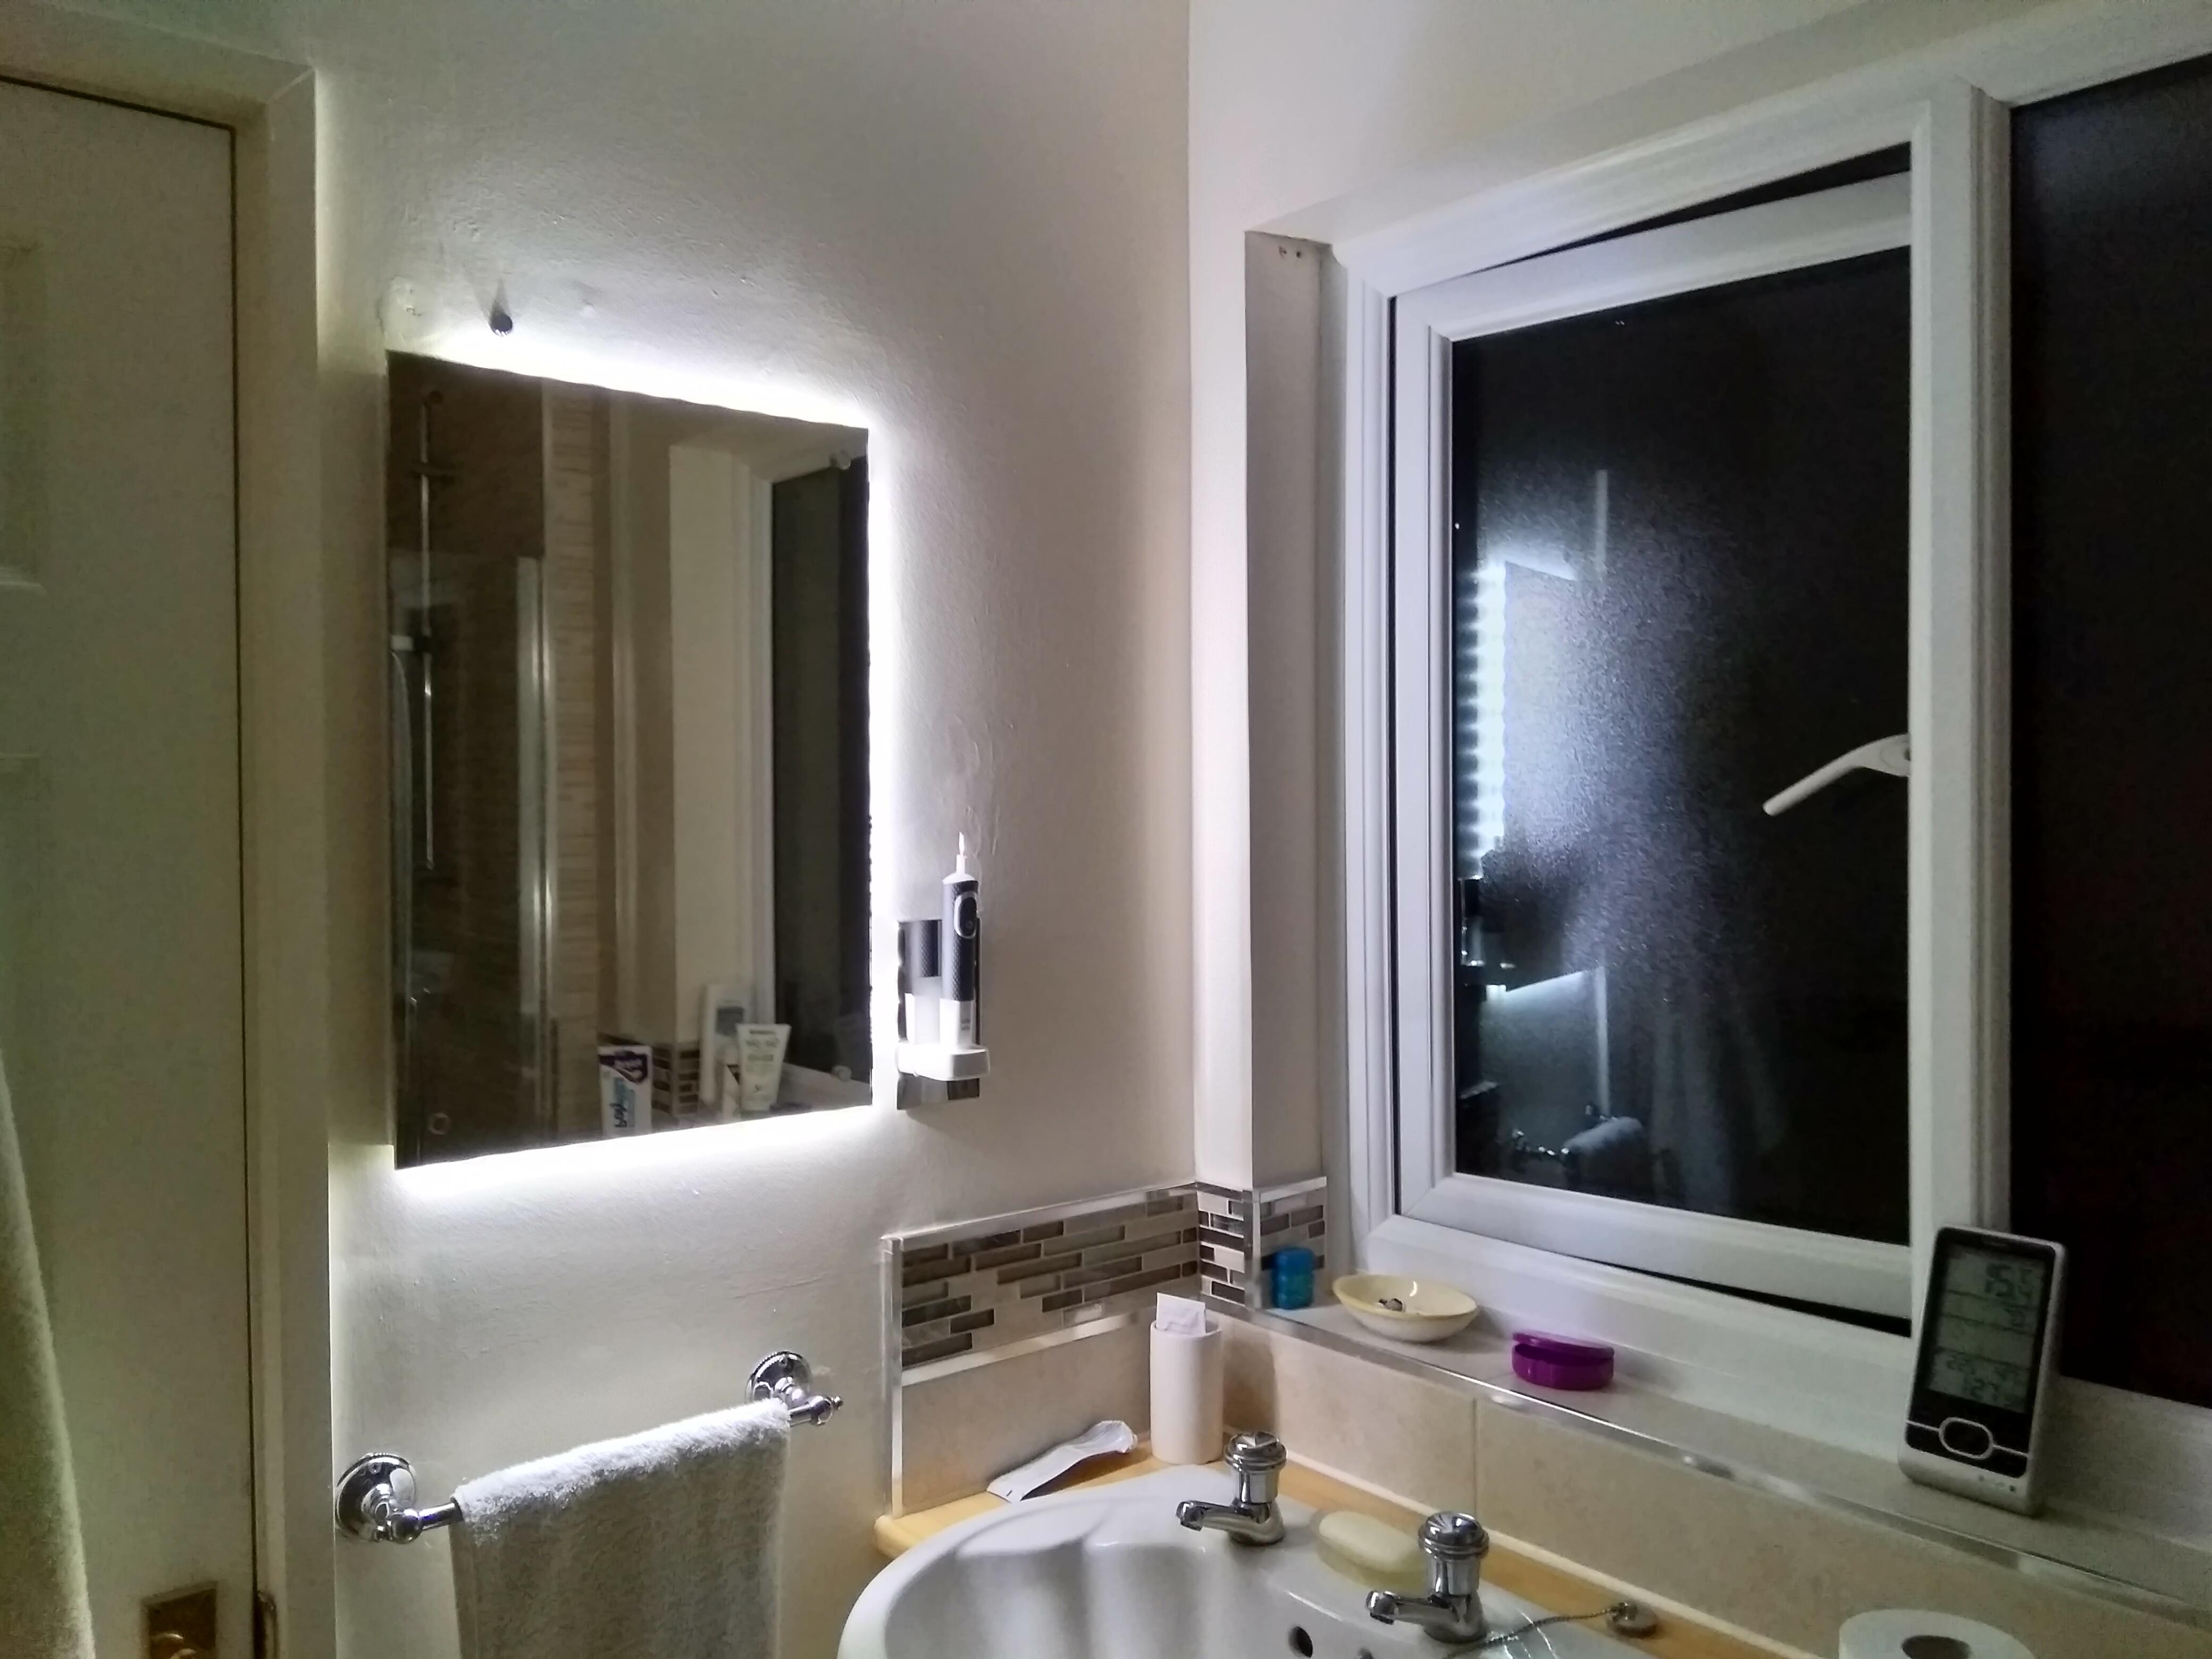
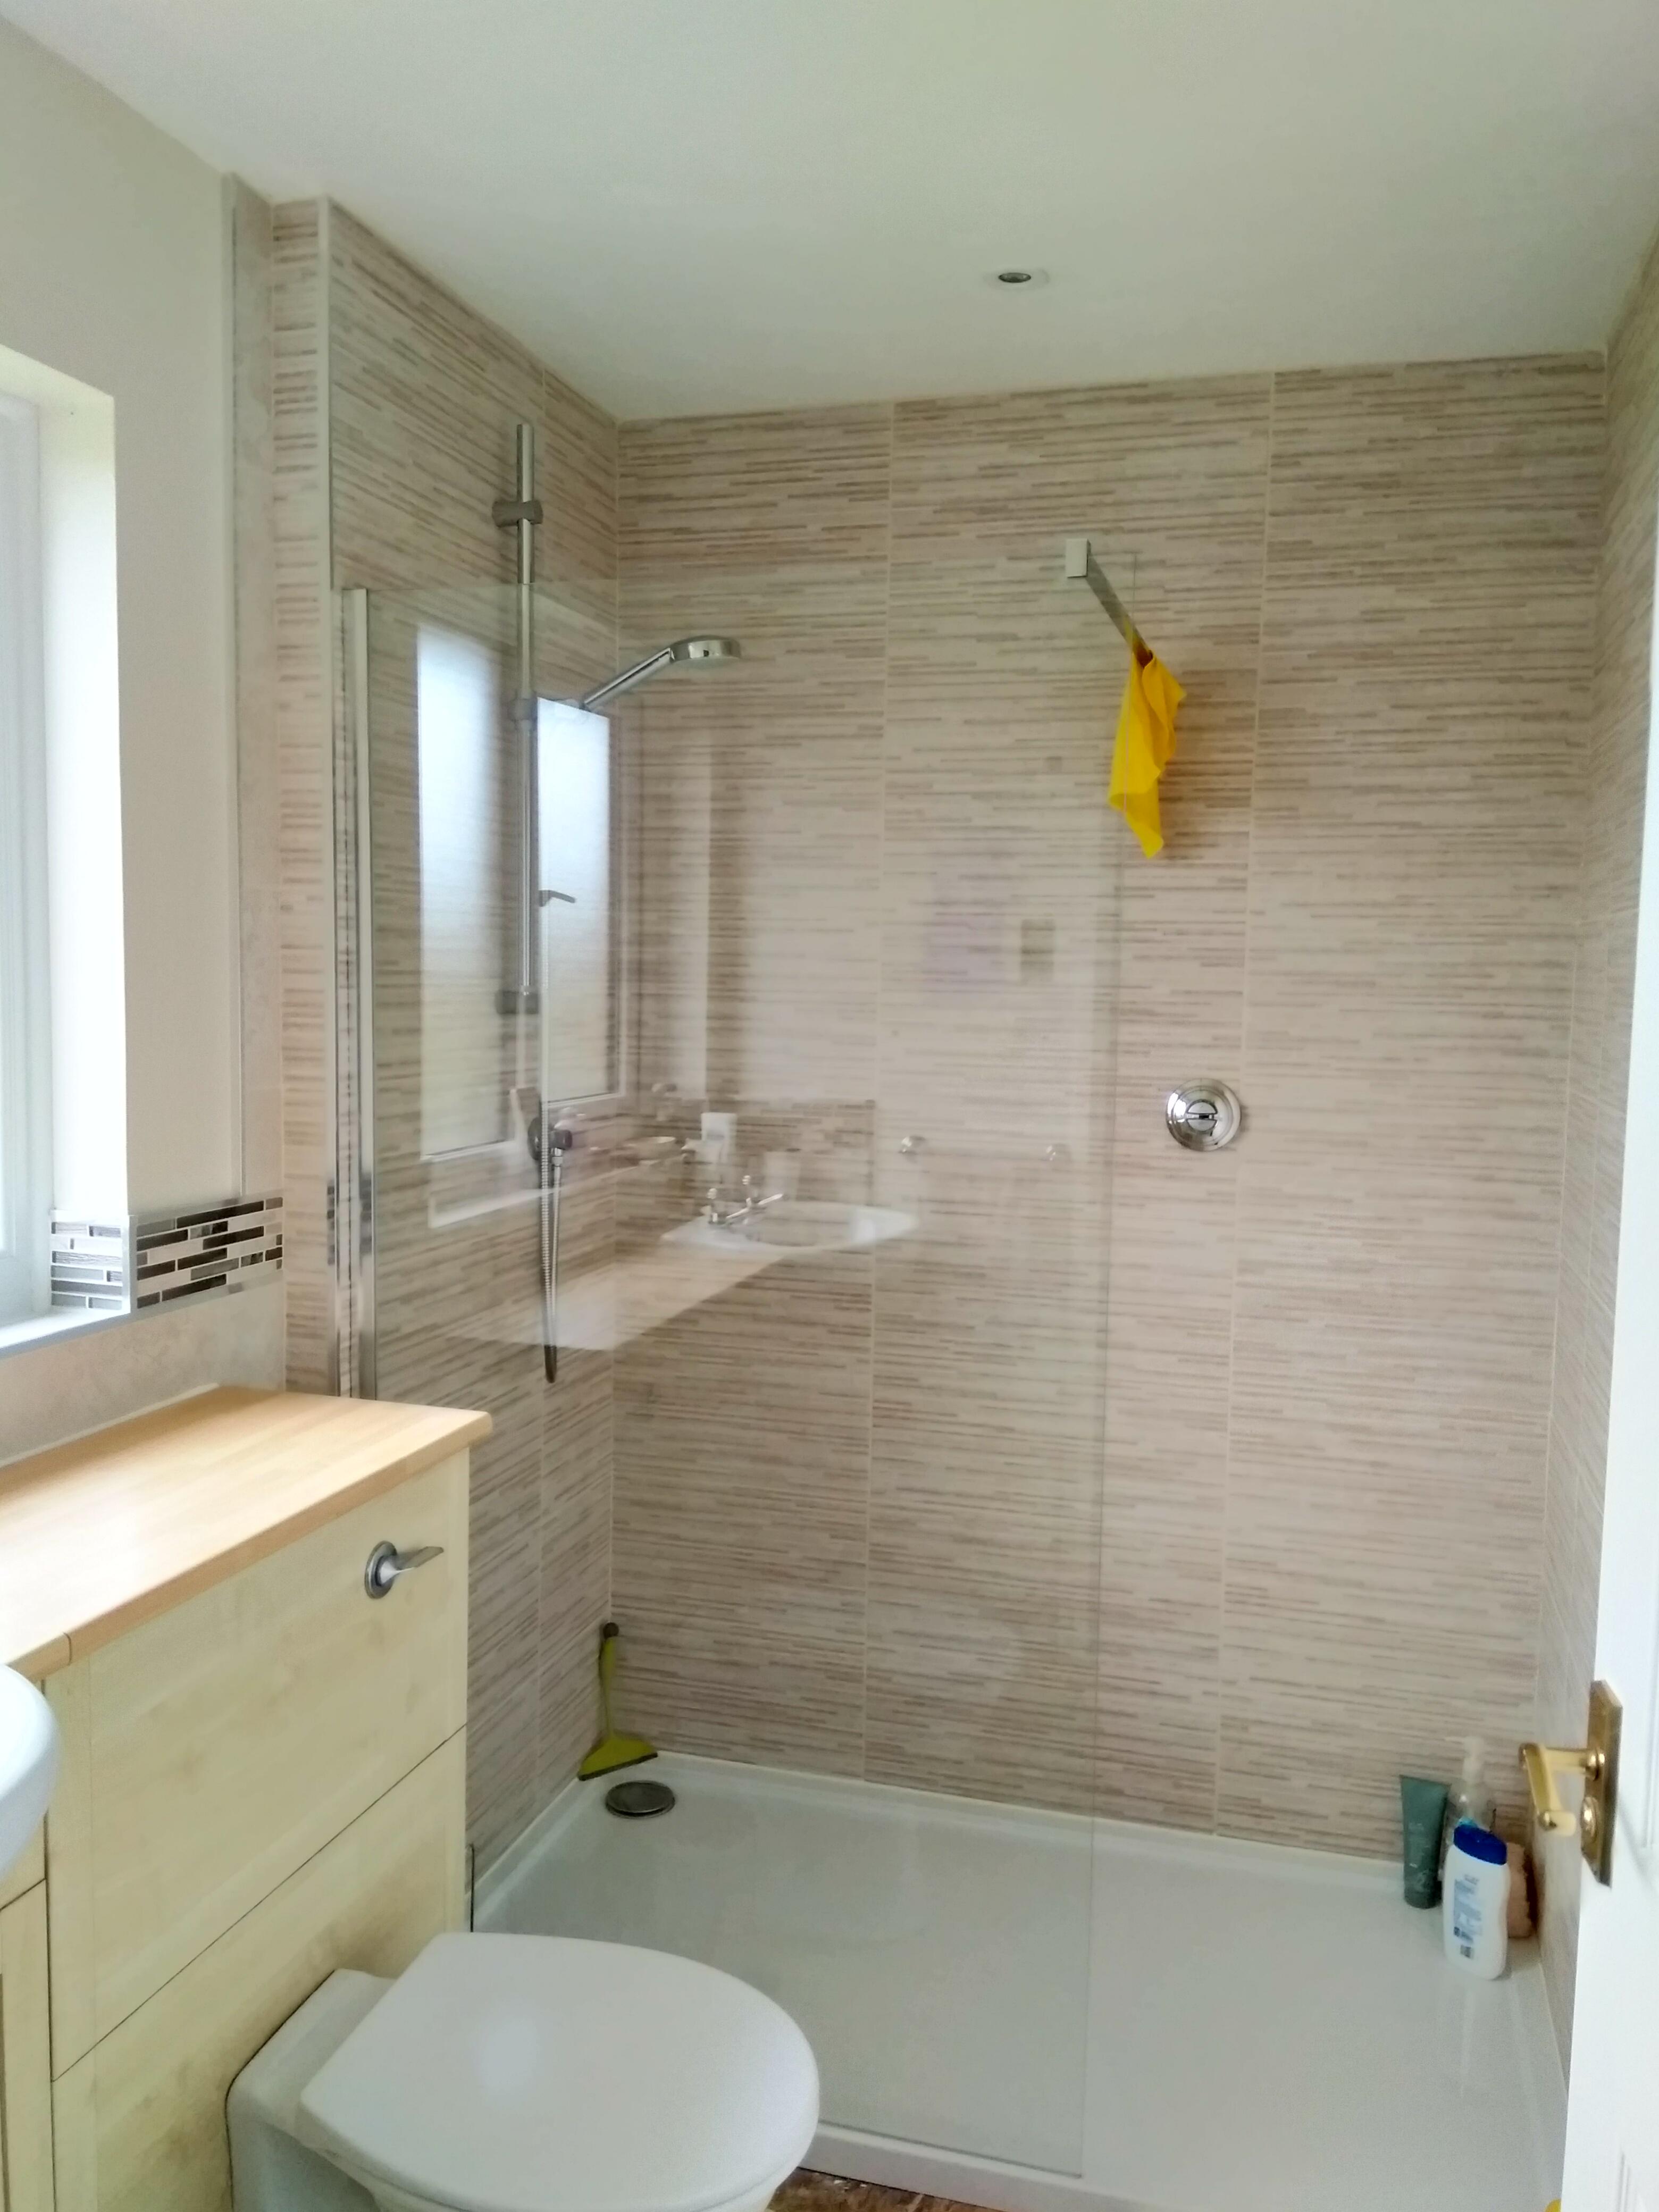
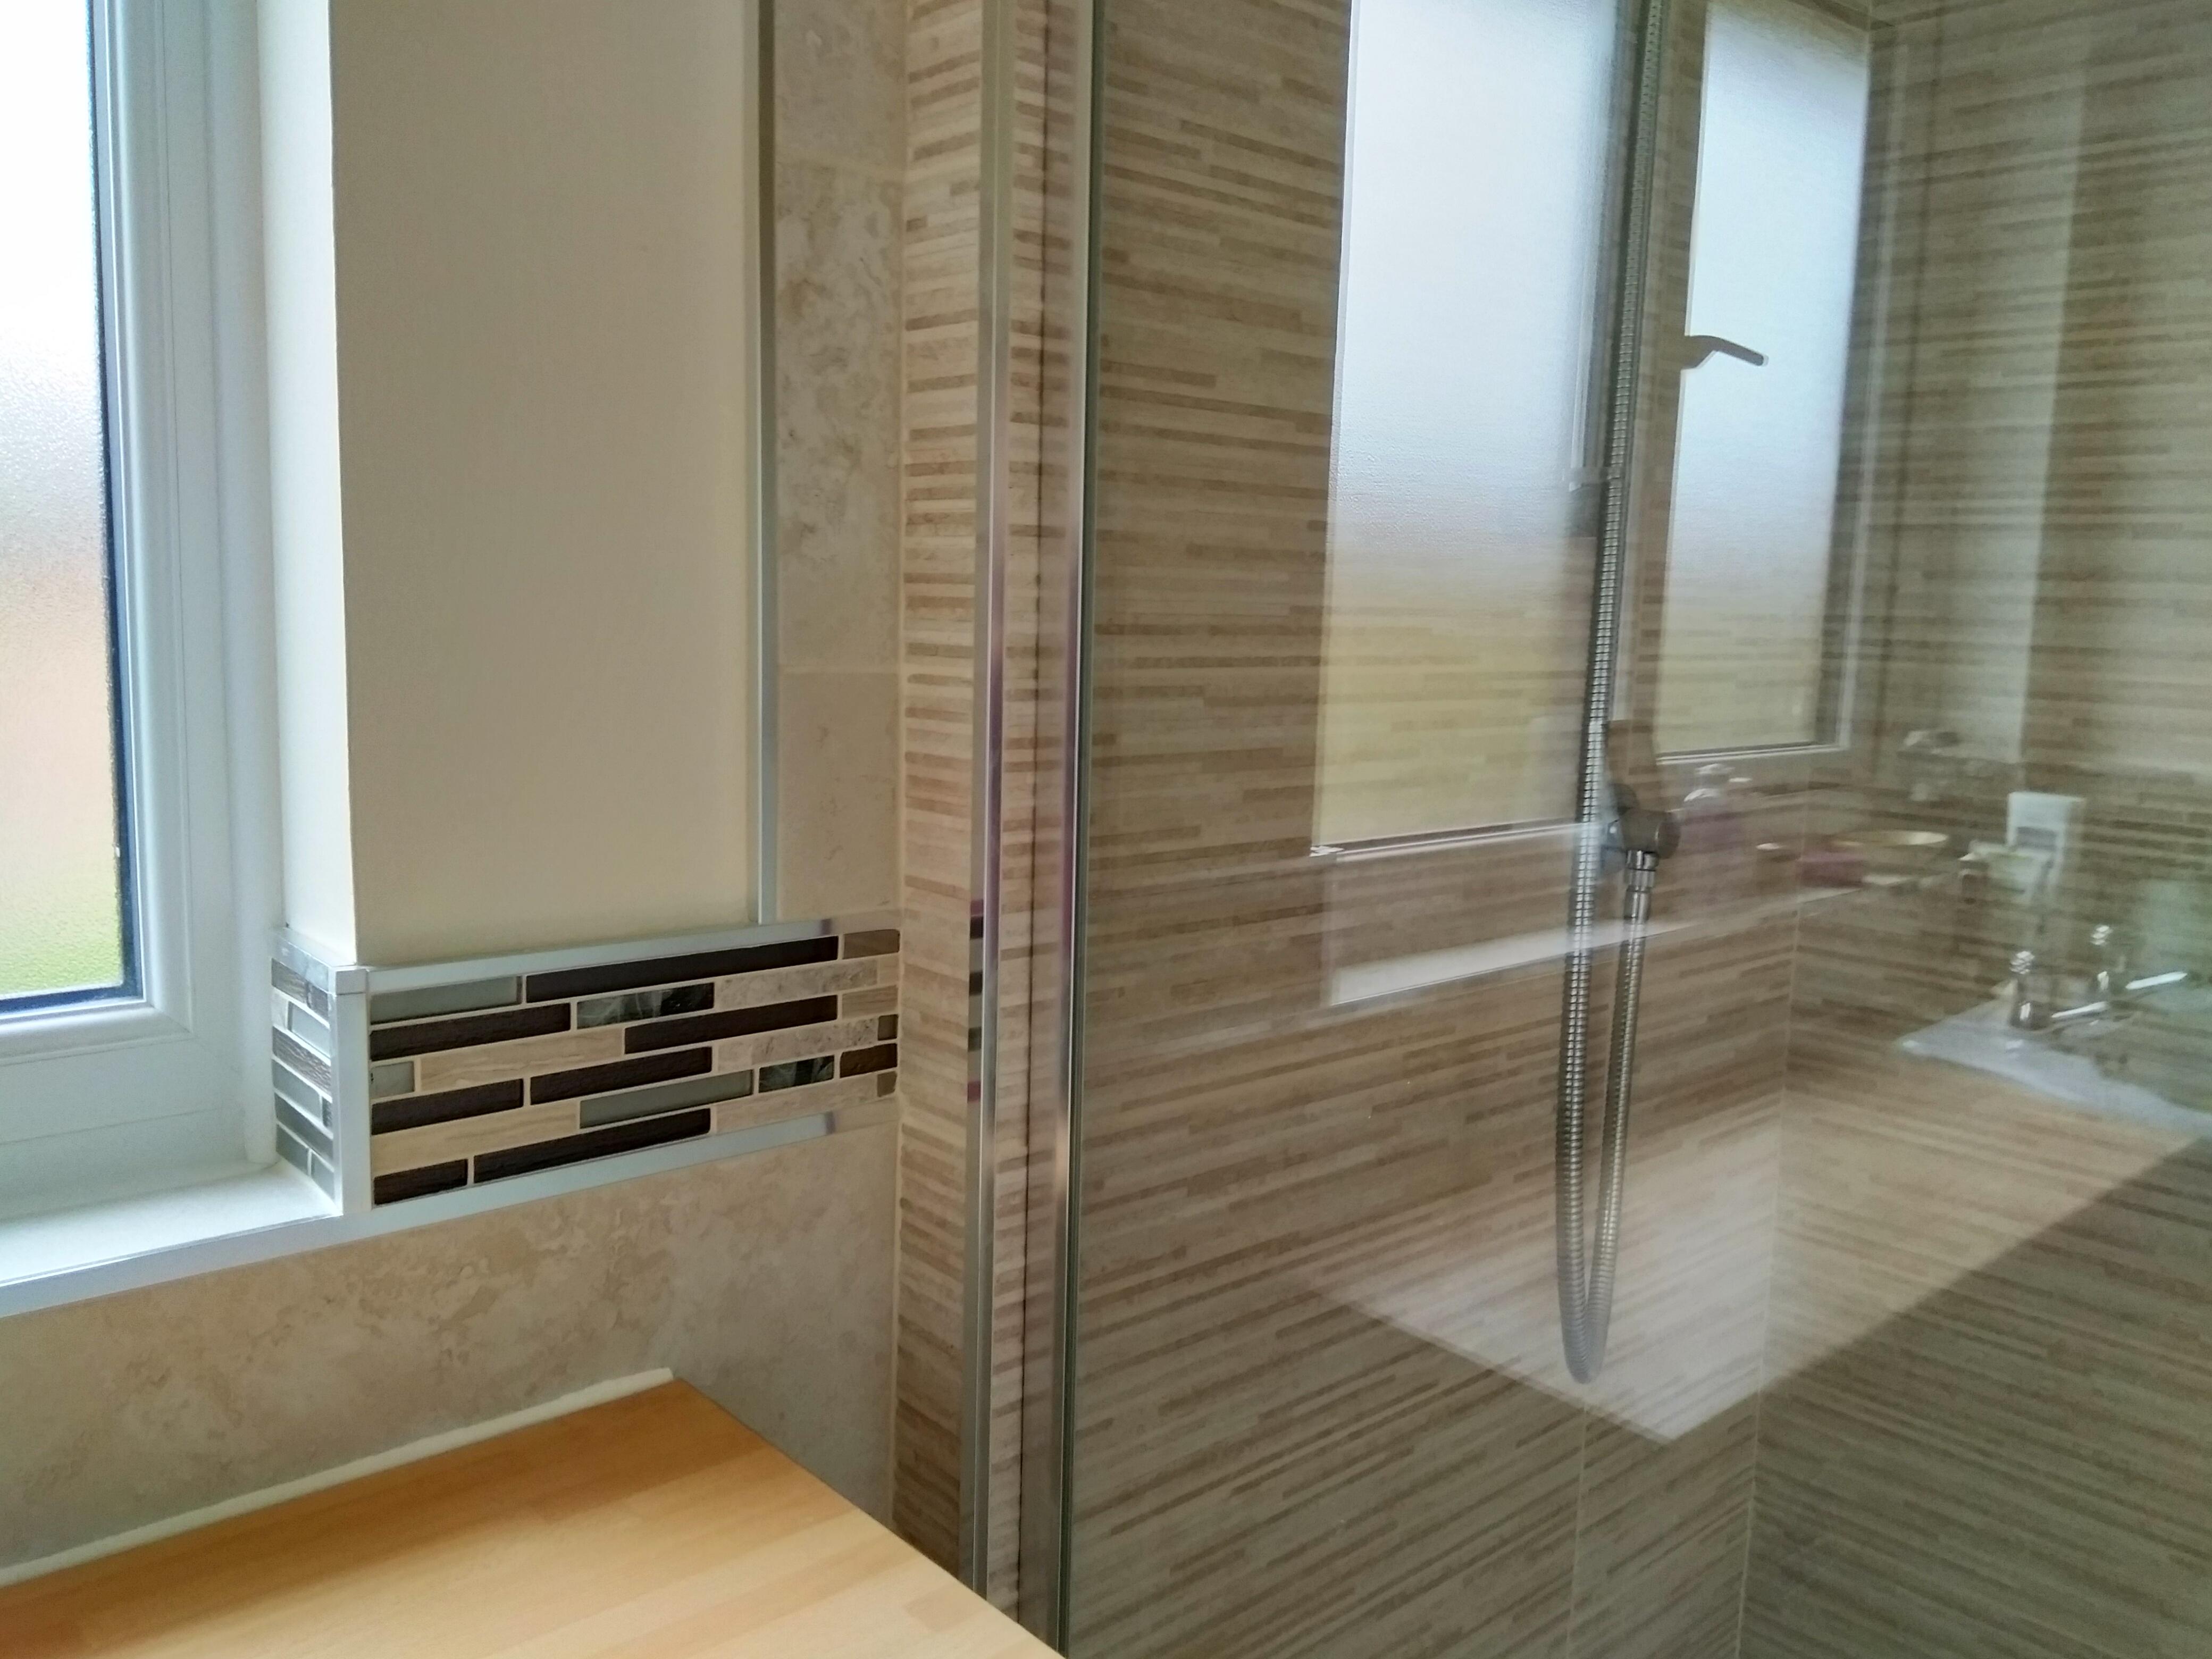
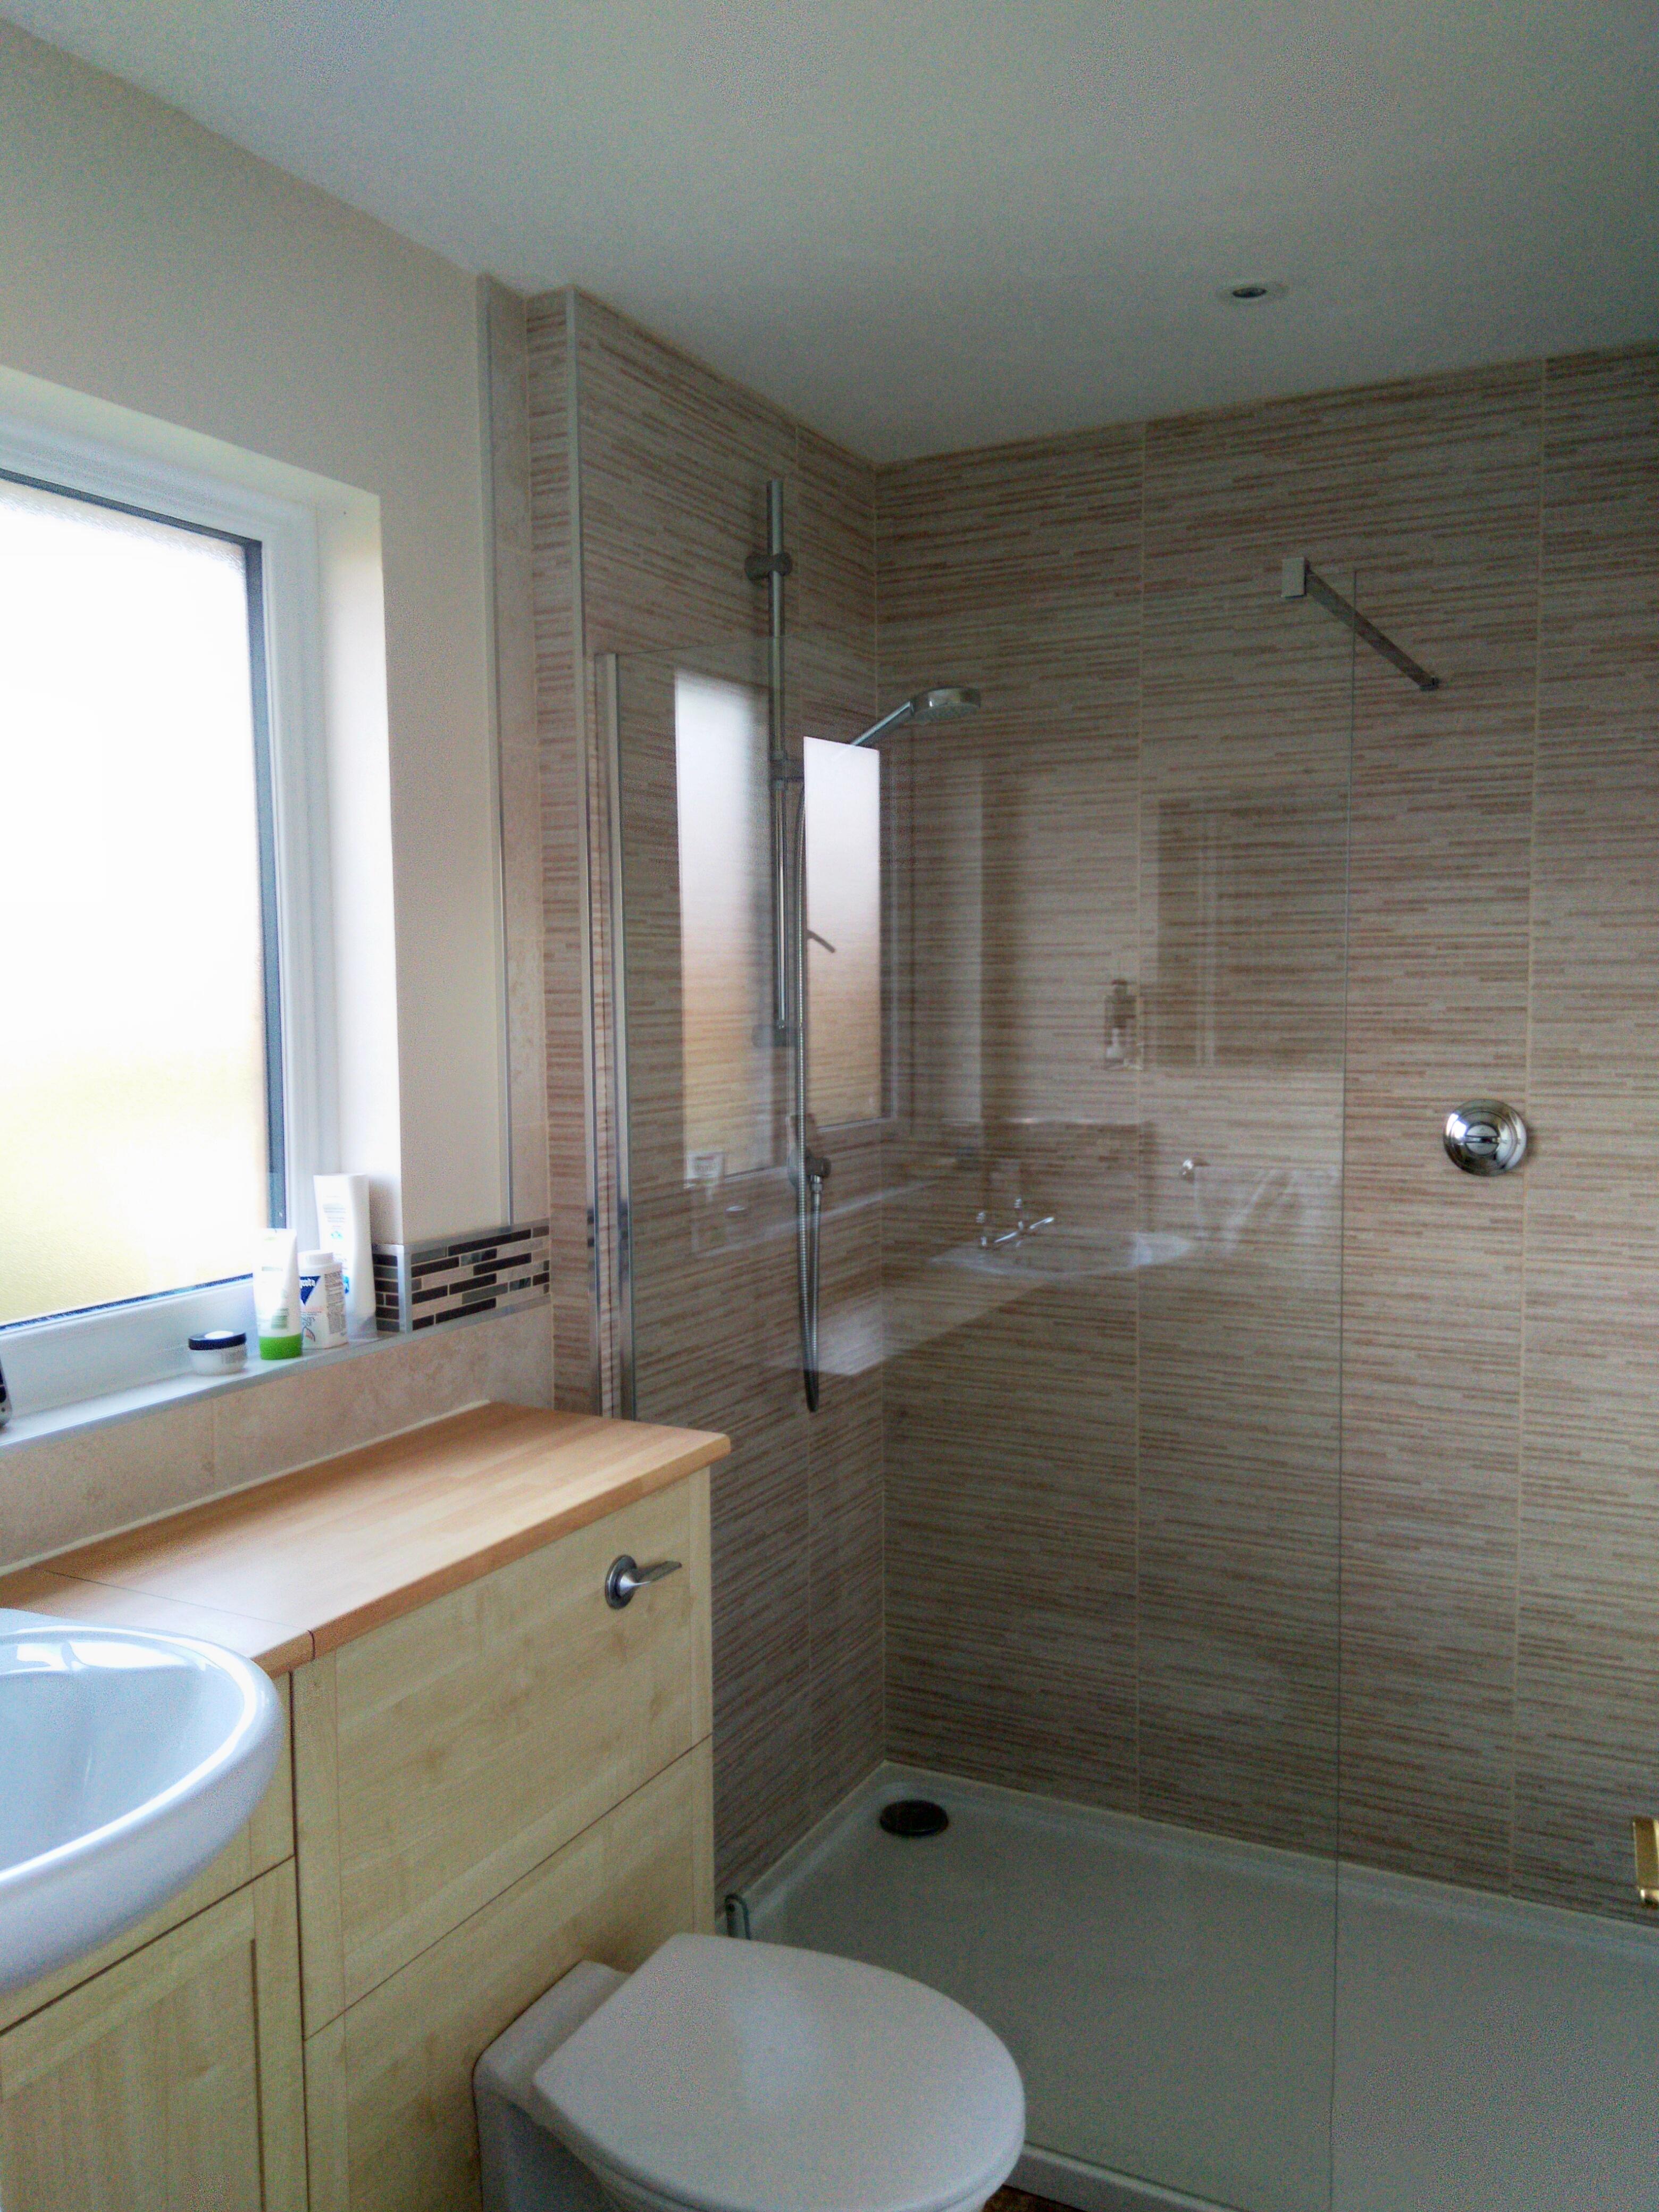
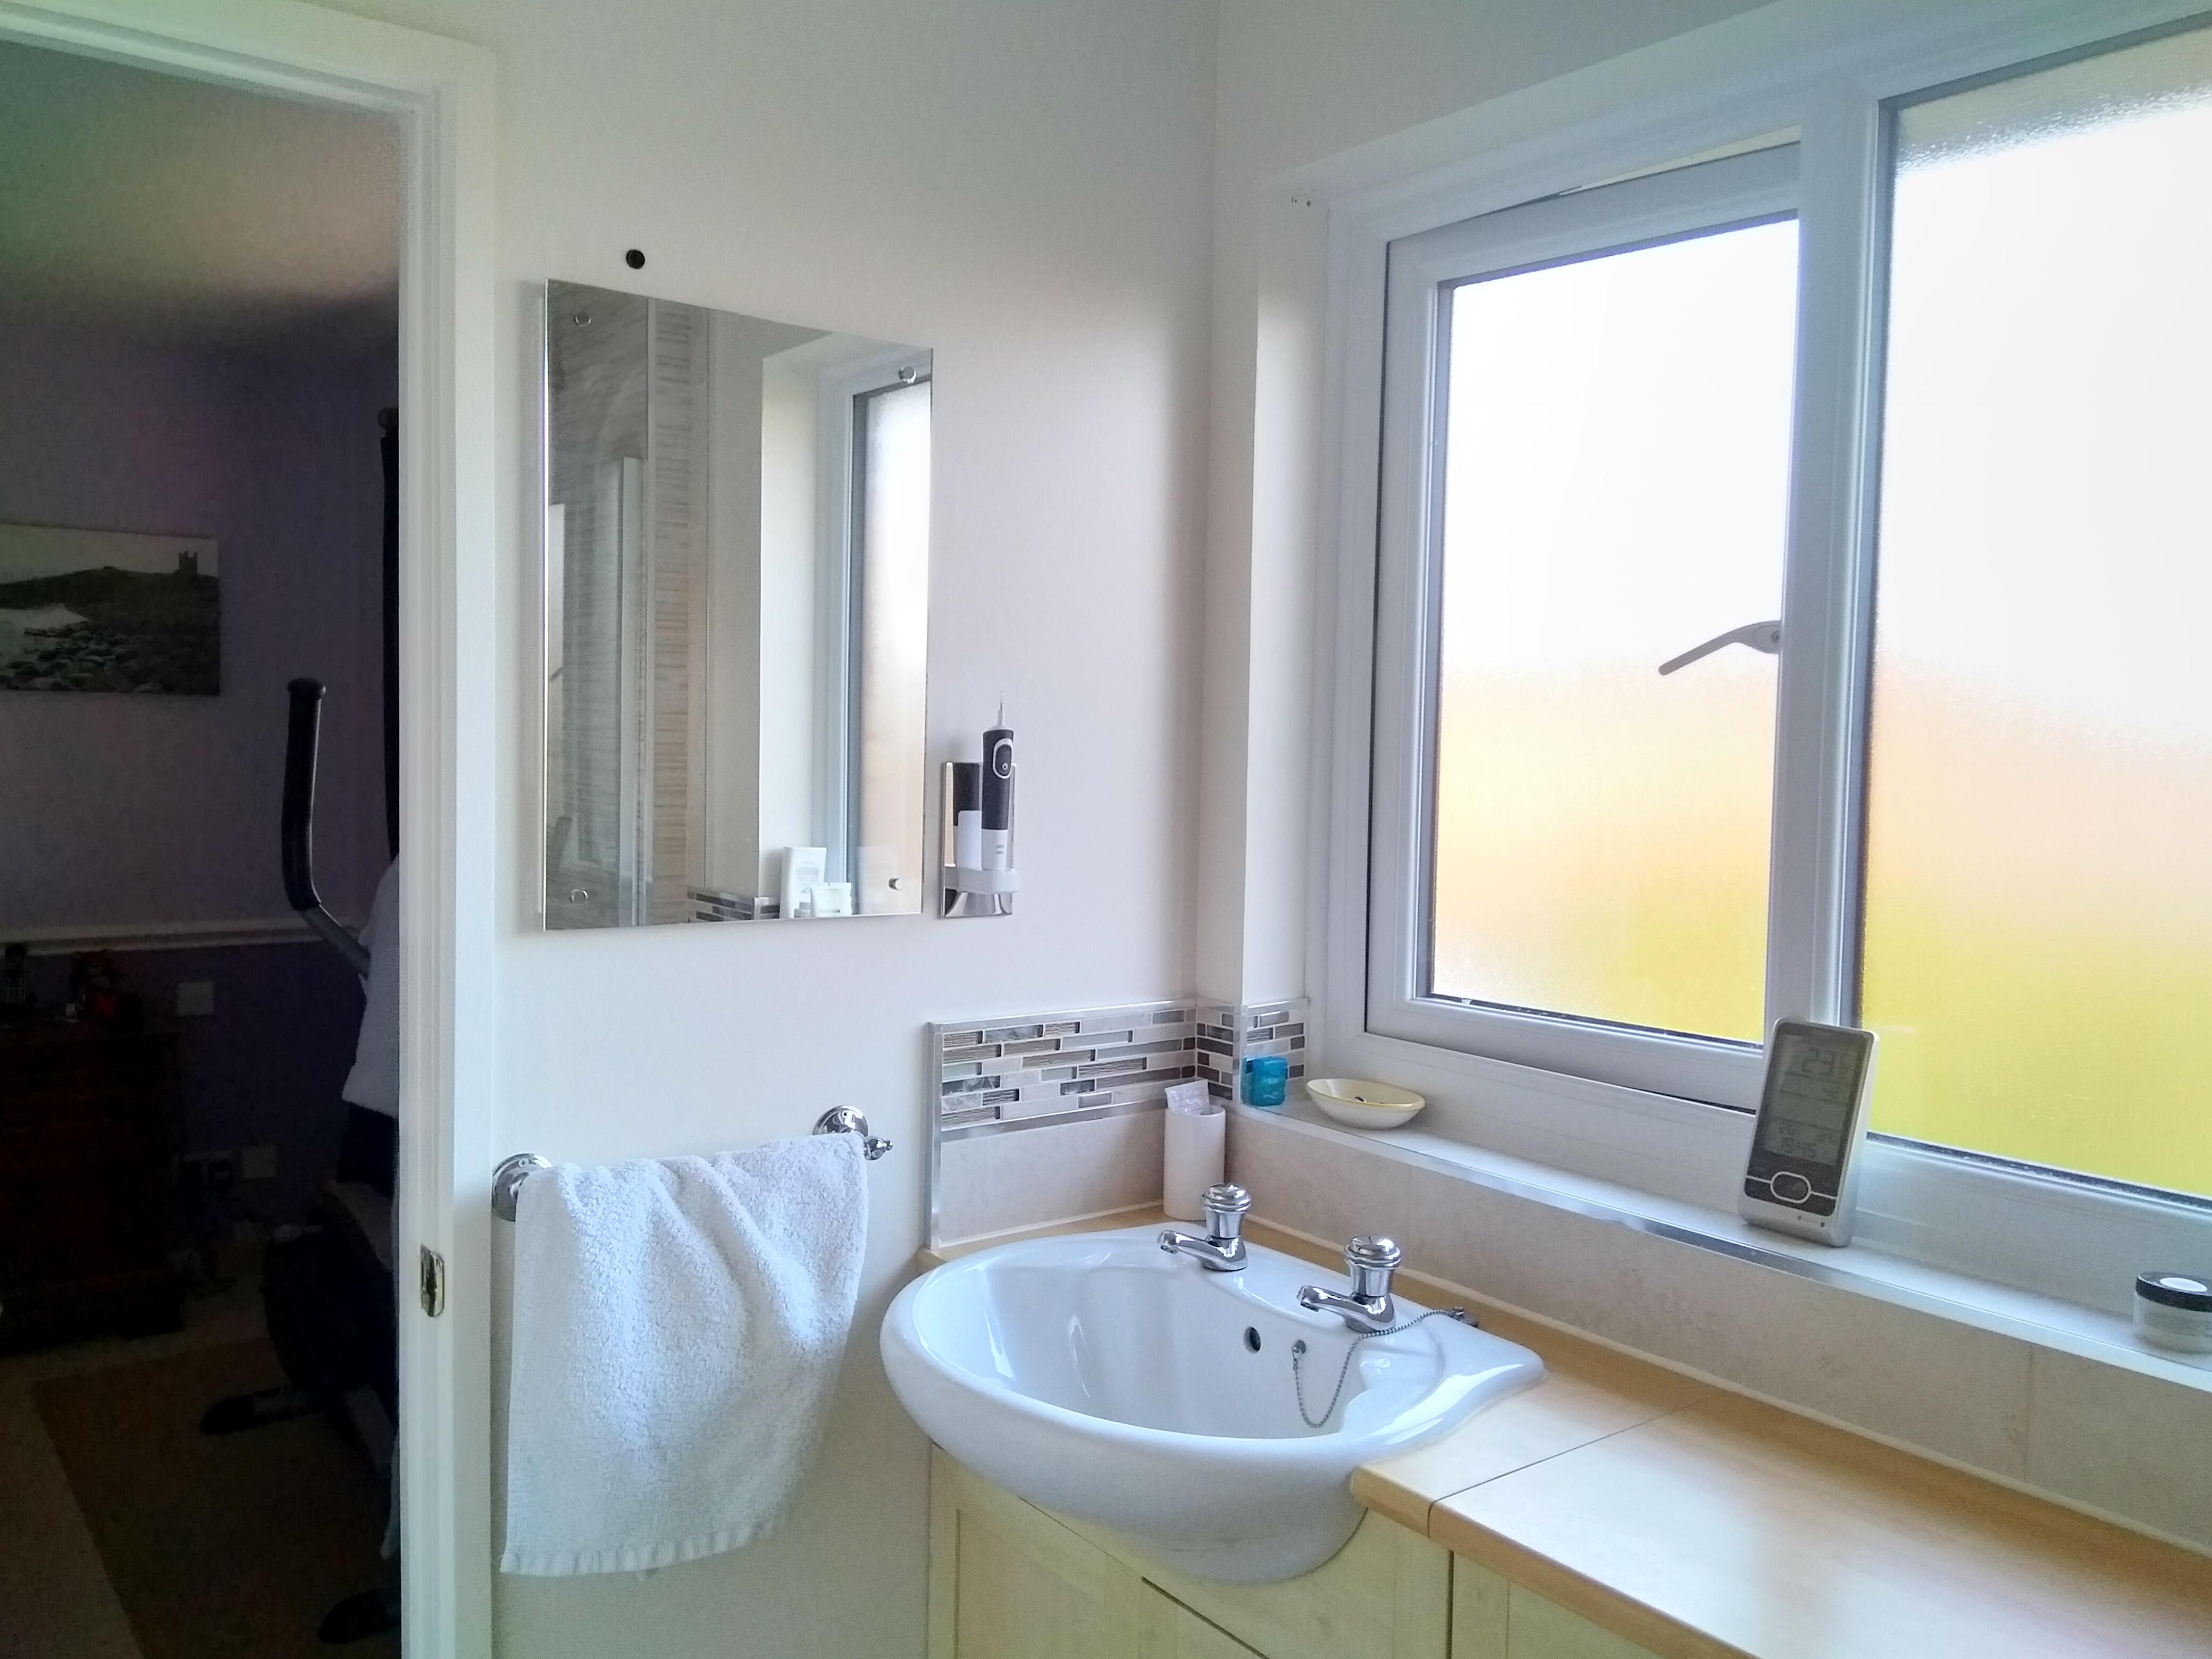
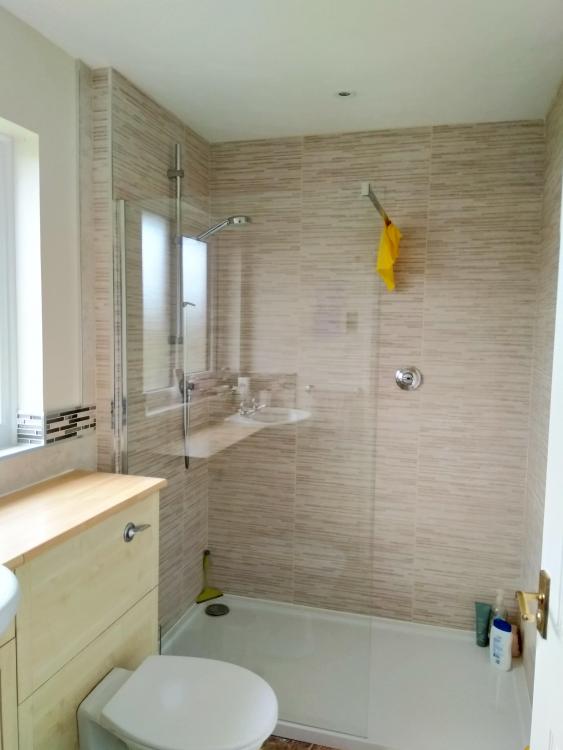
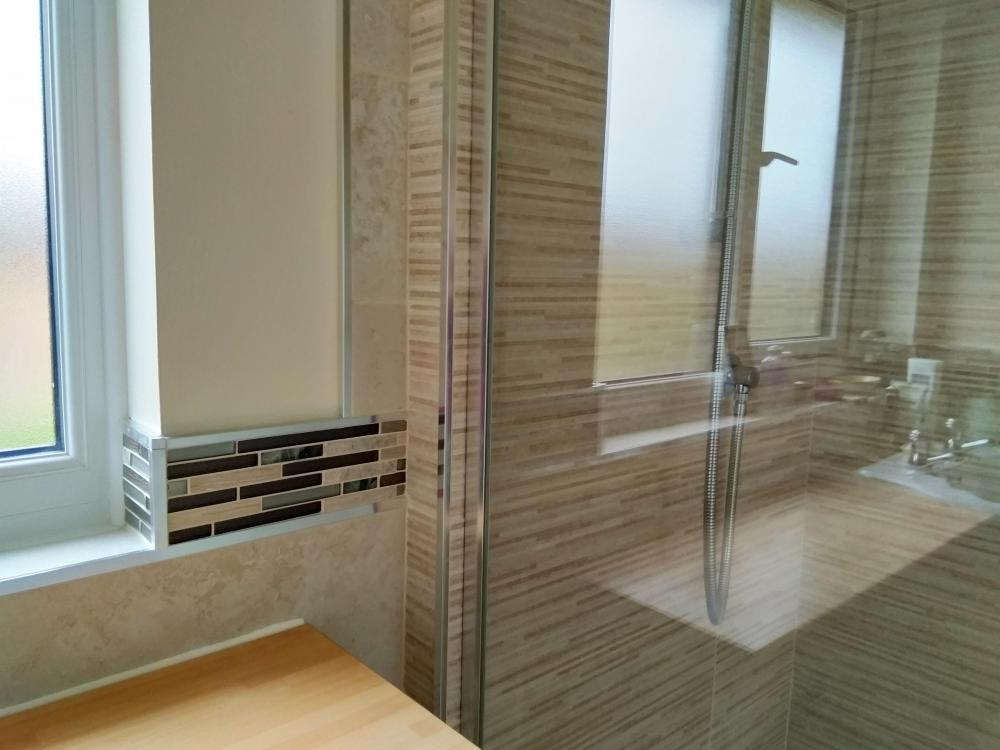
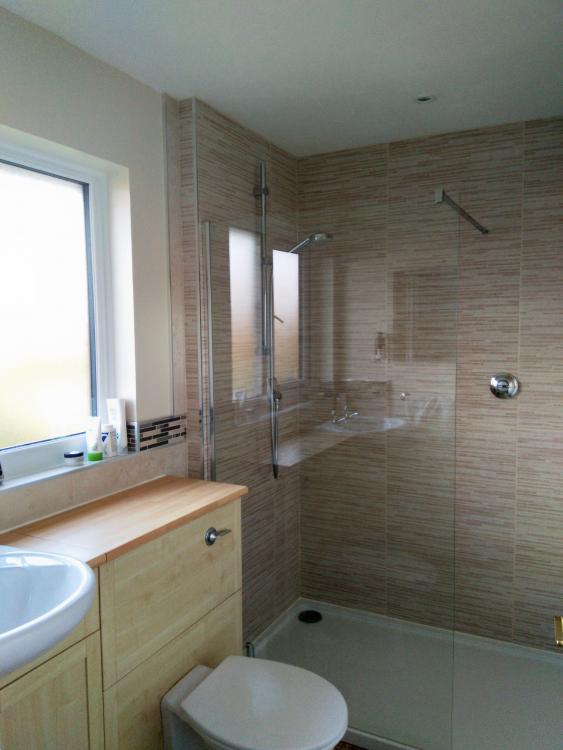
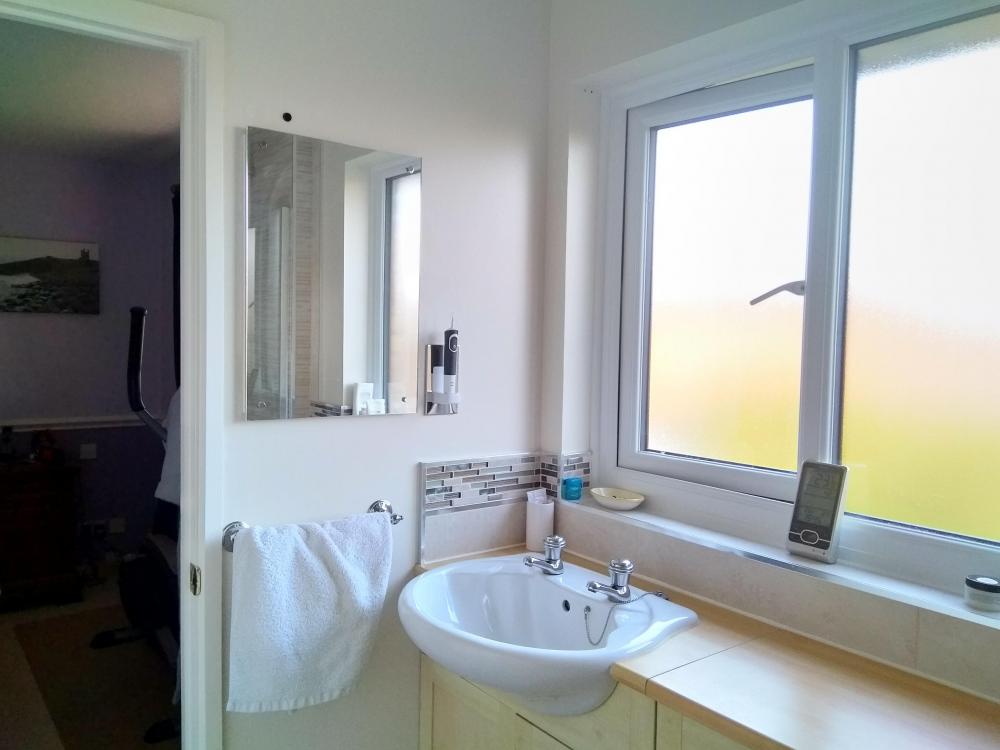
Thought I would post a few photographs of the finished room. We love it and the OH made a brilliant light/mirror after seeing what we could get for £140. luckily it was broken so we sent it back and he made his own. it has a sensor at the top, LED lights around the sides and the toothbrush holder is on the right. The shower itself is great. Aqualisa with a control as you enter so no more cold wet arms. Its is brilliant. And it didnt even take that long to do - a few months........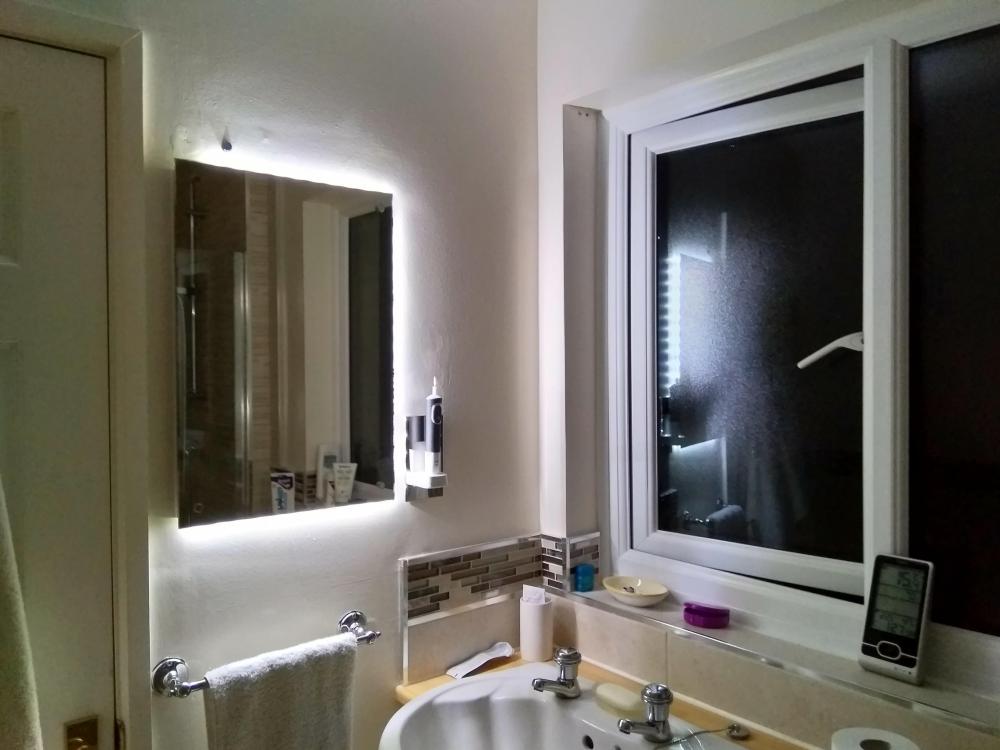
-
Bathroom extractor Fan
TheMitchells replied to TheMitchells's topic in Bathrooms, Ensuites & Wetrooms
https://www.screwfix.com/p/vent-axia-vasf100t-4-3-6-8w-bathroom-extractor-fan-with-timer-white-240v/6468h this one is looking good. very quiet. I have emailed company to ask about the back draught shutter. -
Bathroom extractor Fan
TheMitchells replied to TheMitchells's topic in Bathrooms, Ensuites & Wetrooms
okay - will do. it did seem odd to be venting to the loft so I thought I'd better check. I shall ask the builders about it going through the soffit - thats what they are working on today - taking the brickwork up the soffit and roof apex. -
Bathroom extractor Fan
TheMitchells replied to TheMitchells's topic in Bathrooms, Ensuites & Wetrooms
We can vent our into the loft- this may be a silly question but does it only go into the roof space or does it go through the loft and out of the roof. it would be quite easy to vent ours into the loft space. -
Bathroom extractor Fan
TheMitchells replied to TheMitchells's topic in Bathrooms, Ensuites & Wetrooms
great - thanks - will have a look at those and speak to the electrician tomorrow too.? -
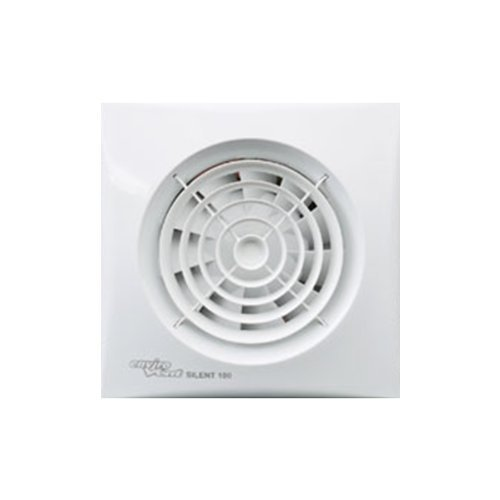
Can anyone recommend a good extractor fan for a wetroom? All the ones I have seen before are either noisy or let lots of air into the room, with rather negates the heating we are putting in. I have been looking at this one. https://www.amazon.co.uk/Envirovent-SIL100T-Silent-Bathroom-Extractor/dp/B0080XNKQ0/ref=asc_df_B0080XNKQ0/?tag=googshopuk-21&linkCode=df0&hvadid=272030589264&hvpos=1o2&hvnetw=g&hvrand=8883313418220292830&hvpone=&hvptwo=&hvqmt=&hvdev=c&hvdvcmdl=&hvlocint=&hvlocphy=1006515&hvtargid=pla-521450556954&psc=1 It is important that it does not allow cold air in so must have a good back draugh shutter. Any recommendations or advice? The elctrician is coming soon for first fix so I'd like to be able to tell him what we plan to use. thank you.
-
thanks Guys - I had a look at a freinds this morning and yes, it holds an amount of water in the drain with excess water going through the side and draining away. so no need for a U bend and it will fit into the insulation layer and screed can go around it. cheers,?
-
lots of advice available at Centre for Alternative Technology - I am sure they will have the info you need. They have had composting toilets for the last 20 years and use the 'waste' on the gardens as it is a fabulous soil improver. There was no smell or flies. Brilliant way of turning our waste into a positive use. And the Autonmous House near Pershore had two composting toilets in the house - again, no smells and great idea. full info here. http://www.cropthornehouse.co.uk/
-
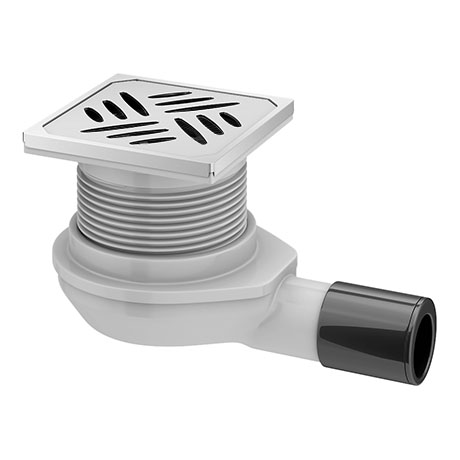
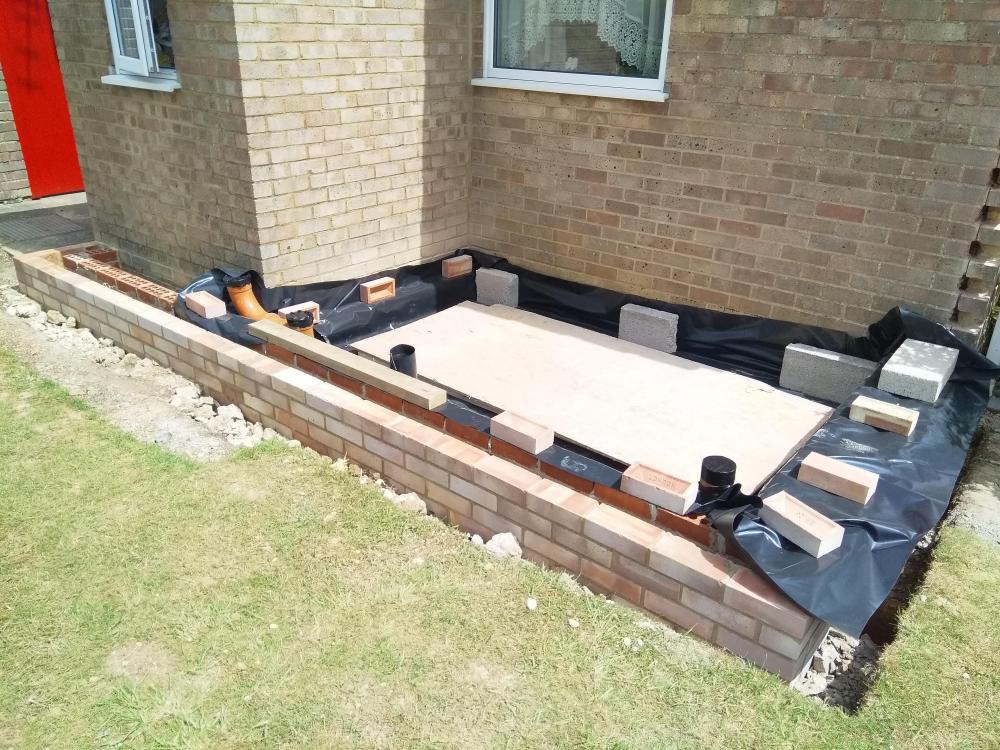
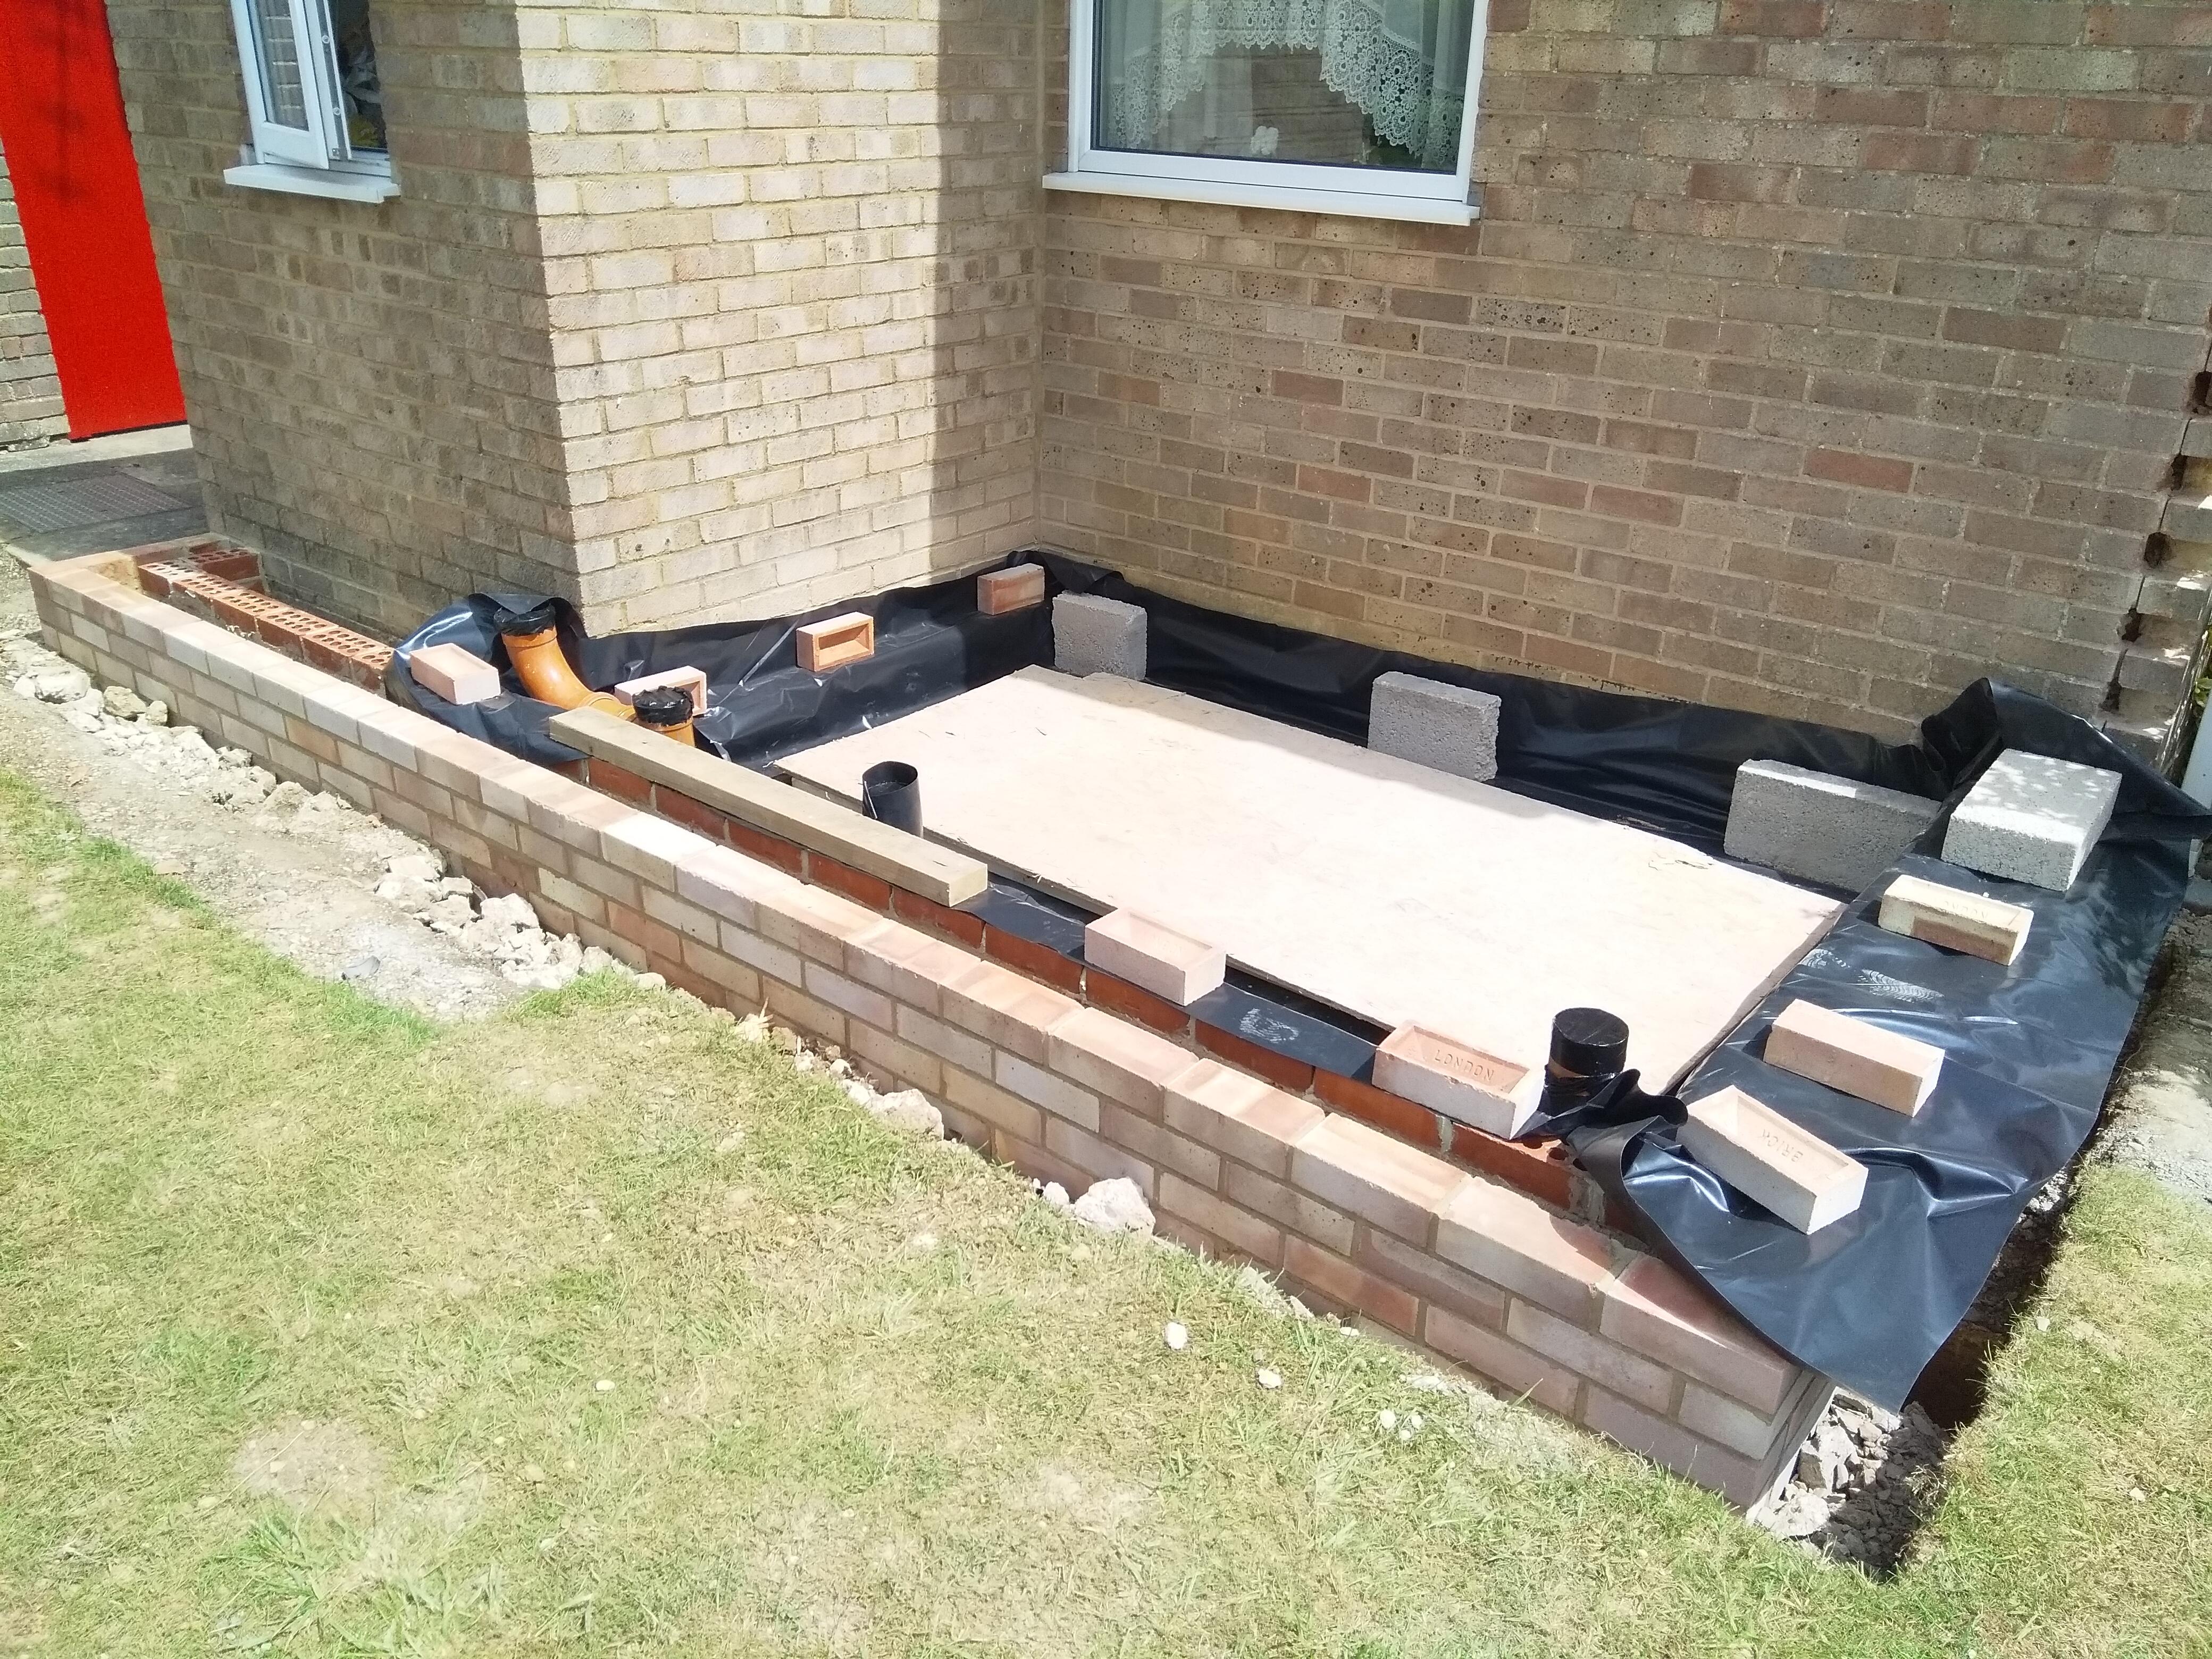
We are busy with Mum and Dad's new wetroom extension and the builders are getting the roof on so we planning the internal fit out. The floor is concrete, insulation then a screed which the builder assures me will have the correct falls for me to tile. No need for a former or shower tray. and he is quite a perfectionist so I am sure it will be fine. (He took down the rafters and re-fit them as one side was 1cm out from the other!) anyway - we are looking to fit a square drain such as this one - the OH, who will be fittng it, was asking about the need for a U-bend? There isnt going to be room for one. Is that okay? the concrete has been laid for the floor with a largish brown pipe in place for the waste and Fred, who did the foundations, said the drain fits into the insulation layer and the screed is laid around it. does that all sound correct? Here is the build a couple of weeks ago. the corner pipe nearest the camera is the shower drain location.