markocosic
-
Posts
979 -
Joined
-
Last visited
-
Days Won
1
Everything posted by markocosic
-
Nervous much? (airtightness testing...)
markocosic replied to markocosic's topic in General Self Build & DIY Discussion
Stick built on site. 22 mm T&G OSB on floor with bubble glue joints and sticky tape to the walls. 11 mm OSB on inside as airtightness layer on roof and walls with sticky tape joints (Gerband 586). Fleece coated window sticky tape to UPVC windows (Peonsil "full glue internal") with tanking compound (Penosil 660) for the corners because to heck with sticky tape there. (sticks like poop to the fleece and makes a stretchy layer that infills the corner) Soudal flexfoam for sticking in the windows and bulk fill penetrations through floor. (4x 110 mm soil pipes; on for poo; one for water pipe and pump cable and a 50 mm drain ; one for ground source heat pump loop and it's outdoor sensor and AC refrigerant lines and it's cable; one for the incomer and all the other cables) Foam the "Topped off" with MS Polymer floor glue. Shoving loads through a single hole.was a PITA in retrospect. 2x 50 mm waste through floor (10 mm.gap; MS polymer to OSB; dead easy if you leave a big enough hole) 2x MVHR again MS polymer in 10 mm gap. Twinwall flue got a silicone rubber sheet with a hole in. Nothing through walls. Main leaks I think are through roof posts (post and beam; posts made of multiple 145*45s; air leaks between them), corner welds of every window (Rehau Euro 70 cheapo UPVC - would not repeat), and mezzanine floor where the framers put it up before the sticky tape went on the OSB and it's a losing battle to try seal around the entirety of the 195*45 screwed through the OSB to the wall joists. Next time I'd consider a US "zip system" style setup where it's all taped on the outside rather than the inside. Easier to do/supervise. Better for winning against pine martens before the cladding is complete... -
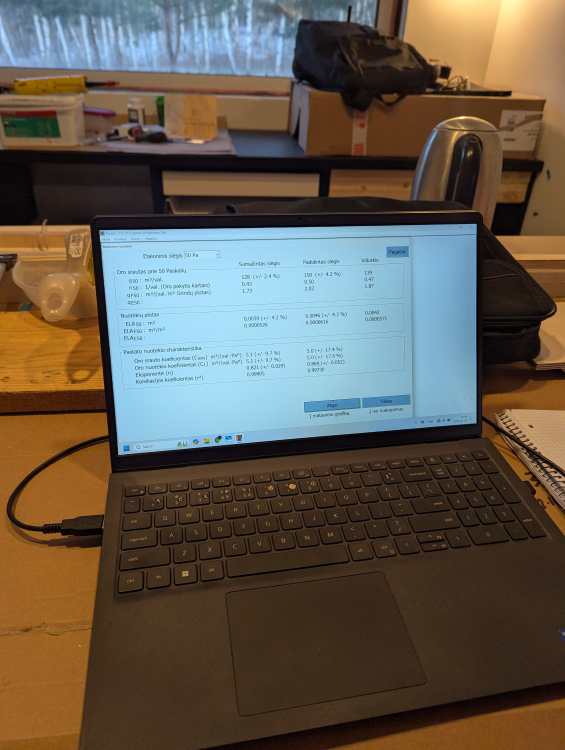
Let's build a summerhouse/cabin. Try to make it reasonably airtight and insulated but don't plan to register it as a house. Wife changes mind and fancies registering it as a house. (insurable) It's basically finished (just trim at this point). It's not been tested beyond looking for cold bits. Building regs are 0.6 ACH at 50 Pa to get your EPC. Eeeeeee. Cue much furious last ditch window cleaning and adjustment. At least it was cold enough for the rain to be solid. It's one thing being told that bicycles can be ridden online. It's quite another when you know one is about to arrive and you're expected to just ride it. I don't think I've been this uncertain and uncomfortable for years! "Mmmmm" says the man reassuringly. "Well I guess we can try." Thanks... 0.5 ACH on the first go. Smoke pencils did not exit the toolbox. Hell yes. Praise be the OSB and fancy sticky tape. It does seem to work. So relieved that I've gone and bought some panel pins to finish the window trims as a reward. Might even change the busted window cleaner me spring...

-
Cold air from range hood ventilation
markocosic replied to Eldad's topic in General Self Build & DIY Discussion
Cold air will enter the vent and hot air will rise out of the roof with the stack effect. The back draught flaps are for howling takes only; not to prevent all airflow. Fix with recirculation and carbon filters and/or better airtightness in the rest of the house. -
Installing wood burner in timber frame.
markocosic replied to junglejim's topic in Stoves, Fires & Fireplaces
Fires are rubbish. Poor comfort (heat the ceiling, freeze your feet), immediately dangerous (get them good and hot and radiant heat can burn stuff from a surprising distance), and long term dangerous (pollution; much of which can sti around even your own home if conditions are still) You'll also need to open a window as soon as you light the damn thing on any new build with vaguely decent insulation. The air feed / flue /cold stove are also monster thermal bridges when not using it. That said - my wife also demanded one be retrofitted in a timber frame - it isn't particularly difficult to retrofit one especially if you do (as you should, to avoid expansion headaches and the worst of the thermal bridges and mess sweeping the flue indoors etc) put the flue horizontal out of a wall then up the side of the house externally. Fill between studs with mineral wool not burny foam stuff. Mark hole between two studs. Cut 20 cm hole through wall/insulation. Cut 30 cm hole through cladding / airtightness layer. Put double wall through hole. Add silicone airtightness membrane. Tape and clamp to your airtightness membrane. Add trim rings internally and externally. Done. You do need to centre the flue ina 600 mm stuf bay to get the clearances you need to burnables though. We purchased from: https://www.sauresta.com/en English manual: https://www.sauresta.com/static/instr/Dumtraukiu-naudojimo-instrukcija_EN_Rasu_g.pdf Foregin manual has timber frame details. Not the cutback to insulation if deeper than 30 cm. https://www.sauresta.com/static/files/3/60/360/Dumtraukiu_instrukcija_LT_Rasu_Nr_7_26-10-2018.pdf This type of silicone seal: https://zidiniumeistrai.lt/parduotuve/kaminai_ir_ju_dalys/Tvirtinimo_sandarinimo_detales/1387.html -
Some of the traps state flowrate: https://mcalpineplumbing.com/traps/shower-traps-accessories/50mm-water-seal-shower-trap/ ...with 120 mm head...so standing in a 120 mm deep puddle? In hindsight I think this would have made a better combo: https://mcalpineplumbing.com/traps/bath-traps/wasteflow-with-19-23mm-pipe-connection/ https://mcalpineplumbing.com/traps/bath-traps/19mm-seal-bath-trap/ Fed into a 50 mm outlet. - 19-23mm inlet teed into the overflow for the AC condensate (rather than my 32mm tee faffery) - Not "cleanable from the top" but in practice if you slice through the hair trapped around the plug the rest can easily be pushed through the 40 mm section and out into the 50 mm part? Or perhaps one of these two: https://mcalpineplumbing.com/traps/bath-traps/75mm-seal-bath-trap/ https://mcalpineplumbing.com/traps/bath-traps/75mm-seal-anti-syphon-bath-trap/ Or perhaps fuggit and put a 110 mm outlet gulley in the floor that the sink / shower / bath can run into directly in 50 mm without any traps? (just the single 110 mm gulley accessible in the corner of the floor)
-
Is a flush mounted 48 way Hager legal in the UK? https://www.eltido.lt/lt/katalogas/skydai/ileidziami-skydeliai/skydelis-48-mod-ip30-vu48-volta-hager.htm Plenty of space for subsequent faffery that you've not thought of yet. Sub board for kitchen or utility/plant room not a daft shout if the cable routes don't need RCD protection and you're not worried about tripping all the sockets/lights etc simulatenously?
-
I'd like to have under an entrance mat. Dry the mat from the rain / snow. Dry the shoes potentially. Has anybody used this kind of thing before? https://infrarot-fussboden.de/24V-Heating-Film-Perforated-90cm-wide-55W-m-15m-705W I'm considering "pasting it" into a layer of waterproofing / tanking / hydoisolation membrane on top of an OSB floor; then popping a regular jute doormat on top; and controlling it purely using pulse width modulation (setting %age of the time off vs on) rather than explicit temperature control; as there's no "screed" as such within which to bury a temperature probe. Also considering a socket in the kitchen plinth and a socket under the bathroom sink cabinet for some of their heated mat options... https://infrarot-fussboden.de/Heated-Carpet

-
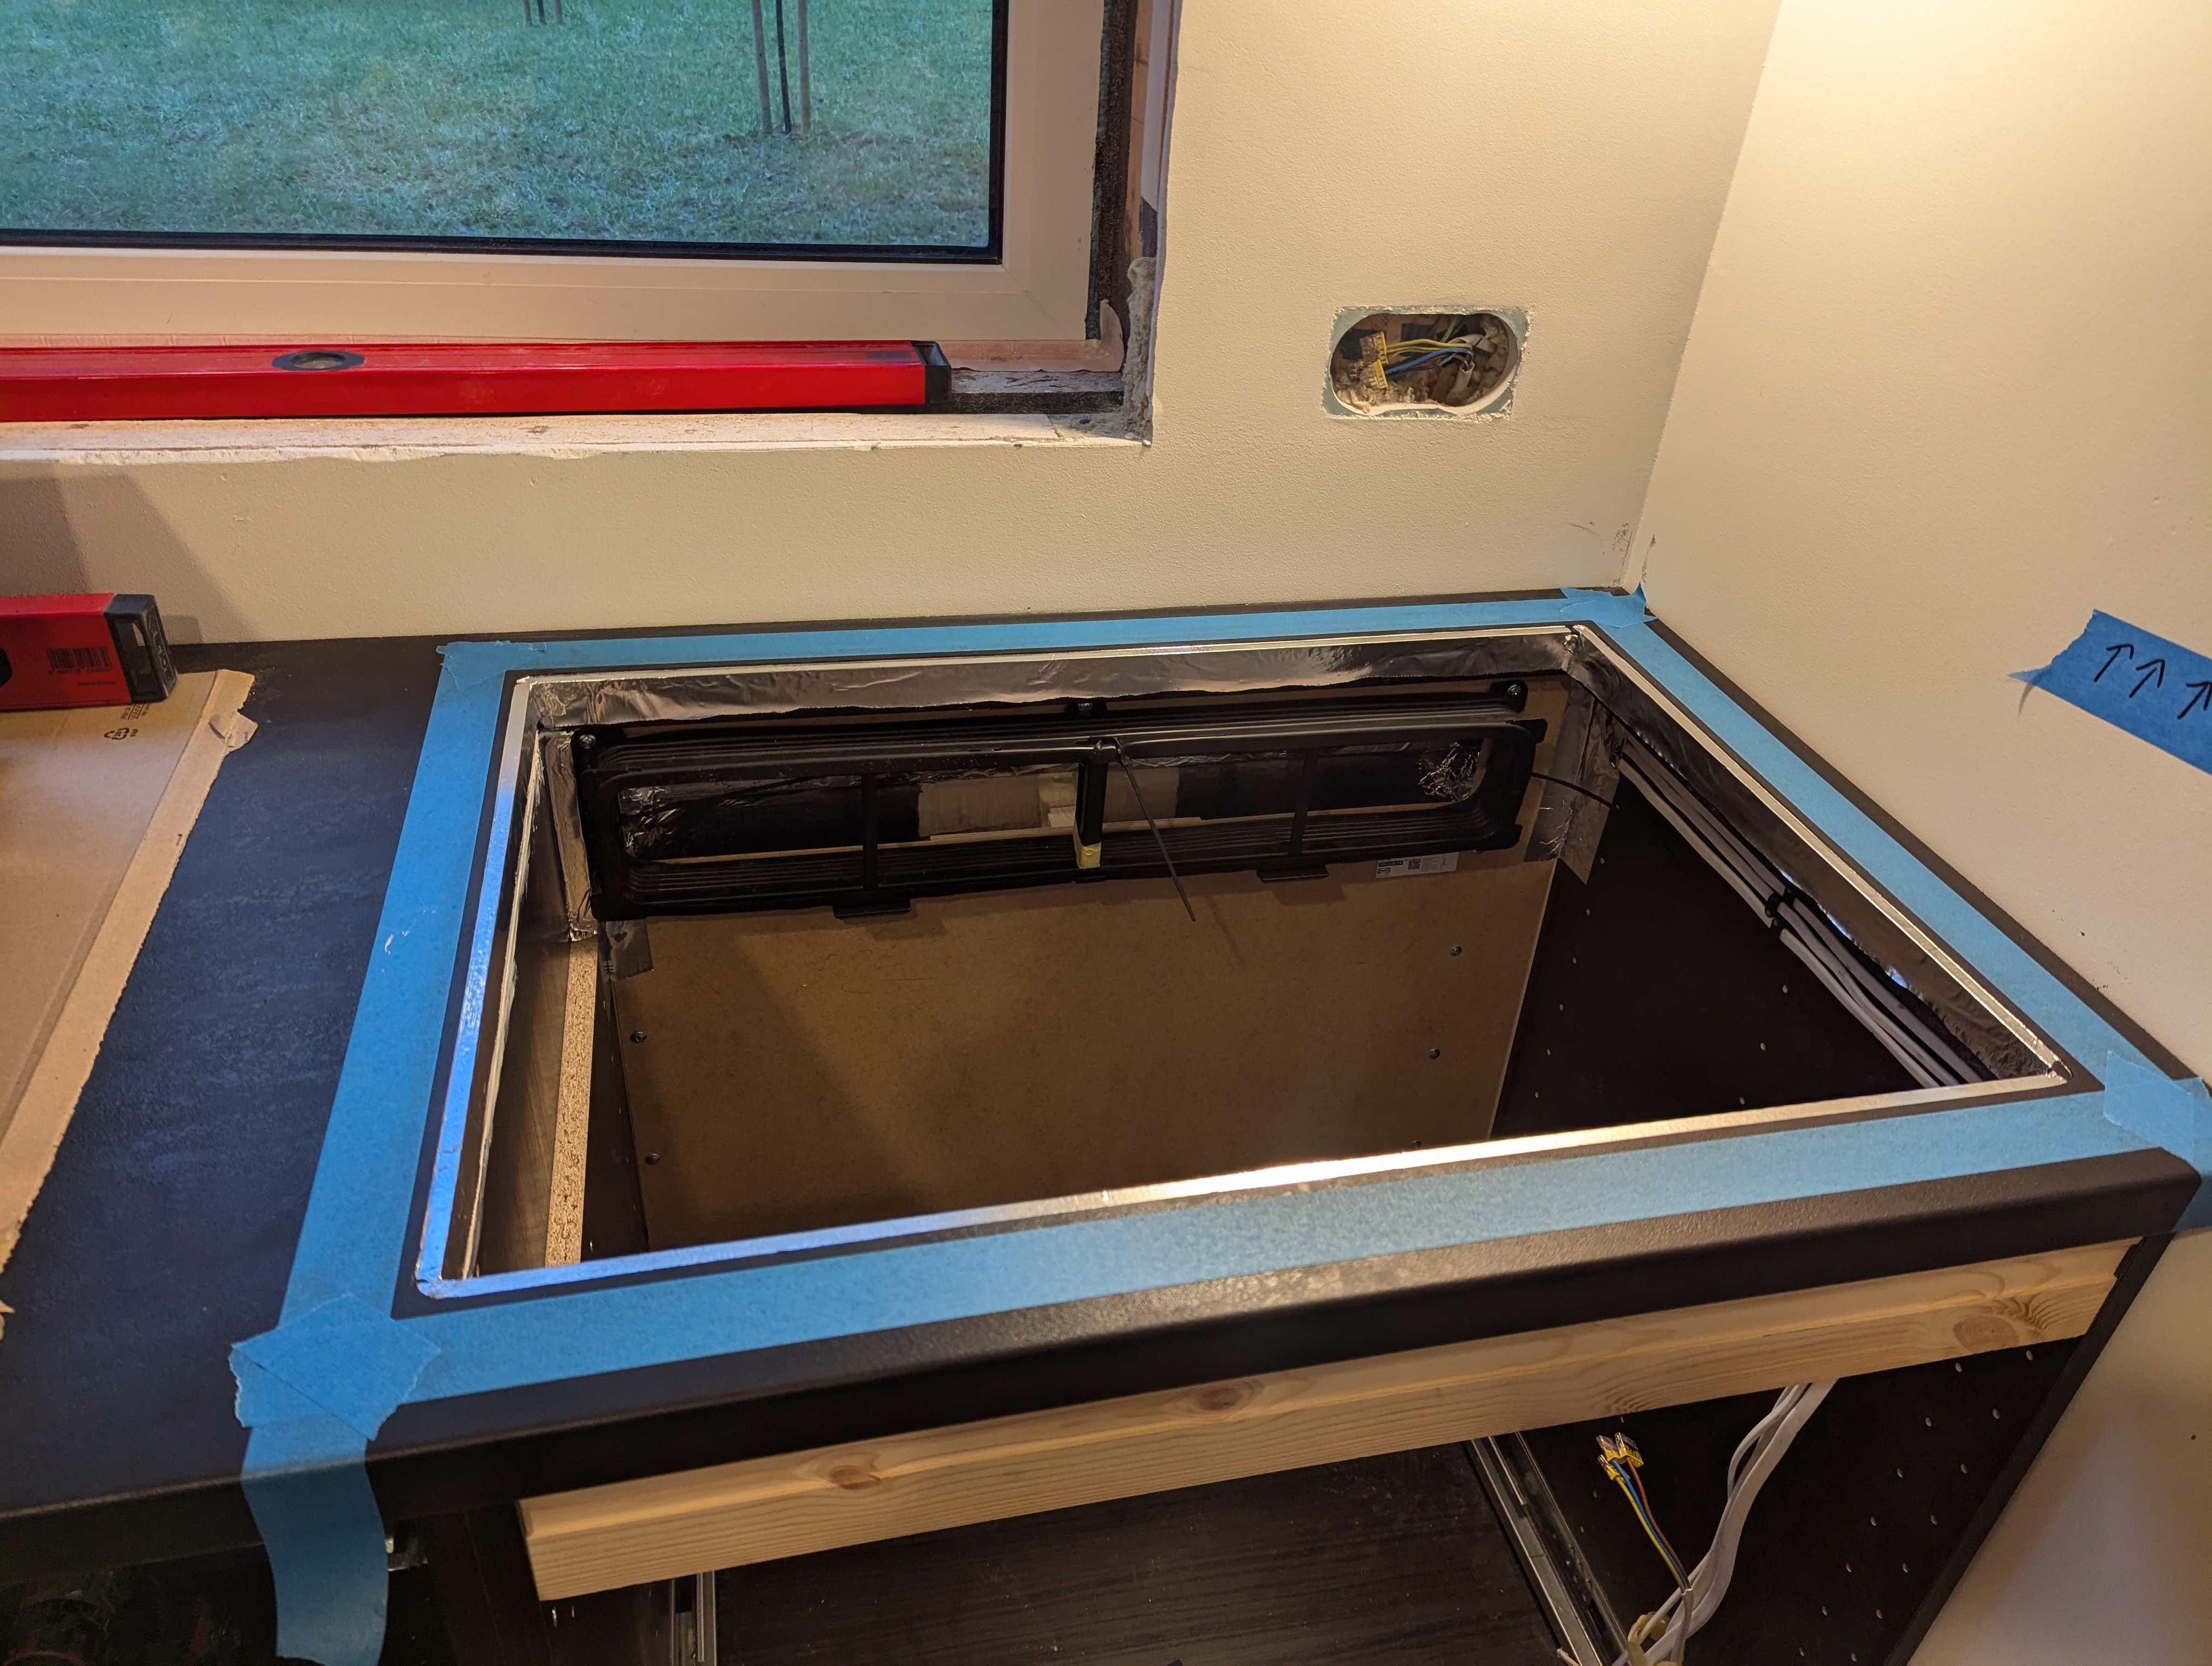
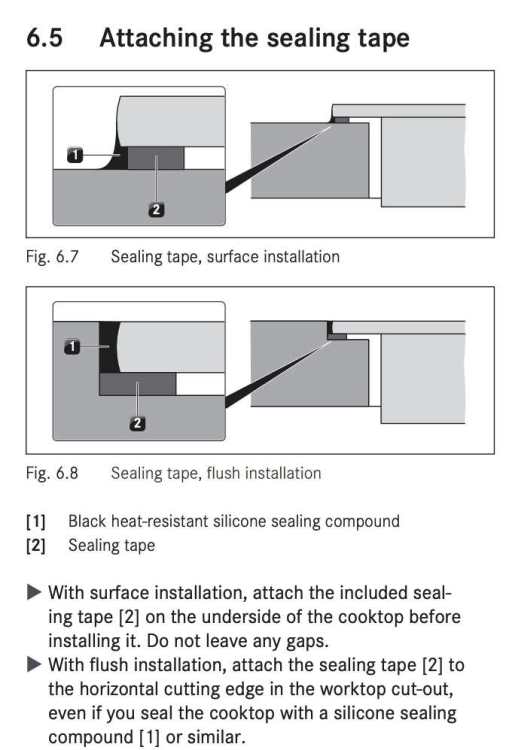
Alloy tape avoids gluing the cooker to the worktop (instructions say no) for ease of future servicing. Expansion of borosilicate glass is minimal. 0.8 m length at +100C delta (across the whole thing) gives 0.3 mm expansion. The 0.5 mm thick seal can tolerate 0.15 mm in each direction.
-
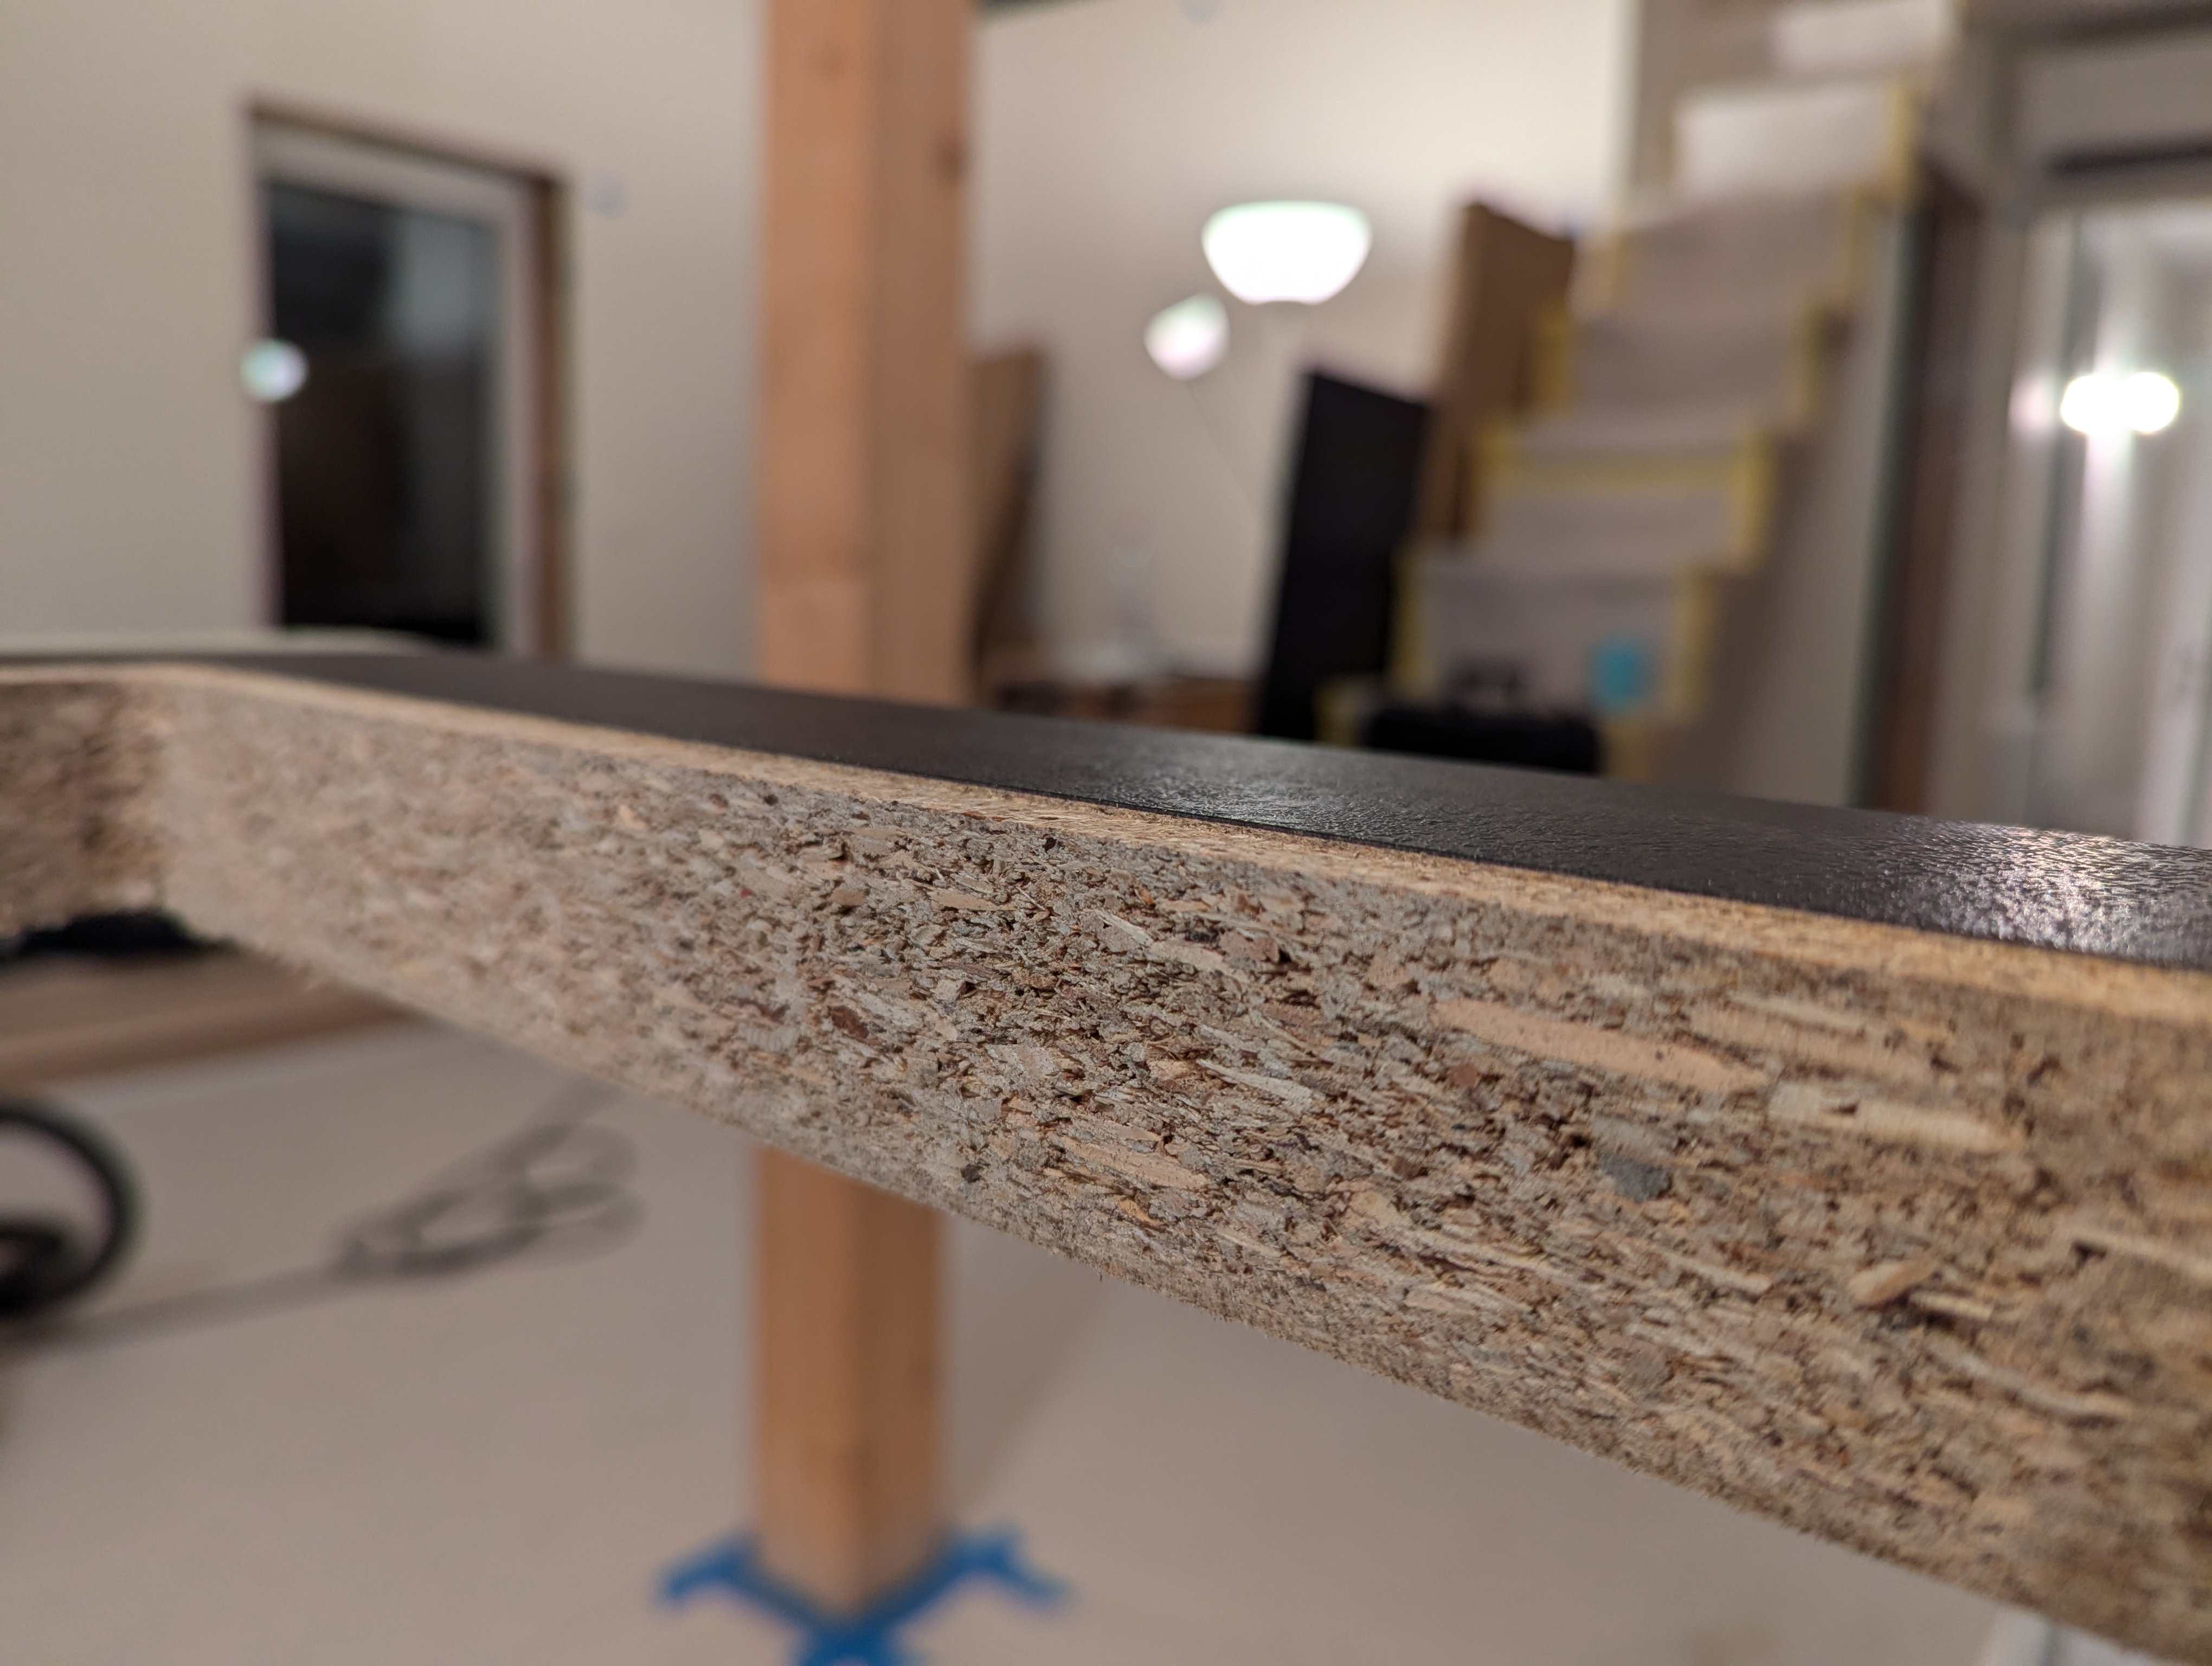
I mostly chickened out. But I did partially recess it. These sit on the steel frame bonded to the glass. There's then a seal between the glass and the worktop (plus an additional silicone strip if flushed in) Knock a 1.5 mm rebate in the worktop and you're left with 0.5 mm of silicone and 4 mm of glass; vs 6 mm of glass/steel plus whatever texture the worktop has. Marginal; but you'd be surprised at the difference between 4.5 mm and 6 mm visually. Recessing officially/ properly in laminate means routing out the back of the worktop, casting a rung of resin up to the back of the laminate top in place of the wood, then cutting I to that to mount the hob in a ring of resin. I wasn't that brave/bothered. 4 kg.of epoxy about €80 gets you a 3*4 cm ring fwiw.


-
Advantage of an induction hob.
markocosic replied to SteamyTea's topic in Kitchen & Household Appliances
And they have the frying sensor. Set the temperature of the pan instead of setting the power level. Like...using an effing thermostat for keeping the house warm instead of turning the boiler up and down manually. Effing bloody fantastic. Buy..you won't be disappointed. Knob and frying sensor are £100+ Knob, frying sensor, and built in extract are £3k+ though -
What flow rate would you expect these to handle without water pooling above the plug level? https://mcalpineplumbing.com/traps/bath-traps/top-access-bath-trap-with-removable-chrome-plated-clicker-waste/ At 15L/minute - no chance At 12L/minute - marginal At 10L/minute - not standing in puddle when showering I *think* it's just the nature of the trap. (smaller than a regular one by area) Anybody measured a similar one and found the same? Didn't have this problem the first time I used one in Cambridge on a 24 kW combi boiler! I may stick an 8L/minute restriction in there before the wife notices the pool and comments. 😄
-
They are for the MCS union. 😉 Non MCS installs have an added tax by the way - planning consent - you pay the taxpayer rather than getting paid.
-
The demand for competent installers who are also MCS union members is indeed that high. With heat geek the installers set their prices. Yours are evidently ashamed of publishing their true labour rates so are obfuscating then with fictional material expenses; nevermind the markup on materials supplied. Biggest risk to their brand in my opinion - it being difficult to keep installers weary your hat on the ed straight and narrow. My business partner had over of their installs. All rads brought back to manifolds. All the/dcw brought back to manifolds. Build a new build UVC cupboard and run it to a heat pump just outside the wall. Convo something like: "It'll take 5 days. It'll be done properly. I charge £1200 a day." Healthy day rate. But did exactly what he said on the tin and when it was said on the tin without needing a hand held or adult supervision. The folks quoting you weren't honest. Some integrity ought to be part of the heat geek membership requirements...
-
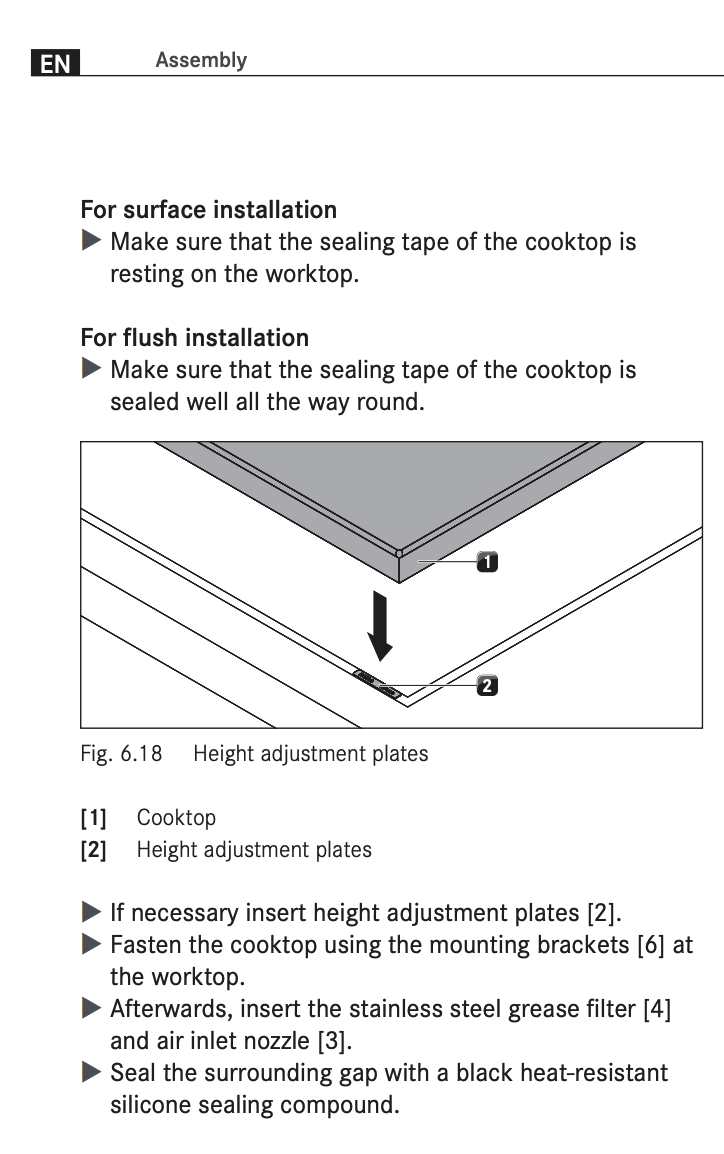
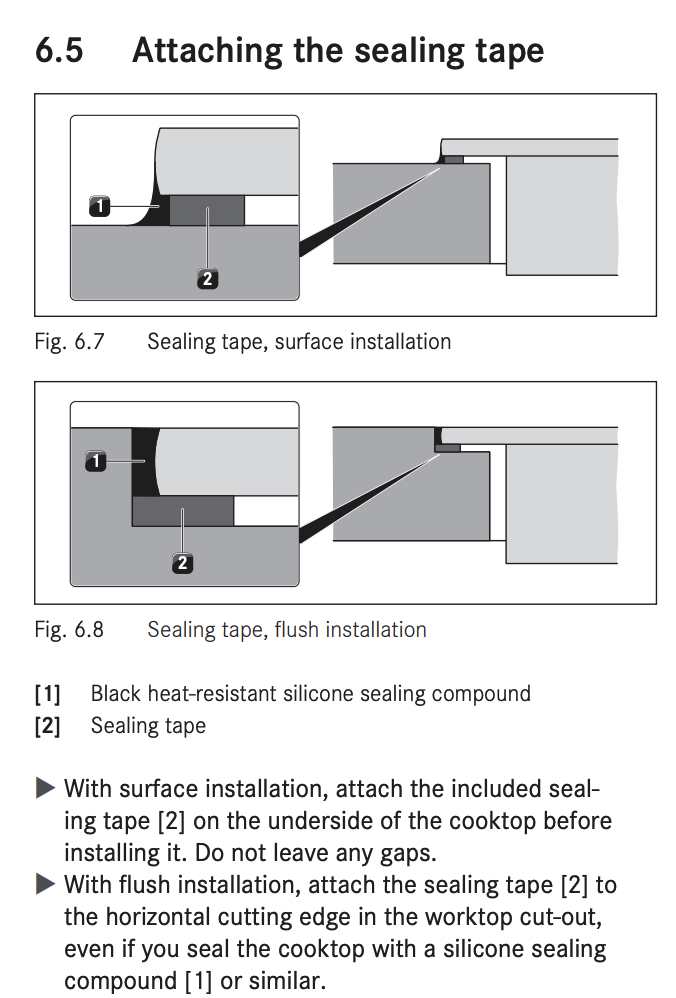
I'll be fitting a (used) Bora hob soon as "flush" mounted in the worktop. I have the official "sealing tape" so hopefully the official dimensions for the rebate are correct. Just in case it sits a little low though... ...can somebody who has seen these fitted describe that the "height adjustment plates" look like please? (what material, what length/width/thickness and how many?) If it's just e.g. 0.5 mm plastic or soft metal (copper?) spacers I can improvise. 🙂 Thanks!

-
There'll be doors yes to form a cupboard. I've found a nice metal roof shop locally. Copper / brass / zinc sheet and all the gubbins to work with it. I'll fold up a "tray" in zinc to sit inside in the base of the cupboard; and drain through a waterless trap. This will be more robust to e.g. dropping a screwdriver/spanner on it during servicing work than lino over a soft floor (likely to pinhole) and should catch drips from filter servicing / the odd bit of condensation from water filters in summer etc. Cutting THROUGH the floor isn't an option as it's the aitrightness layer. Trimming a capillary break under the metal near to the doors might not be daft though - good shout and a job for the tracksaw 🙂
-
Management of how these are being delivered by Octopus seems to gotten worse rather than better over time @DamonHD - is the crew employed by Octopus or are they over-promising on sales and hoping to backfill delivery capability by subbing out 3rd party installers without a management structure to operate in this manner?
-
Moisture barrier on OSB before glue down wood floor?
markocosic replied to markocosic's topic in Wood & Laminate Flooring
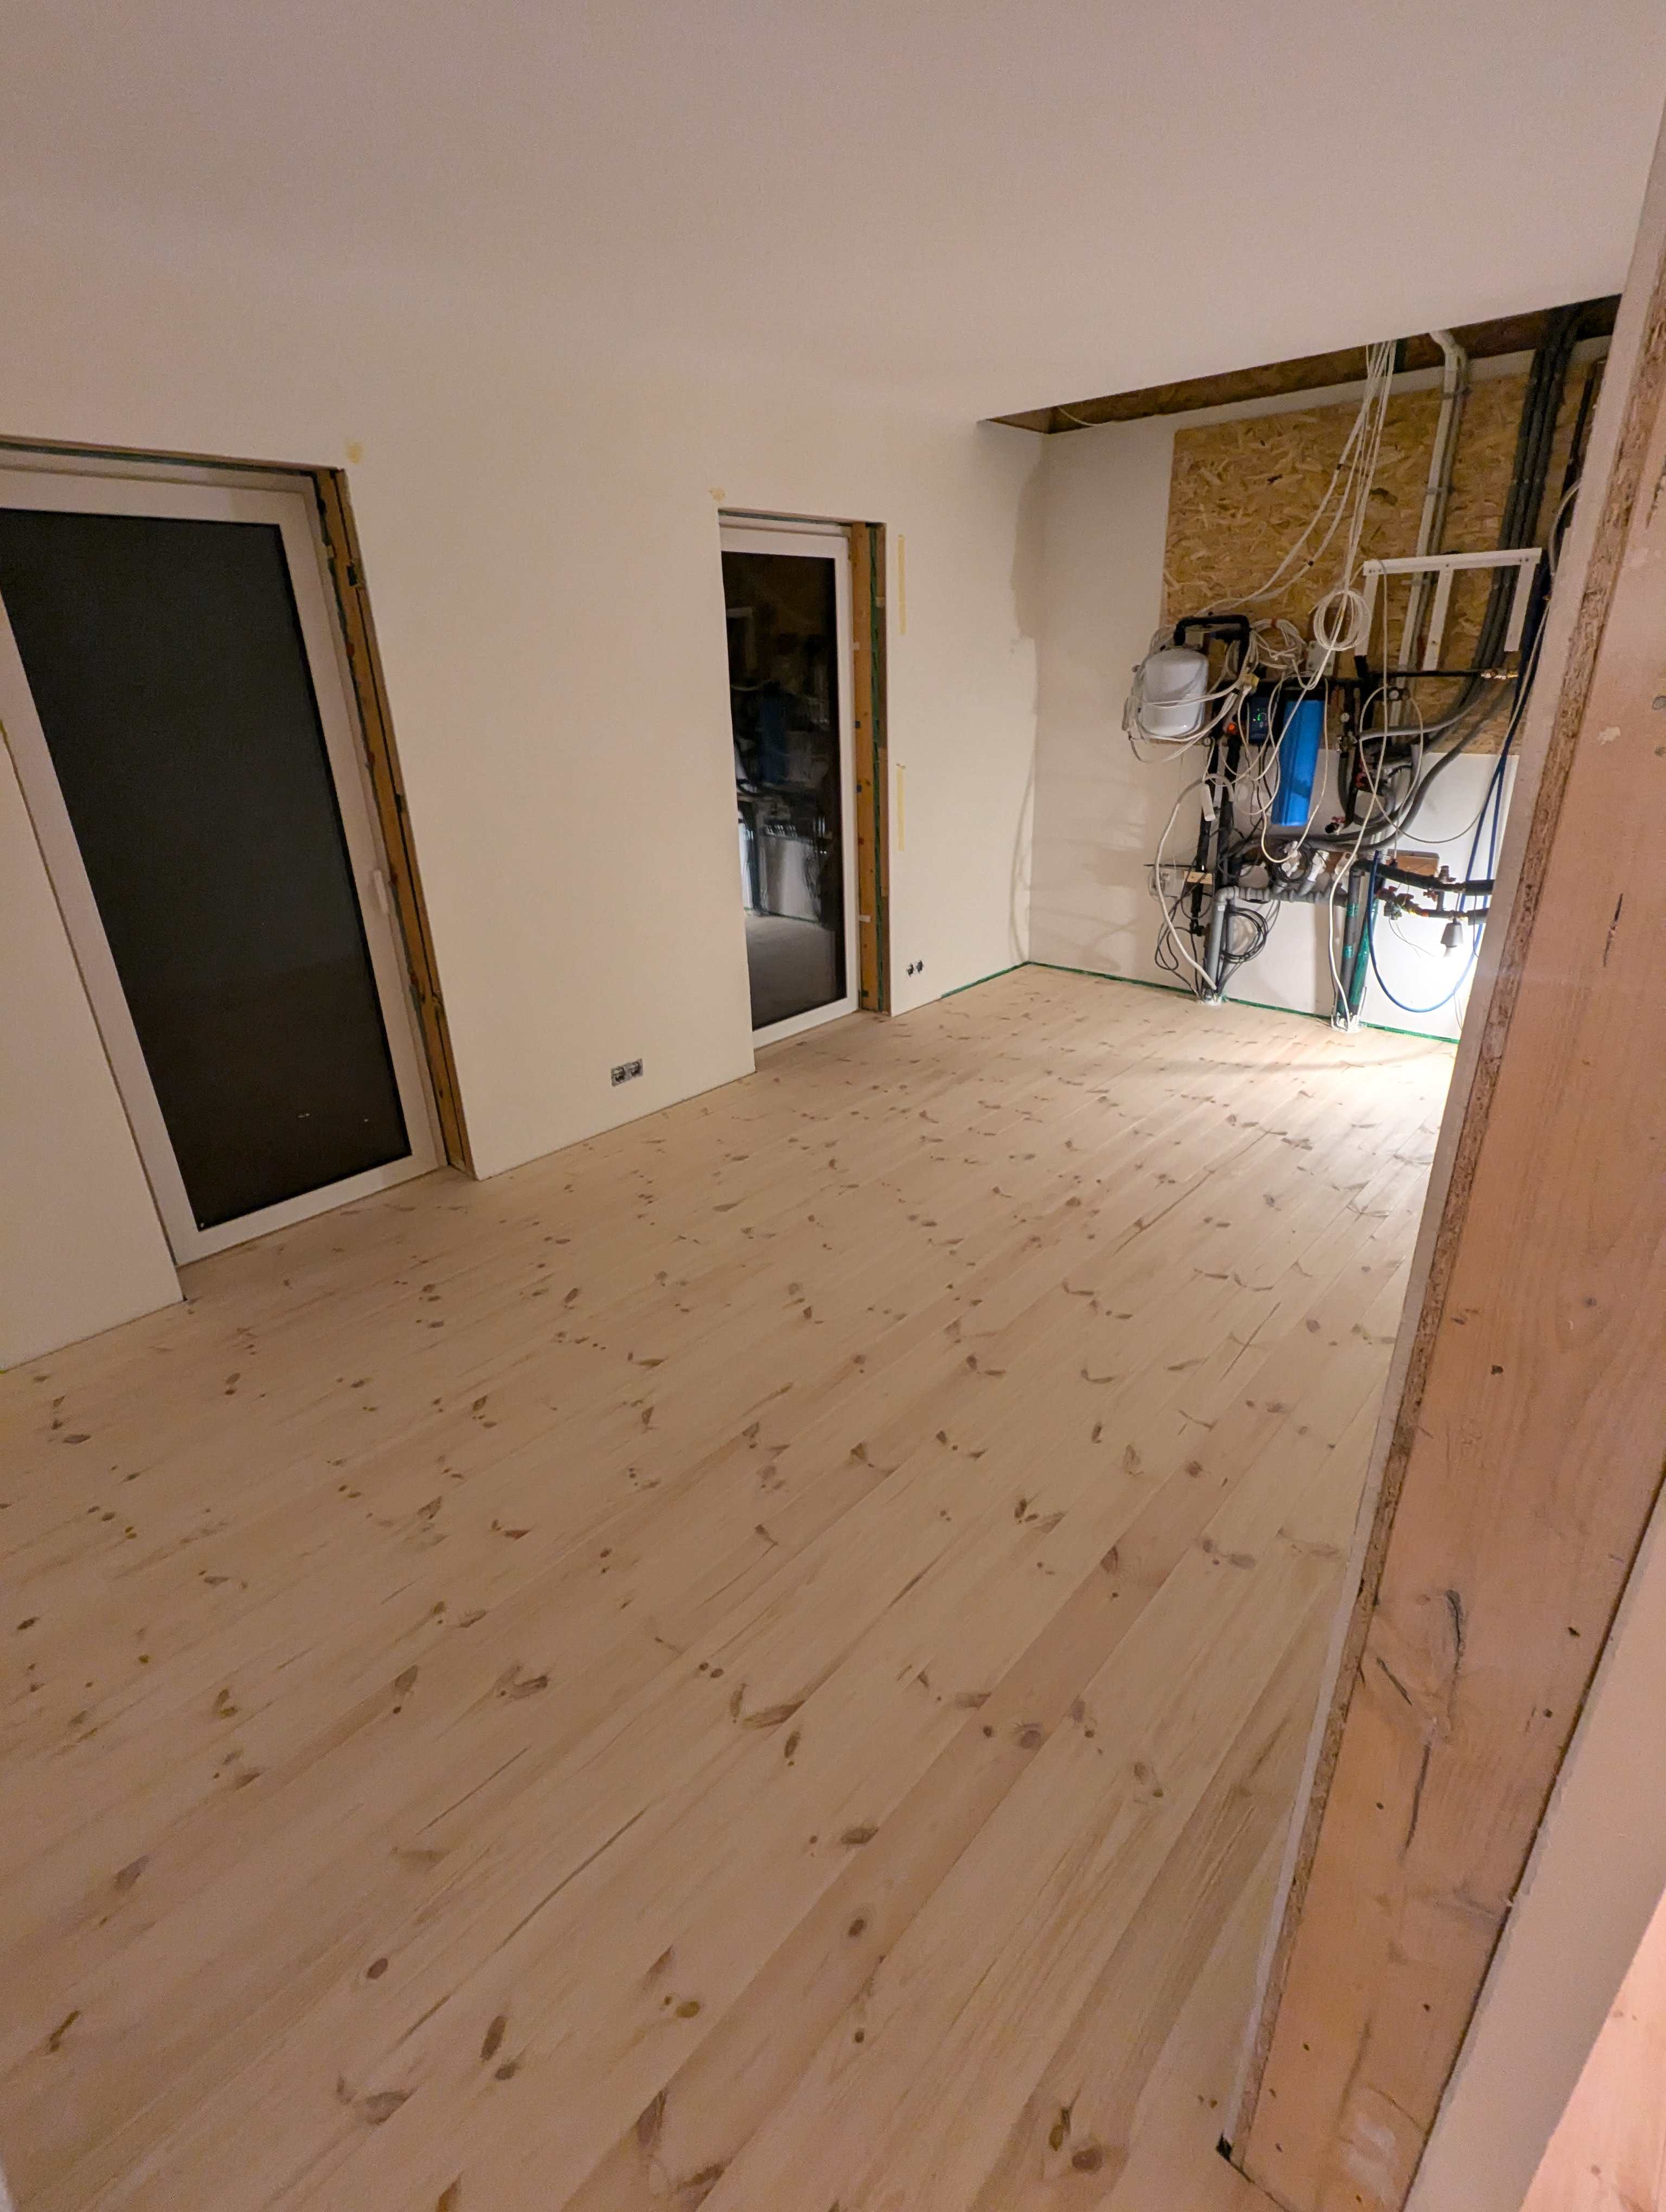
Sanded. Picking up finish tomorrow. Long weekend of priming, staining, and topcoating coming up. Nervous as heck!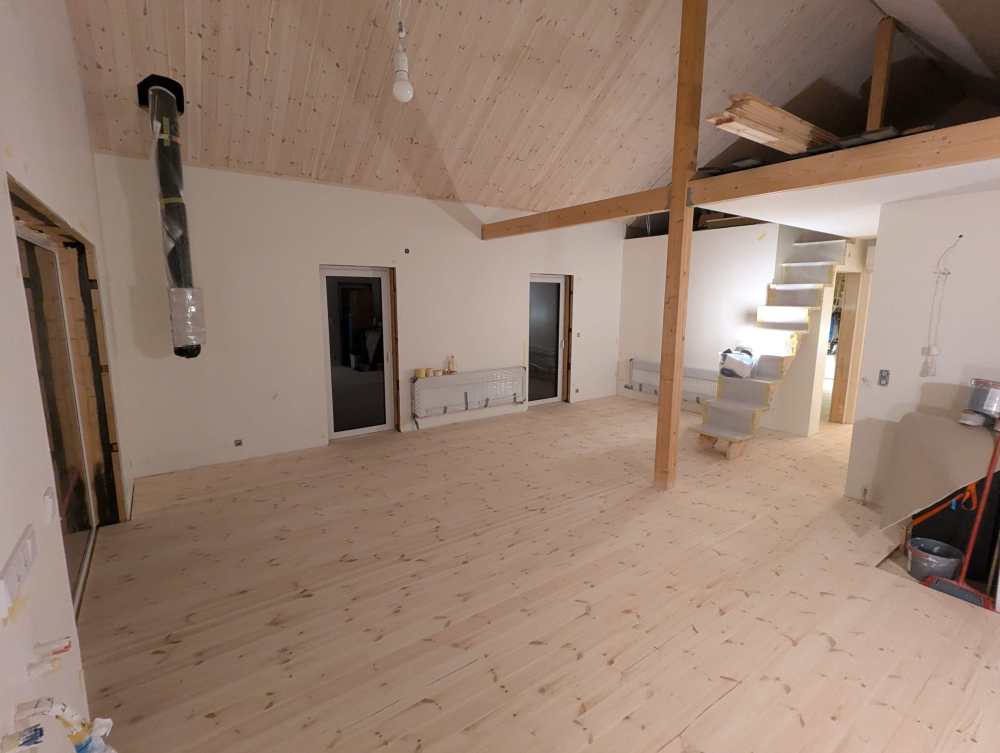
-
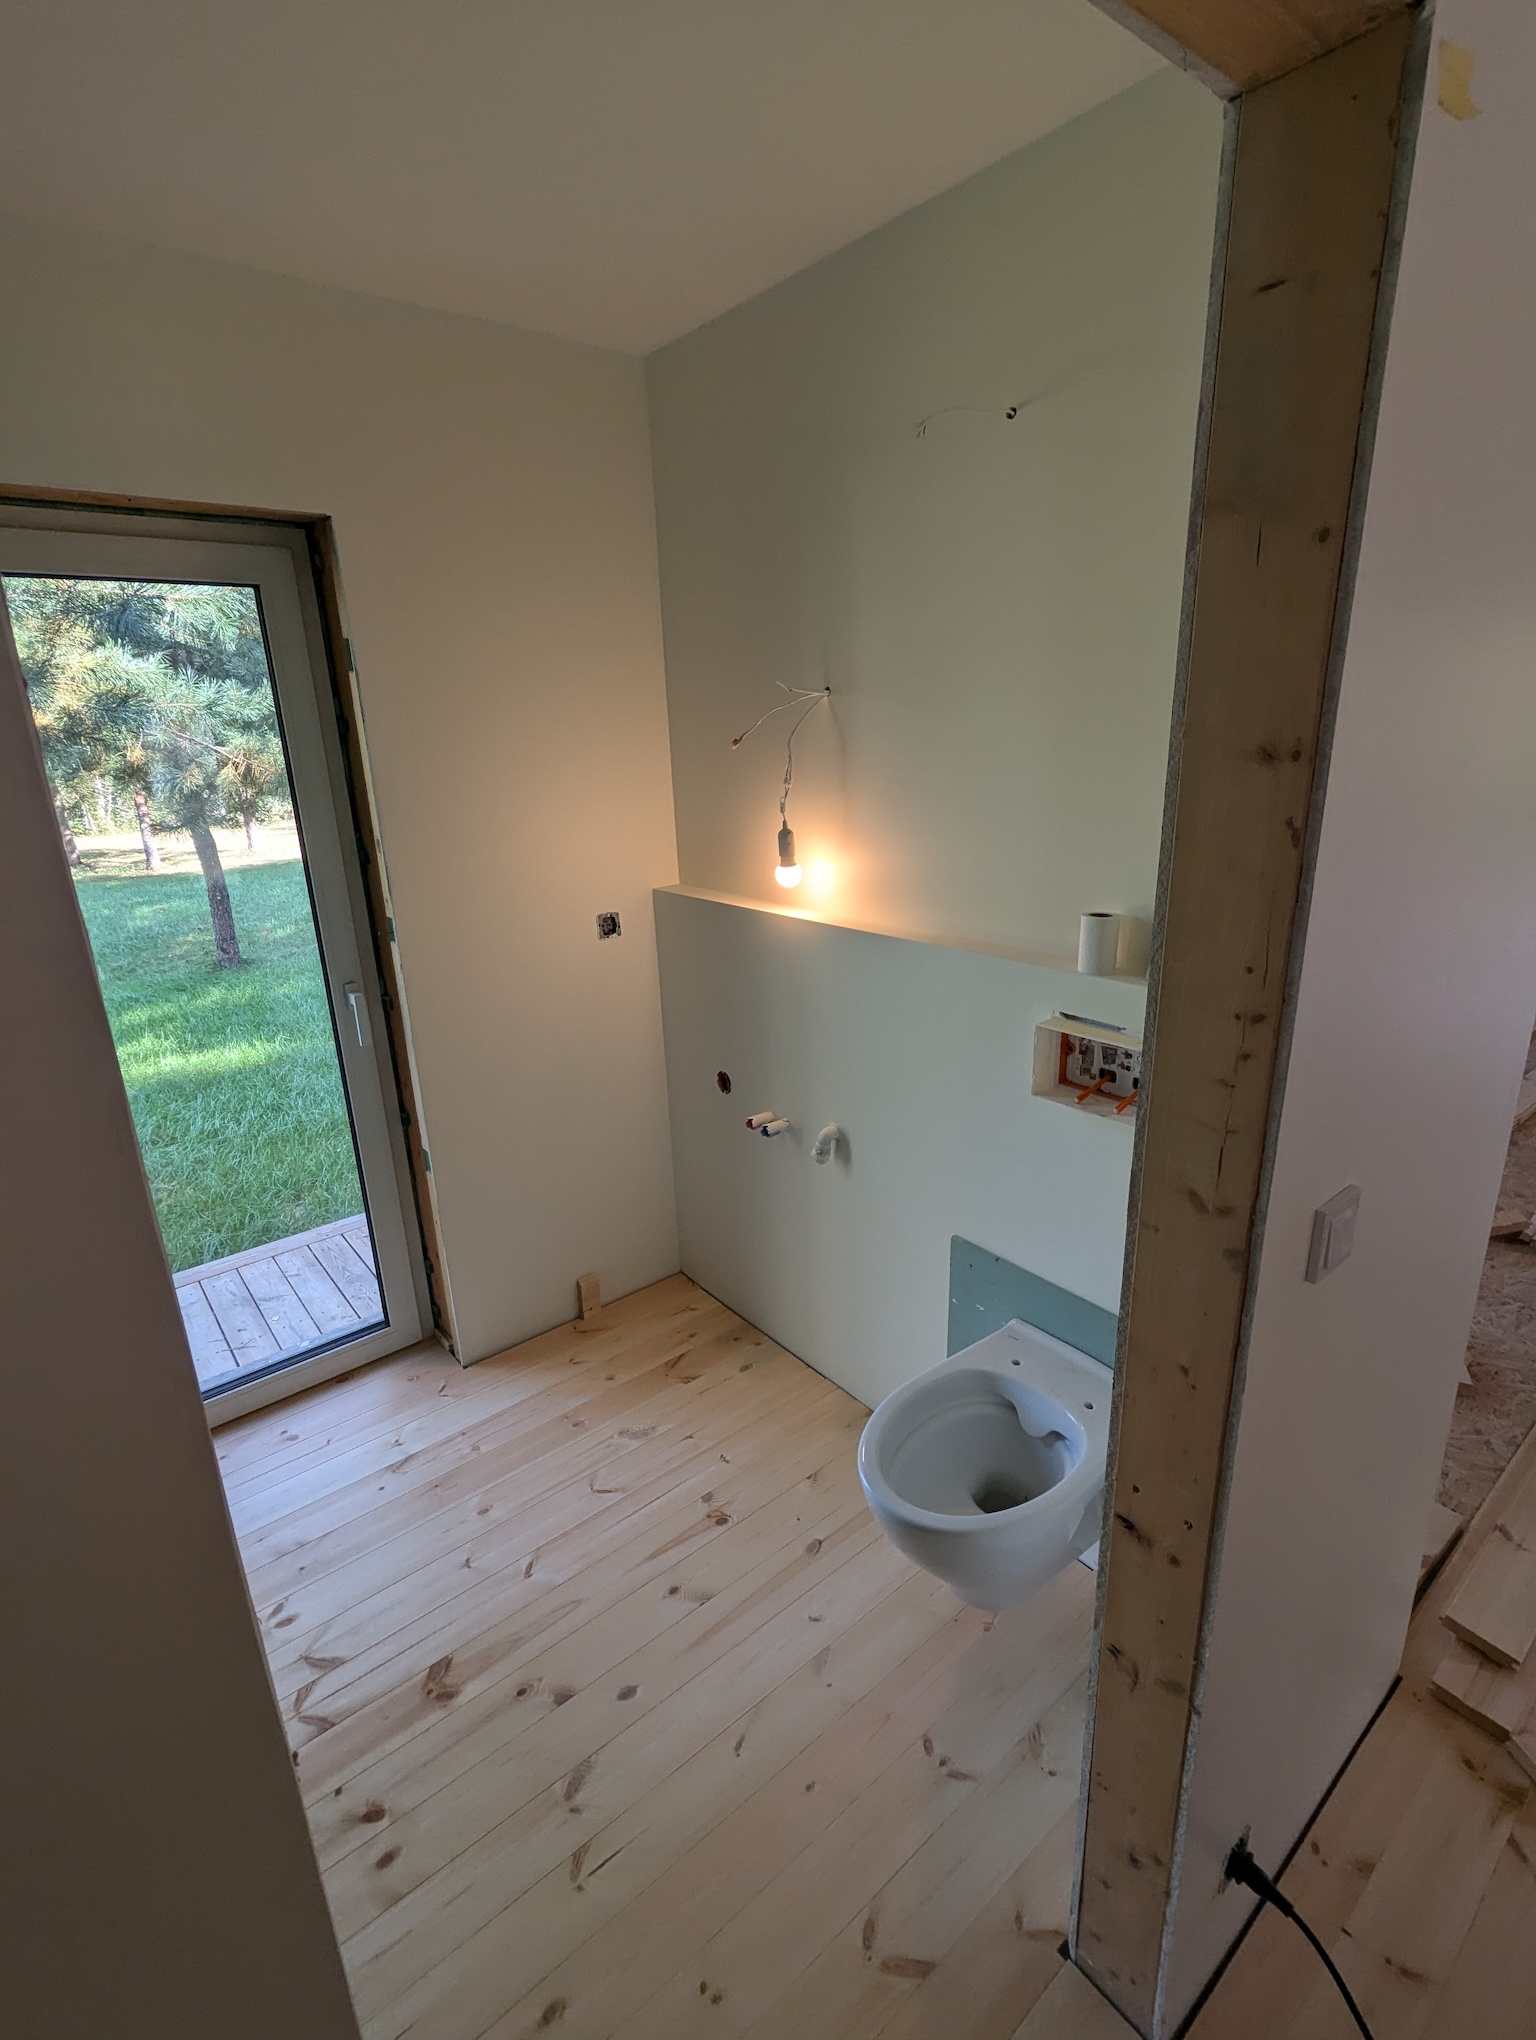
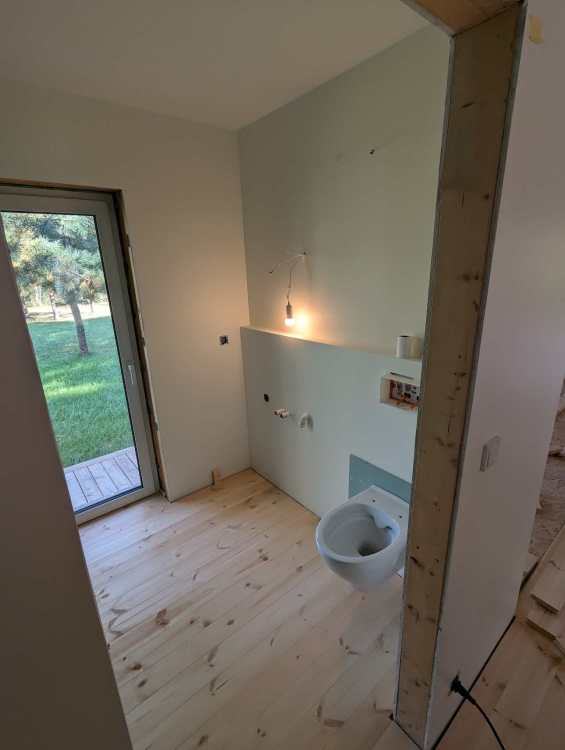
Thanks folks; this sounds like a goer. 🙂 This be the nervous corner...

-
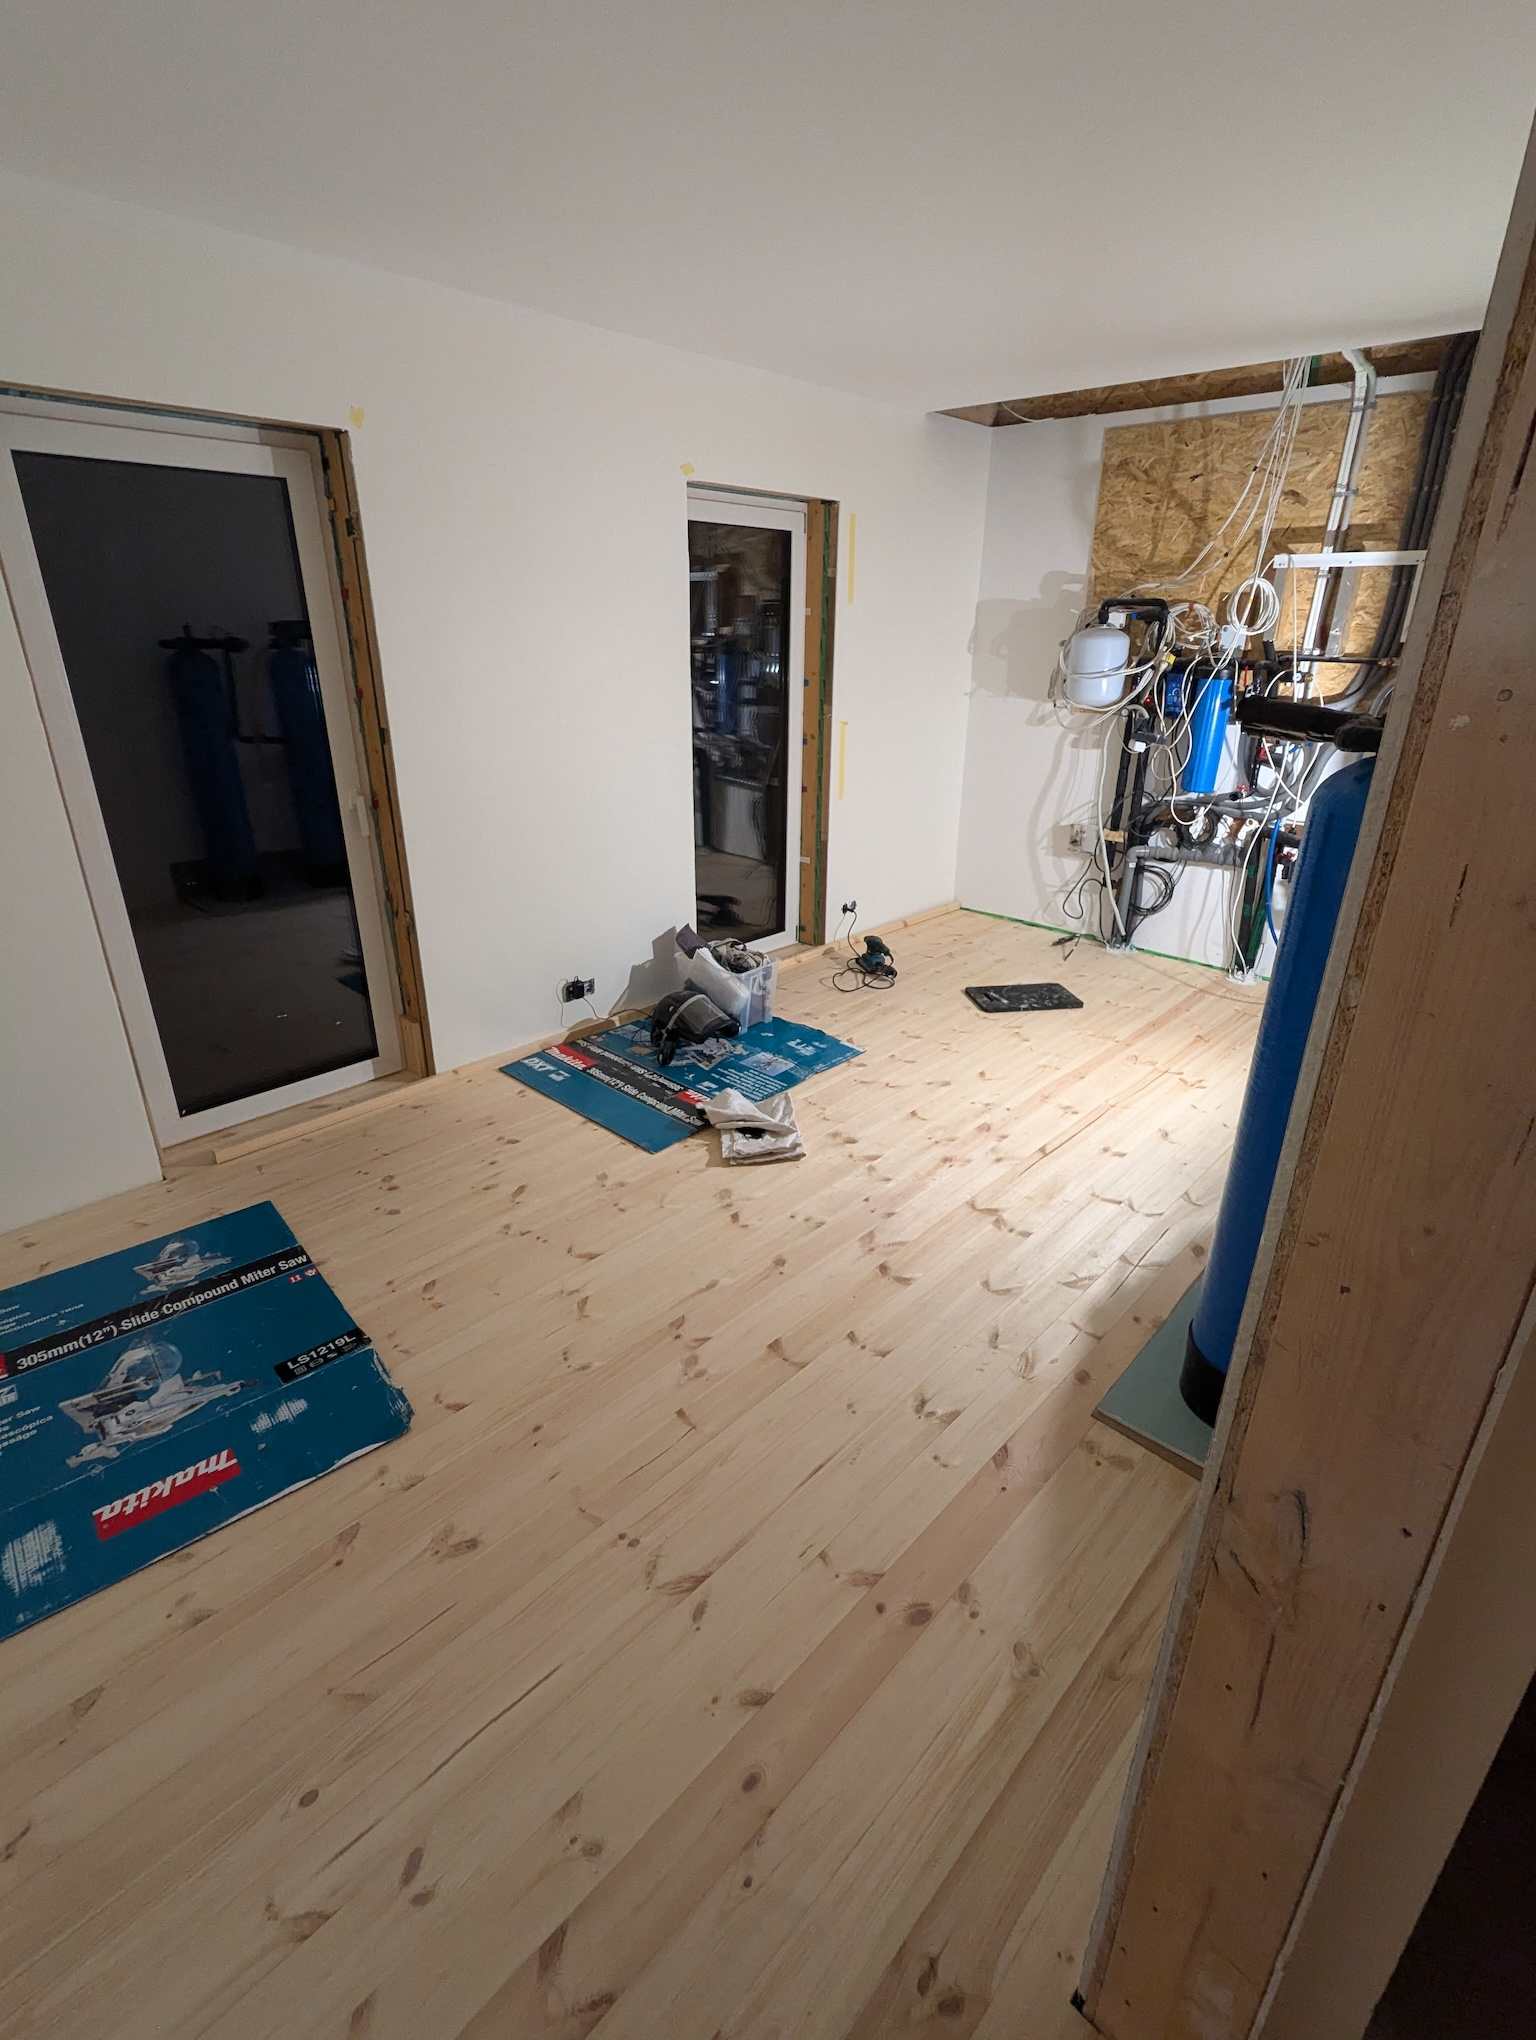
I have a wooden house There is a lot of plumbing in the "utility cupboard" that could, in principle, go wrong. (water pump gubbins, mechancial, de-ironing and softening filters, washing machine, general plumbing etc) I'm toying with the idea of a "tray" with floor drain in it, dropping through the floor to a hepvo trap that just drops into the (vented) crawlspace. In principle this will never see water. In practice it'll probably get the contents of a mechanical water filter spilled down it occasionally but that's about it. Do they stay dry / sealed from an airtightness perspective in this application? It's likely that it would be under negative pressure (suck from house, stack effect to roof) rather than positive. Ditto for the fridge freezer (power cut defrost don't destroy the wood floor) potentially; though that can probably just be a deep enough tray given the limited volume of water in a freezer. Madness because?
-
Which glue for T&G (solid wood) floorboards to joists?
markocosic posted a topic in General Flooring
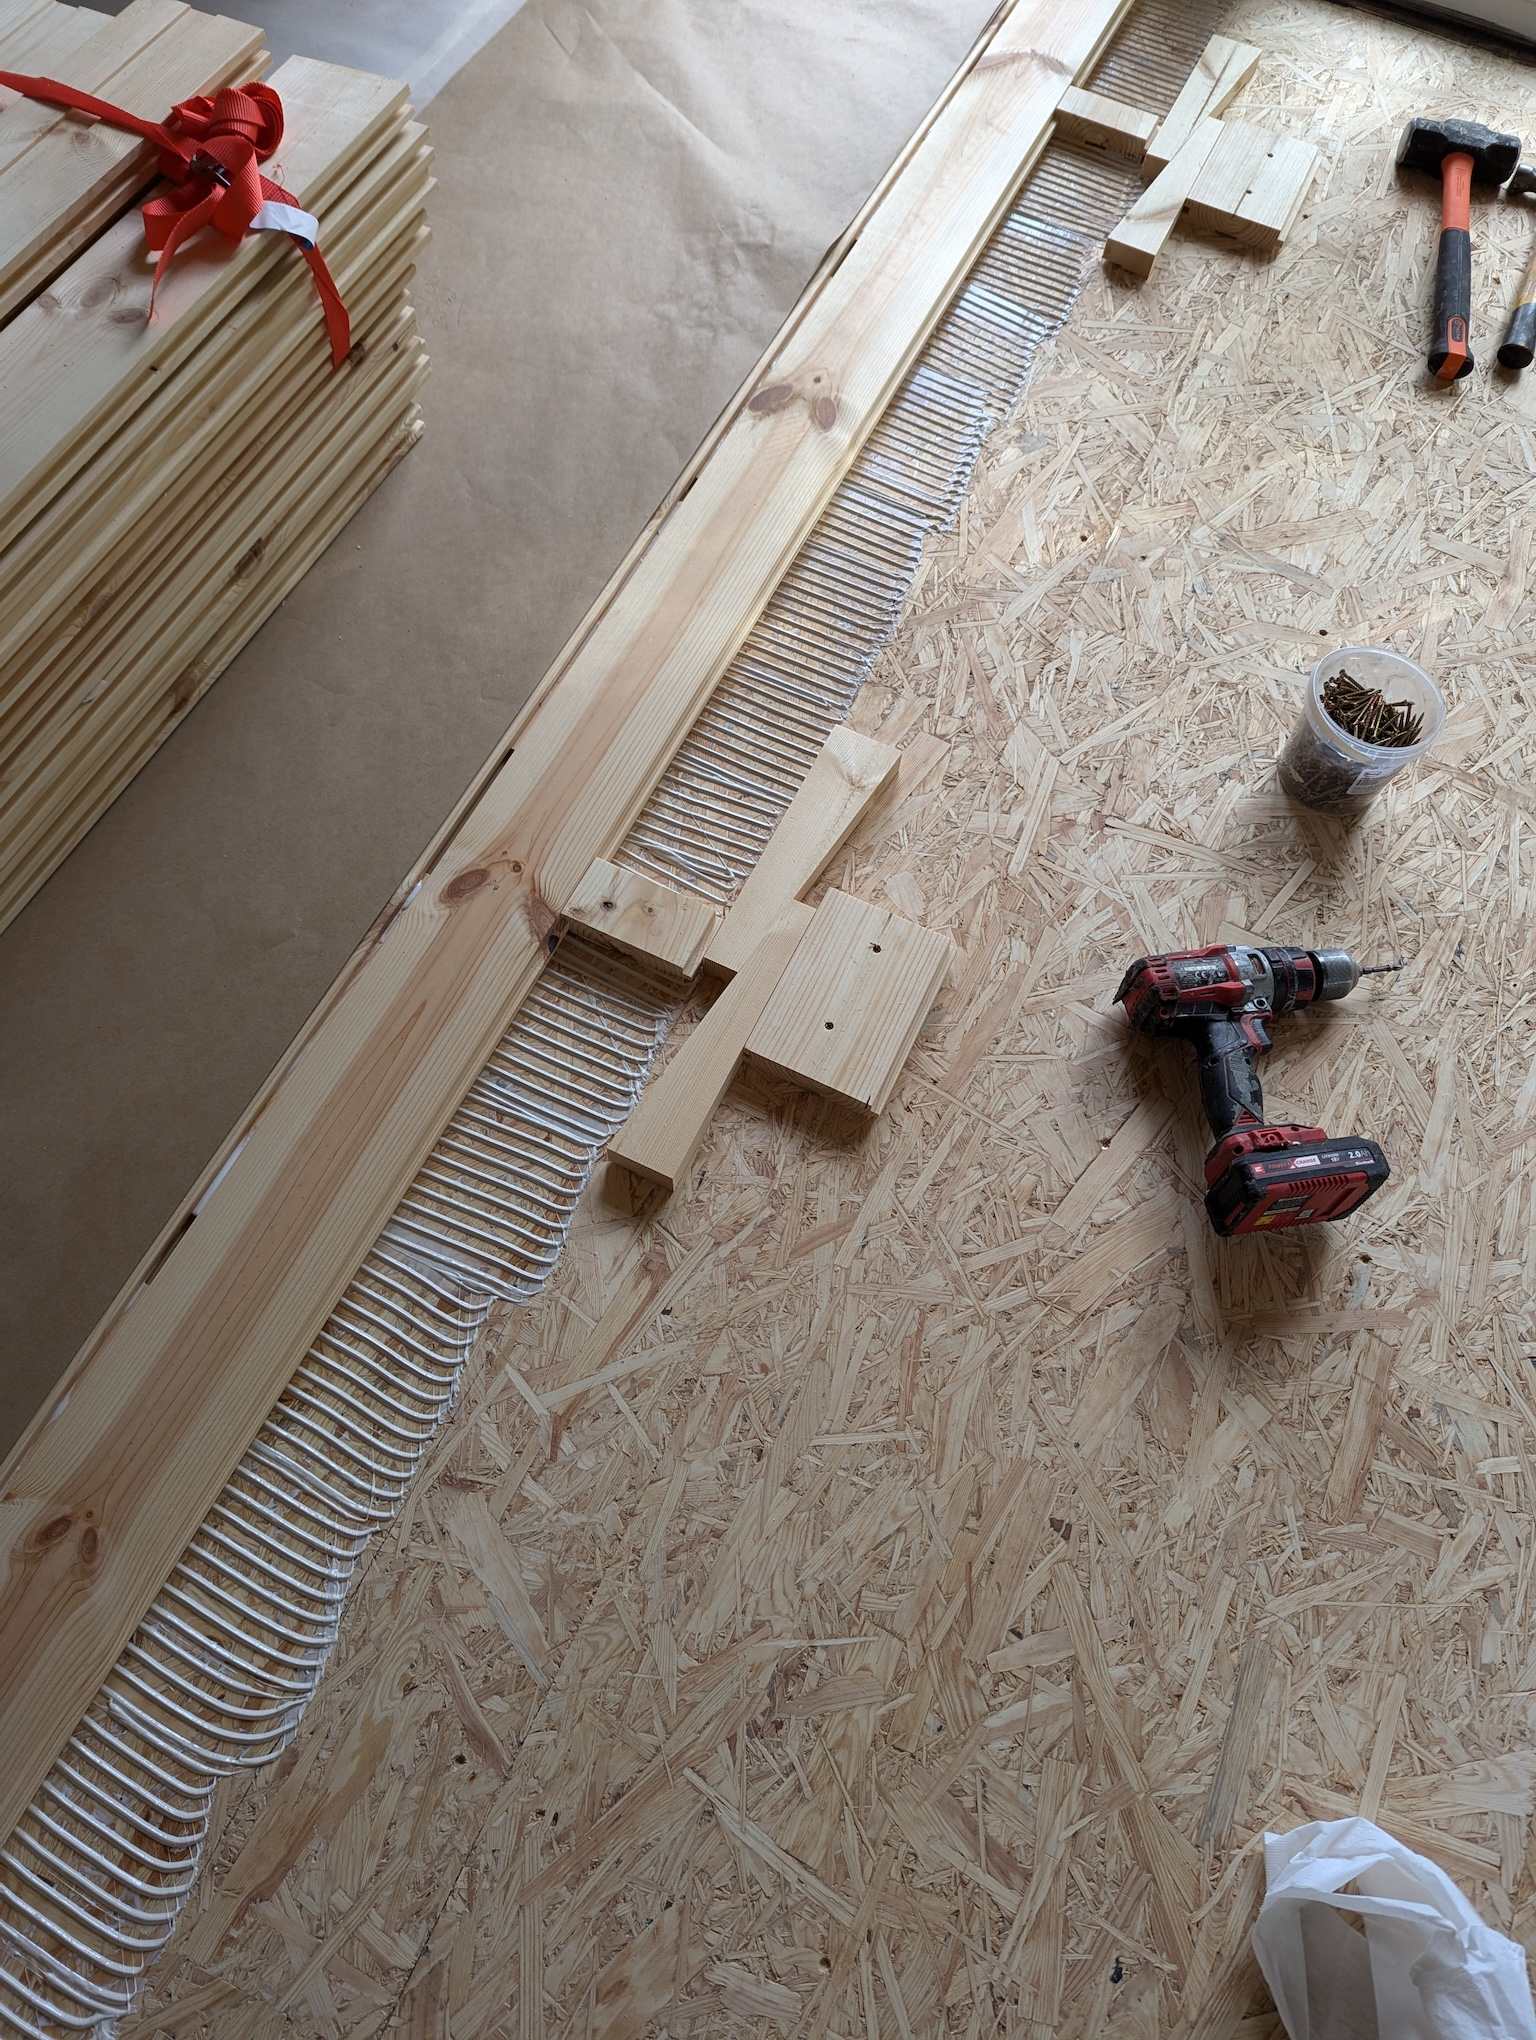
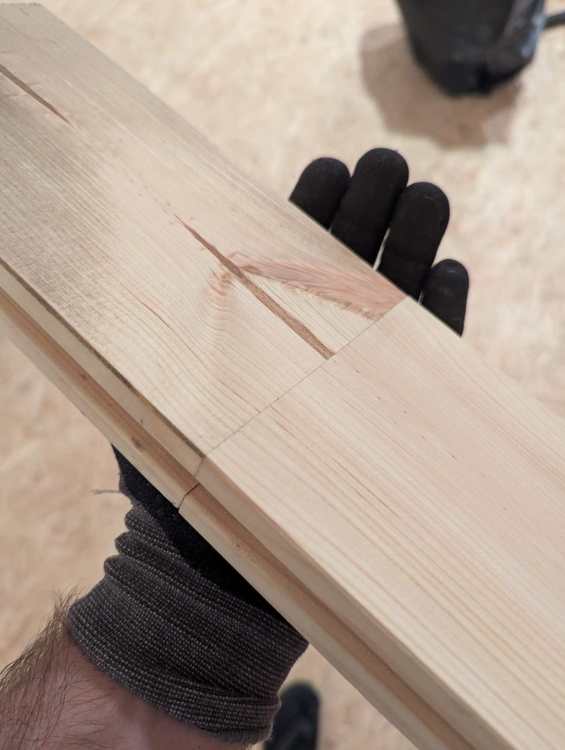
Mezzanine floor (light domestic use) 195 x 45 C16 joists on 600 mm centres spanning 3 metres. 120 x 28 mm tongue and groove pine/spruce floorboards. I would like to secret fix (screw through tongue) these boards AND glue the to the joists to avoid squeaks (caused by screwing through the tongue not being enough to pull the boards tight against the joist if the joist isn't perfectly level or the boards are not perfectly matched in thickness) Which glue and screw? "Yellow glue" (aliphatic resin) or "Bubble glue" (PU)? https://www.titebond.lt/titebond-original-wood-glue/ https://www.titebond.lt/titebond-polyurethane-glue/ Which screw? (note - softwood not ply) -
Moisture barrier on OSB before glue down wood floor?
markocosic replied to markocosic's topic in Wood & Laminate Flooring
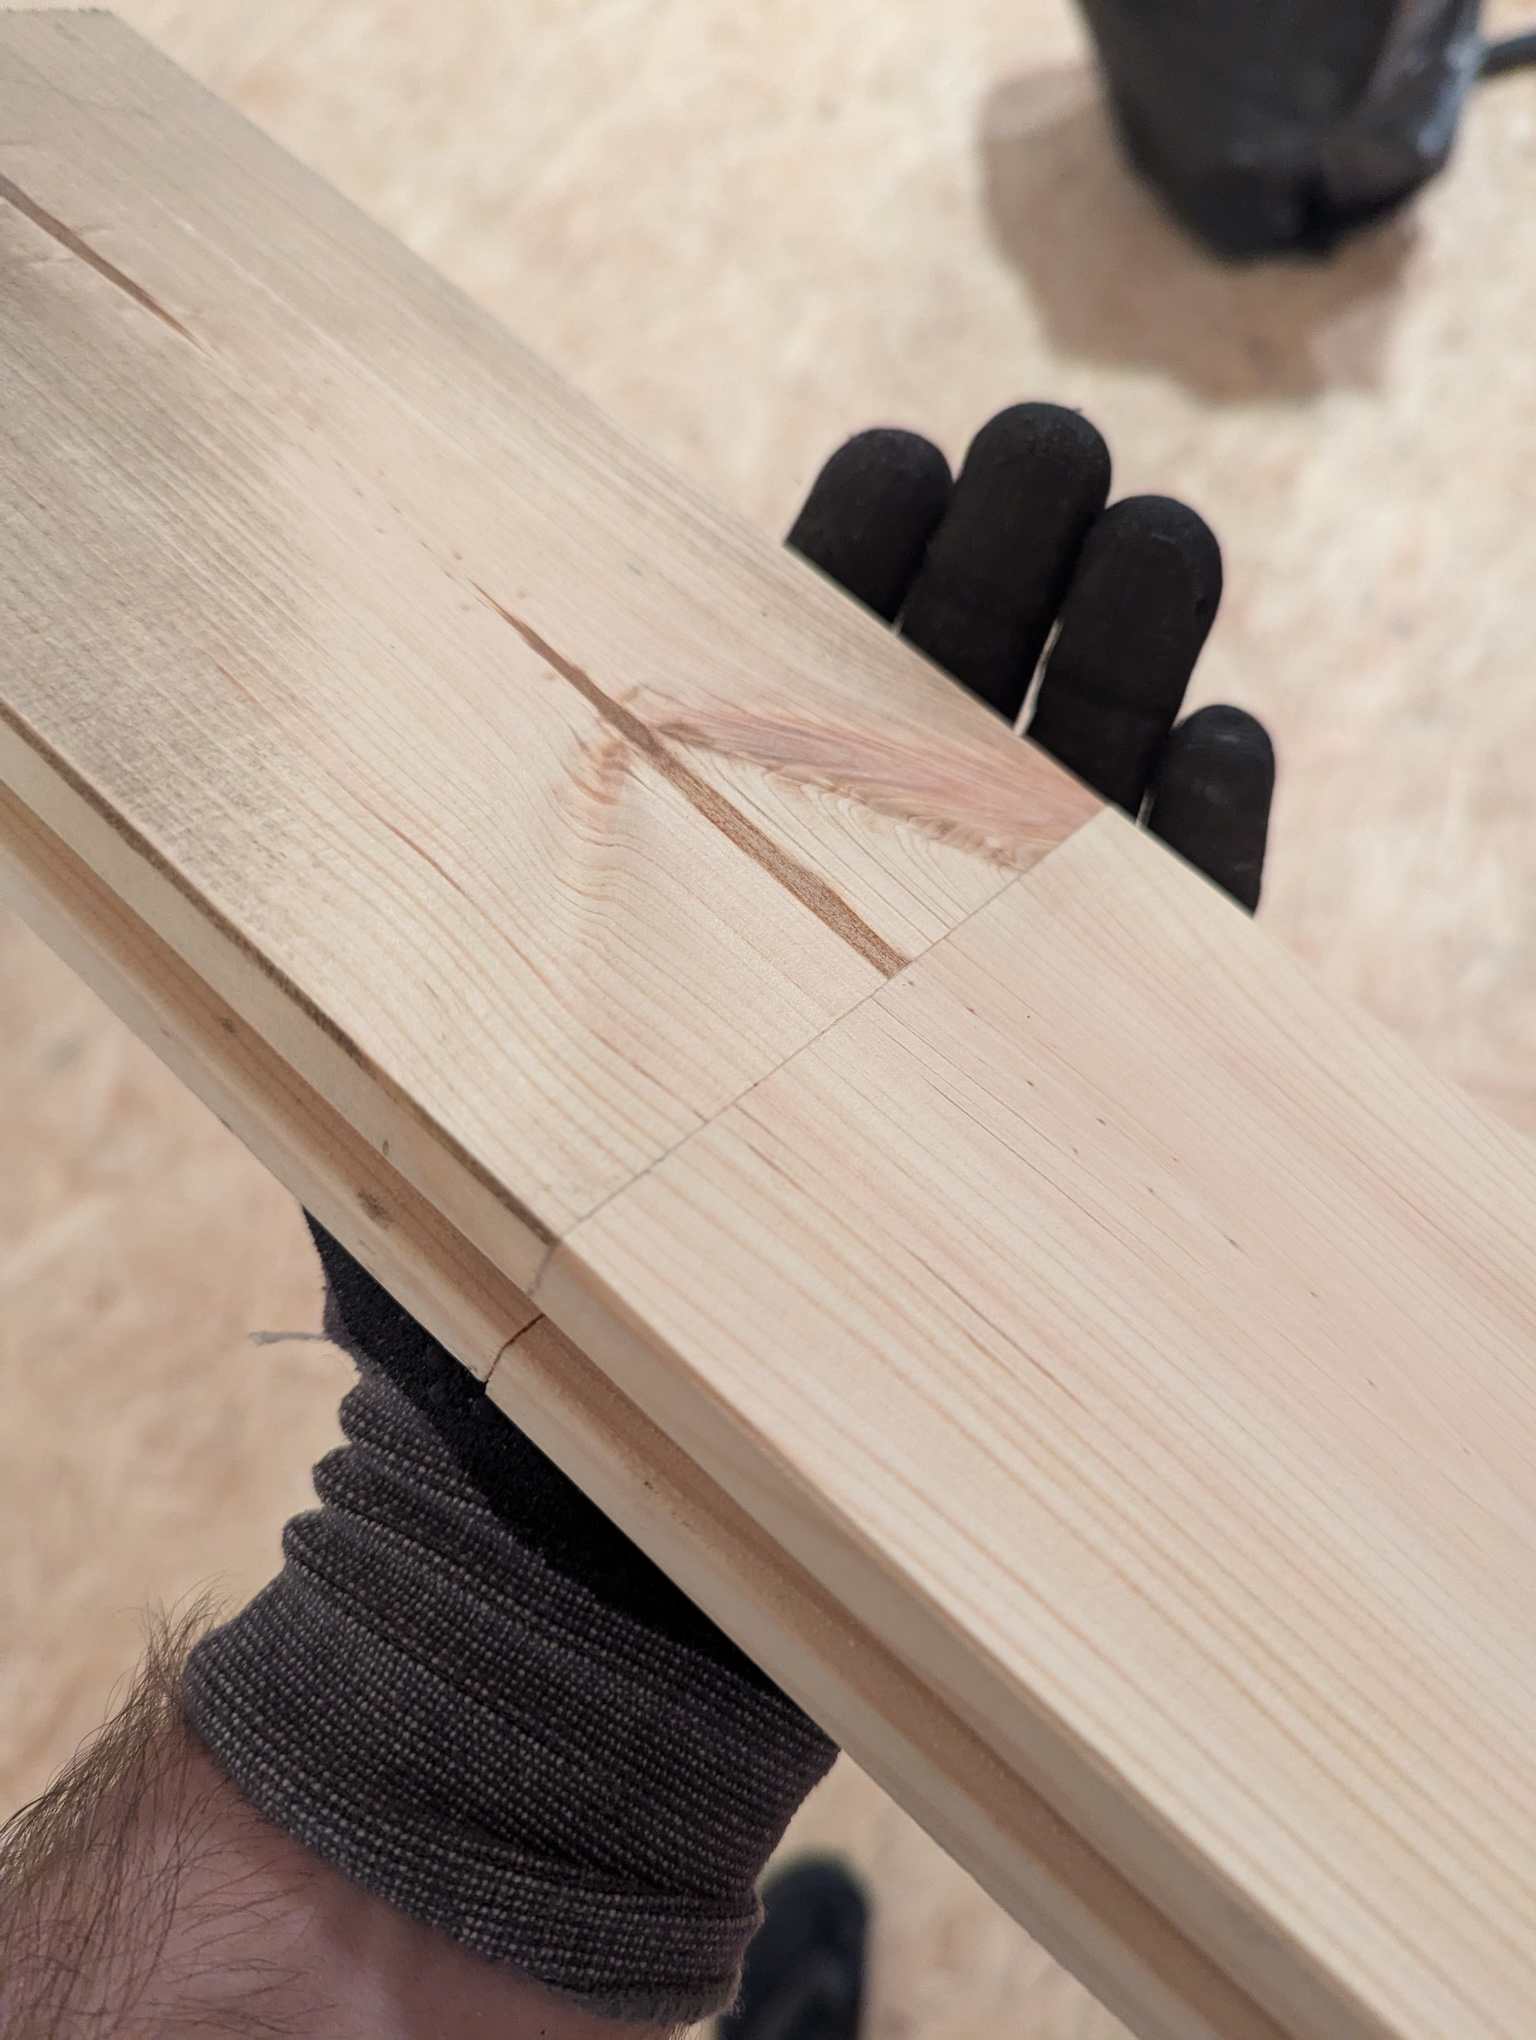
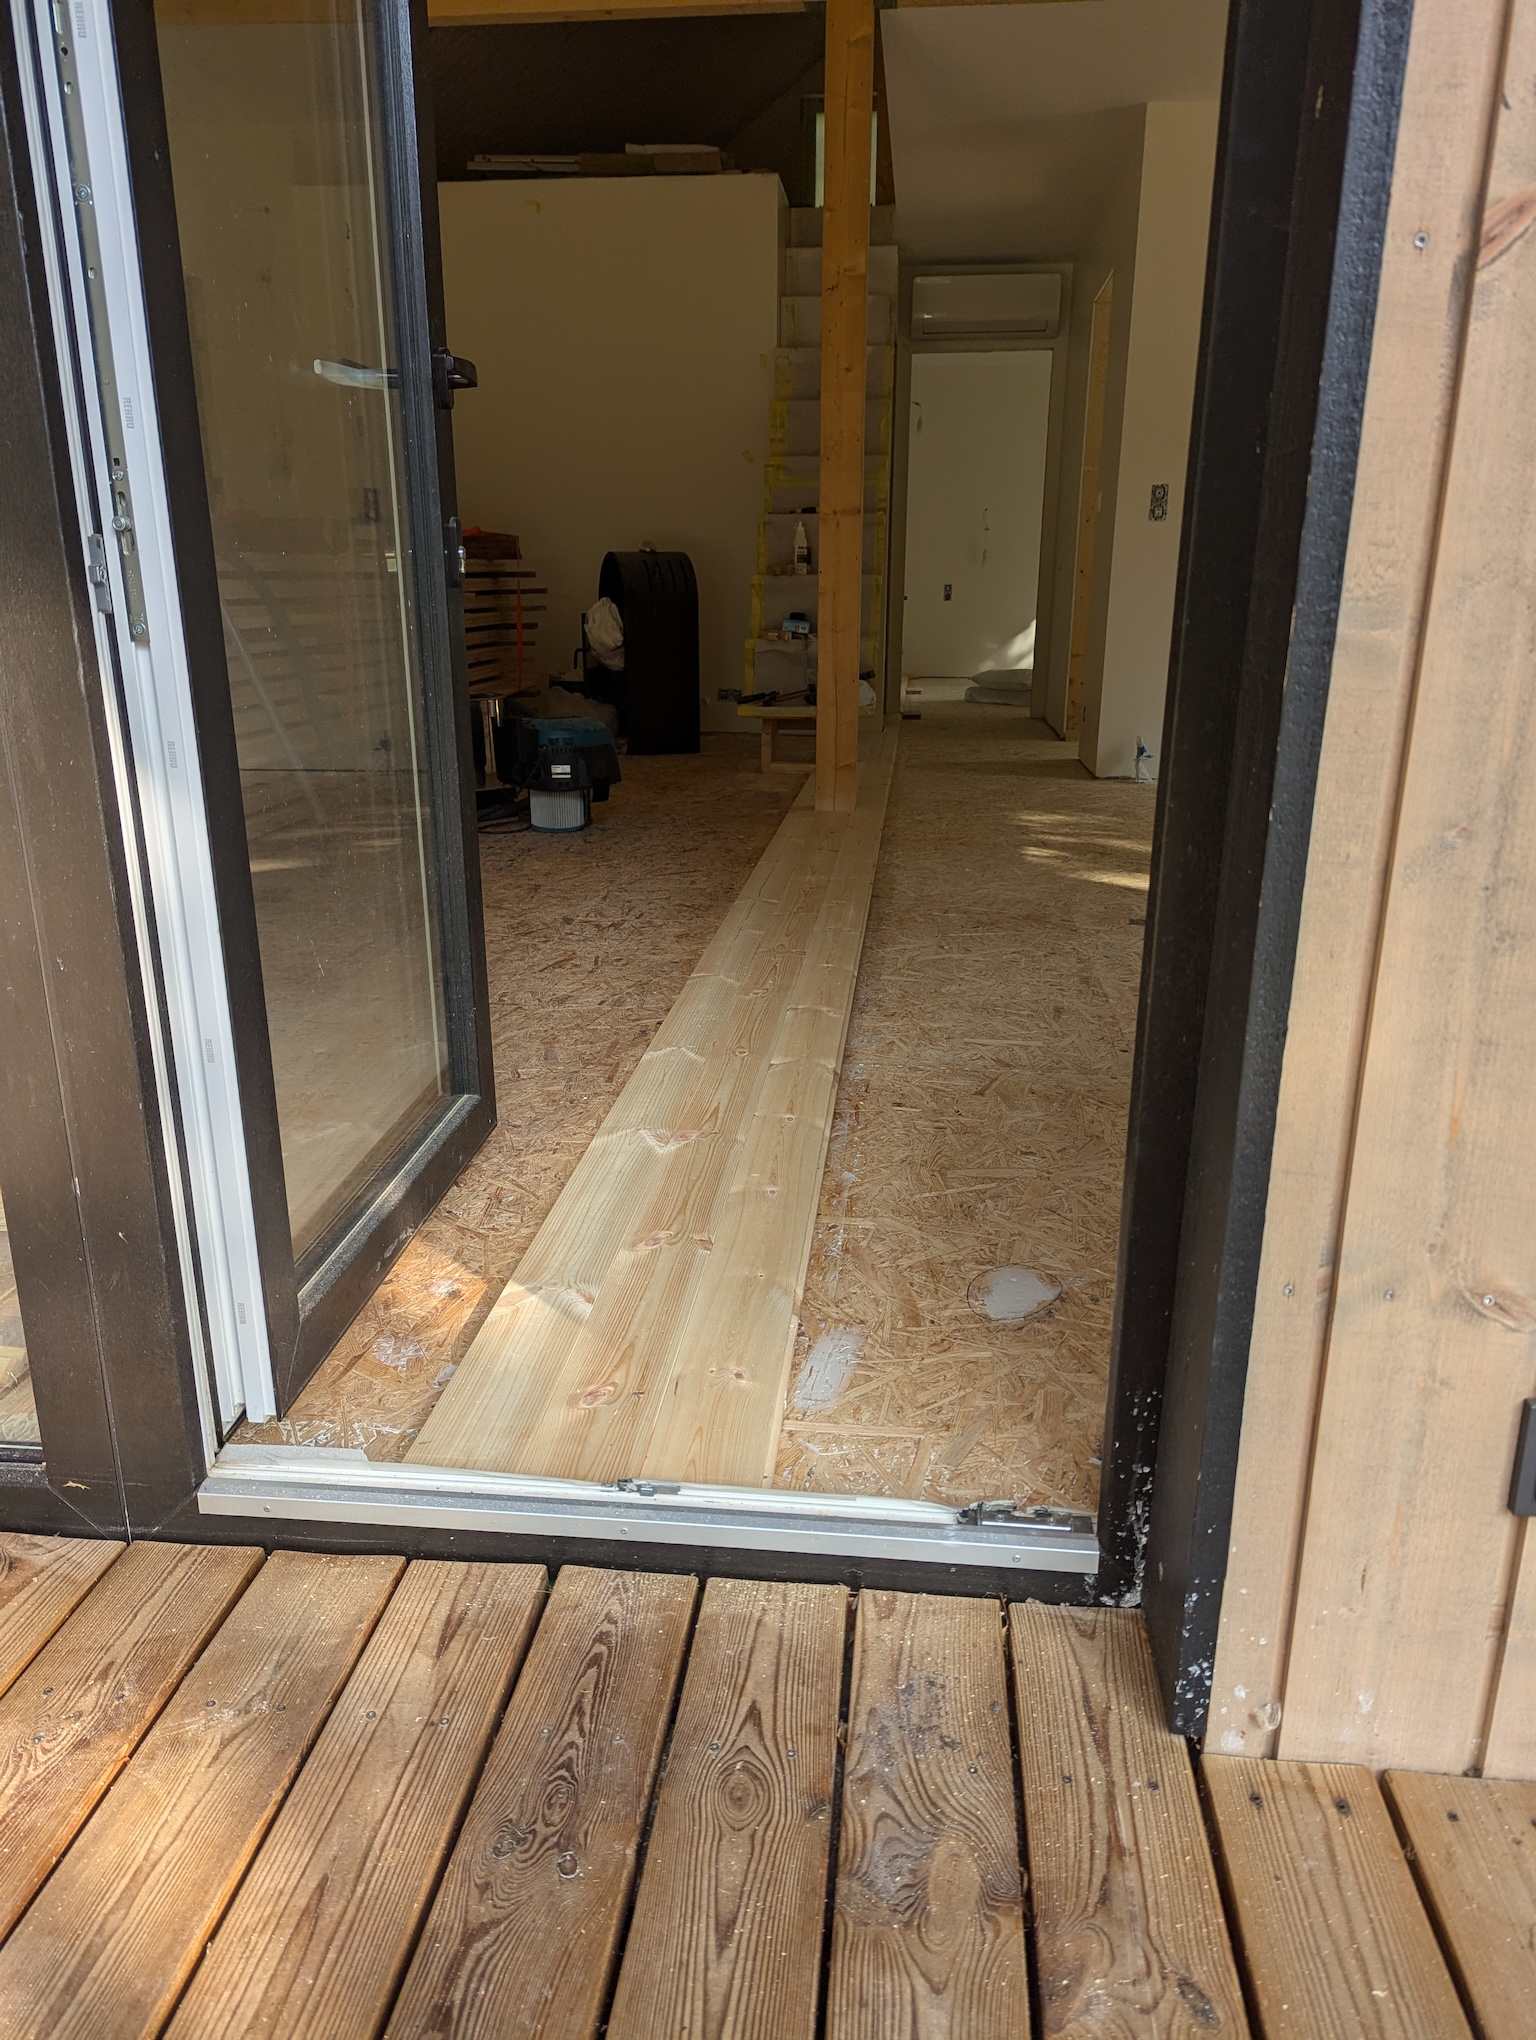
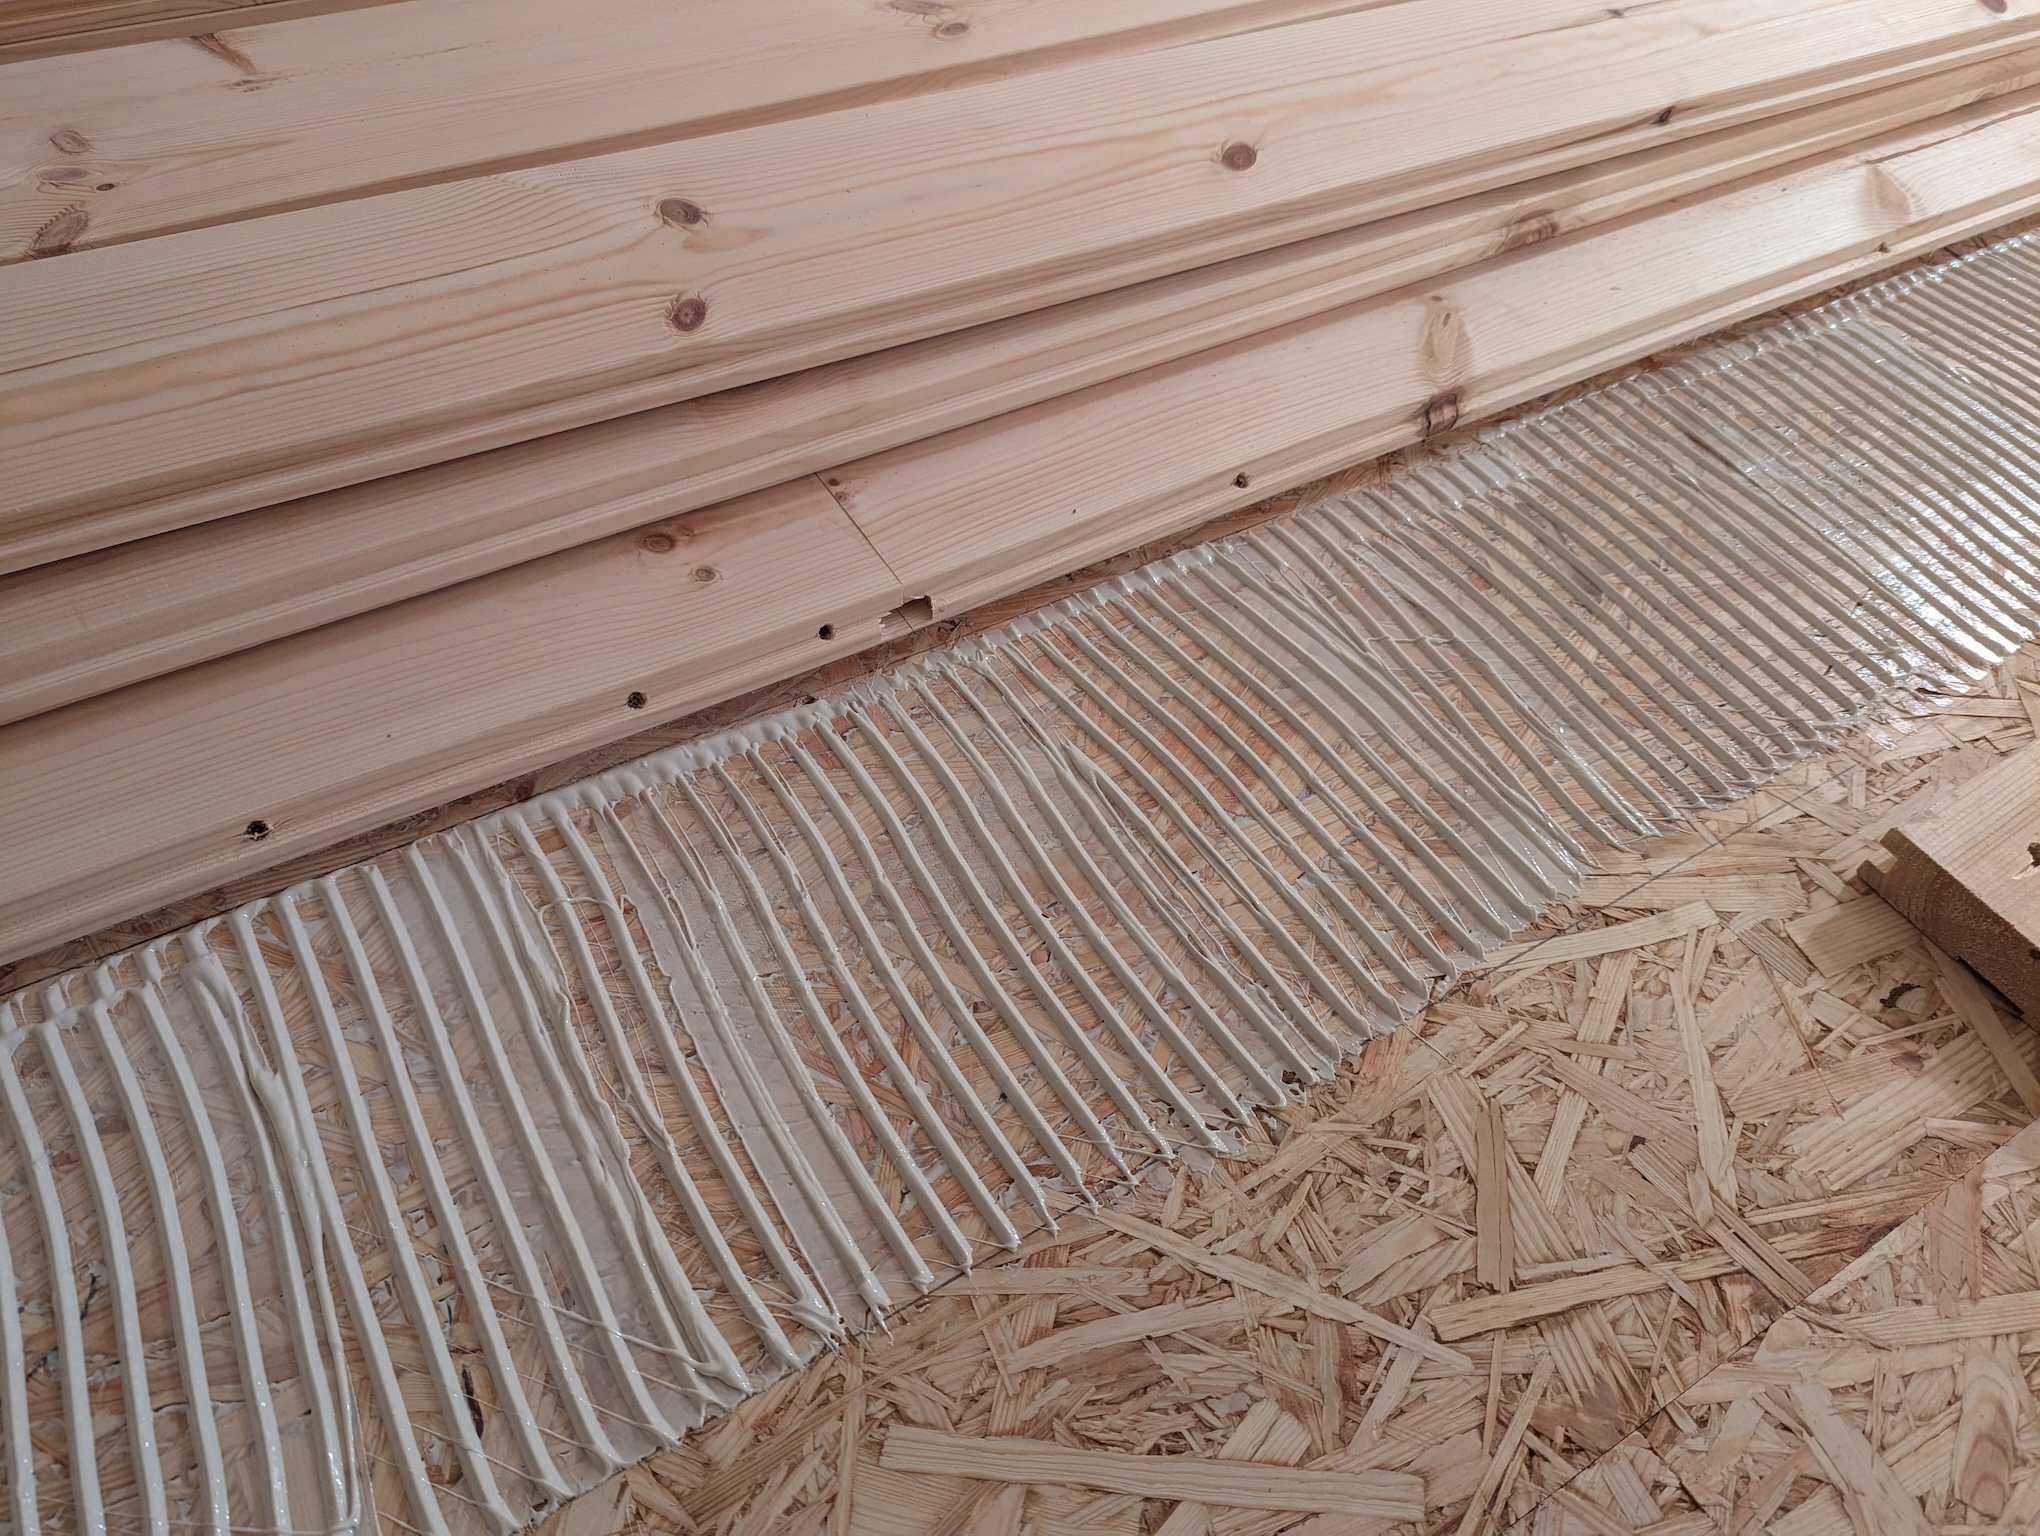
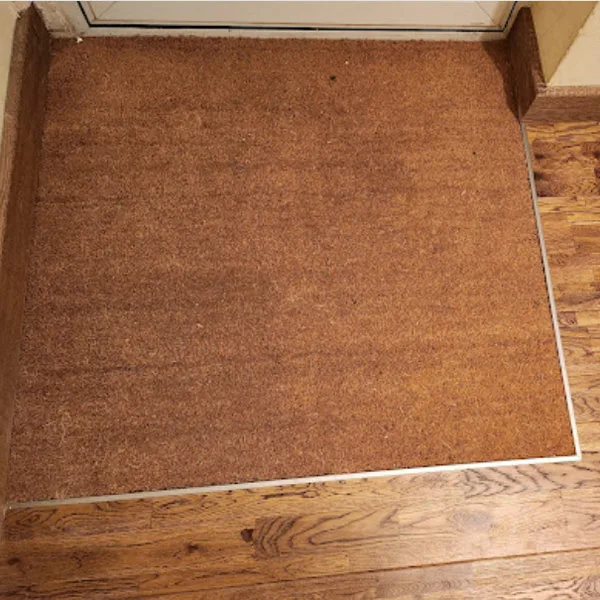
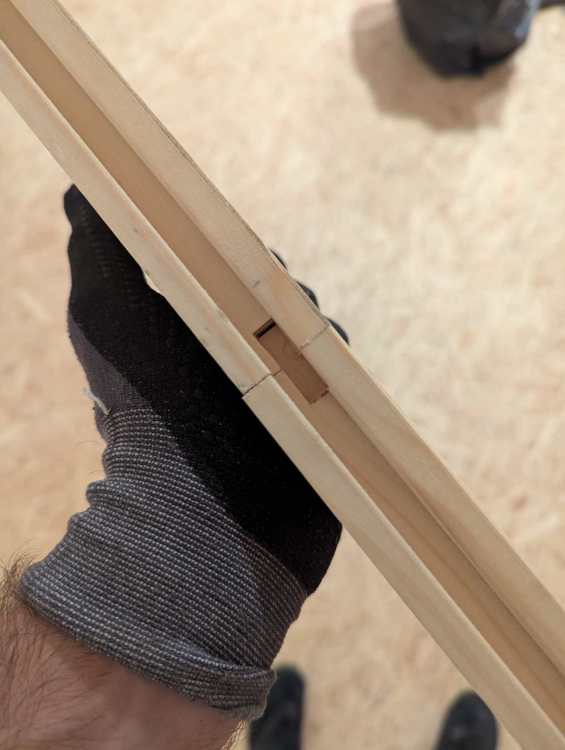
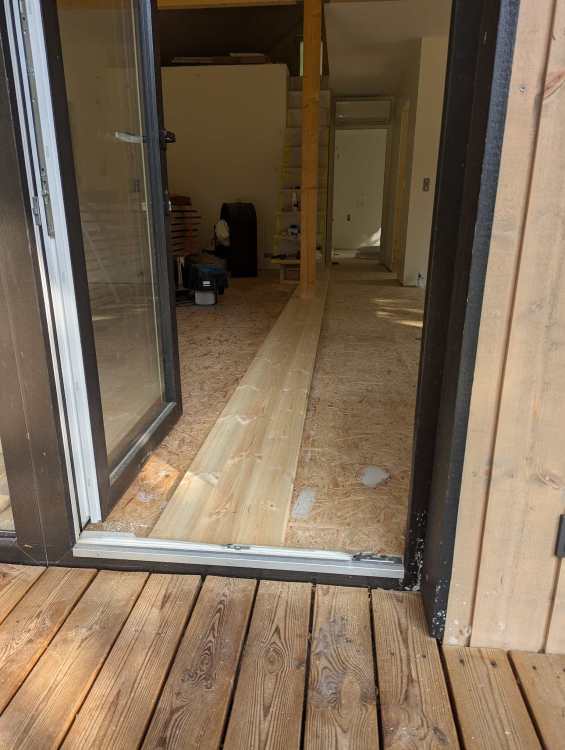
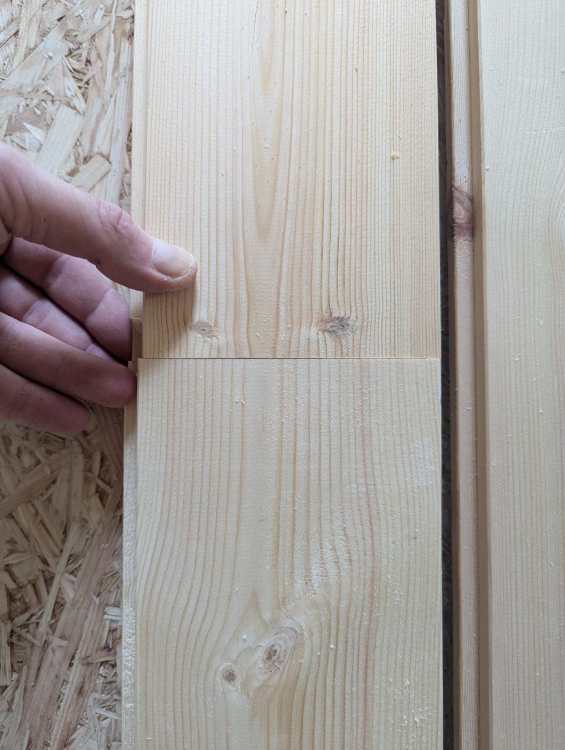
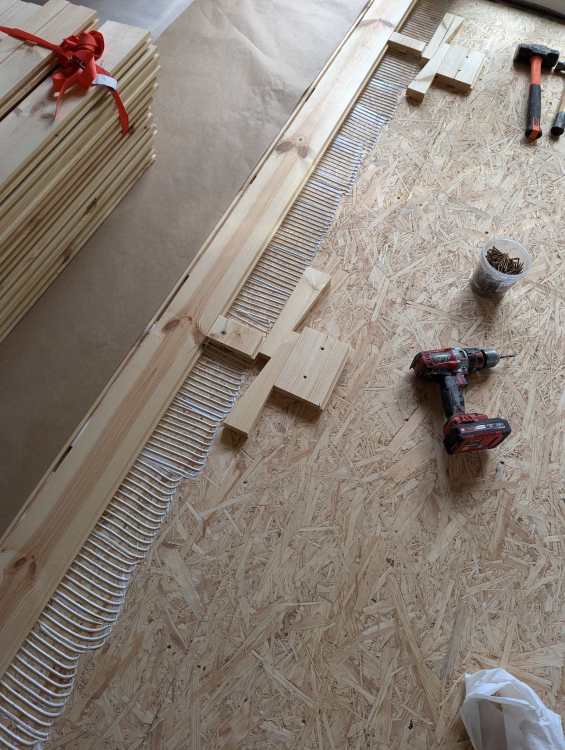
For what it's worth this is what we have done did: MS Polymer floor adhesive, notch trowelled over SANDED OSB (told by man in shop who seems to know his stuff that it is important to sand to remove wax coating on the boards that's there for temporary site waterproofing), which at a 1300g/m2 application rate effectively gives you a thin layer of glue over the ENTIRE surface (aka an air moisture barrier - be sure to work it into the holes created by your wedge blocks as you go too) PLUS your raised ridges of glue to lay the wood onto. Secret screwed through the tongues too to keep it in place/persuade it to be straight/allow me to walk on it instantly. https://renove.lt/lt/klijai-ms-elastic-400-12kg Boards then graded by width (of course they're all bloody different once acclimatised, and indeed different end to end because they're trees) and wedged into submission (September being a "neutral" month for expansion/contractor) with the ends (where there has to be joints) routered/false tongue added/glued to avoid any moisture getting into the "ends" of the grain should anything get wet wet. Set the router depth off the face of the board to set these "flush" and make the glue take up any variation in board thickness (which is also all bloody different because wood). Prime/stain/2K PU laquer to go over the top in the coming weekends. For the entry mats I have left a gap (mat well) that is going to be edged in solid brass (say 10x5 mm, as a visual edge and to protect the wood; with the wood/brass sanded to be inlaid flush) then tanked before dropping in an underfloor heating mat and a coir mat to sit flush with the floor. That's hopefully enough to (a) leave wet shoes on safely and (b) dry reasonably quickly in winter. 🙂 Other tips - don't scratch your balls if you have slow cure floor adhesive on your hand and buy kneepads that you'll use and love. I rate these FWIW: https://lt.misupplies.co.uk/clothing-c12/mens-workwear-c635/trousers-and-shorts-c512/knee-pads-c519/helly-hansen-workwear-79571-kneepad-xtra-protective-p53480?utm_campaign=pr_r&utm_source=www.misupplies.co.uk&utm_medium=wi_proxy&utm_content=lt_LT&utm_term=c Start with a stringline, attached aline of blocks against it, wedge the heck out of your first boards to have them be bang straight. False tongue in the groove end and then lay boards from both directions having first checked where to start to avoid horrible part board cuts. (image pinched off internet)


-
Looks like the bigger rack mount units are pure sine rather than modified sine:
-
Good shout @Dave Jones - probably far better kit than fleaBay / Alibaba special inverters and can notify of an outage at more rural properties. - Any idea what the standby usage of such units is? (to maintain batteries in a charged state) - What internal voltage do the run on the DC side? (is it viable to run them from a 12V car? if yes up to what size?) - How do they handle nasty loads? (motor start; induction hobs etc that might go from zero to hero or otherwise abuse the output stage) I may add a used UPS to the Xmas list. 🙂
-
Habito, Fermacell, OSB & Plasterboard, Ply & Plasterboard, or…..
markocosic replied to G and J's topic in Building Materials
FYi Europe tends to use plaster made out of nothing https://www.knauf.lt/produktai-ir-sistemos/produktu-a-z/super-finish.html https://www.knauf.lt/produktai-ir-sistemos/produktu-a-z/fill-finish-light.html If you put THAT over plasterboard it offers about as much resistance to knocks as a layer of emulsion. If you put UK plaster (brown multifinish etc) over plasterboard then it spreads the load and offers real protection against knocks. If you put the Euro nothing plaster over fermacell then it is also resistant against knocks - but only if thin enough that the layer of plaster doesn't "smoosh" so to speak. Been there made that mistake. 😉 -
Read the terms - it's a bait and switch. Price is £X...but only after you contract do they tell you the actual price. They also don't trench. "cable must be run along walls" means then only thing they'll do is nail a cable through walls and along walls. No basements. No digging. No hiding cable. No mounting chargers on posts etc. Their base price is one hole through the wall, tying into the meter tails, and bodging an ugly cable along the outside of teh house to an EV charger nailed onto the wall on the pish.