Tetrarch
-
Posts
201 -
Joined
-
Last visited
-
Days Won
2
Everything posted by Tetrarch
-
Thank you for the candid feedback. Fat finger: That deflection is 16mm not 160mm This is entirely my typographical error - for which I apologise One piece of hitherto unprovided information. The North/South beam is 8m long, so there is a significant load on the centre of the East/West beam. This install will definitely need significant professional input. I would still like to know the answer to my original question though...... Regards Tet
-
Hi Nick, The beam required to span the gap was ~800kg. The deflection is 160mm which is significantly more than the door supplier specifies I understand that I am out of my depth, but my intuition is that there are multiple compromises with a single beam which can be entirely offset by a single compromise of a single supporting pillar IF I am correct, then the size of the pillar becomes the entirety of the compromise - hence my question. I'm only interested in the comparison between vertical supports Regards Tet
-
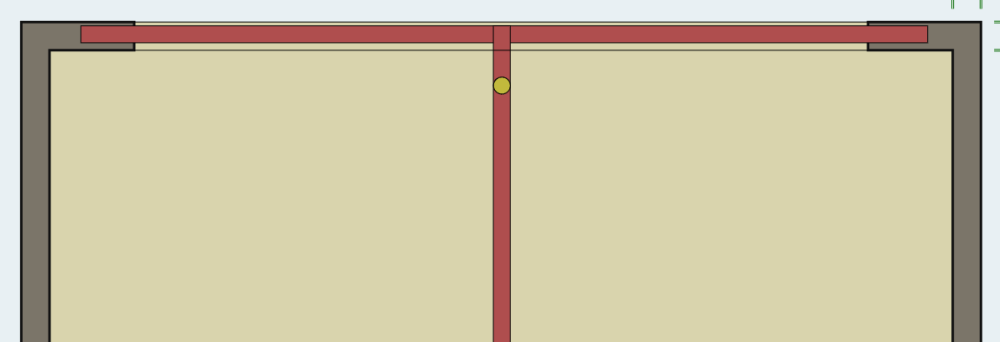
This must be a common situation but I'd like some comment on alternatives. The below picture is just to illustrate the install and there has been no structural calcs yet so the proposed steels are not to scale. The plan is to open up the back of the house and install a 6.5m fully-opening patio door and remove the internal wall the currently runs North/South. It's a two-storey house so both beams will be replacing supporting walls above. Accepting that some kind of vertical support will be needed. Aesthetically, my view is that a circular pillar (indicated by the yellow circle) is far less obtrusive than a square or raw I-beam. Is there a way to find a comparison between round, square and circular vertical supports cross-section vs compressive load. The actual numbers are not as important as the relative cross-sectional area Regards Tet P.S. Asking for a friend.
-
I would suggest that trying to slide this upstairs sounds attractive, but sounds hellishly dangerous for the guys UNDERNEATH I like the idea of a genie. The trouble with a genie is the weight transfer when you try shift it laterally. I had a large problem trying to move a 75kg skylight through its own "hole" - up was fine - it was just the transition from vertical to horizontal that was a challenge. Removing the glass would make things enormously easier. You can then genie the whole bath and fix some scaff boards across the diagonal to take the weight straight off the genie Very best of luck Regards Tet
-
They're all different FH Brundle do a great range and very keen prices. Big fan of the company, their products and their flawless customer service https://www.fhbrundle.co.uk/handrailing-and-balustrade/frameless-glass-balustrade?via_sb=true Regards Tet
-
Leak coming in around roof light EPDM issue
Tetrarch replied to nmh's topic in Roofing, Tiling & Slating
That detail looks very odd. My spec was 100mm of waterproof upstand as a minimum (see below) I used EPDM rather than the architects lead spec and they (generally) don't use 45-degree flashing anymore for EPDM. I would wholeheartedly agree with the other critics of your roofer's advice. In my experience traditional felt roof guys are always only really happy with felt, some rave about liquid coverings, but most rail against EPDM. I'd get an EPDM specialist to have a look at your particular install and go from there Regards Tet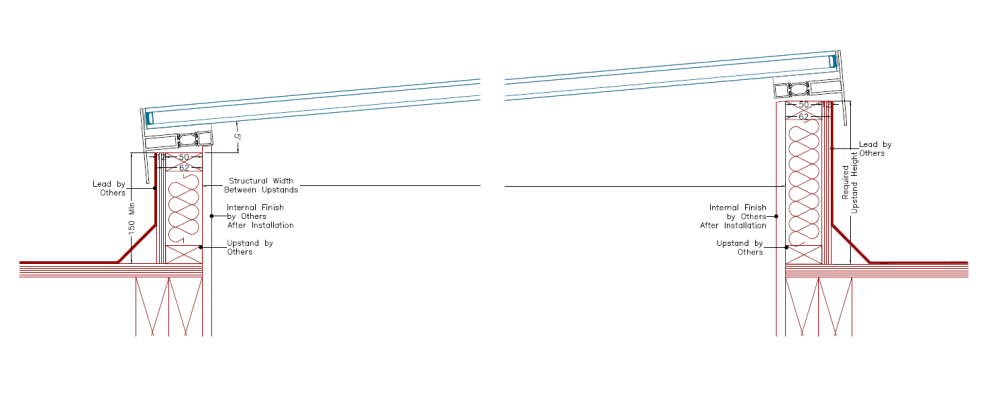
-
It's not just the width, the excavator tracks may do a huge amount of damage to the floor and the length will determine whether it can navigate your maze (and how long it takes) Regards Tet
-
That sounds like an.. erm sub-optimal situation A crane would be extremely expensive. It would be probably cheaper to hire a couple of labourers to carry gorilla buckets through the house than pay the time-cost of filling bags and doing the same Regards Tet
-
Removing soil through the house - do you have a direct line through the house, navigating through and around door ways will be the real challenge. In my experience, wheelbarrows are difficult to control consistently when loaded, I found a four-wheeled pull trolley easier to manage although a soil conveyor would be optimal - hence the first question......... Regards Tet
-
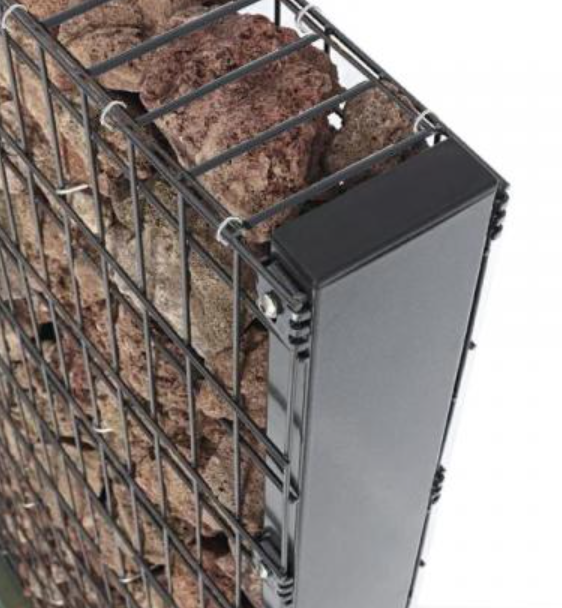
Thank you for the link. It looks as though I should have spent longer on the FH Brundle website.......there is a specific pre-made (but MUCH more expensive) panneled version called zenturo available: https://www.fhbrundle.co.uk/fencing-and-security/super-gabion-fencing https://www.wireland.gr/en/products/steel-wire/rockfall-mesh/item/toixos-apo-sirmatokivotia-zenturo The sizing on this is bigger mesh than mine but it comes up in maximum two metre panels Regards Tet
-
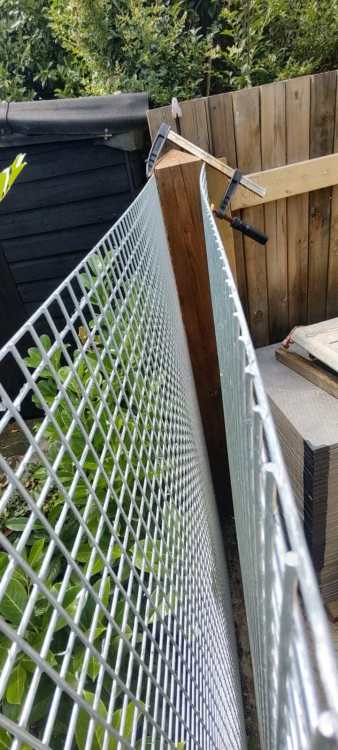
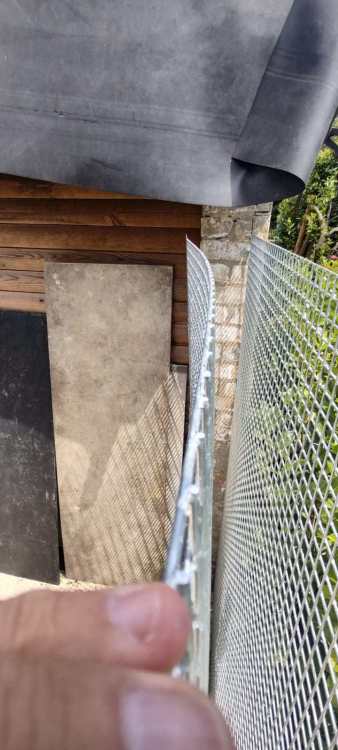
I intend to use a drainpipe to insert stones slowly rather than dropping from a height It's just a stone wall, (plus design proof of concept for a more substantial curved retaining wall planned for the drive). I started with the idea of a wall that was 9" at one end and 6" at the other. It's only when offering up the mesh that I realised that this would be costly Agree with both these. I have plenty of hooks. As it's decorative rather than structural then the thinner it is the less it will bulge. I have some 1" box-section aluminium that I could use as guide bars to give the structure some support Do you guys think that a 4" thickness would be suitable - ultimately if it doesn't quite work then I can always make it thicker Regards Tet
-
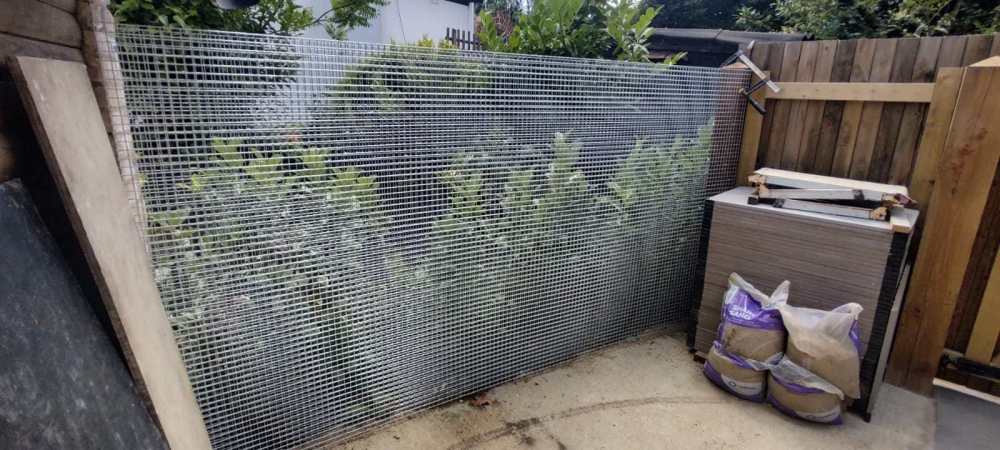
I've created a space that I want to fill with a gabion wall. I've chosen 1" x 1" x 10g galvanised wire mesh sheets and they are fixed at the ends and to the bottom. I have a number of gabion ties (double-ended hooks) to hold the walls together before filling. The "filling" itself will be ~30mm pebbles of some sort. The overall size is approximately 3.1m x 1.7m. The post at the right hand end is 6" across and I have a 9" brick wall at the other My question is how thick should I make the wall? The thicker it is the heavier it will be, the more the pebbles will cost and the more likely it will to bow the gabion itself The thinner it is the less stable it will be Any advice welcome, pics below Regards Tet
-
With the right kind of standoffs you secure the standoffs to the beam and then fit the glass to the standoffs in an entirely separate process. I found this on youtube to give you an idea: Just to note I have NOT installed these, but just came across this when doing my reseaach Regards Tet
-
You don't need these. For a standoff in a glulam (is there a better screw substrate?) you could use a regular coach screws - the biggest that you can safely insert Regards Tet
-
Things masively depend on the glulam beam construction and what's behind it but it looks like you have two options: Either some HD through bolts like these: https://www.fixingswarehouse.co.uk/products/toggler-snaptoggle-heavy-duty-toggle-bolts-bm10-25pk Or some M10/12 screws straight into the glulam - are there any load recommendations Regards Tet
-
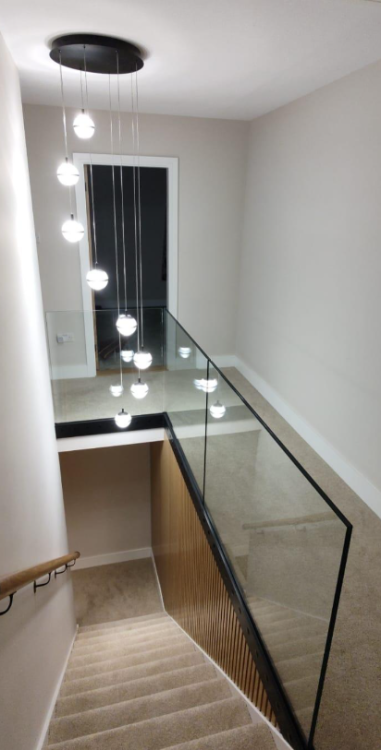
I can't recommend FH Brundle highly enough. From order to delivery their people are absolutely top-notch, the prices are extremely keen and they keep you very well informed I wanted the standouts but didn't have enough vertical space on the return to make it work as you need (IIRC) 100mm below the low standout in the glass. Getting it exactly straight was a process but using their inserts and four post-it notes (a new construction unit) made it perfectly vertical Regards Tet
-
Aluminium box gutter in non standard ral colour
Tetrarch replied to G and J's topic in Building Materials
I looked at Aluflow. I'm going to make a recommendation but with one HUGE caveat www.clearamber.com aluflow deepflow gutterring is superb. Really strong and looks fantastic. Using the deepflow means that I haven't had to introduce any fall and they have no problem shifting water in the heaviest rain. I would unreservedly recommend if it wasn't for one detail...... The corners and fittings are cast and the main pipes must be extruded. I have found that the cast parts finish has gone matt over time. To their credit clearamber have offered to replace the faulty parts but 60% are already in-situ and I am loathe to change them out as they are screwed and siliconed. I may keep the roof-line ones as-are and just change the first floor, but I am still weighing my options Regards Tet -
But he'd lose his floor space..... I was wondering whether you could take the walls in at the "shoulders", where the wall creases but then feather it so the floor remains unchanged Regards Tet
-
This instruction from the council will oblige you to sacrifice your loft room as one of your lettable spaces How much extra PIR do you actually need? Its a sloping roof - can you not just add thin PIR on the sides and then a thicker portion right at the apex to achieve what you need? Regards Tet
-
Welcome - from a fellow Kent dweller (Kentish Man in my case) This place is an incredible resource, invaluable advice and opinion - I have learnt so much, and continue to do so Much of your plans will depend on your local authority - if it's Sevenoaks then buckle-in it's going to be painful All things are possible if you have adequate budget, patience and a hide of leather Very best of luck Regards Tet
-
Flat Roof with Parapet detail - correct fall
Tetrarch replied to Ay8452's topic in Roofing, Tiling & Slating
If you're cricketing then you might need behind your rooflight to divert the pooling that will inevitably occur there Regards Tet -
Flat Roof with Parapet detail - correct fall
Tetrarch replied to Ay8452's topic in Roofing, Tiling & Slating
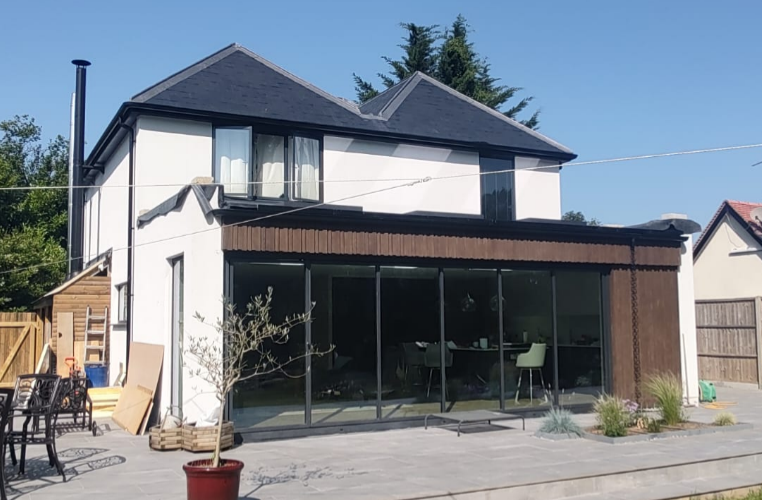
I had a parapet wall specified on my 28sq m extension as I was trying to avoid downpipes on the rear elevation (side scuppers). Apart from the technical challenges you are encountering there is an aesthetic component as well. My original drawings looked like this: It turned out to be completely misleading as a warm roof is way thicker than the drawing would indicate and it would have left an enormous space above the patio doors. In the end I kept the side parapets and had a single deepflow gutter with a rain chain as a feature You can see that if I'd kept the rear parapet the rear wall would have dominated the elevation Regards Tet Ps Yes - I know, still waiting on my lead-man to return to finish off the parapets....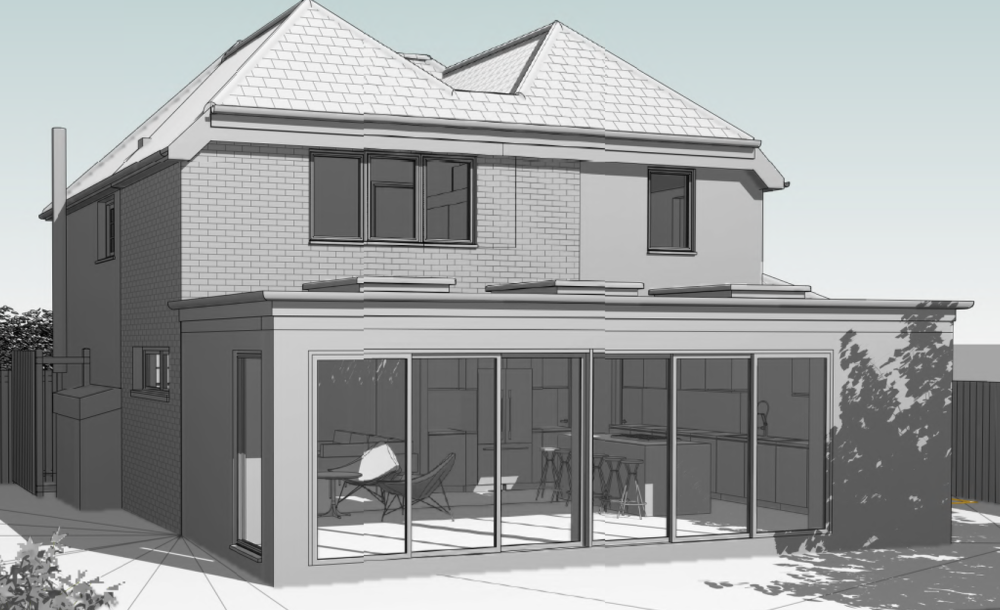
-
Battery Storage - Lifespan and Replacement
Tetrarch replied to marmott2334's topic in Energy Storage
I'll see your 1TB in the 80's....... In 1956, IBM’s Data Processing Division in southern San Jose, Ca transported the first hard-drive that only held a whopping 5 megabytes of storage Regards Tet
-
From the information you have provided it would appear that they are going to install a parapet wall. They could use concrete stones, porcelain tiles, or some kind of capping like aluminium or zinc. Any of these would likely have a TINY overlap into your airspace. I would seriously consider how you are going to live with this and your neighbour after it is built. There is no way that you can specify how well (or badly) the final wall will be finished. There is nothing you can do to ensure the aesthetic finish of the wall. Furthermore, you cannot finish the wall yourself - not even paint - without permission. In my opinion I would play the long game. Make it easy for them to access your land on the condition that the quality of the external wall is good, as you will have to live with it - not your neighbour. Consider what finish you would prefer and get written permission to paint/render it as a condition of easy access. The ease of access is important as you want their bricklayers to make as good a job of it as possible Regards Tet
-
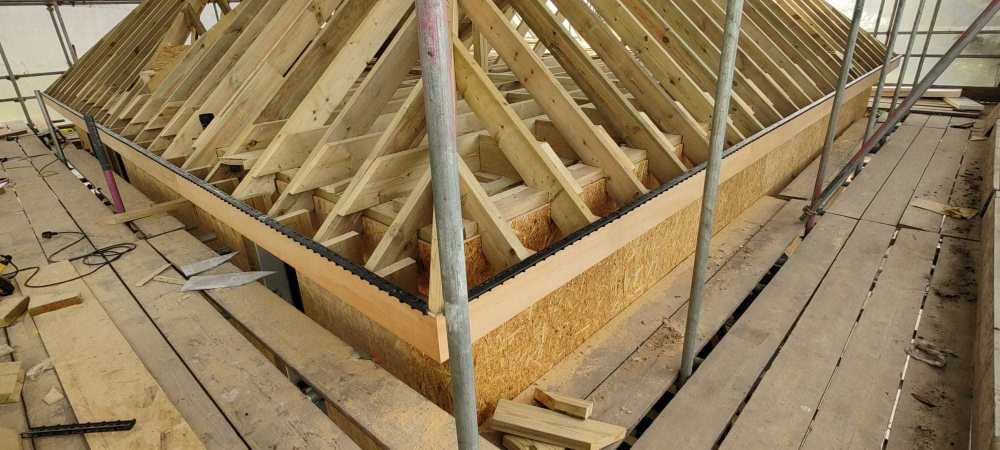
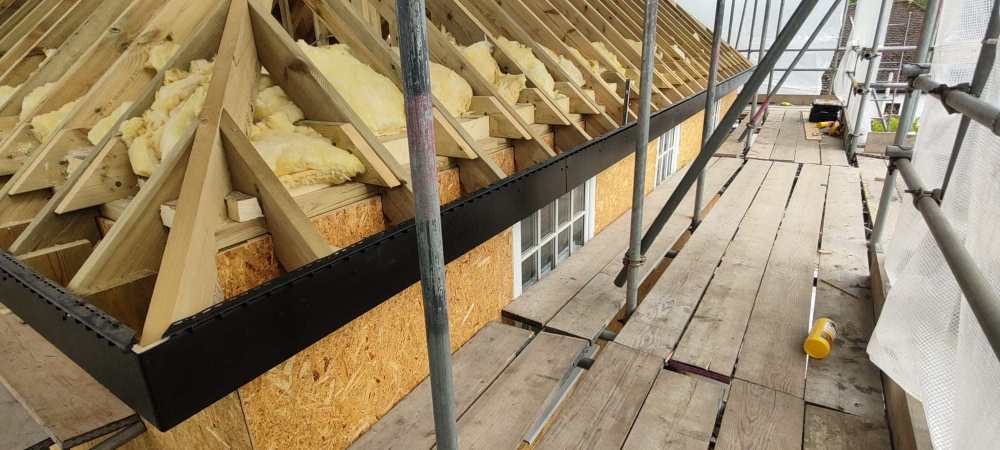
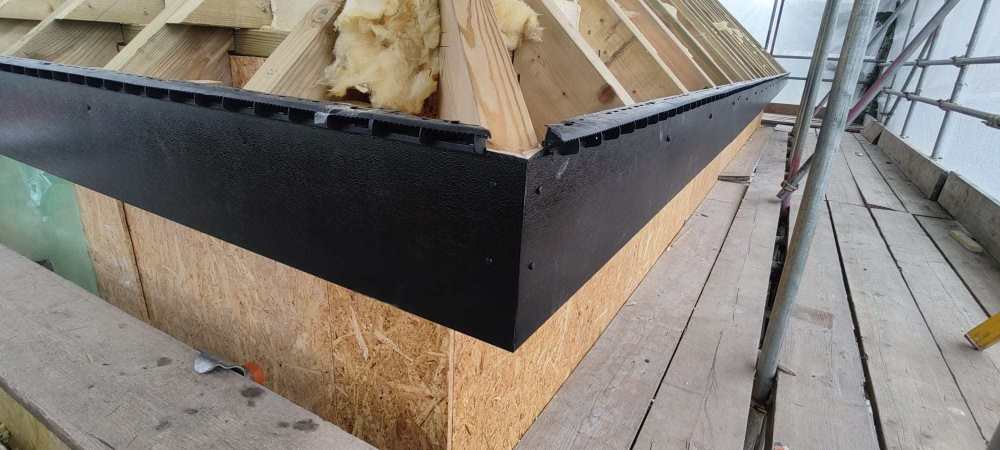
IMO - I'd take your timber framers offer. I had my (aluminium) "foffit" (not a real name but a one-piece combined fascia and soffit) installed immediately after the framing, but before any slating (though some leadwork was being done at the same time. You know your dimensions and wall covering thicknesses - so there's no real downside Regards Tet