FM2015
-
Posts
153 -
Joined
-
Last visited
Everything posted by FM2015
-
Paperwork 🤣 Honestly, not really sure. Obviously Nudura are pushing their dryvit brand. Different adhesive properties on different densities of background.
-
I would check that anyone providing warranty/BC is happy with k rend on Nudura. Seems to be a different edict every month on renders.
-
Breathable membrane required?
FM2015 replied to alayton's topic in Insulated Concrete Formwork (ICF)
Dryvit is a render system rather than cladding??. There is a lot of cross selling with "do it our way or else" flying around. Hence why I suggested warranty provider and cladding manufacturer as points of contact. Neither are selling something the OP hasn't the intention of buying. -
Breathable membrane required?
FM2015 replied to alayton's topic in Insulated Concrete Formwork (ICF)
Three people to consult. 1. ICF manufacturer 2. Building control/warranty provider 3. Cladding manufacturer specifically with regard to ICF. Potentially not in that order. -
Breathable membrane required?
FM2015 replied to alayton's topic in Insulated Concrete Formwork (ICF)
For icf application? -
Not getting into an argument but the Nudura alignment system and access platform is designed to go on one and four so that you can board(3 board configuration)into the corners with both directions fully supported. Obviously, if you didn't use the platform, it's a moot point but not sure why anyone would advise differently. I know what it says in the manual and got over 100 pours under the belt. Only trying to help for your next pour.
-
Web 1 in one direction and web 4 in the other on internal corners. First web on both sides for external corners although there's no hard and fast rule on external corners.
-
Did you not have on site support from the supplier? If this was your first pour surely they or an experienced installer was overseeing? If nothing else to get it signed off??
-
No one seems to have mentioned cavity layer. Nhbc and labc insist on cavity drainage behind brick and stone fascias. Not sure if it applies to slips. Stone, 100mm on the bed, with ties to webs at appropriate spacings. Nearly everything we have ever done has had some stone faced element. Icf brickledge isn't required but it can simplify things. It can also complicate them.
-
Steels inside the block?!
FM2015 replied to WiltshireLink's topic in Insulated Concrete Formwork (ICF)
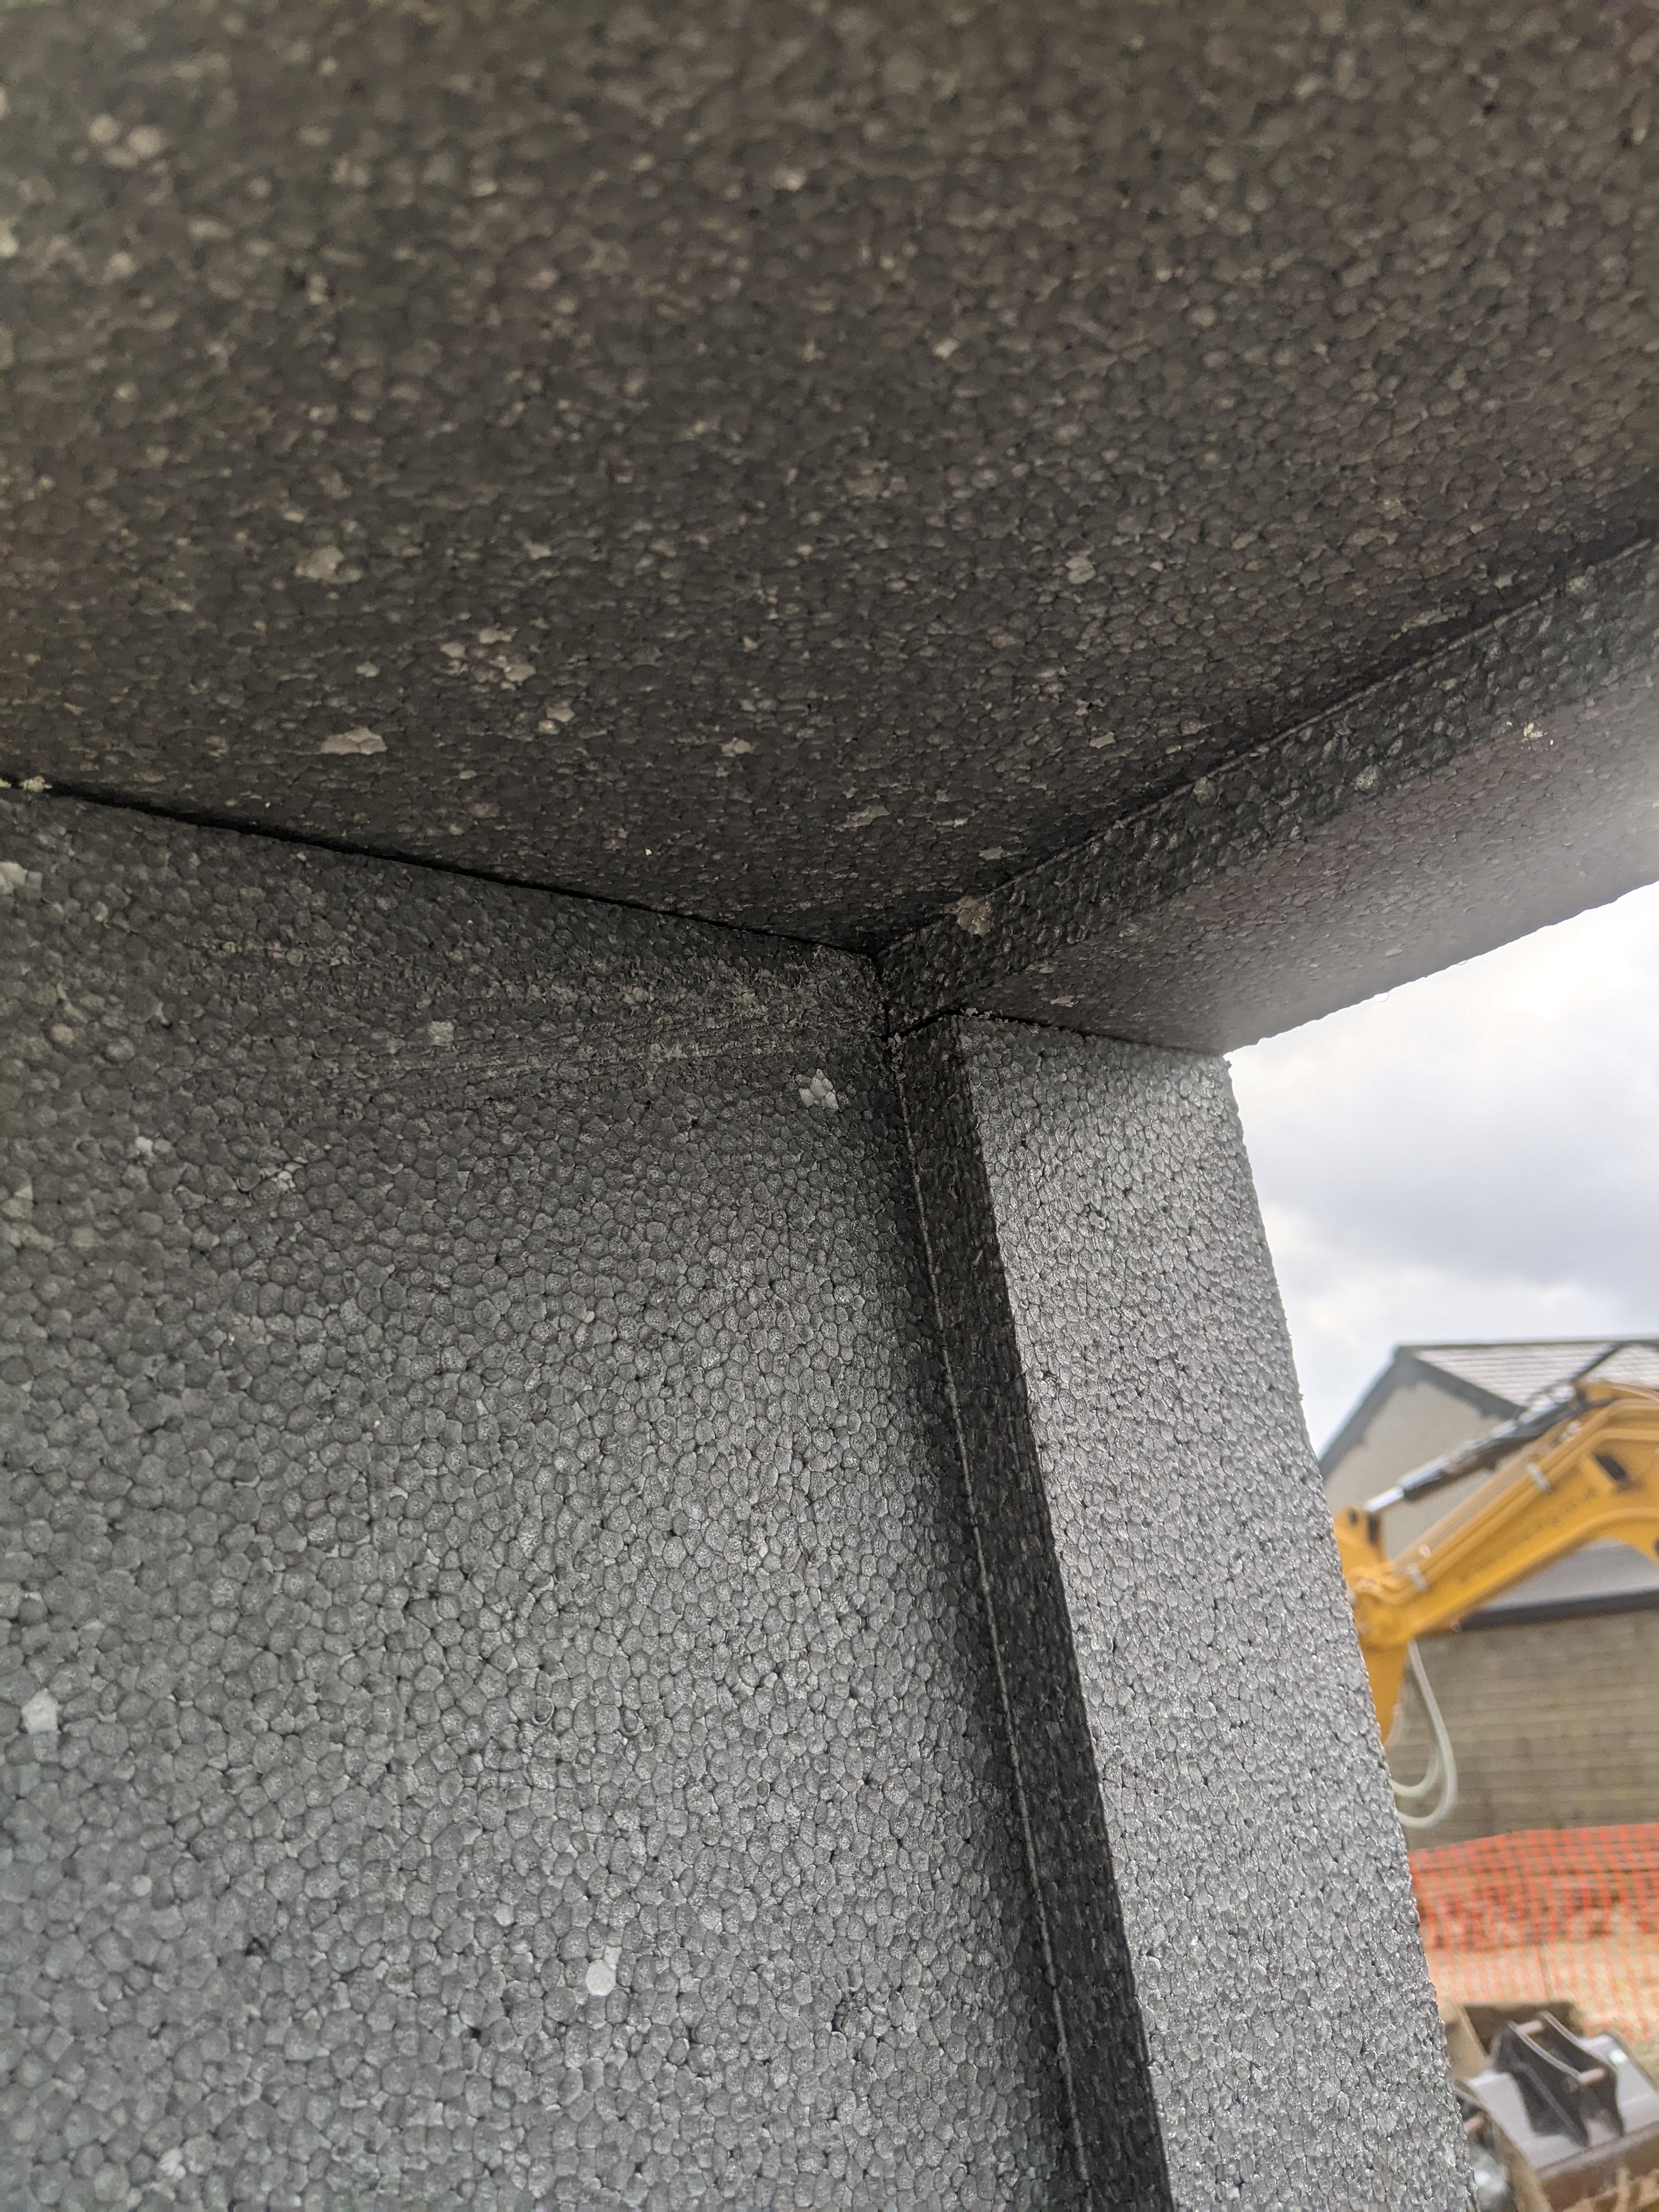
Timber instead of EPS, shotfired to flange plate, with the vertical EPS elements extended (or left long) to cover the timber. And create a check reveal along the head. Almavert do a product which could be used instead of timber. Illustration suggests Jackson being used. Their end panel could potentially be fixed to the flange plate. All could be done pre or post pour. -
Nudura Cast-in-Place Ledgers....
FM2015 replied to Mulberry View's topic in Insulated Concrete Formwork (ICF)
This just seems like a massive waste of time to save a few quid to get to an end position easily achieved using existing, certified methods, whilst potentially introducing risk into the pour element. Sorry. Might be missing something. -
Whereabouts are you and what quantity do you need? We have just put some onto a site in Cornwall
-
Or whack some type 1/803 down as a base? It should be fairly dry as the ground level outside is lower than the potential dig out level. Damp is 90% condensation. At this stage, I don't have any concerns with excavating right next to the wall. Famous last words🤣
-
Thanks, Ufh isn't viable in my scenario I guess my over engineered solution was only to provide a more stable base but I guess the screed does that job.
-
I have an 1800s farmhouse and in a couple of rooms, there are the original slate flagstones laid most likely directly on the earth. They do let a bit of damp through along the joints and obviously attract any condensation due to the underlying temperature. I'd like to keep them and make some repairs/replace some. I've bitten the bullet and decided to get a micro digger in so that I can lift them all up, dig down and lay an insulated floor before reinstating the slabs. Question is, what would be an appropriate floor build up/structure? My first thought was concrete, insulation and screed with dpm underneath, lapped up the walls, with slabs over bedded in kiln dried sand to level. Not sure I'd get the slabs level if I mortared them down. The slabs are smooth but uneven, it's an old house, but the joints are pretty perfect. Any help or advice would be appreciated. Tia
-
Brace as you go either with timber or alignment system. Broken blocks might only reveal any damage when you come to pour. Bridge between your rising walls and your ground floor. Fix down as well as laterally. Close off your cavities rather than cutting holes in corners. Building off a ladder holding a box kite is as fun as it sounds.
-
Nudura window reveals with timber cladding
FM2015 replied to Andrewb's topic in Insulated Concrete Formwork (ICF)
#fagpacket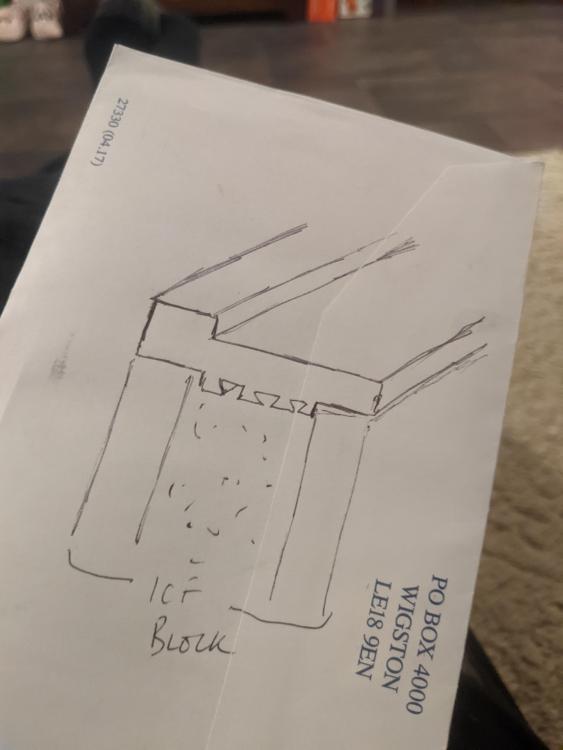
-
Nudura window reveals with timber cladding
FM2015 replied to Andrewb's topic in Insulated Concrete Formwork (ICF)
Did someone say check reveal? -
Nudura window reveals with timber cladding
FM2015 replied to Andrewb's topic in Insulated Concrete Formwork (ICF)
Where is the build? There are different regs on reveals and sealing windows/finishing openings depending on location and exposure levels. -
Cutting Nudura at angles
FM2015 replied to WiltshireLink's topic in Insulated Concrete Formwork (ICF)
Build an appropriately sized rectangle the use maths to mark out your two triangles. The smaller the gap between your hypotenuse lines, the lower the volume of waste. Adjust your rectangle to get the lines closer together. A combination of circular saw, recip and hand saw. An appropriate offcut put into the blocks can stop it collapsing whilst being cut.

-
Your metal web joists are obviously metal and should therefore be fire protected. Double standard board or single fire proof board. The pink papered one. Can't remember it's proper name. You could potentially fix a 4x2 to the non joist walls to carry the edge of the plasterboard. Saves battening the whole ceiling.
-

-
You could look at a paint on membrane type product. Non solvent and dries black. There's a few about. Could paint your battens too for added protection. Stainless screws, obviously a given.
-
Can you incorporate an ICF corbel detail onto the side of your raft? Or just extend the raft?
-
Why wouldn't you chase everything into the EPS? Then plasterboard straight to the EPS? Some people say that battening off 50mm gives you space for a 40mm waste pipe but it doesn't....a pipe clip plus 40mm pipe is closer to 60mm. It just seems like an expensive way of saving your electrician a bit of time.